Hola amigos de Hive un saludo 🤗
Hello friends of Hive a greeting 🤗
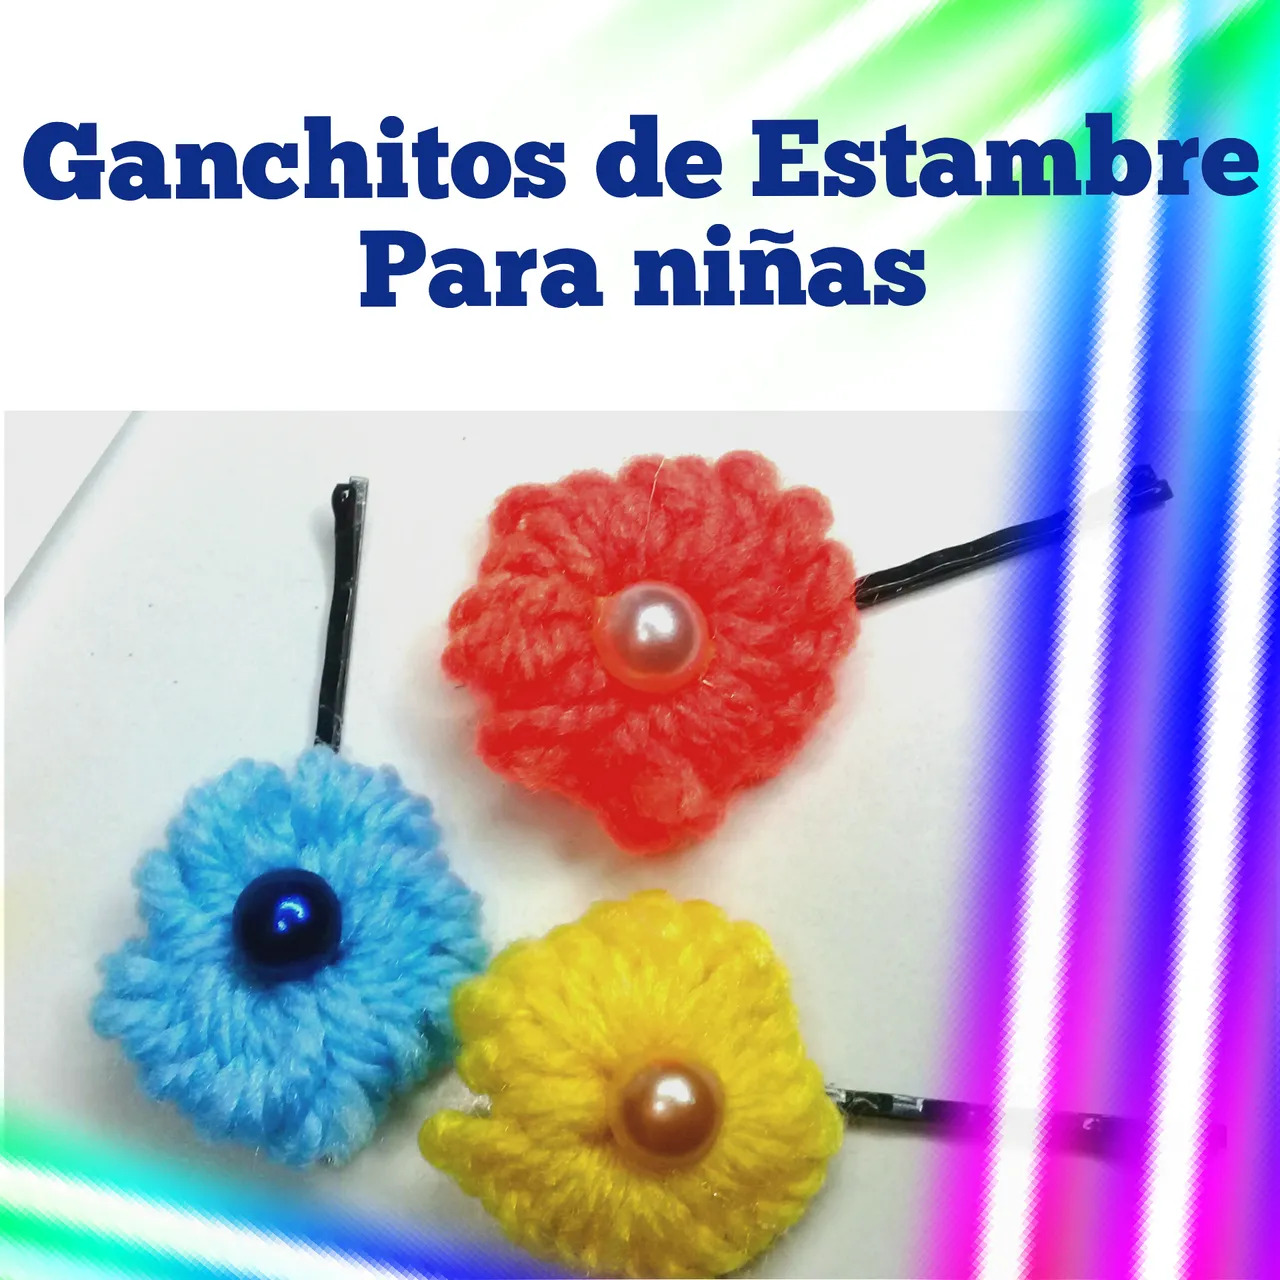
Hoy quiero compartir con ustedes esta manualidad para las princesas de la casa o para emprender, son unos ganchitos de flor de estambre, fáciles y sencillos de realizar en menos de 8 minutos, también sirven para regalitos de imprevisto.
Today I want to share with you this craft for the princesses of the house or to undertake, are a few hooks of worsted flower, easy and simple to perform in less than 8 minutes, also serve for unexpected gifts.
Materiales
- Estambre
- Perla decorativa
- Silicón
- Ganchitos negros
Materials
- Istanbul
- Decorative pearl
- Silicone
- Black hooks

Paso a paso / Step by step
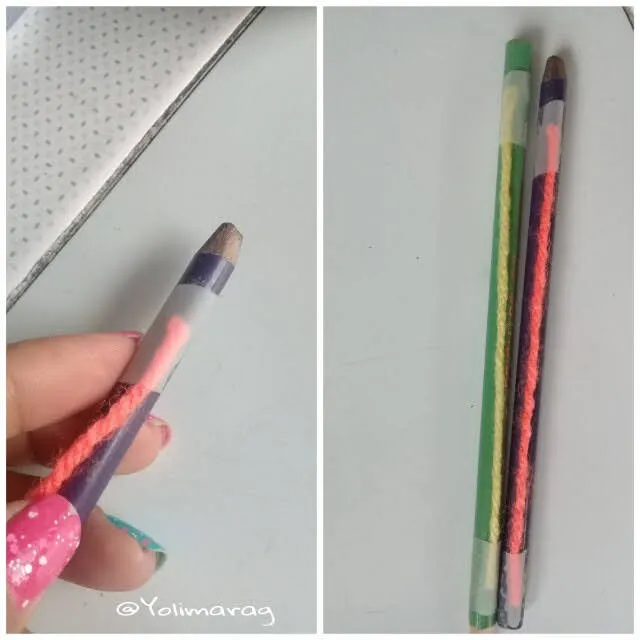
Lo primero que hacemos es cortar una tira de estambre, y la vamos a colocar en un lápiz y la vamos a pegar con una cinta en ambos extremos como se muestra en la foto.
The first thing we do is cut a strip of yarn, and we are going to put it in a pencil and tape it at both ends as shown in the picture.
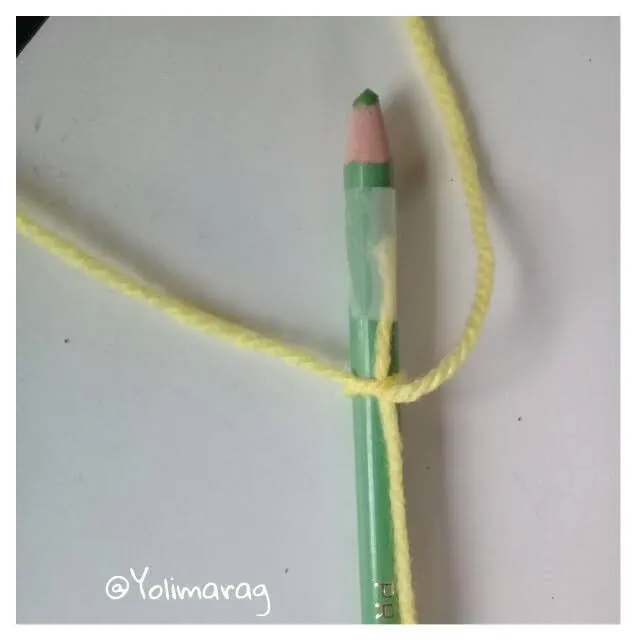
Como segundo paso vamos a tomar un metro de estambre y vamos realizar un nudo sencillo en la parte de abajo, dejando como dos dedos en el que habíamos pegado.
As a second step we will take a meter of yarn and we will make a simple knot at the bottom, leaving about two fingers on the one we had stuck.
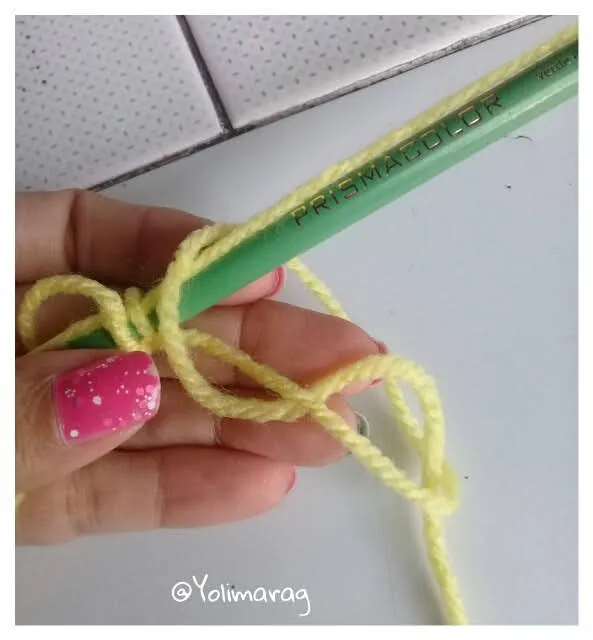
Con la parte más larga de nuestro estambre vamos a comenzar, a pasar el estambre por encima del lápiz y luego por dentro para formar un pequeño nudo, así como se muestra en la imagen.
With the longest part of our yarn we will start, passing the yarn over the pencil and then inside to form a small knot, as shown in the picture.
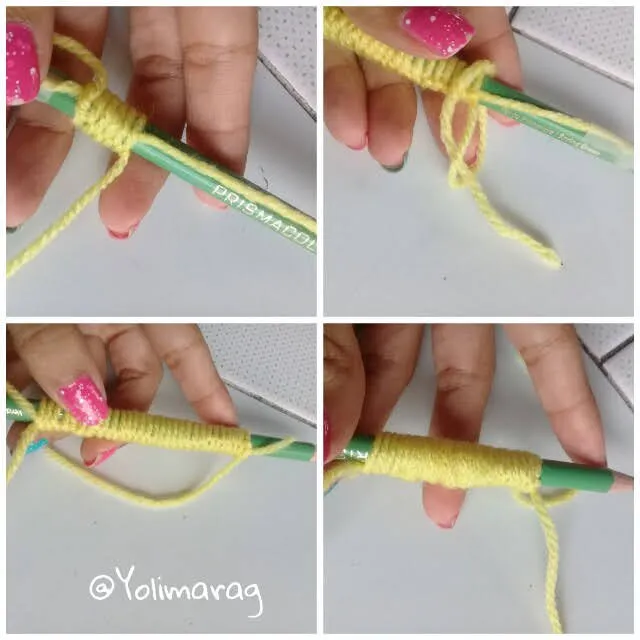
Así vamos a ir tejiendo nuestro lápiz formando lazadas, hasta que nuestro estambre este corto, al llegar allí vamos a sacar nuestras cintas pegantes que están en los extremos.
This way we will be weaving our pencil in loops, until our yarn is short, when we get there we will take out our adhesive tapes that are at the ends.
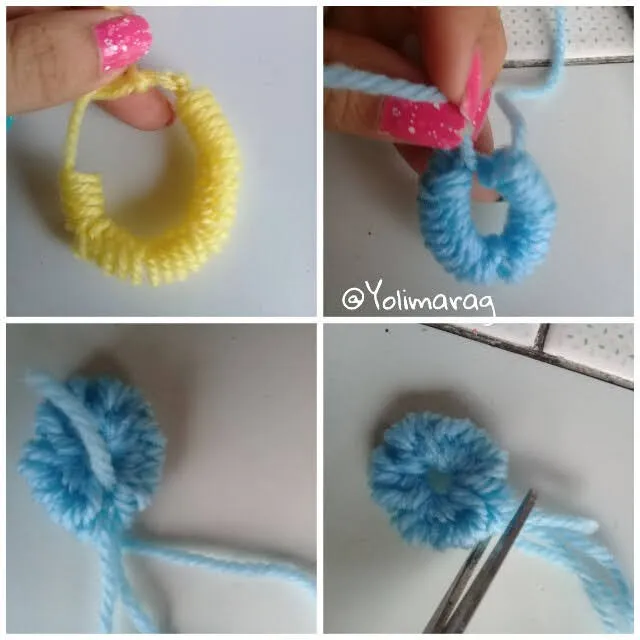
Sacamos del lápiz nuestro tejido y lo vamos a agarrar de nuestra guía que estaba pegada en el lápiz, y con mucho cuidado vamos a ir encogiendo el tejido y vamos a anudar 2 veces, cortamos el sobrante. Debe quedar como se ve en la foto.
We took our fabric out of the pencil and we are going to take it from our guide that was stuck in the pencil, and with great care we are going to shrink the fabric and we are going to knot it twice, we cut the excess. It should look like in the picture.
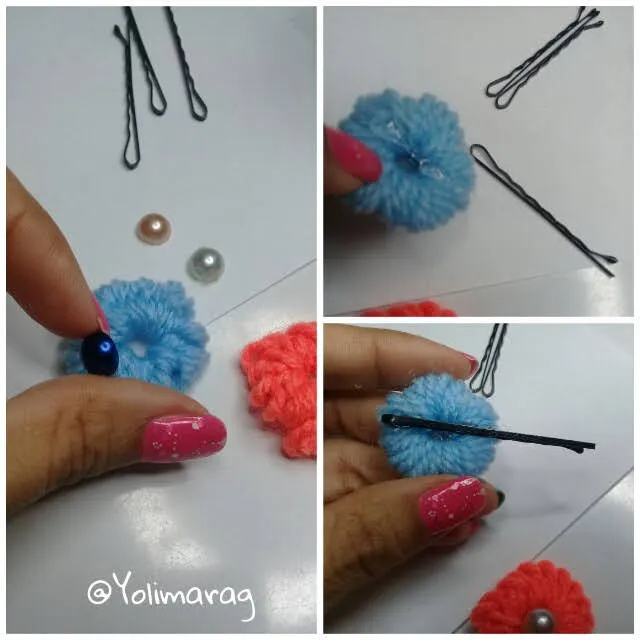
Después de cortar los extremos, vamos a pegar nuestra media perla o el detalle que queramos en el centro de lo que va ser nuestra flor, y por la parte de atrás colocaremos silicona y pegamos nuestro gancho.
After cutting the ends, we will glue our half pearl or the detail we want in the center of what will be our flower, and from the back we will place silicone and glue our hook.

Este será el resultado final de nuestros Ganchos con estambre 😍.
Espero les gustará este post tanto como a mi.
This will be the final result of our Hooks with yarn 😍.
I hope you will like this post as much as I do.
Nos vemos en un próximo post ❤️ Bendiciones
See you in an upcoming post ❤ Blessings

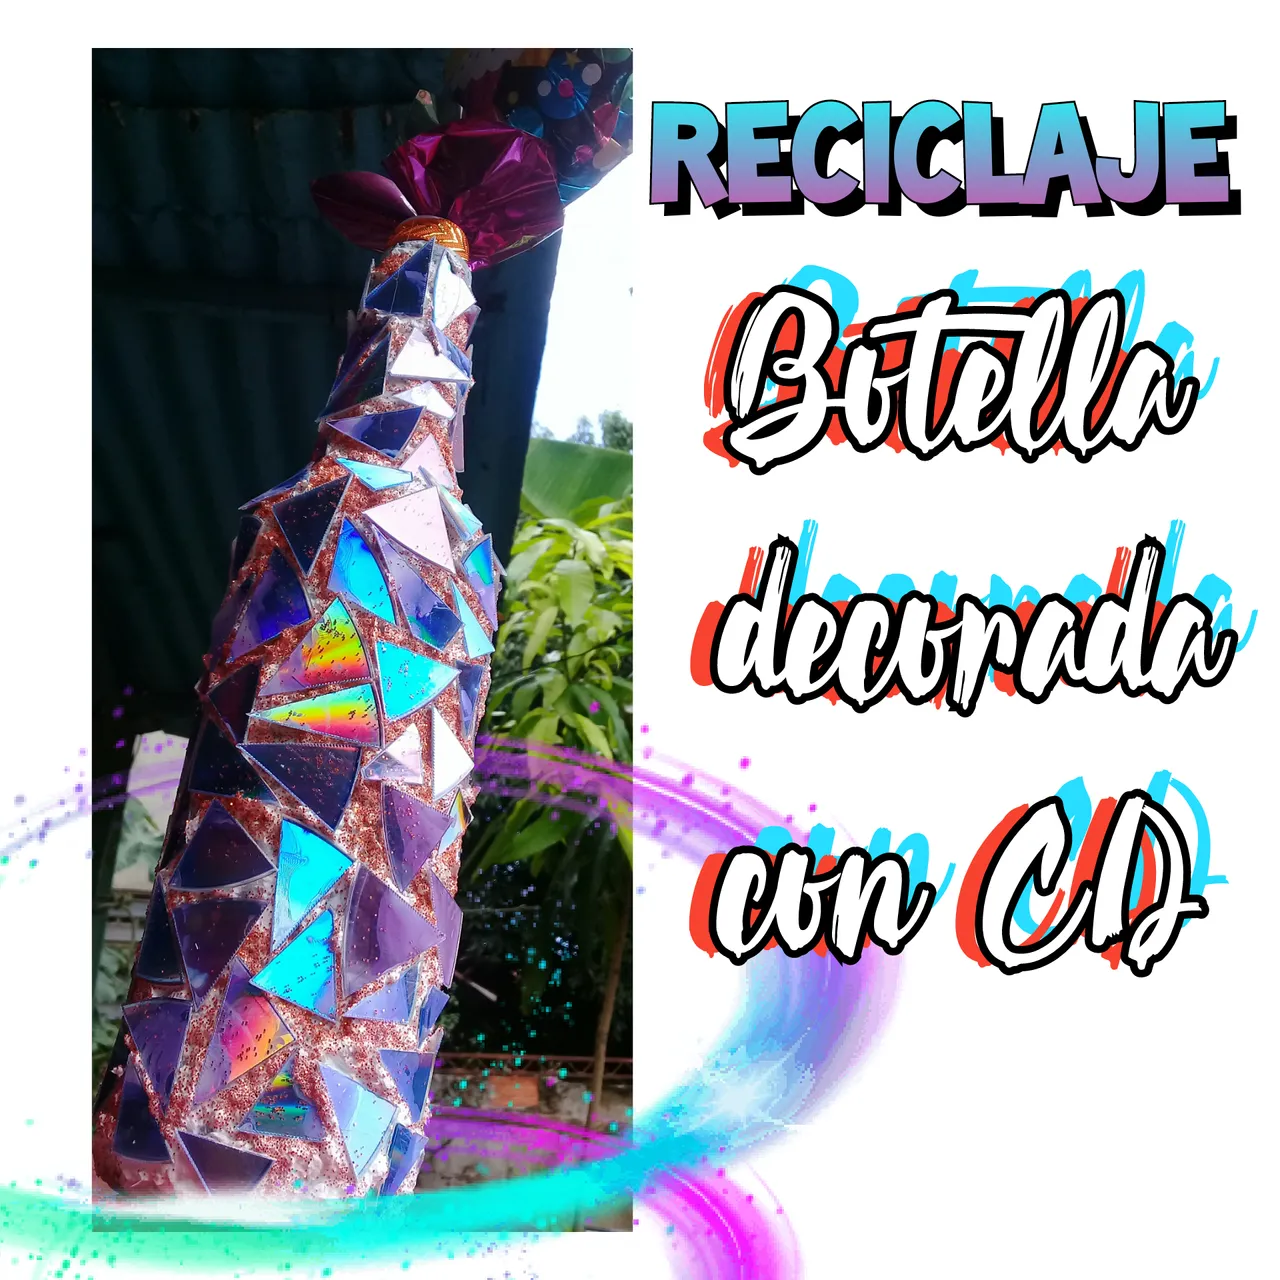
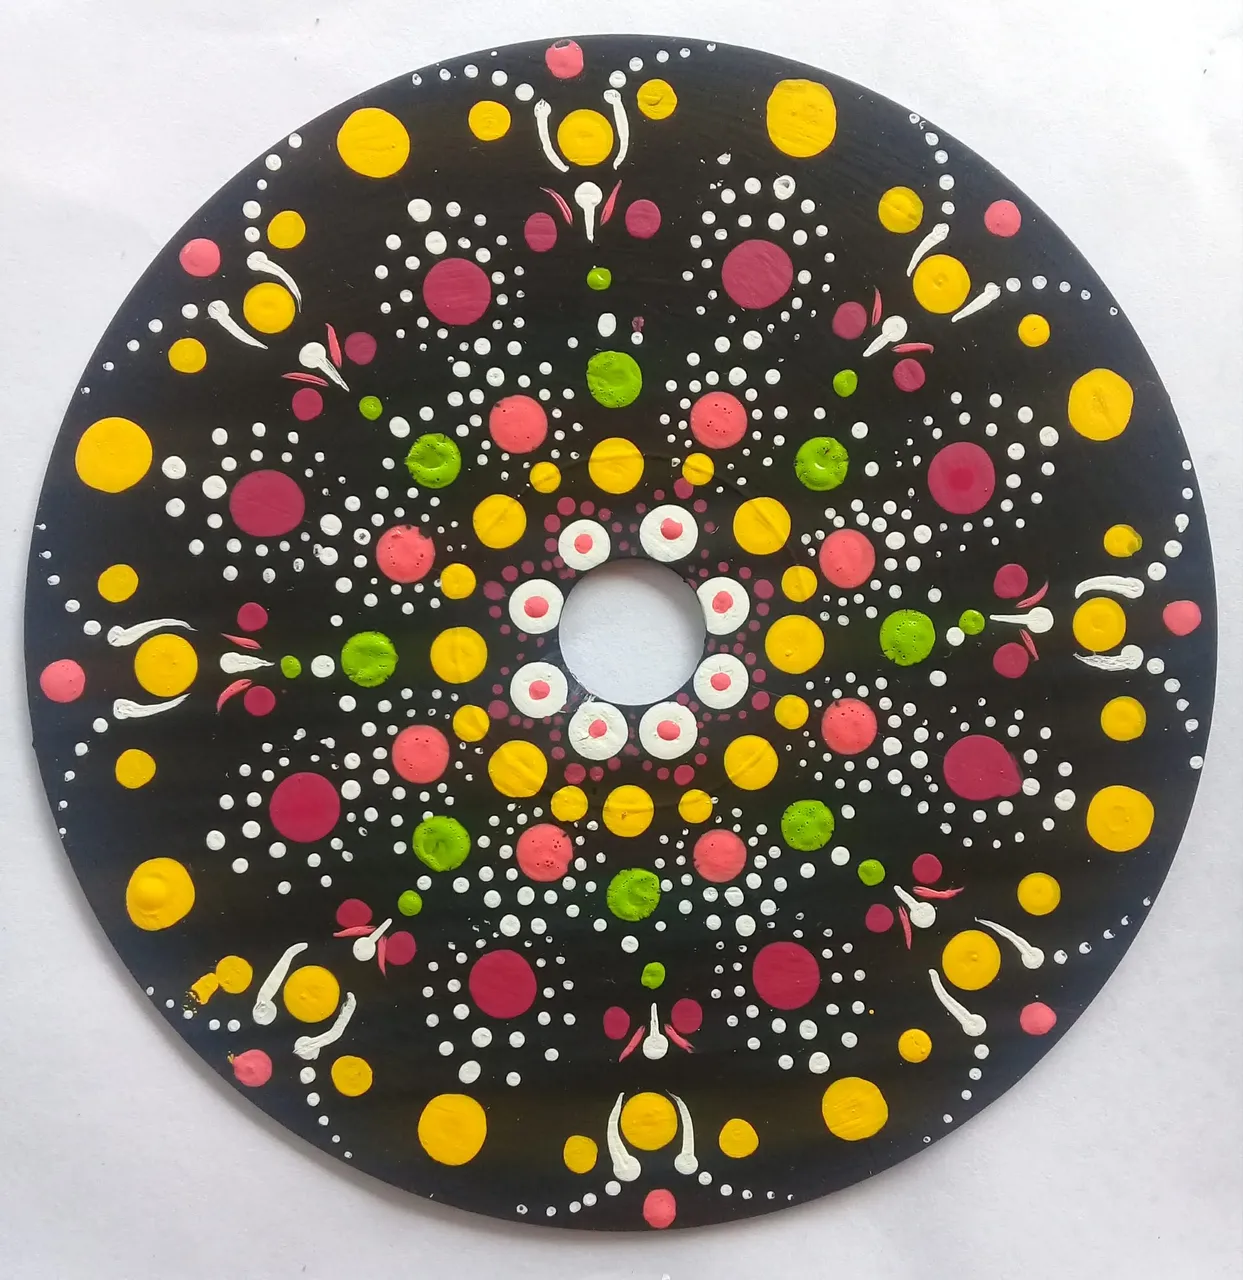
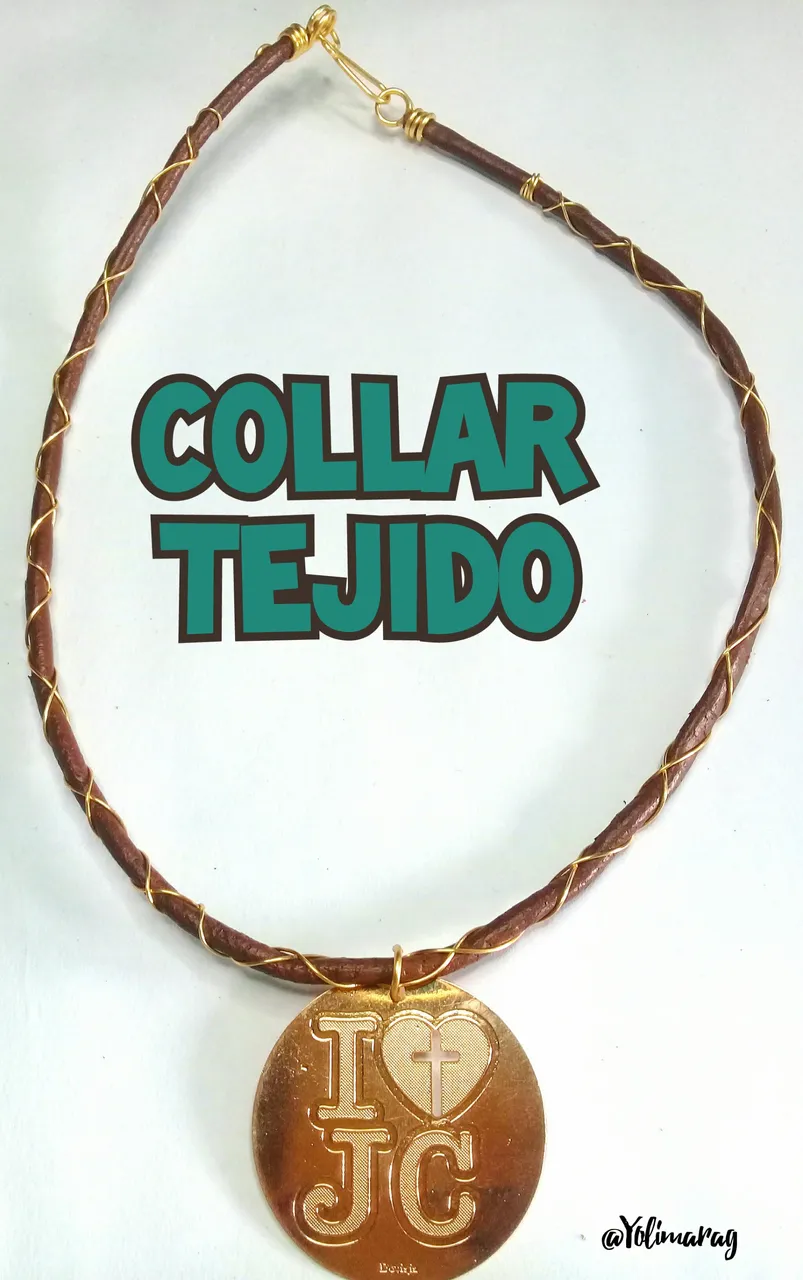
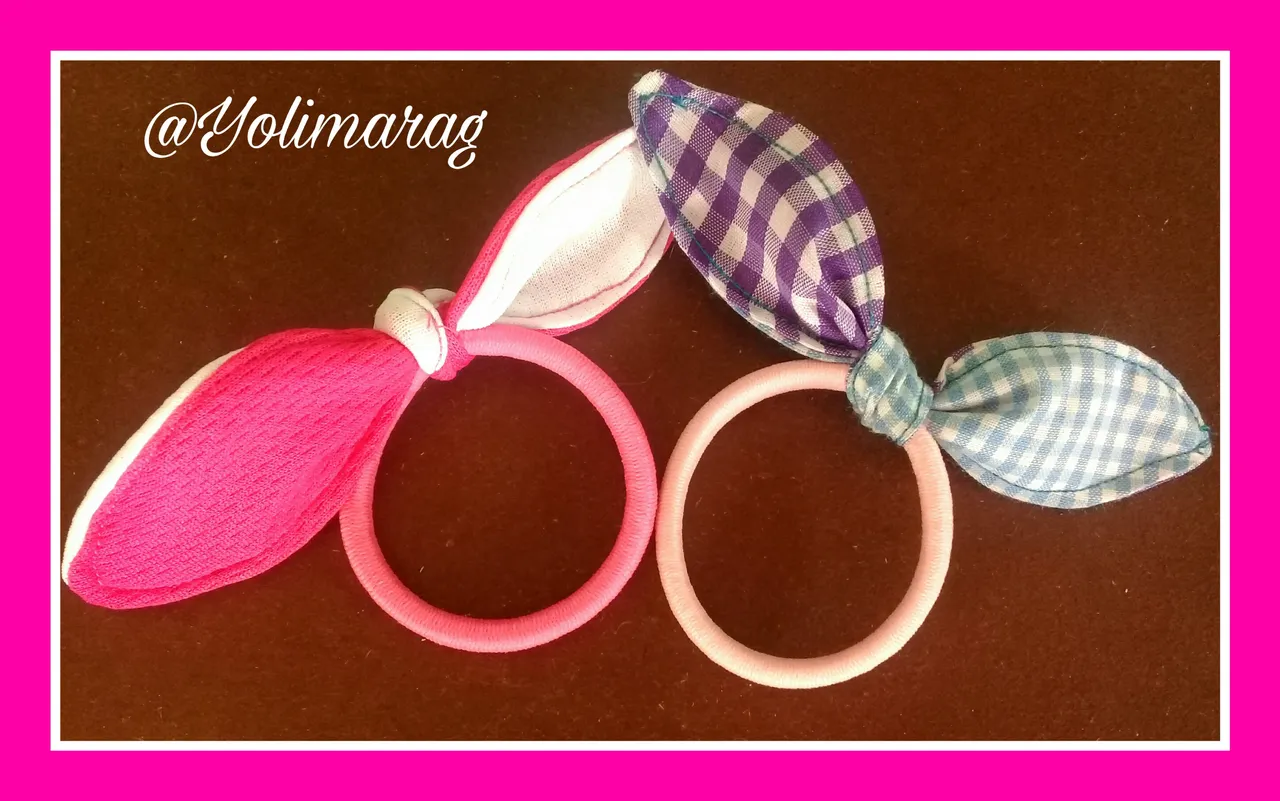
Algunos de mis proyectos: