Hola estimados lectores un abrazo🤗
Hello dear readers a abrazo🤗
Hoy quiero participar en el Desafío de reciclaje creativo creado por @Jennyzer, como me encantan las manualidades es por ello que quiero ser parte de este desafio y despues de pensar en que hacer, me decidí por reciclar una botella de vidrio y unos CDs viejos rayados que tengo.
Today I want to participate in the Creative Recycling Challenge created by @Jennyzer, as I love crafts I want to be part of this challenge and after thinking about what to do, I decided to recycle a glass bottle and some old scratched CDs I have.
Vamos a reutilizar algunos materiales que tengamos en nuestra casa y así cooperamos con el medio ambiente, así que manos a la obra.
We are going to reuse some materials that we have in our house and in this way we cooperate with the environment, so let's get to work.
Materiales
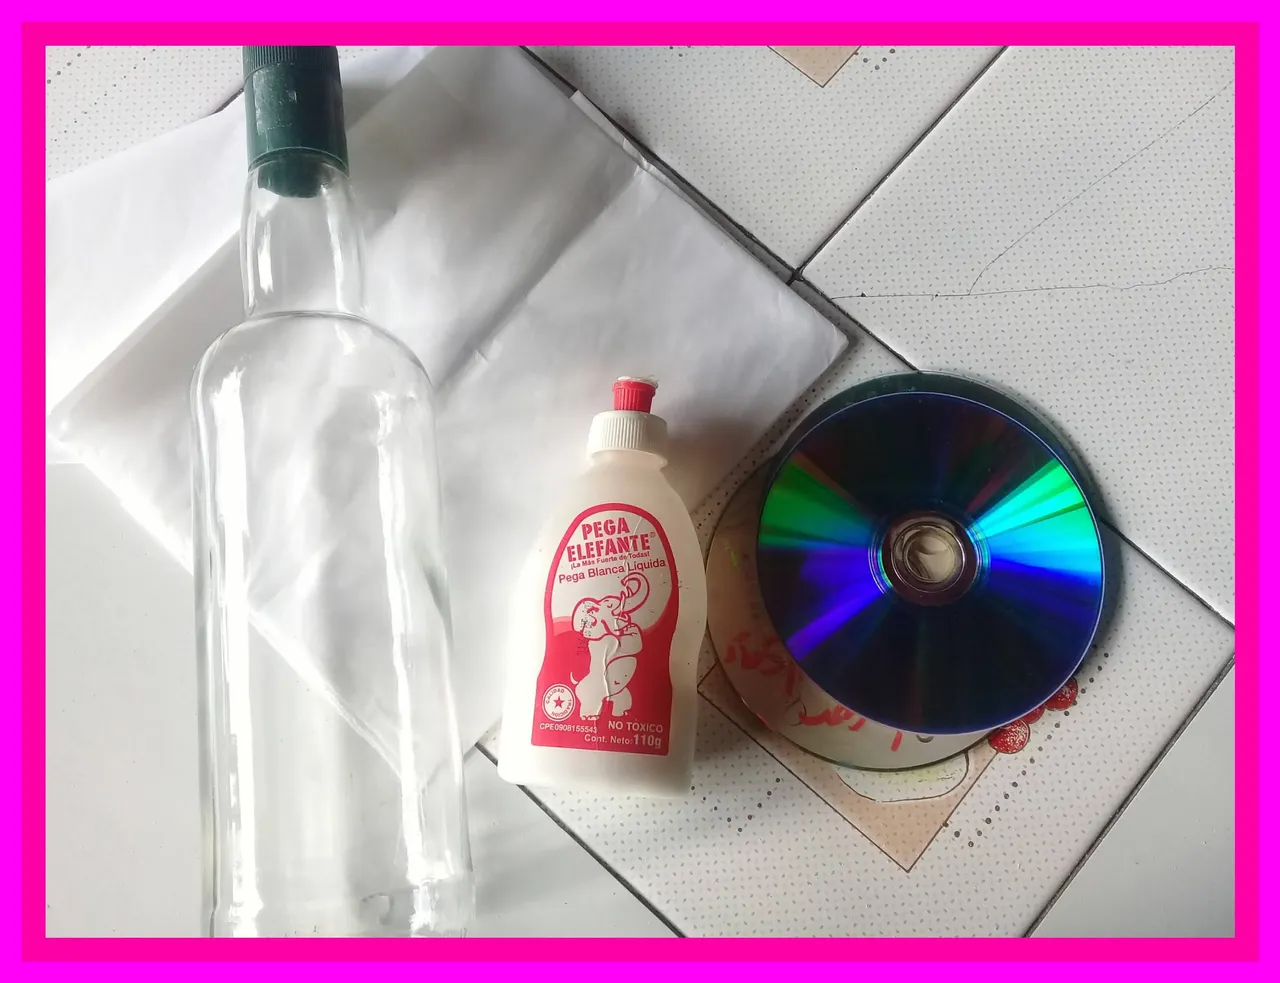
- CDs usados
- Botella de Vidrio
- Papel sanitario
- Pega
- Papel de seda
- Tijera o corta metal
- Escarcha
- Pintura Blanca
- Pincel
- Cinta decorativa
- Silicona
Materials

- Used CDs
- Glass Bottle
- Toilet paper
- Paste
- Tissue paper
- Scissors or metal cutters
- Frost
- White Paint
- Brush
- Decorative ribbon
- Silicone

Paso a paso / Step by step

Lo primero que vamos hacer es cortar triángulos del CDs, varios triángulos, a fin de que podamos cubrir nuestra botella, ello dependerá del tamaño de nuestra botella. Lo pueden cortar con tijera.
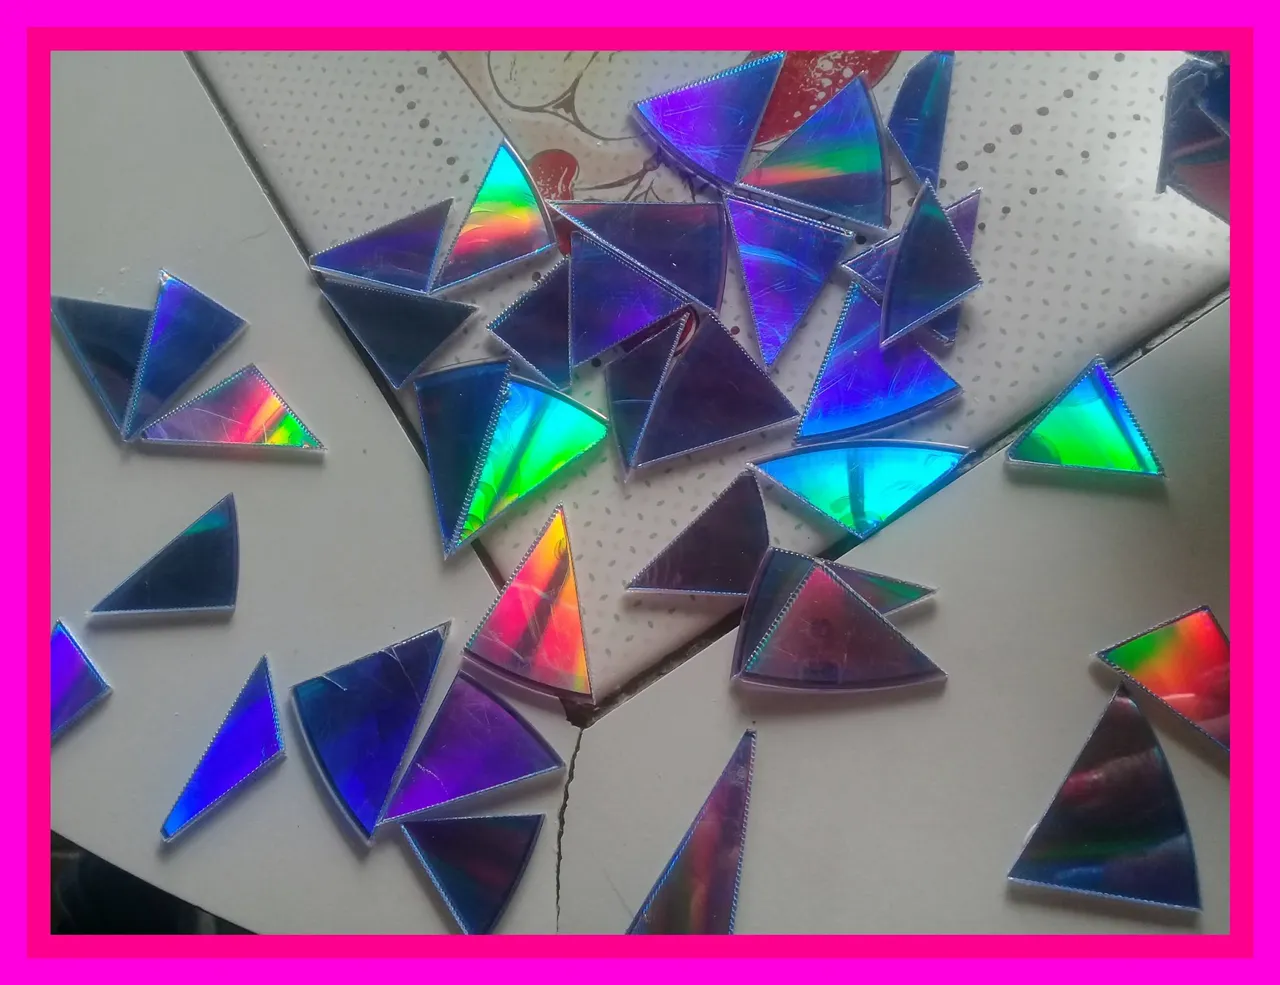
The first thing we are going to do is to cut triangles from the CD, several triangles, so that we can cover our bottle, this will depend on the size of our bottle. You can cut it with scissors.
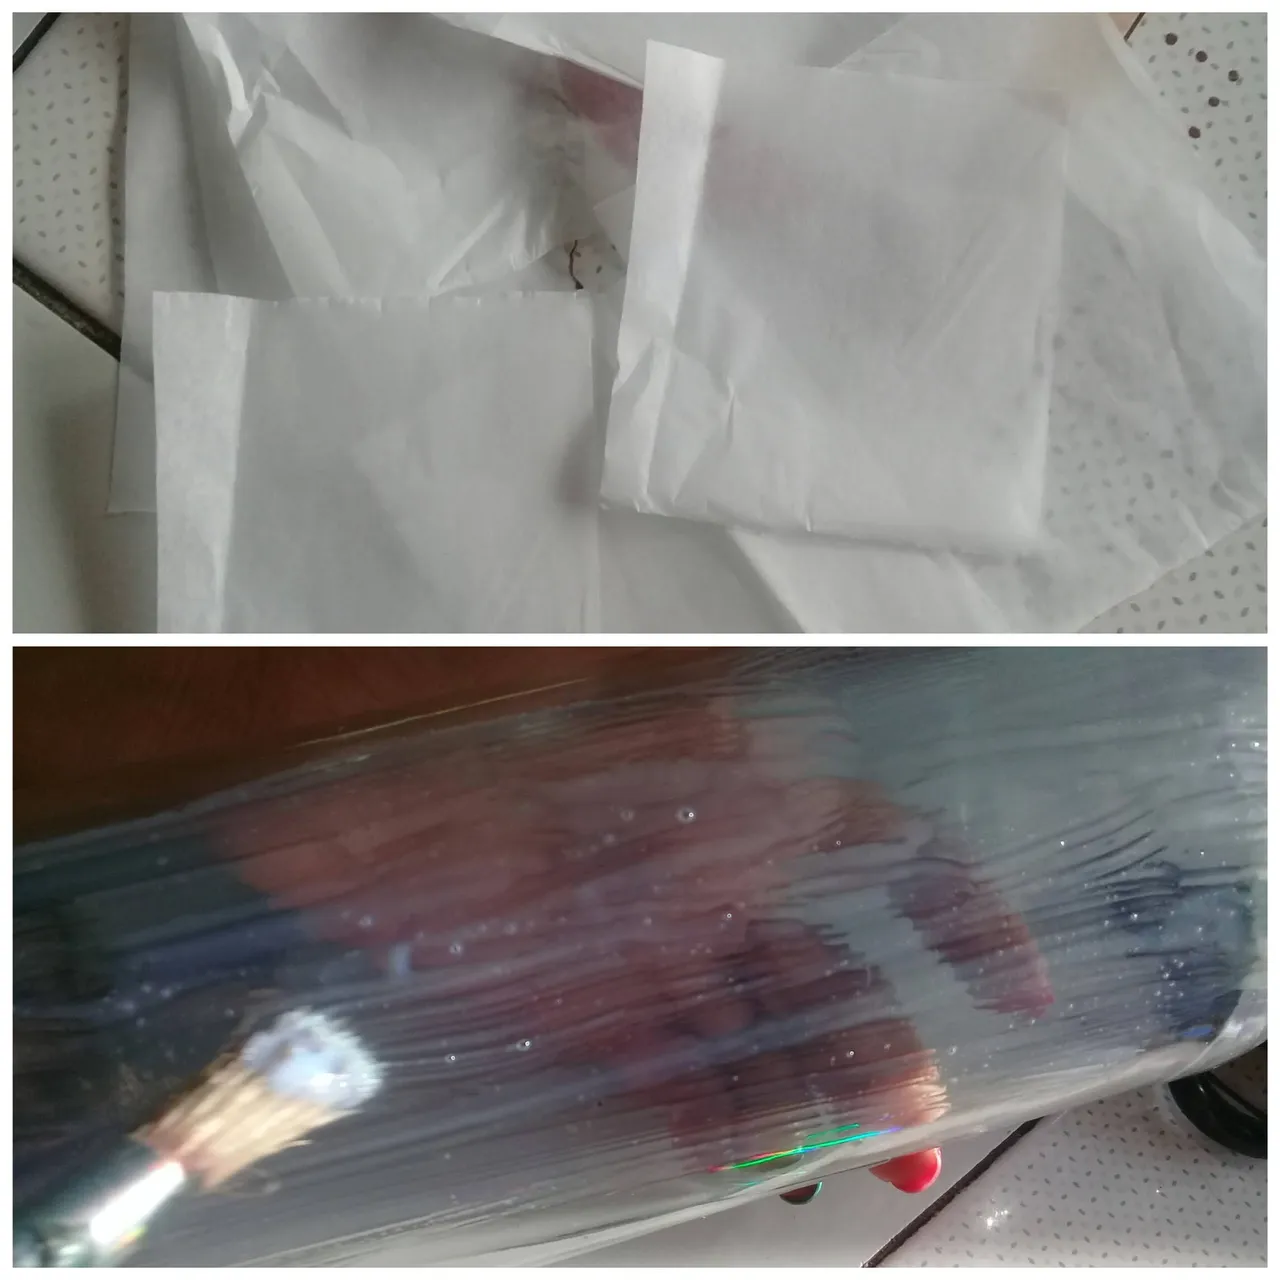
Ahora vamos a colocar pega en nuestra botella, y con el papel de seda cortado en trozos,vamos a ir pegando por partes hasta cubrir nuestra botella. Vamos a esperar que seque.
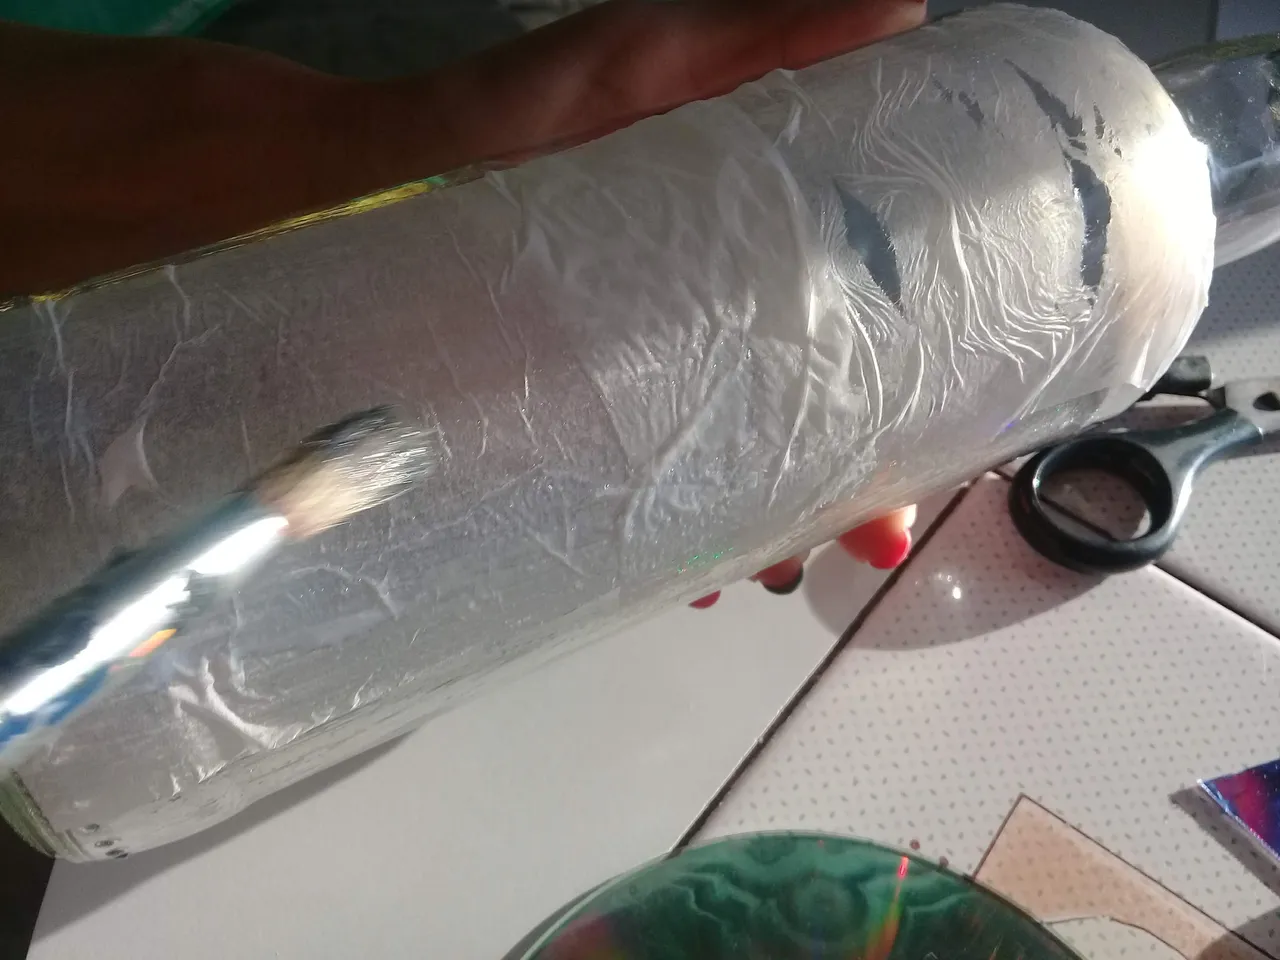
Now we are going to put glue on our bottle, and with the tissue paper cut into pieces, we will be gluing in pieces until our bottle is covered. We'll wait for it to dry.
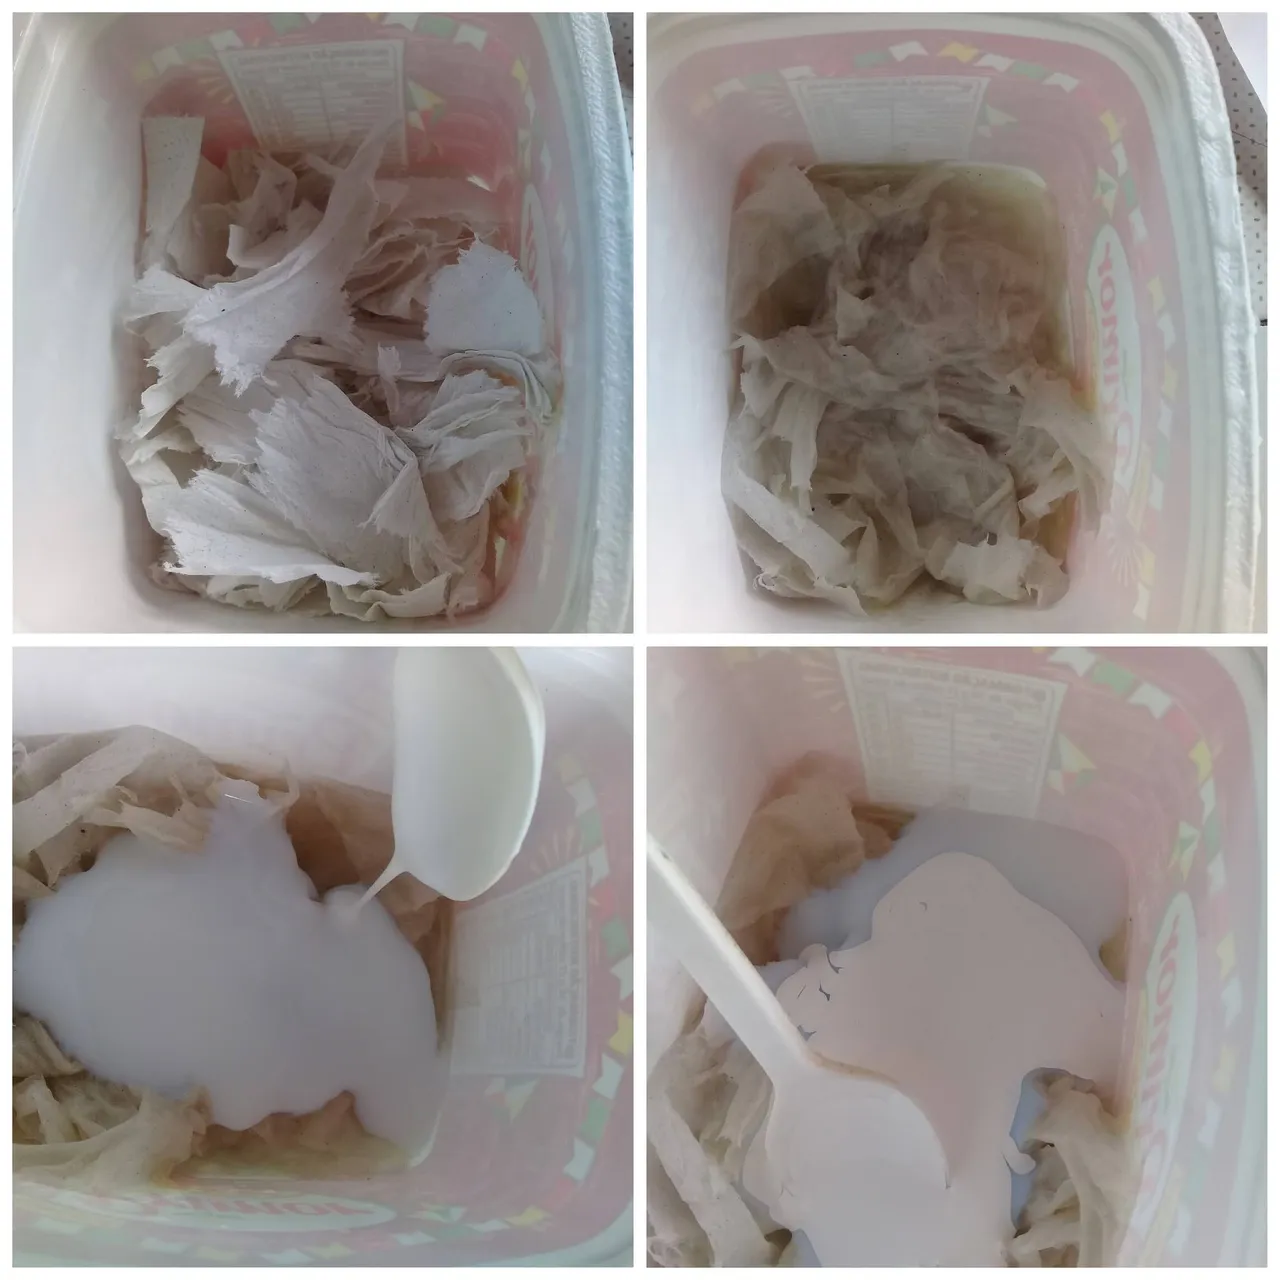
Después de haberse secado nuestra botella, vamos a realizar nuestra pasta para el relieve, agarramos un pote donde vamos a colocar papel sanitario un poco como 10 vueltas de papel pero cortados en trozos; vamos a aplicar un poco de agua que se moje el papel, luego le colocamos 2 cucharadas grandes de pega blanca y 2 cucharadas de pintura blanca y mezclamos hasta obtener una pasta.
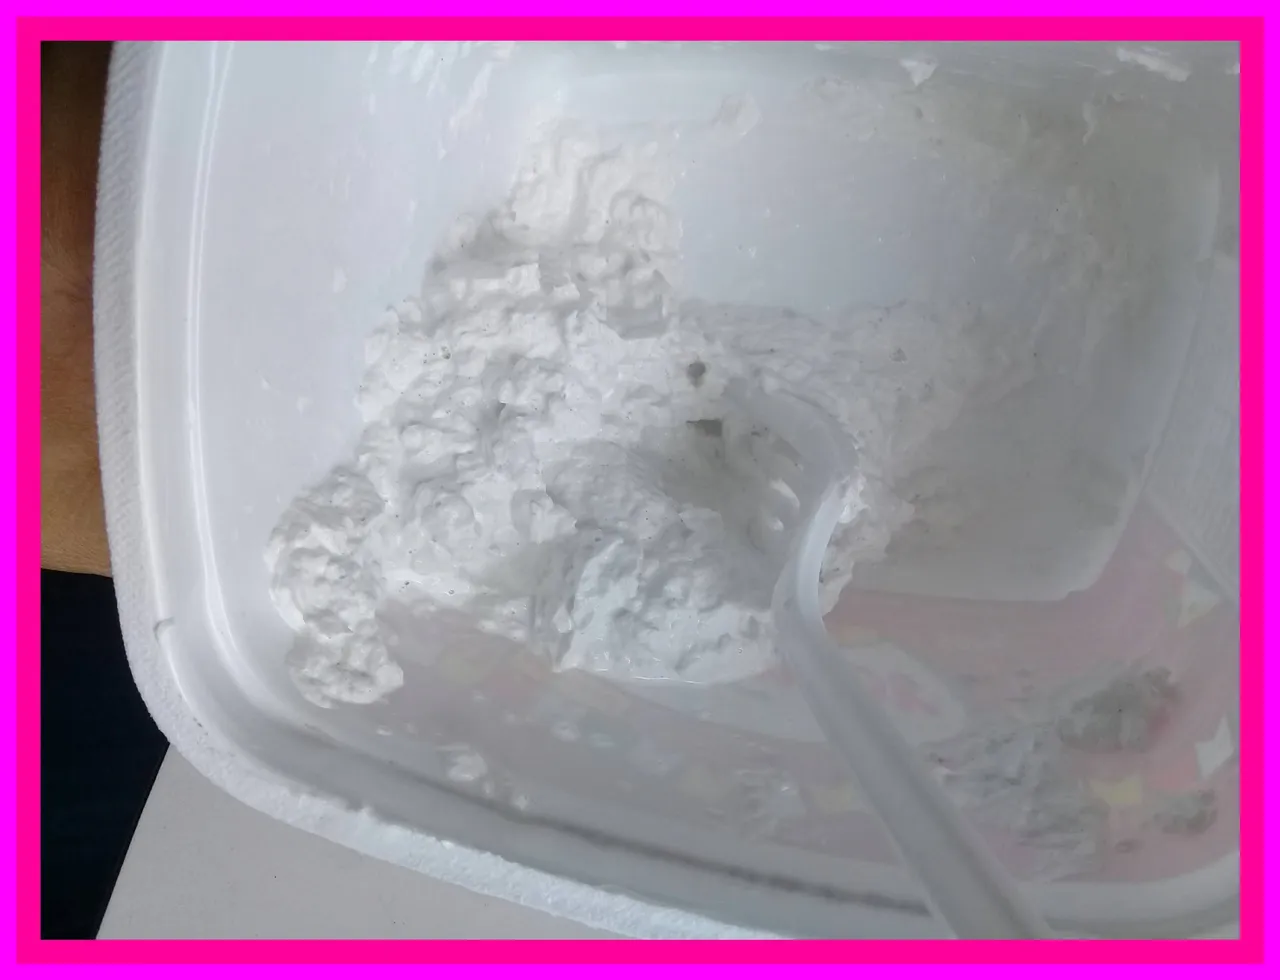
After having dried our bottle, we are going to make our paste for the relief, we take a pot where we are going to place sanitary paper a little as 10 turns of paper but cut in pieces; we are going to apply a little water that wets the paper, then we put him 2 big spoonfuls of white glue and 2 spoonfuls of white paint and we mix until obtaining a paste.
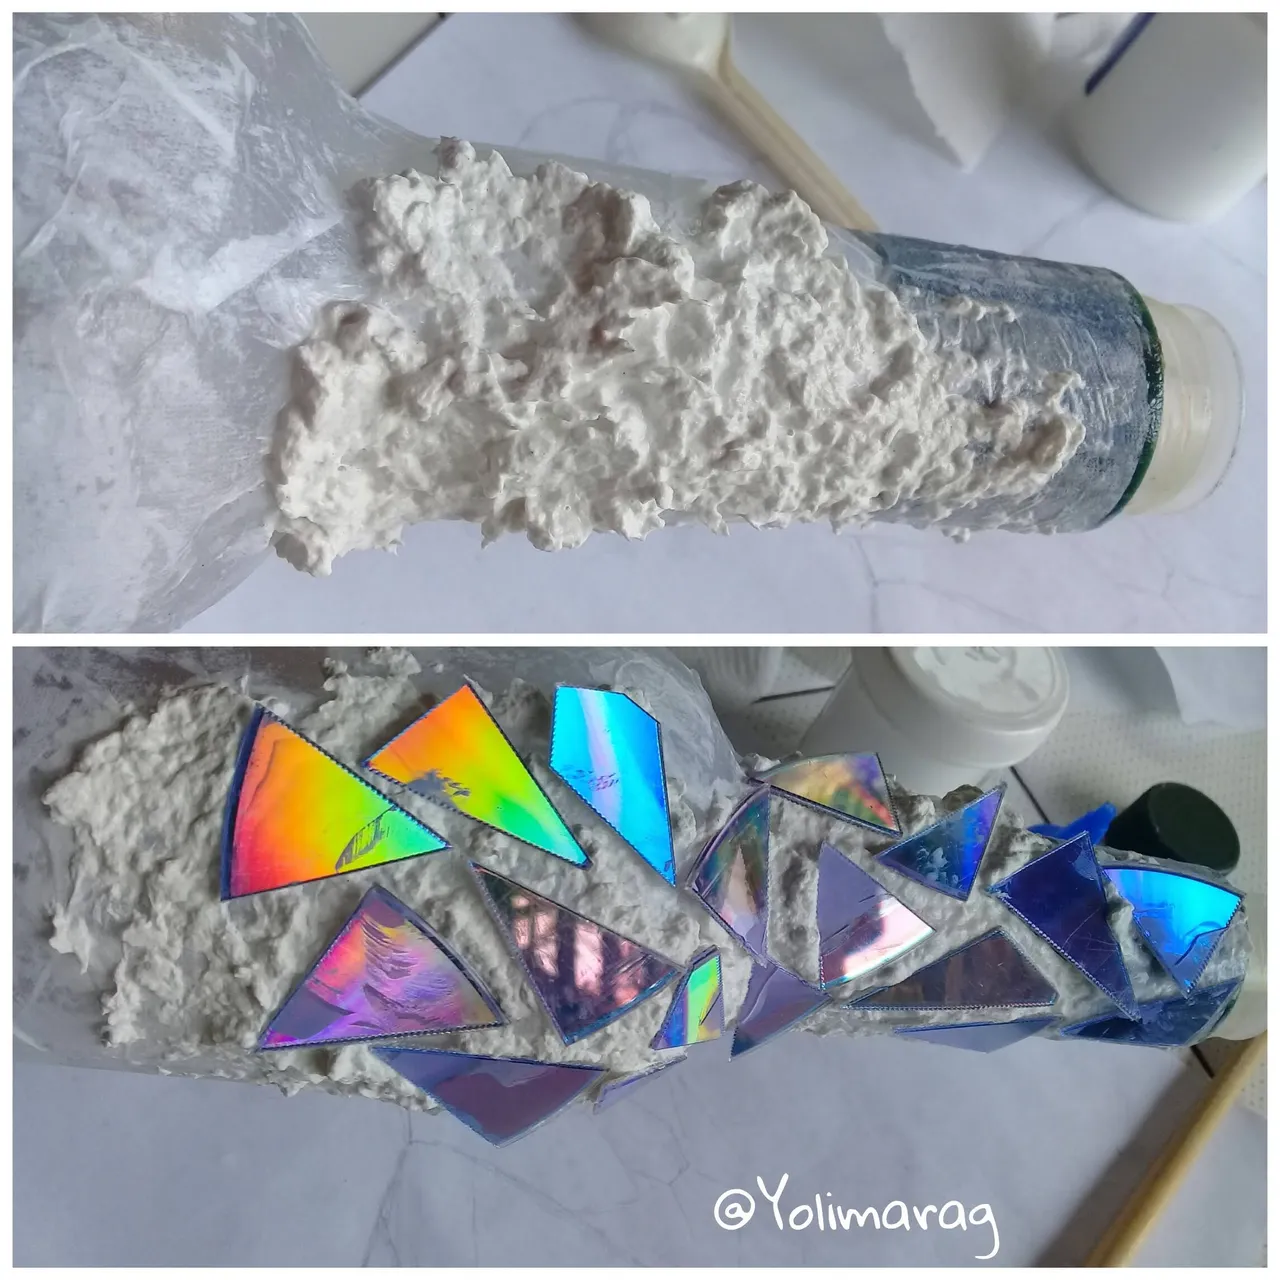
Ahora vamos a comenzar a colocar nuestra pasta en la botella, comenzando de arriba hacia abajo. Vamos colocando la pasta y vamos colocando los triángulos de CDs que ya cortamos en el primer paso, como se muestra en la imagen. Y así vamos colocando pasta y retazos de cd, hasta llenar nuestra botella.
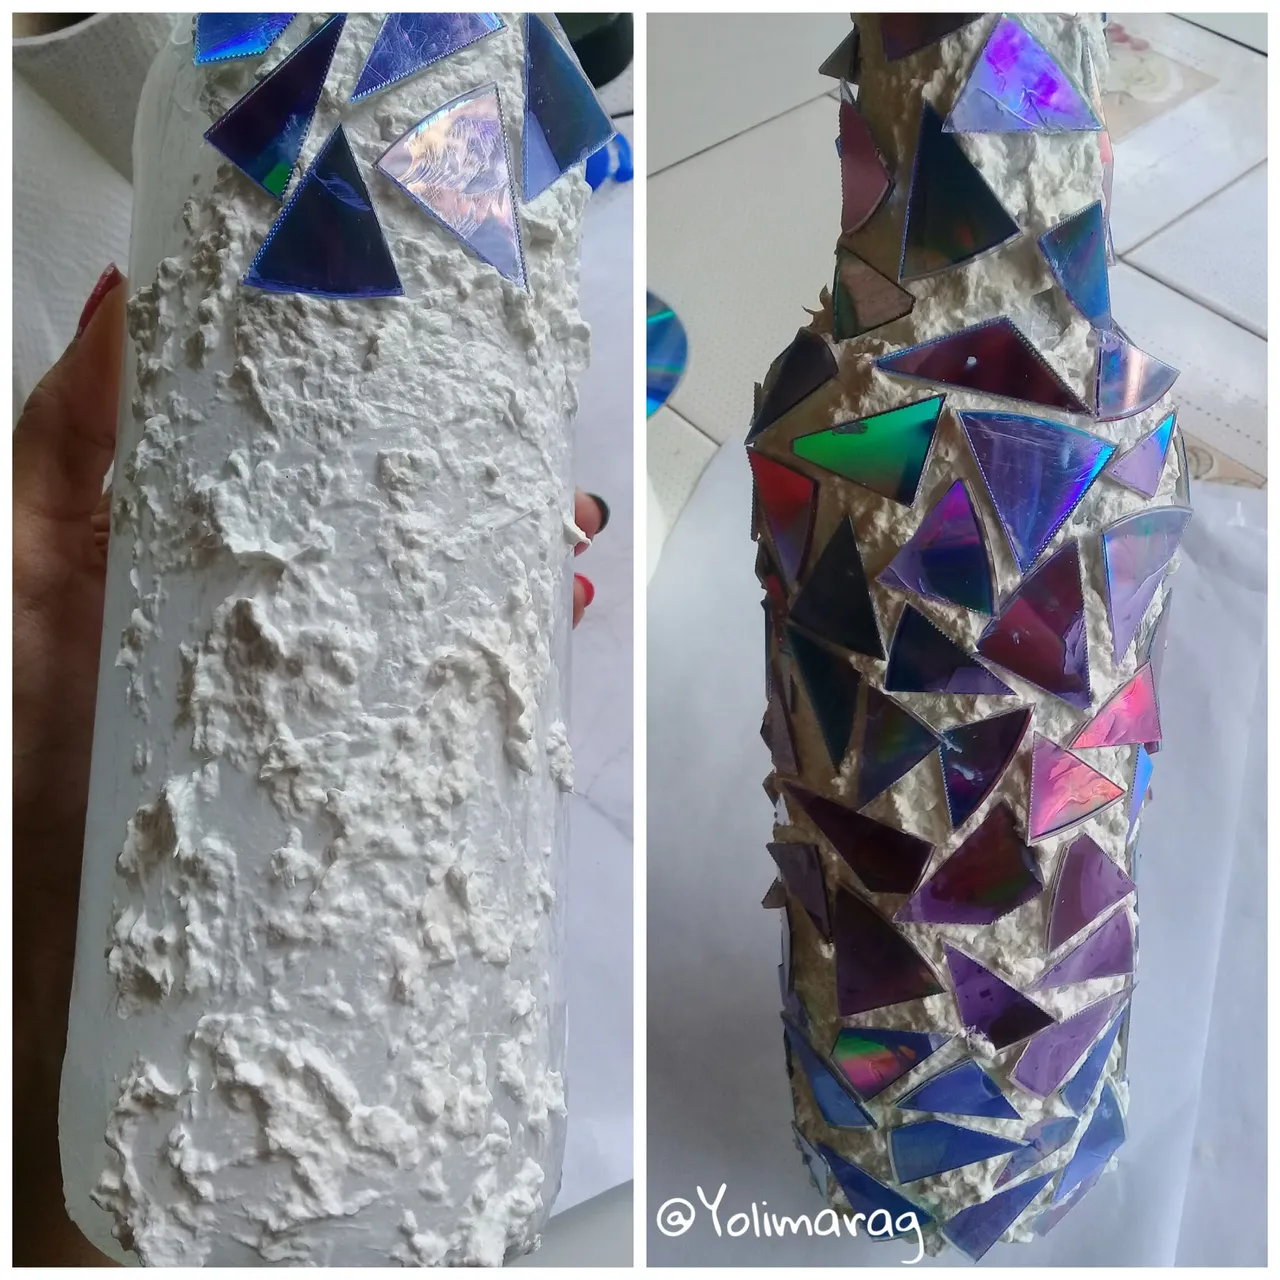
Now let's start putting our pasta in the bottle, starting from the top down. We are placing the paste and we are placing the CD triangles that we already cut in the first step, as shown in the picture. And so we are placing pasta and pieces of cd, until we fill our bottle.
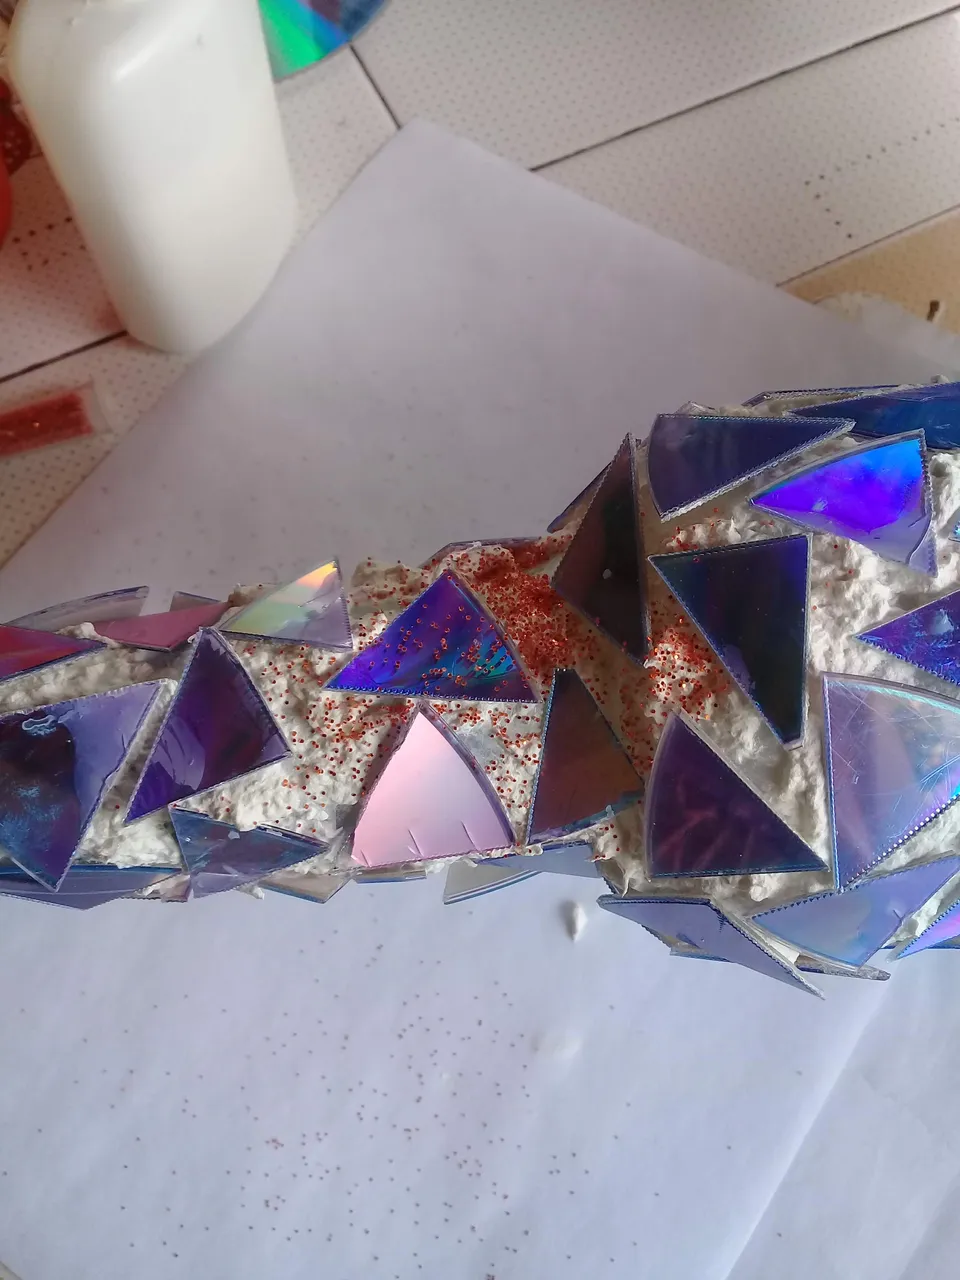
Ahora vamos a colocar escarcha a nuestra botella, esto hay que hacerlo mientras nuestra pasta aun este húmeda para que pegue. le colocamos escarcha por todos lados y luego le colocamos una cinta en el borde del pico de la botella.
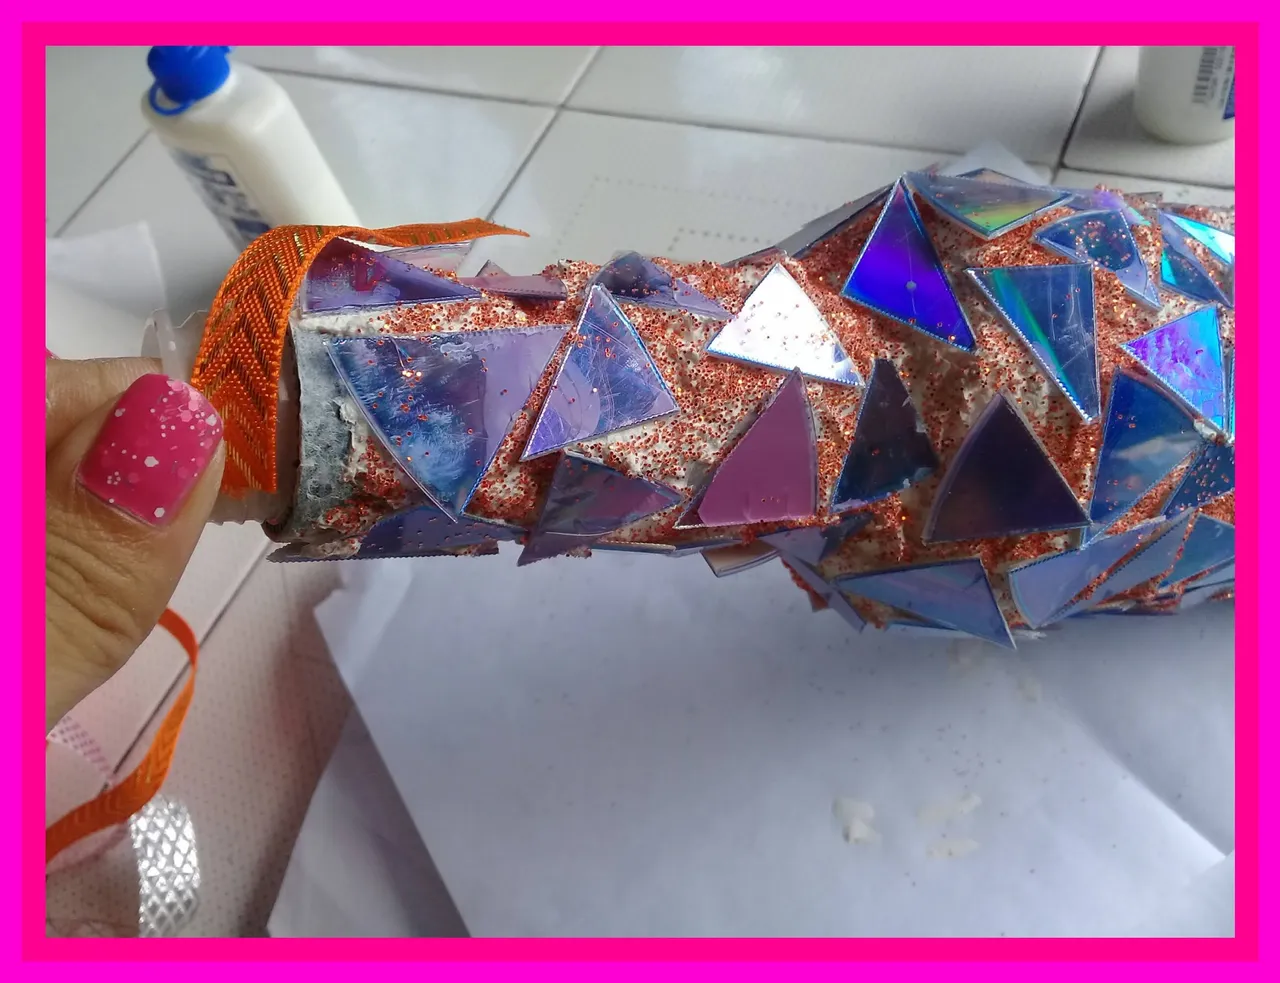
Now we are going to put frost on our bottle, this has to be done while our paste is still wet so that it sticks. We put frost all over it and then we put a ribbon on the edge of the spout of the bottle.
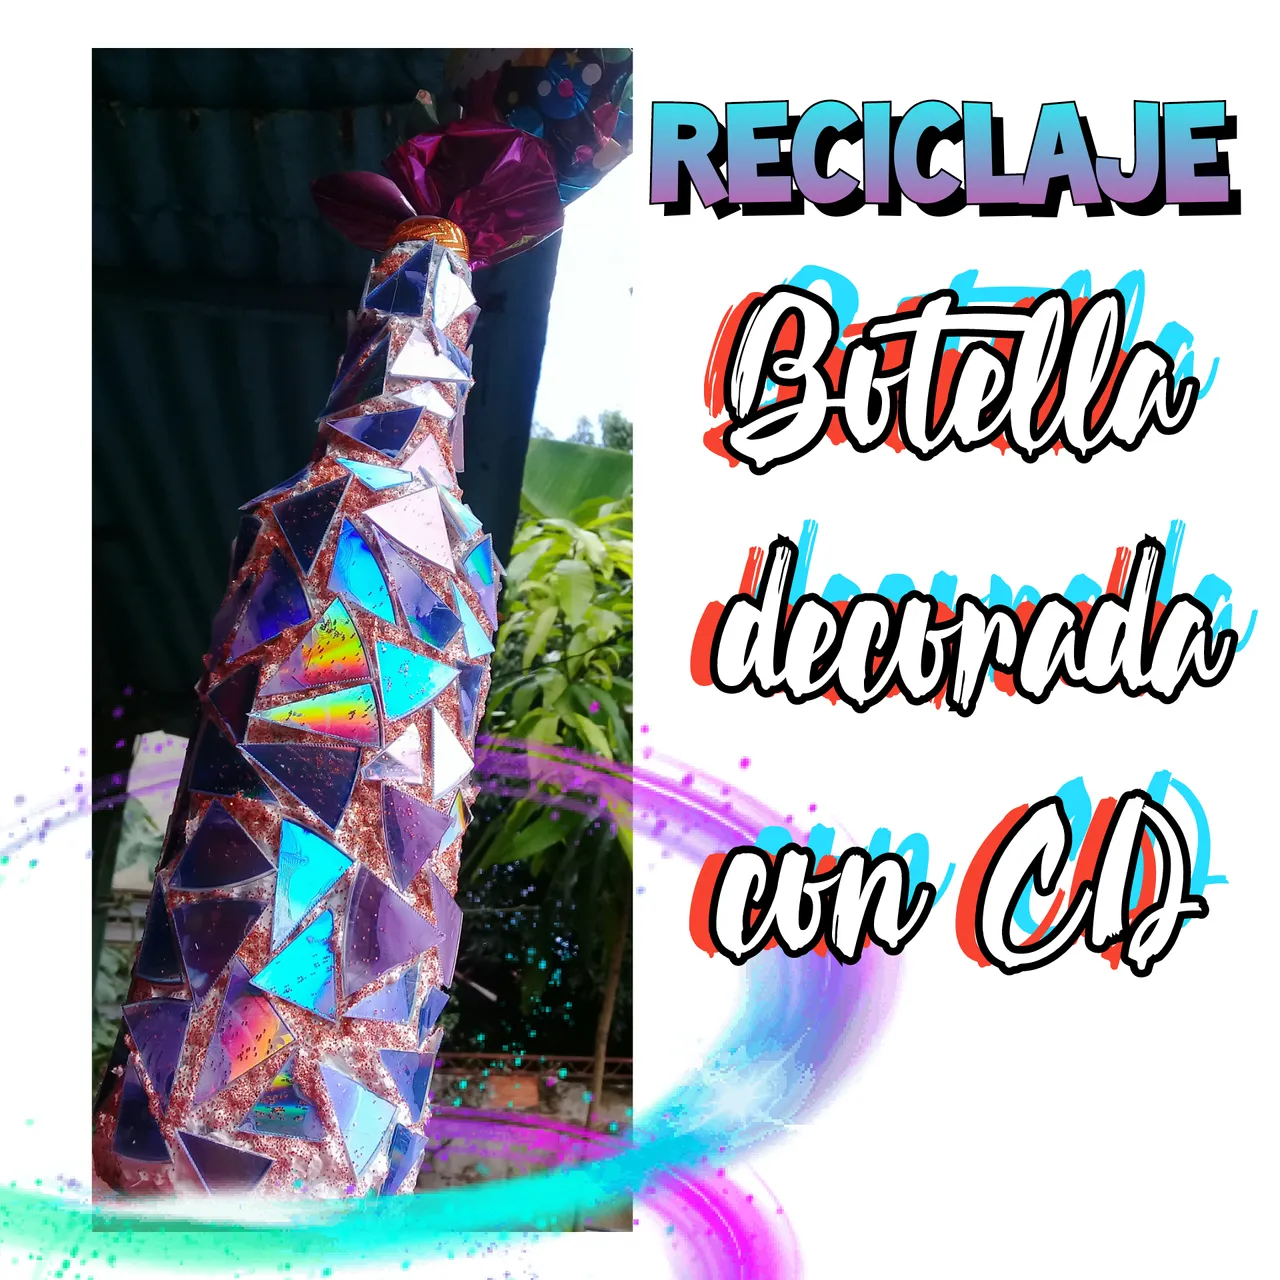
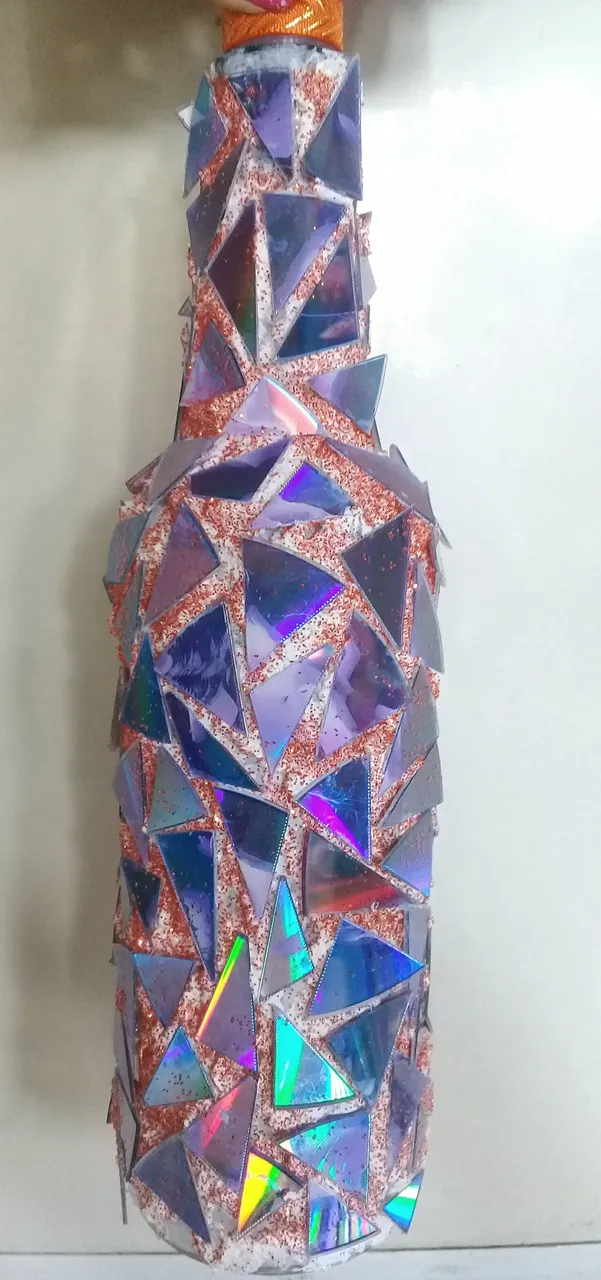
Y el resultado final debe quedar así:
And the end result should look like this:
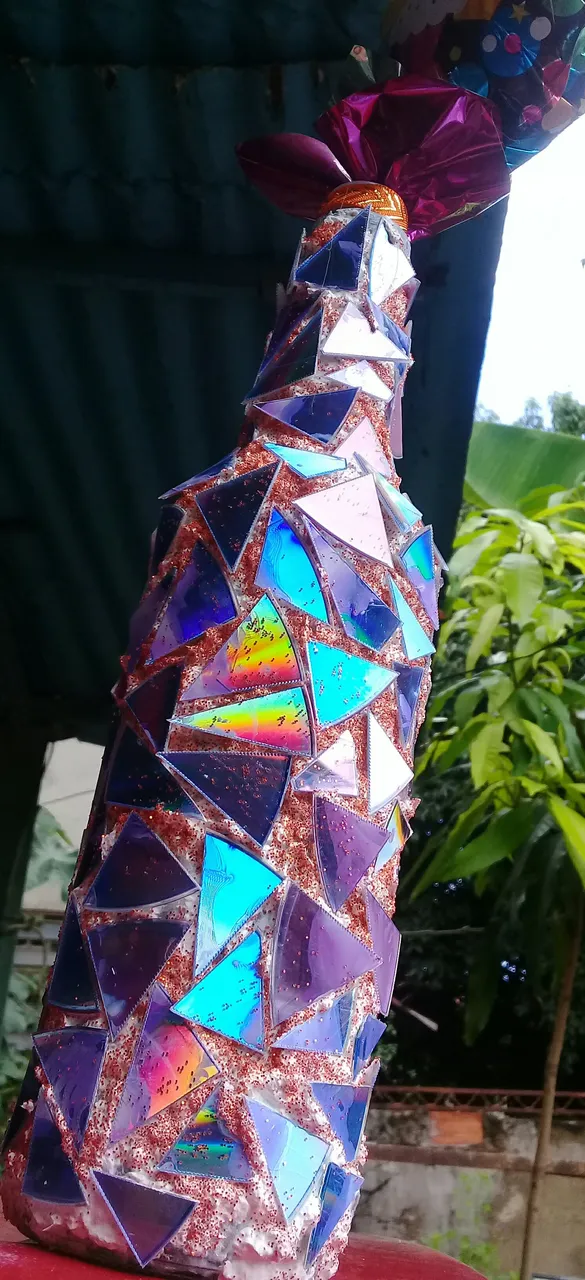
Espero que les gustará este pequeño tutorial, nos vemos en un próximo post ❤️ Bendiciones.
I hope you will like this little tutorial, see you in a next post ❤ ️ Blessings.
Algunos de mis proyectos:
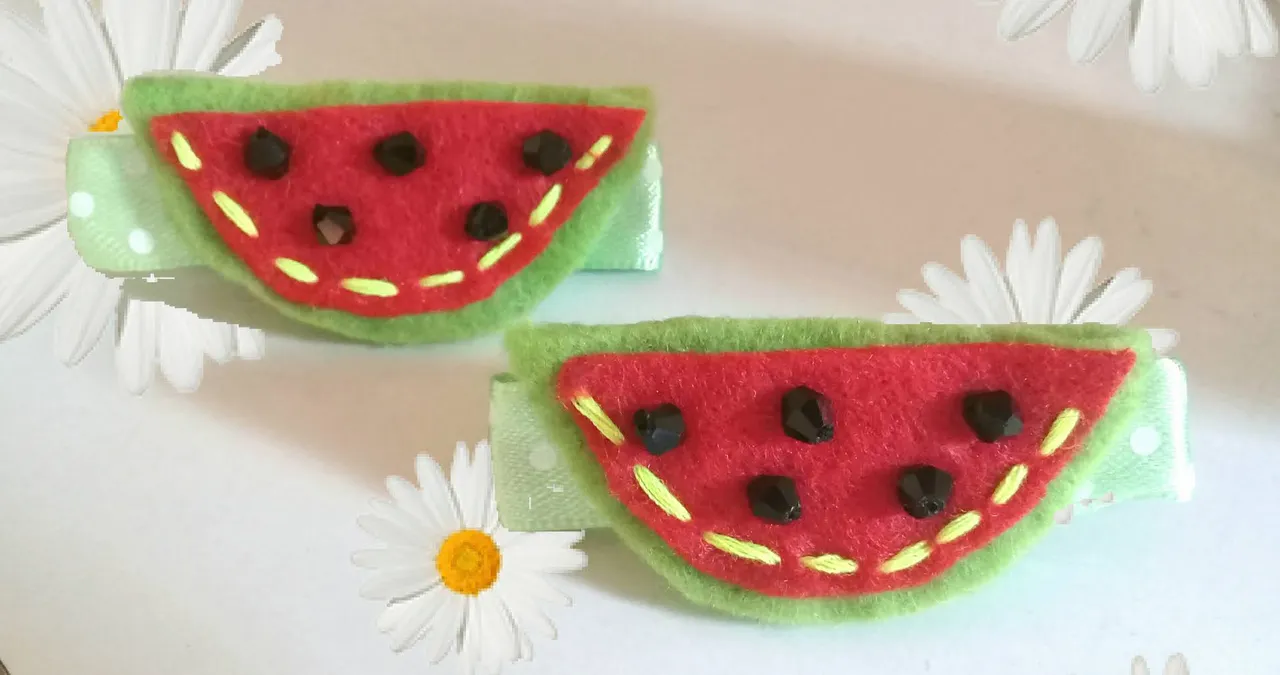
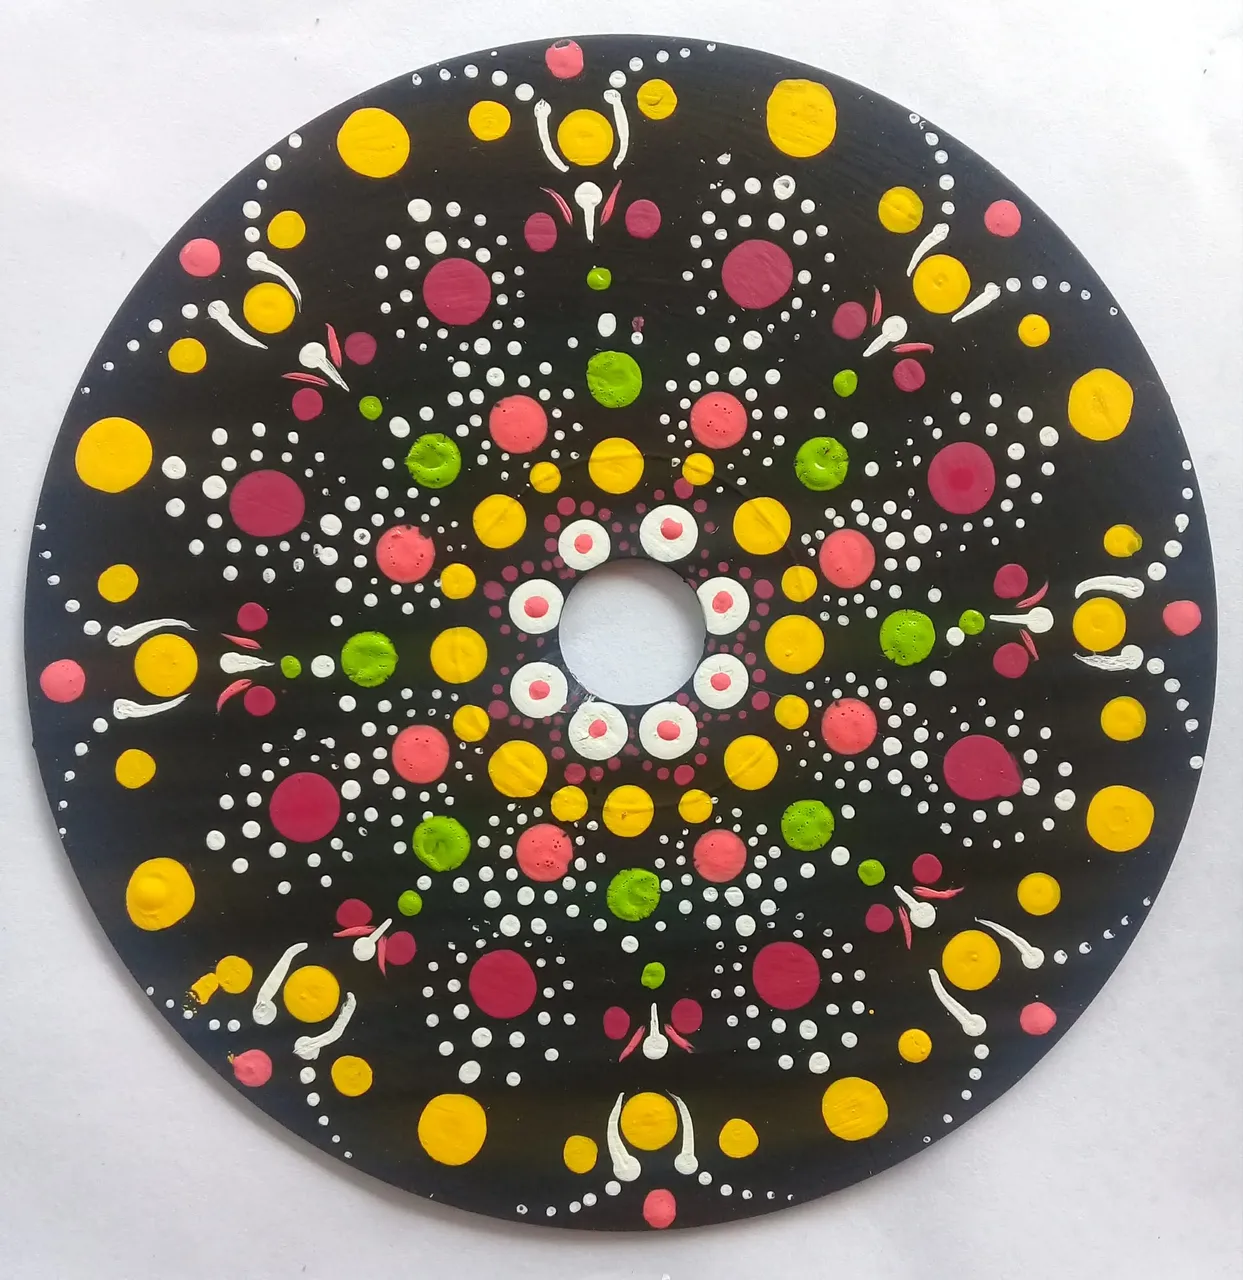
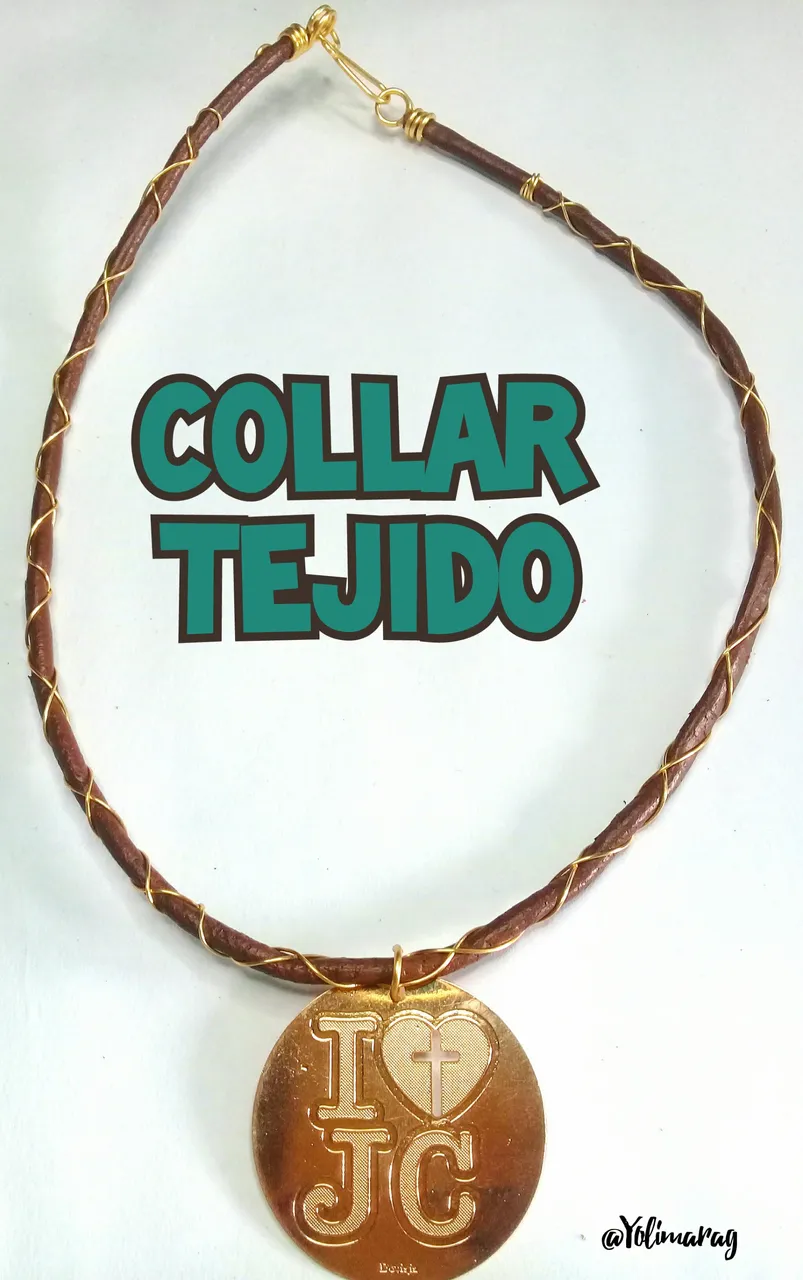
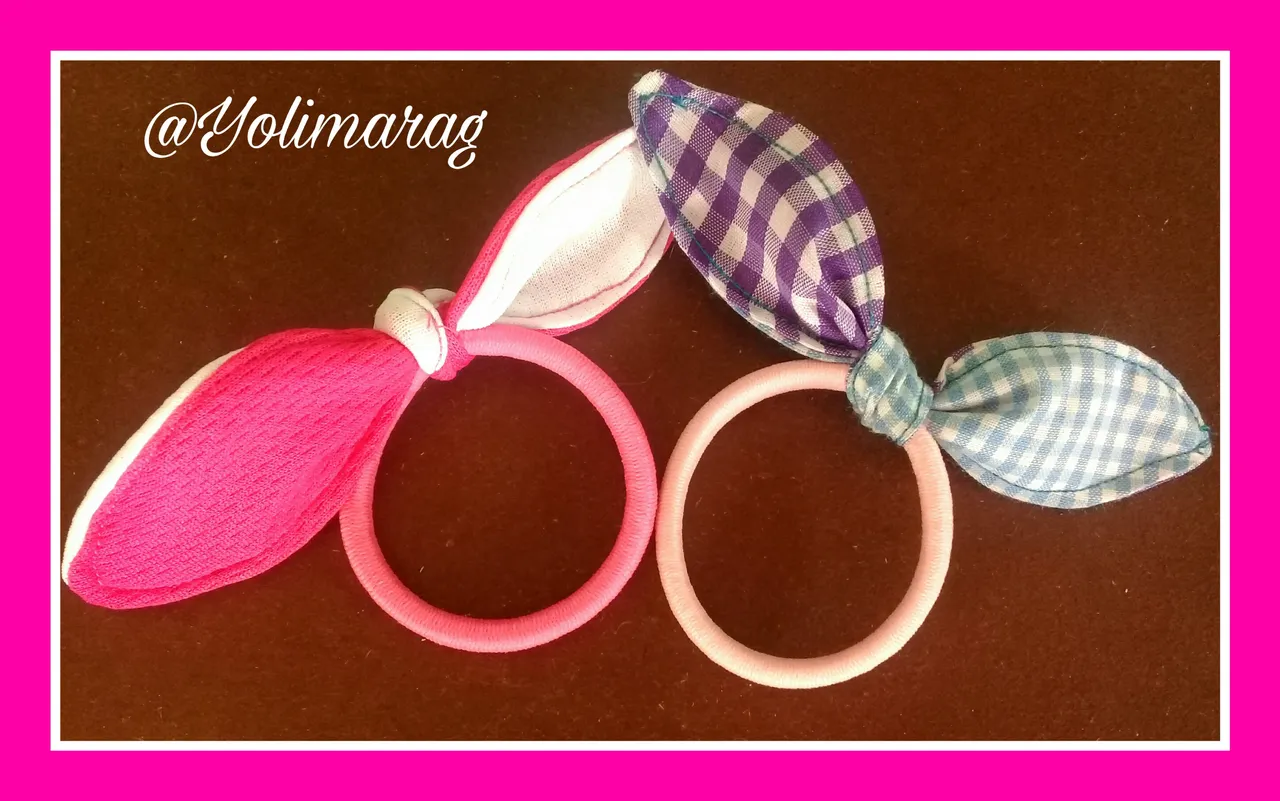
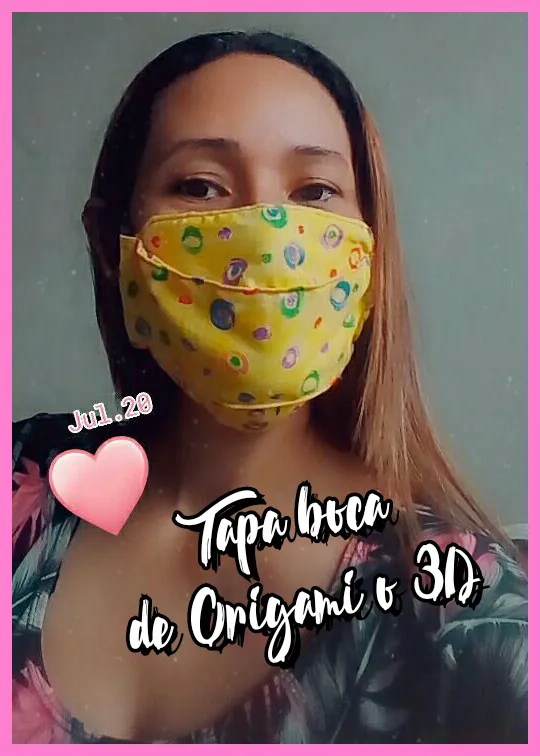
Algunos de mis proyectos: