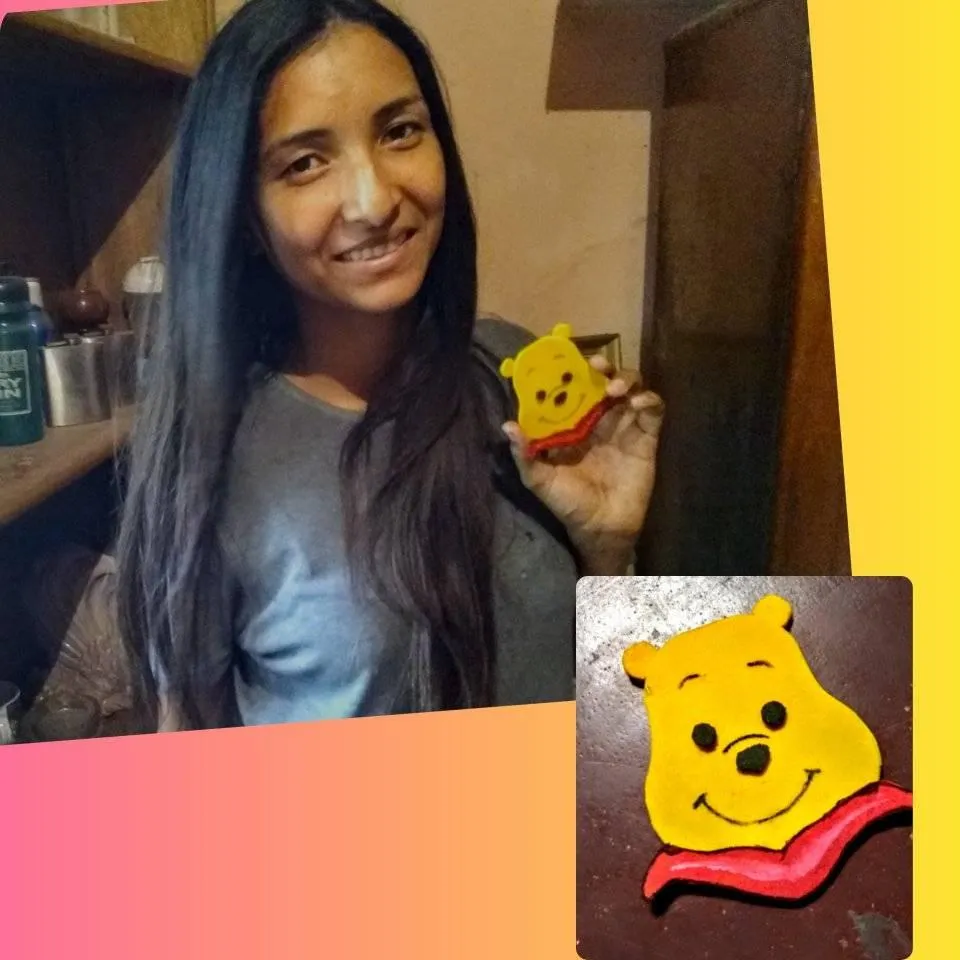
Hola de nuevo queridos amigos de Hive. ¿Que tal se encuentran?. hoy le mostraré como elaborar un lindo osito pooh de forma sencilla.
Hello again dear friends of Hive. Today I will show you how to make a cute pooh bear in a simple way.
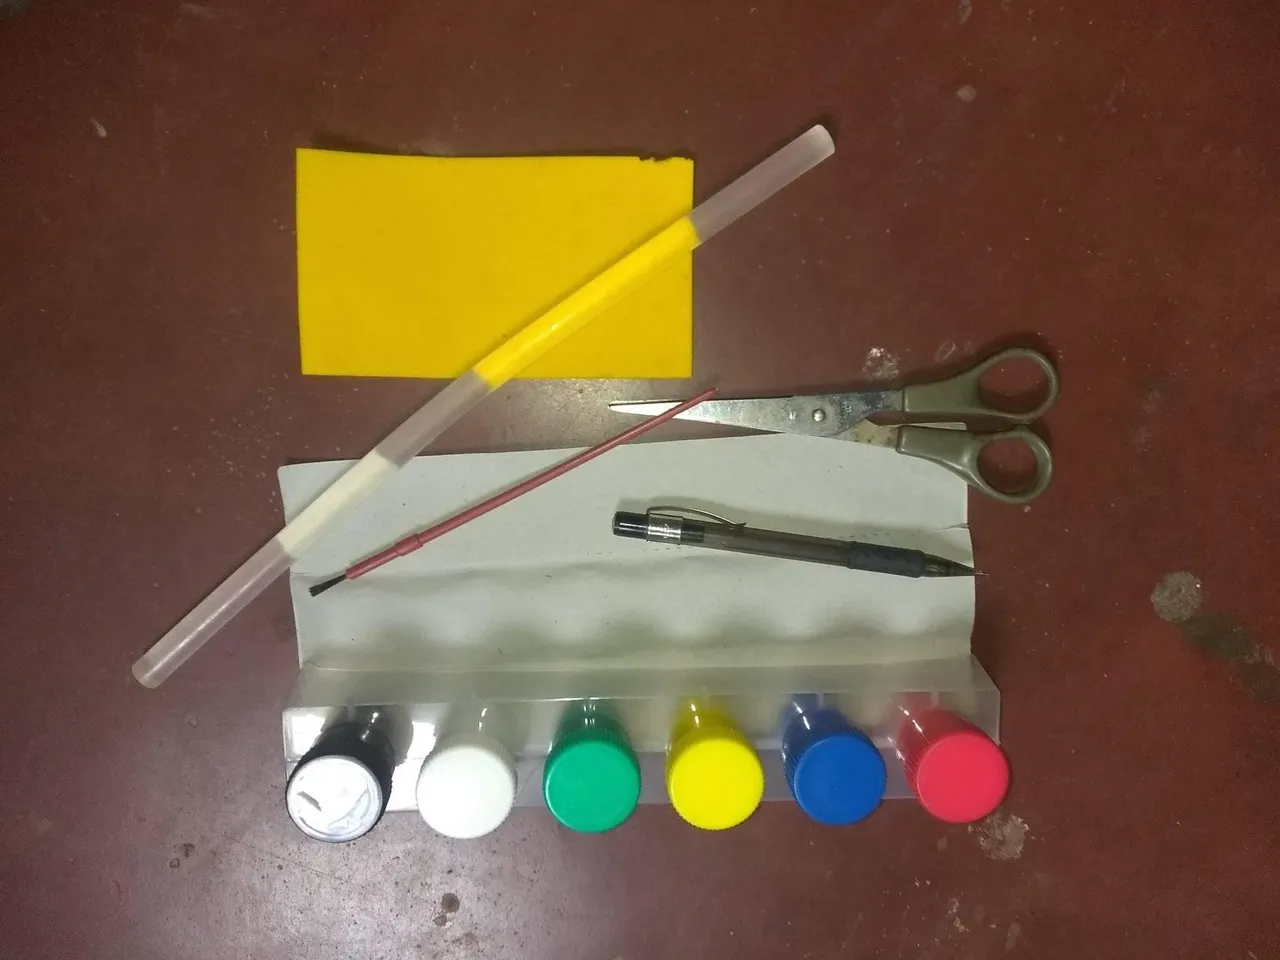
Para elaboración necesitaremos los siguientes materiales:
Pintura
Foami
Pincel
cartón
Tijera
Pegamento
Lápiz
The following materials will be needed for the elaboration:
Paint
Foami
Brush
Cardboard
Scissors
Glue
Pencil
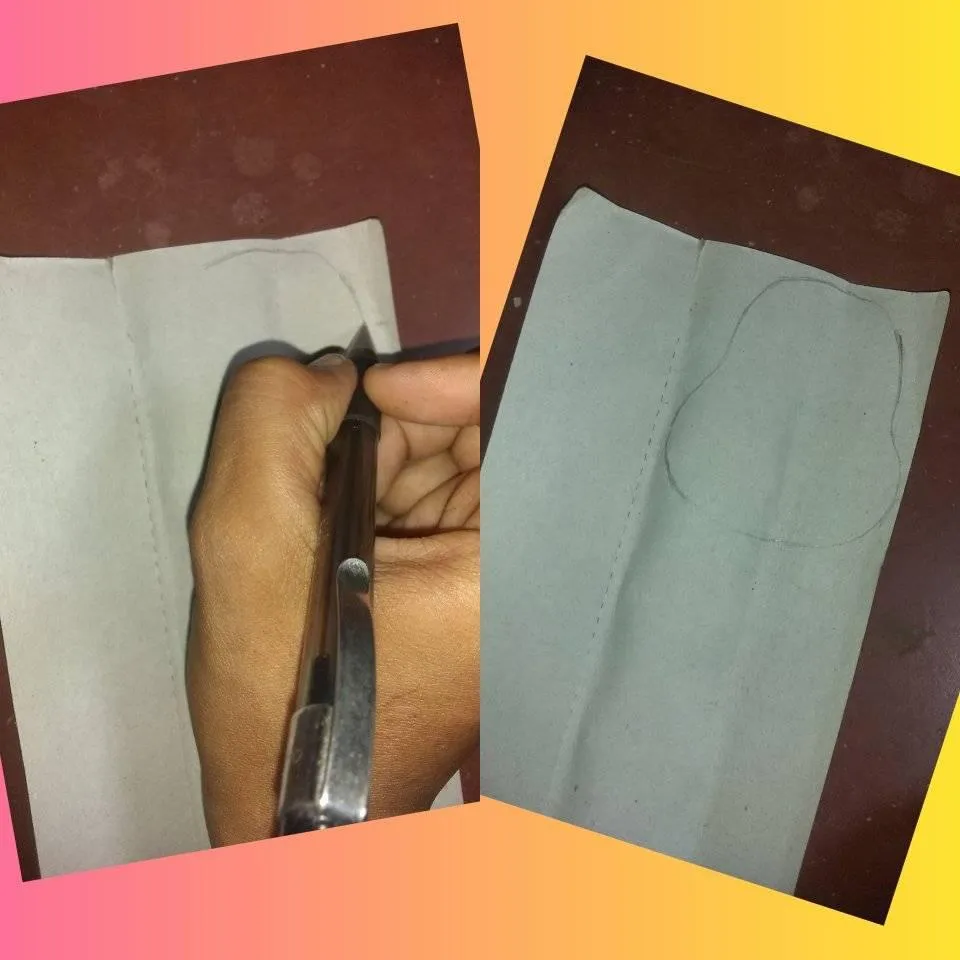
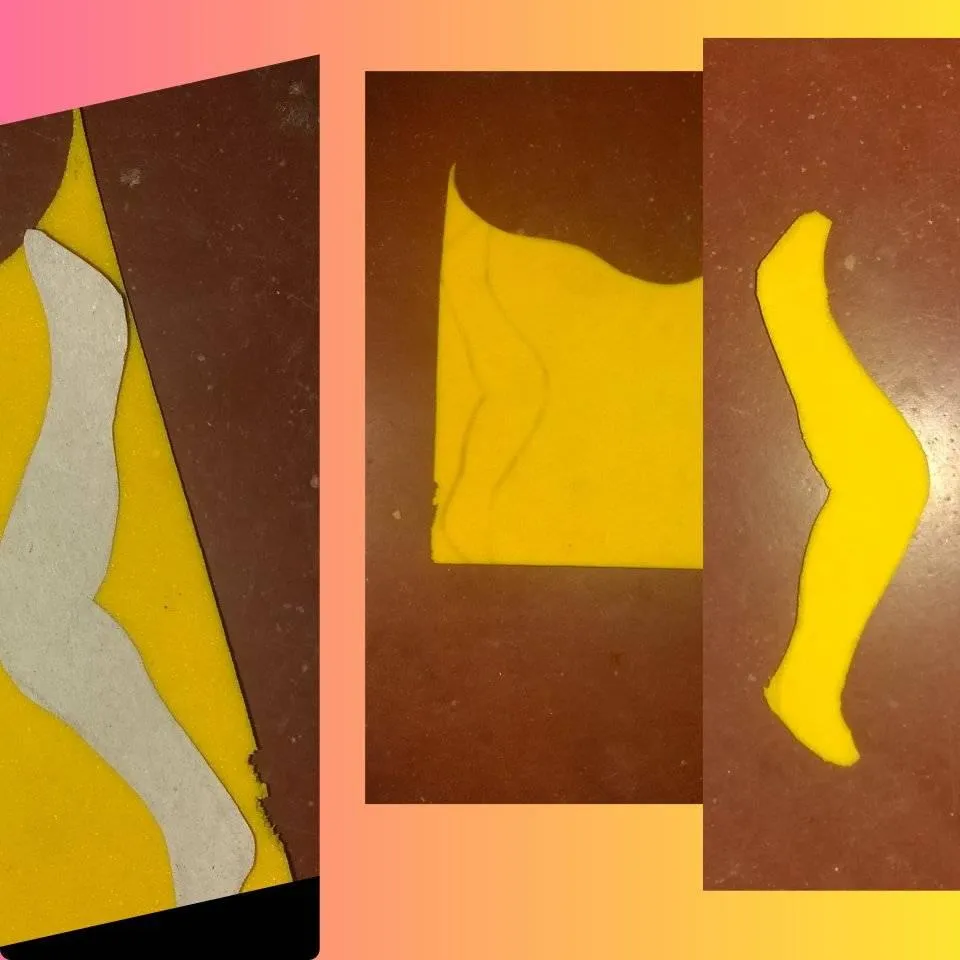
primero dibujaremos el contorno de la cara en el cartón, seria mas o menos como dibujar una pera (risas), que servirá de molde.
First we will draw the outline of the face on the cardboard, it would be more or less like drawing a pear (laughs), which will serve as a mold.
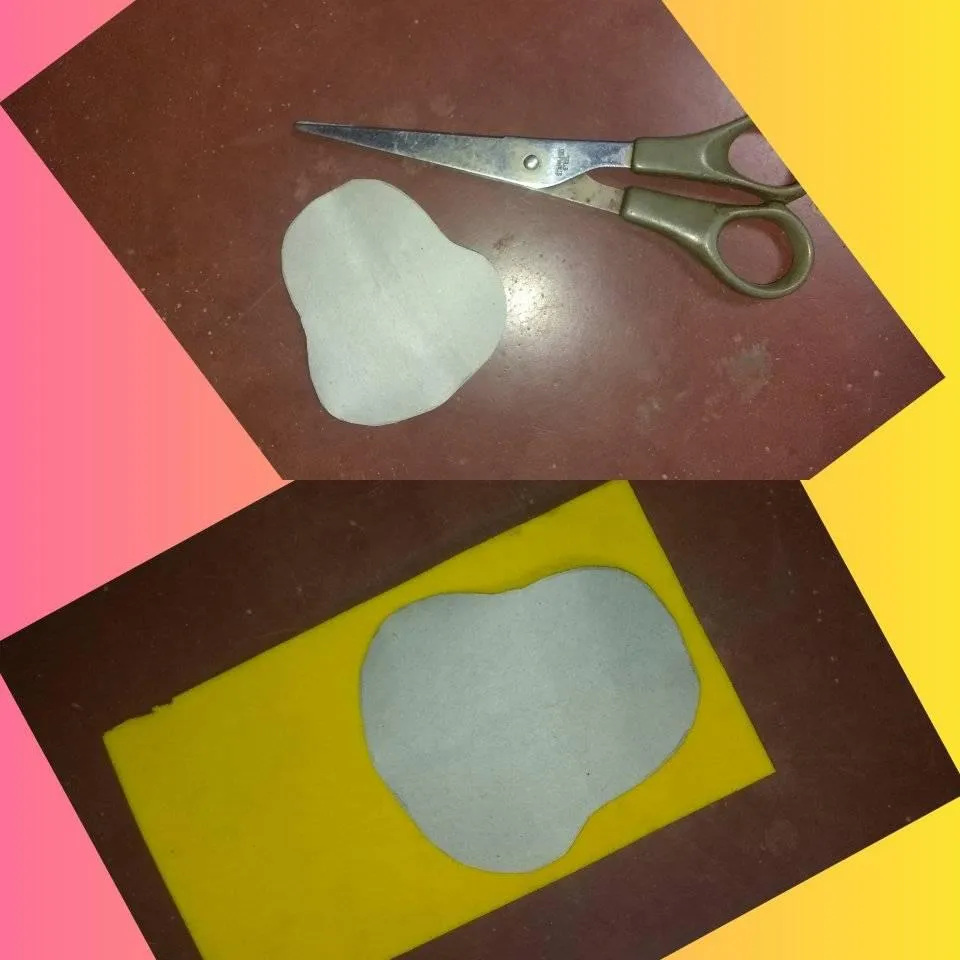
luego lo pondremos encima del foami para calquearleo para tener la cara de Pooh, una vez calqueado lo recortamos
then we will put it on top of the foami to calqueleo to have the face of Pooh, once calqueado cut it out
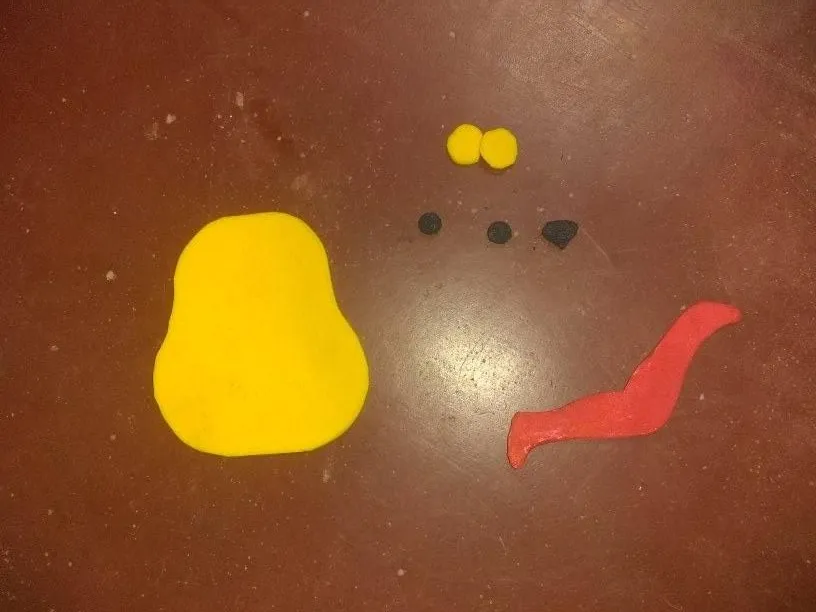
Después recortamos en foami negro dos circulitos pequeño para los ojos y un triangulo redondeado que nos servirá para la nariz, mas dos circulos pequeños en amarrillo para las orejas
Then we cut out in black foami two small circles for the eyes and a rounded triangle that will be used for the nose.
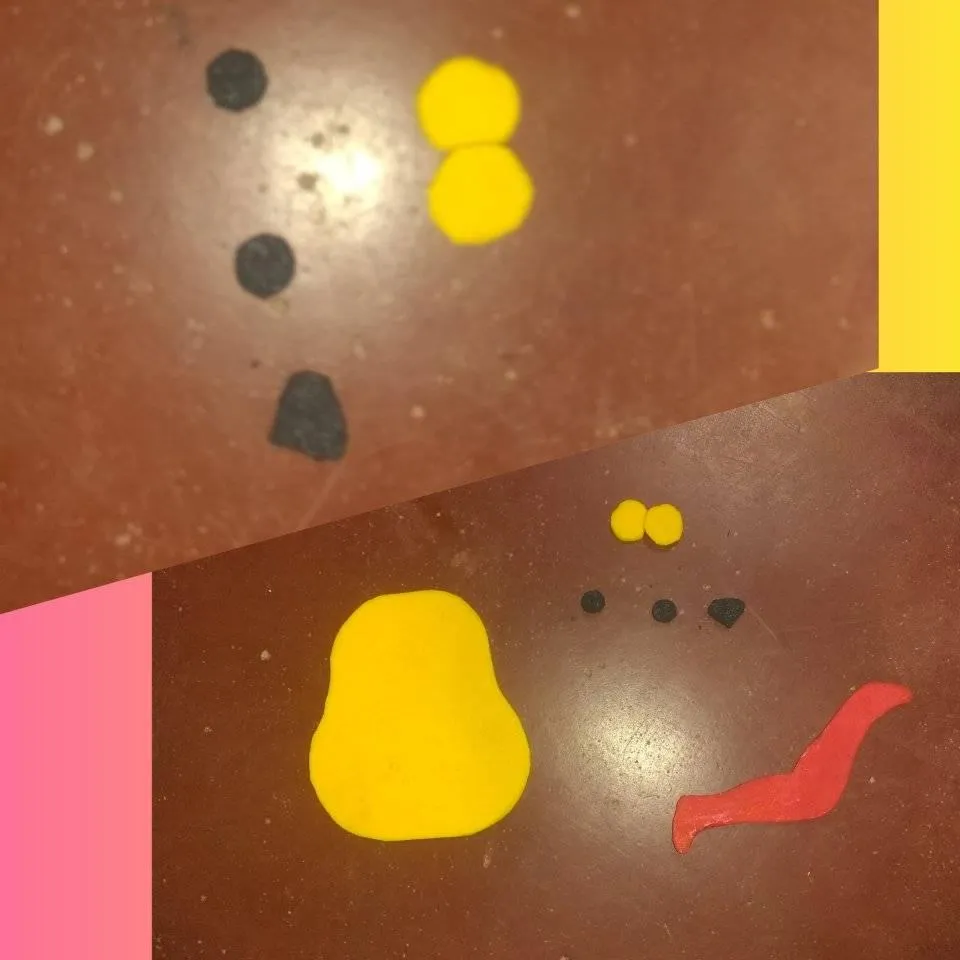
Luego de eso sacaremos el cuello de la camisa, lo dibujamos en el cartón y de ahí lo pasaremos en a el foami.
After that we will take the collar out of the shirt, draw it on the cardboard and from there we will transfer it to the foami.
Yo lo saque el cuello en foami amarillo porque no tenia rojo y liego lo pinte con la tempera de rojo, una vez tengamos todas las piezas listas procedemos a armar a nuestro Winnie Pooh.
I made the collar in yellow foami because I didn't have red and then painted it with red tempera, Once we have all the pieces ready we proceed to assemble our Winnie Pooh.
Tomaremos lo que hicimos en forma de pera :D que seria la cara y le pegaremos mas o menos en el centro los dos circulos negro que serán los ojos, luego pegamos también la nariz, y los dos circulos amarillos lo pegamos en la parte superior que son las orejas. Ademas deeso en la parte inferior le pondremos el cuello de la camisa.
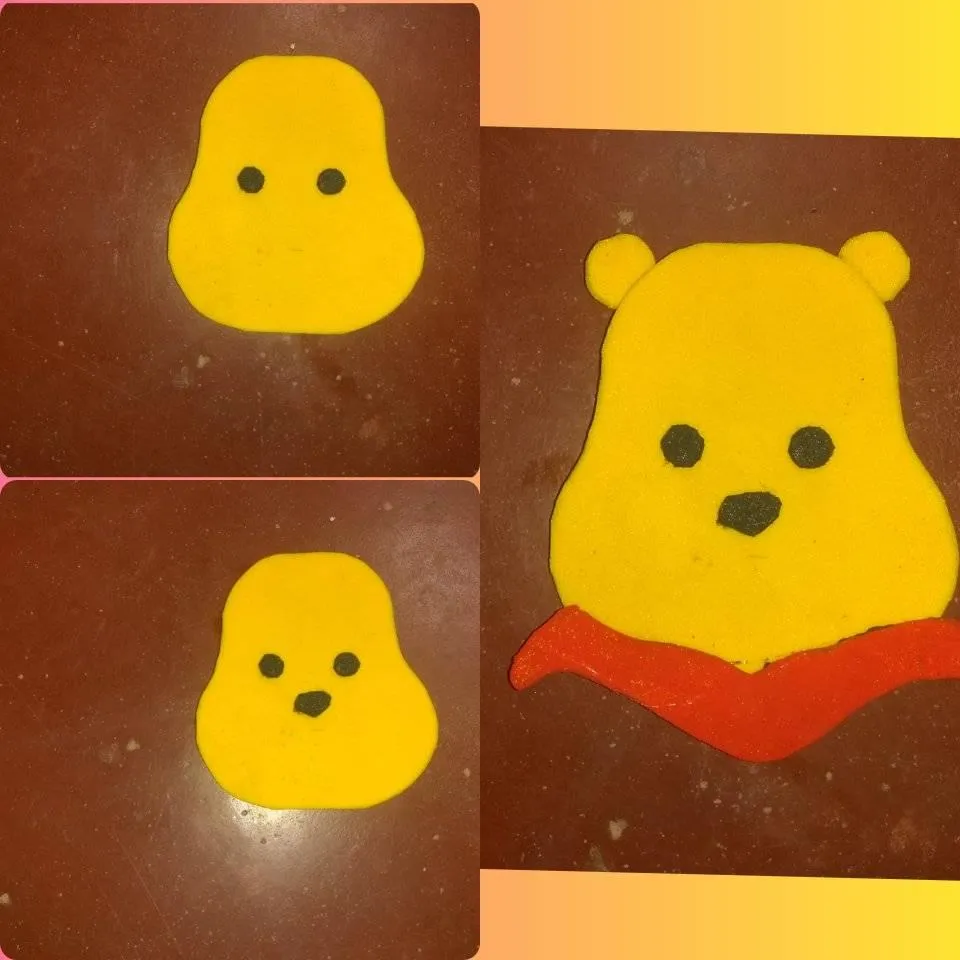
Para terminar le dibujamos con pintura la boca y las cejas y le hacemos unos retoques en la camisa, y ya tendríamos listo a nuestro bello osito Pooh.
To finish we draw with paint the mouth and eyebrows and make some touches on the shirt, and we would have ready our beautiful Pooh bear.
Gracias por leerme
Que lo disfruten
Saludos y Bendiciones
Thank you for reading
Enjoy it
Greetings and Blessings