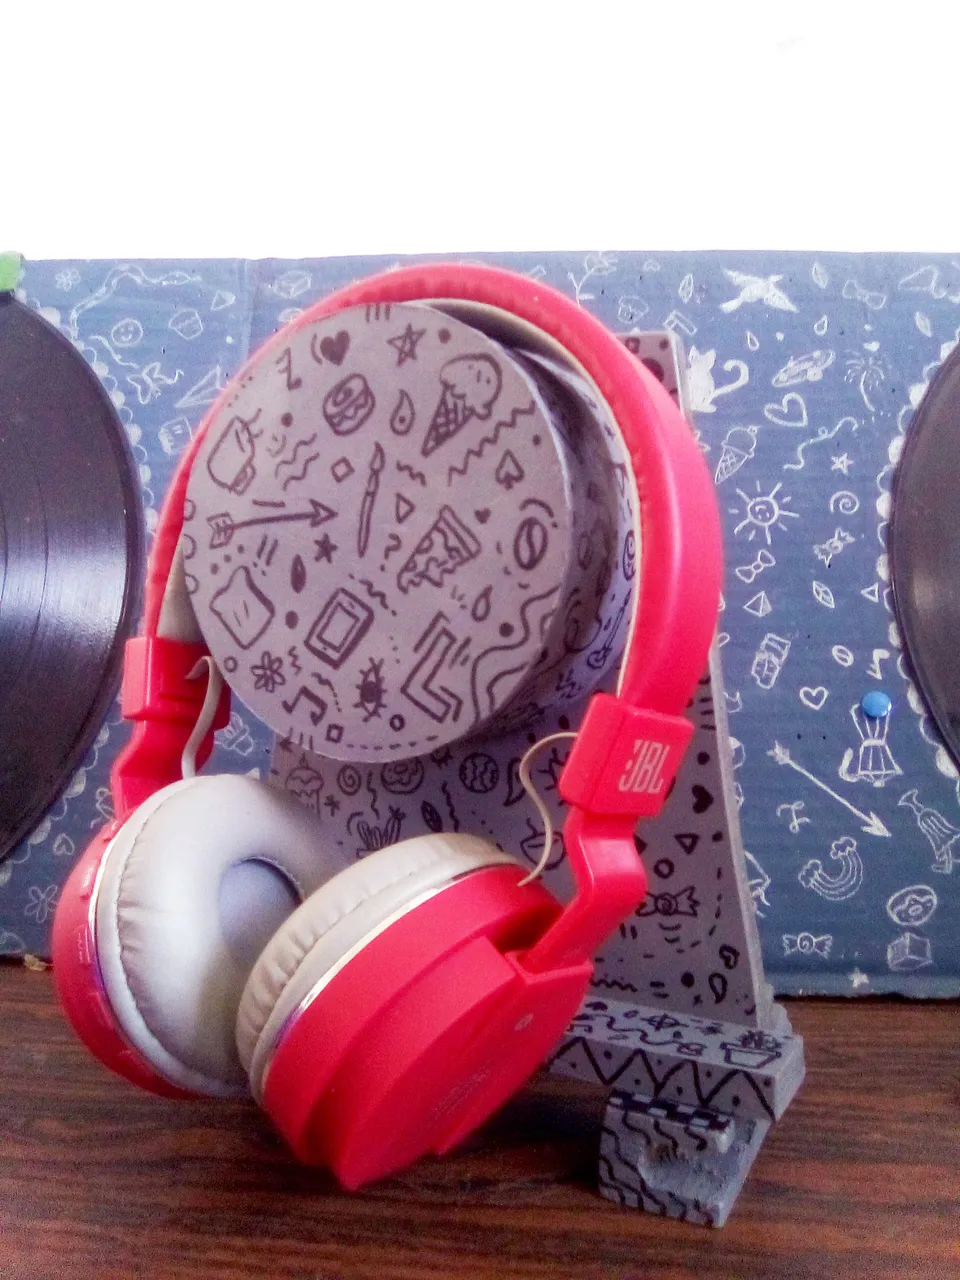
Headphone holder
Hello dear hive friends, I have been away from here a long time, it is usually due to my moods hahaha. But as one is always changing, so after a long time away today I come with something that I did for myself a while ago. Unfortunately at that time I did not take photos of the process and it was a process at the same time a bit slow since I wanted everything to fit perfectly and nothing to come off. So instead of photos of the process, I will represent it with drawings that I worked hard for you.
Hola queridos amigos de hive, llevo muchísimo tiempo fuera de aquí, generalmente se debe a mis estados de ánimo jajaja. Pero como uno siempre anda cambiando, asi que después de mucho tiempo ausente el día de hoy vengo con algo que hice para mi hace un tiempo. Lamentablemente en ese momento no tomé fotos del proceso y fue un proceso a la vez un poco lento ya que quería que todo quedara perfectamente y que nada se despegara. Asi que en vez de fotos del proceso, lo representare con dibujitos en los que me esforcé para ustedes.
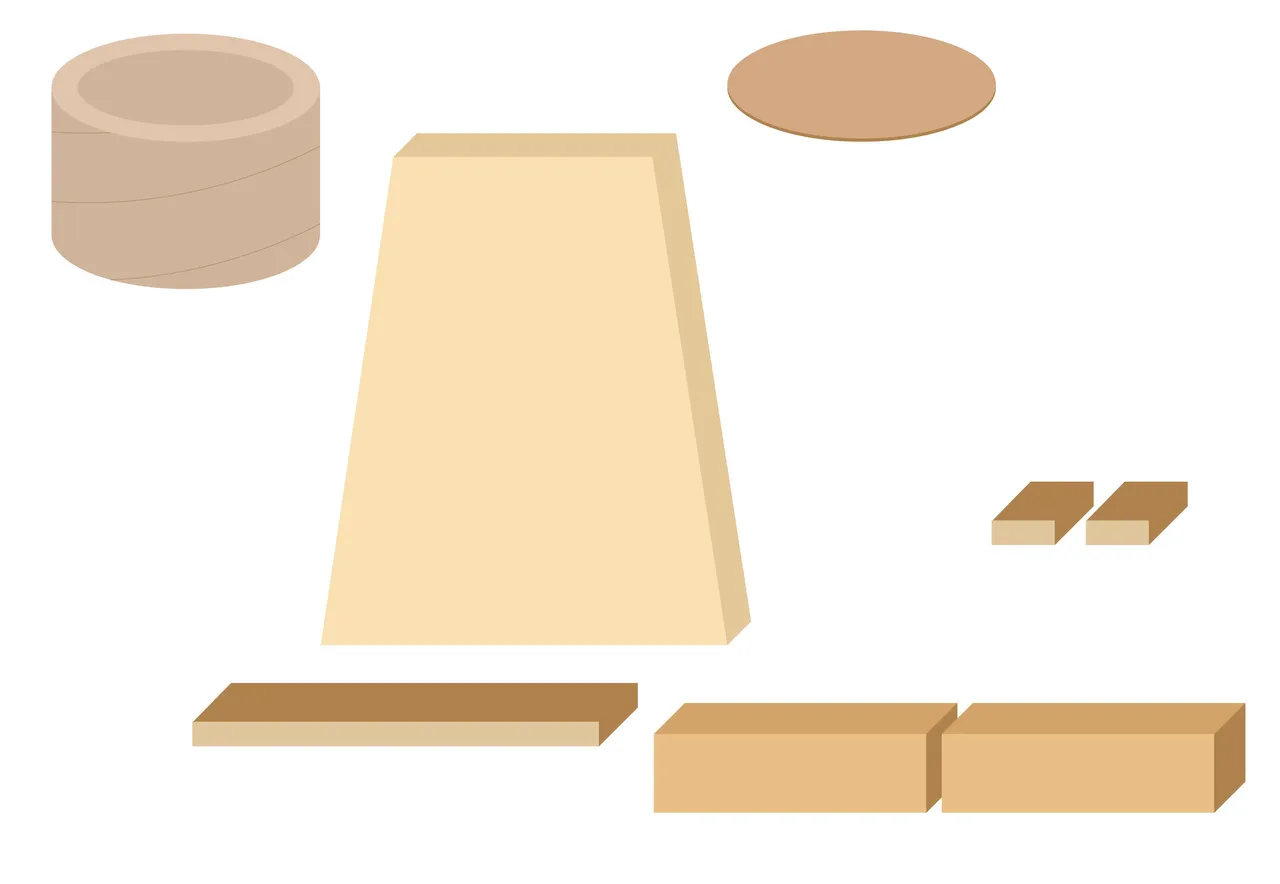
MATERIALS
The materials that I used are totally reused, they are things that I already had in my house, I did not have to buy anything at all.
Los materiales que usé son totalmente reutilizados, son cosas que ya tenía en mi casa, no tuve que comprar nada de nada.
- For the main base, a pre-cut piece of MDF measuring around 17cm x 10cm (at the top) x 15cm (the bottom.
- For the legs 2 pieces of the same wood of 7cm
- Another piece of wood of about 15cm to serve as a bit of support and two other small pieces of it for more support.
- For the support I used a piece of cardboard roll of those that are used to roll up the fabric.
- Thin cardboard for the roll cover
- Liquid silicone
- Gray fabric paint
- Saw
- Para la base principal, un pedazo ya cortado de MDF de alrededor de 17 cm x 10cm (en la parte superior) x 15 cm (la parte inferior.
- Para las patas 2 pedazos de la misma madera de 7cm
- Otro pedazo de madera de unos 15cm para que sirva un poco de soporte y otros dos pedazos pequeños de la misma para más soporte.
- Para el soporte usé un pedazo de rollo de cartón de esos que se usan para enrollar la tela.
- Cartón fino para la tapa del rollo
- Silicón liquido
- Pintura para telas color gris
- Segueta.
PROCESS
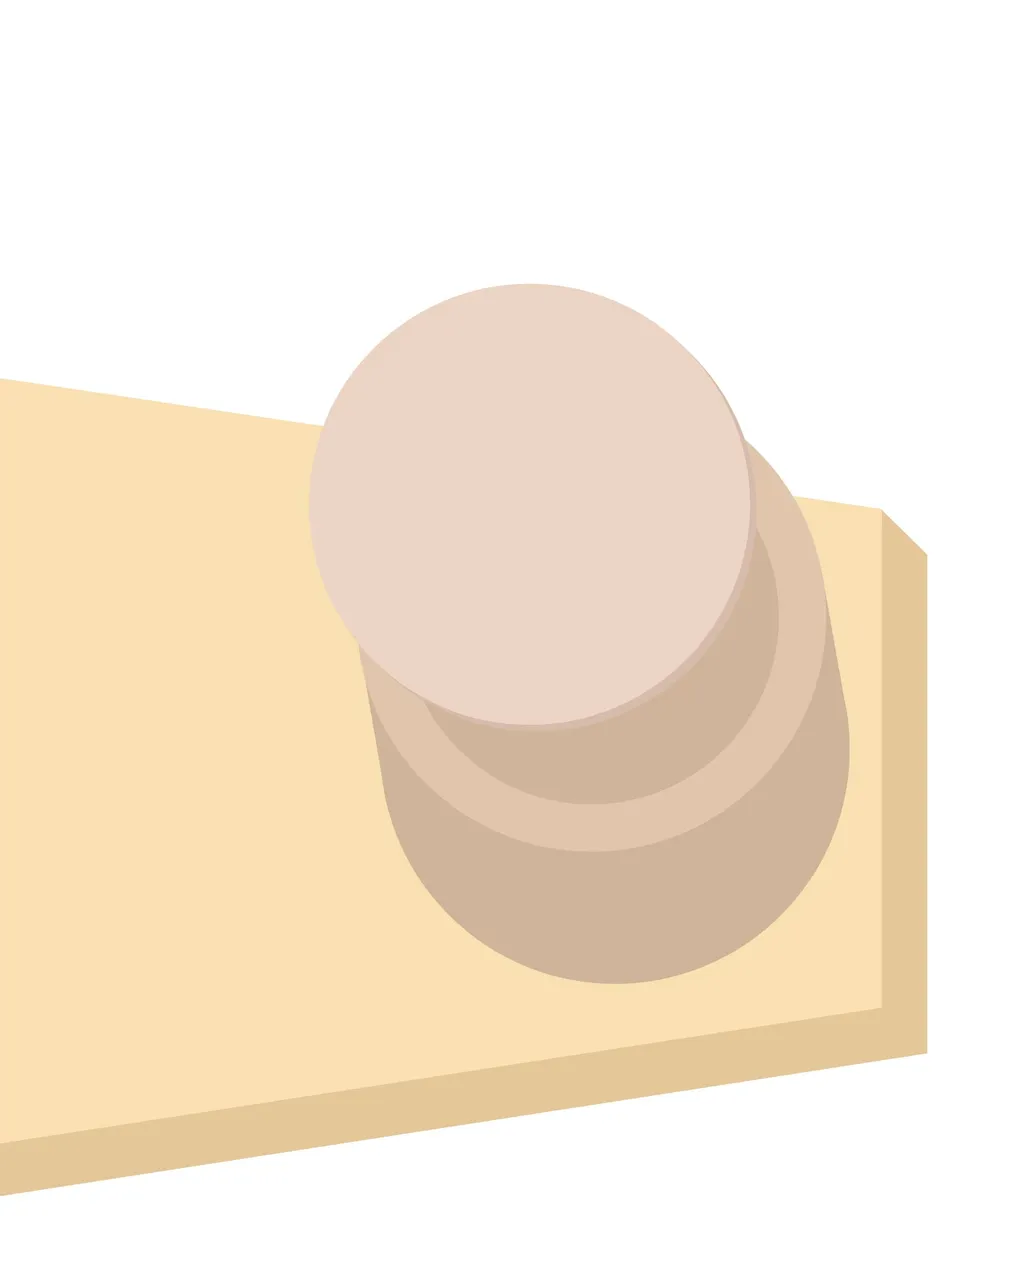
1.- I took the piece of cardboard roll and with liquid silicone I glued it to the MDF base and let it dry overnight.
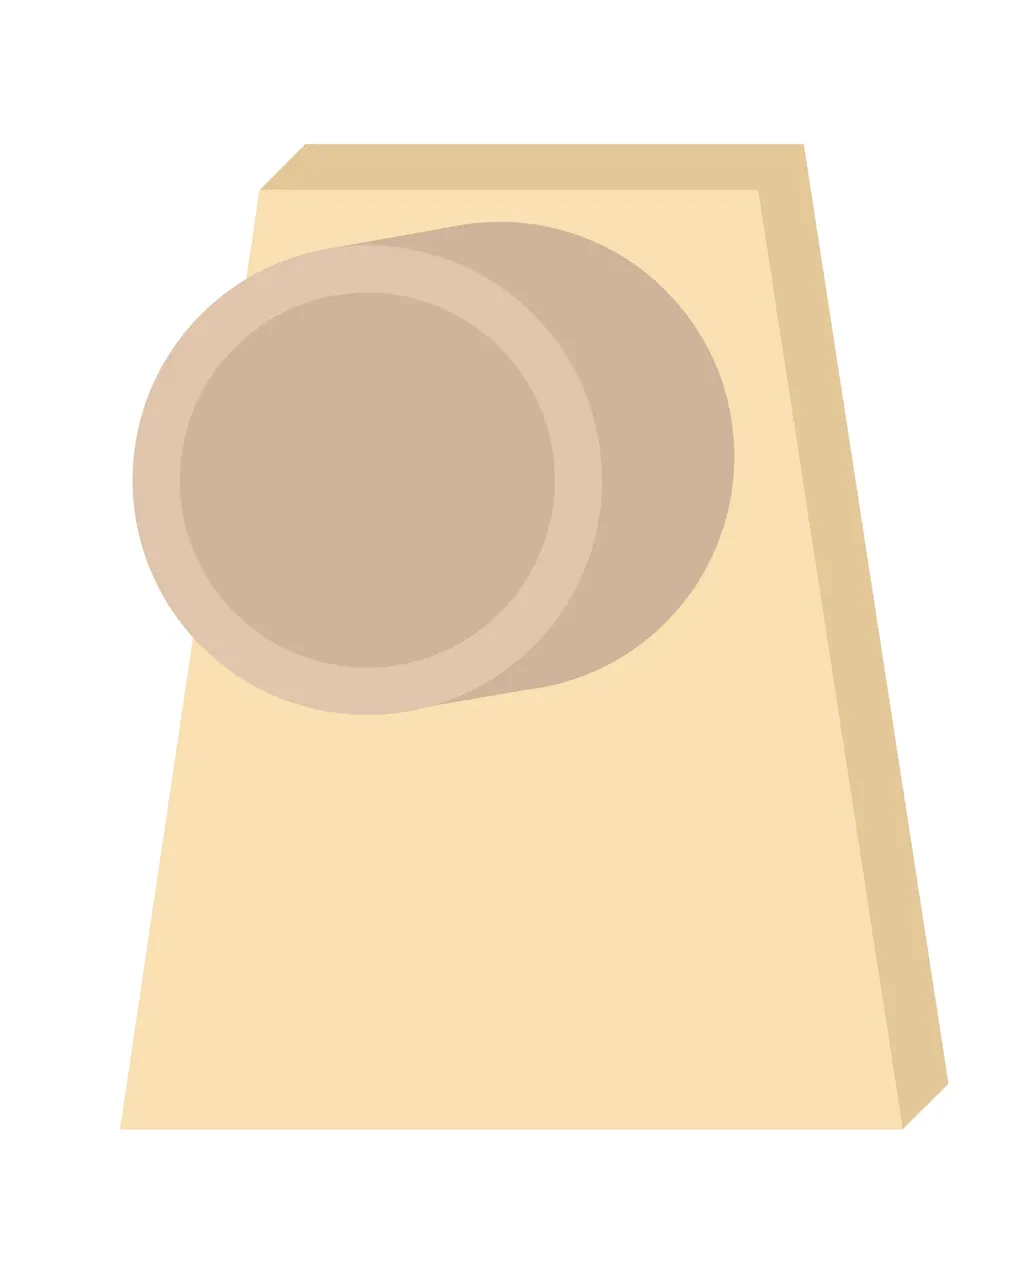
2.- I measured and cut a thin cardboard circle so that this could be the cover of the roll, then I glued it with silicone.
3.- I measured and cut the wood that would serve as legs.
(I mean honestly that the plans in my head don't always turn out exactly as I plan, it's all trial and error until I'm satisfied.)
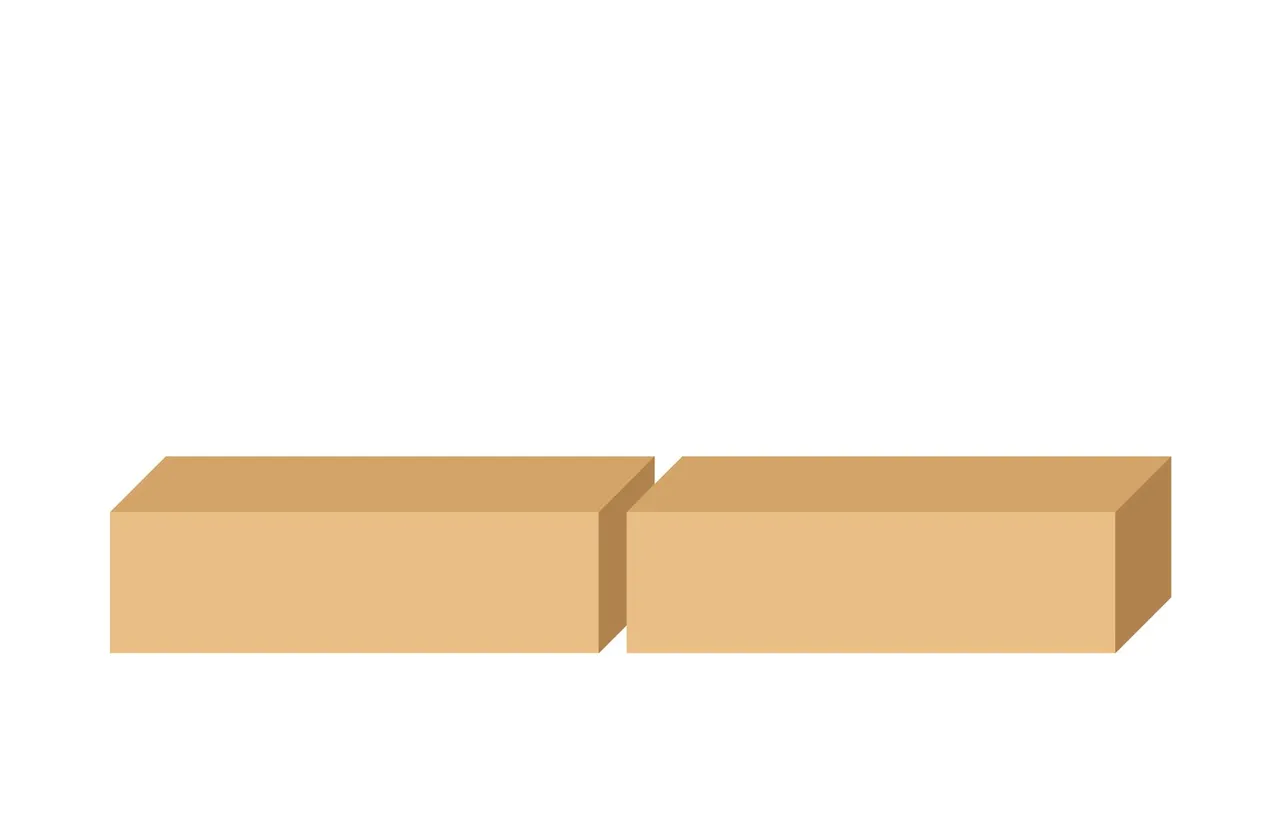
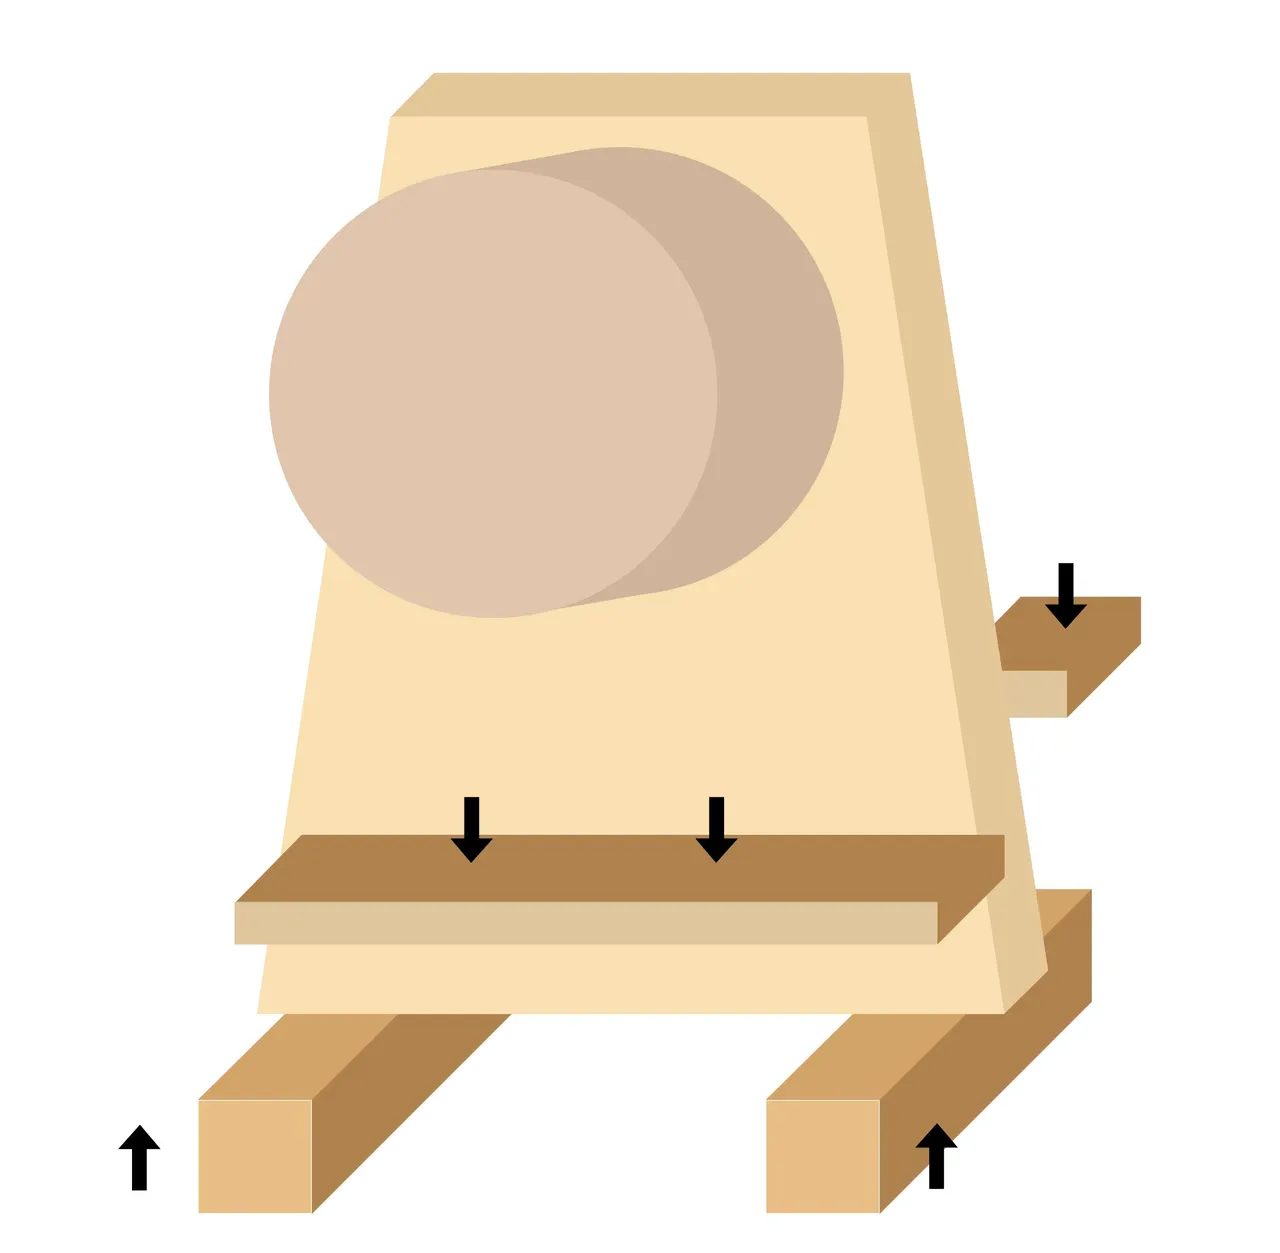
4.- I cut and filed small grooves with the thickness of the MDF, in the boards of the legs, so they would fit and according to what I had in mind, it could be supported.

5.- Since I was not sure that this would work, I cut the support boards and joined everything with silicone, let it dry overnight.
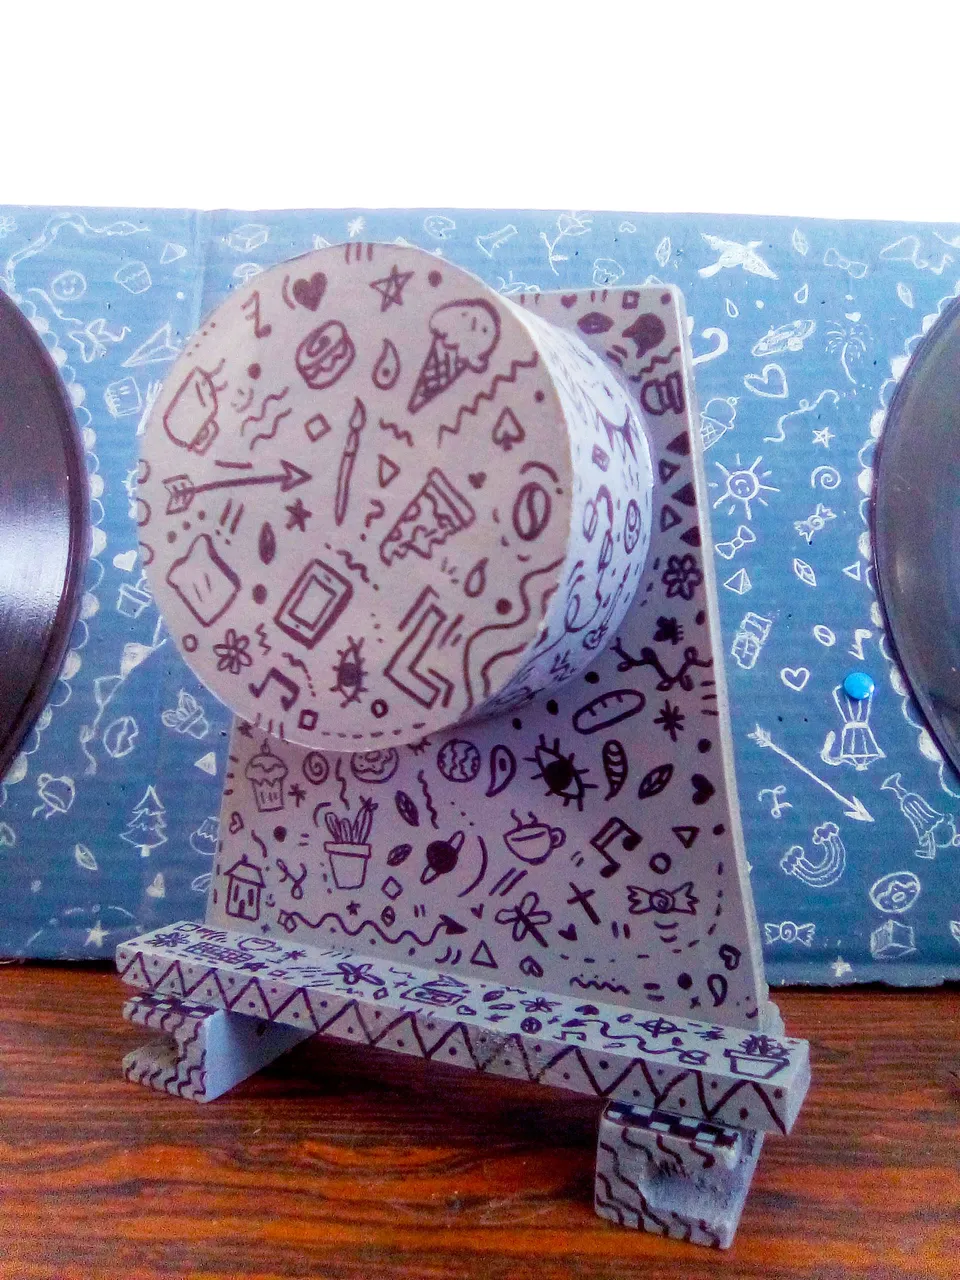
6.- With fabric paint, I applied 3 layers of paint to the entire support and let it dry for 2 days. Fabric paint is shiny and somewhat sticky.
7.- with a black marker I drew the details and ornaments.
ESP
1.- Tomé el trozo de rollo de cartón y con silicón liquido lo pegué a la base de MDF dejé que se secara toda la noche.
2.- Medí y corté un circulo de cartón fino para que este pudiese ser la tapa del rollo, luego lo pegué con silicón.
3.- Medí y corté la madera que serviría como patas.
(Quiero decir honestamente que los planes que están en mi cabeza no siempre salen exactamente como los planeo, todo es prueba y falla hasta que quedo satisfecha.)
4.- Corté y limé pequeñas ranuras con el grosor del MDF, en las tablas de las patas, así se ajustarían y según lo que tenía en mente, podría sostenerse.
5.- En vista de que no estaba segura de que eso funcionaría, corté las tablas de soporte y uní todo con silicón, deje secar toda la noche.
6.- Con pintura para tela coloqué 3 capas de pintura a todo el soporte y dejé secar 2 días. La pintura para tela queda con un toque brillante y algo pegajoso.
7.- con un marcador negro dibujé los detalles y adornos.
And that's all friends, I hope this inspires others that no obstacle can stop us if we have a goal, we can do many things with our own hands, we just need to have a goal and carry it out with determination, passion and a lot of desire. . In life, I have had things and I am grateful for them, however I have aspired to many more and I feel good the desire that if it is within my reach then no one can stop me. Use your creativity and never give up !!
Y eso es todo amigos, espero que esto inspire a otros a que ningún obstáculo nos puede detener si tenemos un objetivo, podemos hacer muchísimas cosas con nuestras propias manos, solo hace falta tener un objetivo y llevarlo a cabo con determinación, pasión y muchísimas ganas. En la vida, he tenido cosas y agradezco por ellas, sin embargo he aspirado a muchas más y siento bien el deseo de que si está a mi alcance entonces nadie puede detenerme. Usen su creatividad y nunca se rindan!!
