Español
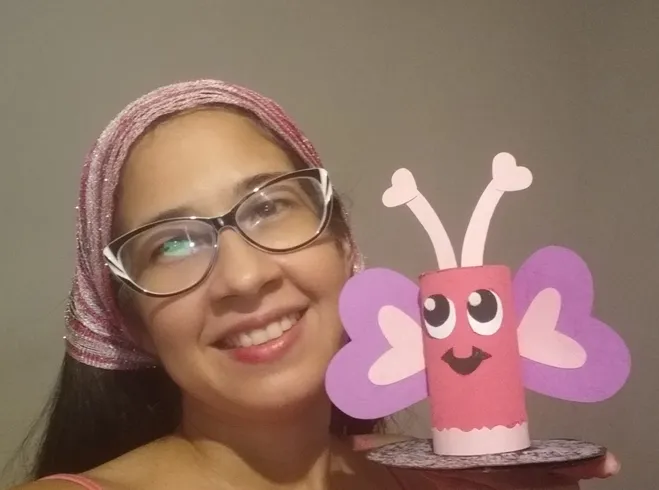
Hola gente linda espero se encuentren muy bien,el día de hoy compartiré con ustedes el paso a paso de como realizar un hermoso portalápiz de mariposa.Espero les guste.
Spanish
Hello beautiful people I hope you are very well, today I will share with you the step by step of how to make a beautiful butterfly pencil holder, I hope you like it.
Español
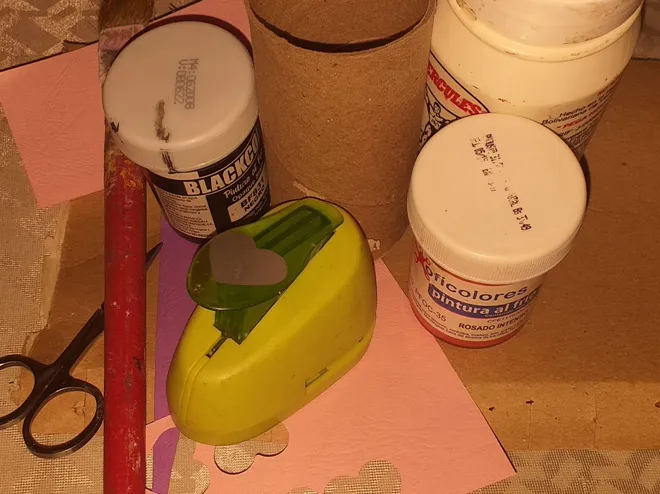
Materiales
*Pintura al frió negra y rosada
*Cartulina rosada y morada
*Tubo de papel higiénico
*Cartón
*Pincel
*Pegamento
*Tijera
*Cd
Spanish
Materials
*Black and pink cold paint
*Pink and purple construction paper
*Toilet paper tube
*Cardboard
*Brush
*Glue
*Scissors
*Cd
Español
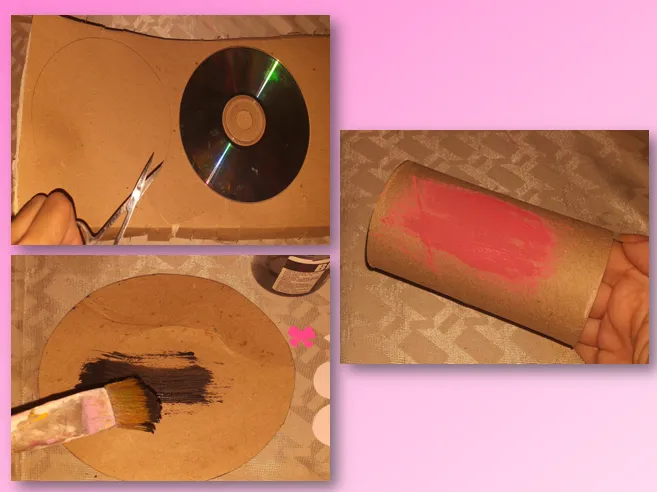
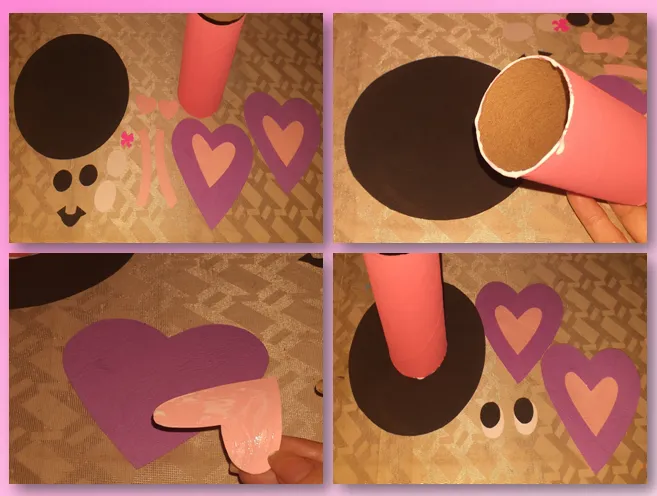
Paso 1
Lo primero que hacemos sera marcar en el cartón un circulo del tamaño de un cd,luego recortamos y pegamos el cartón al cd, esperamos que seque un poco y procedemos a pintar,primero pintaremos el circulo con pintura al frió negra seguidamente pintaremos el tubo de papel higiénico con pintura al frió rosada.
Spanish
Step 1
The first thing we do is to mark on the cardboard a circle the size of a cd, then we cut out and glue the cardboard to the cd, we wait for it to dry a little and proceed to paint, first paint the circle with black cold paint then paint the toilet paper tube with cold paint.
Español
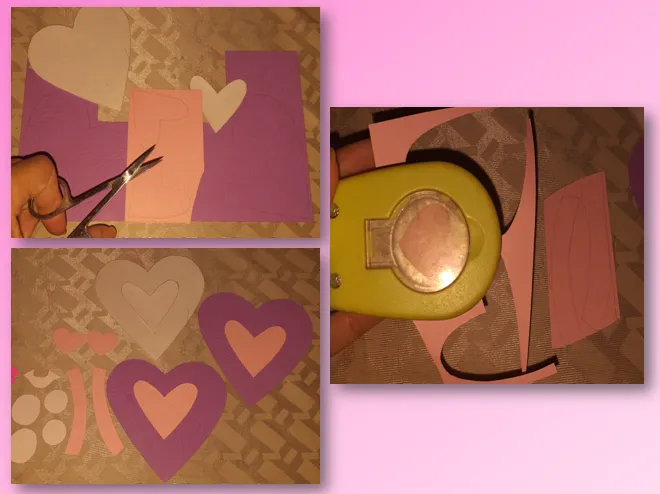
Paso 2
Luego marcamos en las cartulinas rosada y morada lo que sera las partes de la mariposa,las alas,las antenas,boca y ojos.
Spanish
Step 2
Then we mark on the pink and purple cardstock what will be the parts of the butterfly, the wings, antennae, mouth and eyes.
Español
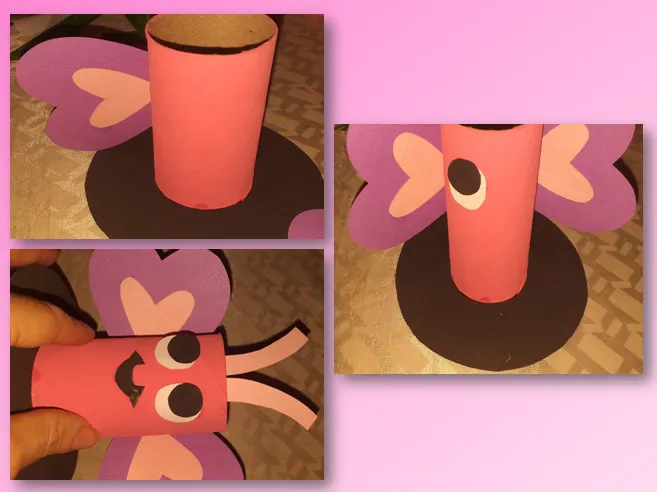
Paso 3
Ya con todas las piezas listas procedemos armar,pegaremos el tubo de papel higiénico en el centro del cd,el corazón pequeño lo pegamos en el centro del grande,de igual forma pegamos los ojos.
Spanish
Step 3
Once all the pieces are ready we proceed to assemble, we glue the toilet paper tube in the center of the cd, the small heart we glue it in the center of the big one, in the same way we glue the eyes.
Español
Paso 4
Empezamos armar nuestra hermosa mariposa pegando primero las alas al tubo de papel higiénico,luego ojos y boca,por último las antenas.
Spanish
Step 4
We start assembling our beautiful butterfly by first gluing the wings to the toilet paper tube, then the eyes and mouth, and finally the antennae.
Español
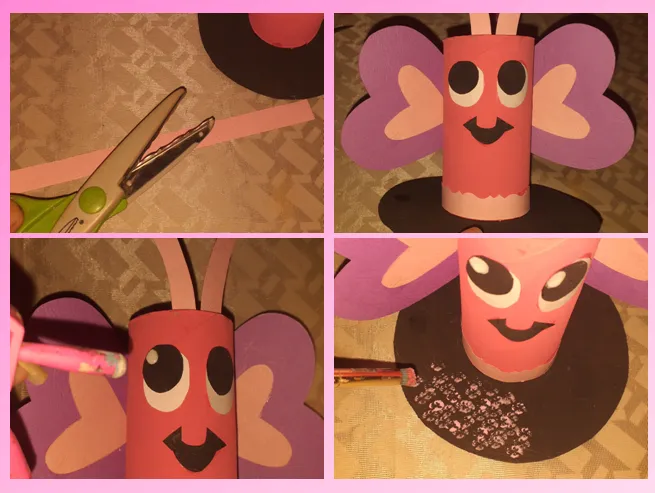
Paso 5
Cortamos una tira de 20x1,5cm y recortaremos con una tijera de forma,pegaremos en la parte de abajo del tubo de papel higiénico,seguidamente pintamos los ojos y para finalizar realizaremos unos pequeños detalles con el pincel a la base del portalápiz.
Spanish
Step 5
Cut a strip of 20x1,5cm and cut it with a scissors, paste it on the bottom of the toilet paper tube, then paint the eyes and finally make some small details with the brush at the base of the pencil holder.
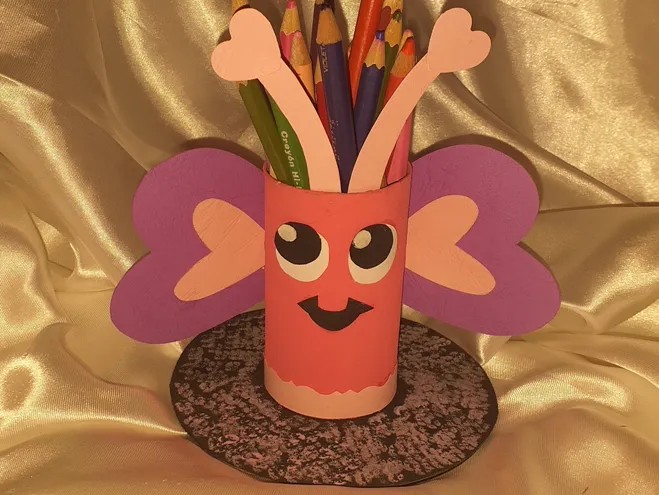
Asi de hermoso quedo mi portalápiz
Fotografías de mi Autoria
Photographs of my Authorship
Tomadas de mi Samsung J6
Taken from my Samsung J6
Para la traducción utilice https://www.deepl.com/
For translation use https://www.deepl.com/
¡Gracias por su apoyo, por leerme y votar, GRACIAS!
Thank you for your support, for reading and voting, THANK YOU!