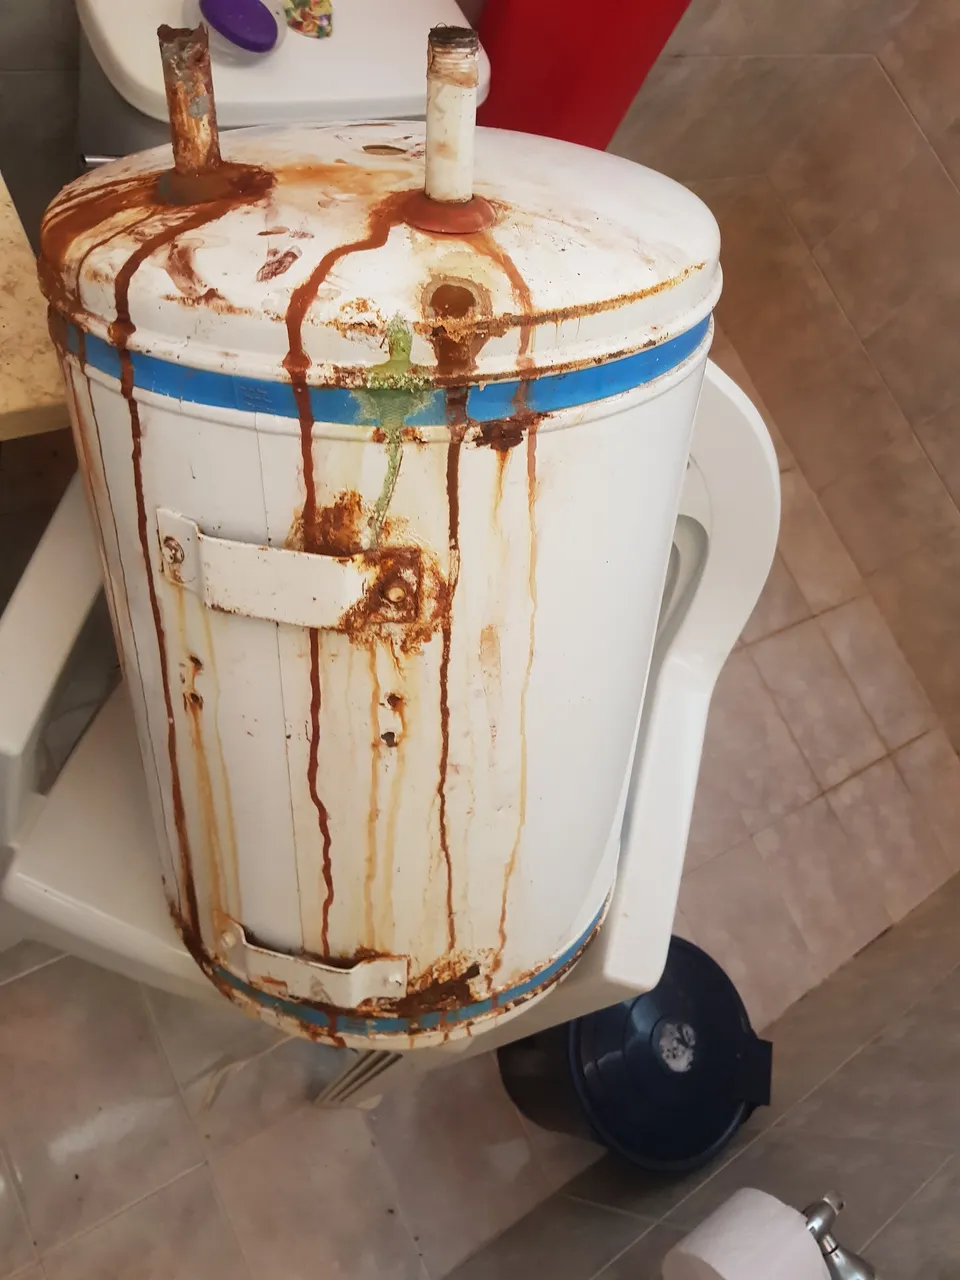
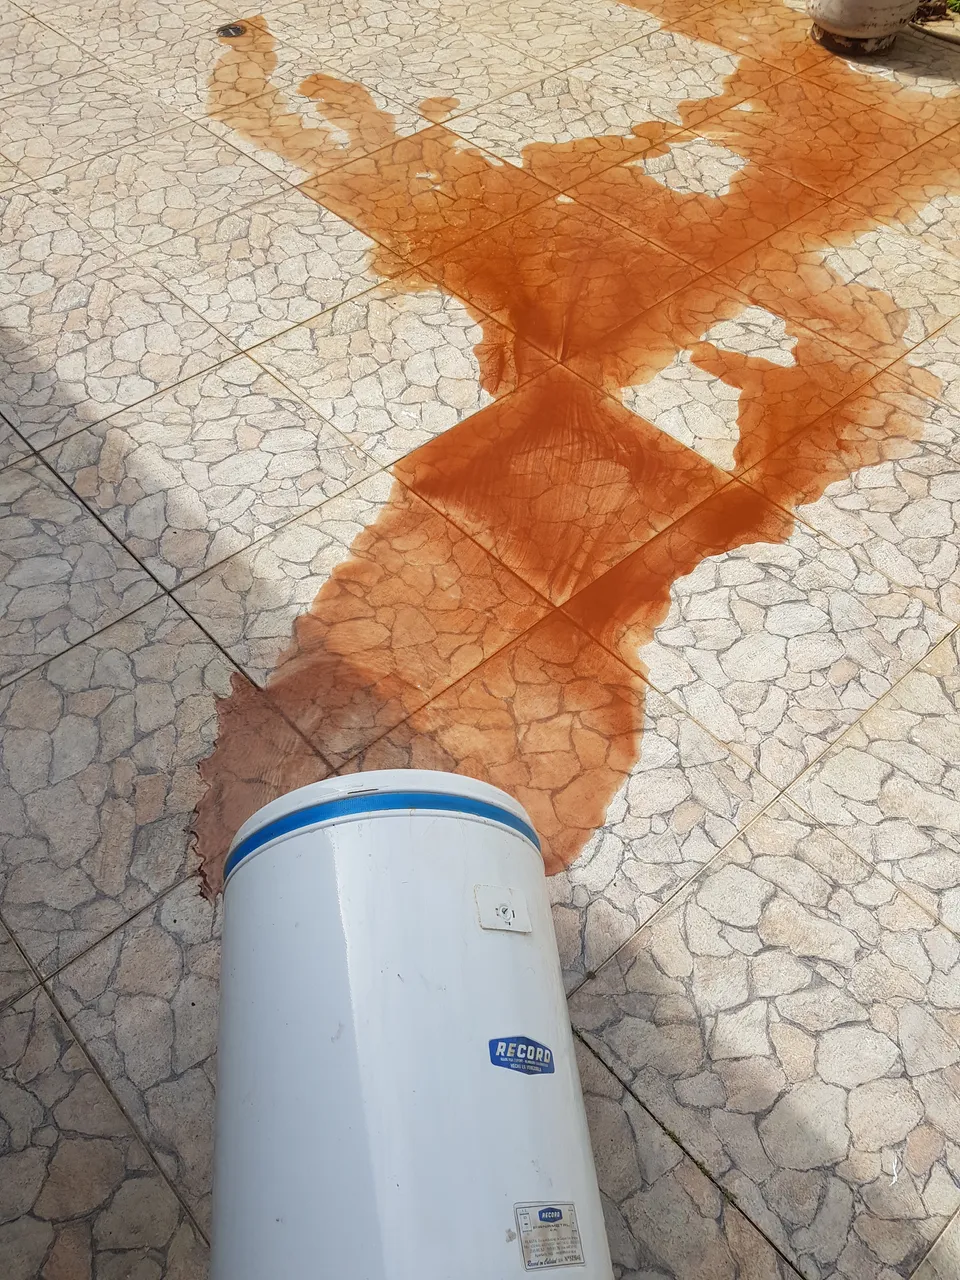
Hola mis amigos de hive un gusto saludarlos, en esta oportunidad les voy a mostrar el proceso de como restauré un calentador de agua de mi casa que estaba oxidado y perdía un poco de agua por una de las tomas a causa de una rosca oxidada, sin más comencemos.
Hello my friends of hive a pleasure to greet you, in this opportunity I will show you the process of how I restored a water heater of my house that was rusty and lost a little water through one of the intakes because of a rusty thread, without further ado let's begin.
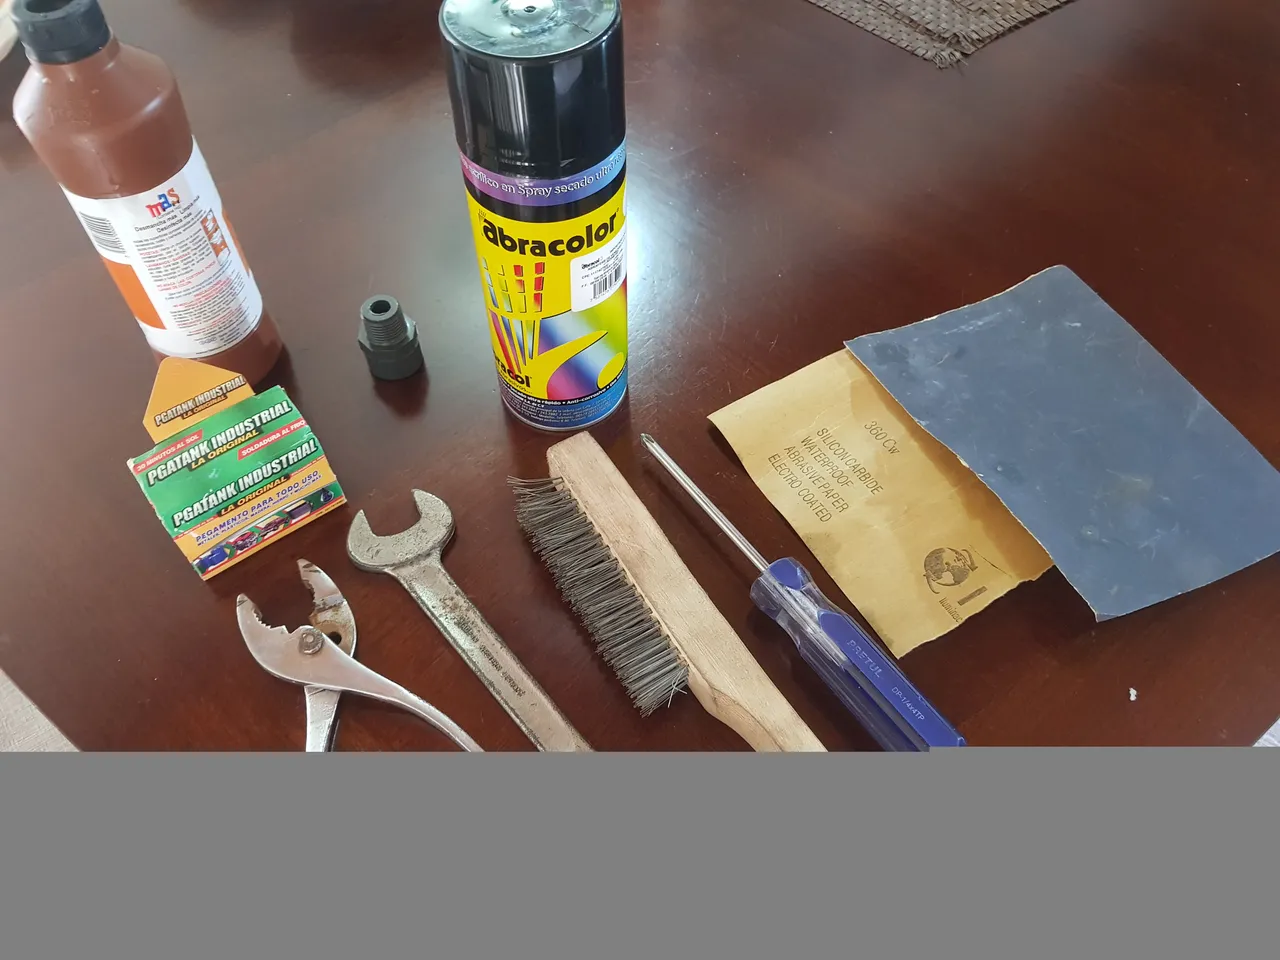
Primero vamos a necesitar:
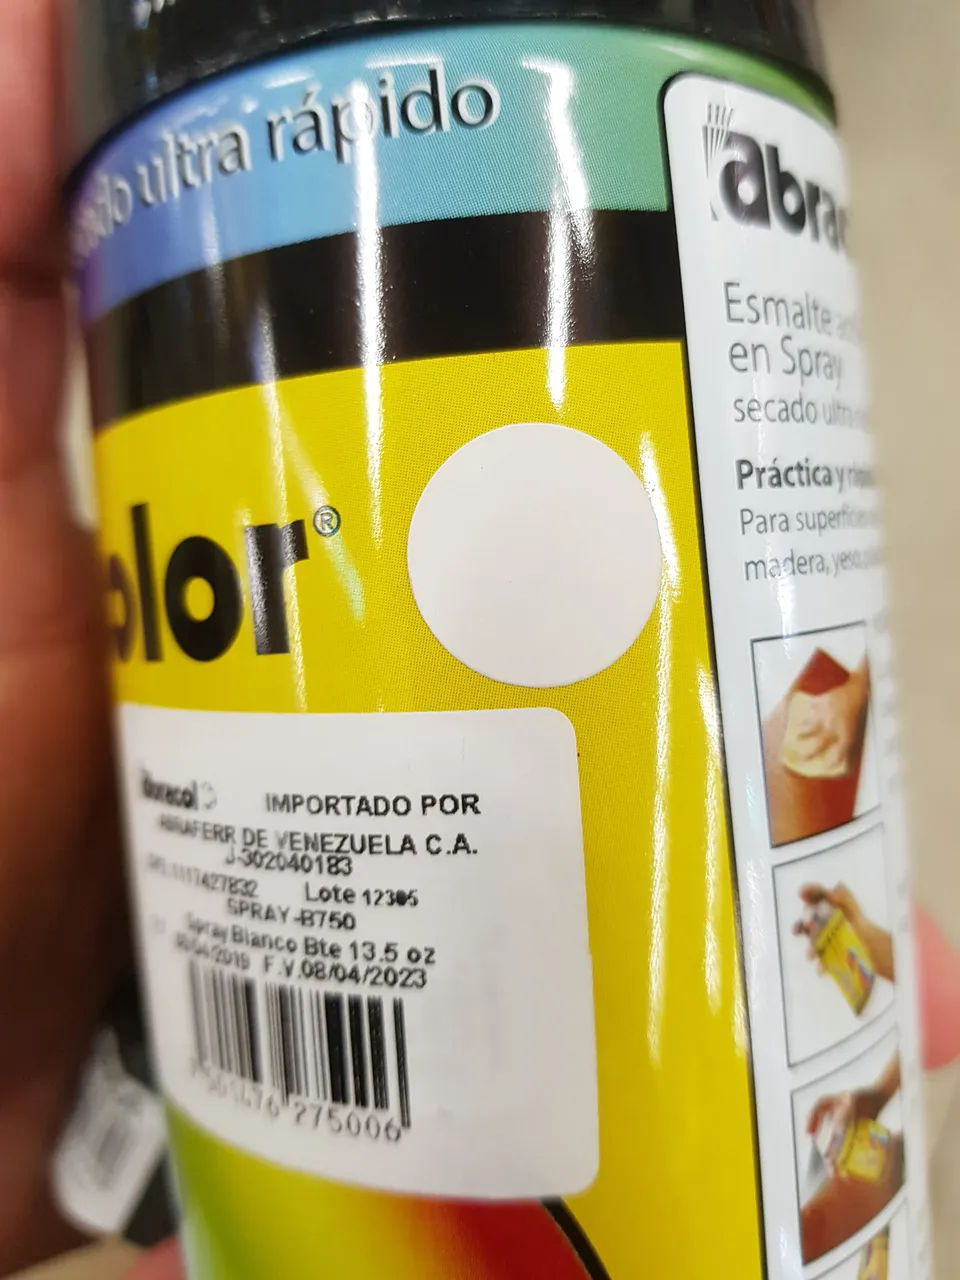
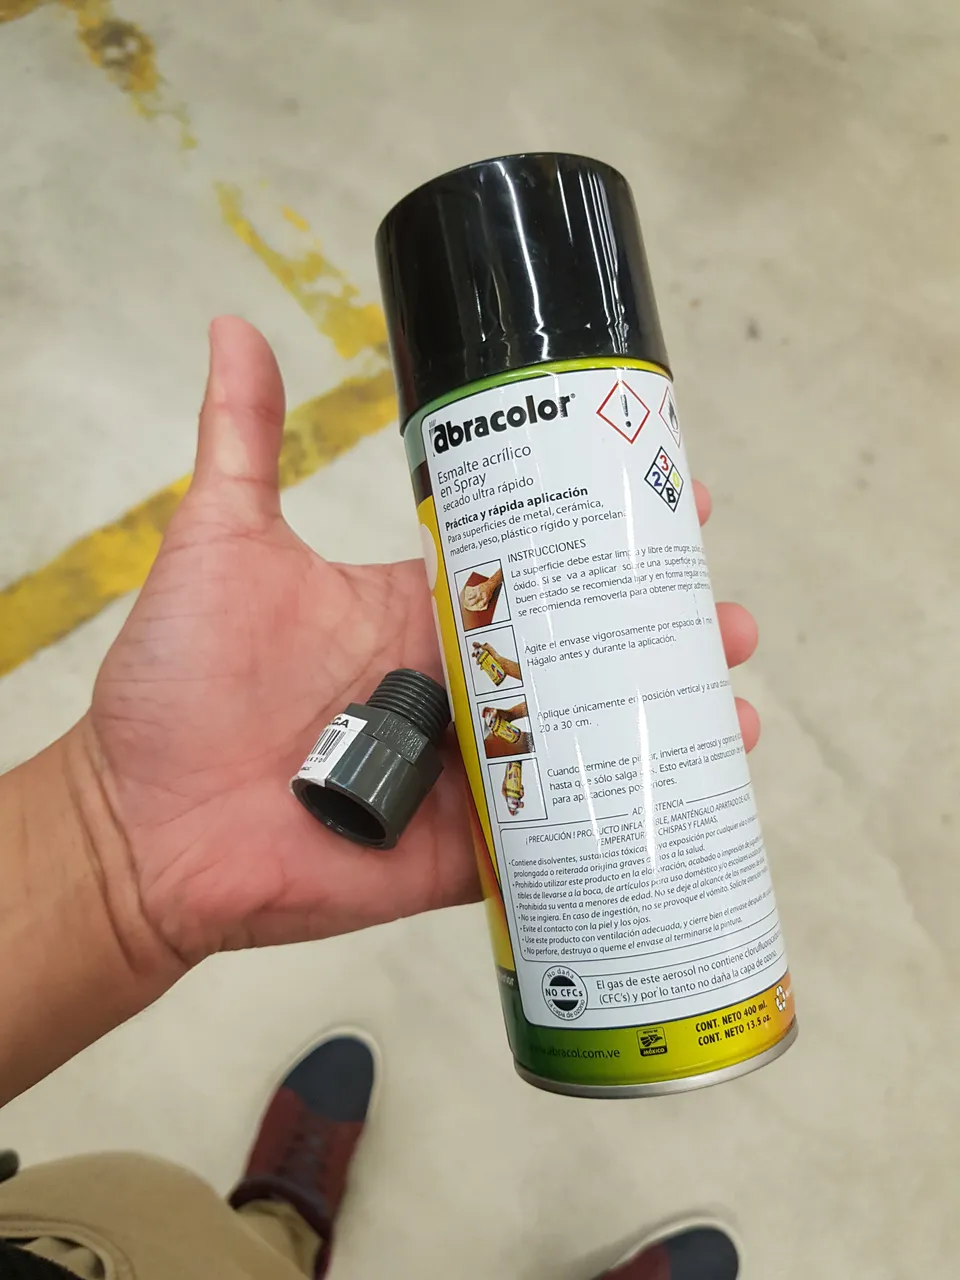
Pintura en spray blanco.
Papel de lija grano 360.
Pega tanque o resina epoxy.
Rosca plástica media pulgada.
Cinta de teflón.
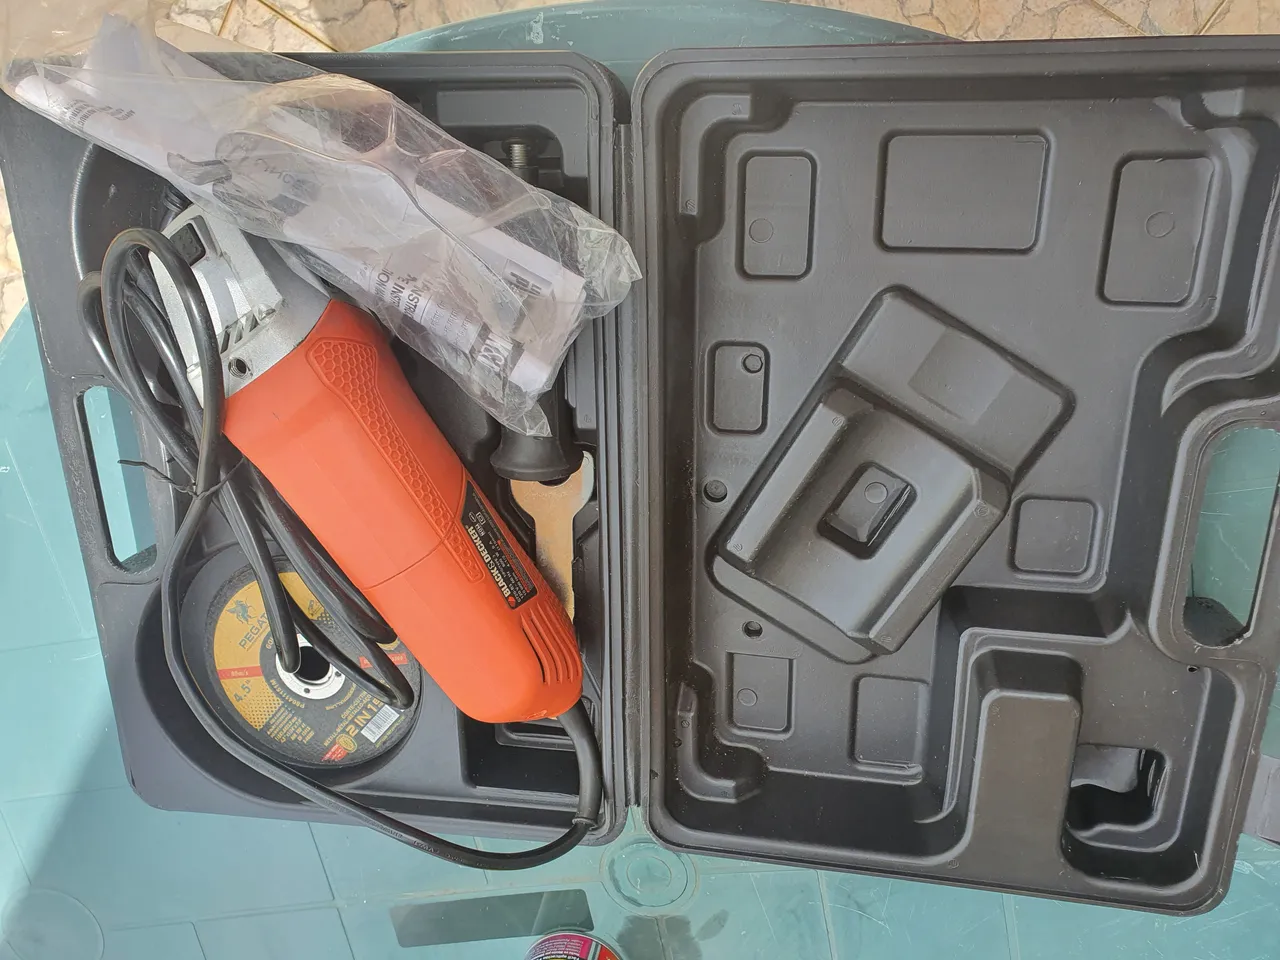
Esmeril de mano con disco de desbaste.
Llaves de boca a la medida de las manqueras.
Alicate ajustable.
Líquido limpiador y blanqueador de baños.
First we will need:
White spray paint.
360 grit sandpaper.
Tank glue or epoxy resin.
Half inch plastic thread.
Teflon tape.
Hand grinder with grinding disc.
Open-end wrenches to the size of the handles.
Adjustable pliers.
Bathroom cleaning and bleaching liquid.
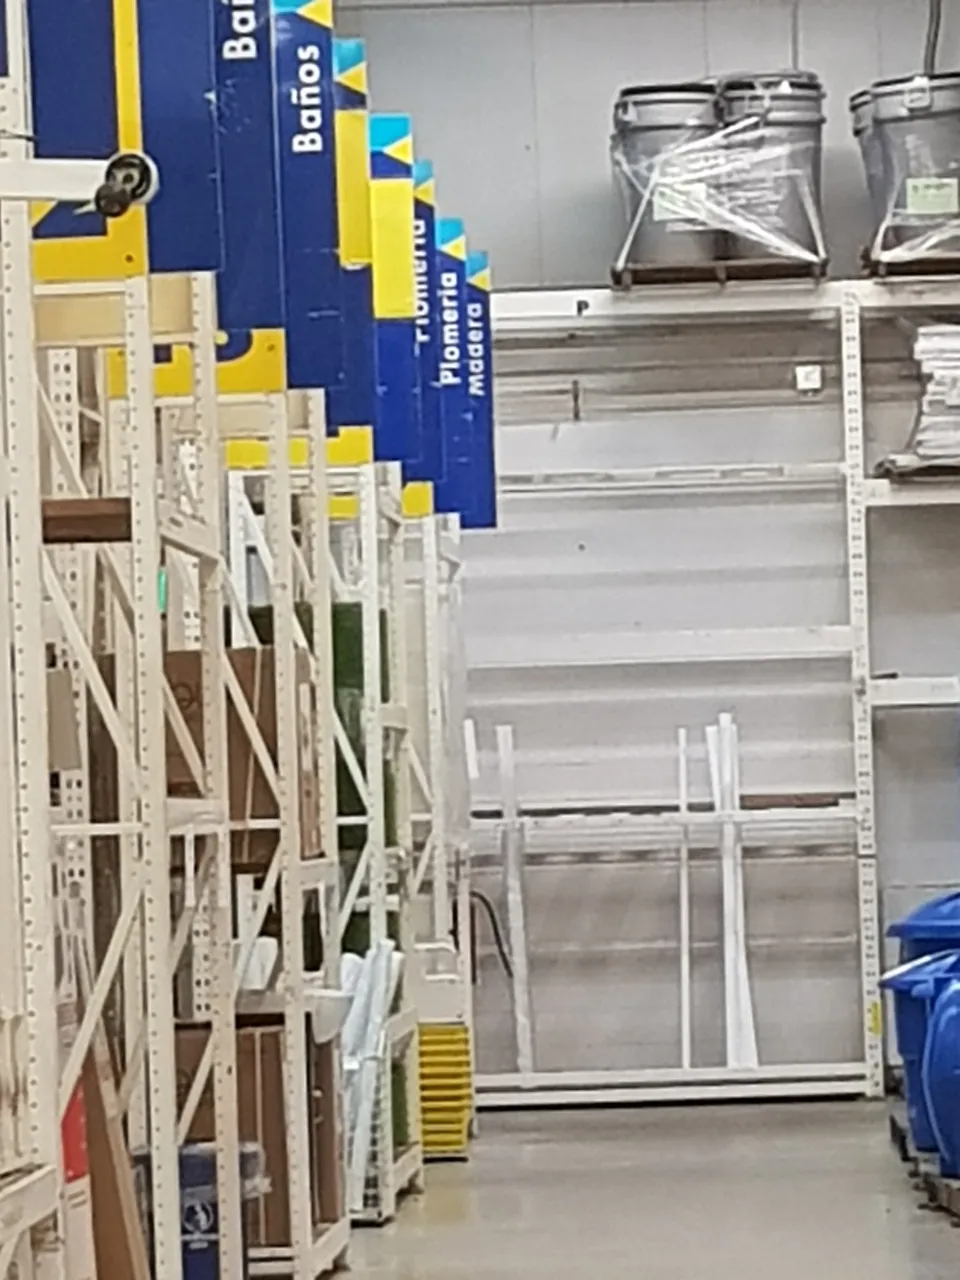
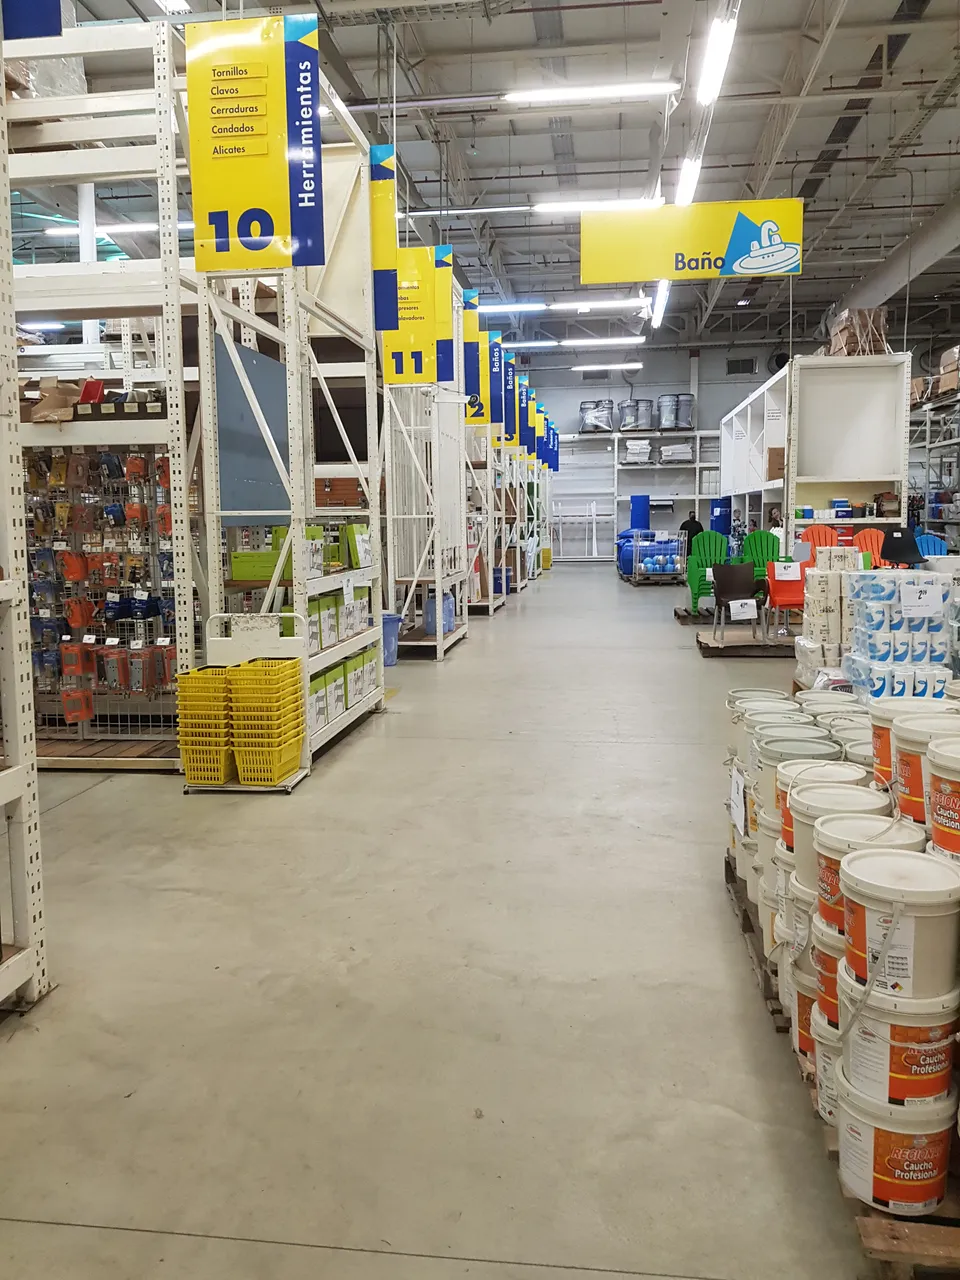
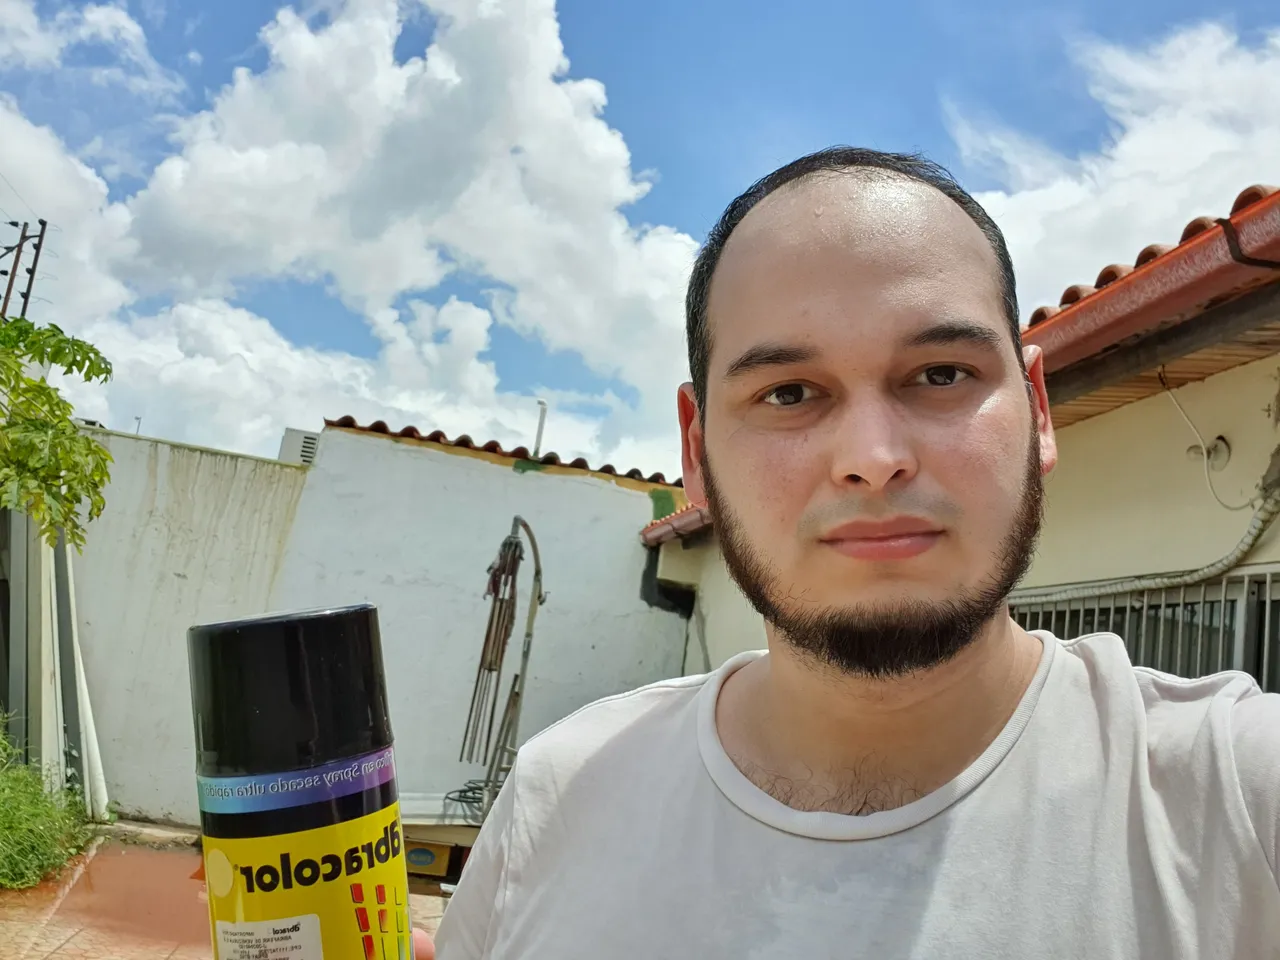
yo tuve que ir hasta la ferretería a comprar la rosca de plástico y la pintura blanca en spray.
I had to go to the hardware store to buy the plastic thread and white spray paint.
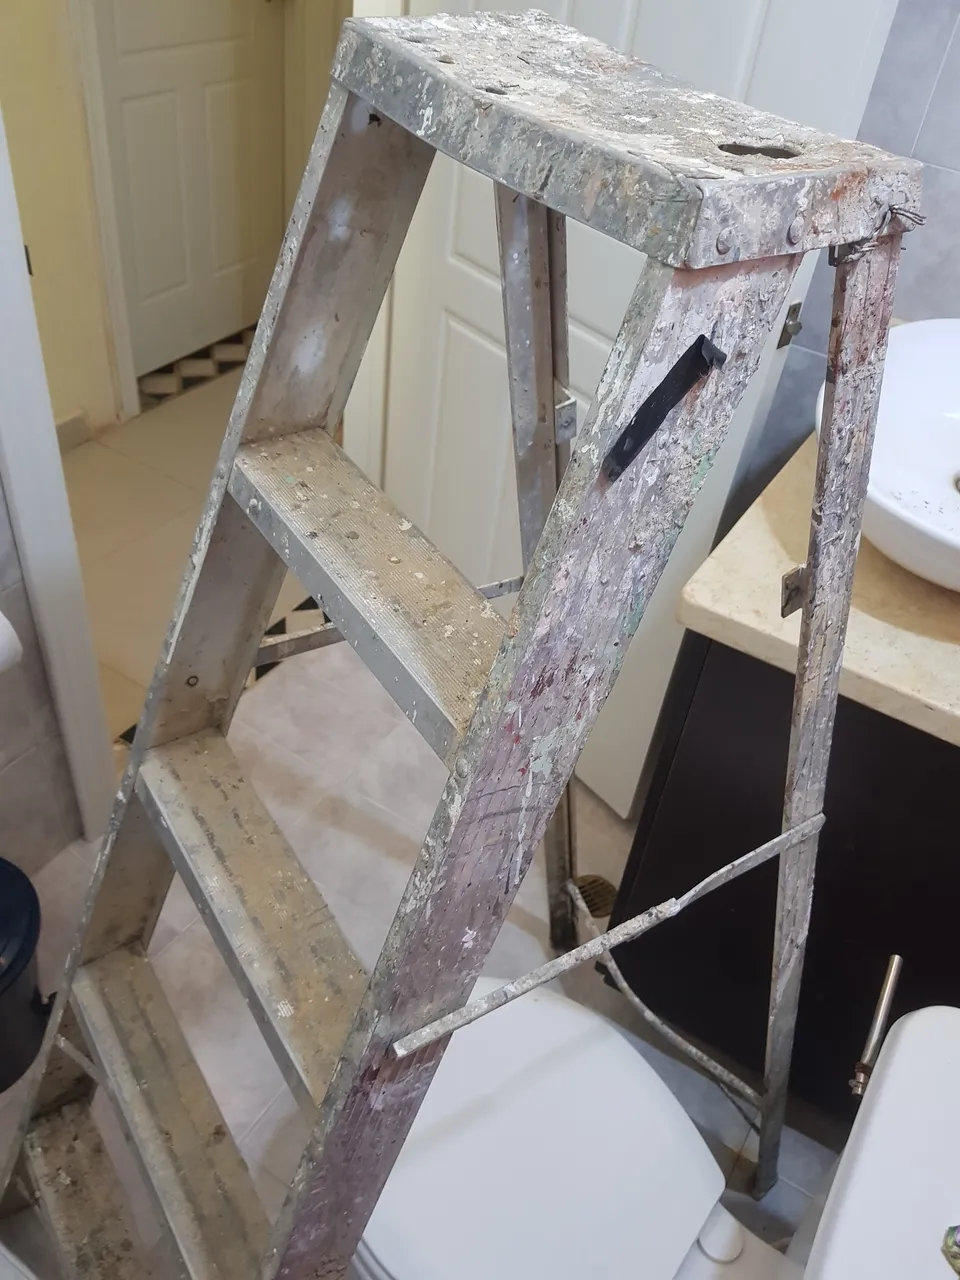
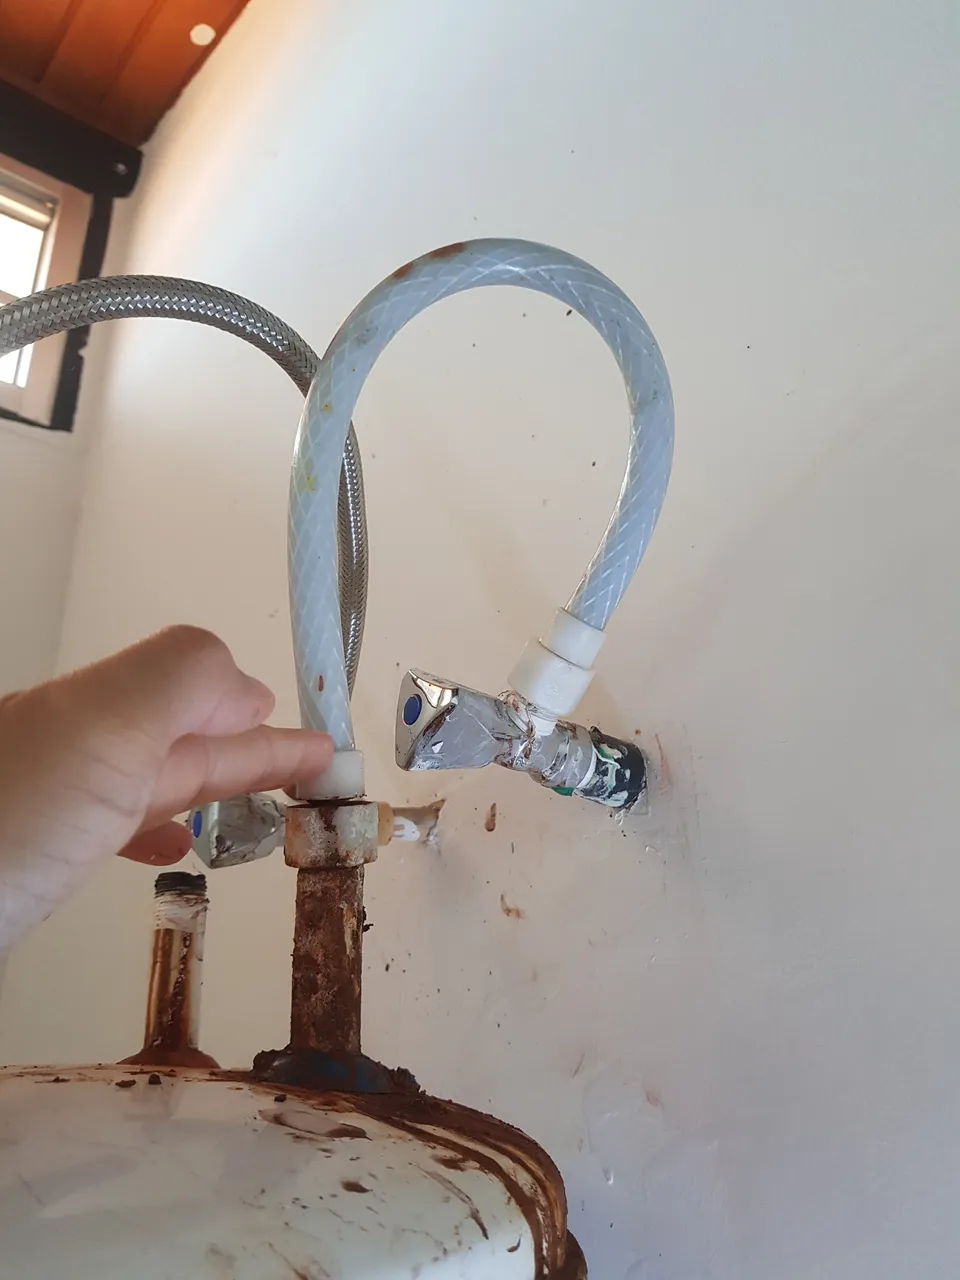
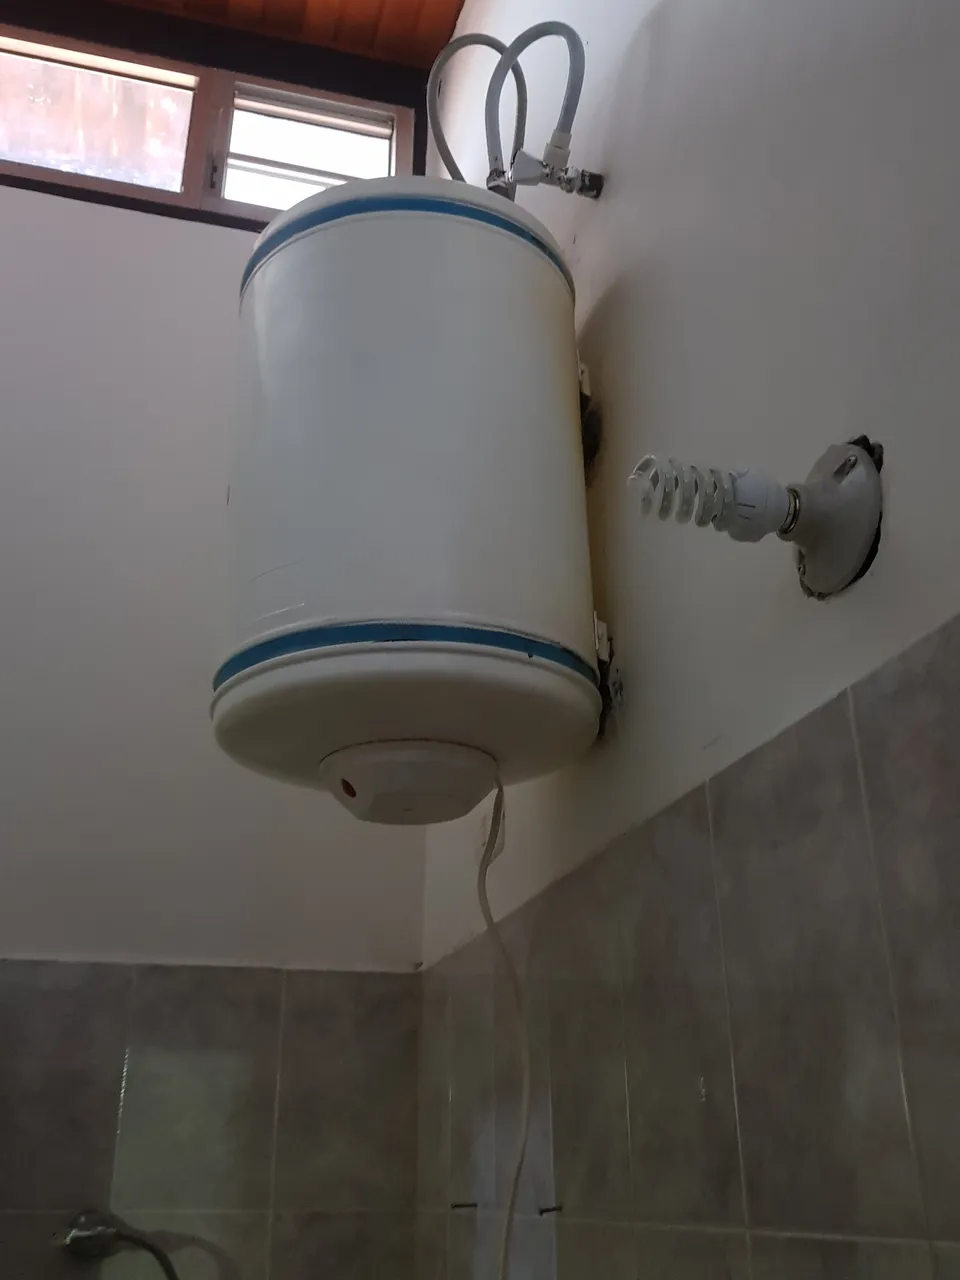
Tenemos que colocar una escalera para subir, cerrar las llaves de entrada y salida de agua y desconectar las mangueras.
We have to place a ladder to climb, close the water inlet and outlet faucets and disconnect the hoses.

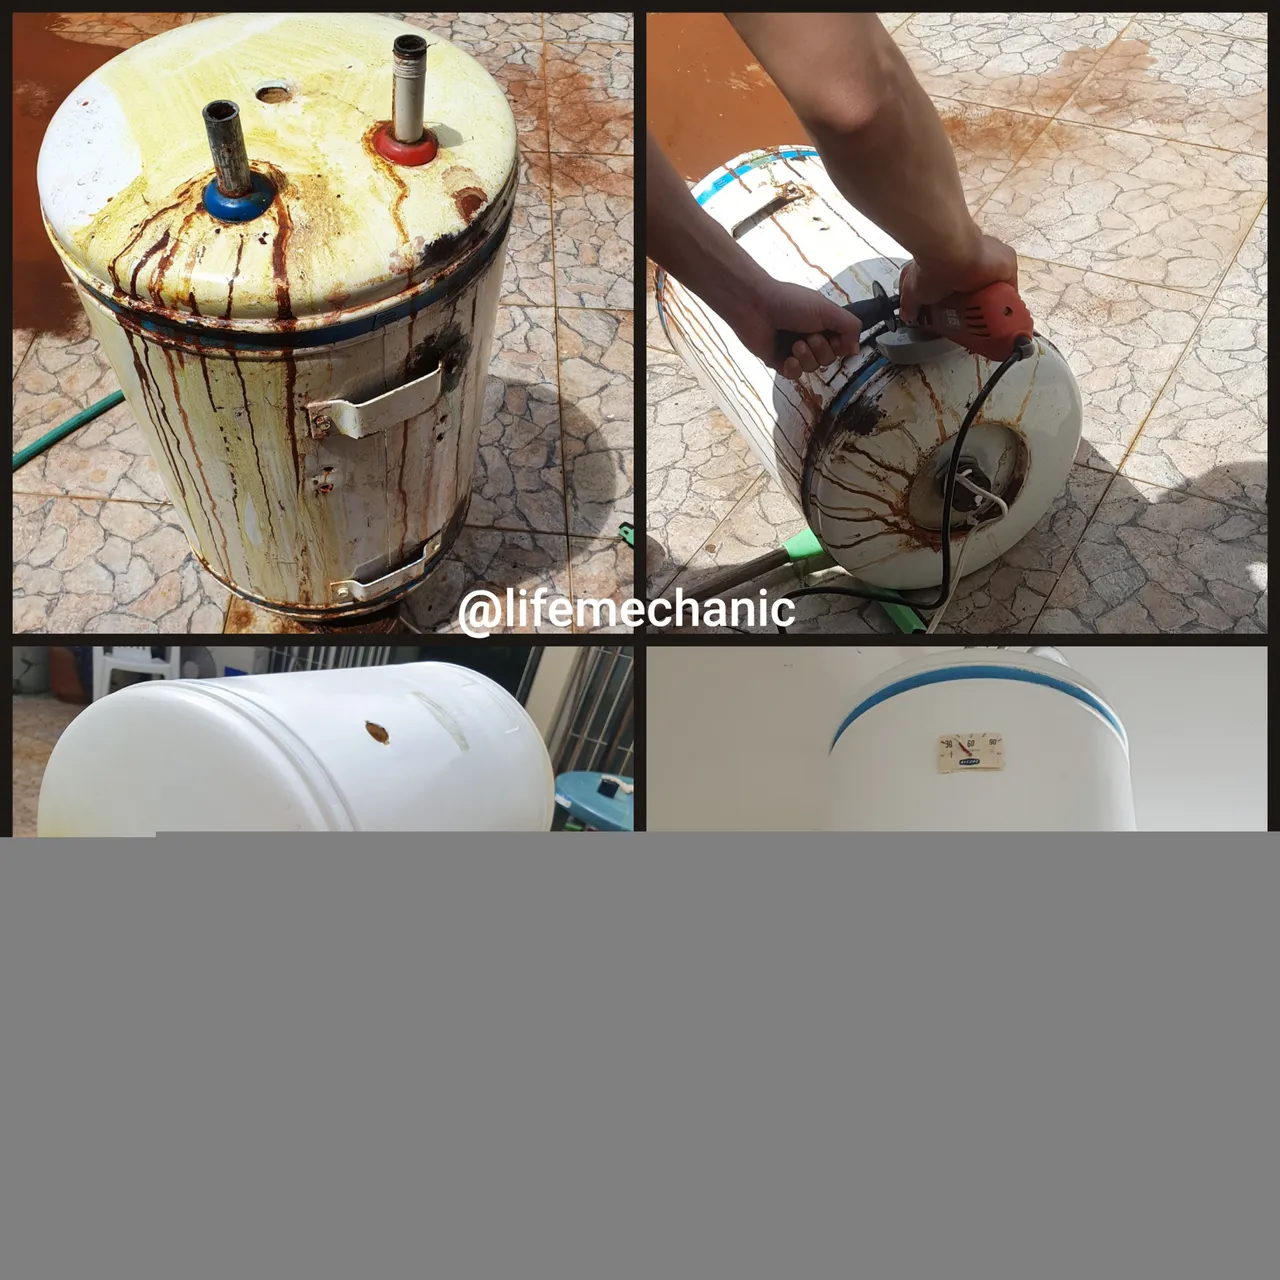
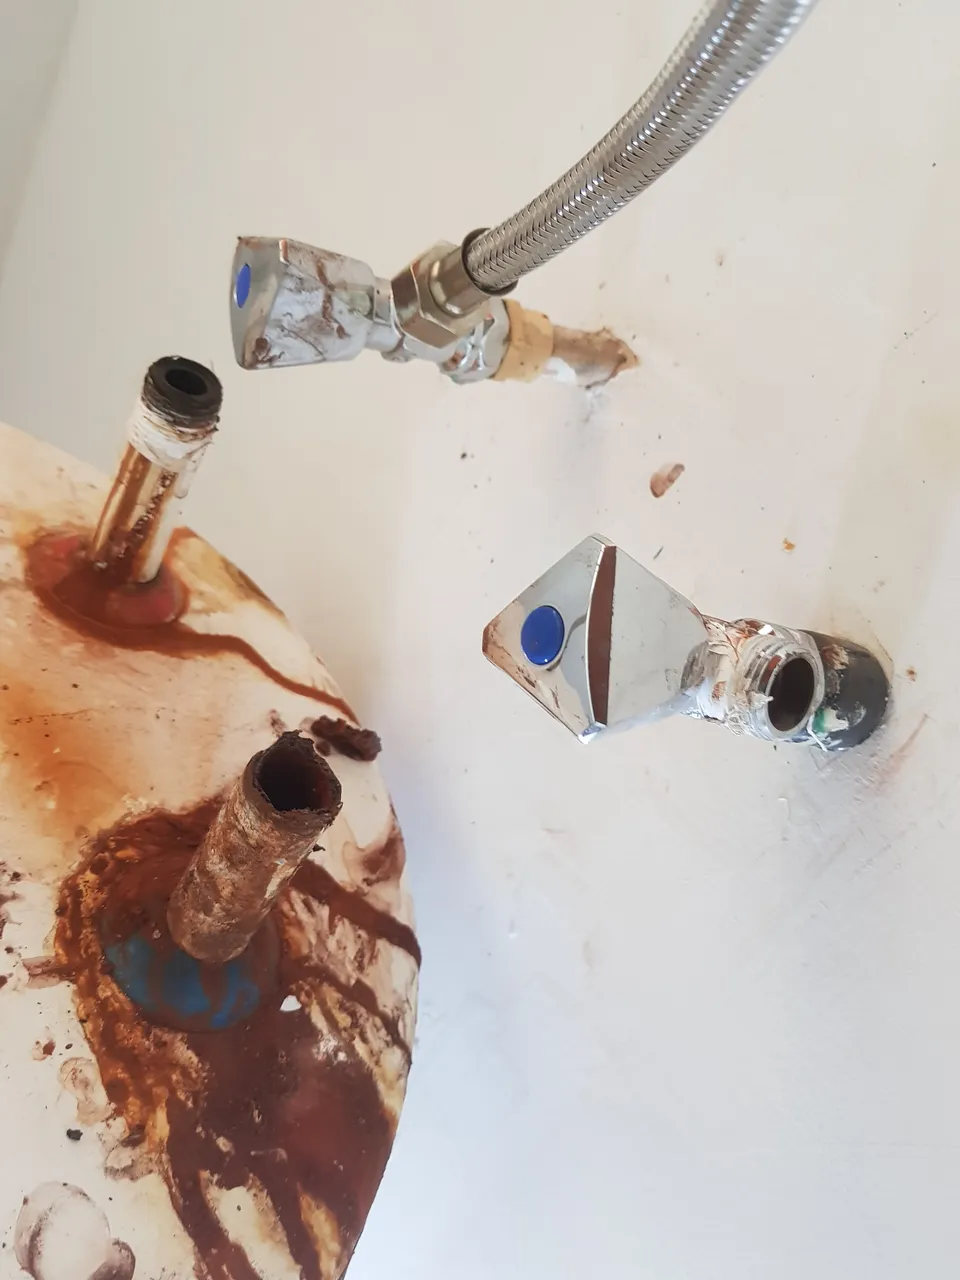
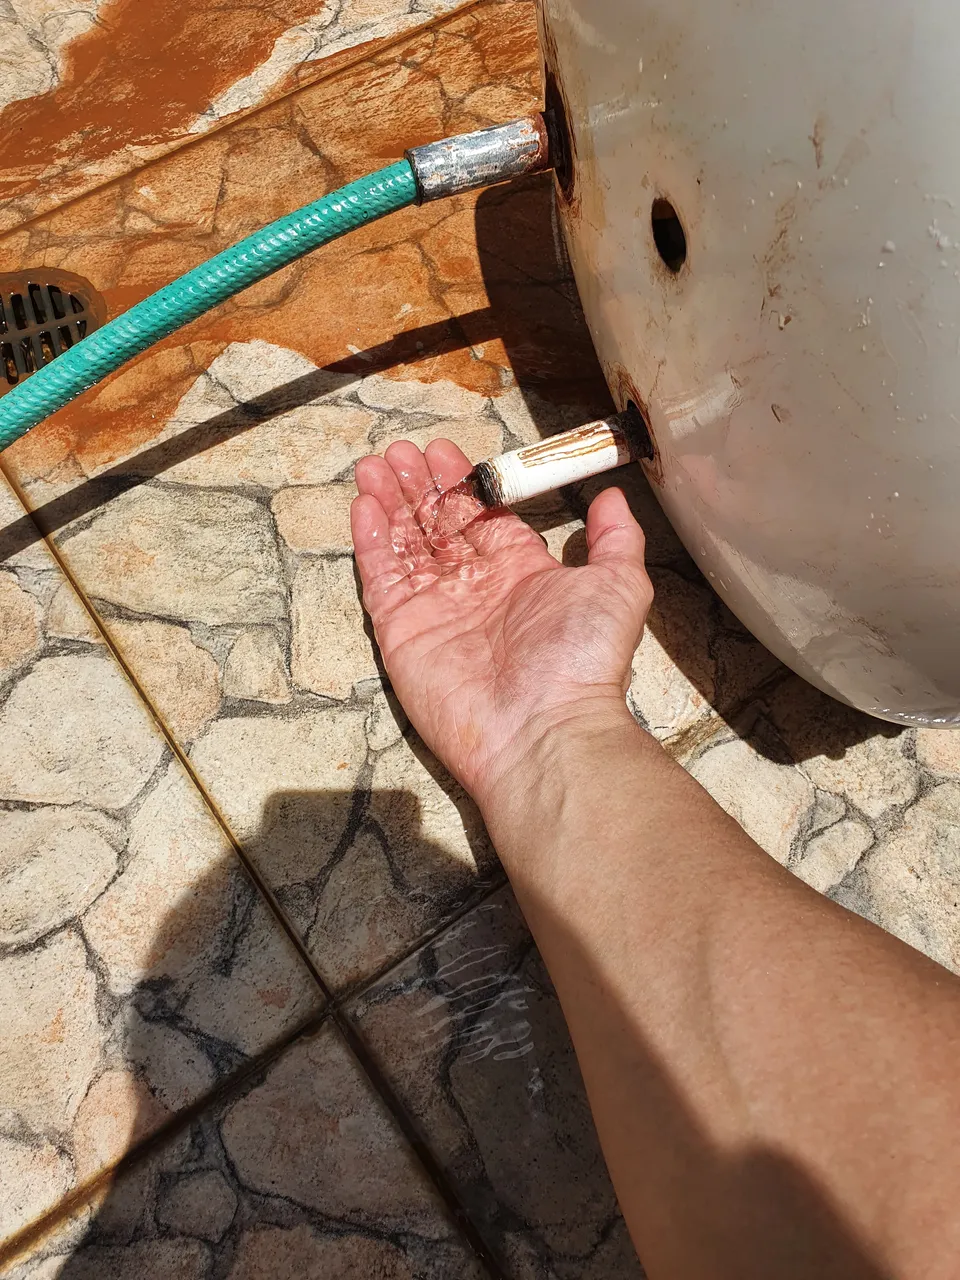
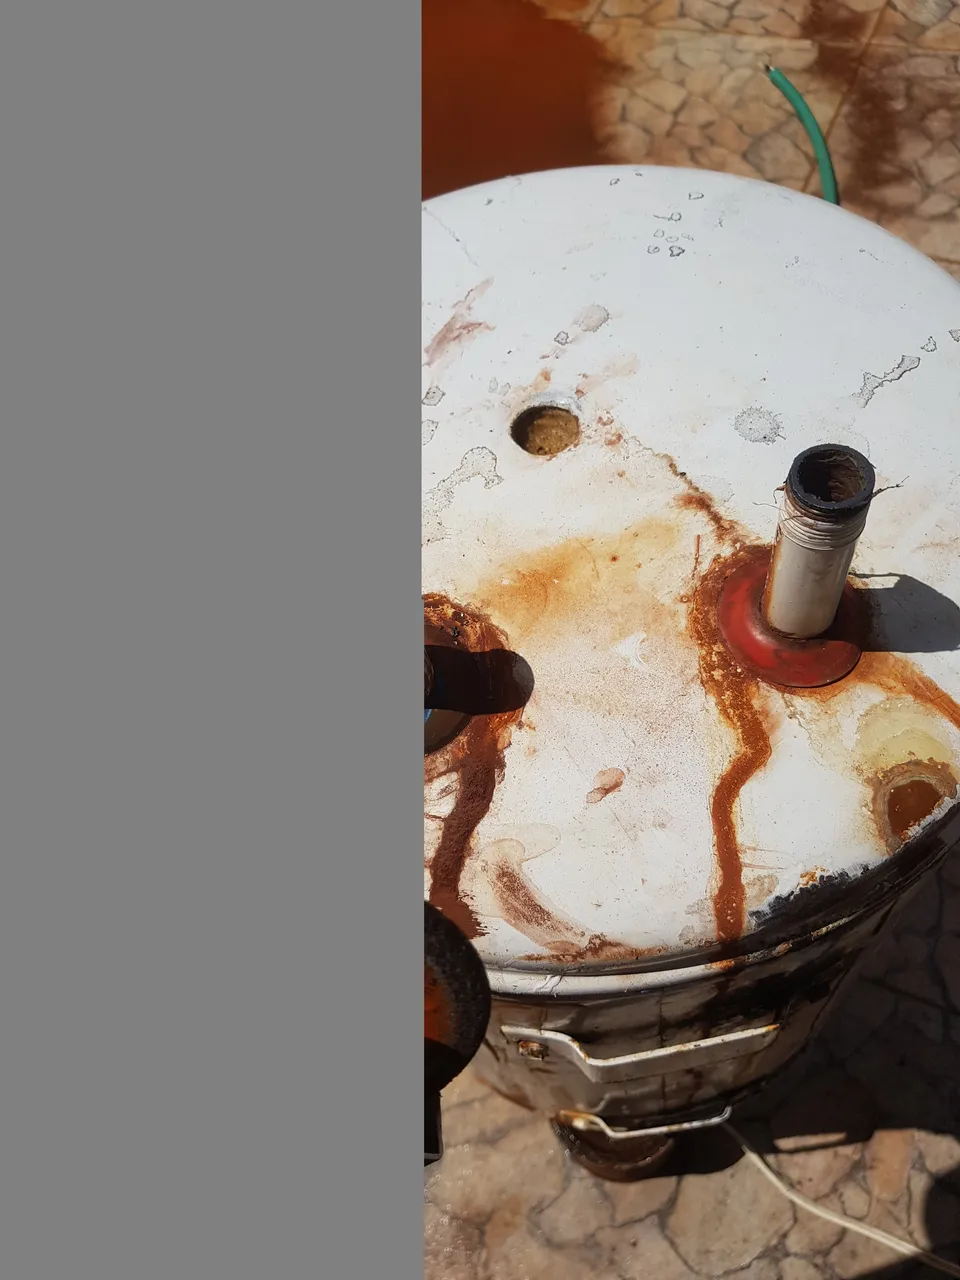
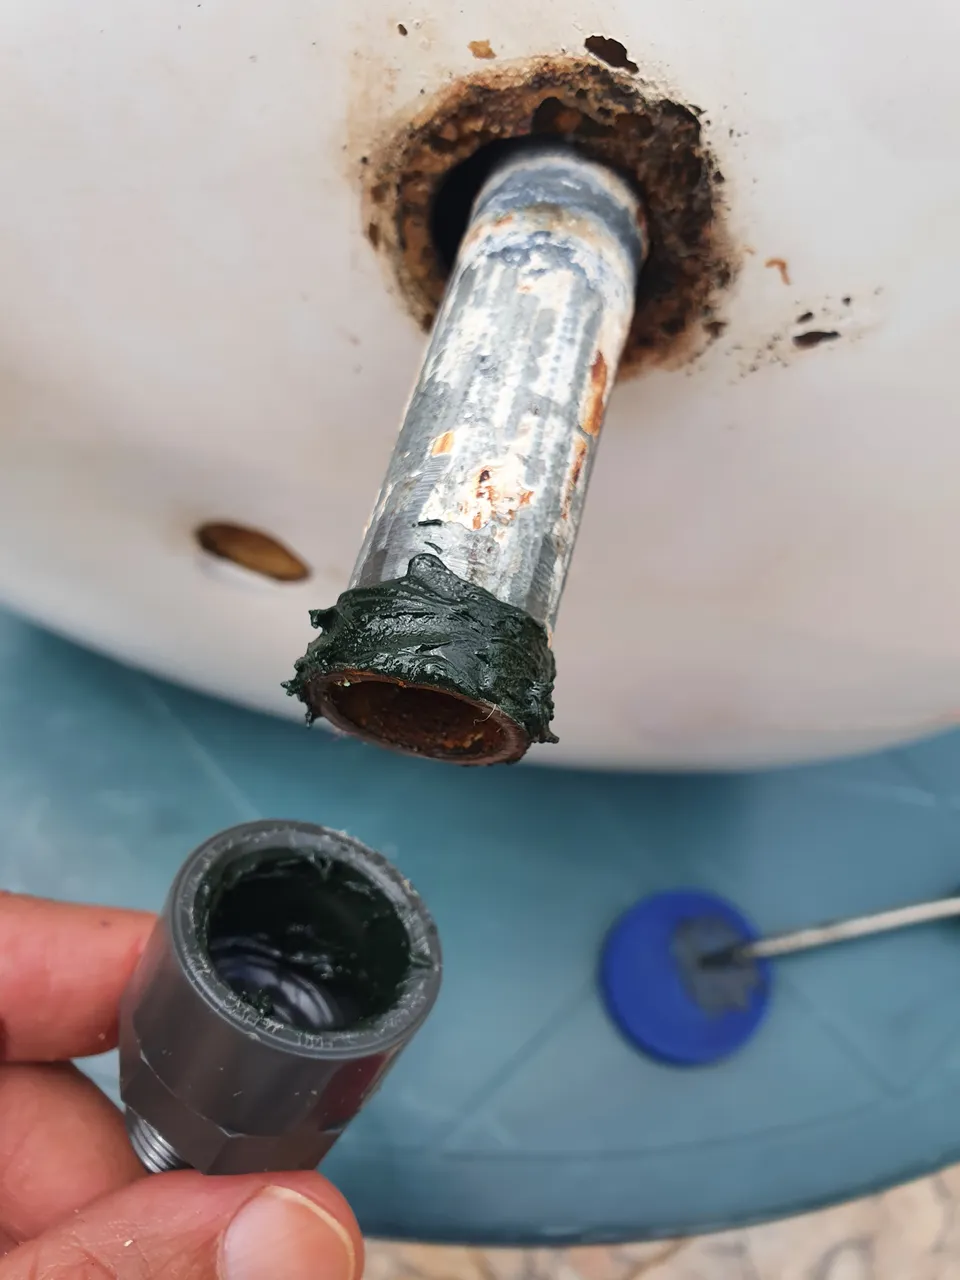
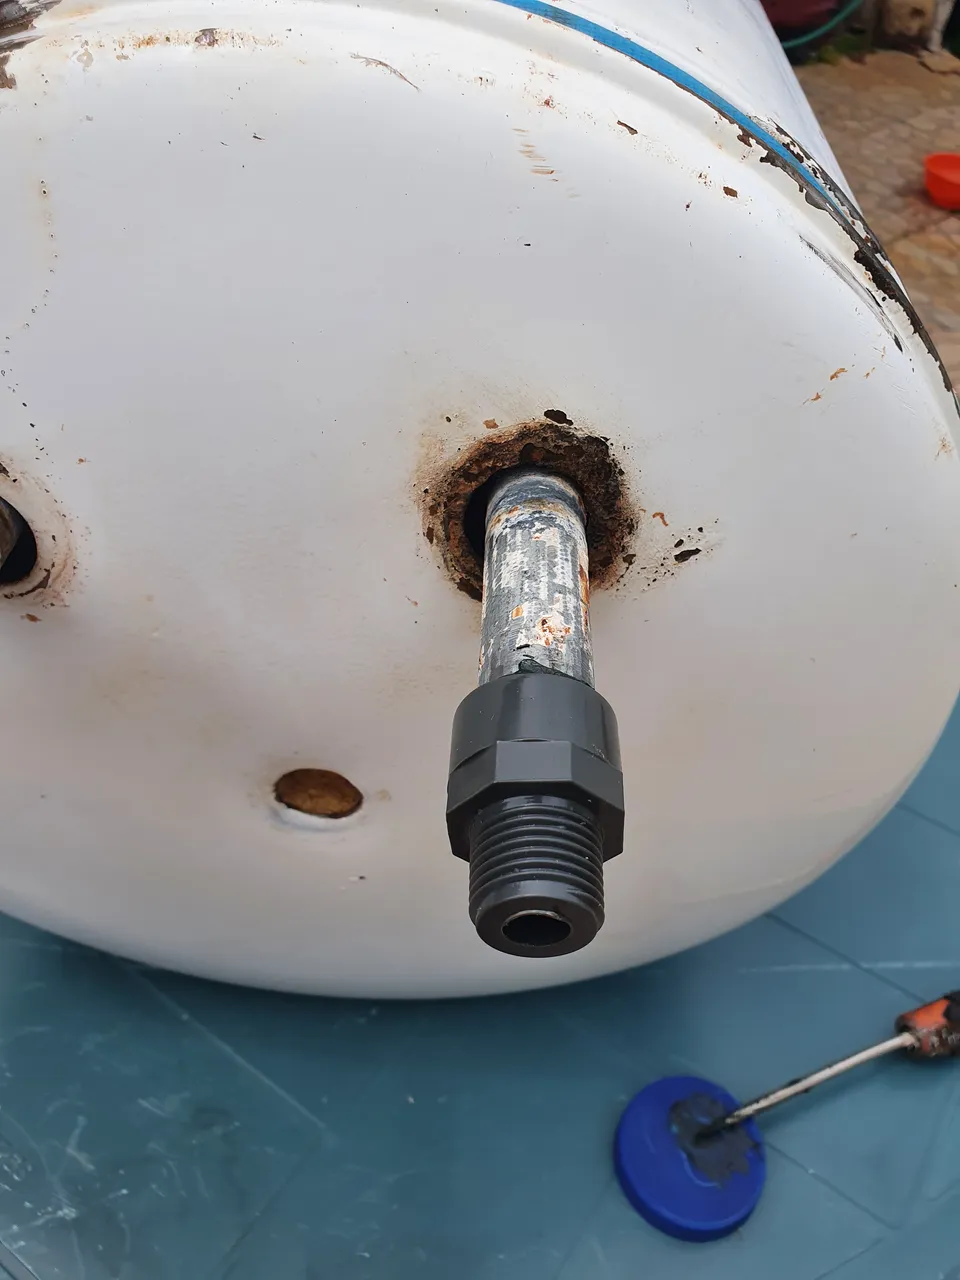
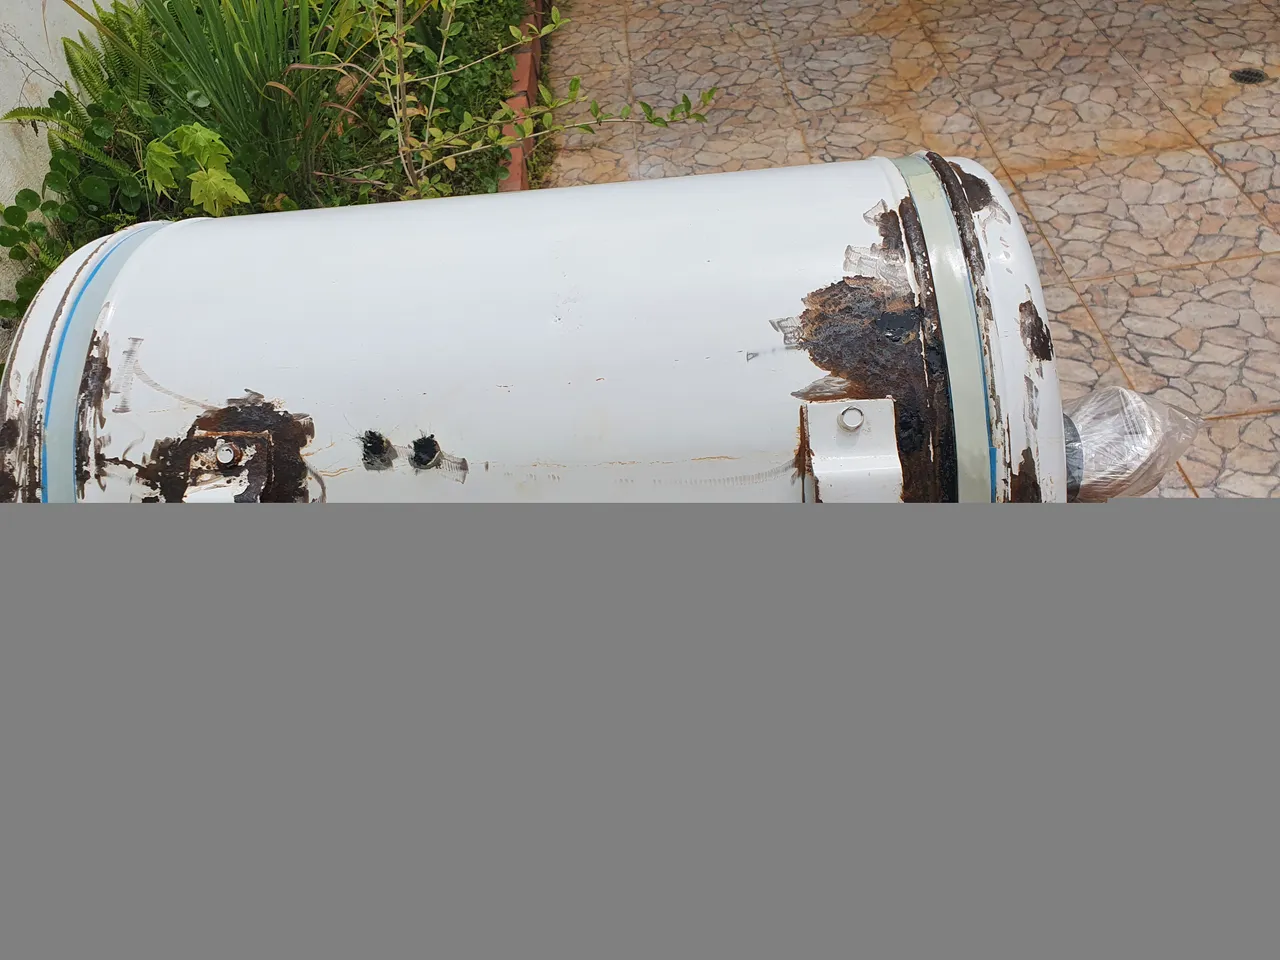
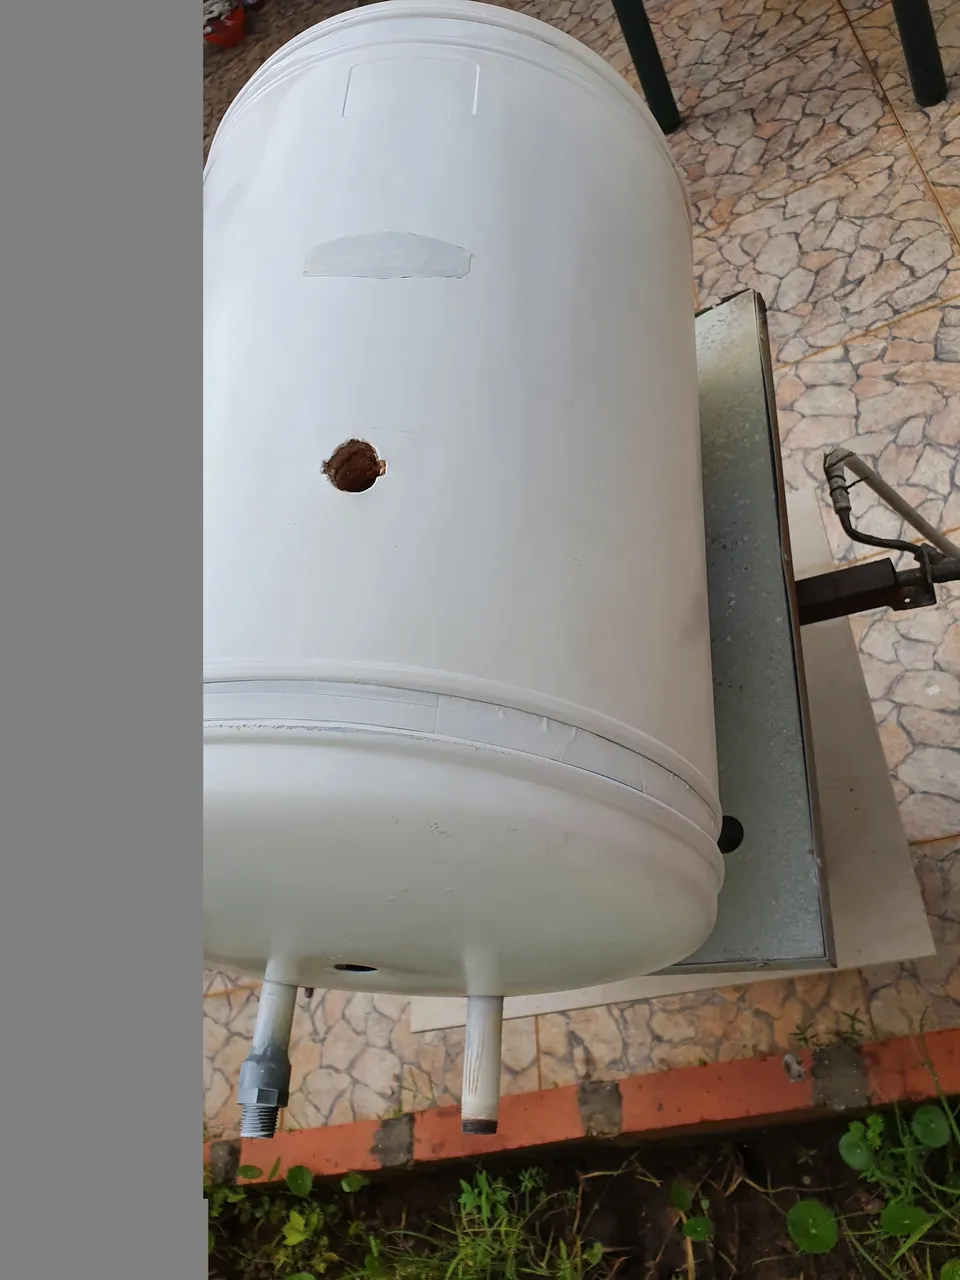
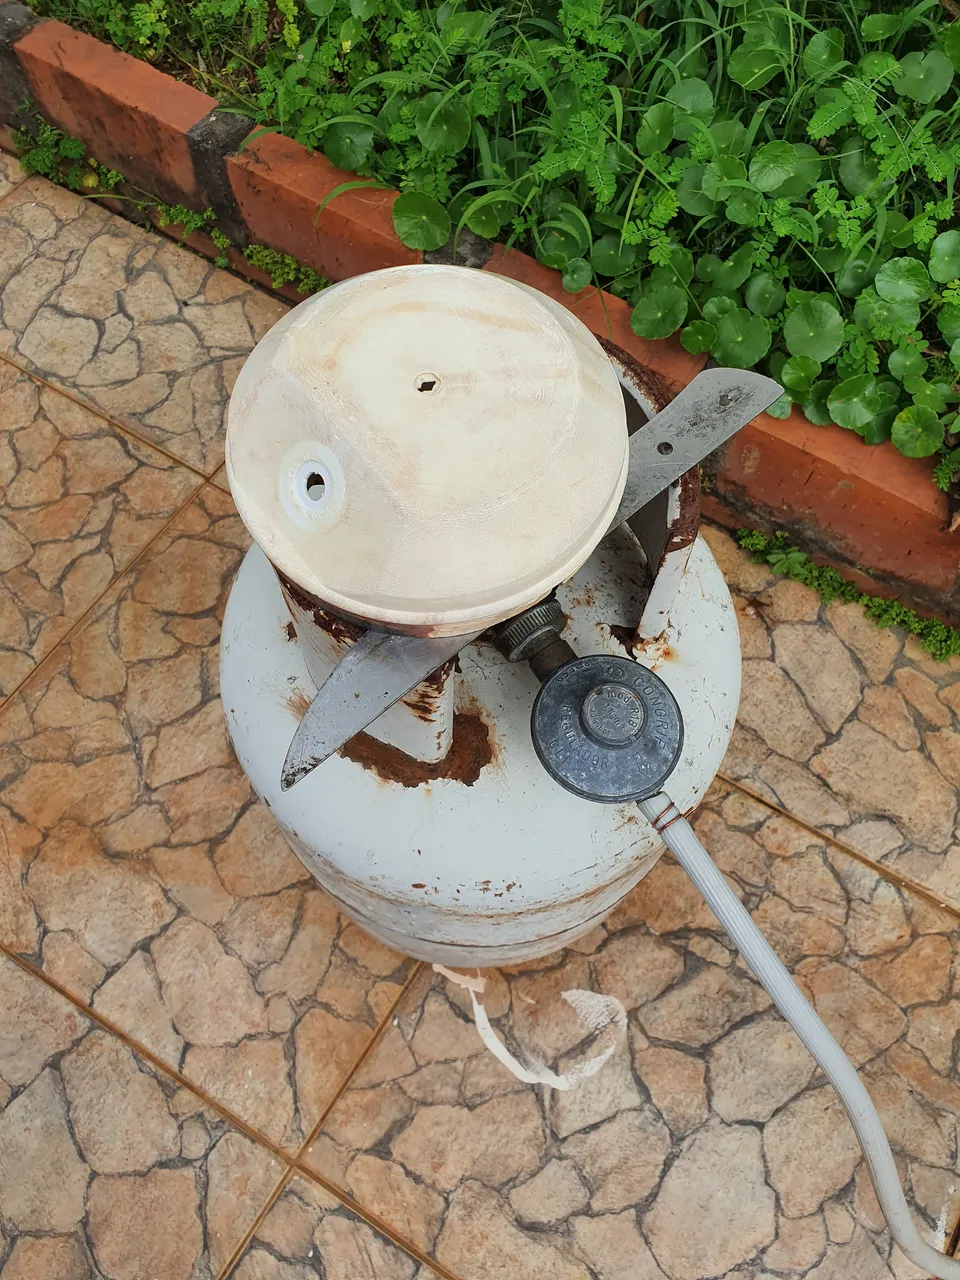
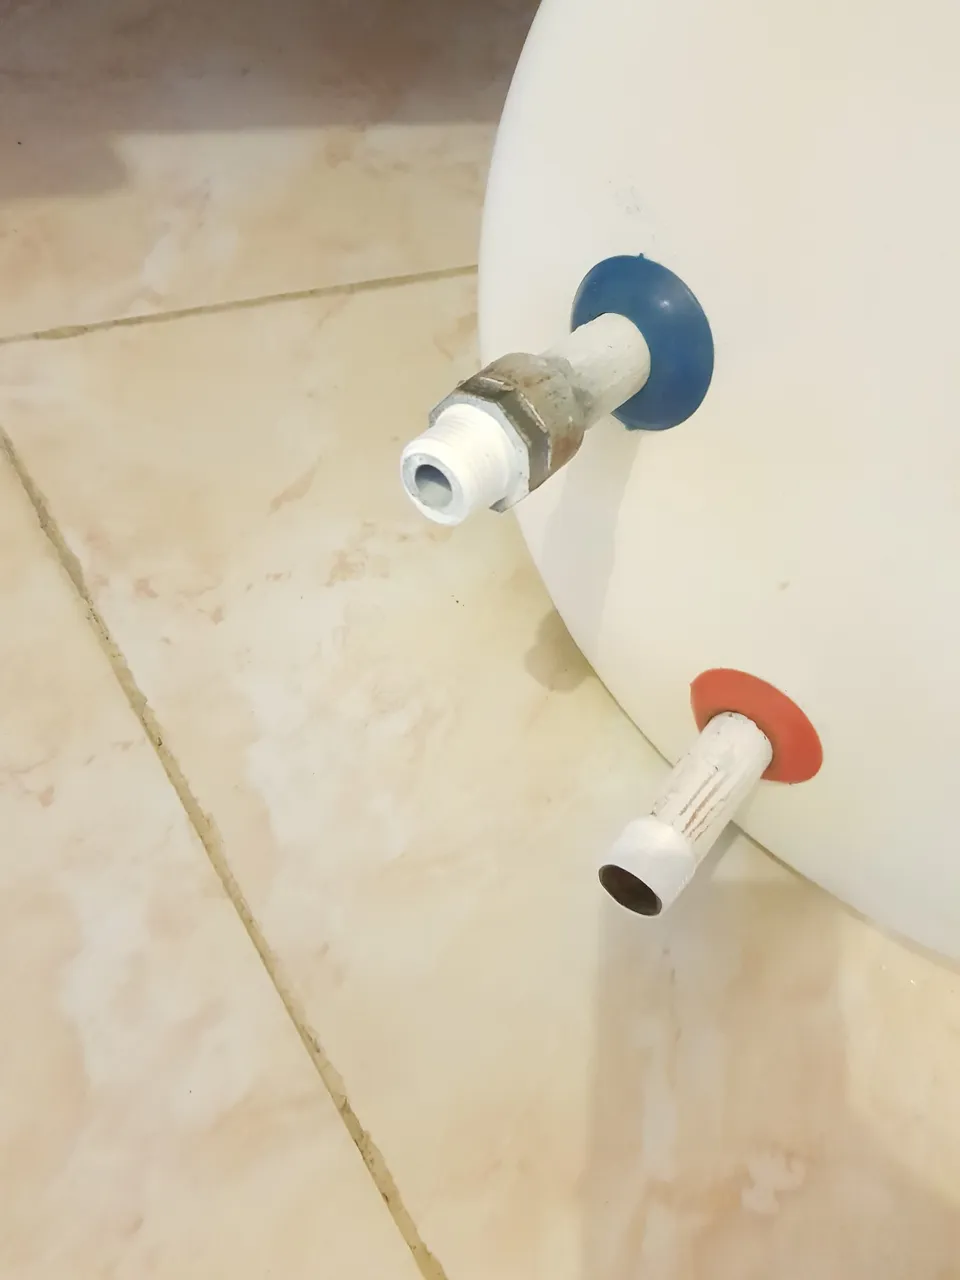
Aquí se puede ver que una de las entradas de agua del calentador perdió su rosca a causa del óxido. Afortunadamente es del lado de agua fría y podemos reemplazarla con una rosca de plástico.
Here you can see that one of the heater's water inlets has lost its thread due to rust. Fortunately it is on the cold water side and we can replace it with a plastic thread.
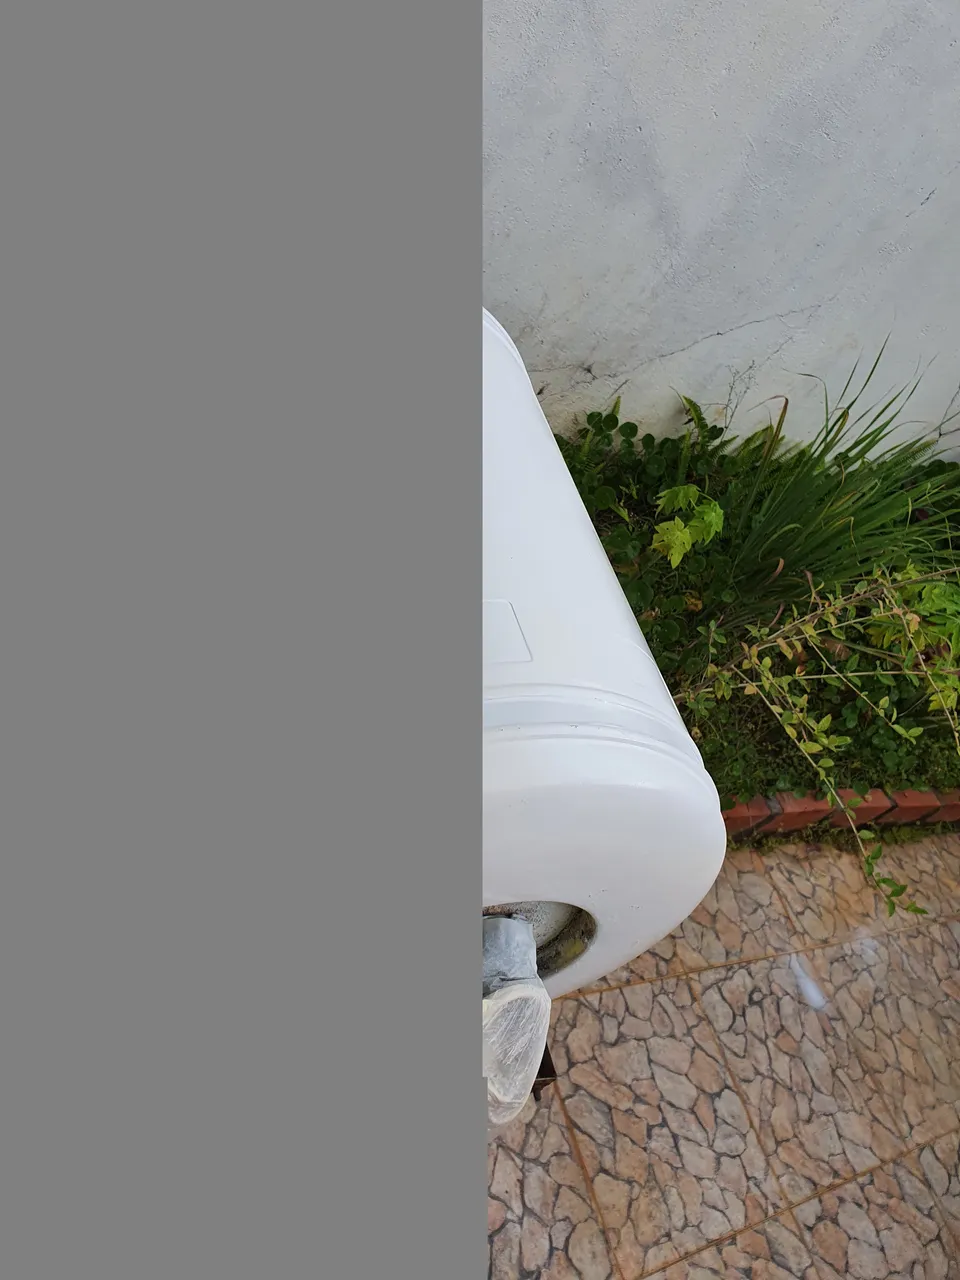
Bajamos con mucho cuidado el calentador ya que esta lleno de agua y así es mas pesado. Si es posible pidan ayuda de varias personas.
We carefully lower the heater as it is full of water and therefore heavier. If possible, ask for help from several people.
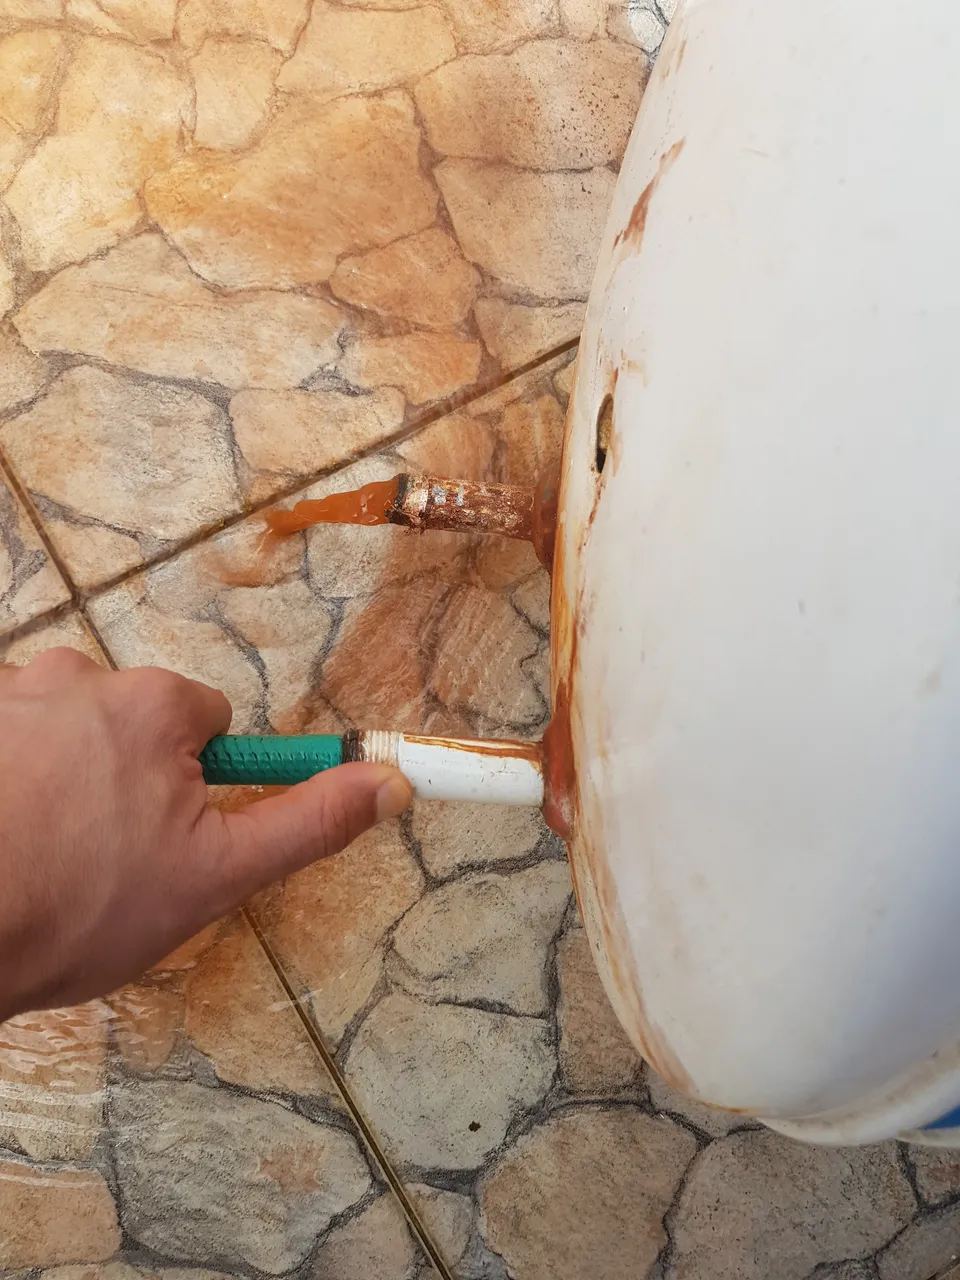
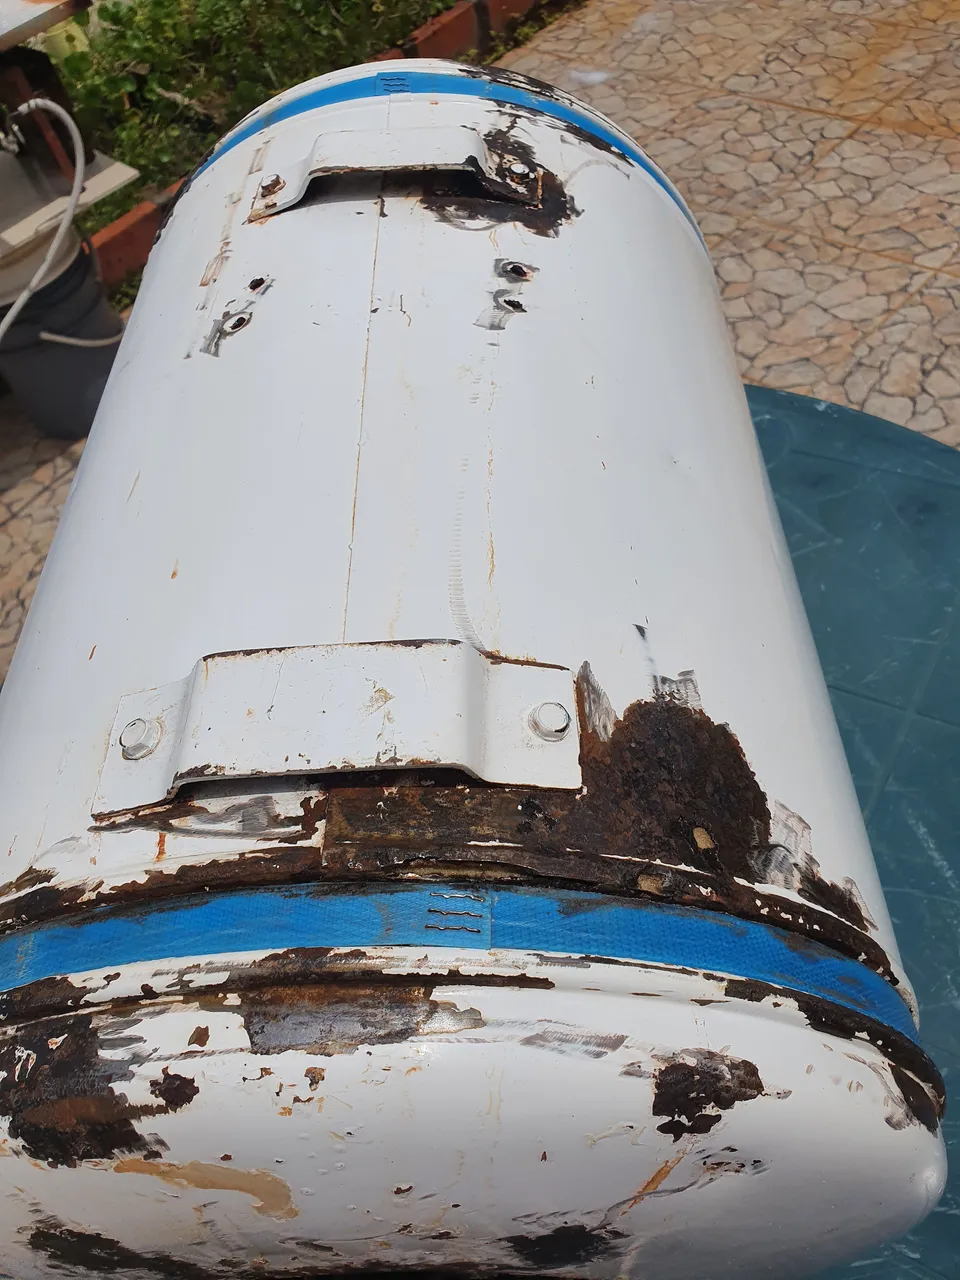
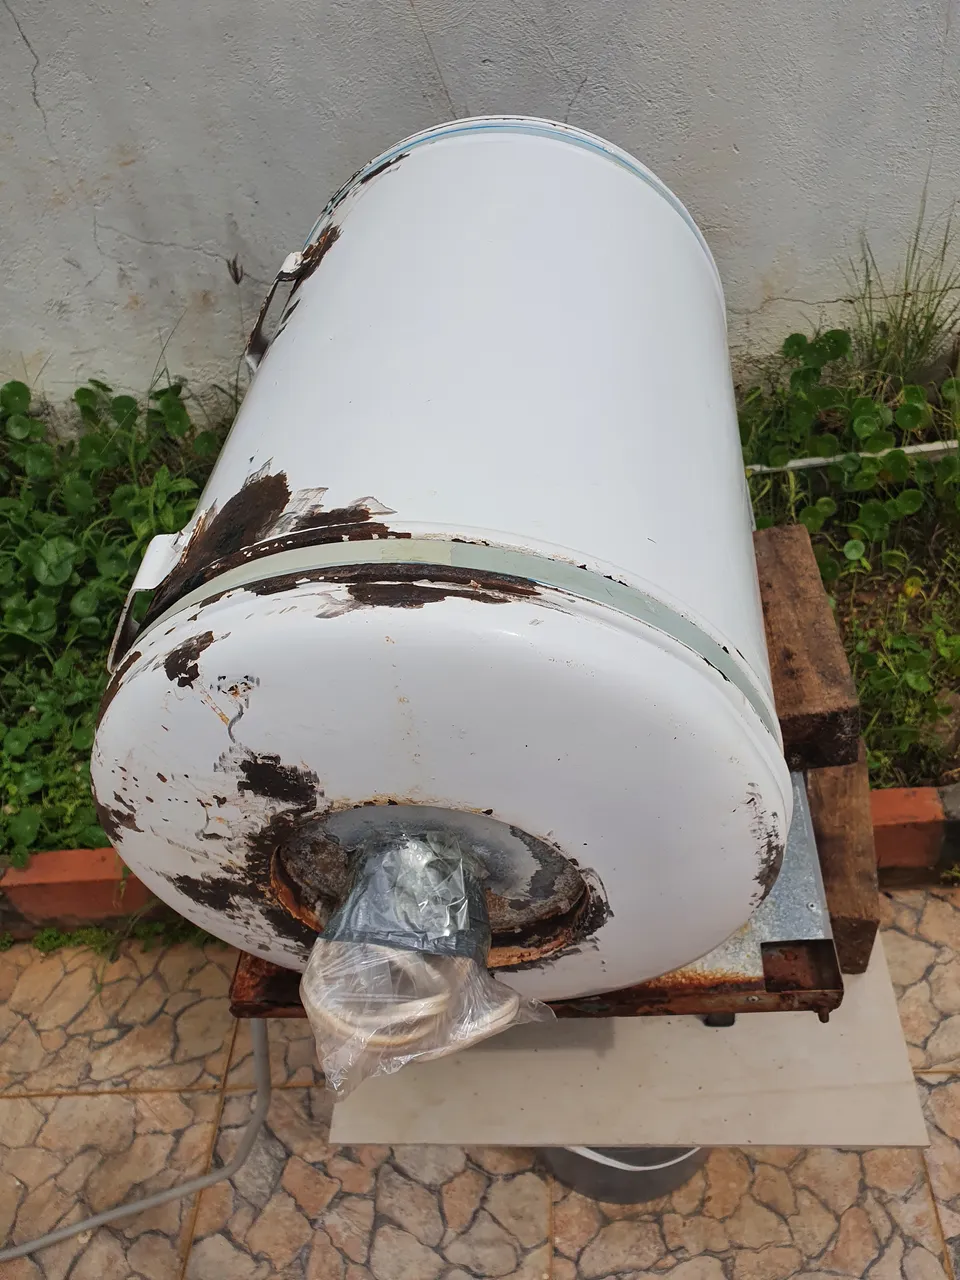
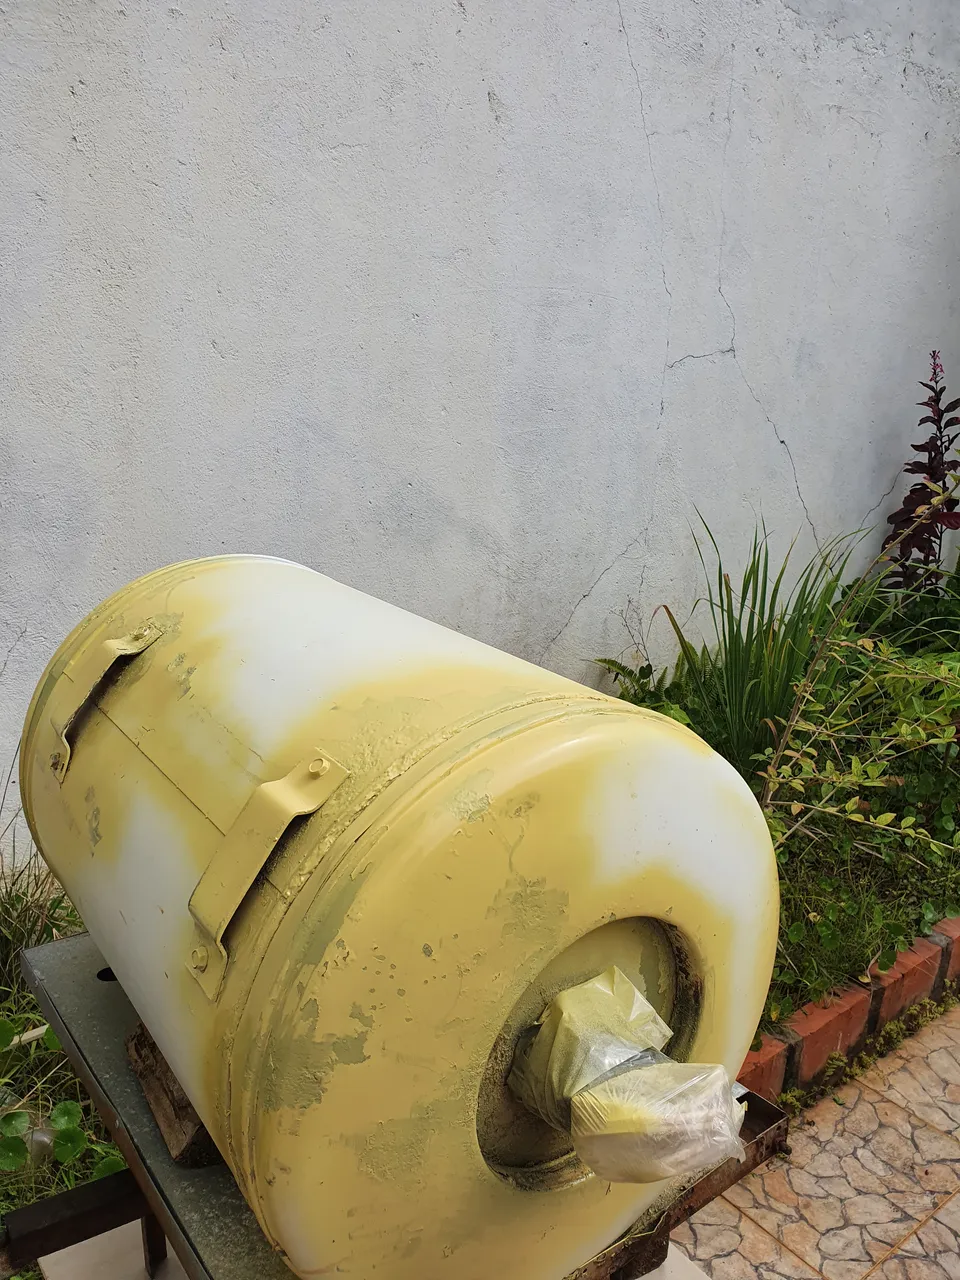
Llevamos el calentador a un lugar donde podamos drenar todo el agua oxidada de su interior y con la ayuda de una manguera le metemos agua a presión hasta que salga transparente.
We take the heater to a place where we can drain all the oxidized water inside and with the help of a hose we put water under pressure until it comes out clear.
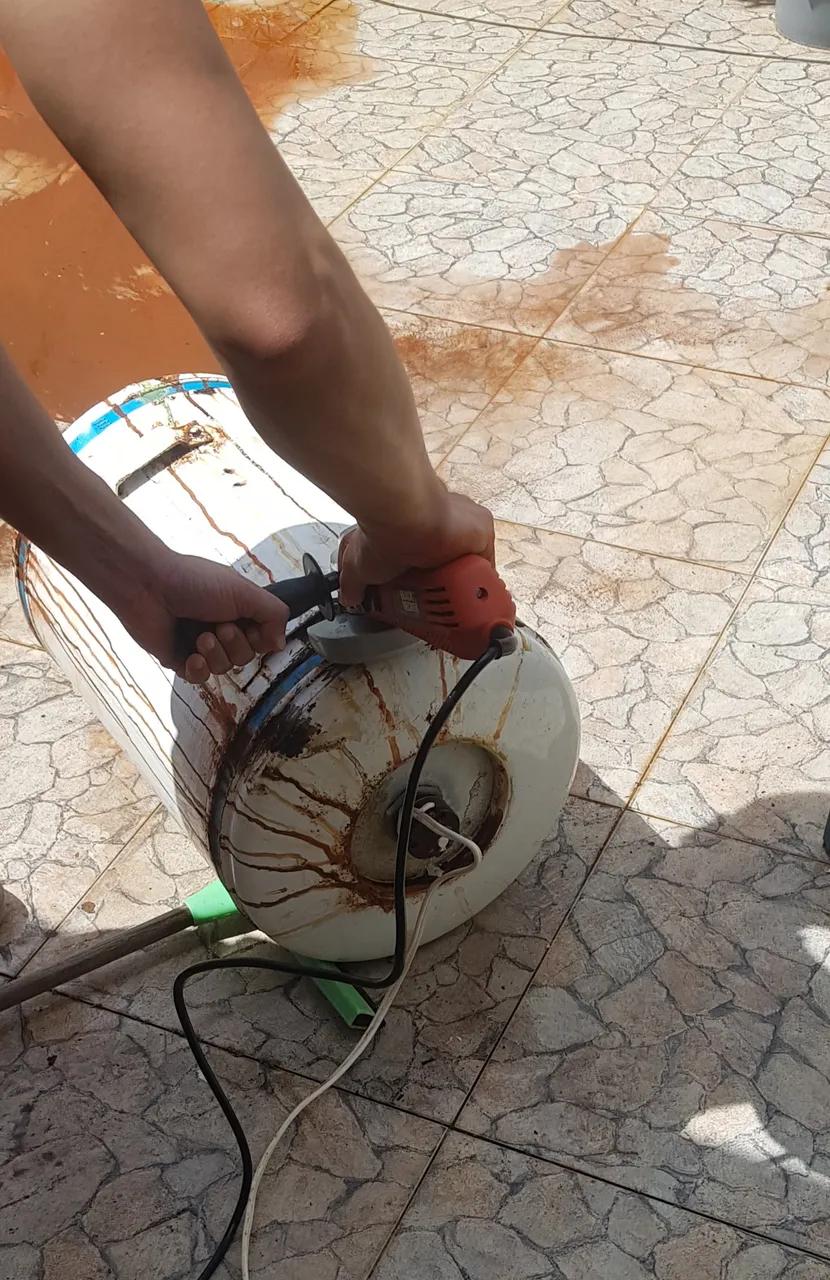
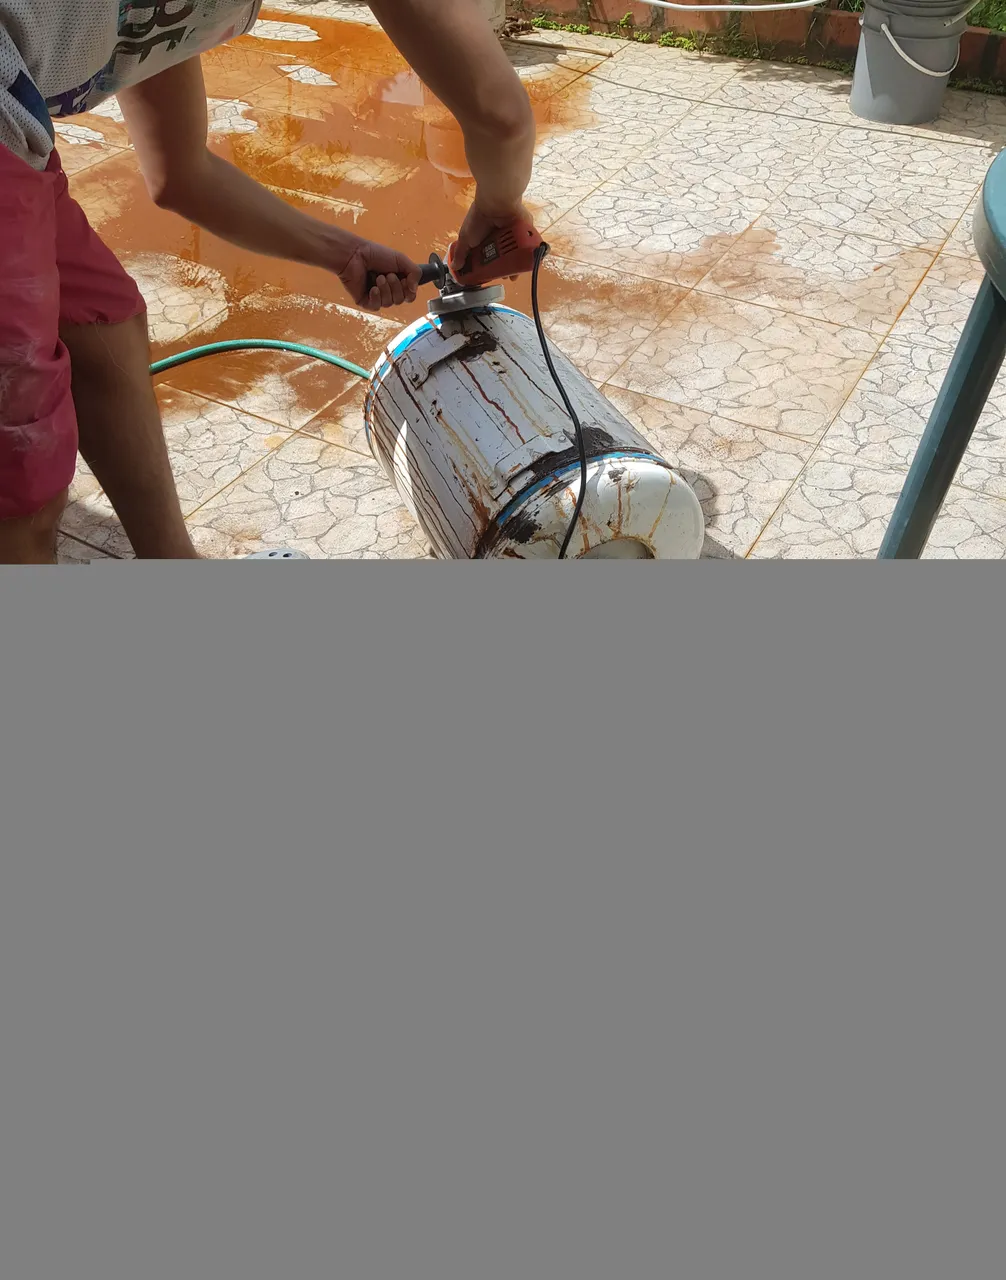
Ahora conectamos el esmeril de mano y picamos la entrada de agua fría que perdió la rosca por el óxido, para más adelante pegarle la rosca plástica.
Now we connect the hand grinder and cut the cold water inlet that lost the thread due to rust, to later glue the plastic thread.
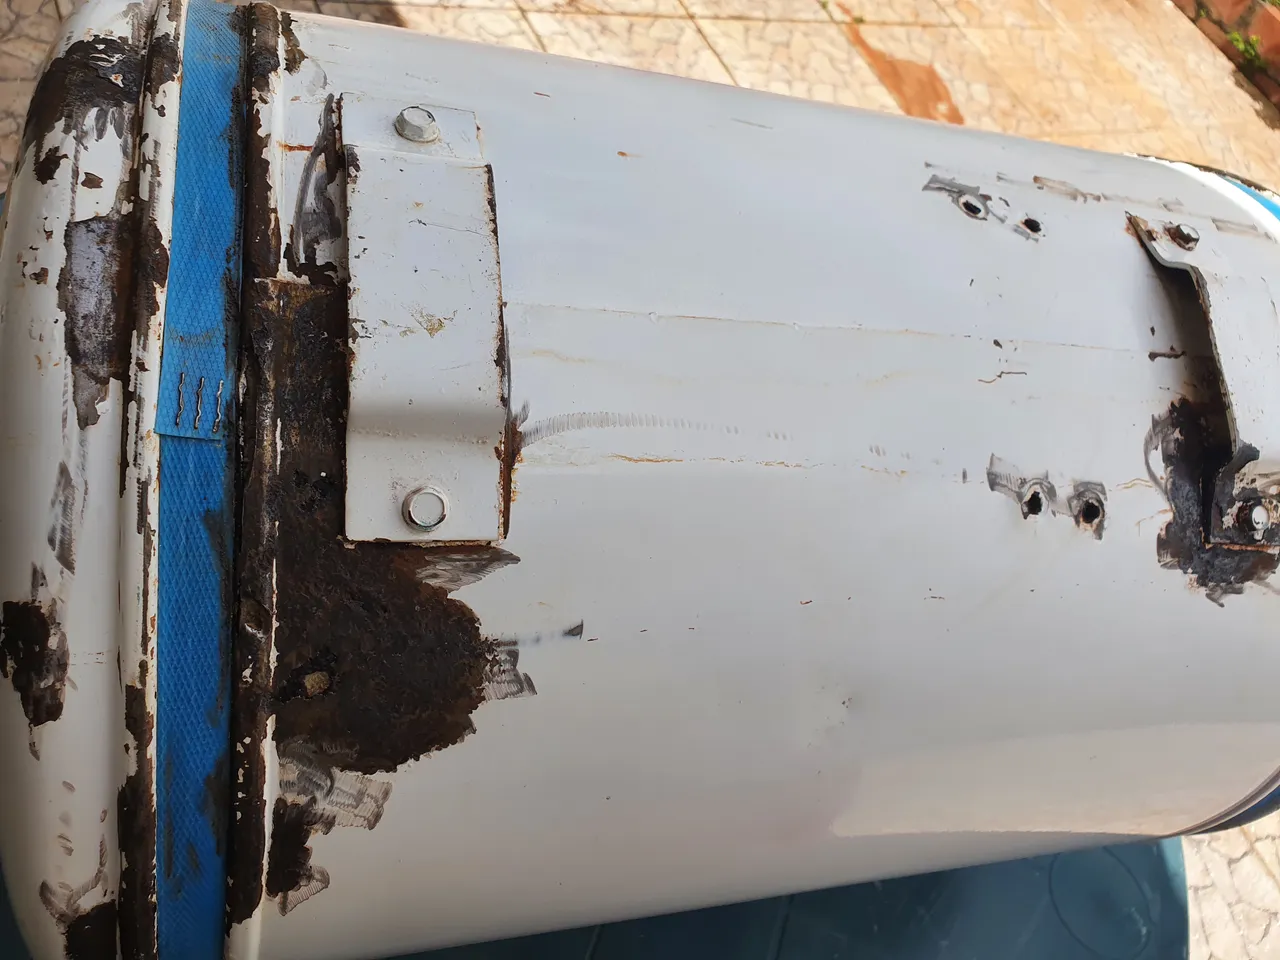
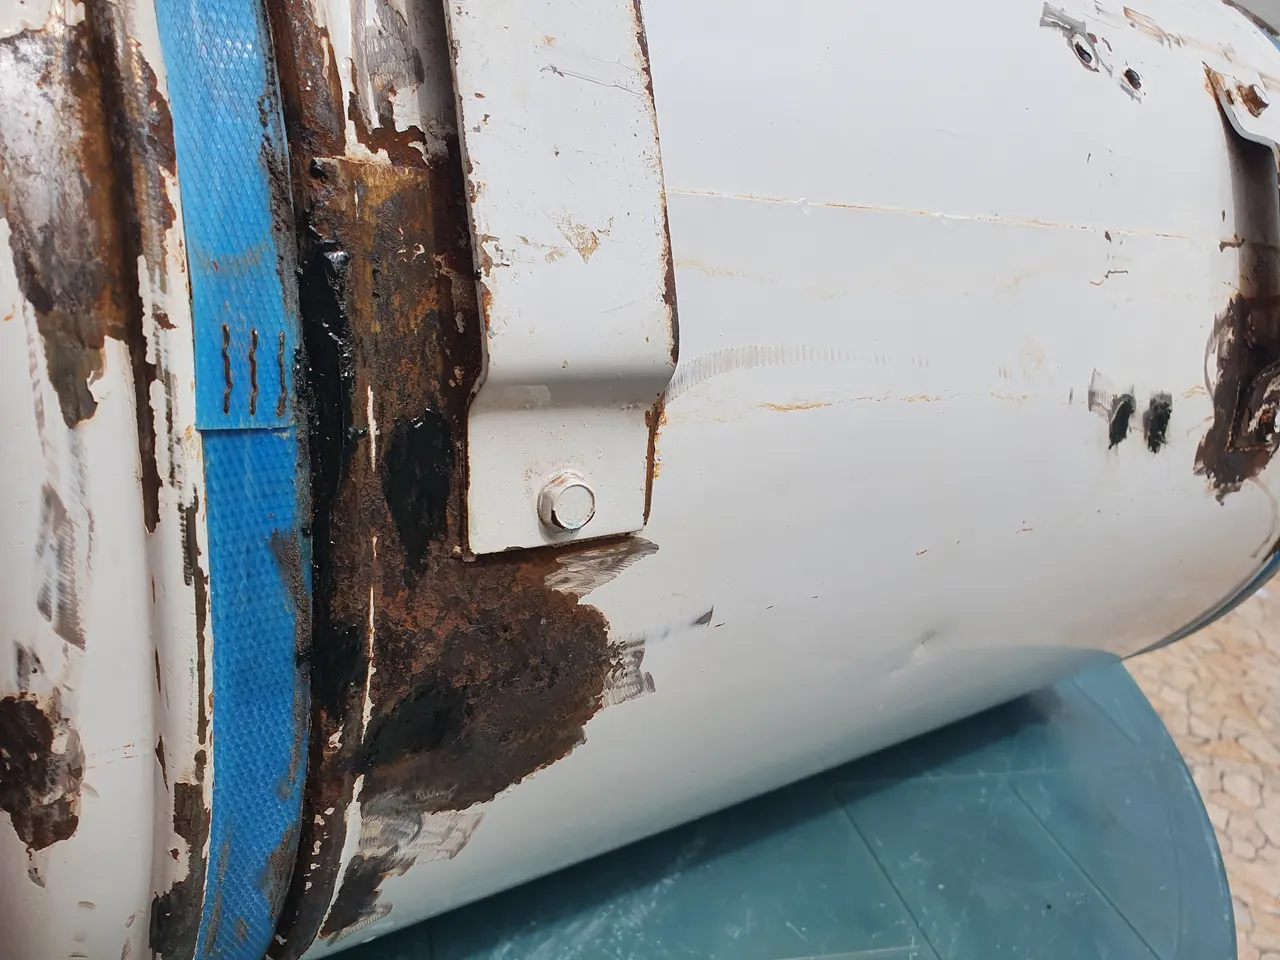
Seguimos usando el esmeril para quitar el óxido en el latón de la superficie del tanque calentador hasta que no quede óxido.
We continue to use the emery to remove the oxide on the brass surface of the heater tank until no oxide remains.
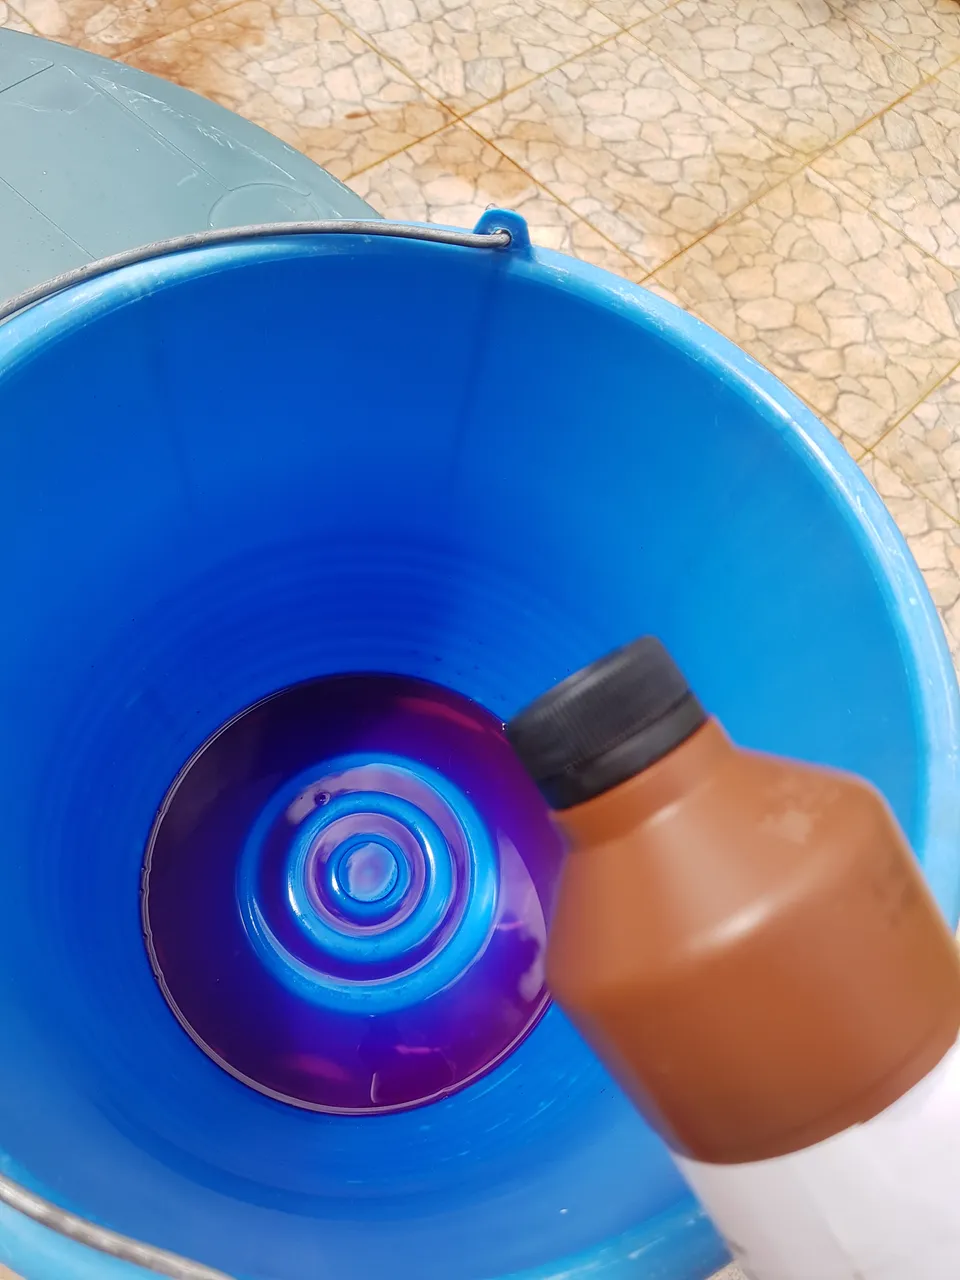
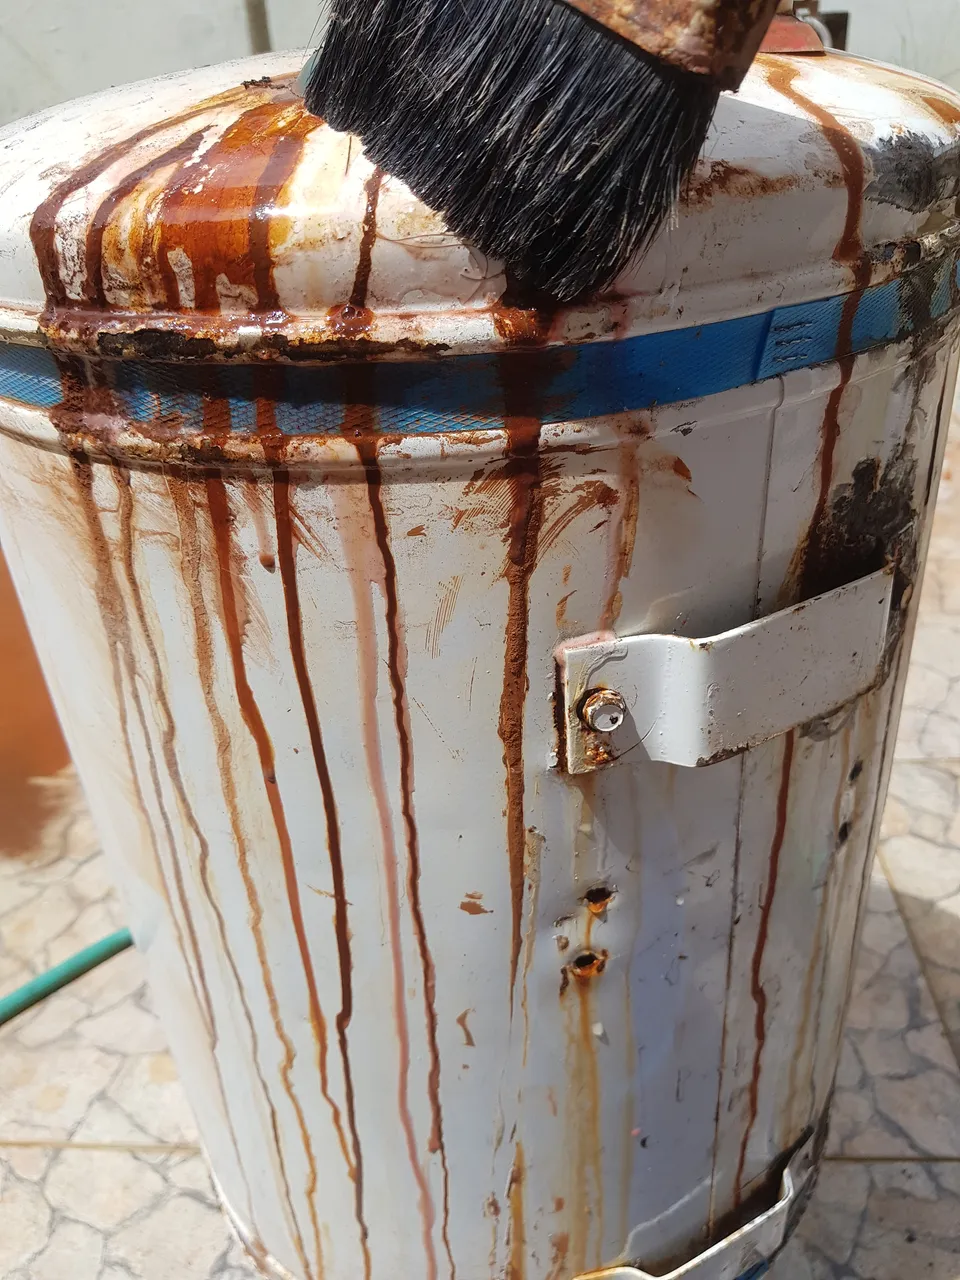
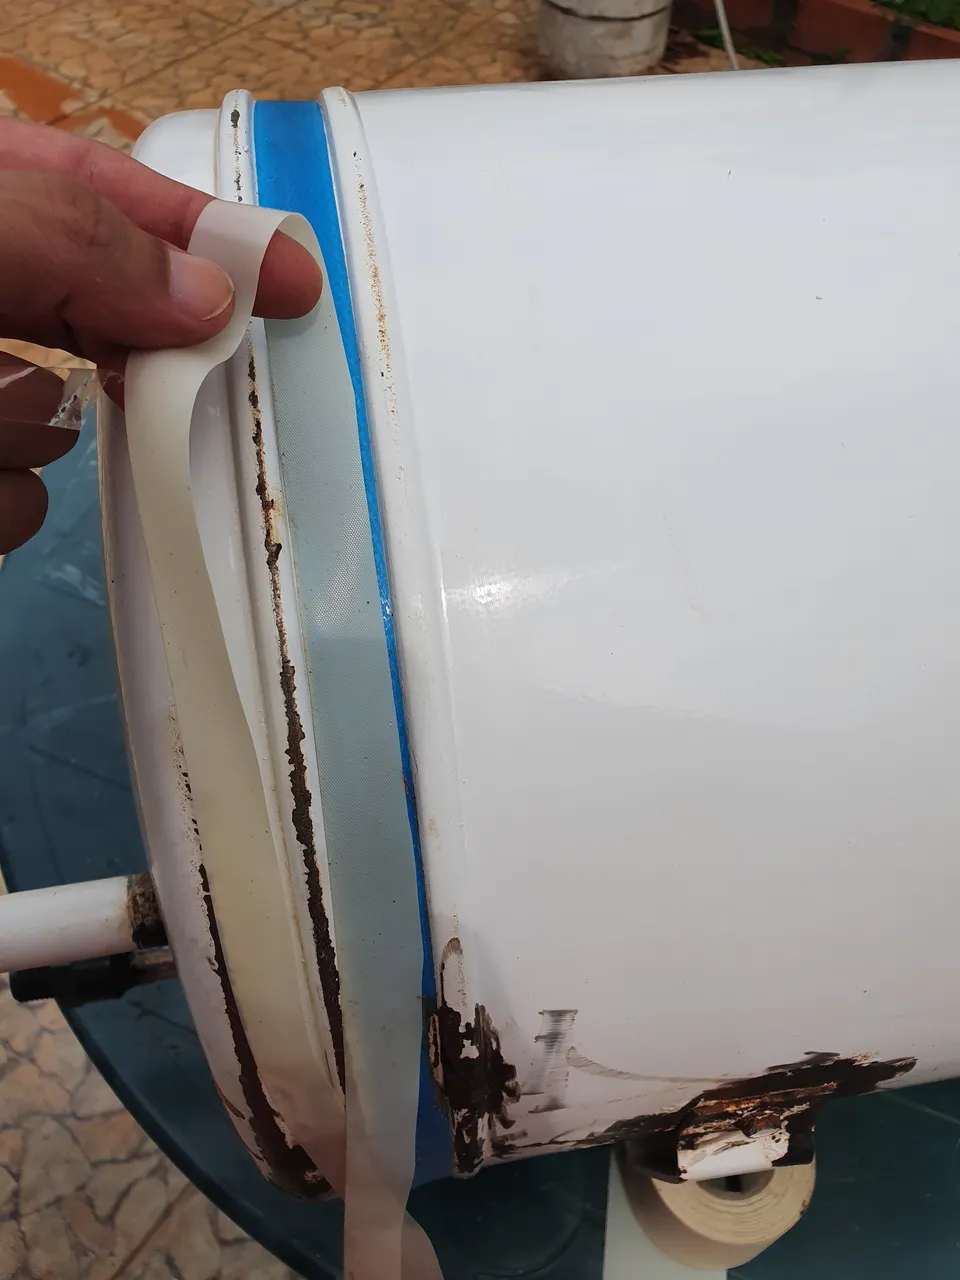
Con mucho cuidado colocamos blanqueador de baños y con la ayuda de una brocha le ponemos al tanque para así remover más fácil el óxido y sucio. Dejar actuar por unos minutos y luego retirar con agua.
With great care we place bleach of baths and with the help of a brush we put it to the tank in order to remove the oxide and dirt easier. Let it act for a few minutes and then remove with water.
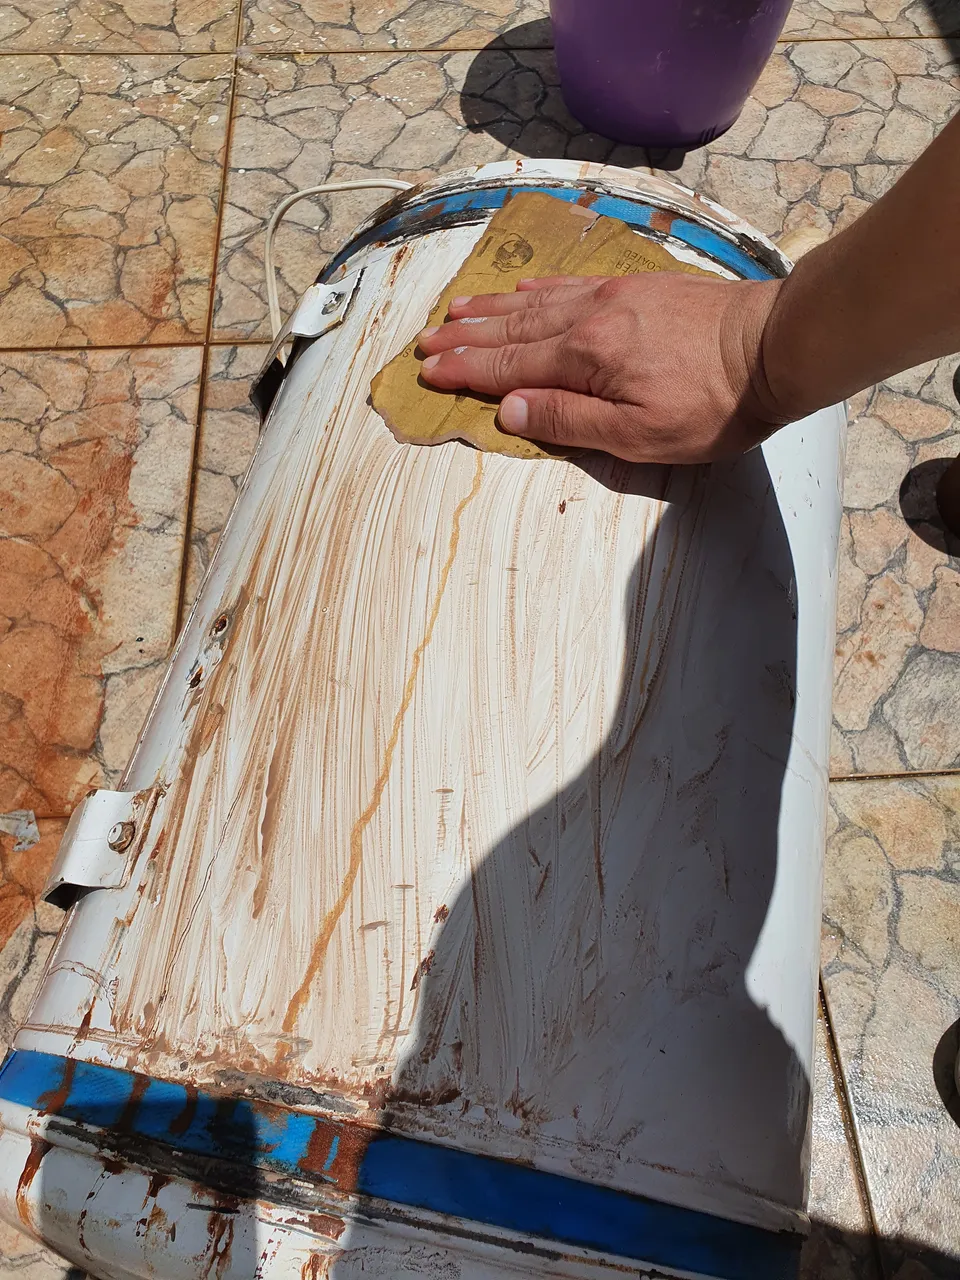
Quitar con agua el producto limpiador y con la ayuda de una lija resistente al agua removemos la superficie manchada y oxidada.
Remove the cleaning product with water and with the help of a waterproof sandpaper we remove the stained and oxidized surface.
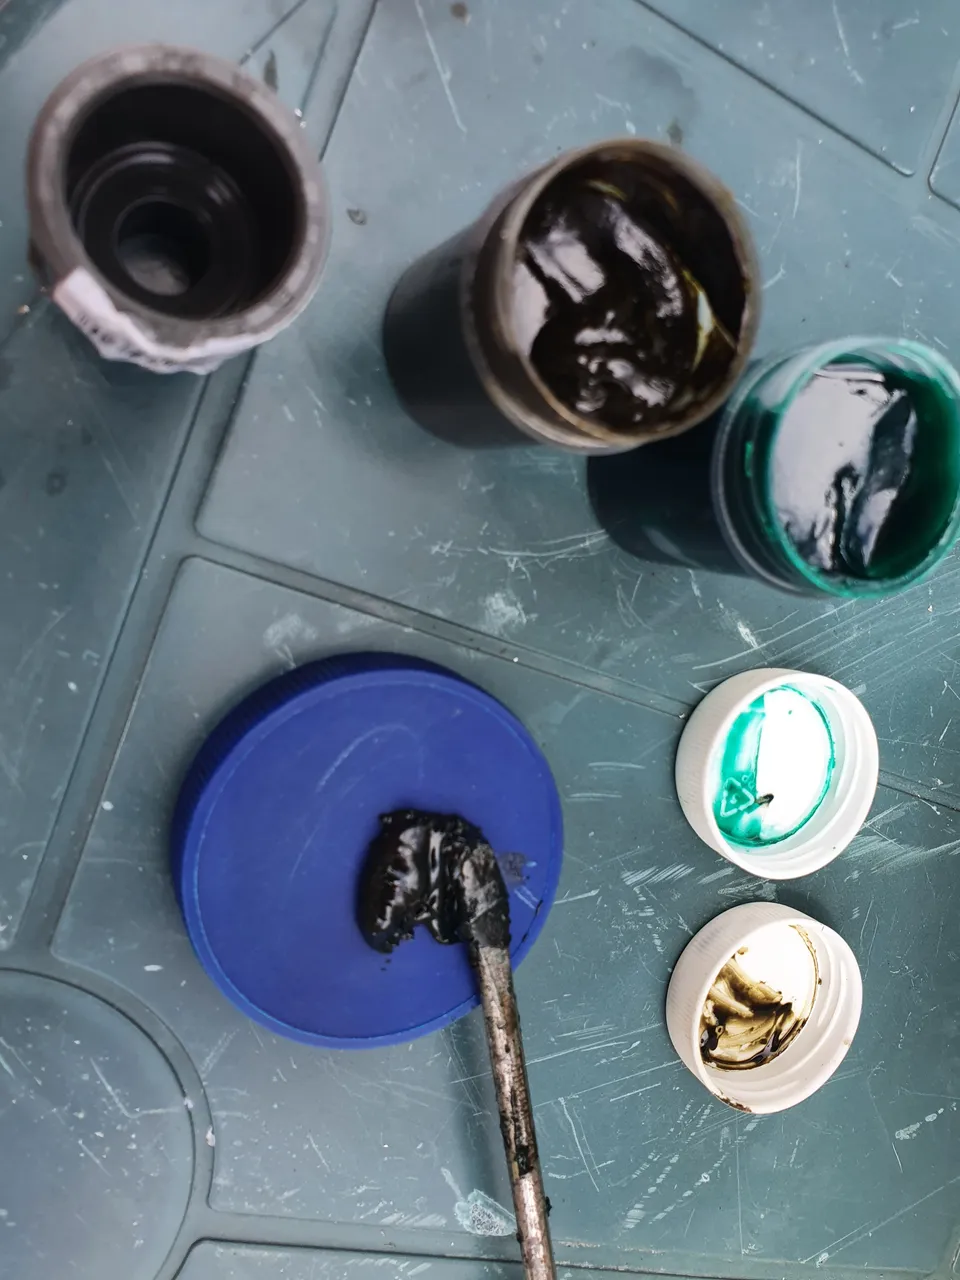
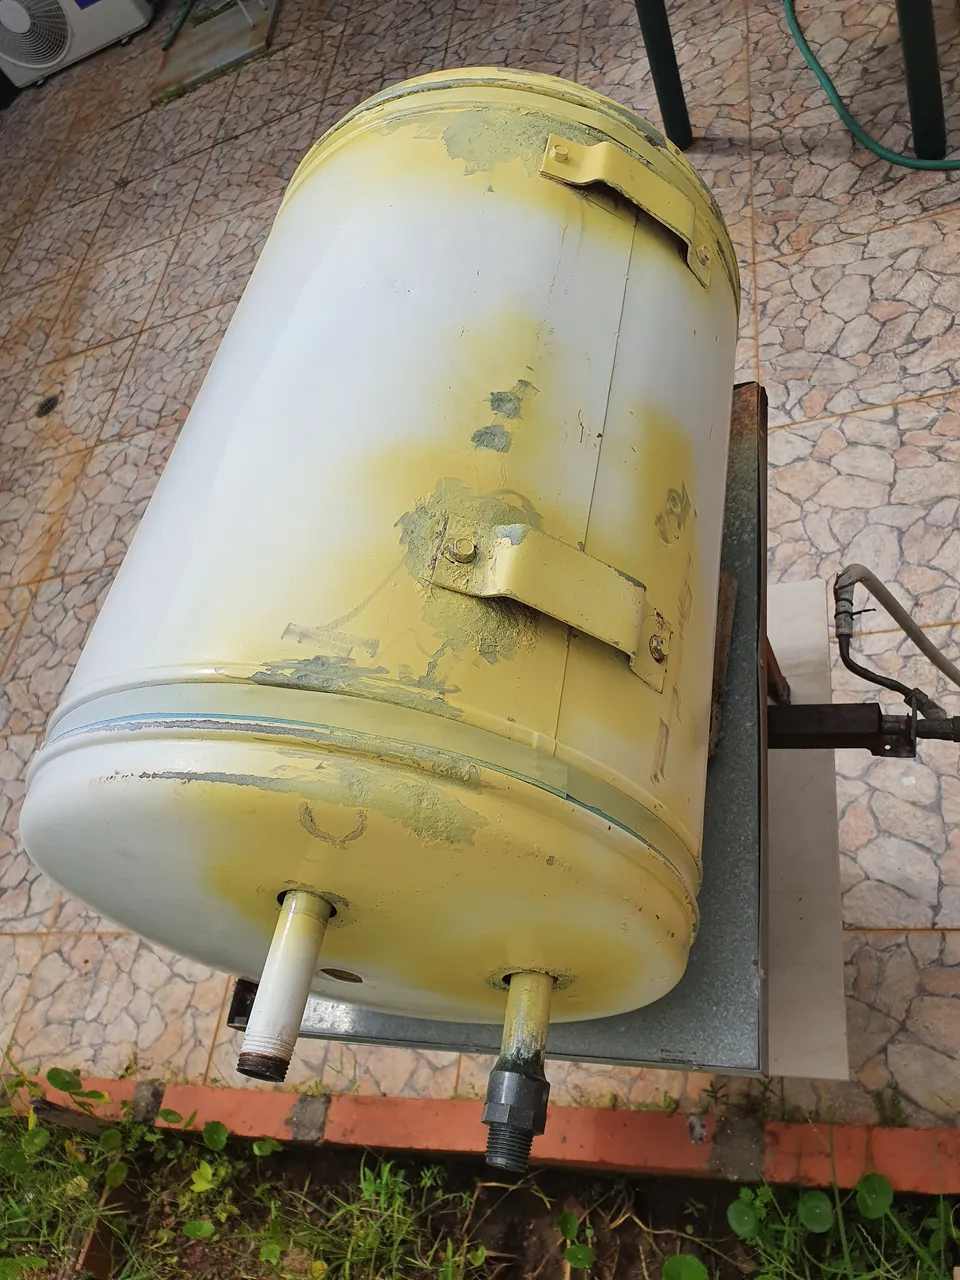
Después de limpiar todo el tanque preparamos la resina epoxy para rellenar las picaduras mas profundas y también para pegar la rosca plástica en la entrada de agua fría.
After cleaning the whole tank we prepared the epoxy resin to fill the deepest pitting and also to glue the plastic thread on the cold water inlet.
Una vez limpio enmascaramos y dejamos todo listo para comenzar a pintar.
Once clean, we mask and leave everything ready to start painting.
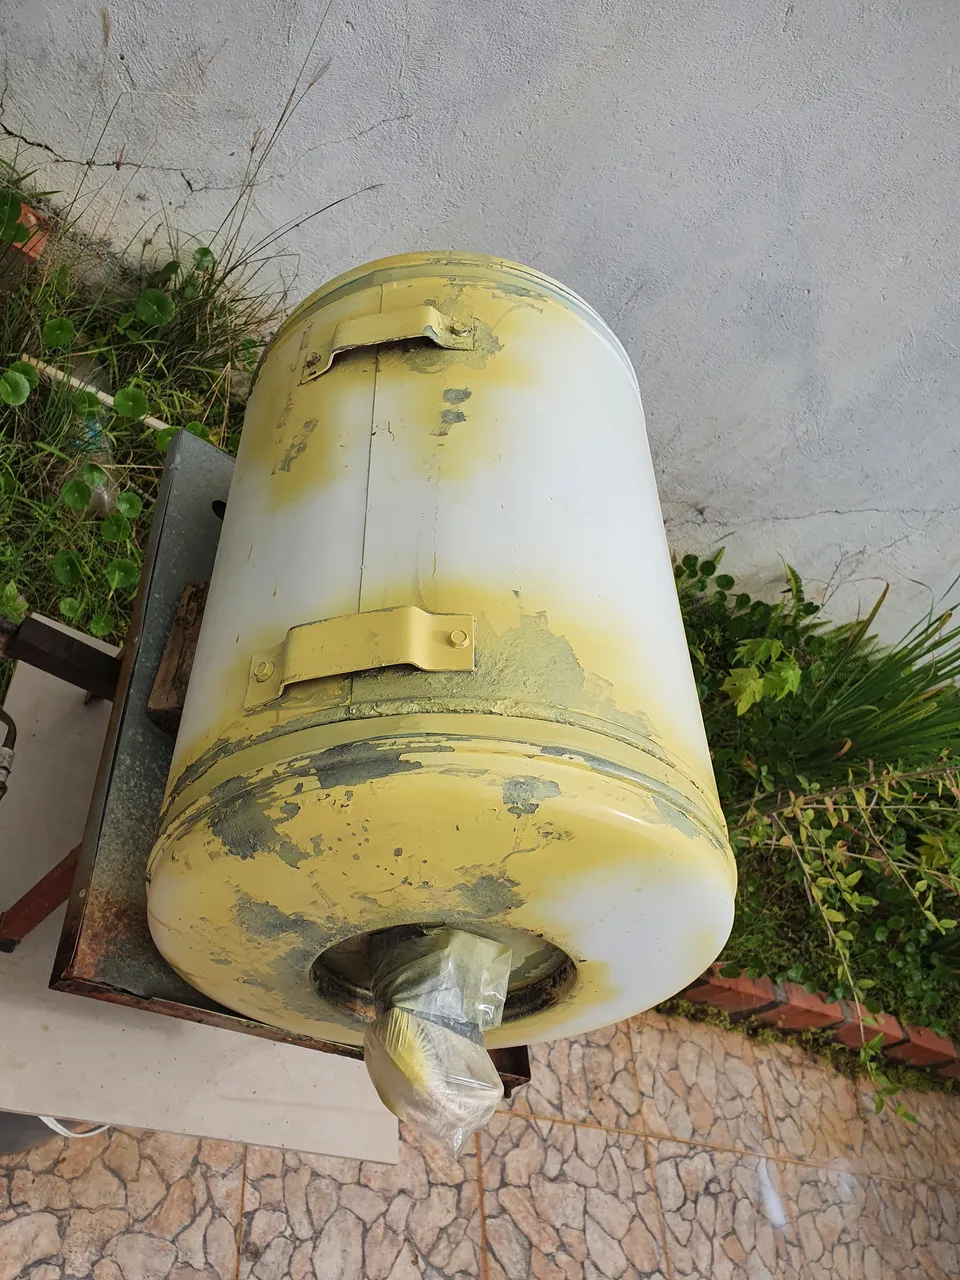
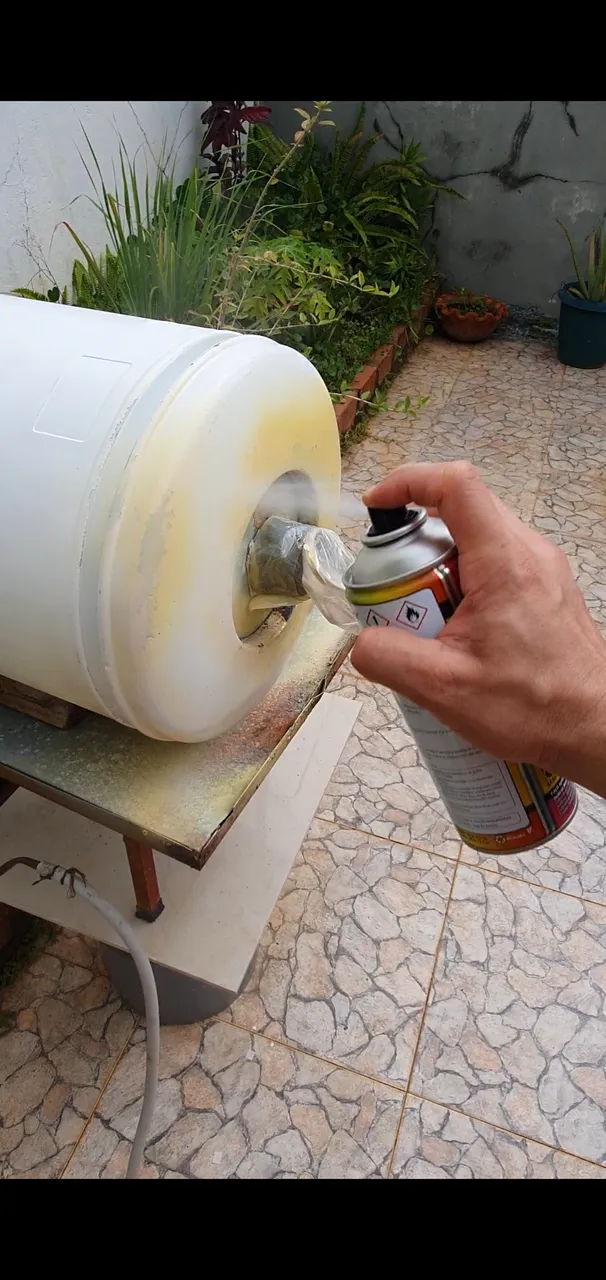
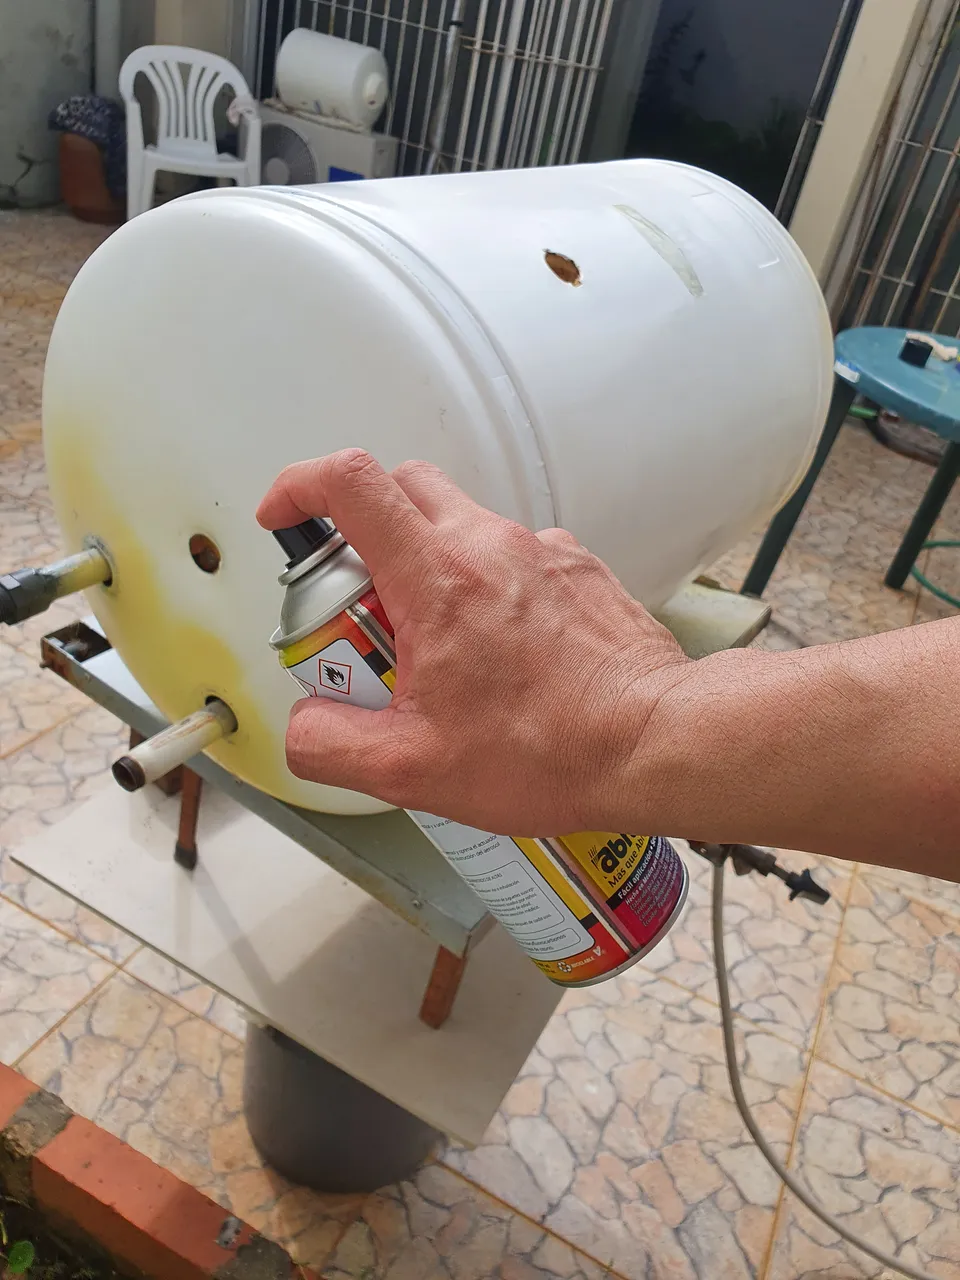
Pintamos 3 capas de una primera base. Así la pintura quedará mas gruesa y cubrirá mejor las superficies dañadas.
We paint 3 coats of a first base coat. This way the paint will be thicker and will cover better the damaged surfaces.
Ahora con la pintura blanca colocamos 3 capas a intervalos de 10 minutos con mucho cuidado de no acercar mucho el spray. Puede ser a una distancia de 35 a 40 centímetros. Luego dejamos secar por 20 minutos bajo el sol.
Now with the white paint we apply 3 coats at intervals of 10 minutes being very careful not to get too close to the spray. It can be at a distance of 35 to 40 centimeters. Then let it dry for 20 minutes under the sun.
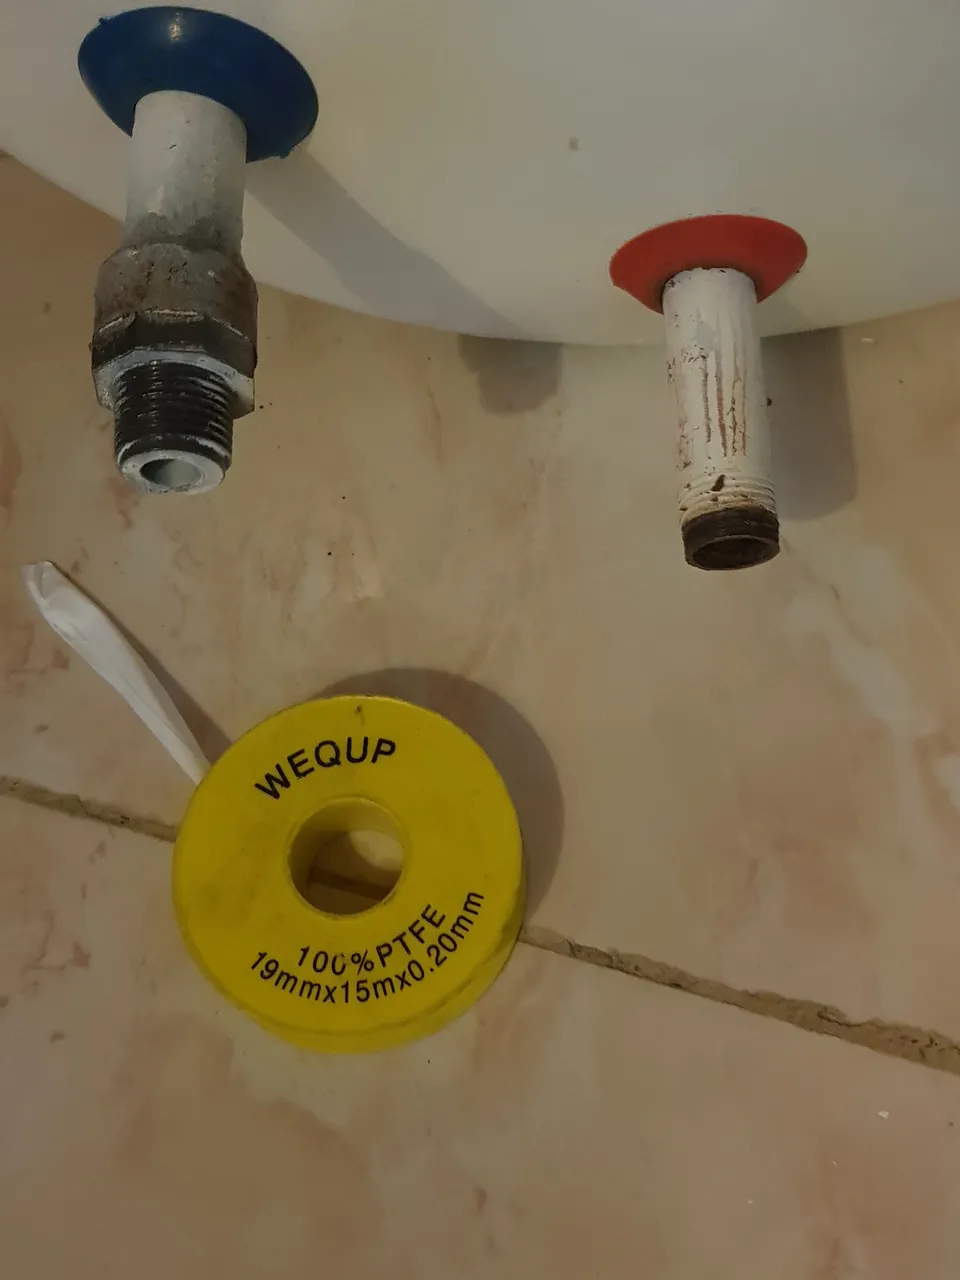
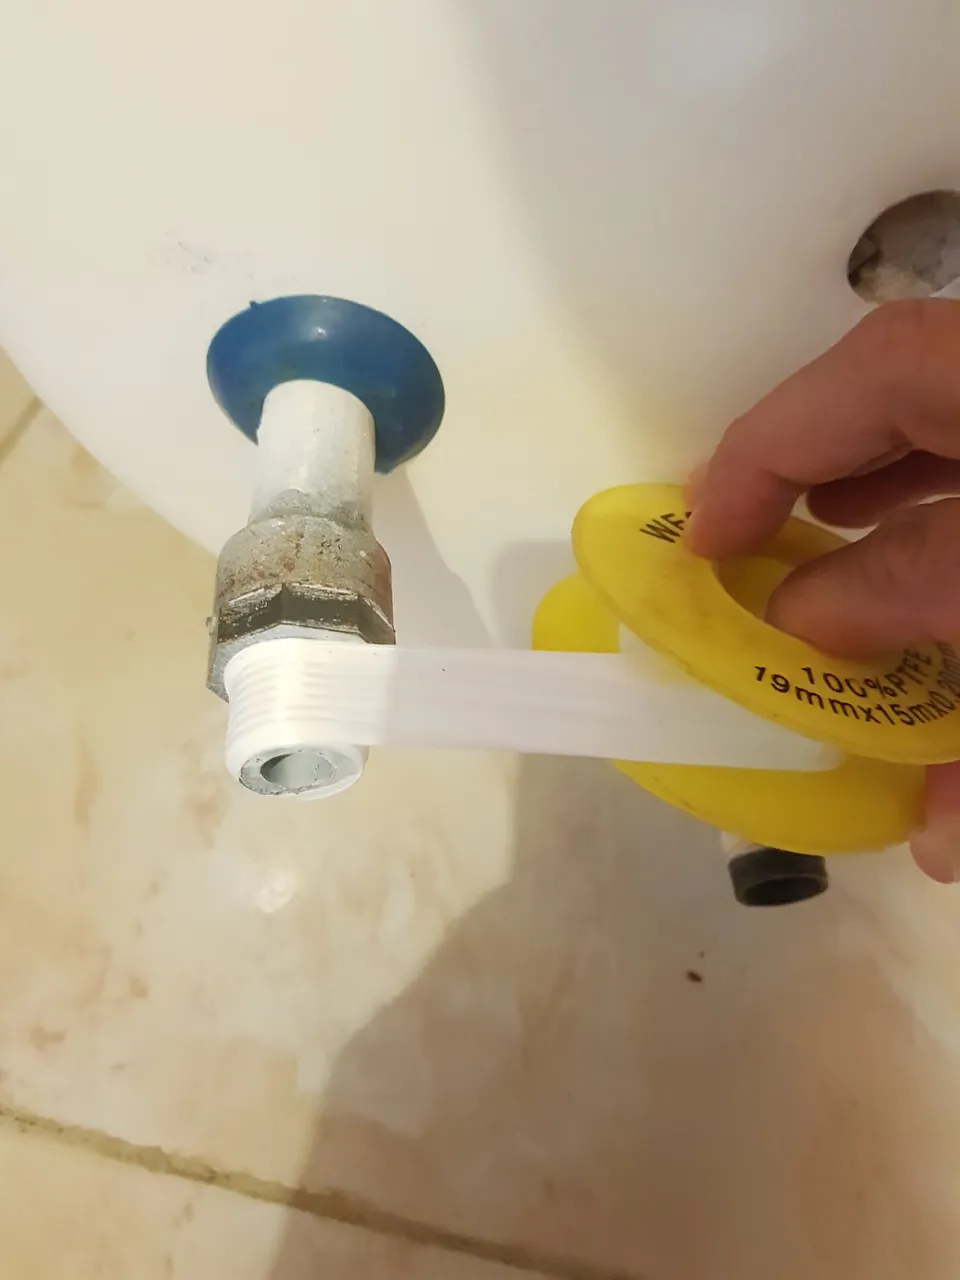
Antes de subir el tanque calentador
Colocamos cinta teflón en las roscas ya que es más fácil estando abajo.
Before raising the heater tank
We put Teflon tape on the threads as it is easier when it is down.
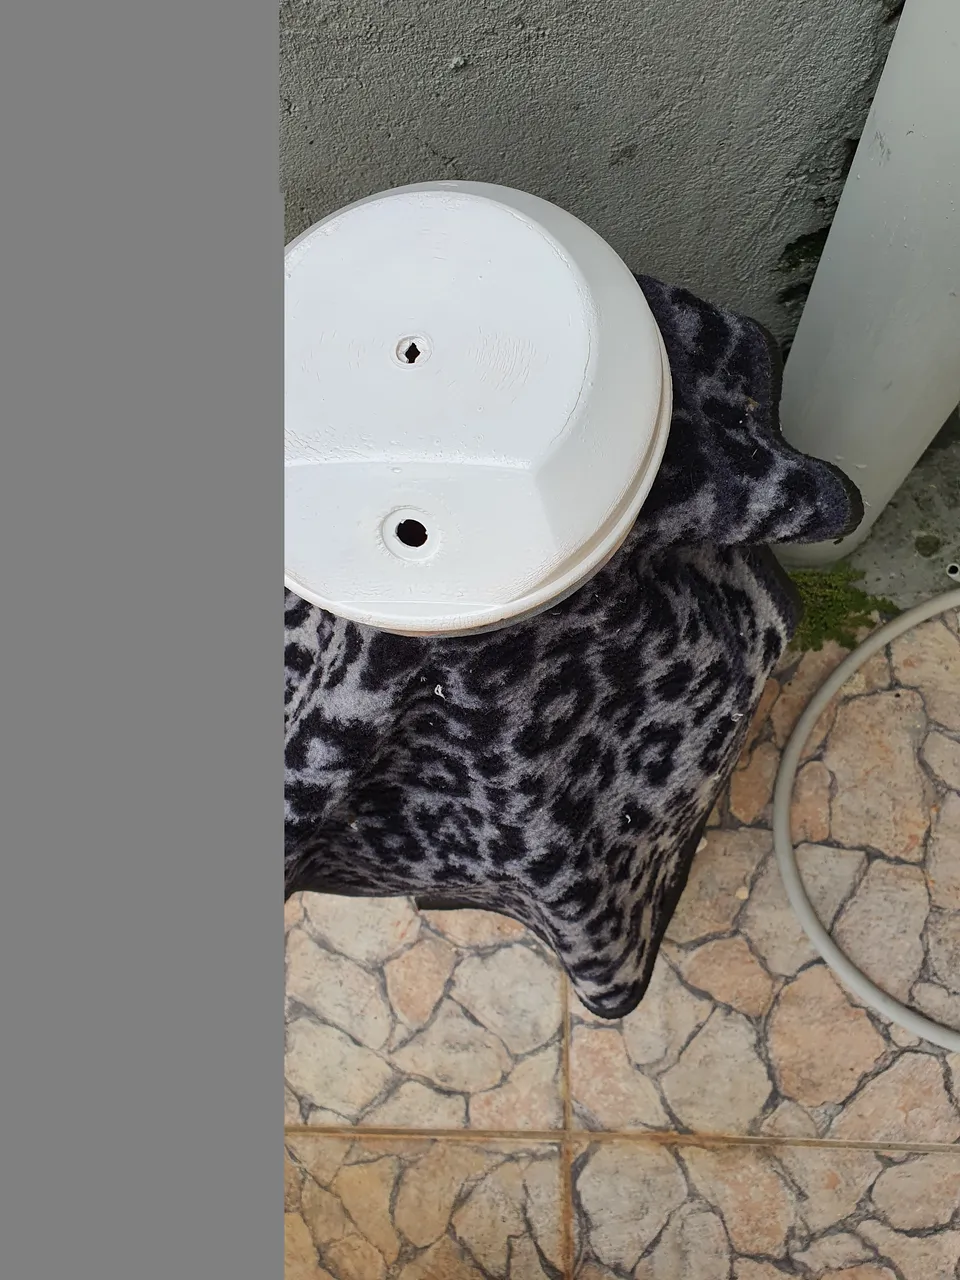
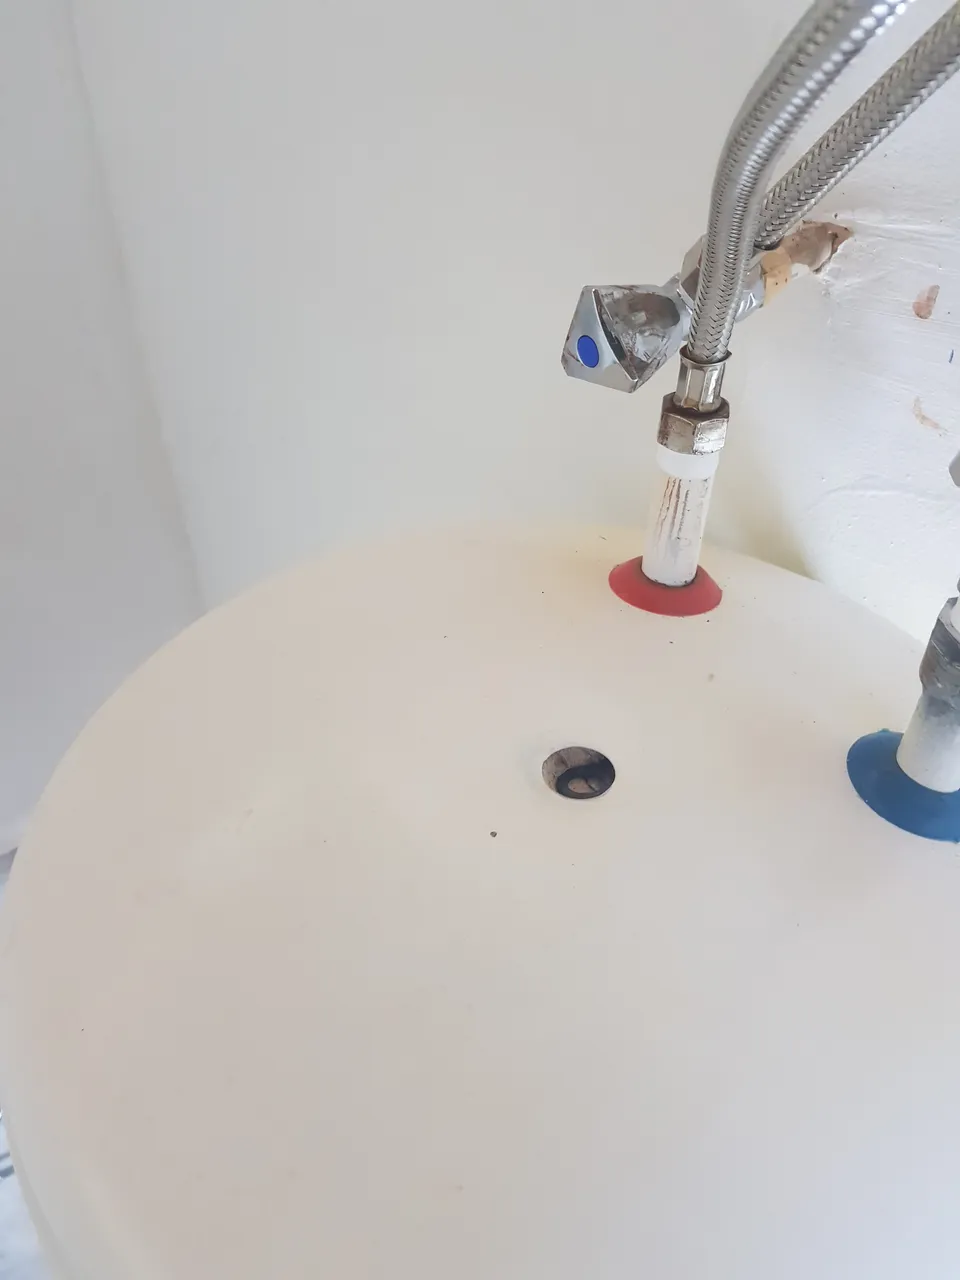
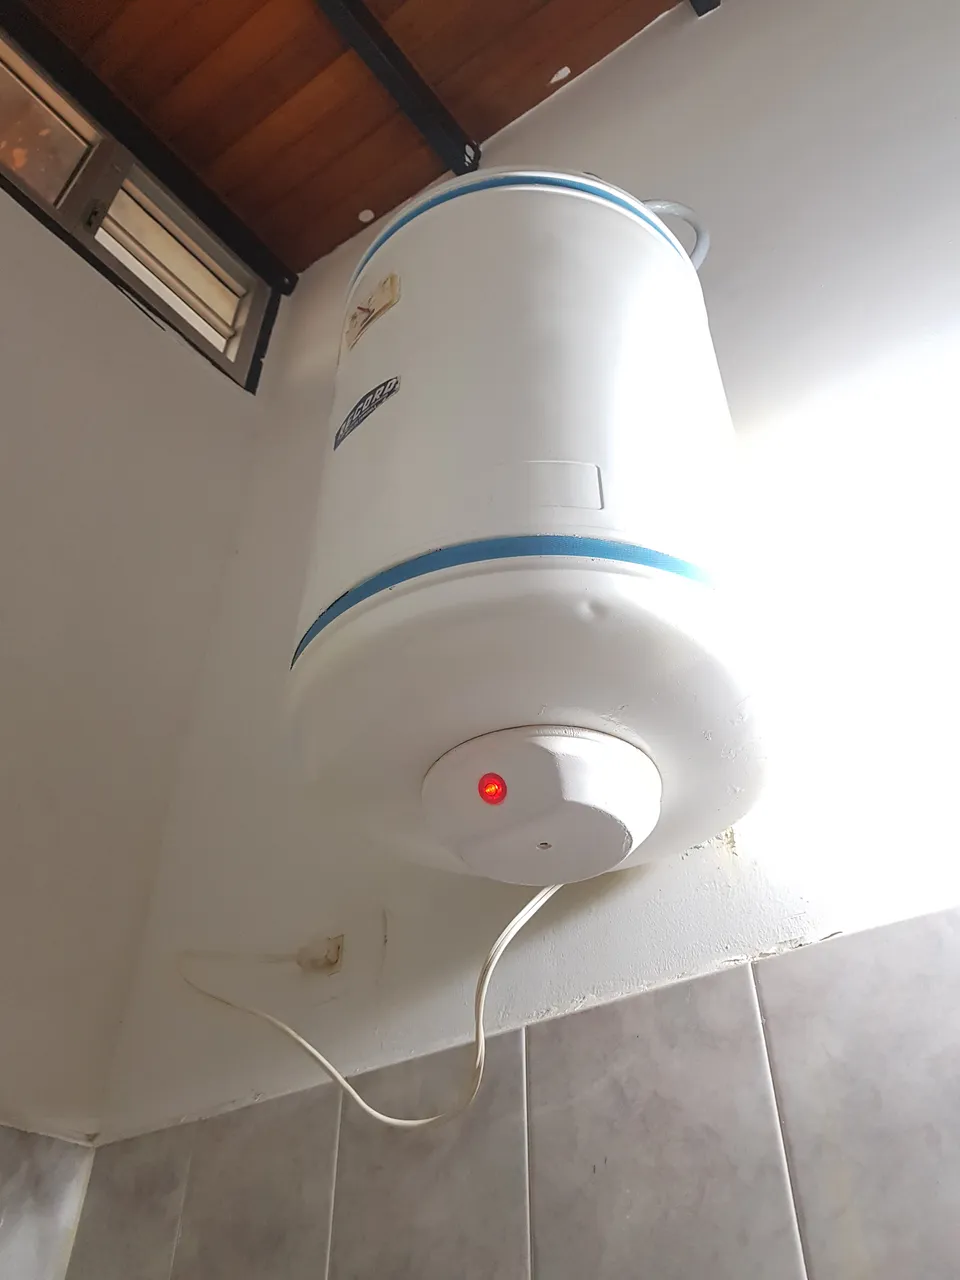
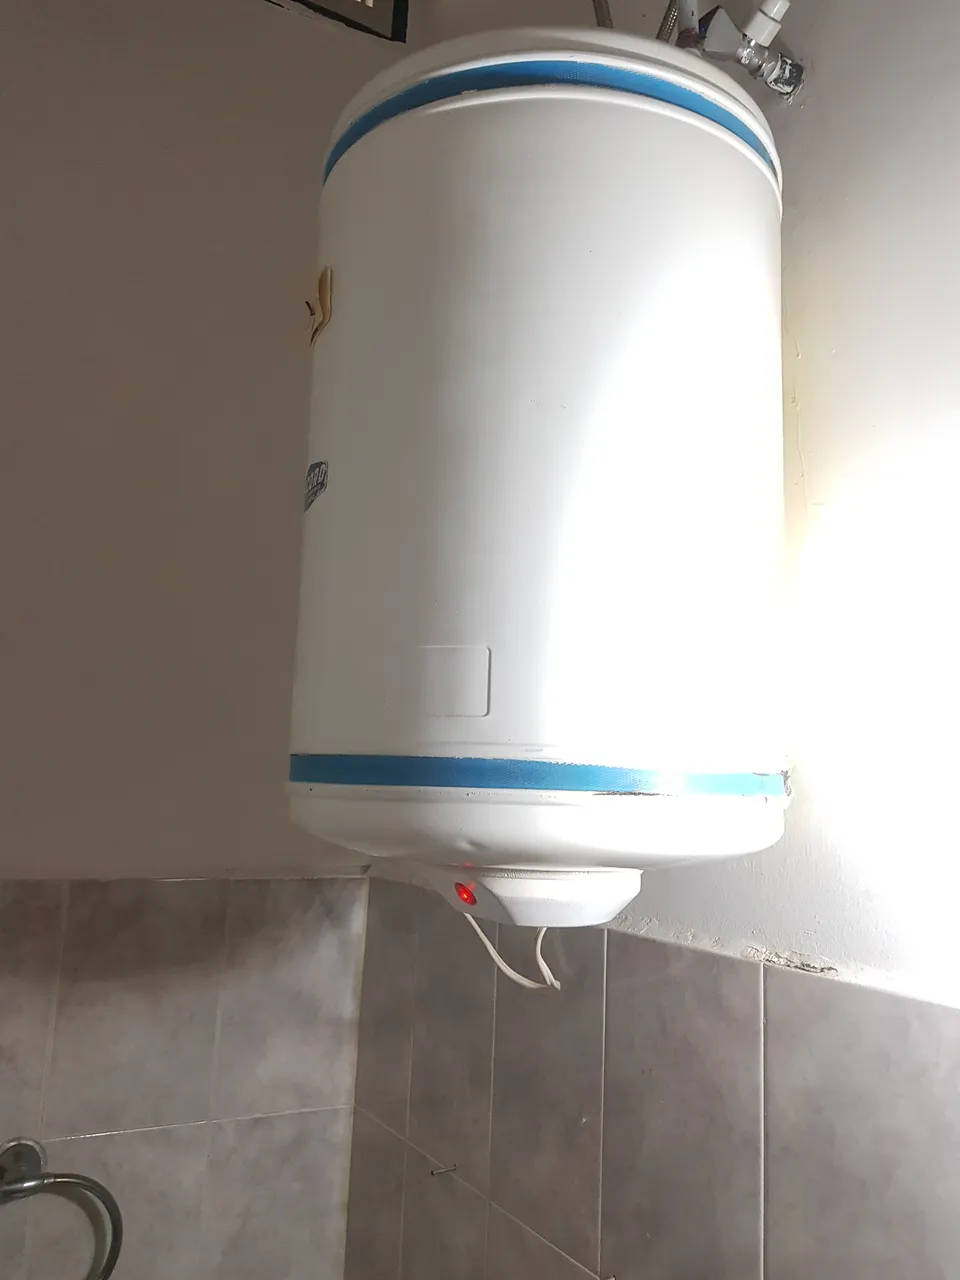
Ya subimos el calentador hasta sus ganchos que lo fijan a la pared, le conectamos las mangueras y abrimos las llaves.
The heater is now raised up to the hooks that fix it to the wall, the hoses are connected and the faucets are opened.
Aquí el resultado final amigos, espero les haya gustado, les recuerdo que no soy profesional solo soy un aficionado y trato de reparar o solucionar por mi cuenta saludos.
Here the final result friends, I hope you liked it, I remind you that I am not a professional I am just an amateur and I try to repair or fix on my own greetings.

Agradezco mucho por leer hasta aquí, espero les haya gustado. Saludos
Thank you very much for reading this far, I hope you liked it. Greetings
Te espero en mi próximo post//I wait for you in my next post
¡Hasta pronto!//See you soon!