Hello my dear hive friends. Today I want to show you how to make a small piggy bank.
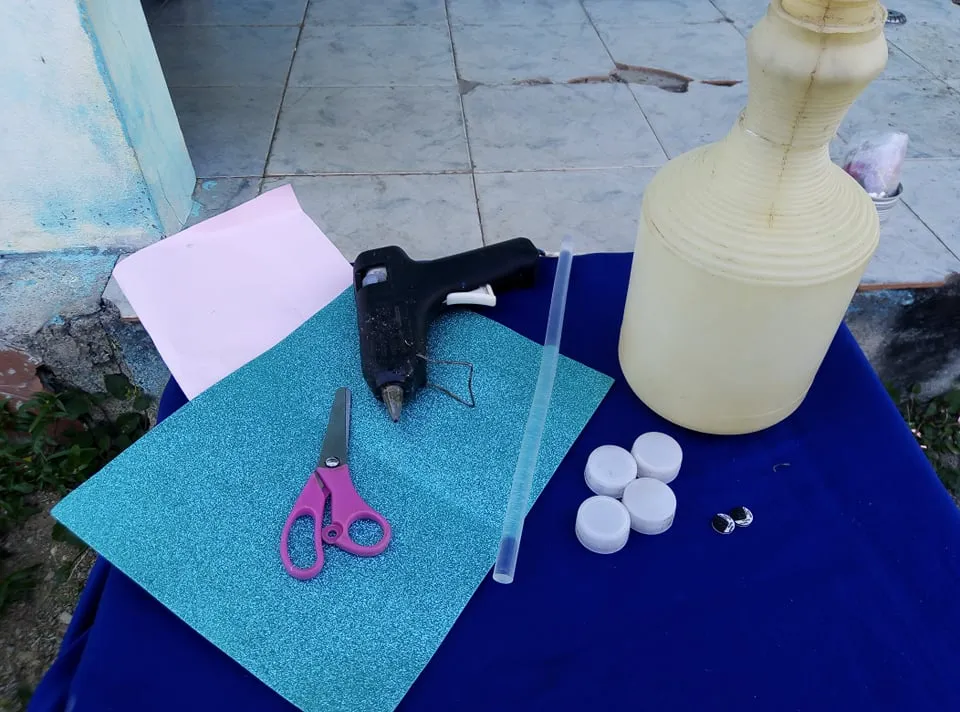
These are the materials that we will need:
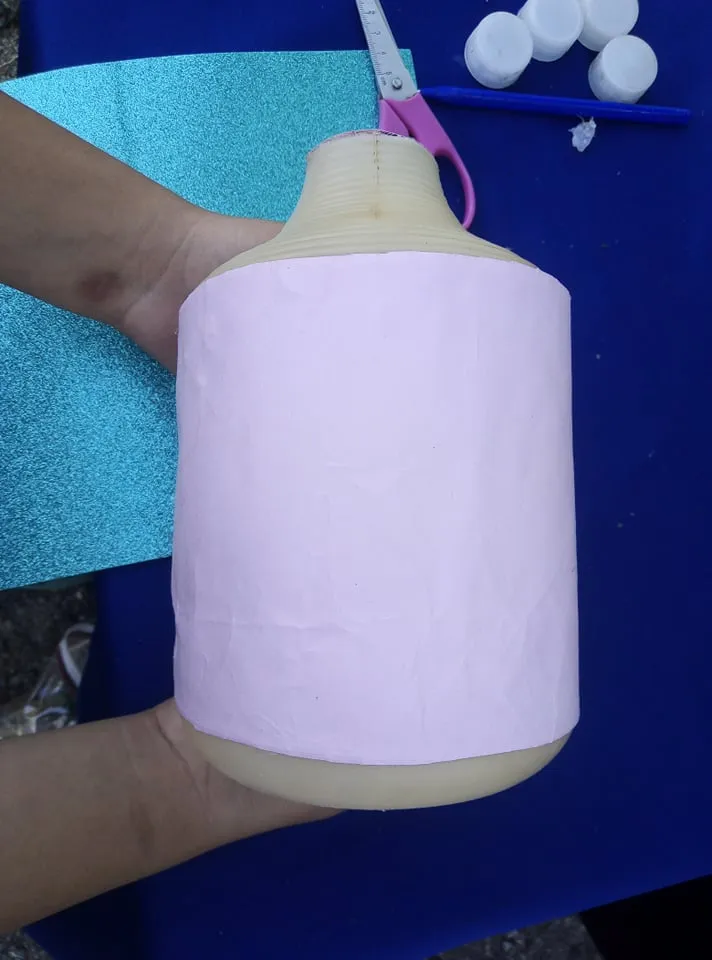
A bottle round
Foami
4 recycled lids
silicon
pink cardstock
2 buttons
scissors
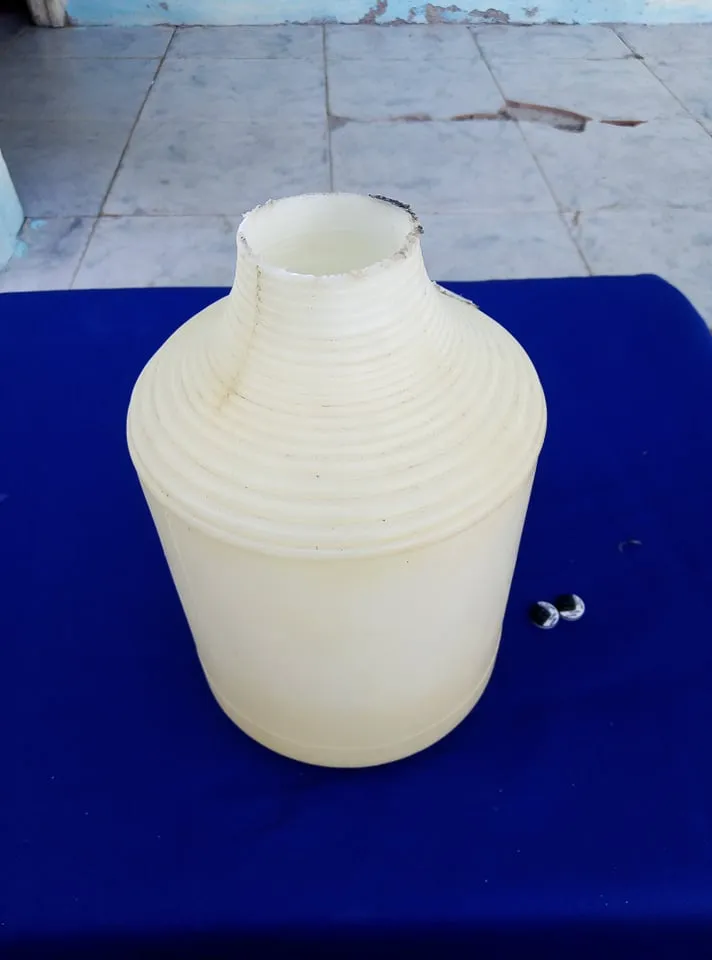
We start by cutting our bottle this way
then we cut the cardboard, which will be the twine of our pig.
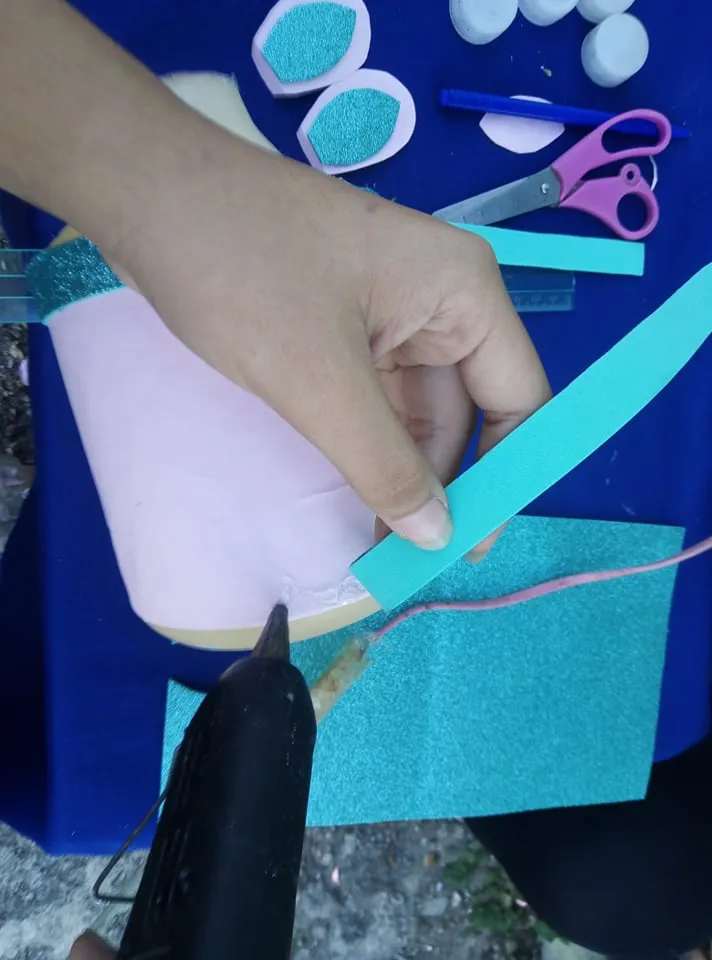
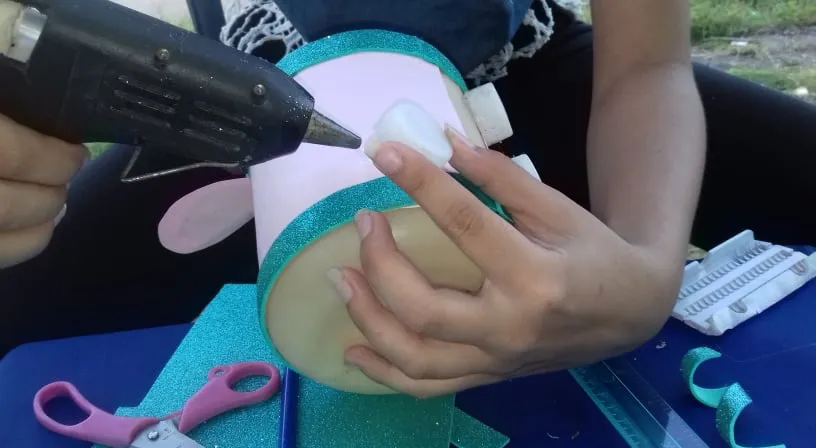
Then we cut 3 strips of foam and glue them to the ends of our piglet.
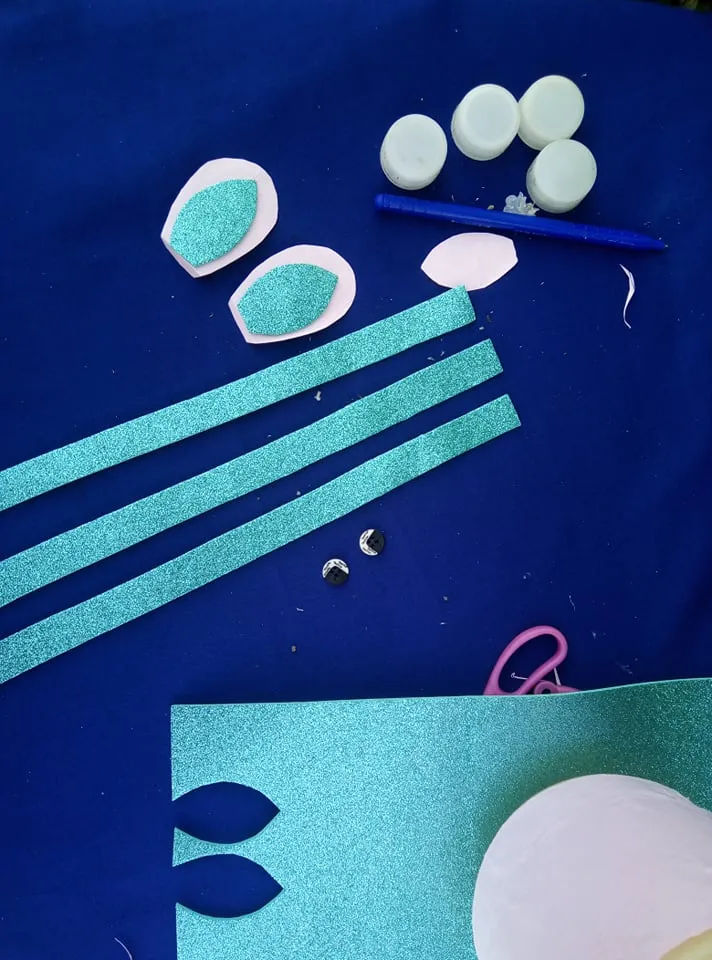
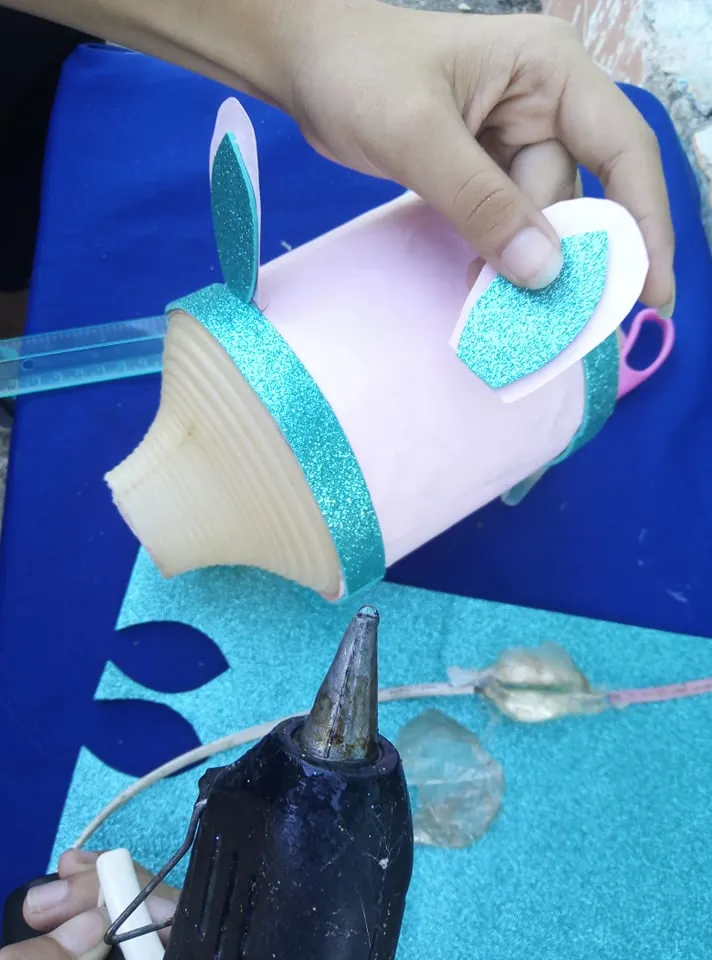
We also make our ears with cardboard and foam, then we glue them in this way.
Then we glue our 4 caps that will be the legs of the pig.
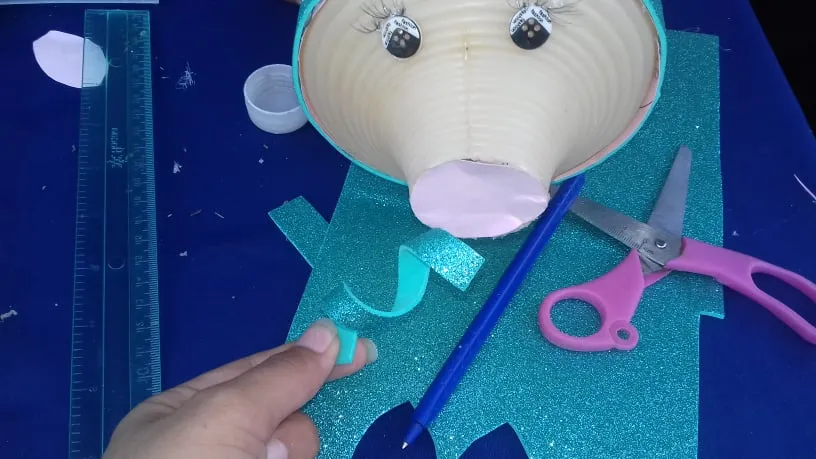
For the nose I used a piece of cardboard in the shape of a circle, then we glued the buttons on top of his nose, I added thread for the eyelashes, it is optional if you also want.
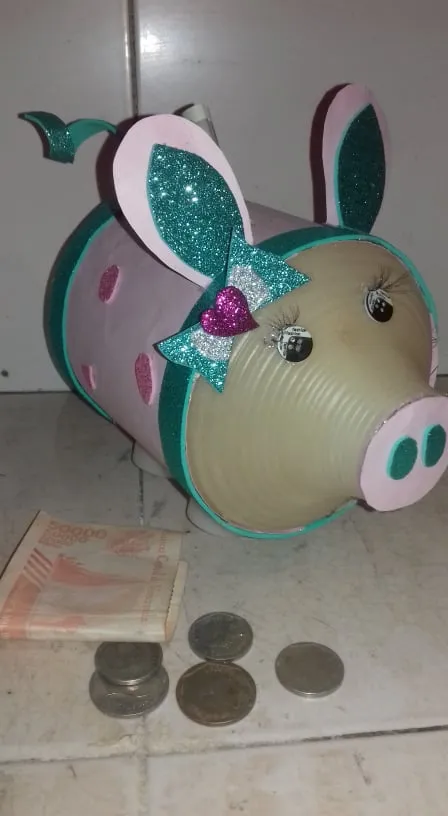
Finally I made the tail with a piece of foam, and waved it with my finger, we glued our tail and that's it.
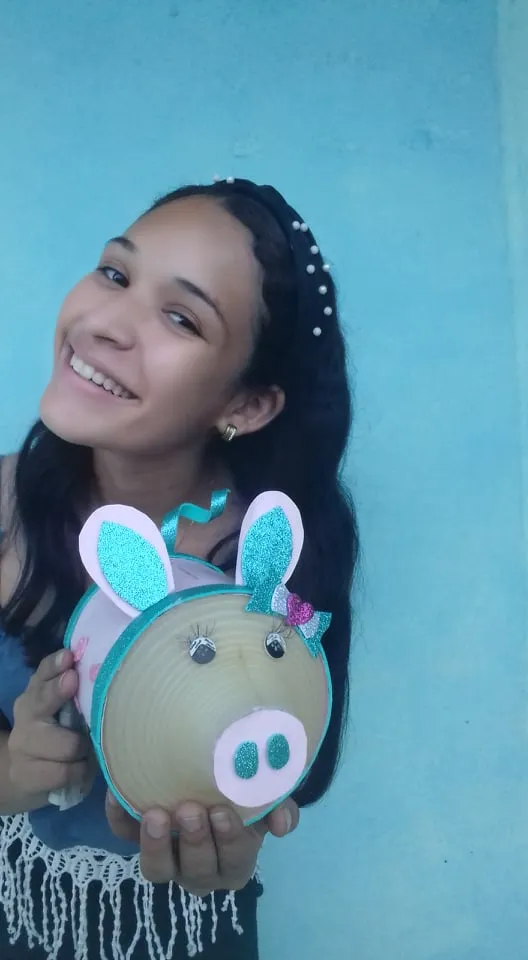
This is how our pig looks, I hope you liked it a lot.