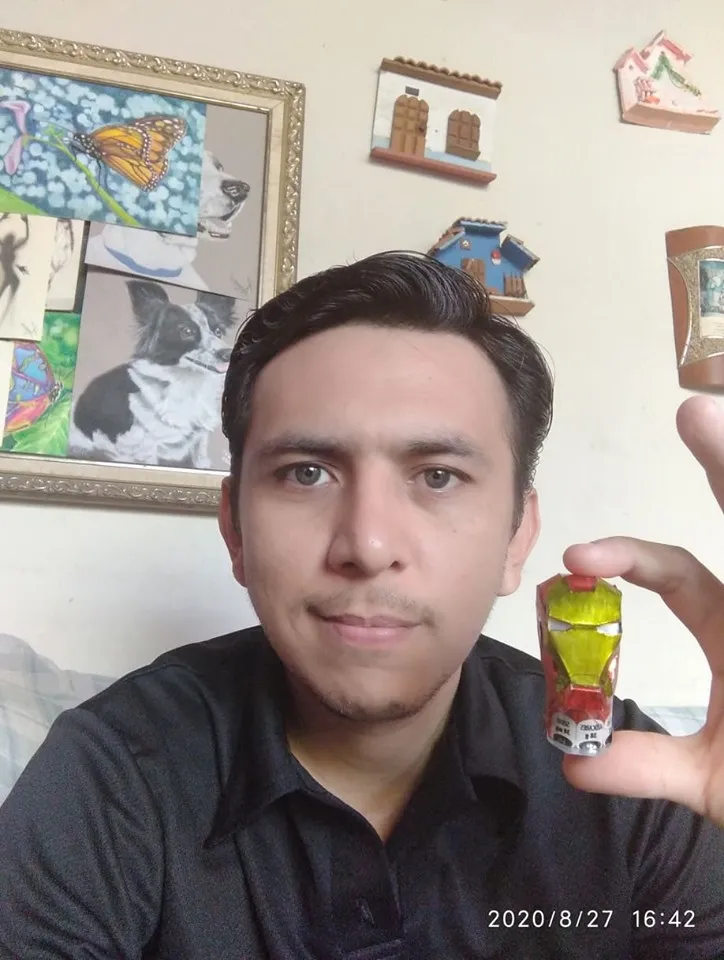
Hello friends from hive, today I have started a new project that I will show in parts because it will be very long. My project deals with the construction of a scale armor of Iron Man, the avenger represented by Robert Downey Jr as Tony Stark. The armor, like all my works, will be made with recycled material, especially soda cans. Today I built the helmet and I want to show you how the process was. I hope you like it.
Hola amigos de hive, hoy he iniciado un nuevo proyecto que lo mostraré por partes porque se me hará muy largo. Mi proyecto trata de la construccion de una armadura a escala de Iron Man, el vengador representado por Robert Downey Jr como Tony Stark. La armadura como todos mis trabajos ser{a hecha con material de reciclaje especialmente latas de soda. Hoy construi el casco y quieros mostrarles como fue el proceso. Espero les guste.
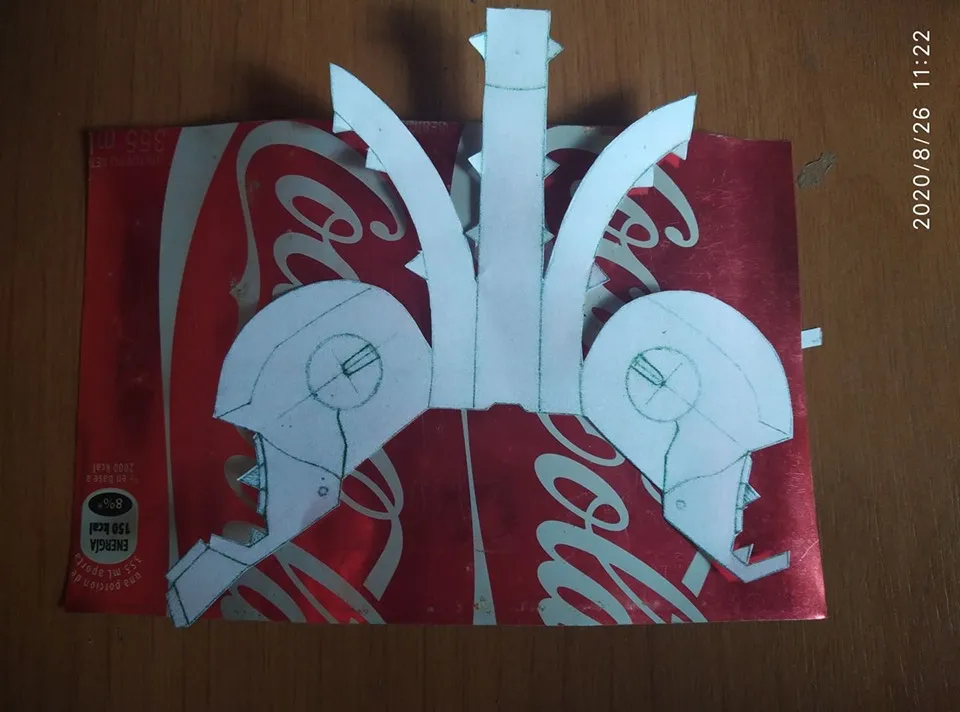
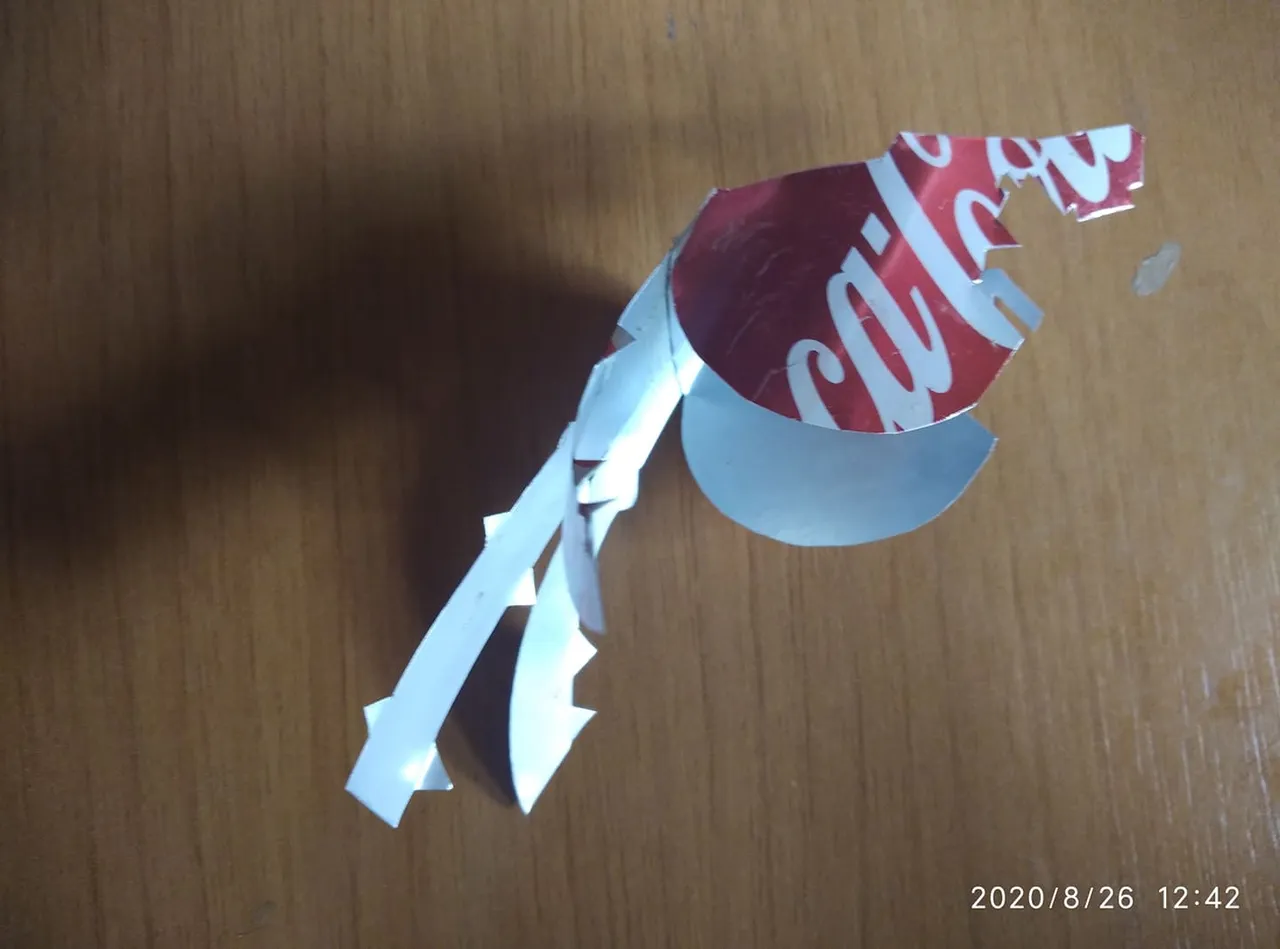
If something characterizes the Iron armor, it is the red color, that is why we must select cans of soda coca cola. Then we design some templates to be able to build the part that surrounds the head. We place the template on top of the can, mark with a pencil and cut.
Si algo caracteriza la armadura de Iron mas es el color rojo es por ello que debemos seleccionar latas de soda coca cola. Luego diseñamos unas plantillas para poder construir la parte que rodea la cabeza. Colocamos la plantilla encima de la lata, marcamos con un lapiz y cortamos.
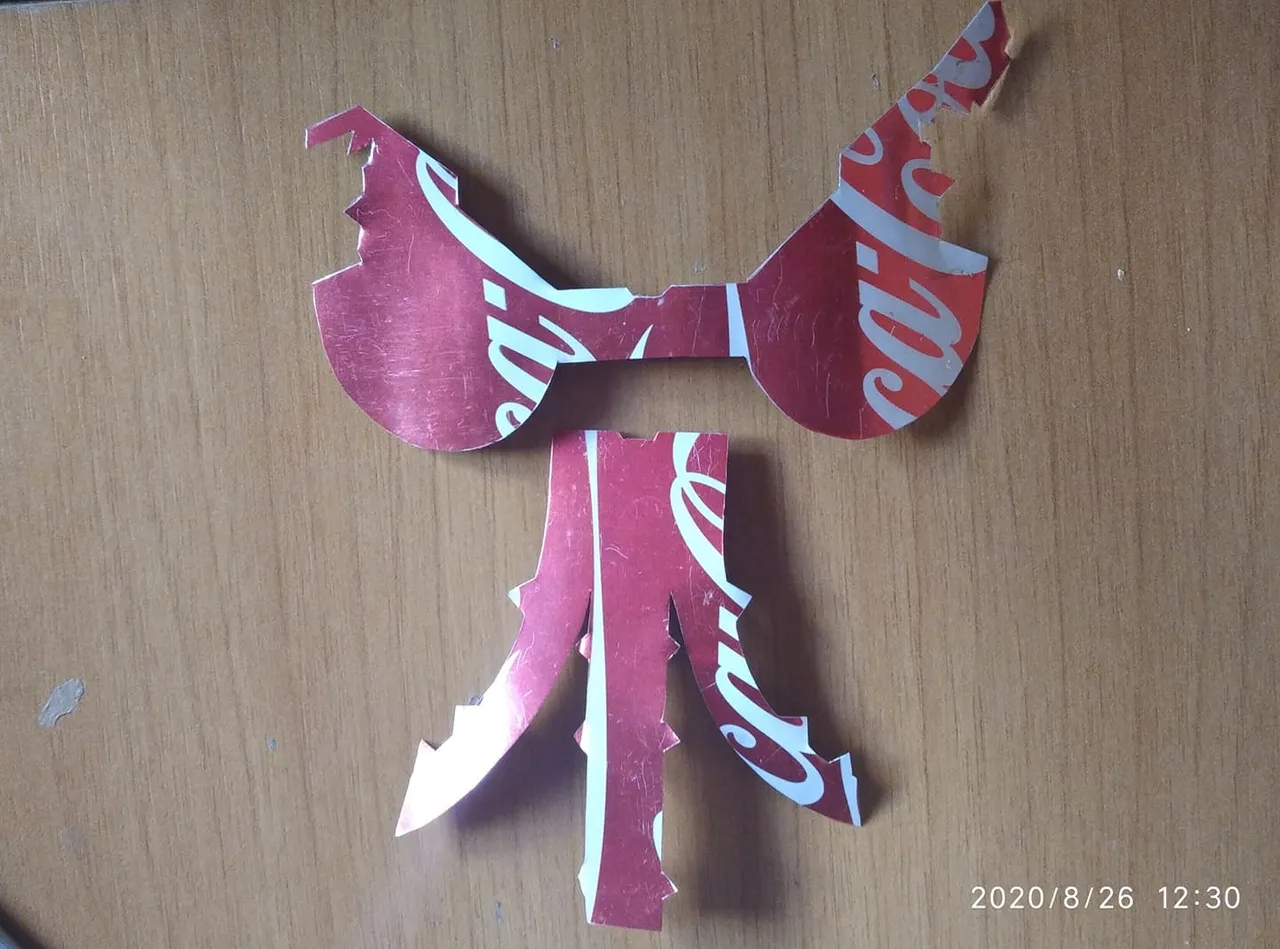
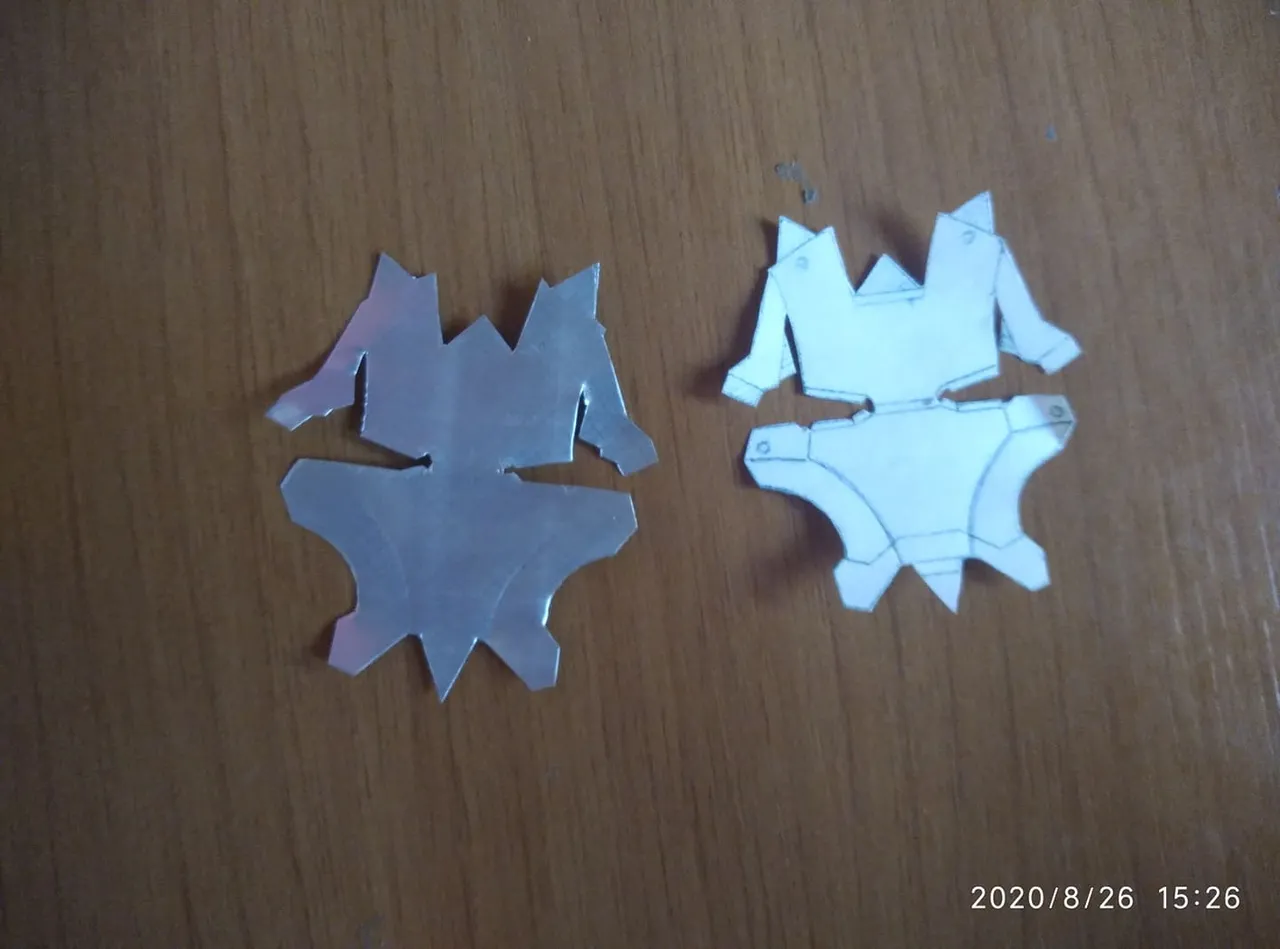
Once we have cut the marks with the pieces, it should look like this. Then we proceed to fold the marked parts and so the head will come out.
Una vez que hayamos cortado las marcas con los lapiez nos deberia quedar asi. Despues procedemos a doblar las partes marcadas y asi saldra la cabeza.
First we fold the side parts.
Primero doblamos las partes laterales.
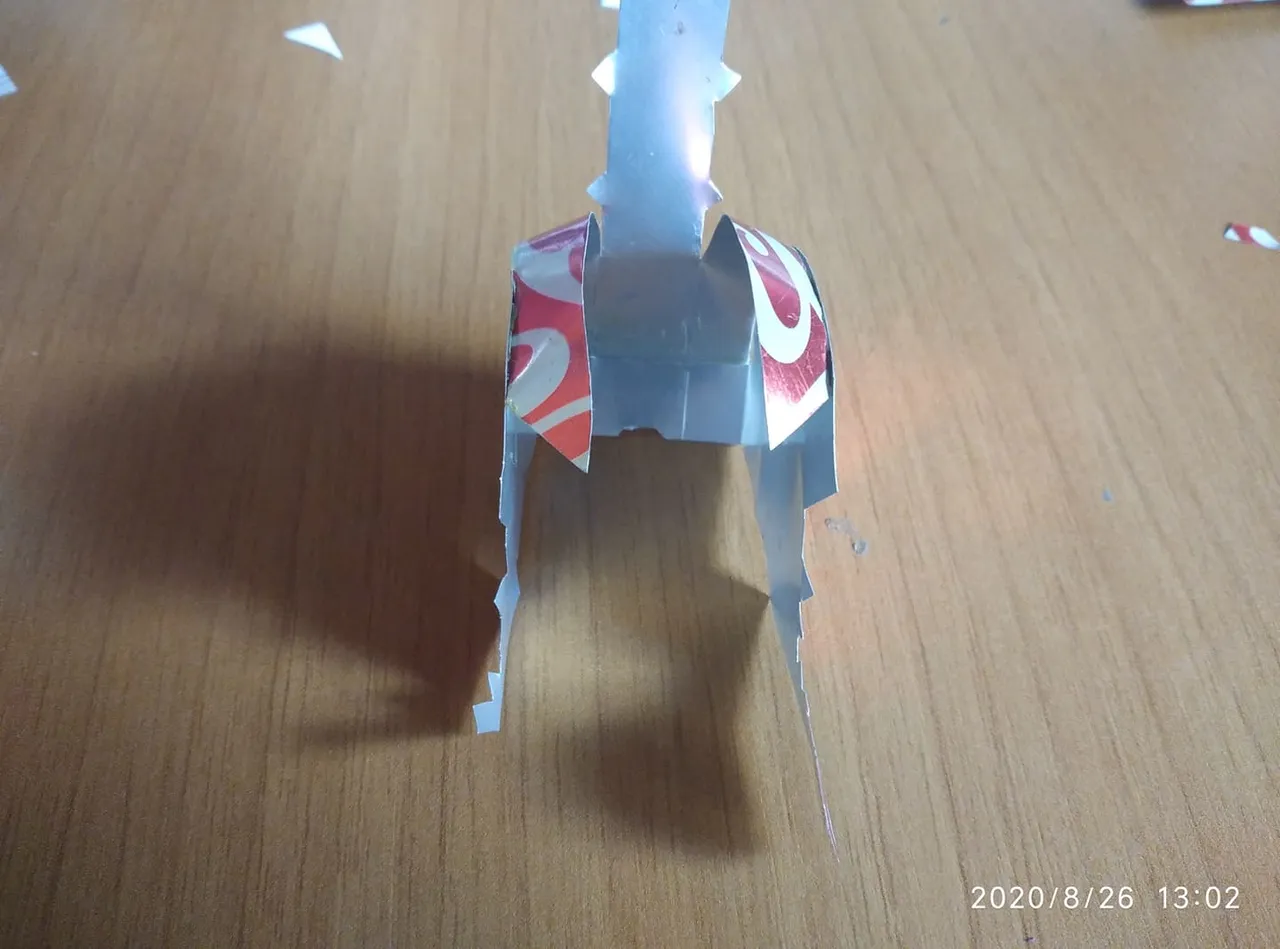
Of the three strips that remain, we take the ones that are on the sides and we glue them to the side parts like this.
De las tres tiras que sobre salen tomamos las que estan a los costados y las pegamos con pegamento hacia las partes laterales asi.
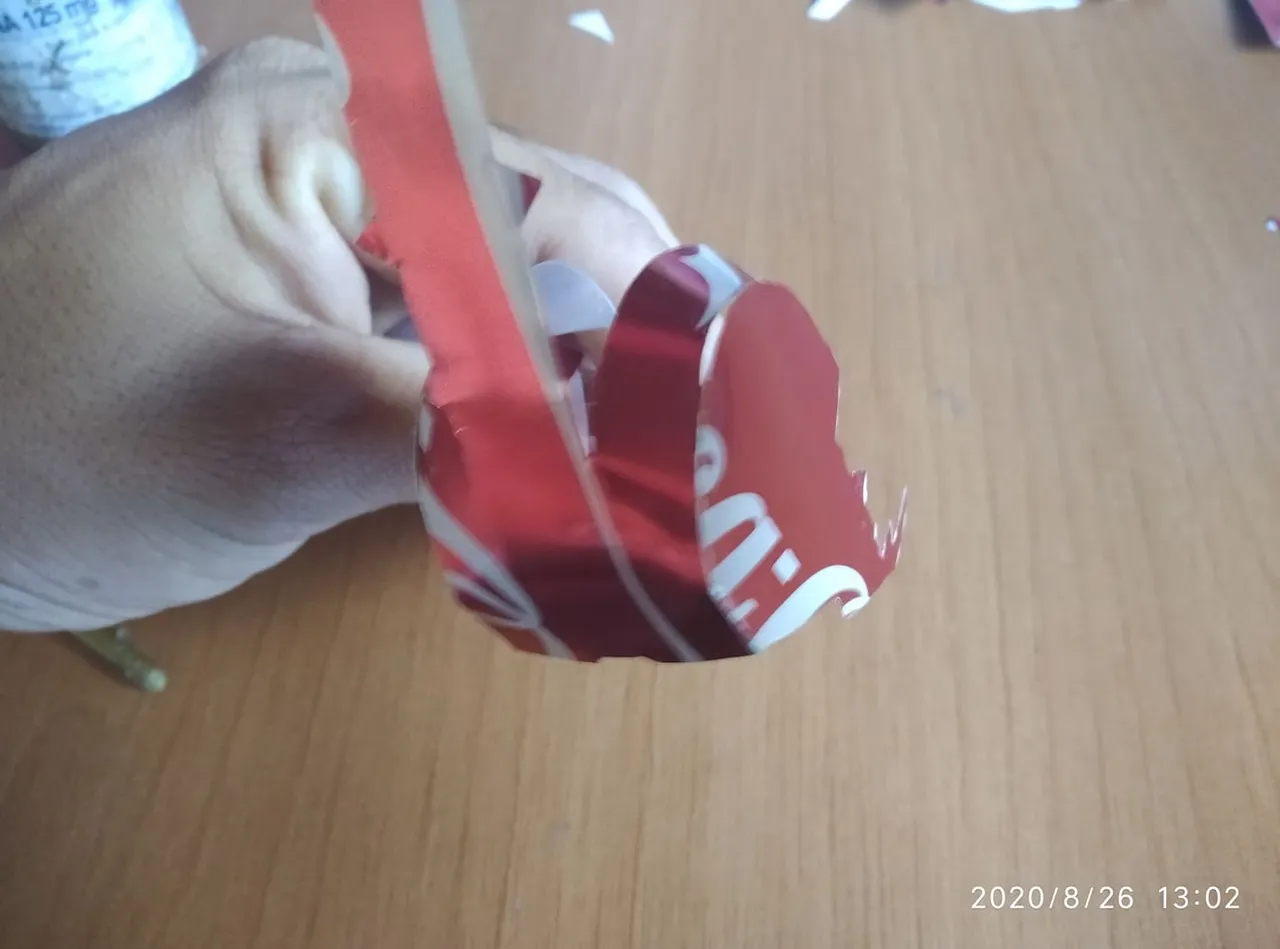
Finally we take this strip that is in the middle and we join it with the other two to complete the round part of the helmet.
Por ultimo tomamos esta tira que esta en la mitad y la unimos con las otras dos para completar la parte redonda del casco.
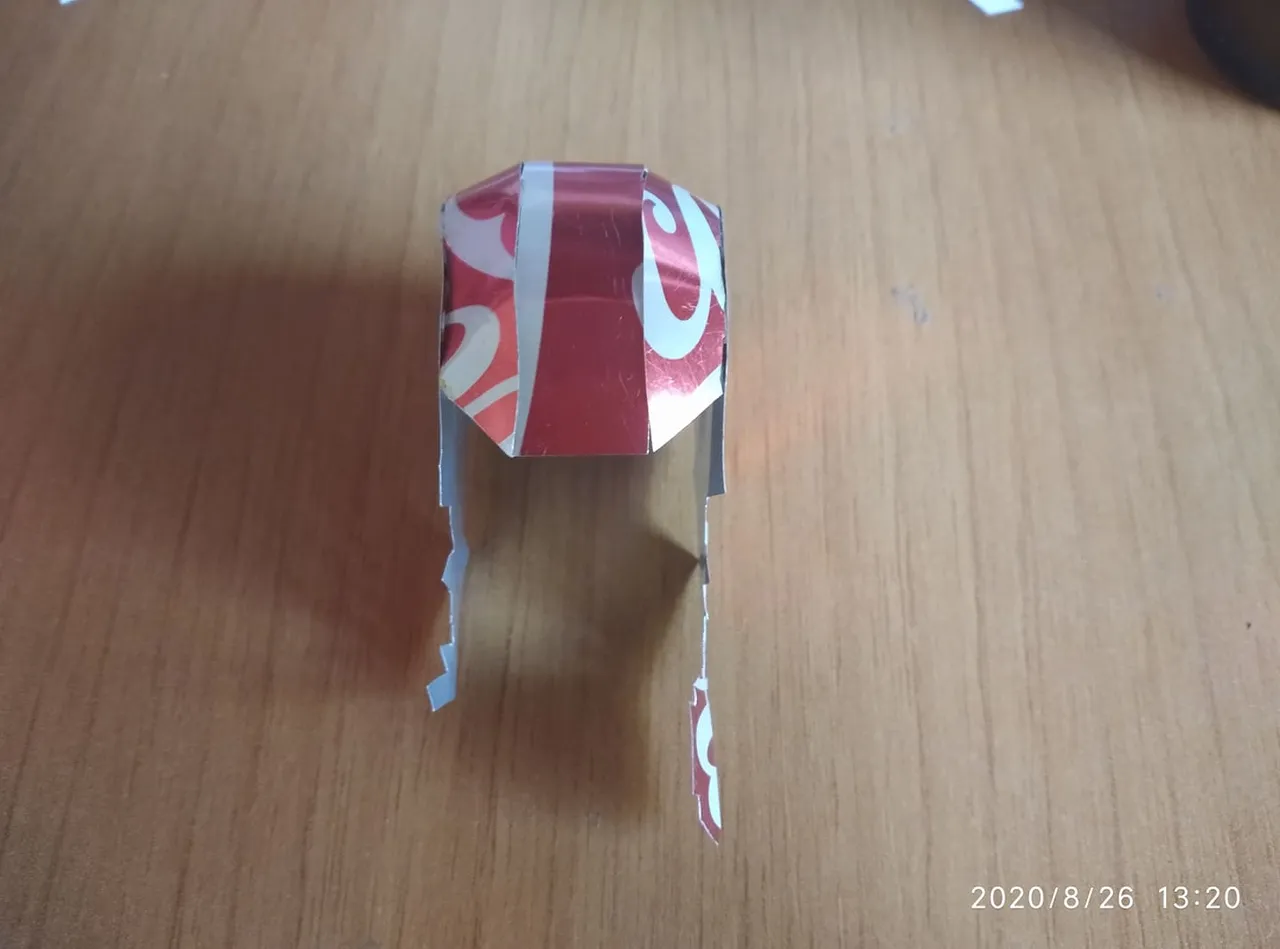
This is how it remains when we have joined all the parts. Then unimois the part that protects the jaw with the other end and we will have the helmet almost ready.
Asi nos queda cuando hemos unido toda slas partes. Despues unimois la parte que proteje la quijada con el otro extremo y tendremos el casco casi listo.
Then we proceed to remove the part of the face. We draw a template to be able to do the edges and the eyes well.
Luego procedemos a sacar la parte de la cara. Dibujamos una plantilla para poder hacer bien los bordes y los ojos.
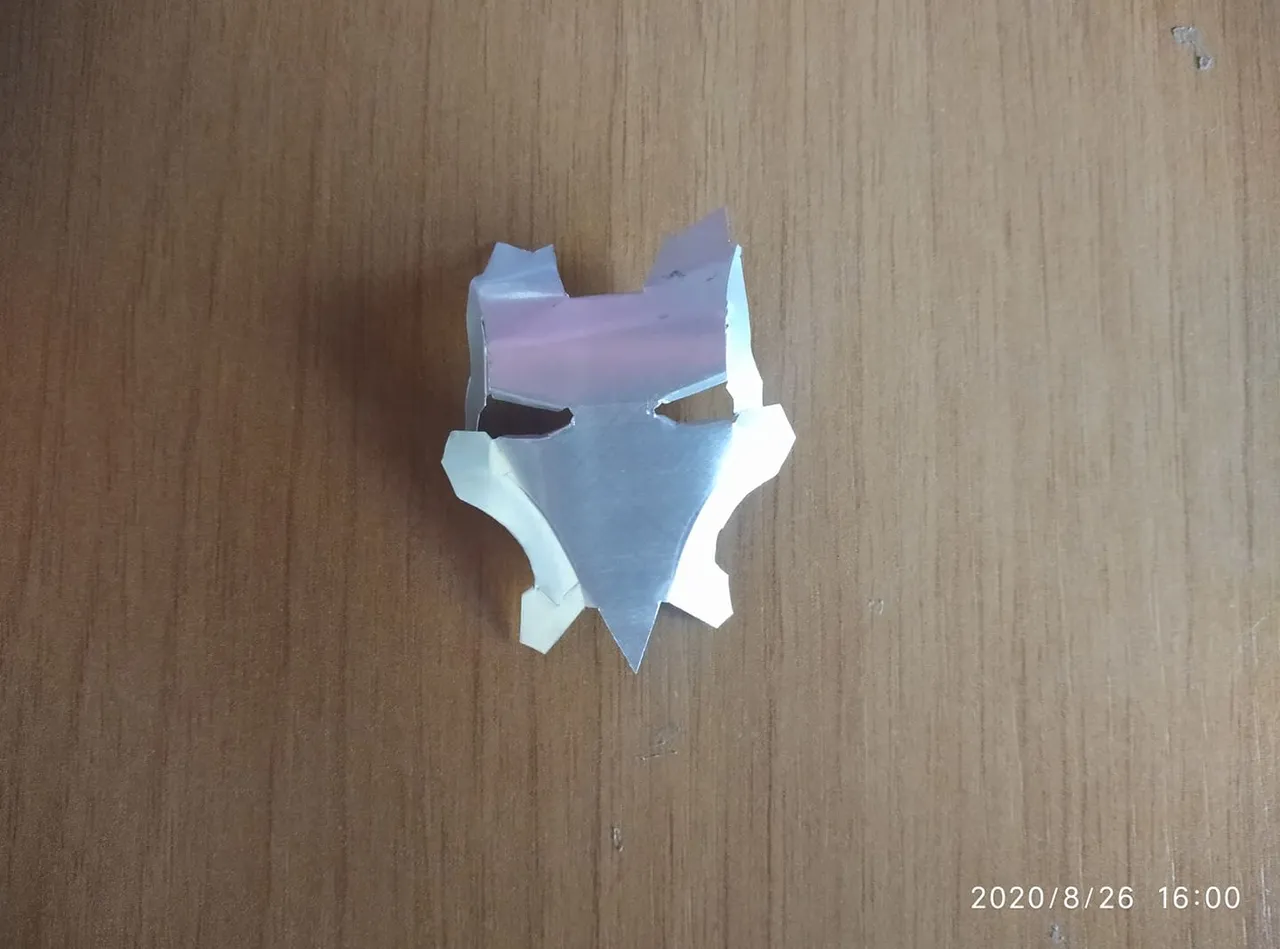
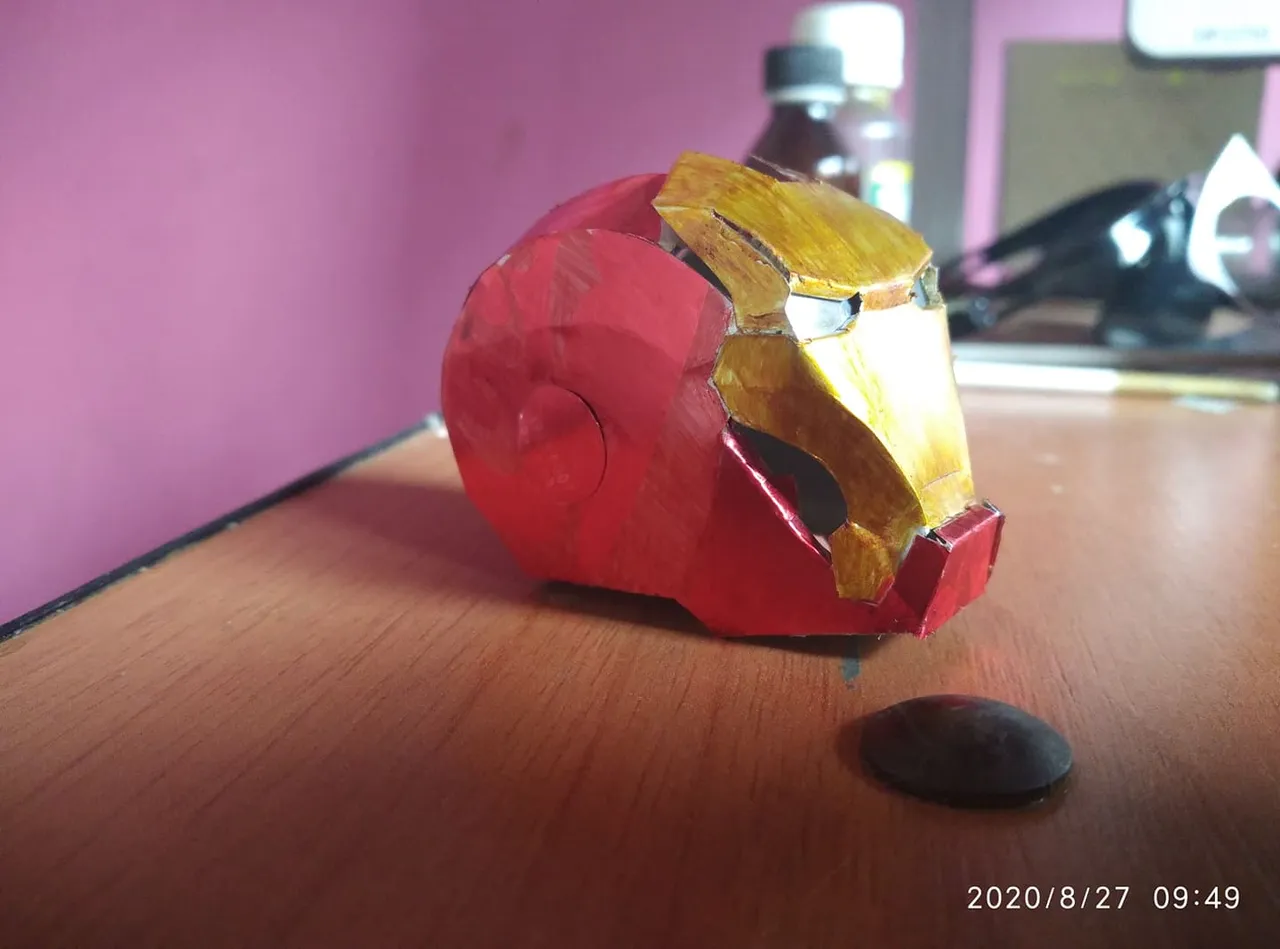
This is how the mask remains when we have made the openings and folded the parts that should be folded.
#Asi nos queda la mascara cuando hemos hecho las aberturas y doblamos las partes que se deben doblar.
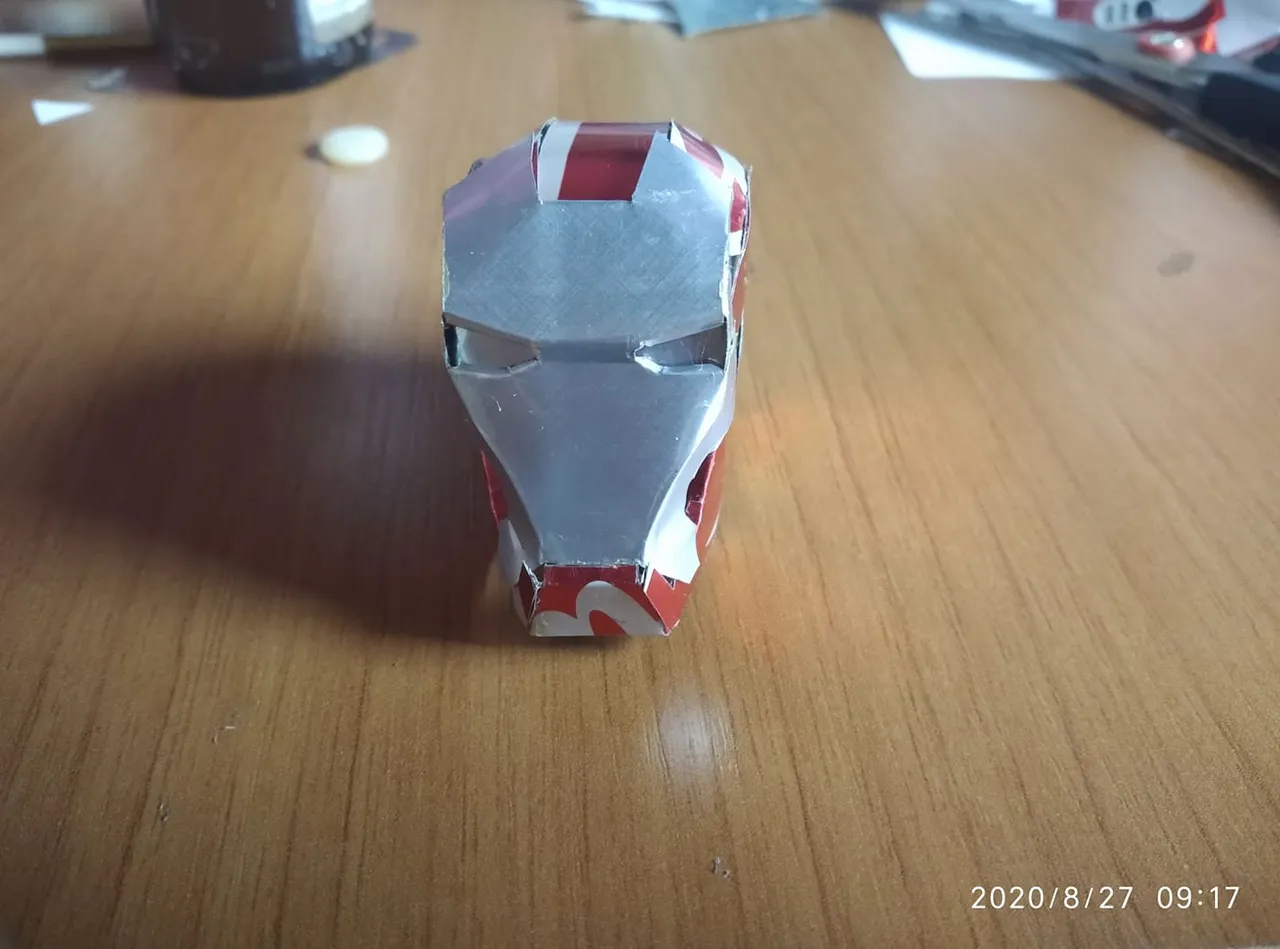
As we can see, this is how the helmet fits us.It looks very cool
Como podemos observar asi nos queda el casco.Se ve muy genial
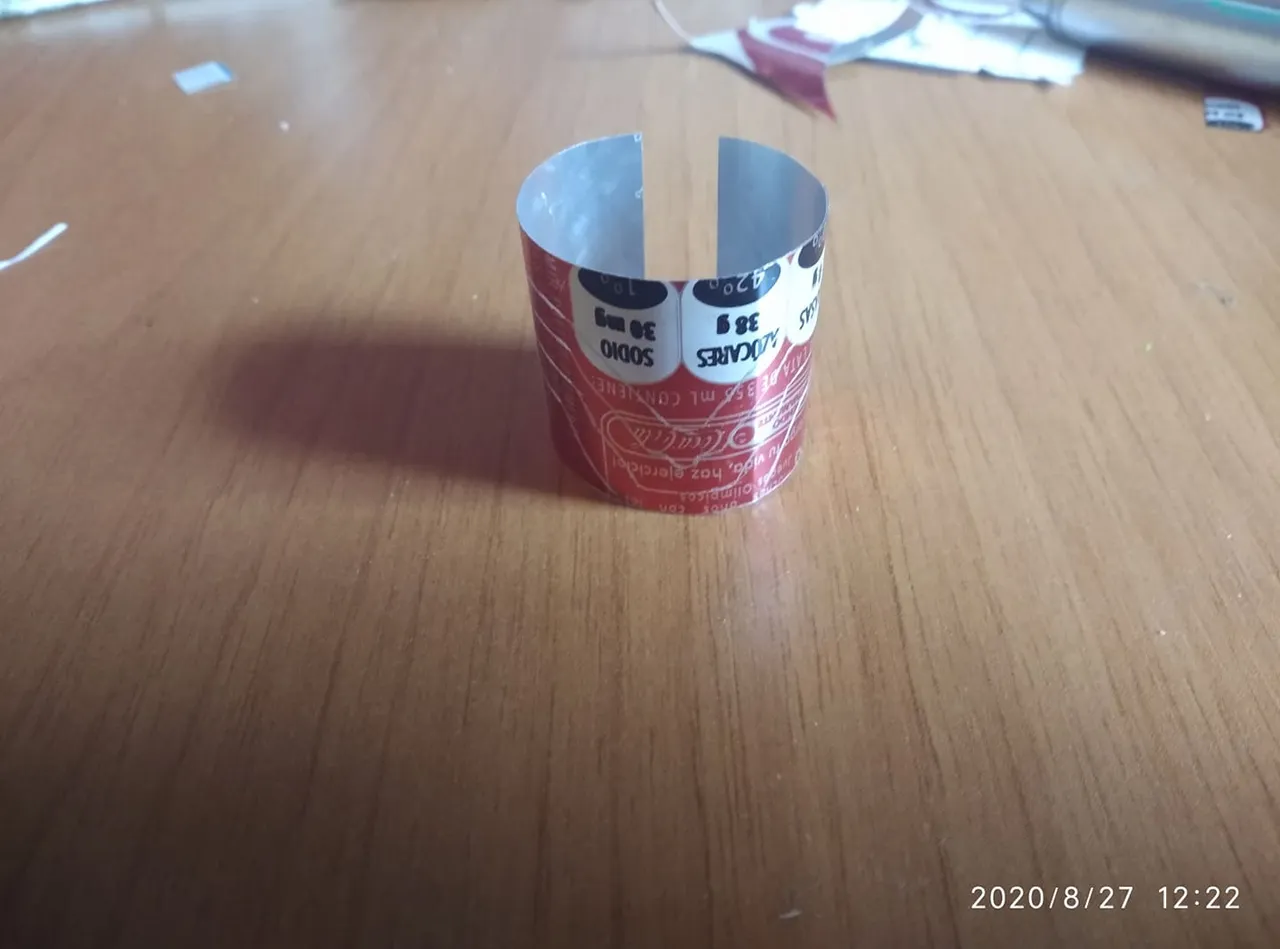
Then to make the neck part we cut a small can into a circular shape
Luego para hacer la parte del cuello cortamos una pequeña lata en foma circular
Then we do this small part to support the head on top of the neck.
Luego hacemos esta pequeña parte para apoyar la cabeza encima del cuello.
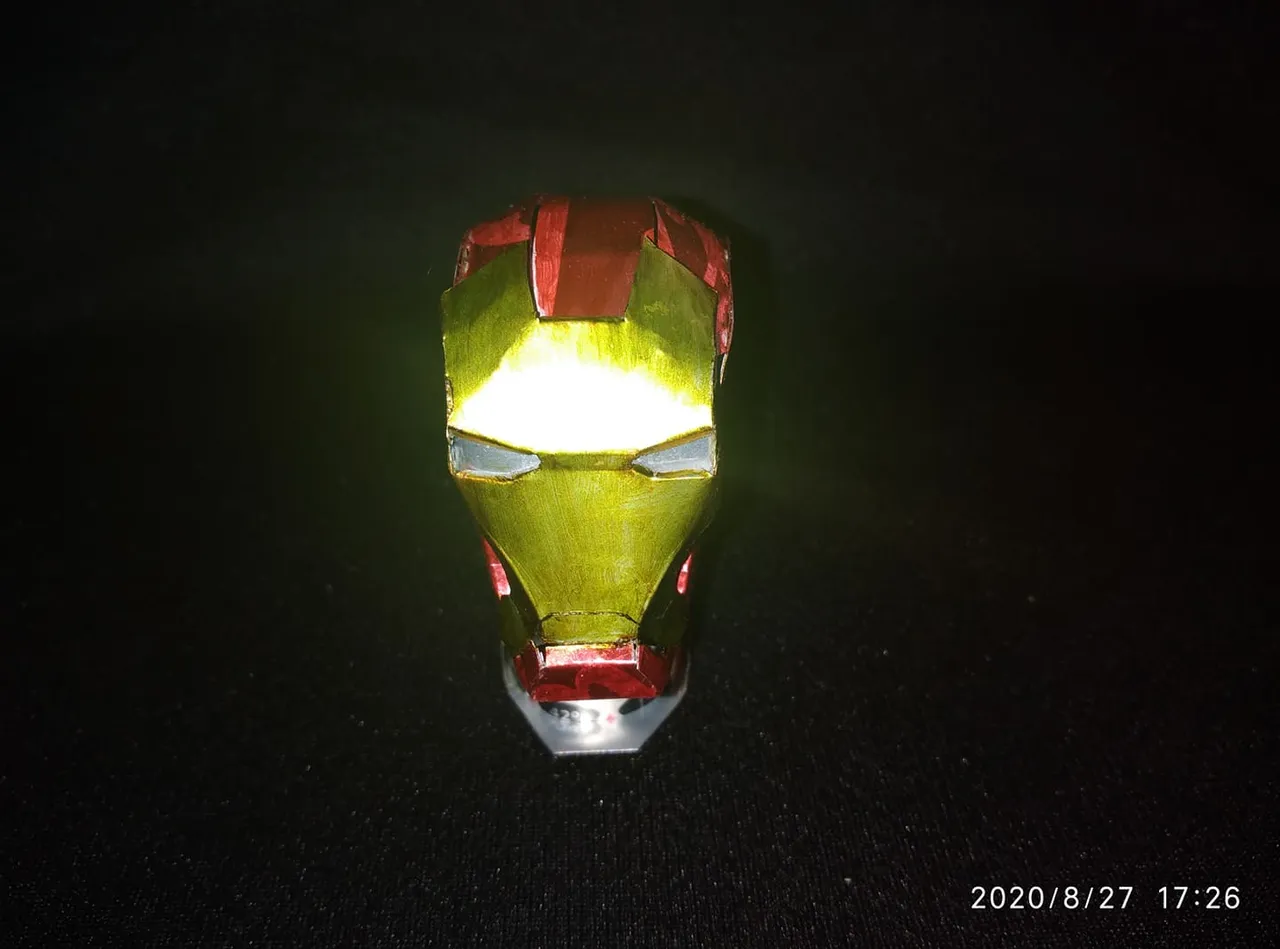
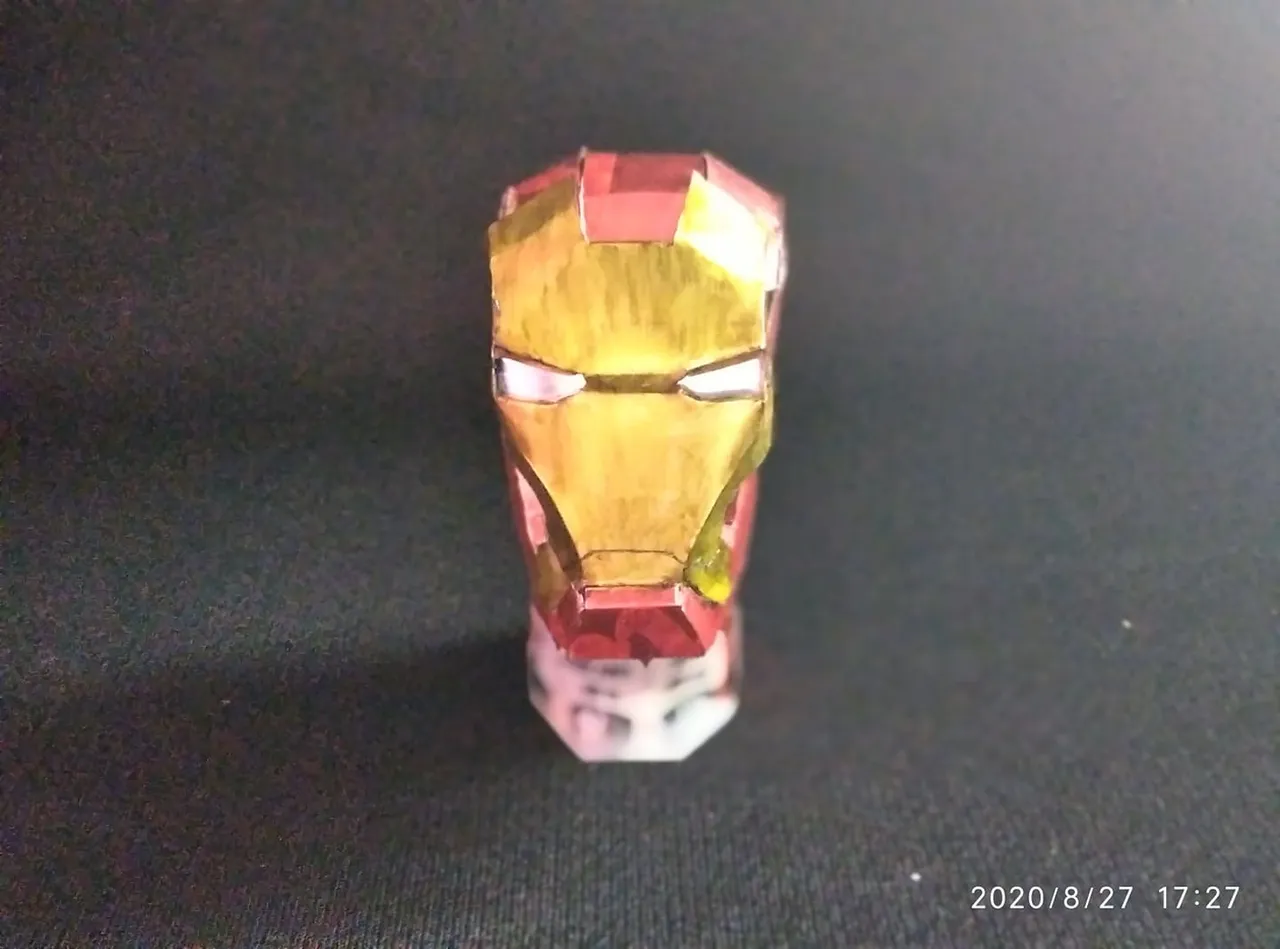
Then to make it more similar to the armor of the movies we can paint the silver part with a yellow marker and the red parts with a red marker.
Despues para que quede mas parecida a la armadura de las peliculas podemos pintar la parte plateada con marcador amarillo y las partes en rojo con un marcador rojo.

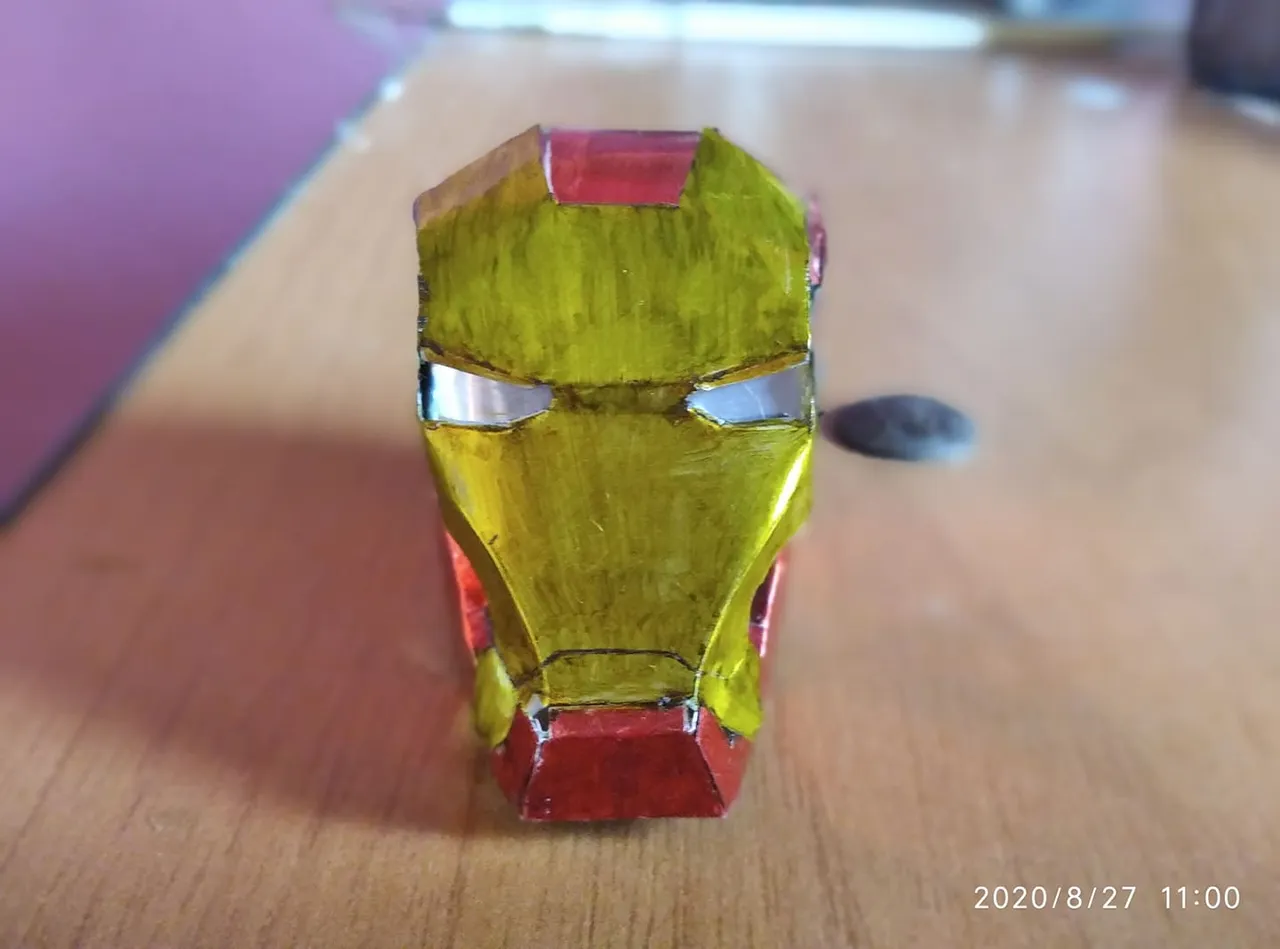
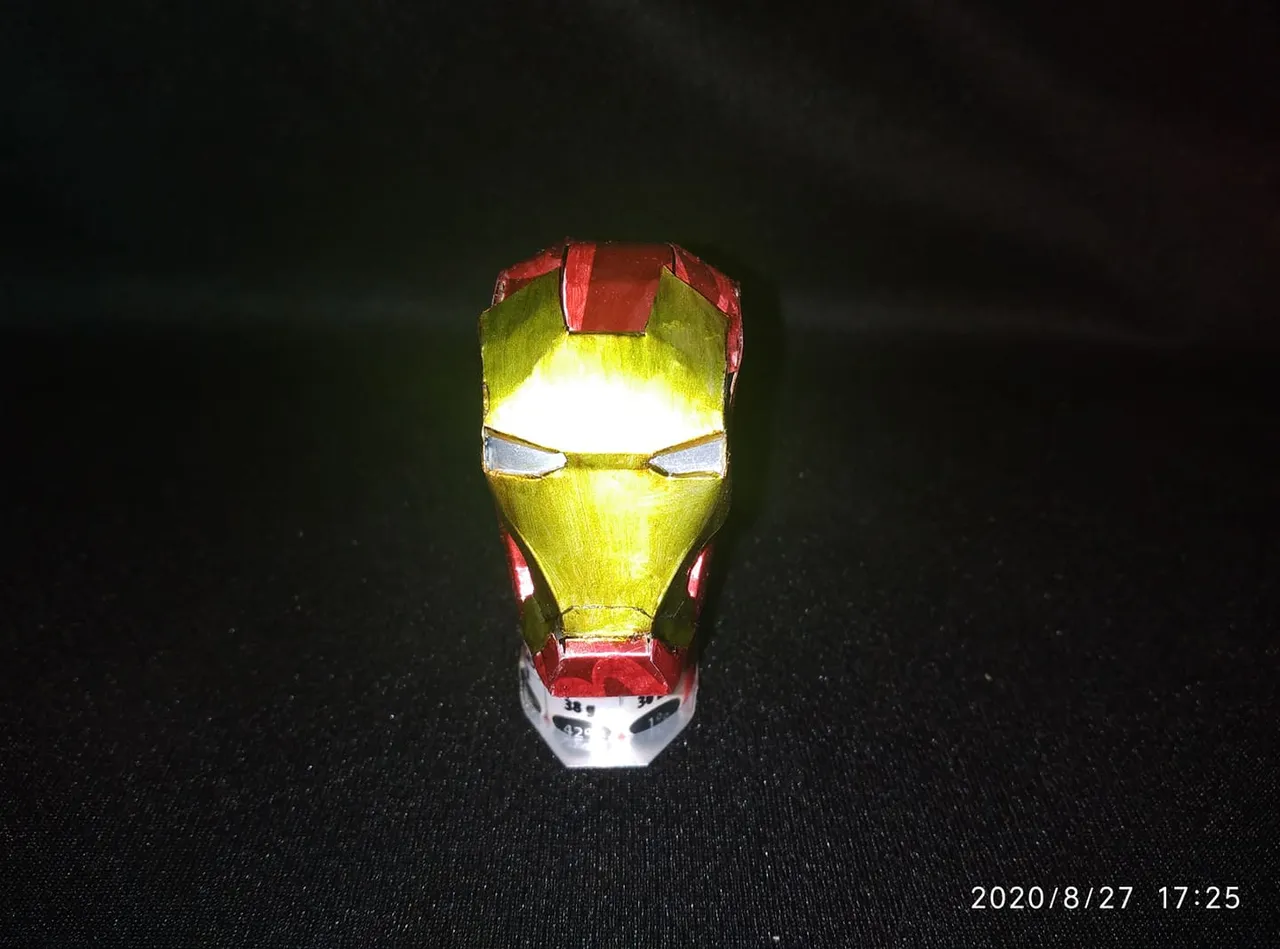
With the use of the markers it has been possible to achieve a tonality a bit close to the original colors.
Con el uso de los marcadores se ha podido lograr una tonalidad un poco cercana a los colores originales.
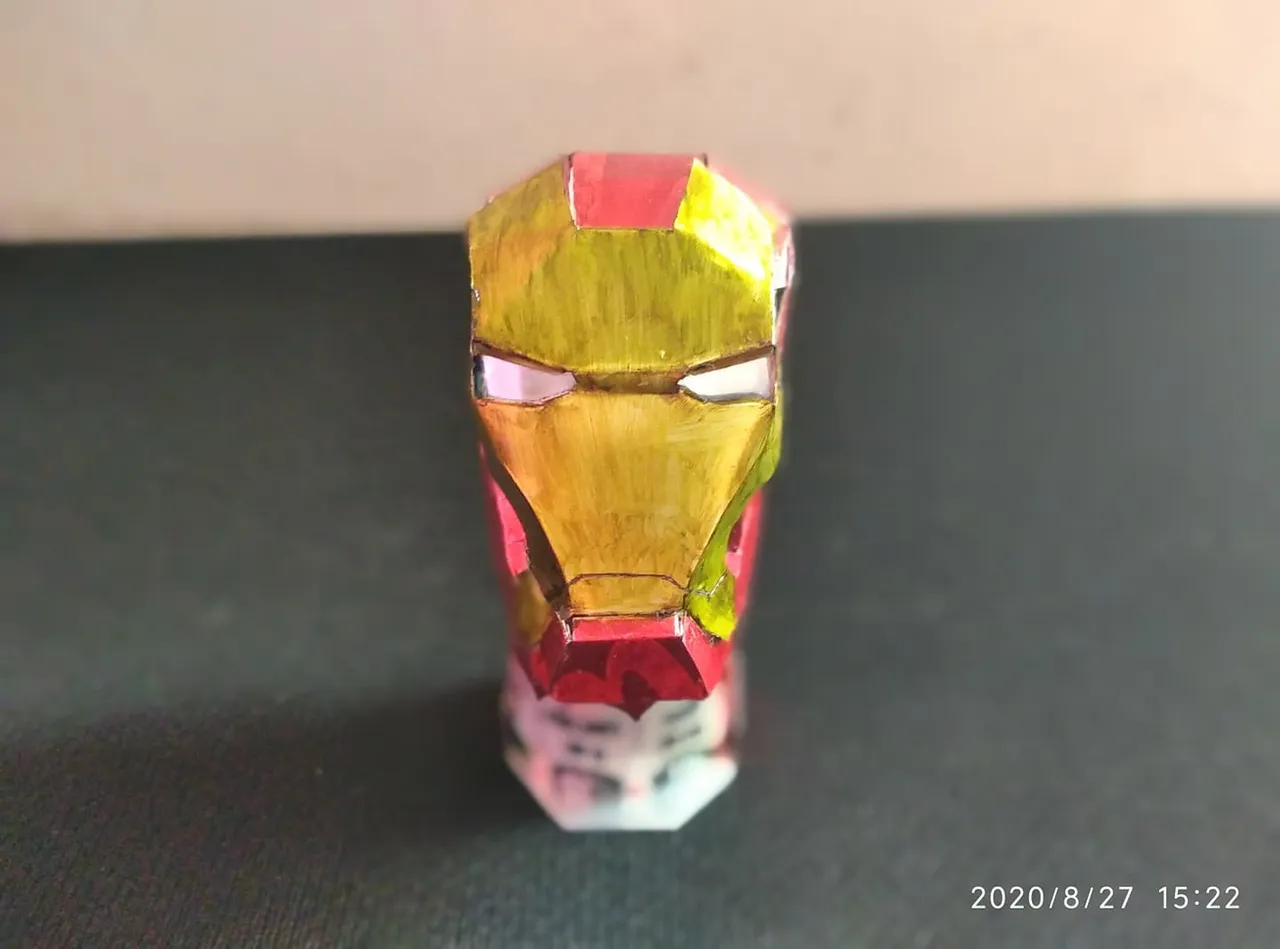
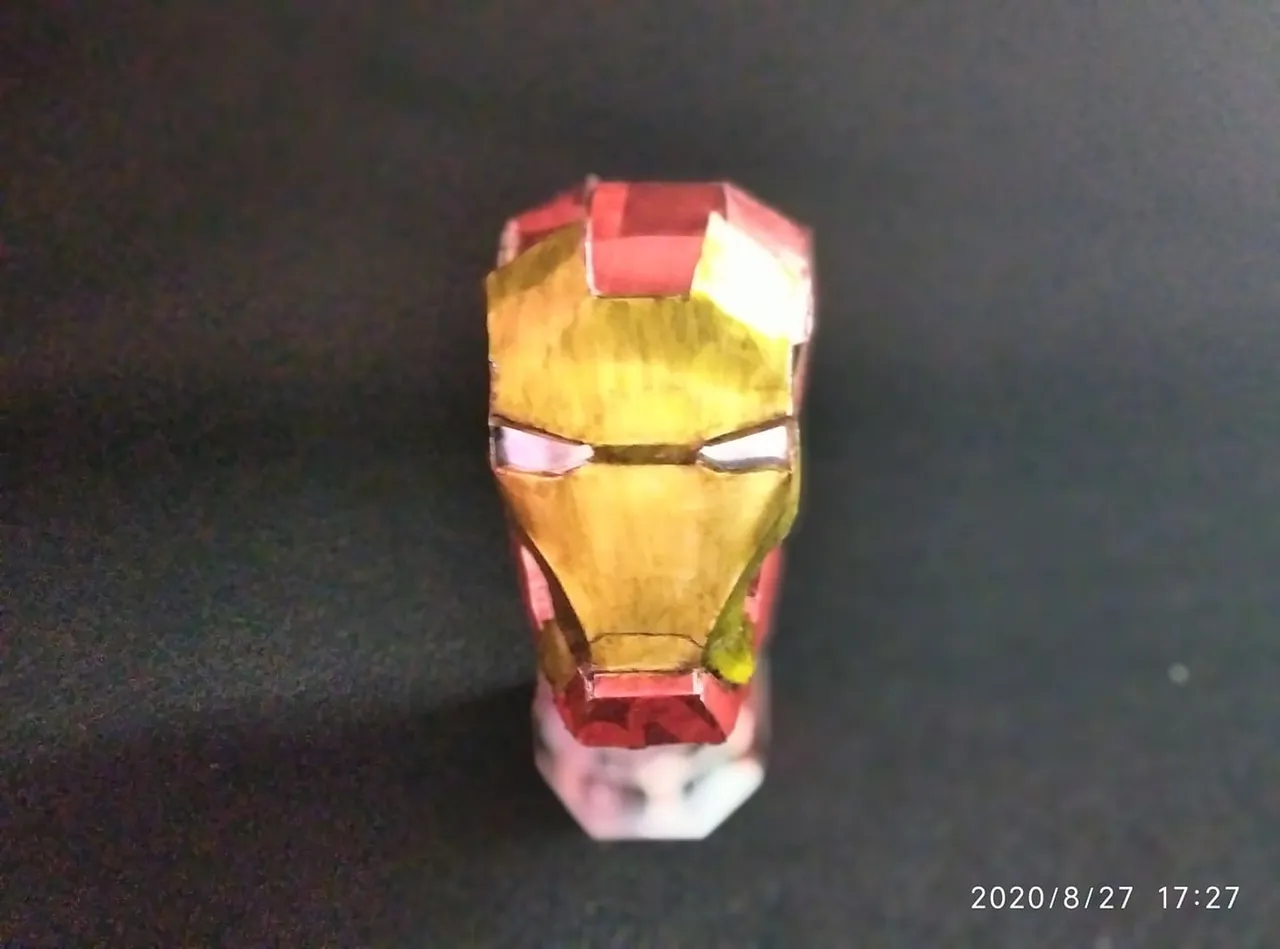
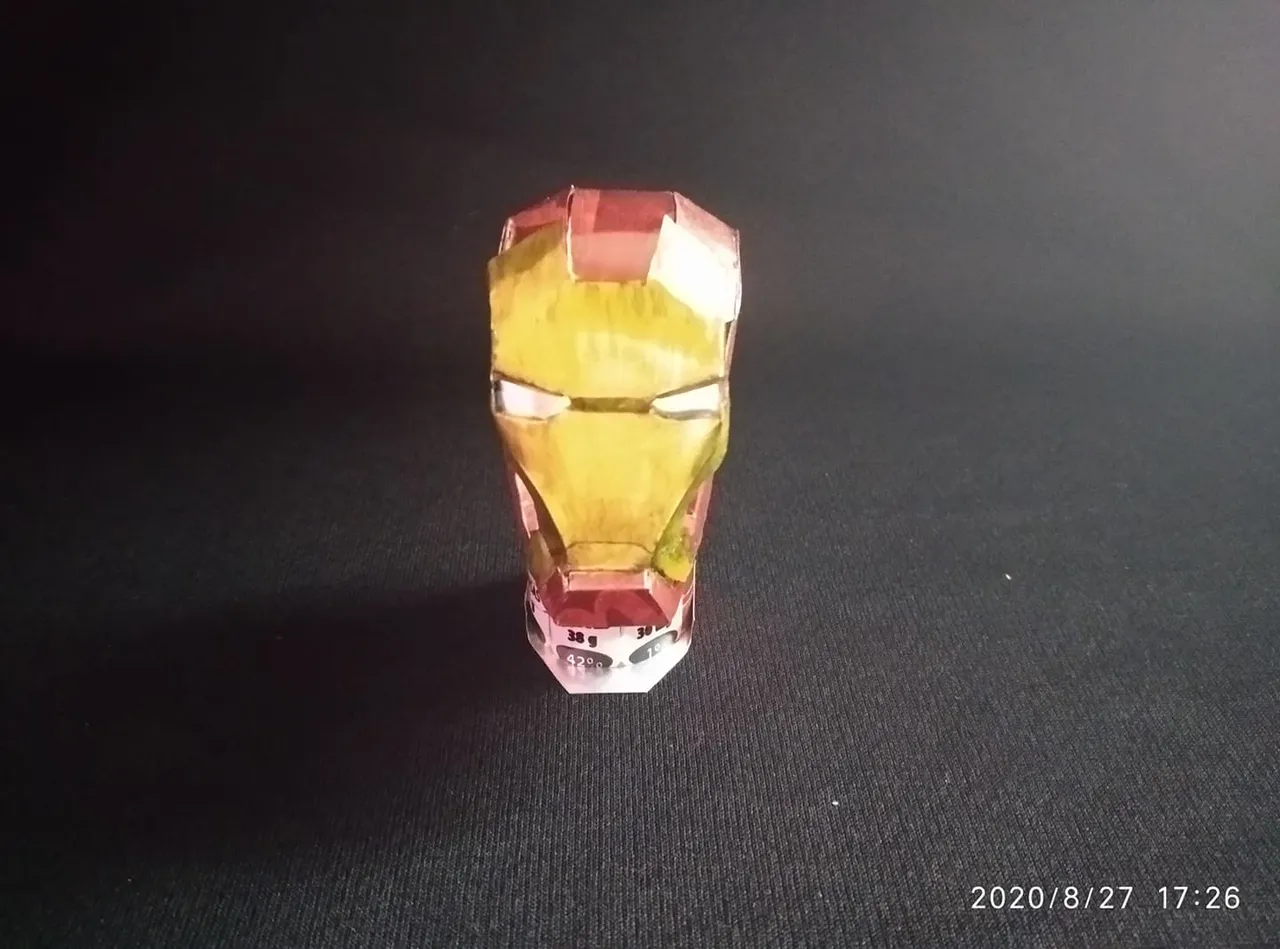
Finally we place the neck and head and glue it with glue and we will be done.
Por ultimo colocamos el cuello y la cabeza y lo pegamos con pegamento y asi habremos terminado.
This has been all my work for today. As I mentioned before, I will divide my work into several publications so as not to make such an extensive publication. I hope you liked my work and as always let me know. Greetings to all.
Este ha sido todo mi trabajo por hoy. mComo les mencioné antes, dividiré mi trabajo en varias publicaciones para no hacer una publicacion tan extensa. Espero que les haya gustado mi trabajo y como siempre haganmelo saber. Saludos para todos.