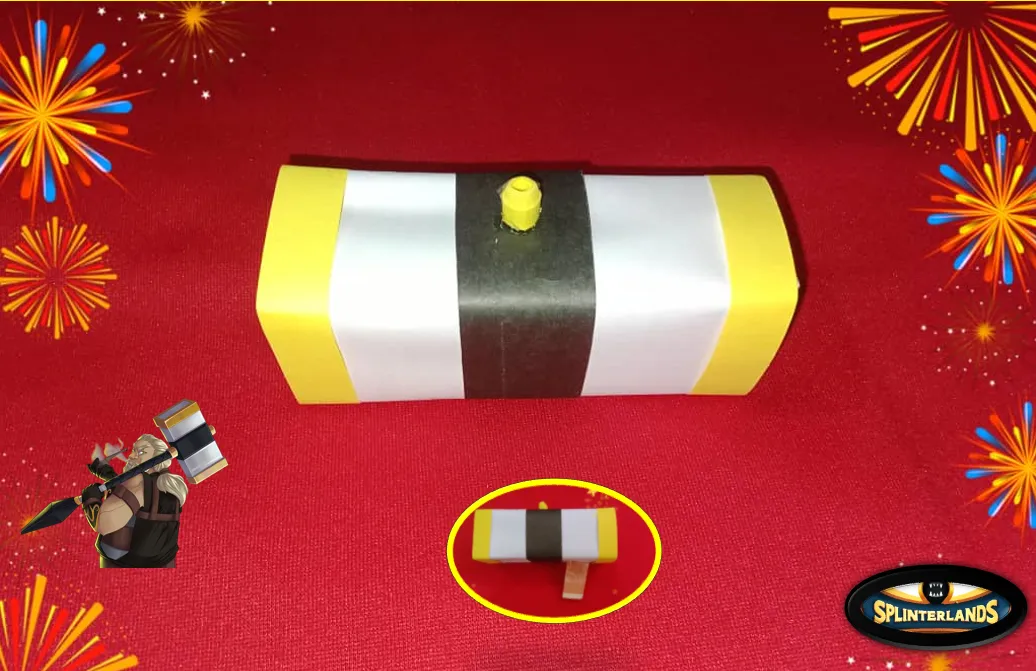
Greetings creative friends, I wish you an excellent week together with your loved ones, the days are moving fast and very soon classes start in my country, we are already in the countdown for children to join the school, mums and dads must organize daily routines to manage time and meet our responsibilities; this time I share the development of a piggy bank inspired by Chimney Wallstop, a character from Splinterlands cards, the idea behind the piggy bank is to save money to buy a Christmas present for the pets in the house. It is a simple project to make and requires few materials.
Saludos amigos creativos les deseo una excelente semana en unión de sus seres queridos, los días avanzan rápidamente y muy pronto inician las clases en mi país, ya estamos en la cuenta regresiva para que los niños se incorporen a la escuela, las mamás y papás debemos organizar las rutinas diarias para administrar el tiempo y cumplir con nuestras responsabilidades; en esta ocasión comparto la elaboración de una alcancia inspirada en Chimney Wallstop, un personaje de las cartas de Splinterlands, la idea idea de alcancia es ahorrar dinero para comprar el regalo navideño de las mascotas de la casa. Es un proyecto sencillo de hacer y requiere pocos materiales.


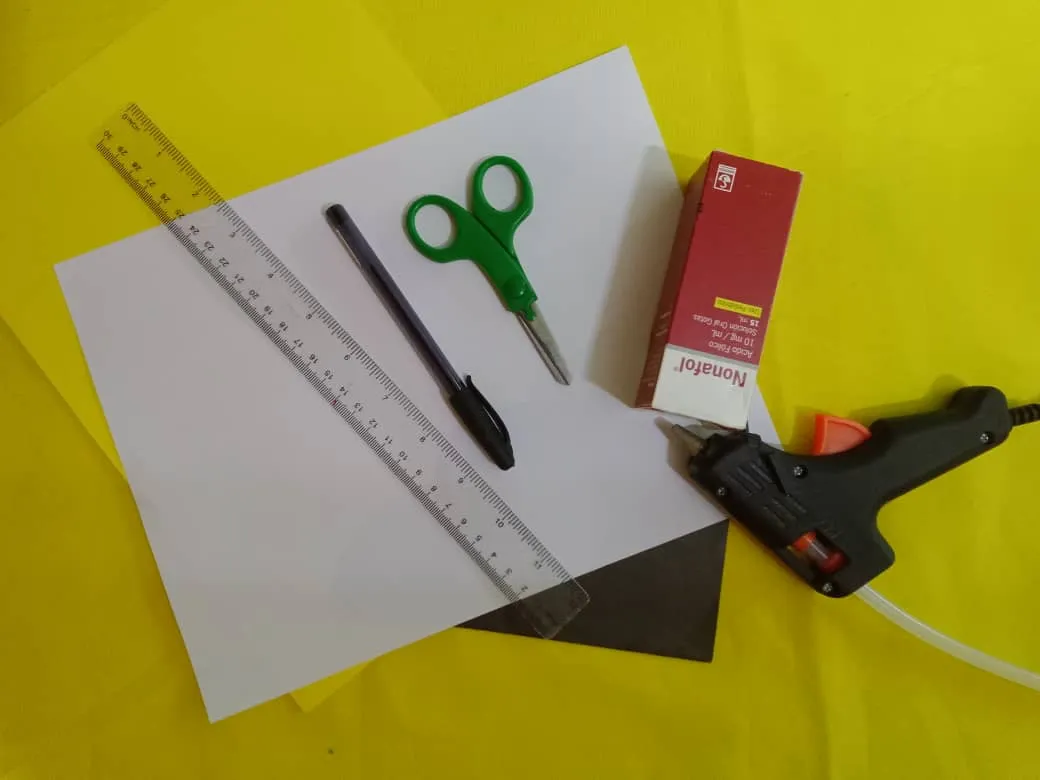
The materials used were:
Cardboard (black, yellow and white).
Silicone stick
Scissors
Pencil
Rectangular box
Silicone gun
Ruler
Los materiales usados fueron:
Cartulina (negra, amarilla y blanca)
Silicón en barra
Tijera
Lápiz
Caja rectángular
Pistola de silicón
Regla
Elaboration
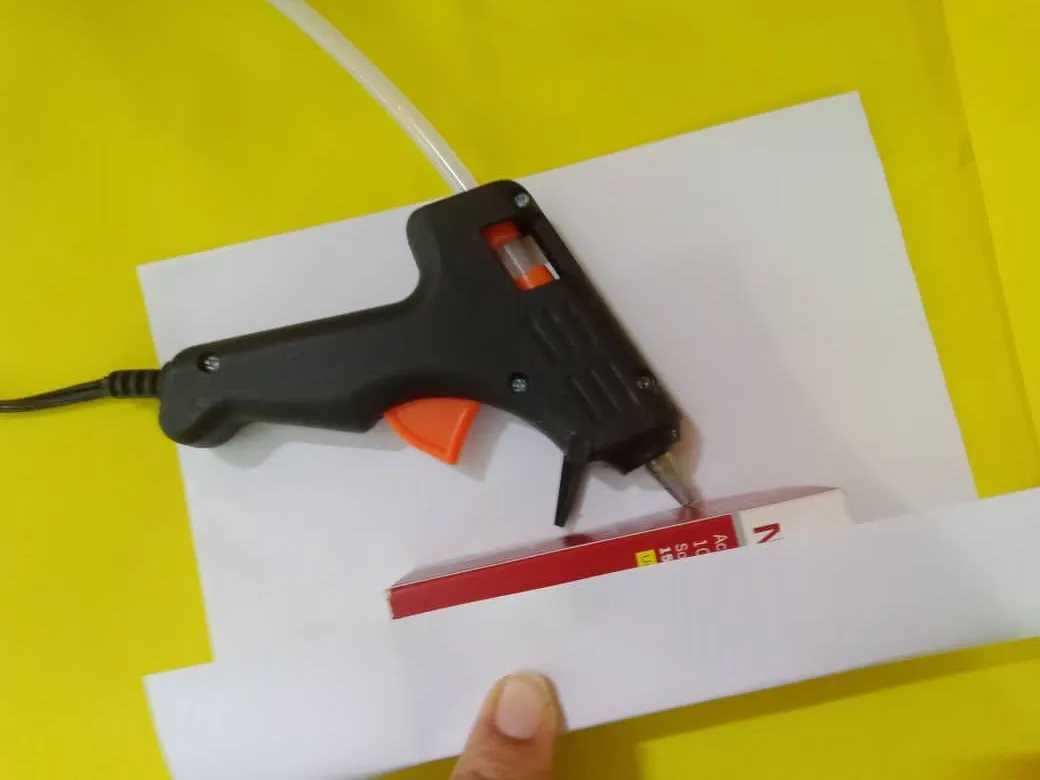
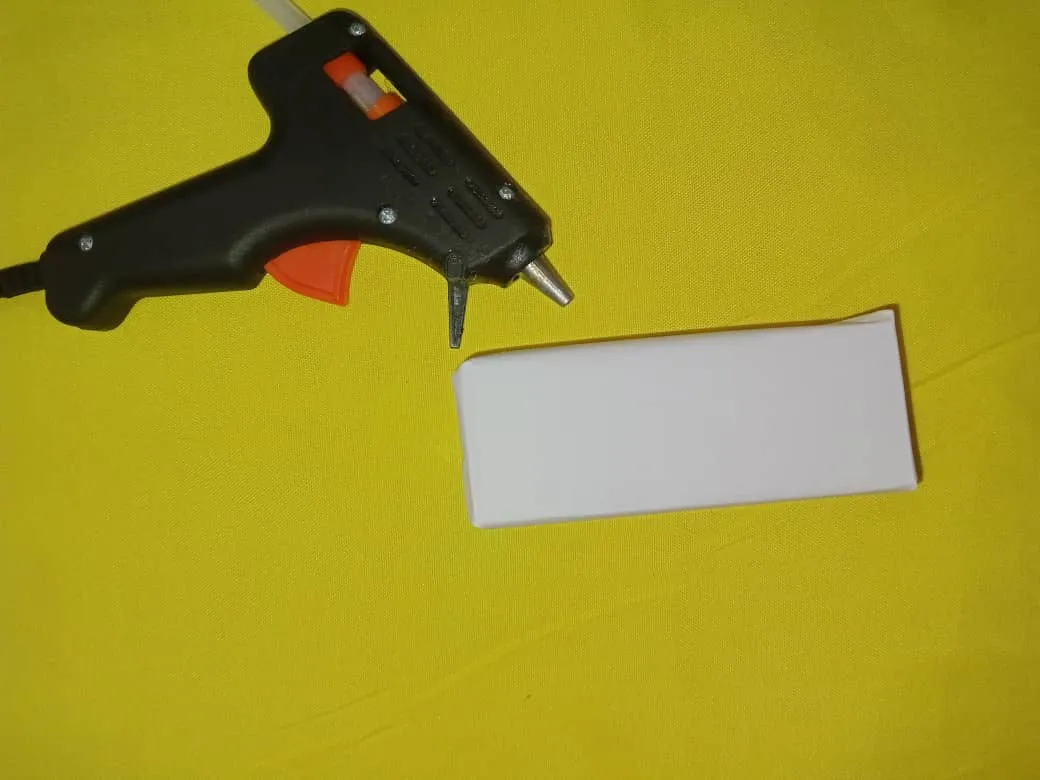
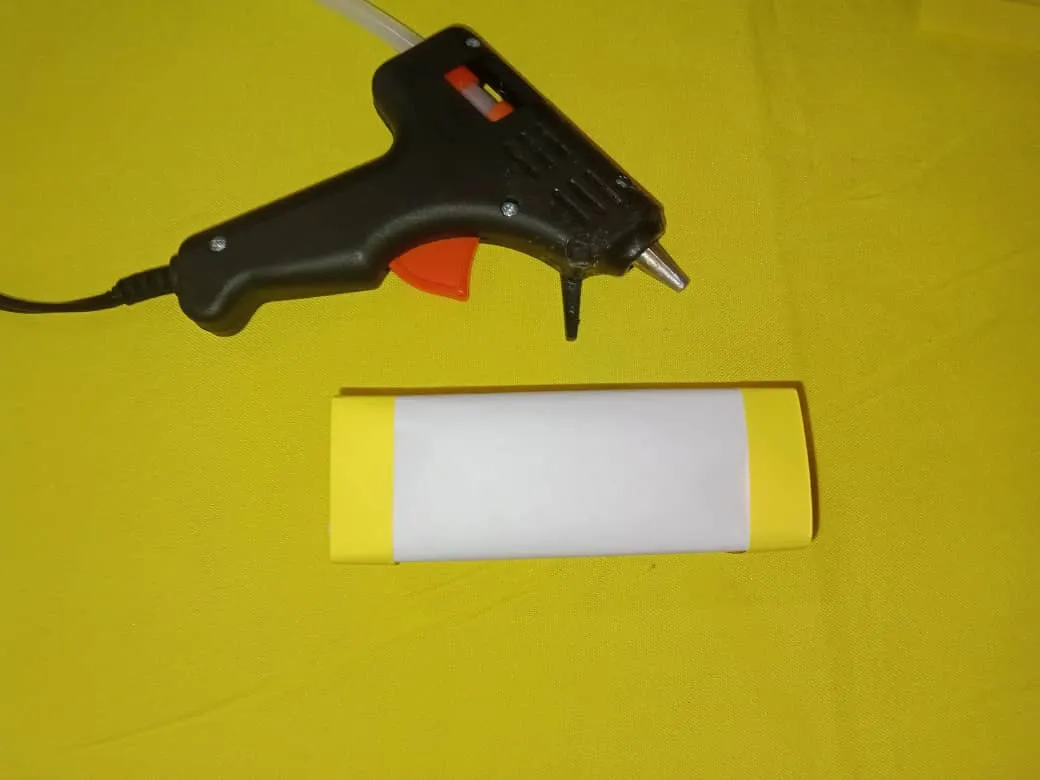
For this project I used a medicine box, the first step was to line it with white cardboard, I glued one end of the cardboard to the box, then wrapped and glued the top and bottom.
Elaboración
Para este proyecto usé una caja de medicina, el primer paso fue forrarla con cartulina blanca, pegué uno de los extremos de la cartulina a la caja, luego envolví y pegué por la parte superior e inferior.
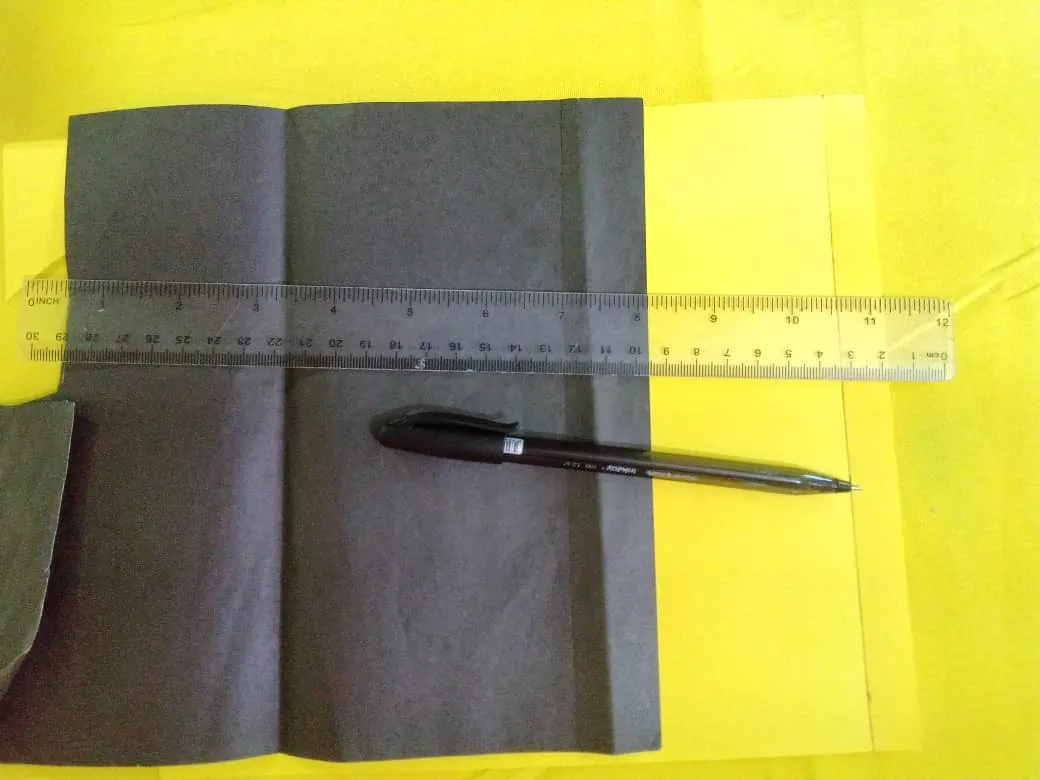
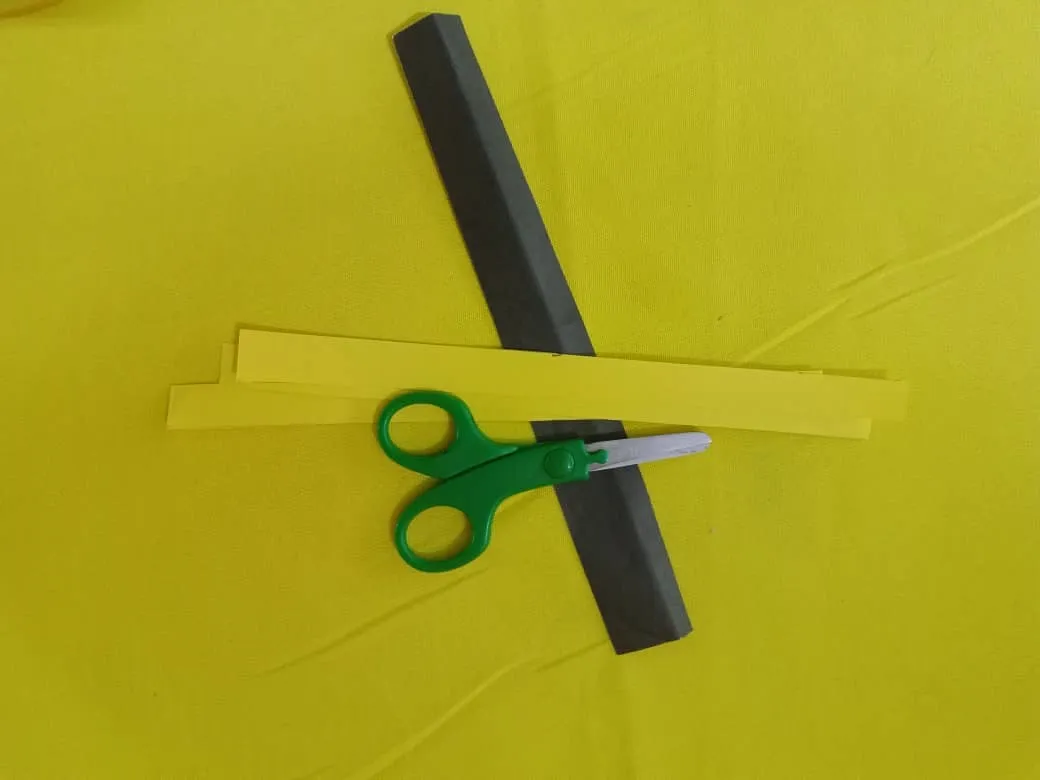
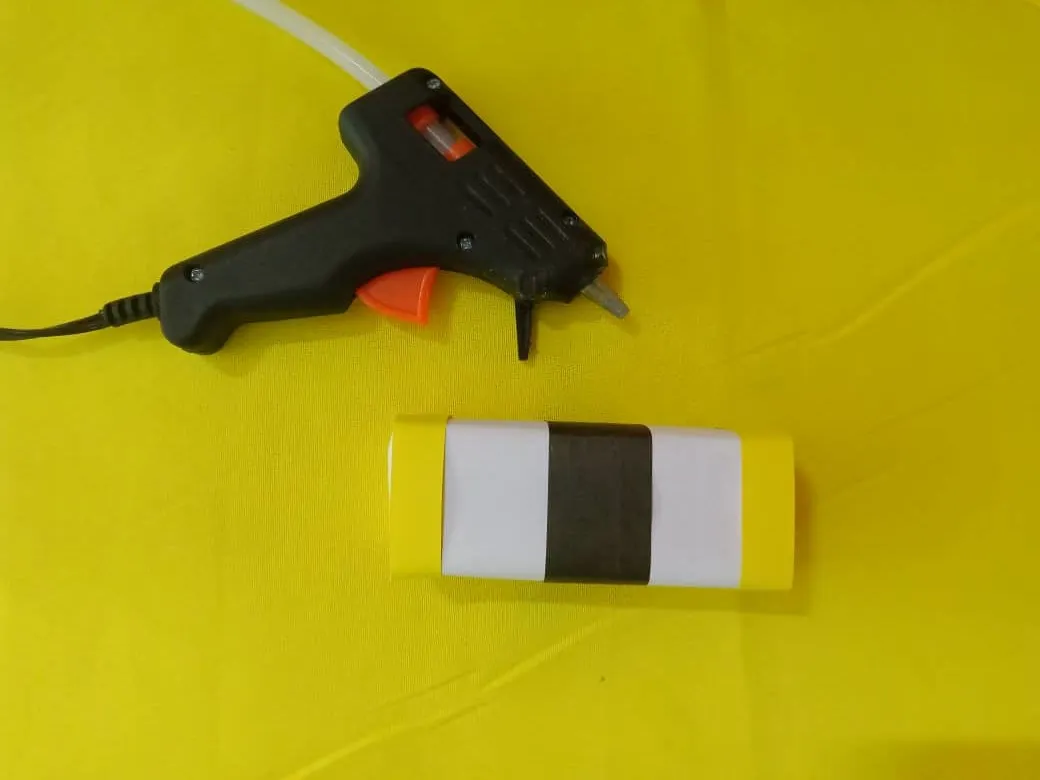
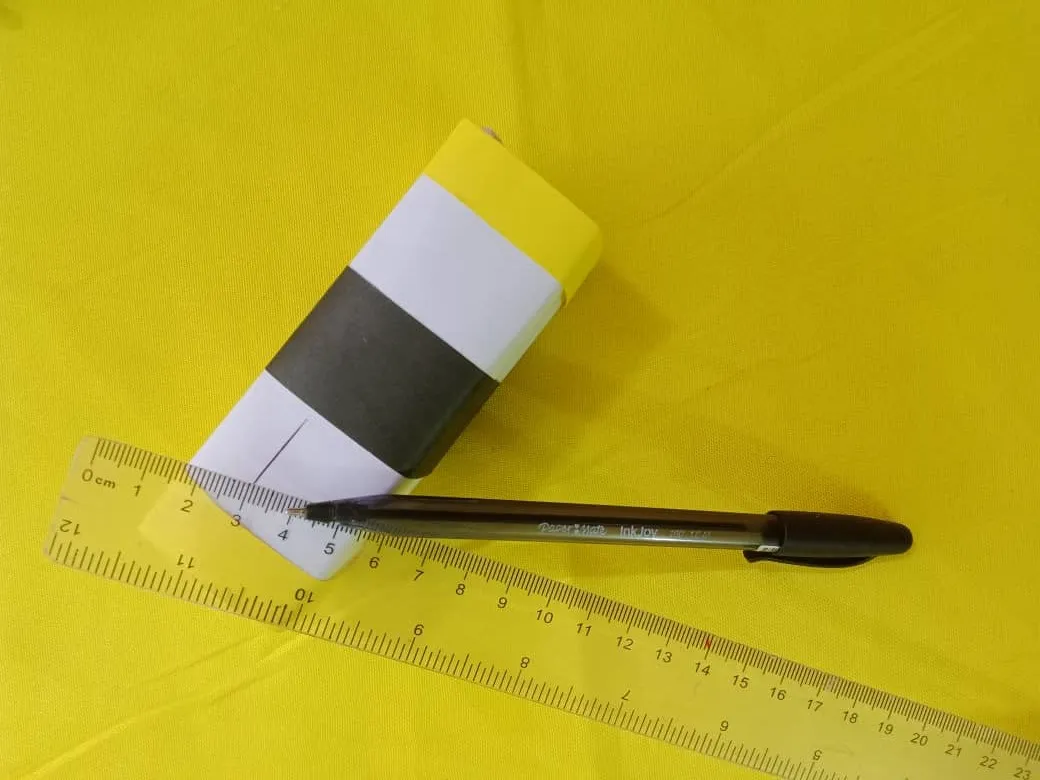
Once the box was lined, I marked and cut the yellow strips (1.5 centimetres) and one black strip (3 centimetres).
Forrada la caja marqué y corté las tiras amarillas (1,5 centímetros) y una negra (3 centímetros).
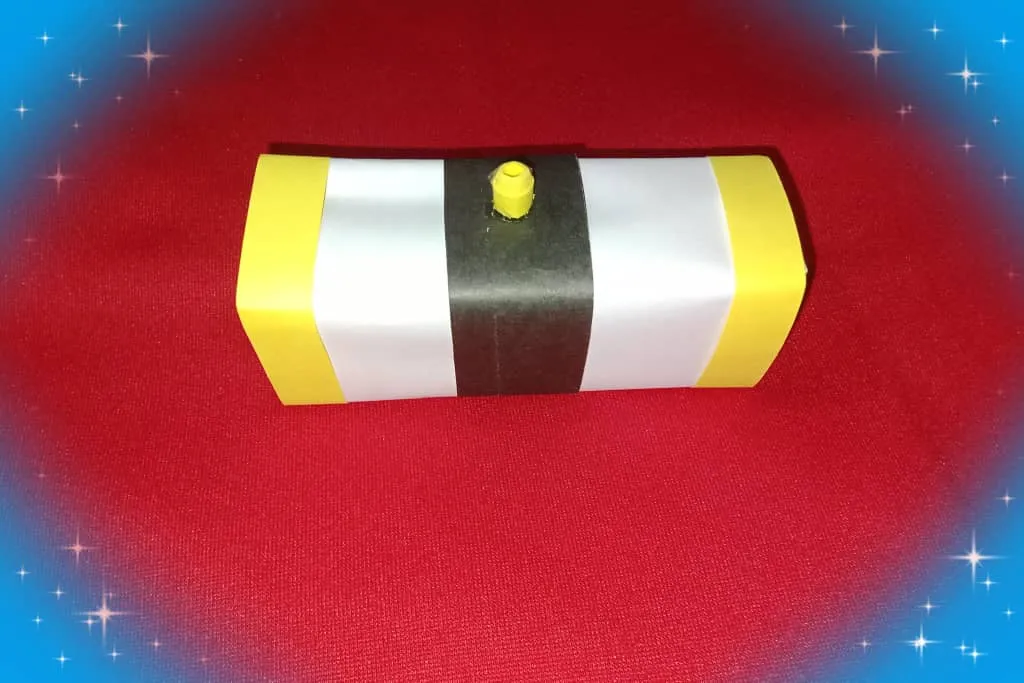
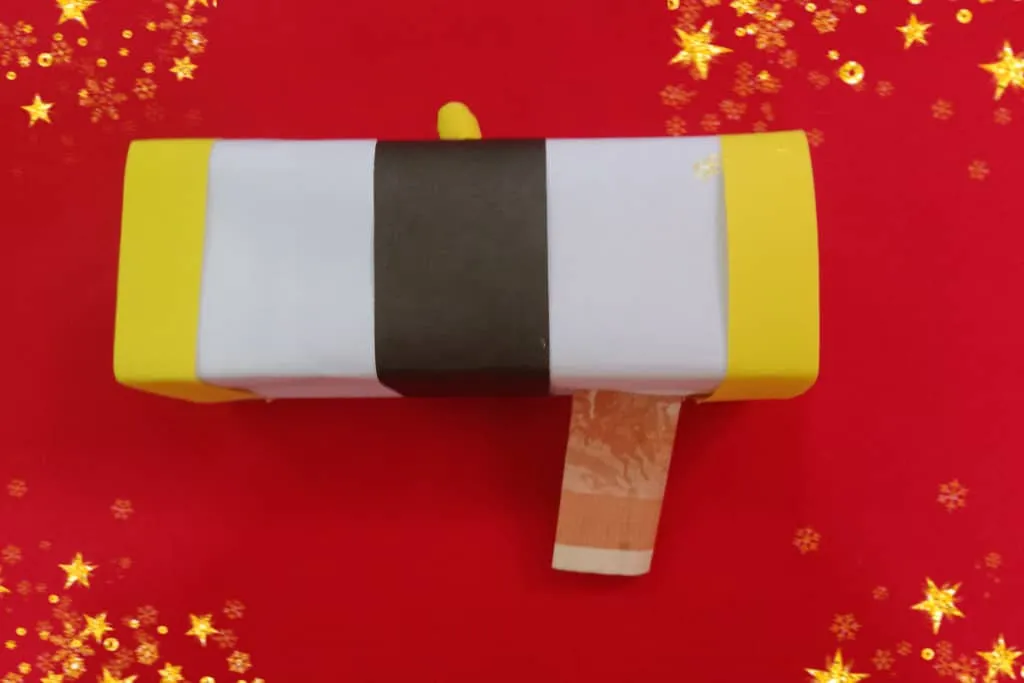
Then I glued the yellow strips to the top and bottom of the box and the black one in the middle.
Luego pegué las tiras amarillas en la parte superior e inferior de la caja y la de color negro en el centro .
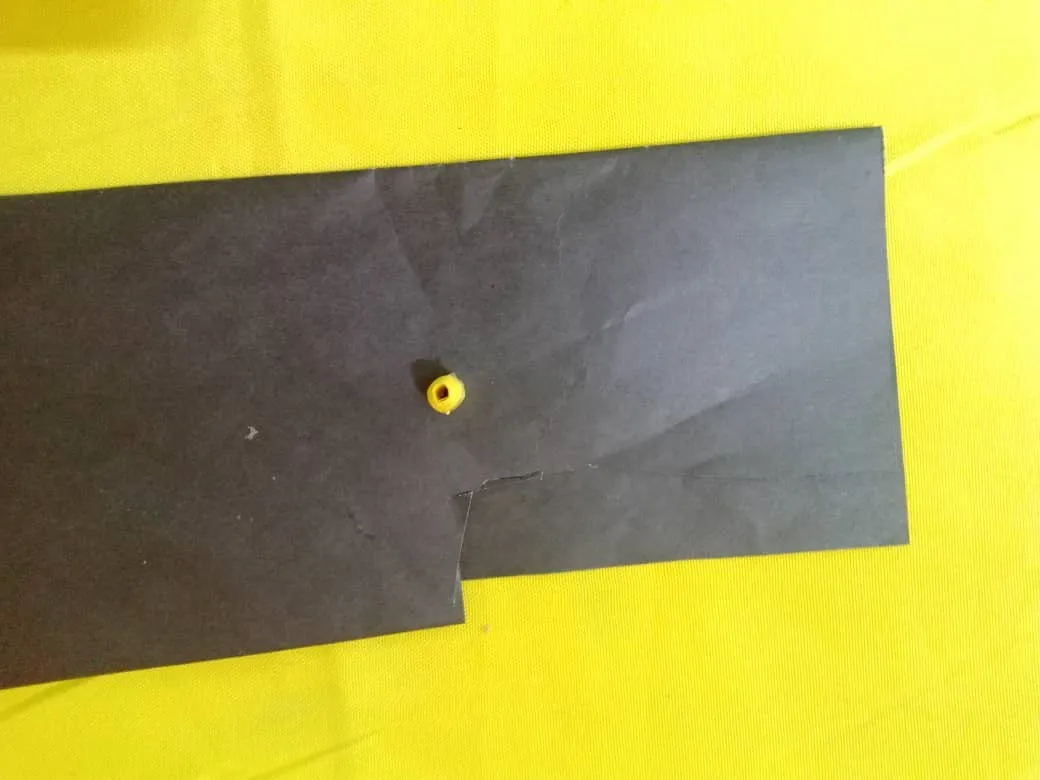
I rolled a yellow ribbon into a kind of conical tube and glued it on top of the black strip.
Enrollé una cinta amarilla hasta formar una especie de tubo cónico y pegué encima de la tira negra.
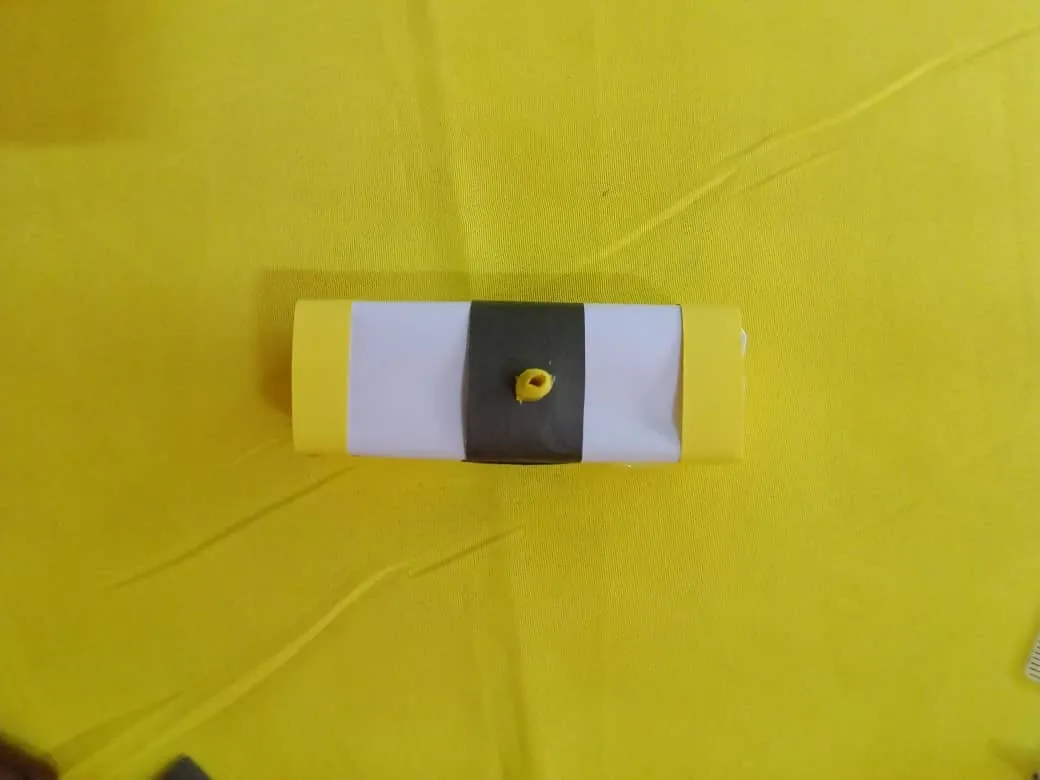
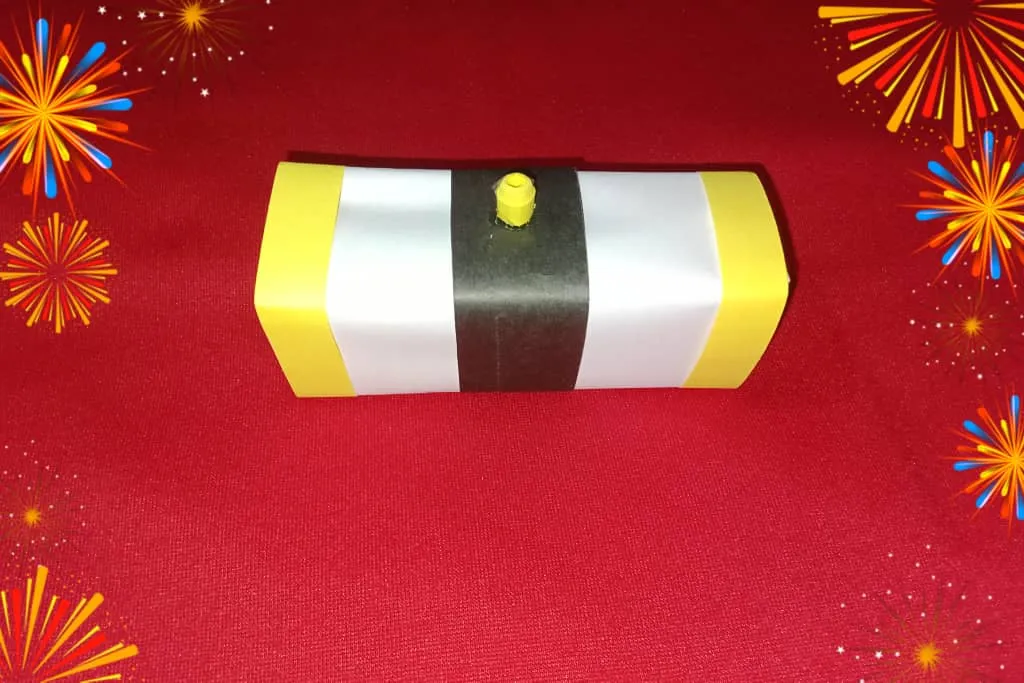
Finally I marked a three (3) centimetre line on one of the sides of the box which will be the hole of the money box, with the help of the scissors I cut and this is how the Chimney Wallstop inspired money box is finished.
Para finalizar marqué una línea de tres (3) centímetros en una de las caras de la caja que será el orificio de la alcancía, con ayuda de la tijera corté y así está terminada la alcancía inspirada en Chimney Wallstop.
¡Bendiciones!
Blessings!

Translated with https://www.deepl.com/translator
          All images are my own, captured by a Síragon LC-3000 camera.

   Todas las imágenes son de mi autoría, capturadas por una cámara Síragon LC-3000.