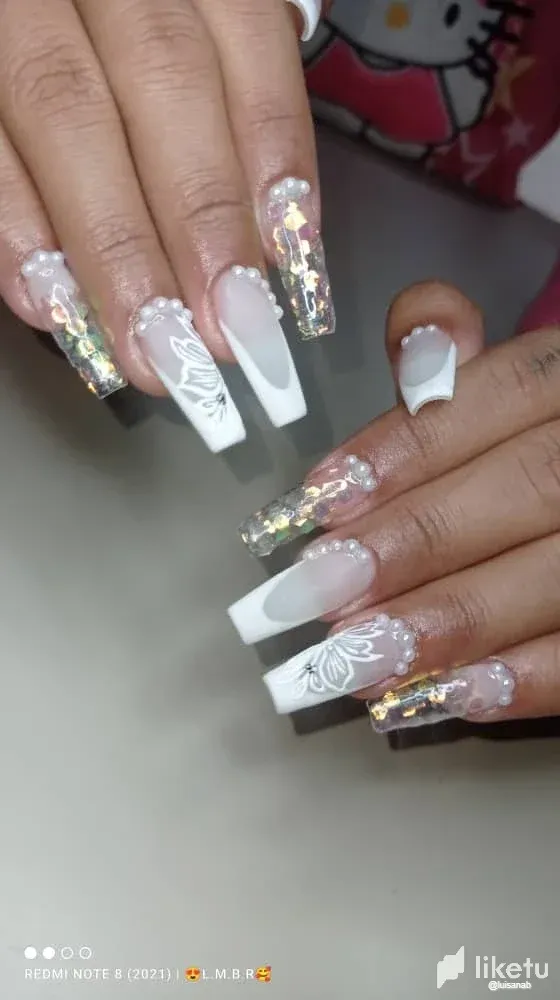
Hoy quiero compartir con ustedes un diseño sencillo pero hermoso en uñas Jelly Tips, también conocida o llamada como sof gel. En las imágenes verán de la preparación de las uñas hasta el acabado final. Como consejo inicial, es importante desinfectar las manos y las herramientas de trabajo.
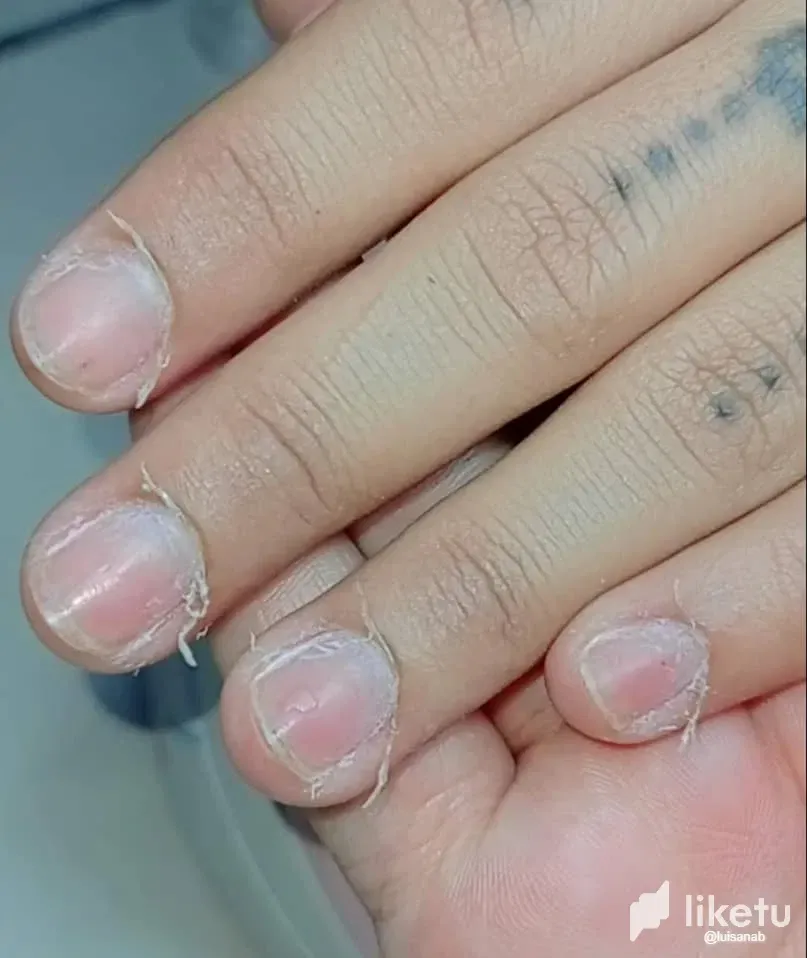
Bueno, lo primero que hago con la ayuda de un Dremel es separar la cutícula de la uña, así como sus laterales, de esta manera, la cutícula quedará expuesta y será más sencillo y seguro de retirarla.
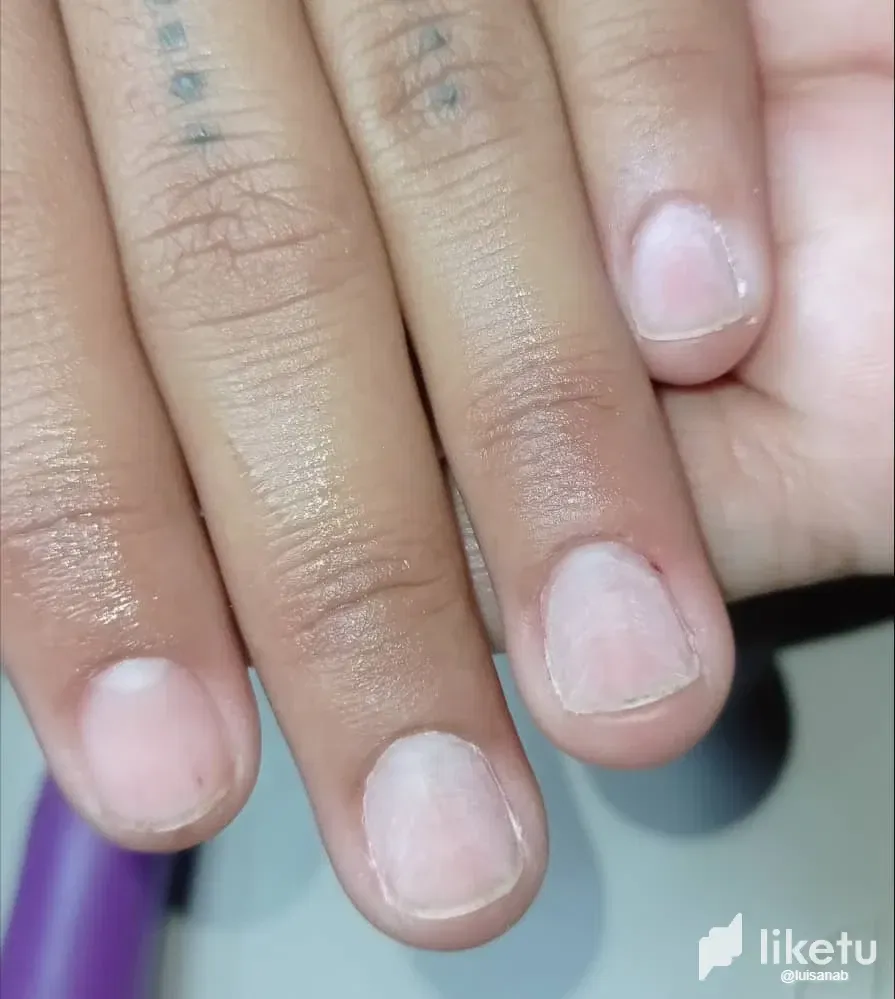
Después de que la cutícula esté completamente despegada de la uña, con la ayuda de una tenaza o tijera, empezamos a retirar toda la cutícula muerta que previamente el demel desplegó. Y con la ayuda de una lima de grano suave 240/240, empiezo a limar la primera capa de la uña, sacándole porosidad. Si le dejamos lo liso de la uña, podría provocar antiadherente entre la base o esmalte de la uña. Limpiamos bien con una brocheta quitando todo el polvo y con una banda le aplicamos un poco de alcohol y limpiamos bien las uñas para que no quede nada de residuos.
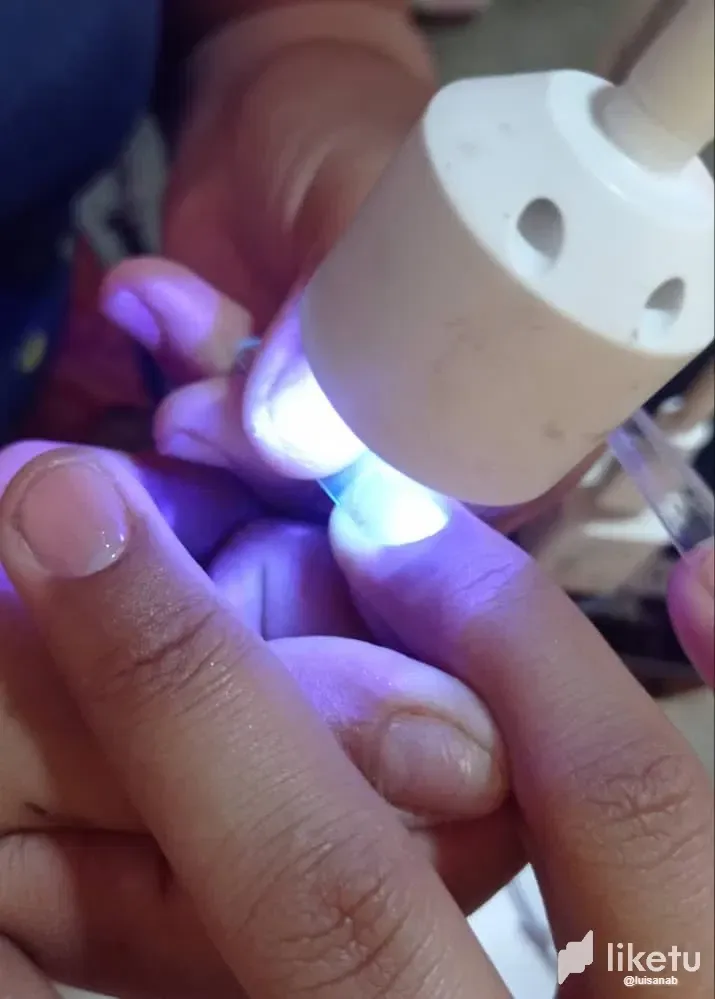
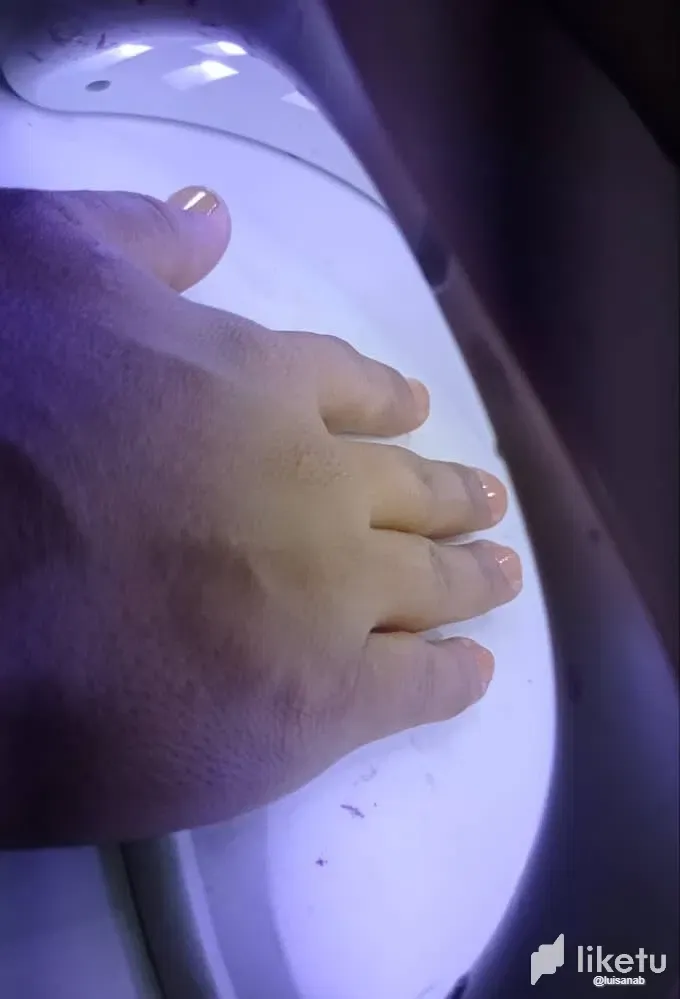
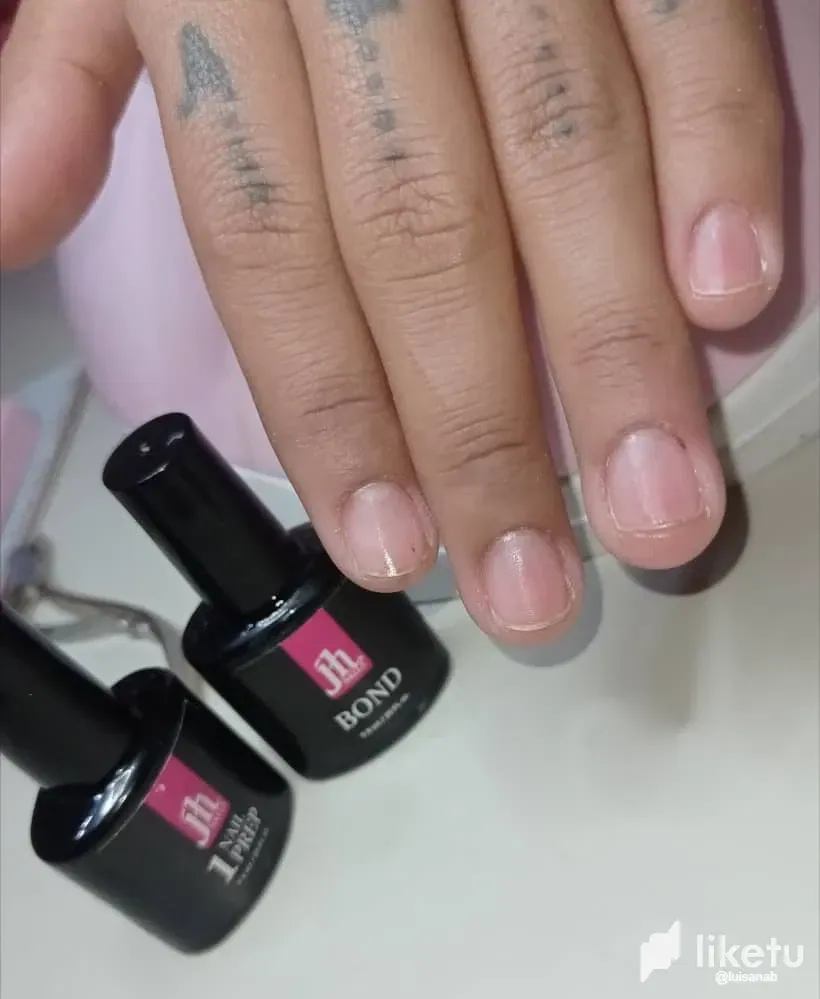
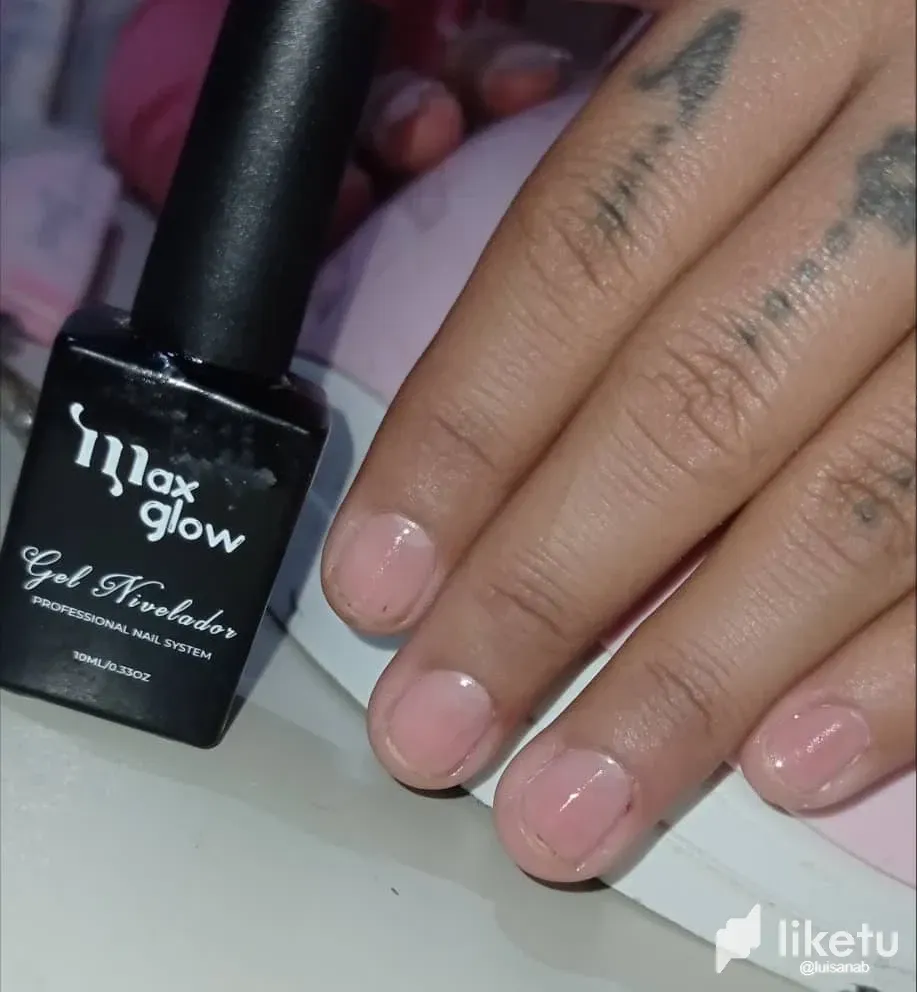
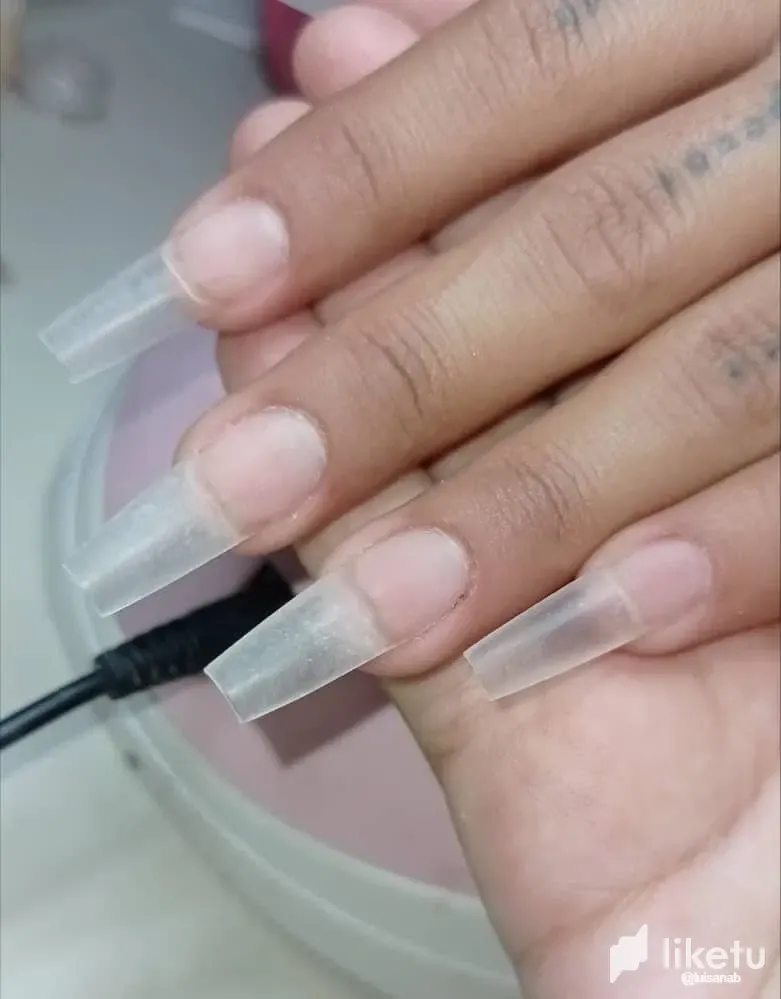
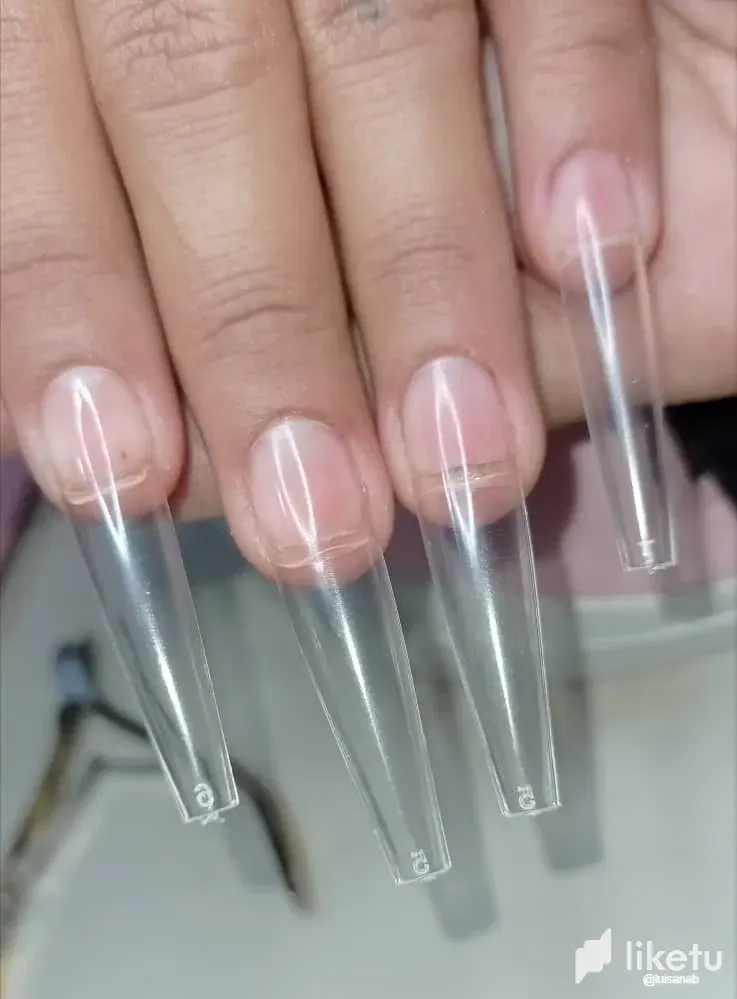
Para iniciar con las Jelly primero aplicamos el primer y segundo protin bon en la uña natural, estos materiales son muy importantes antes de esmaltar, luego pasamos a aplicar el gel nivelador y lo colocamos en lámpara por 60 segundos. Aplicamos un poco del nivelador en el tip y con la ayuda de una lamparita agarro el tip y la coloco en la uña natural para que no quede burbujas y seco por unos segundos. Después de que el típ esté bien pegado, procedemos a cortar el tip al tamaño deseado del cliente y empiezo a limar la forma deseada.
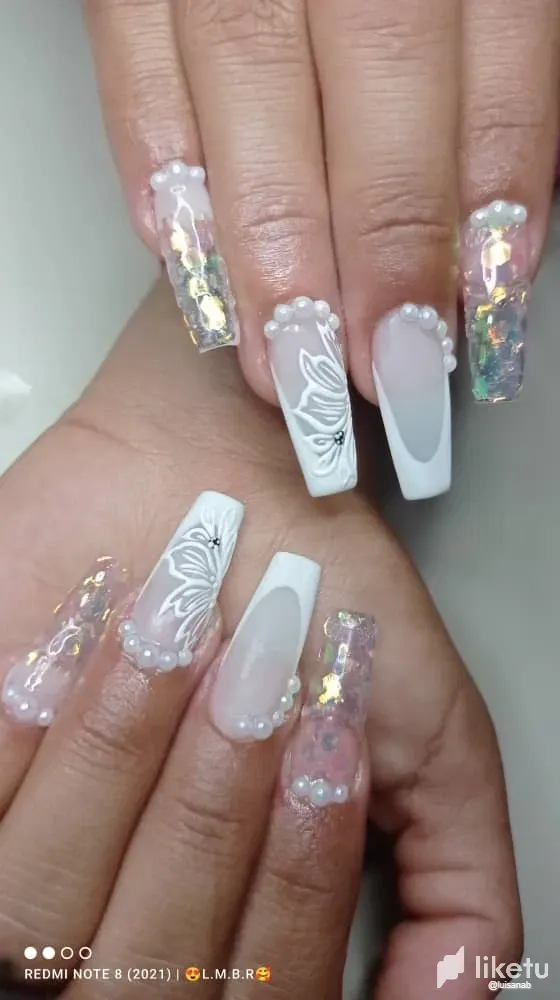
Y para finalizar, solo resta esmaltar el tip o pintar.
English
Today I want to share with you a simple but beautiful design in Jelly Tips nails, also known or called as sof gel. In the pictures you will see from the preparation of the nails to the final finish. As an initial tip, it is important to disinfect the hands and working tools.
Well, the first thing I do with the help of a Dremel is to separate the cuticle of the nail, as well as its sides, this way, the cuticle will be exposed and it will be easier and safer to remove it.
After the cuticle is completely detached from the nail, with the help of a pair of pliers or scissors, we start to remove all the dead cuticle that previously the demel unfolded. And with the help of a soft 240/240 grit file, I start filing the first layer of the nail, removing porosity. If we leave the smoothness of the nail, it could cause non-stick between the base or nail polish. We clean well with a skewer removing all the dust and with a band we apply a little alcohol and clean the nails well so that there is no residue.
To start with the Jelly first we apply the first and second protin bon on the natural nail, these materials are very important before polishing, then we apply the leveling gel and place it in the lamp for 60 seconds. We apply a little bit of the leveler on the tip and with the help of a small lamp I hold the tip and place it on the natural nail so that there are no bubbles and dry it for a few seconds. After the tip is well glued, we proceed to cut the tip to the desired size of the client and start filing the desired shape.
And finally, we only need to glaze the tip or paint it.