Hello how are you my dear Hive community as I told you before I have an enterprise where I have a promotion of high-waisted tights + a semi yarn.
Hola cómo esta mi querida comunidad de Hive como les comenté anteriormente tengo un emprendimiento donde tengo una promoción de pantys talle alto + un semi hilo.
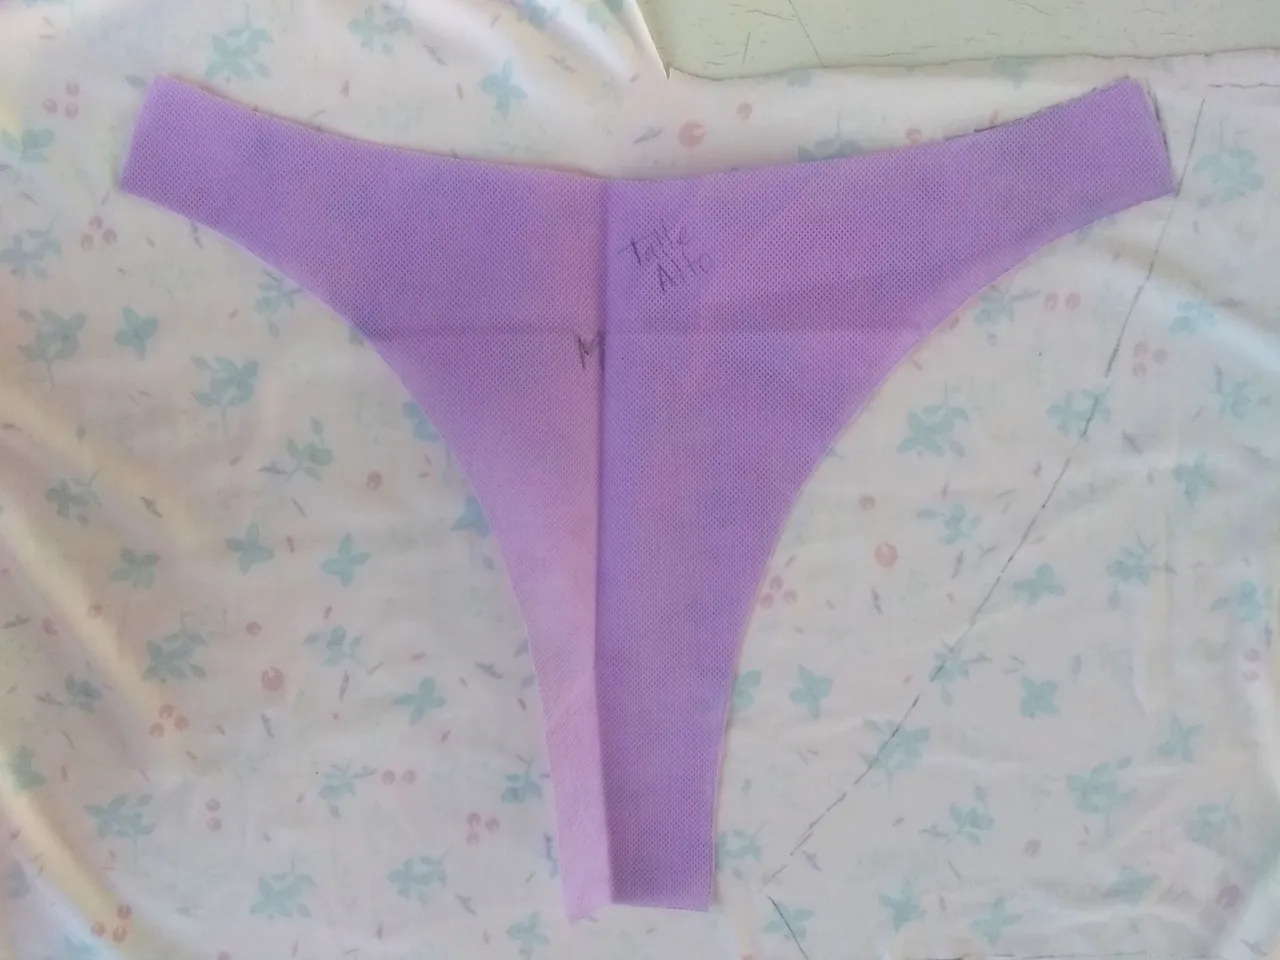
Here I show you a little bit about the elaboration of the high-waisted panty. The materials needed are:
- Front and back mold
- Fabric
- Marker or pencil
- Fabric scissors
- Pins
- Garter
- Bias
- Thread
- Sewing machine
A continuación les muestro un poco sobre la elaboración de la panty talle alto. Los materiales que se necesitan son:
- Molde delantero y posterior
- Tela
- Marcador o lapicero
- Tijera para tela
- Alfileres
- Liga
- Sesgo
- Hilo
- Máquina de coser
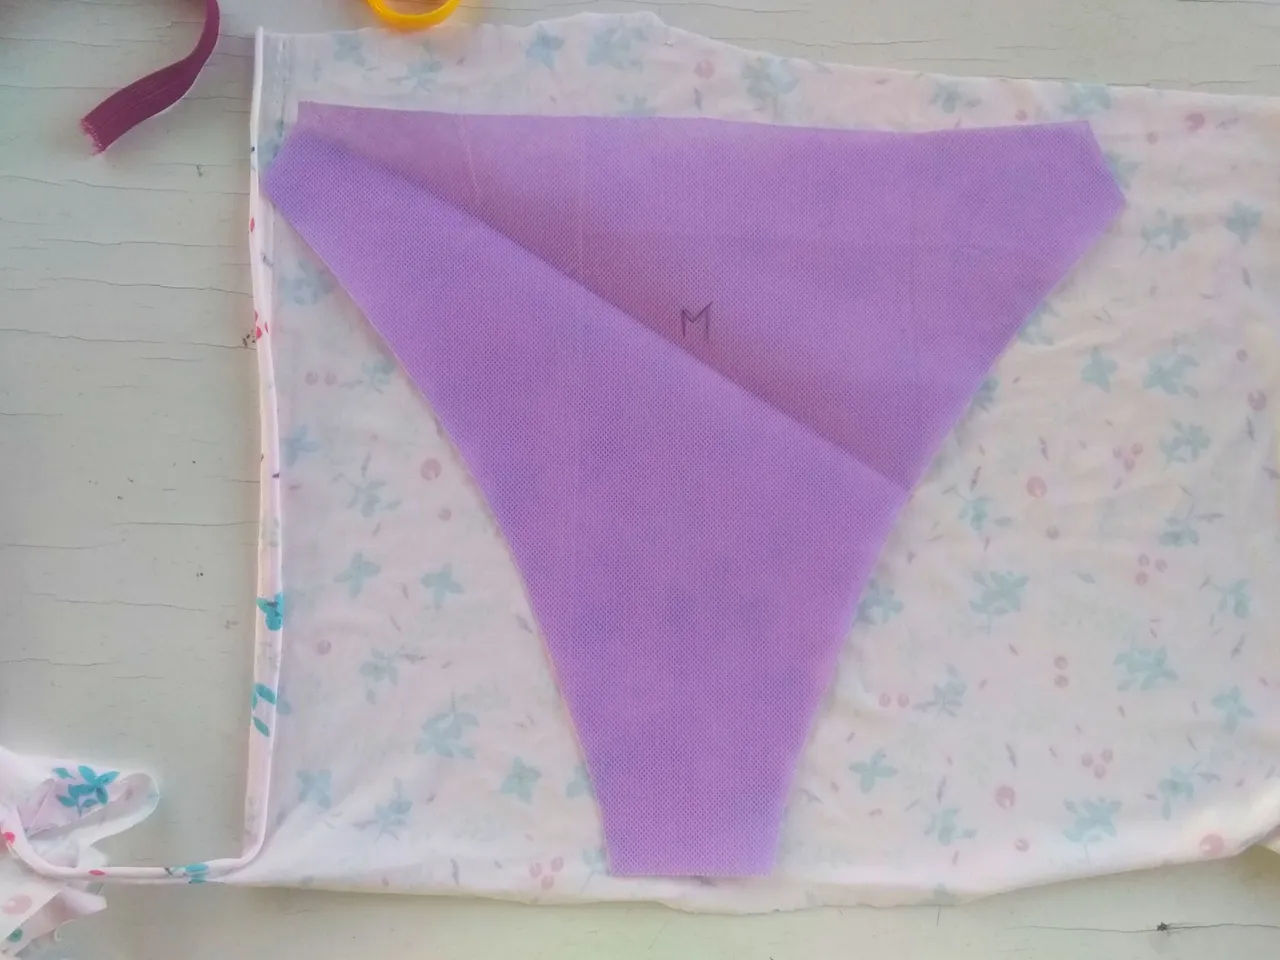
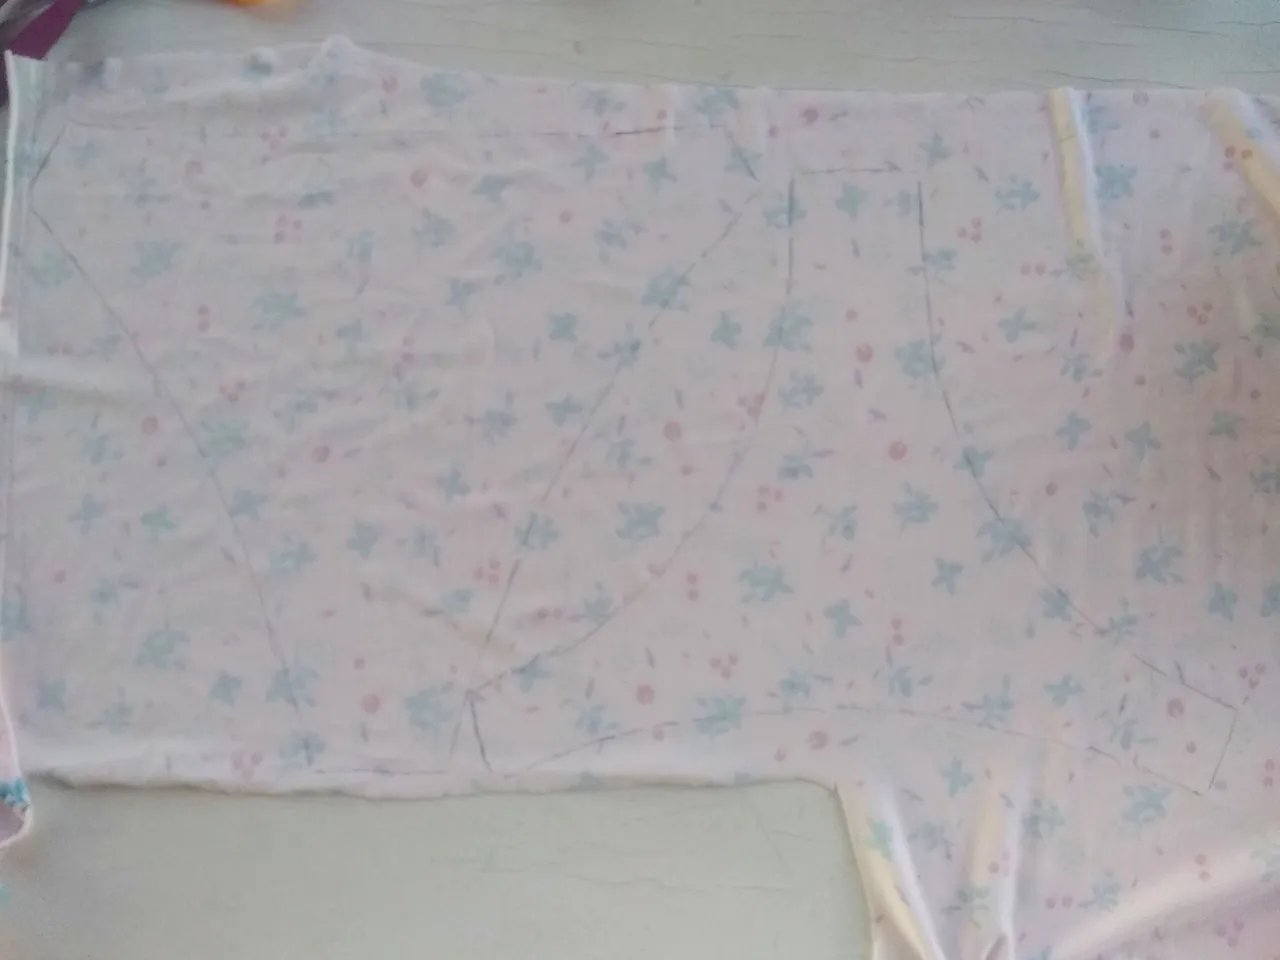
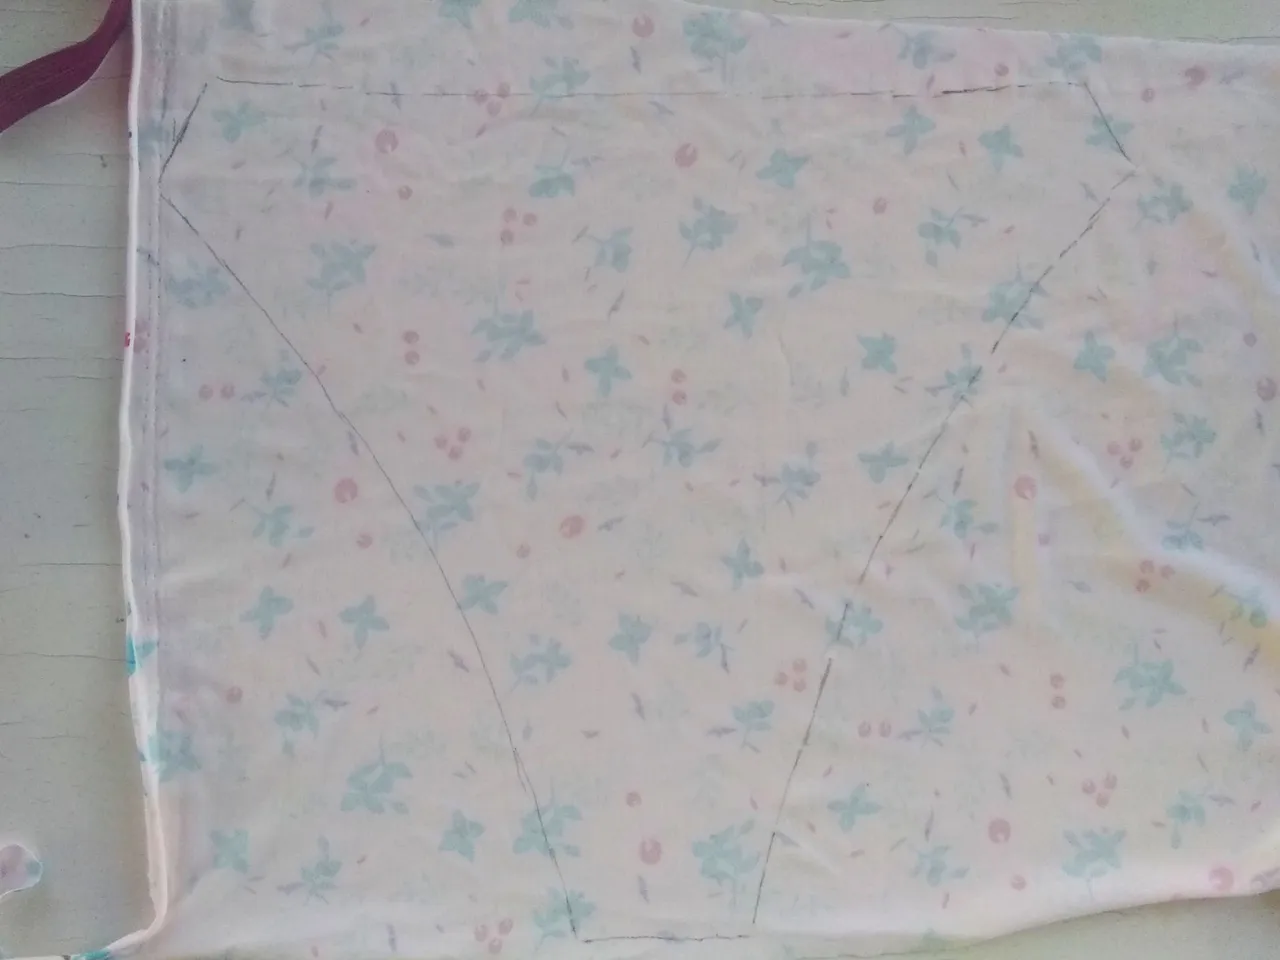
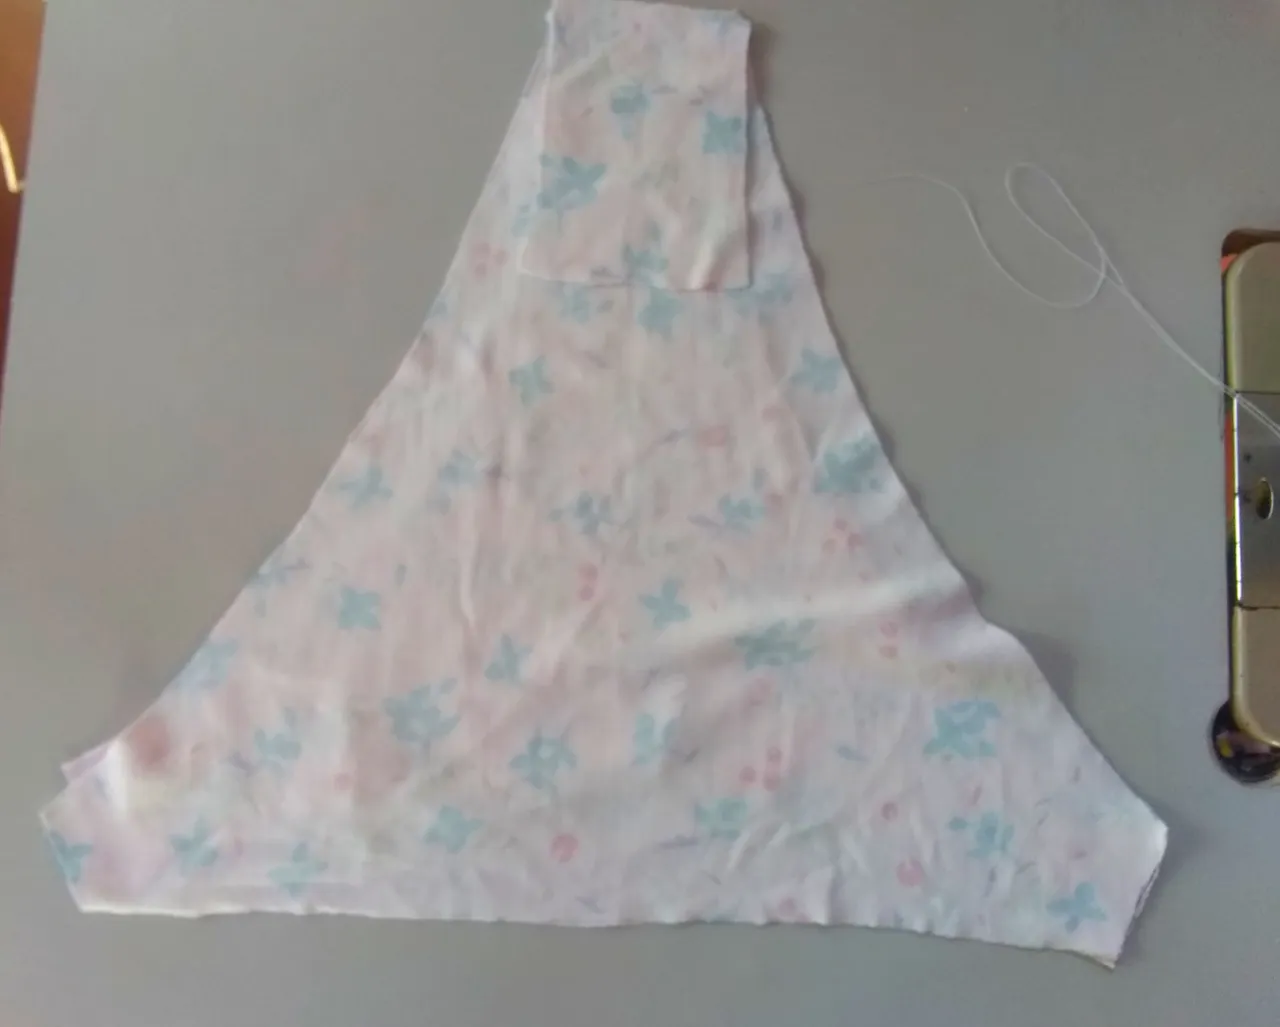
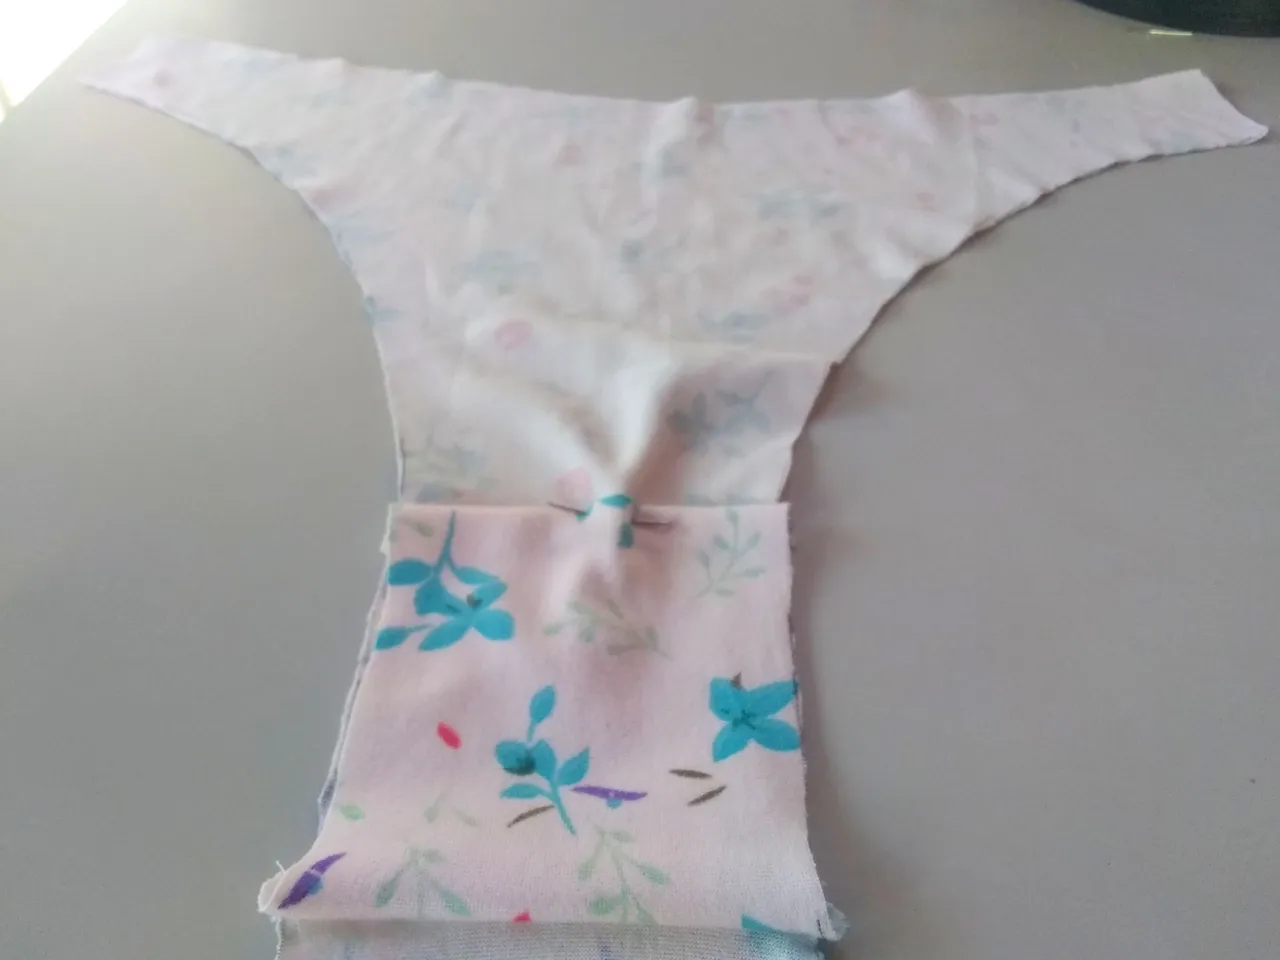
We extend the fabric and place the pattern flush with the thread, we do this with both pieces, we count; then we cut the reinforcement.
Extendemos la tela y colocamos el patrón al ras del hilo realizamos esto con ambas piezas, cortamos; luego cortamos el refuerzo.


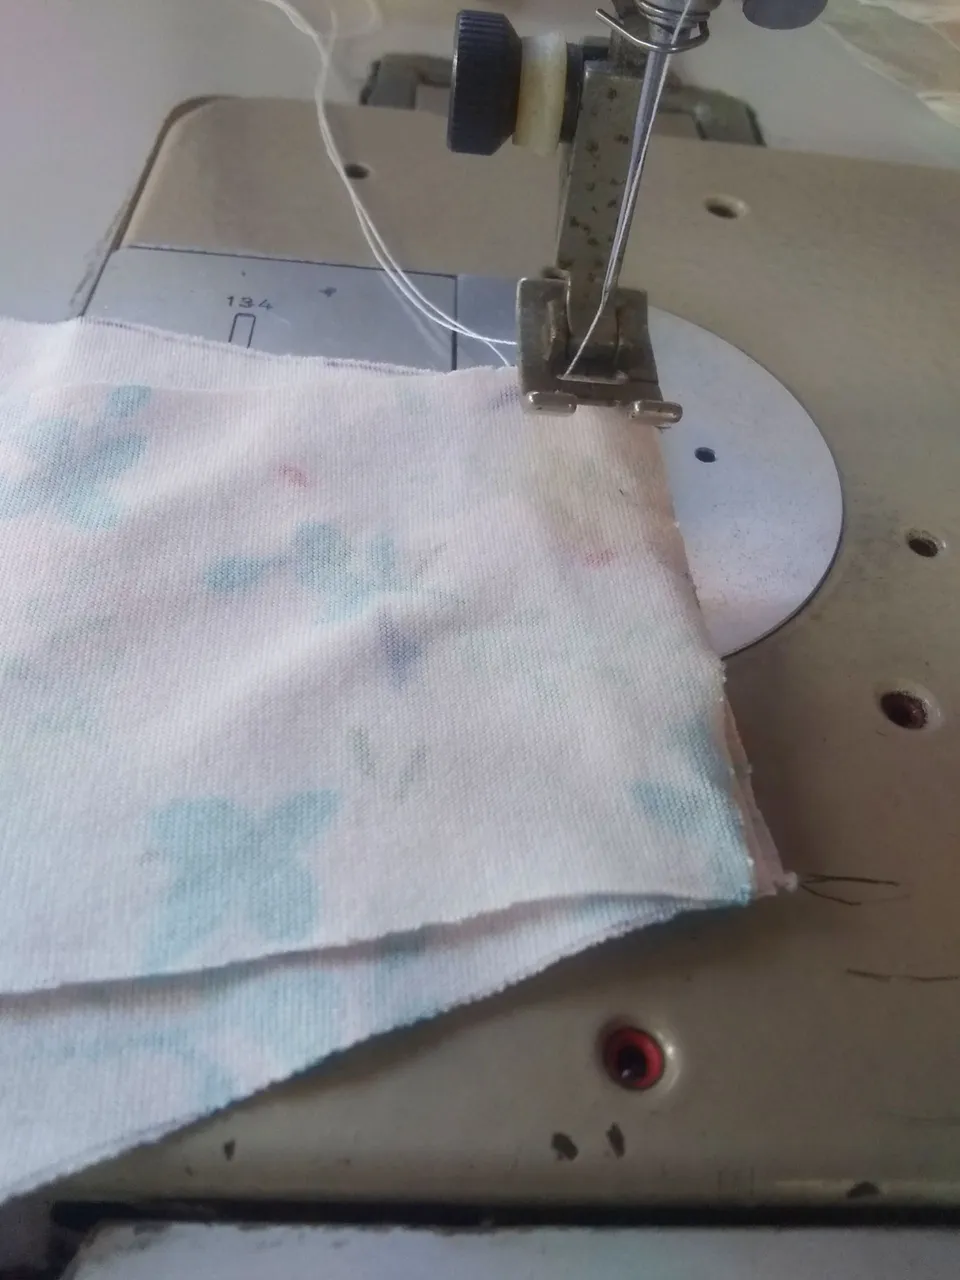
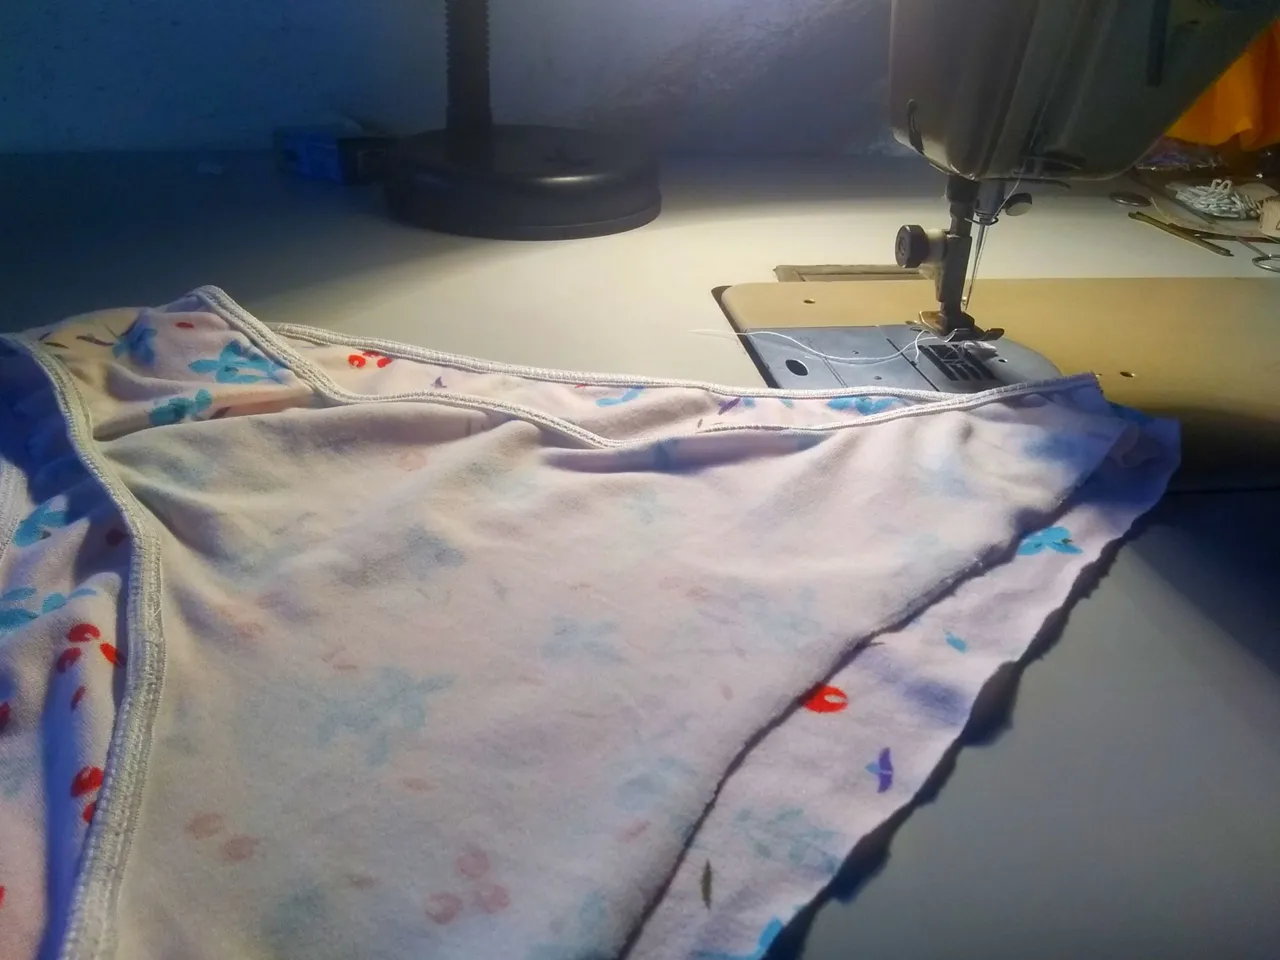
We proceed to join the pieces, with the help of pins we hold the three pieces and start sewing.
Procedemos a juntar las piezas, con la ayuda de alfileres sujetamos las tres piezas e iniciamos a coser.
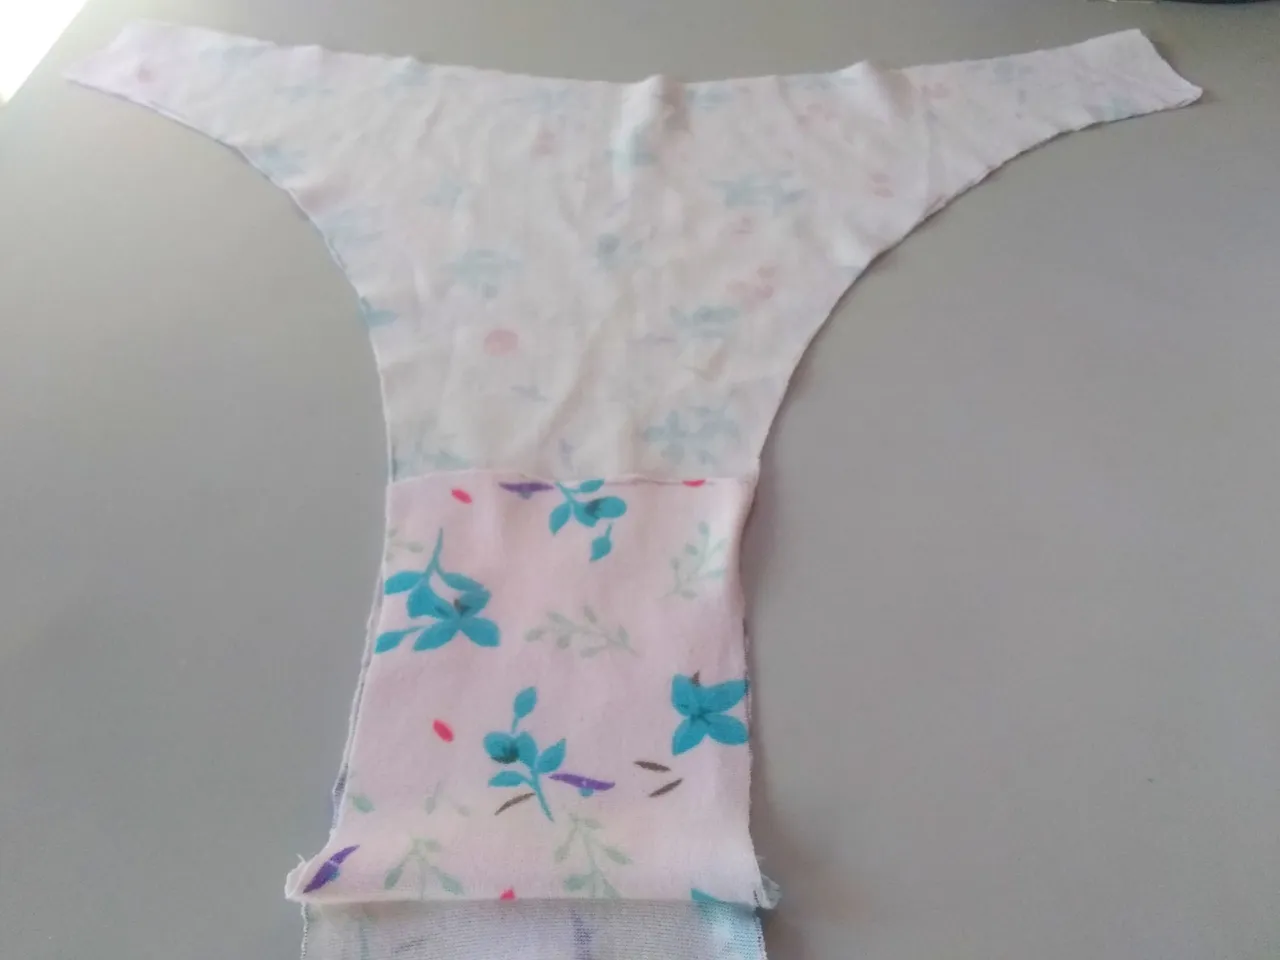
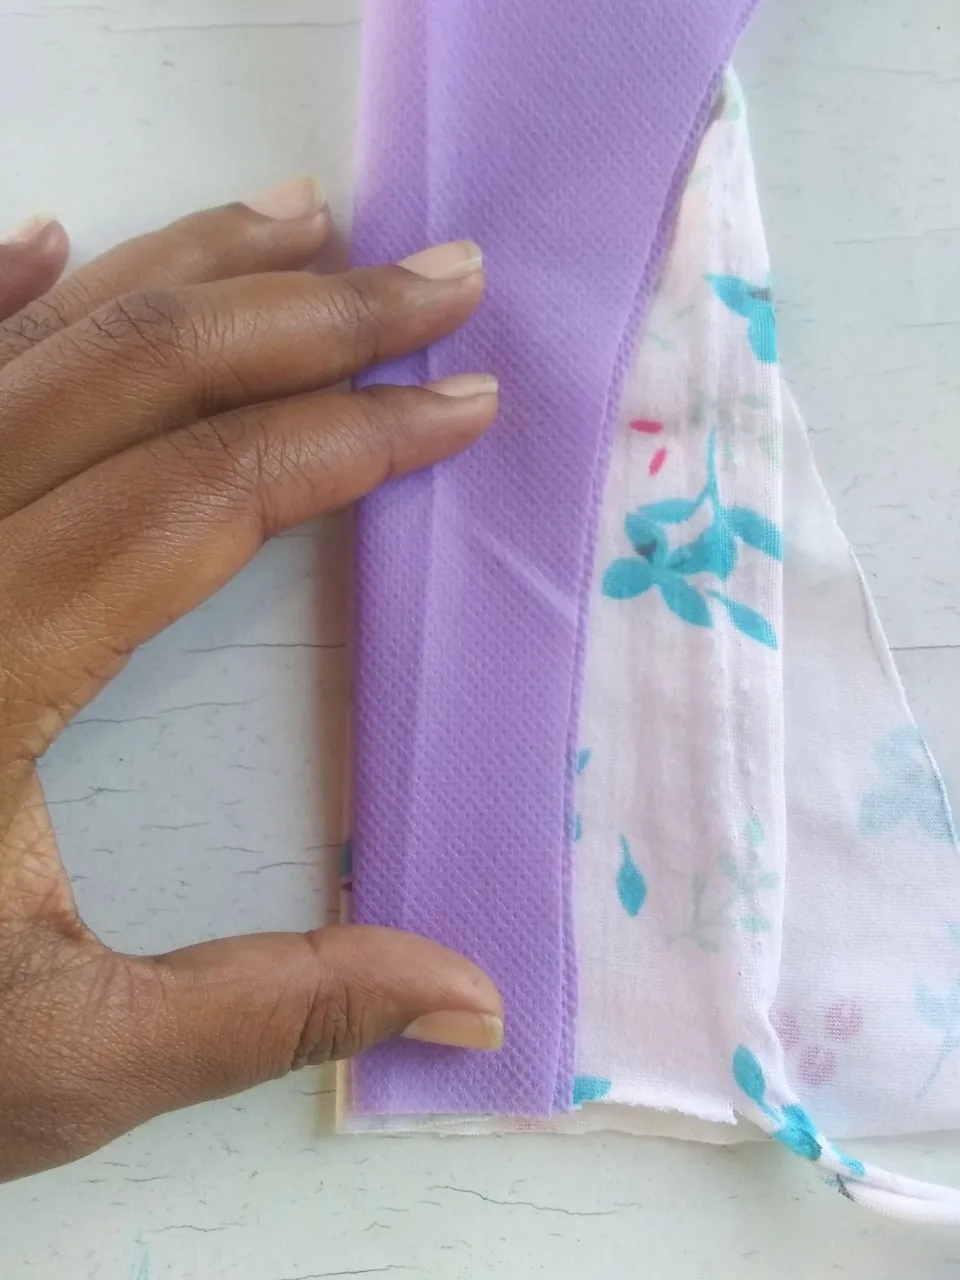
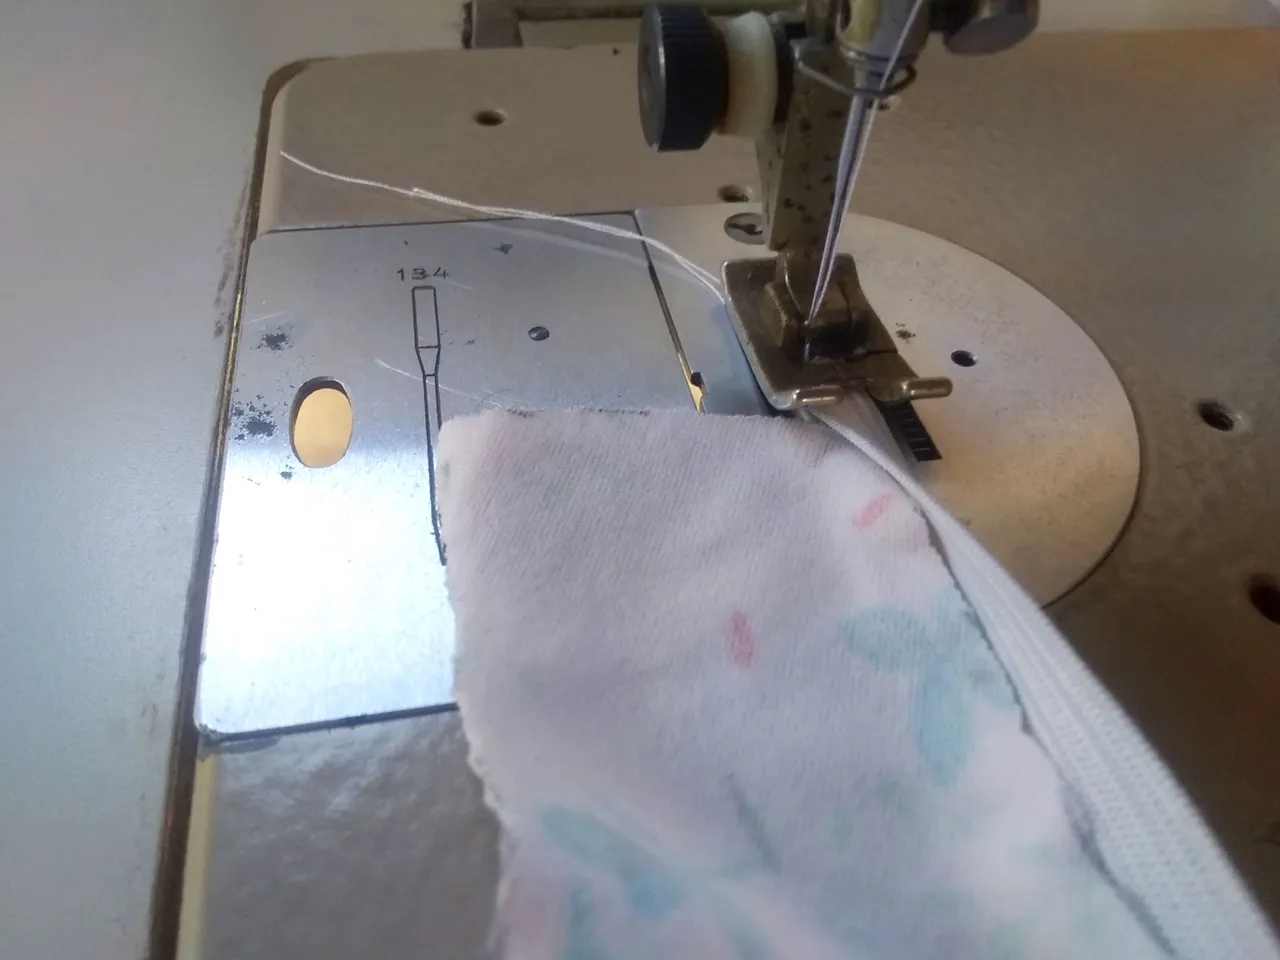
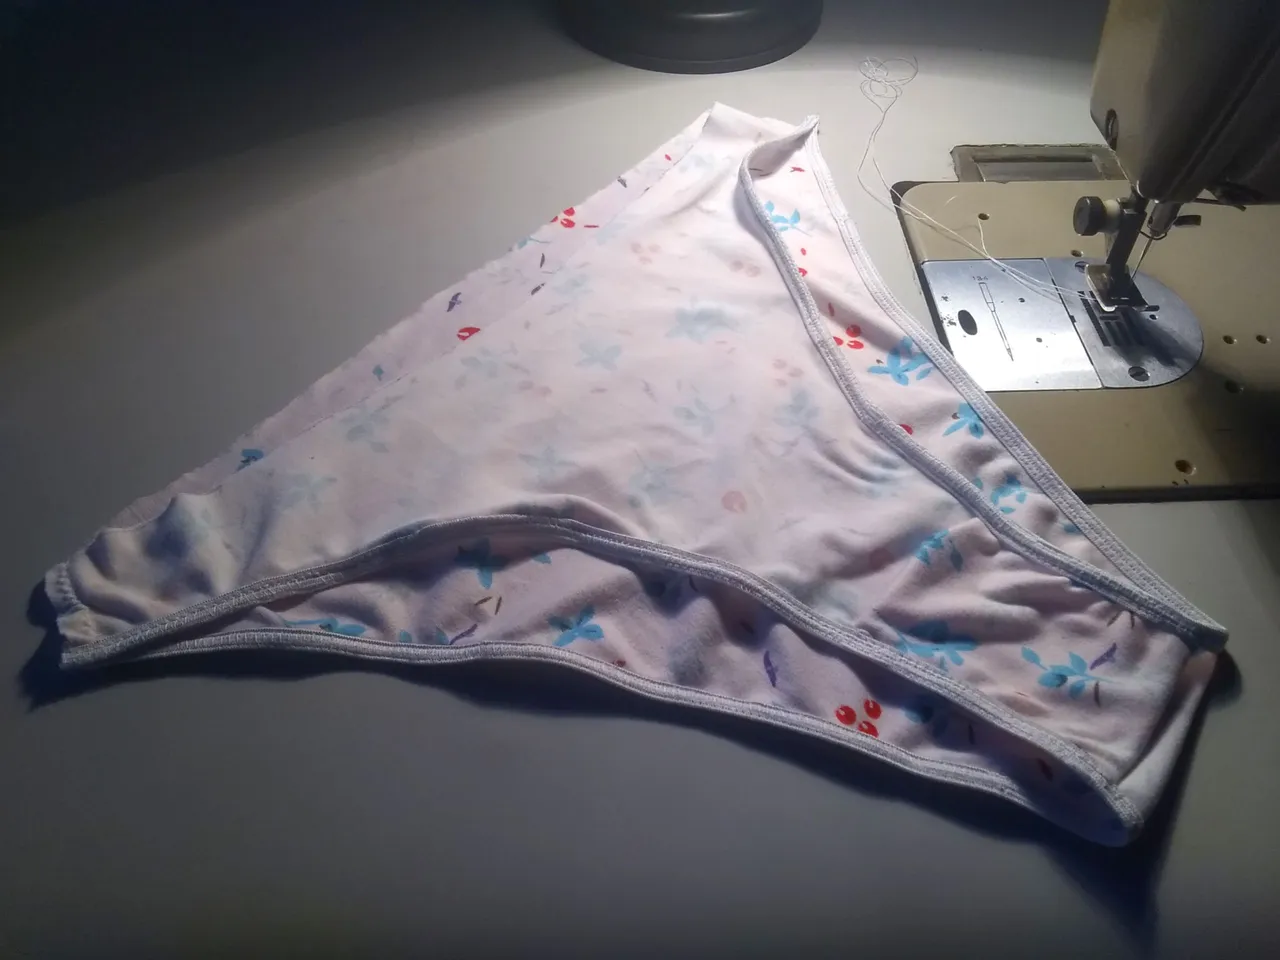
Then we sew the bias binding on both sides with zig zag and then with straight stitch to reinforce.
Luego cosemos el sesgo por ambos lados con zig zag y después con la puntada recta para reforzar.
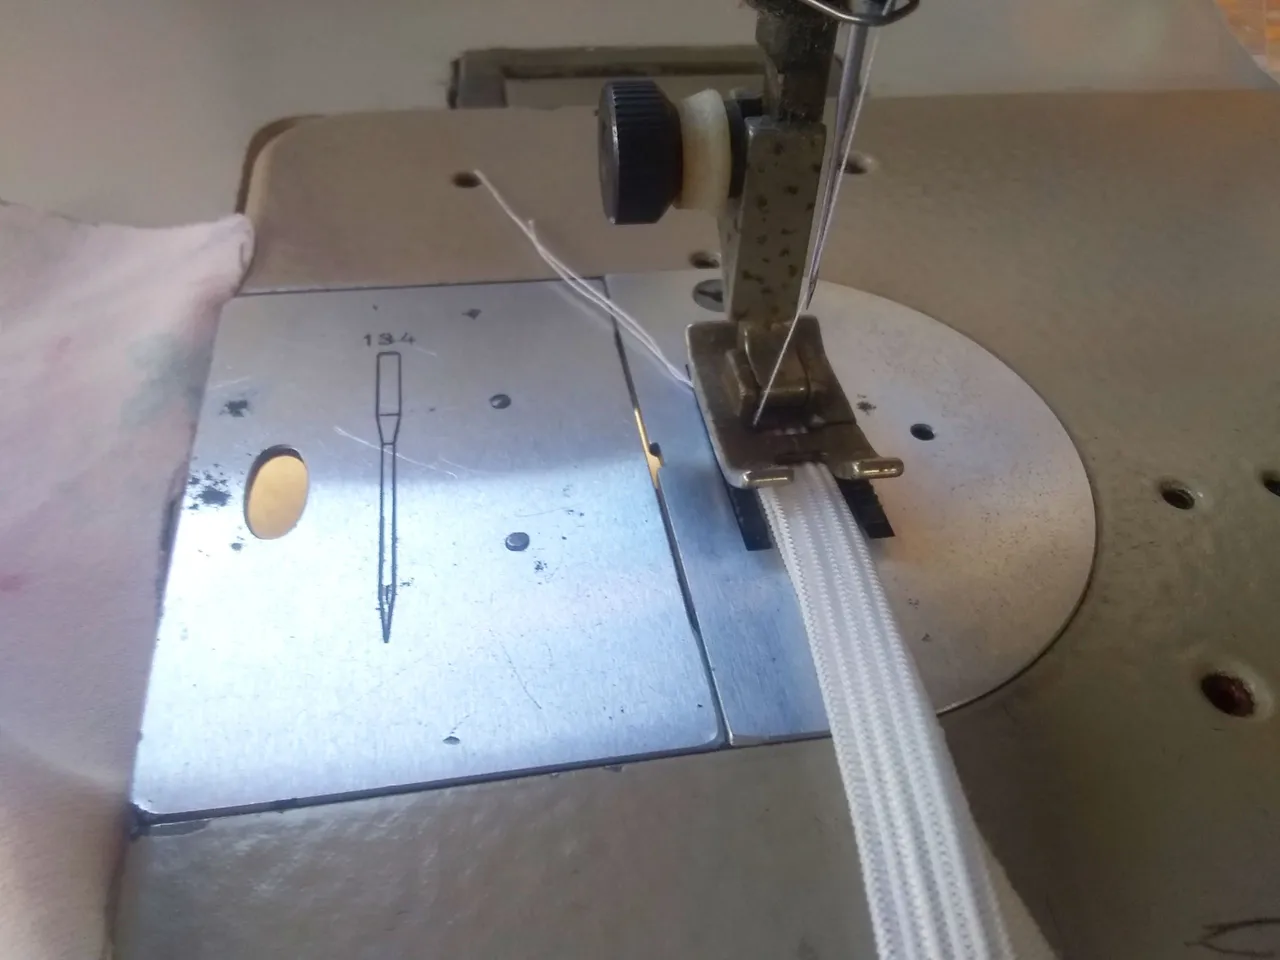
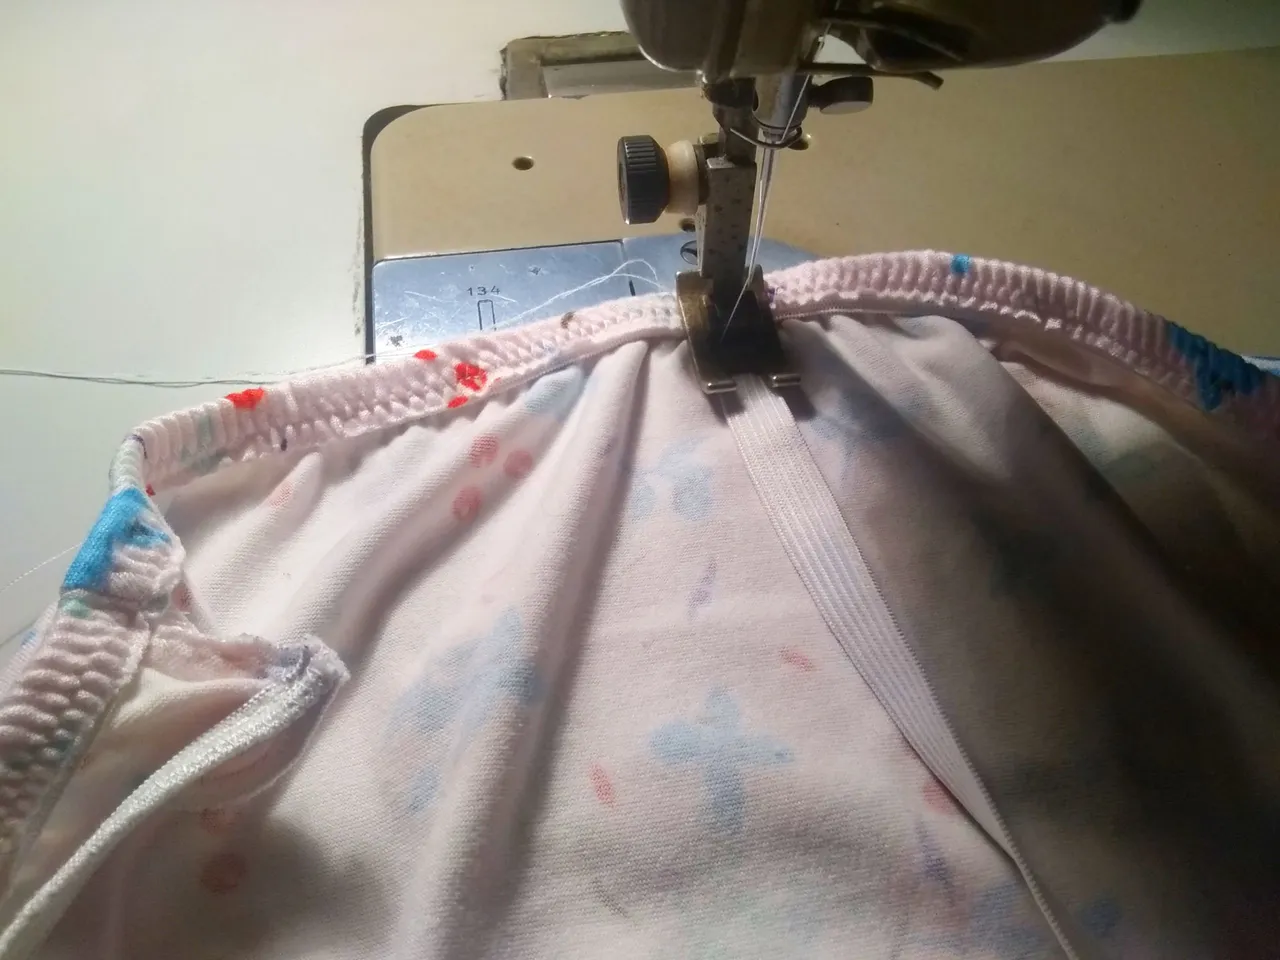
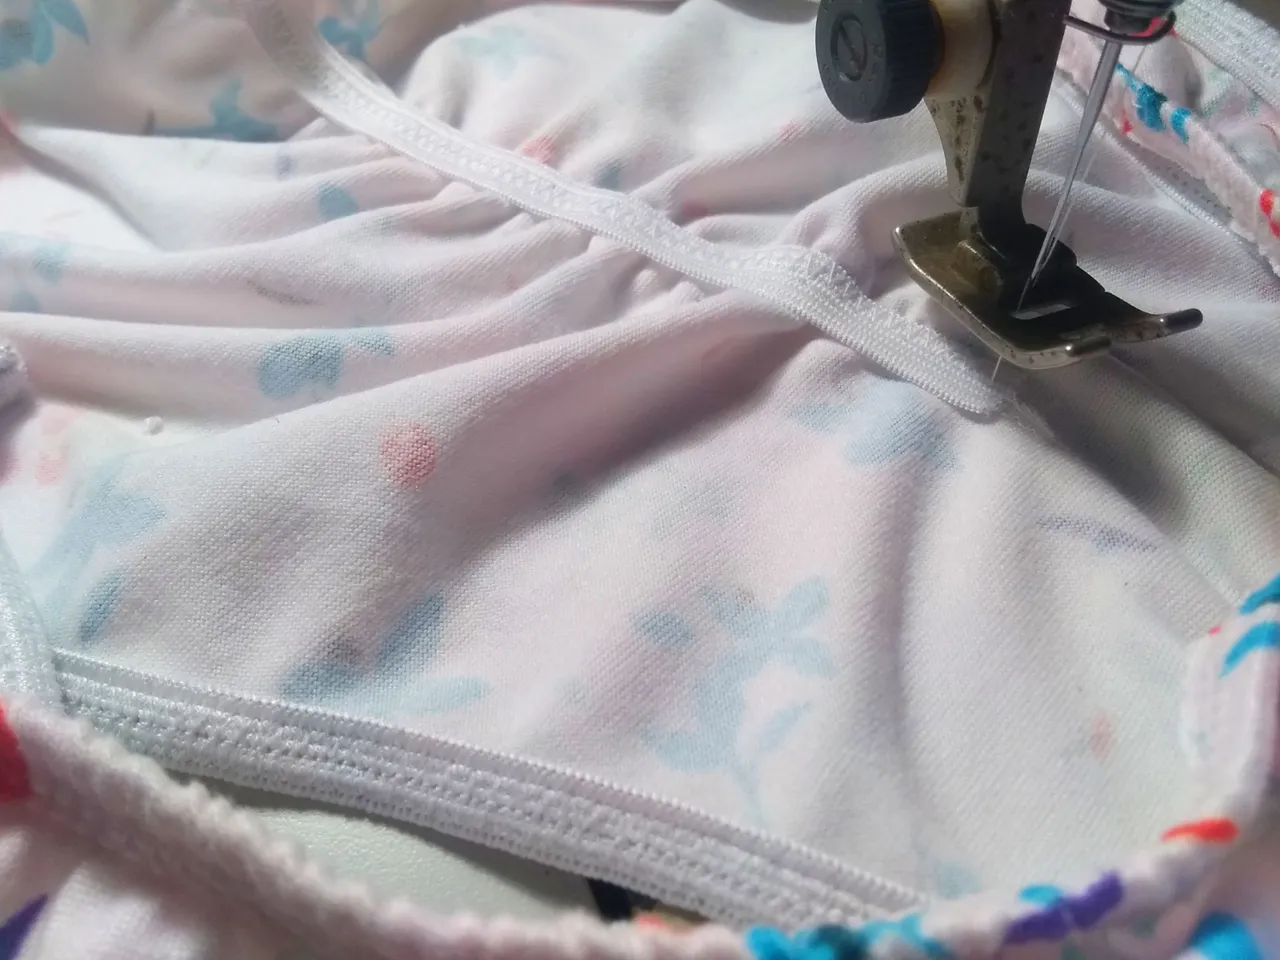
Close the sides with straight stitch and then zig zag, place the garter around the waist.
Cerramos los laterales con recta y luego zig zag, colocamos la liga por el contorno de cintura.
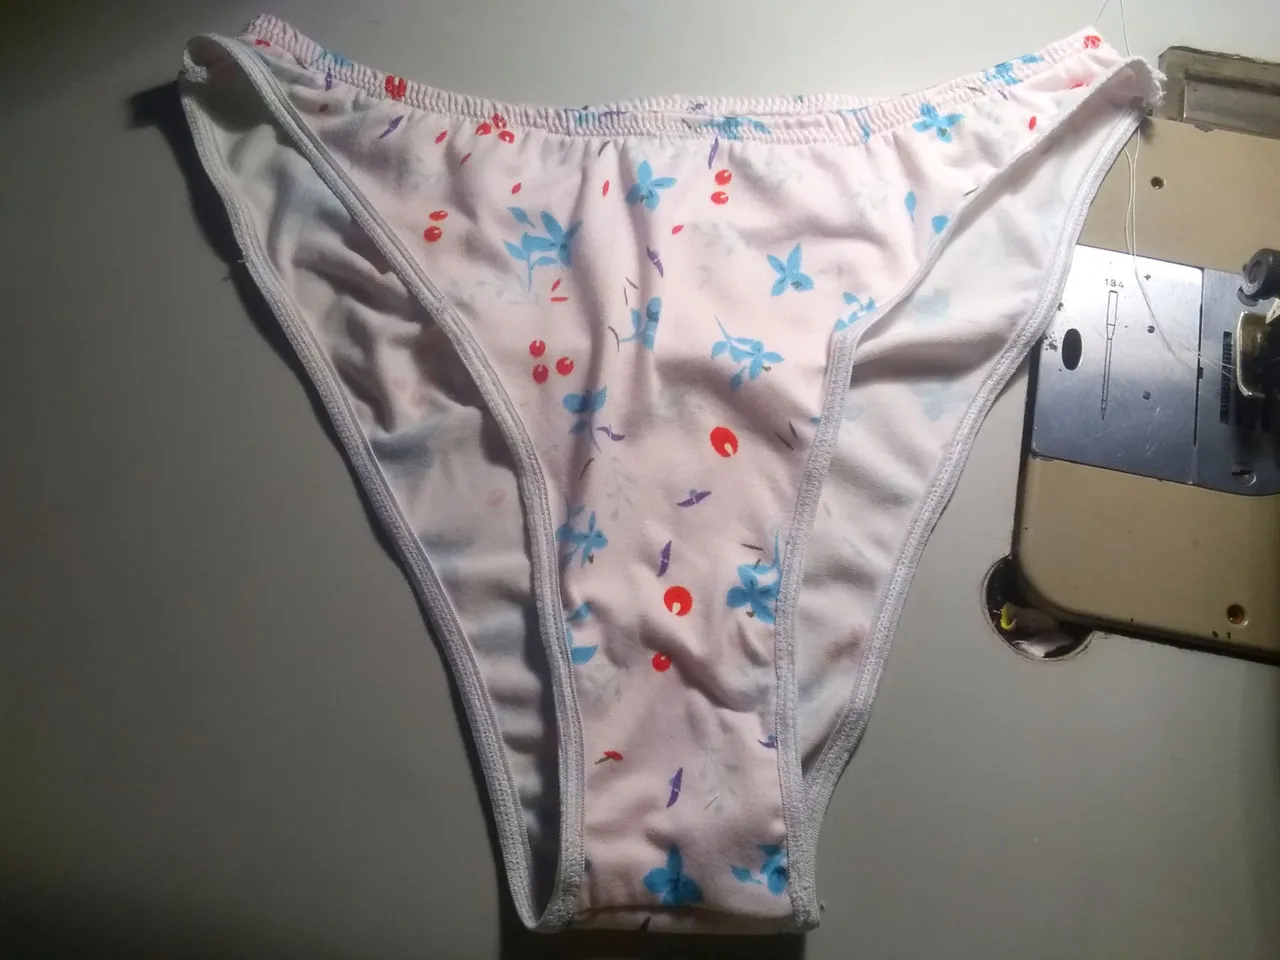
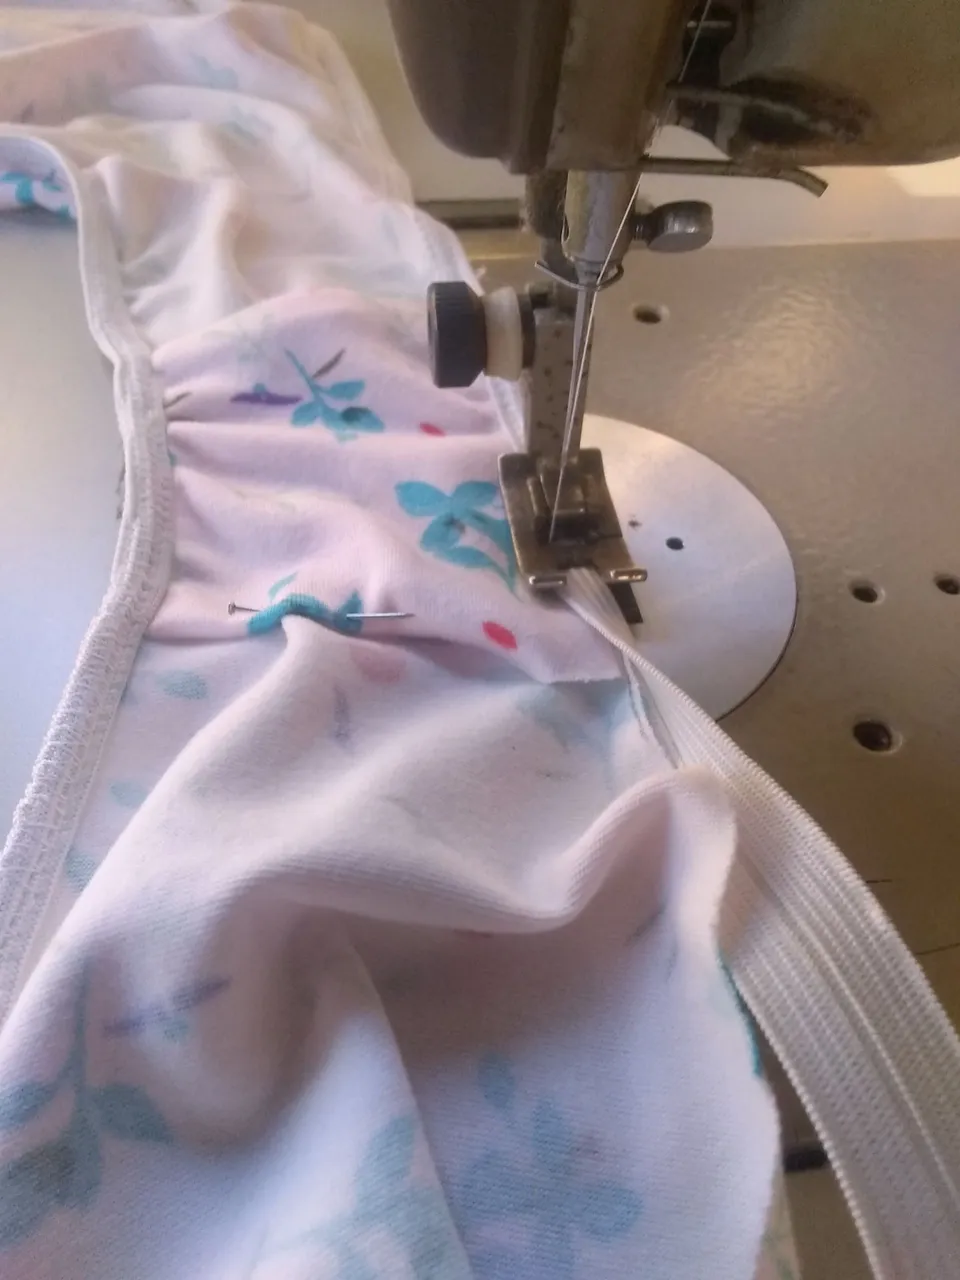
Optionally you can place a ruching on the back piece, giving it a detail that enhances the buttocks, it really looks very nice.
Opcional le puedes colocar un ruchado por la pieza posterior, dándole un detalle que realza los glúteos, realmente queda muy linda.
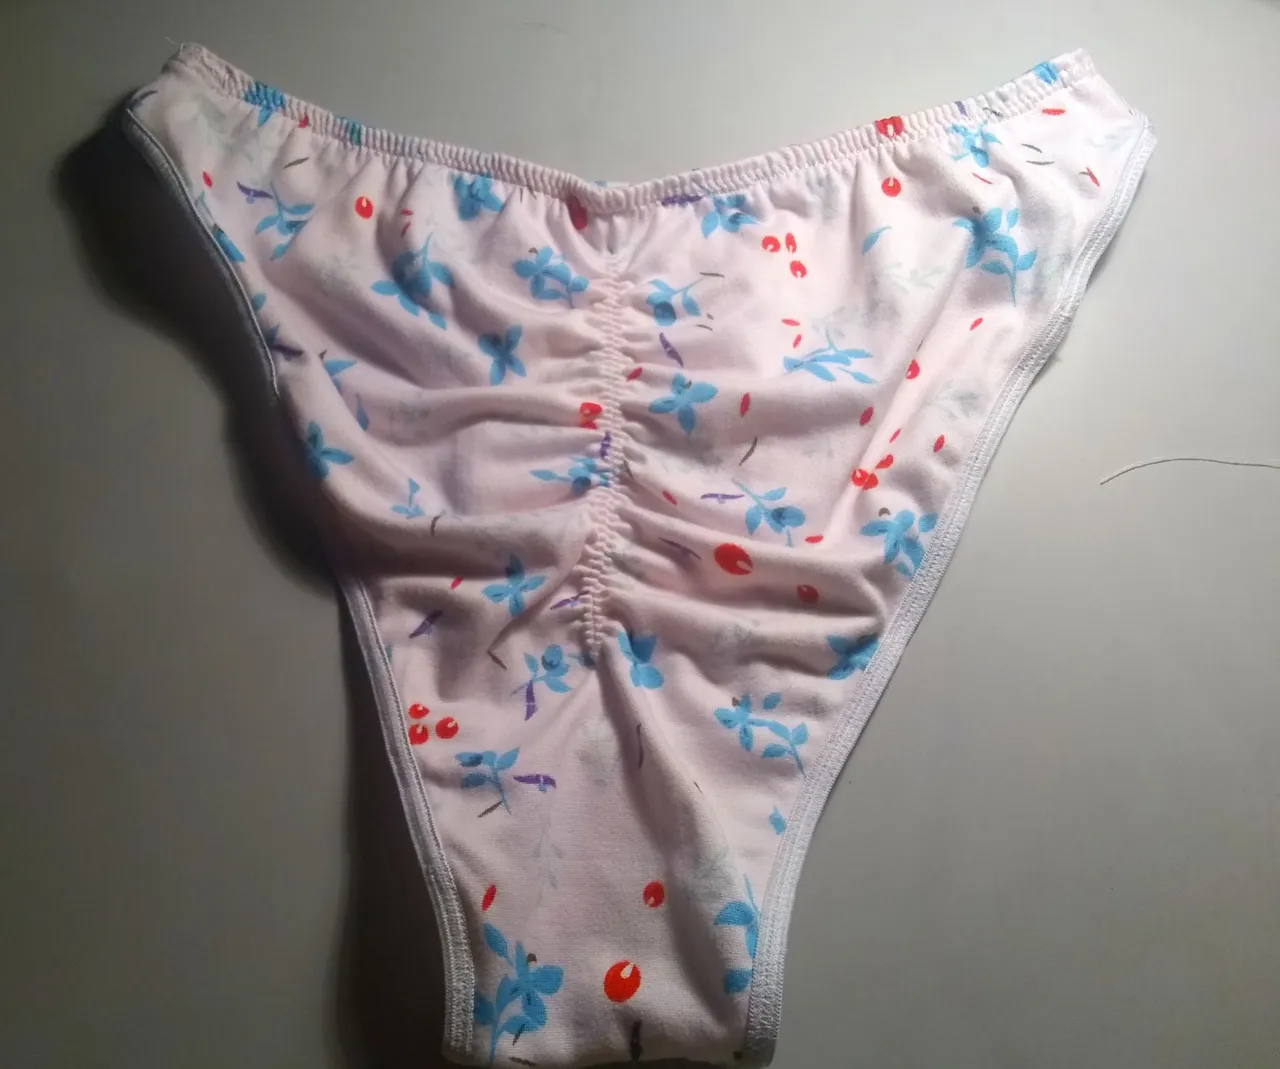
I invite you to do it, many of my clients really enjoyed the promotion and due to its success I will extend it for the whole month. The photos and designs are my own, I made the translation with Deelp.com.
Los invito a realizarlo, realmente muchas de mis clientas disfrutaron de la promoción y debido a su éxito la extenderé por todo el mes. Las fotos y diseños son de mi autoría, realice la traducción con Deelp.com