This is the first time I have grown garlic, so it should be an interesting experience to see how it goes. In addition this will be my first autumn crop, usually I stop growing when the frosts show up. But this plant is designed to be cultivated through the winter and come out during the next summer for harvest. And I really love cooking with garlic and shallots so it should be some tasty food if it all works out in the end. It will also be a good test for growing garlic as we plan on doing it on a much bigger scale next summer.
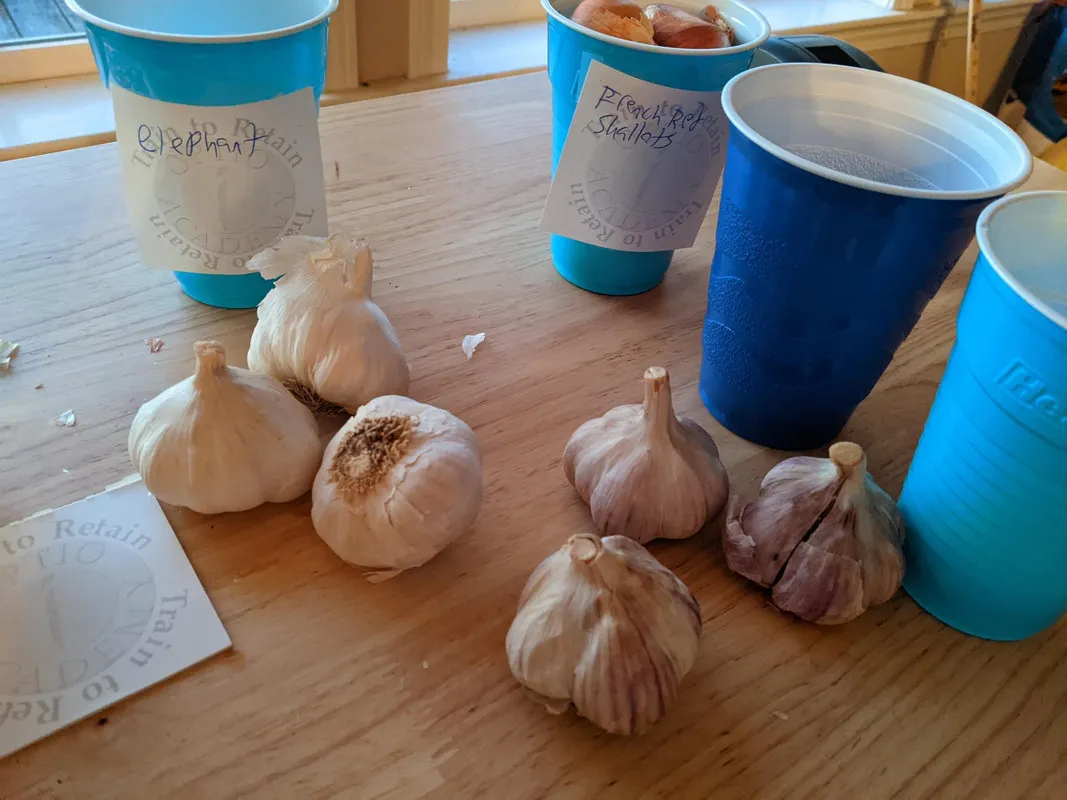
While I was looking at dry fertilizer on a website I found a "garlic starter kit" they had for sale. It included many kinds of garlic such as Elephant, Music, California late white, Russian red and even French red shallots. I was excited to receive this kit in the mail and get started with my trial run of garlic production before we take it to a bigger scale next year.

It is good that Music garlic was in the kit, chances are that is the kind of hardneck garlic we will be growing in the future. It comes from Virginia so it does well here.
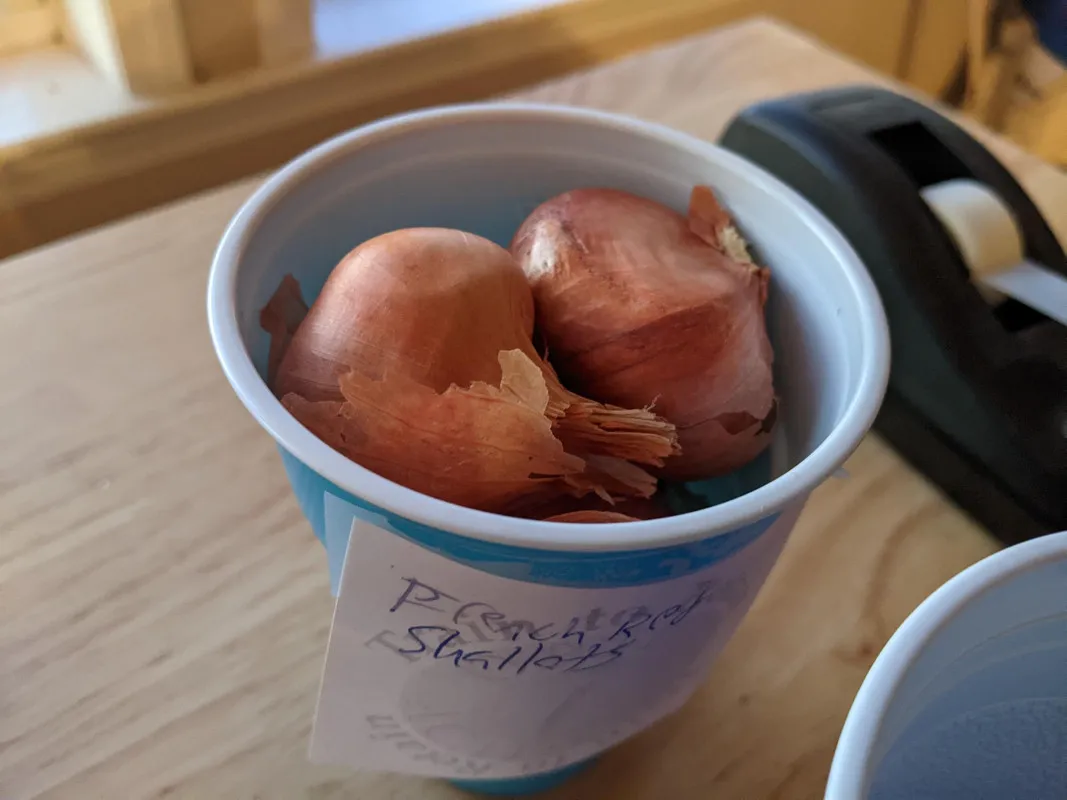
Cool the kit also came with shallots. Lots of great things inside to grow.
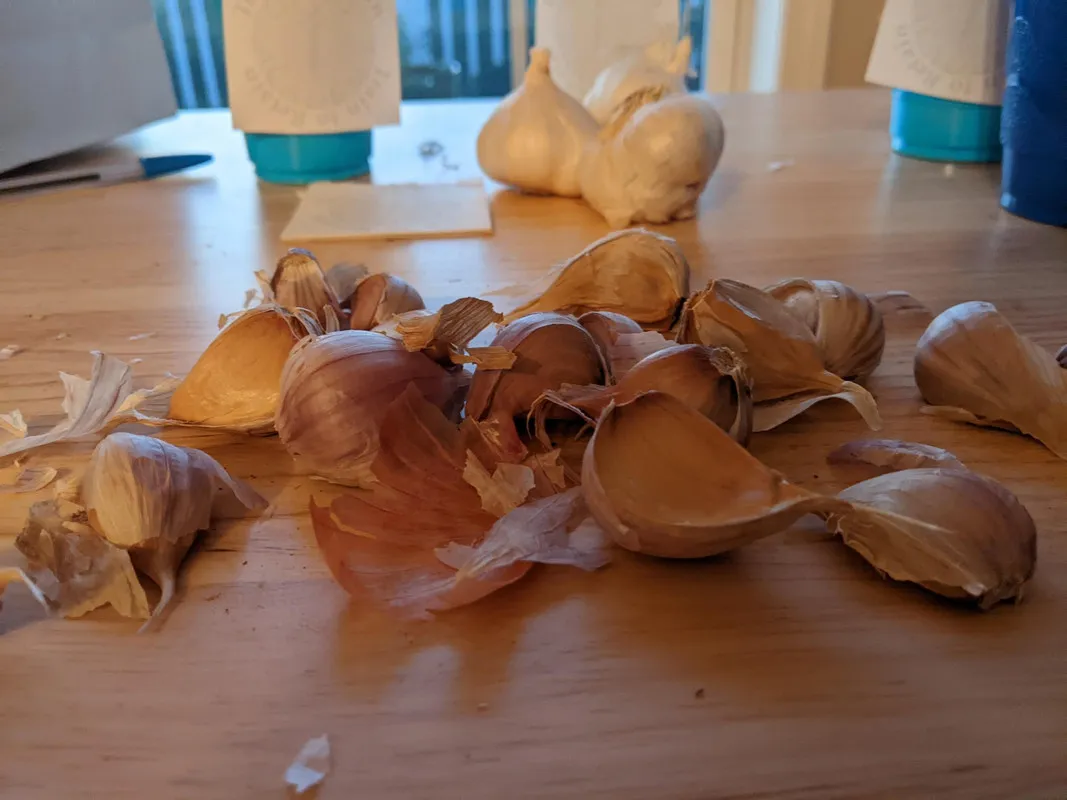
I broke up the bulbs and separated the big cloves from the small ones. We kept the small cloves for cooking and the big ones for planting.
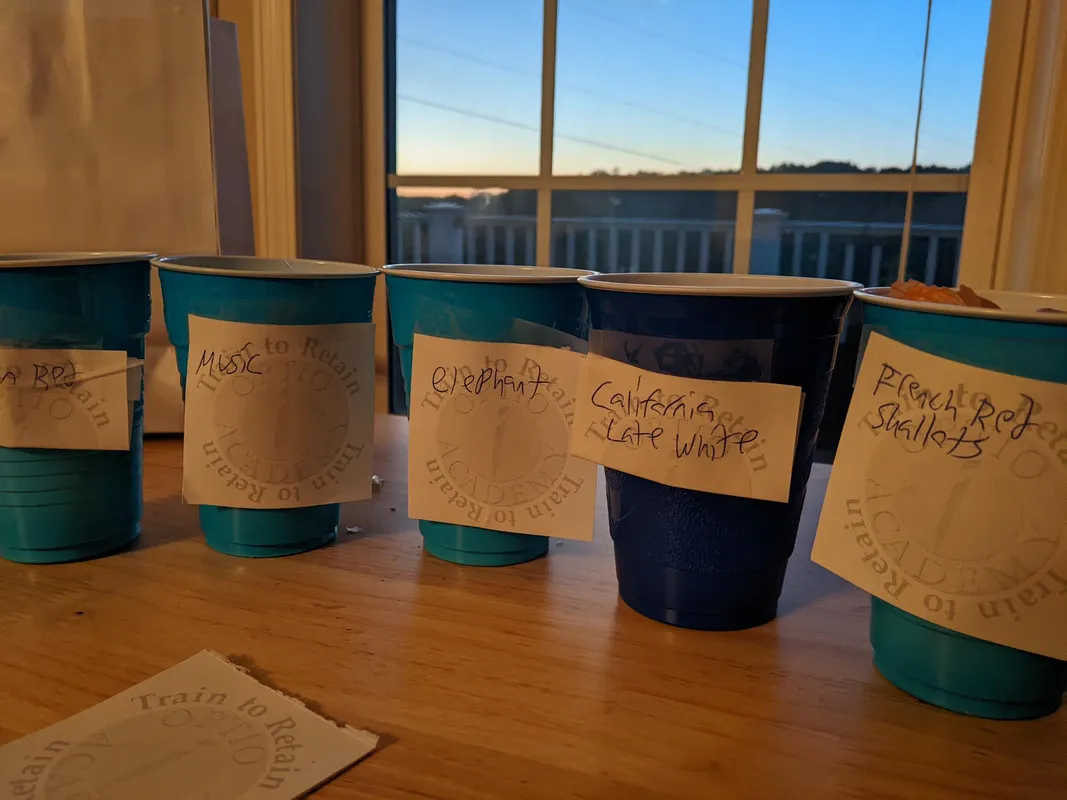
With my solo cups all lined up, they are ready to be soaked.
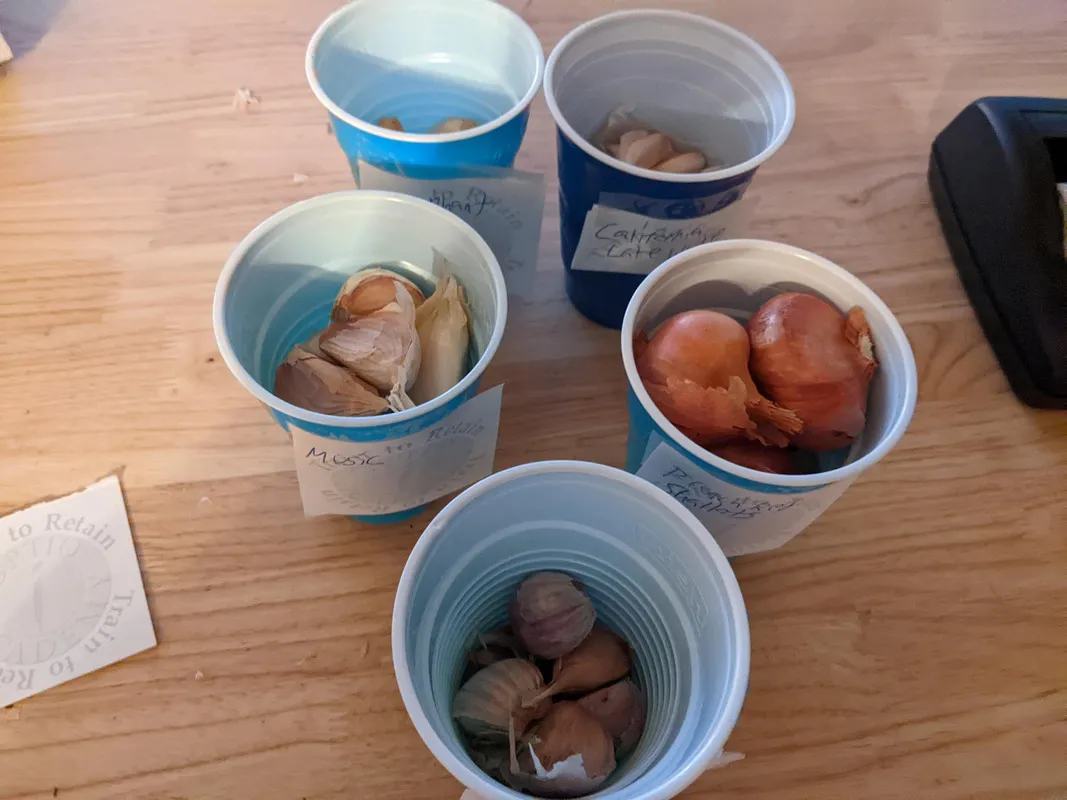
Inside are the bulbs kept for planting. Some barely fit into the cups, so I needed two for the shallots.
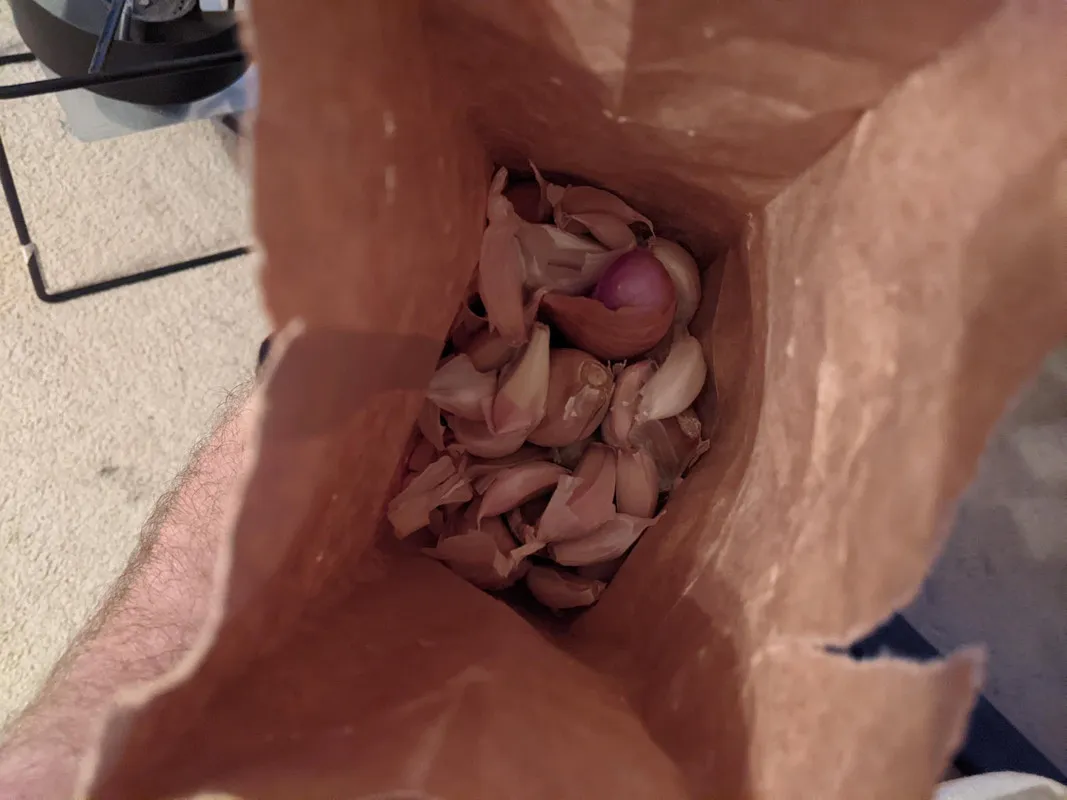
And left over is the smaller cloves we will cook with.

I made some kelp water for bulbs to soak in for a day. This will give them nutrients from the start and hydrate the bulbs so they are ready to go as soon as they hit the dirt.

Adding it to my cups I will let them sit about 1.5 days.
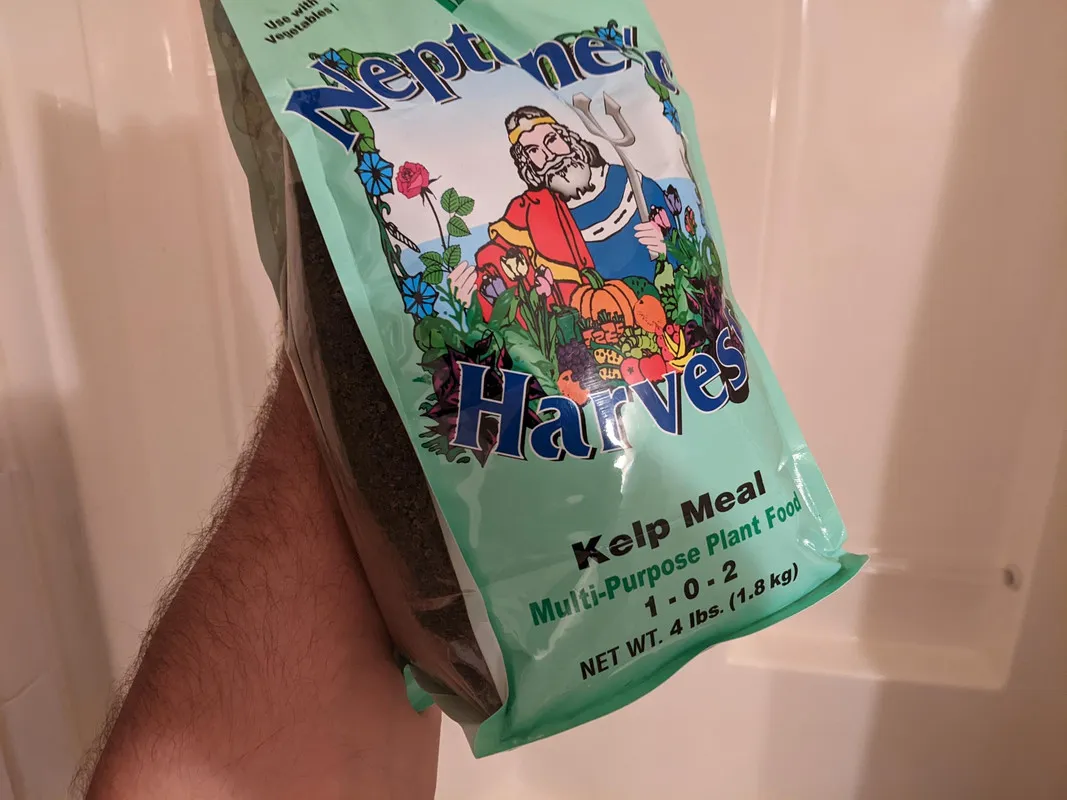
My kelp water is made by just soaking help meal in water for a day and shaking well every few hours.

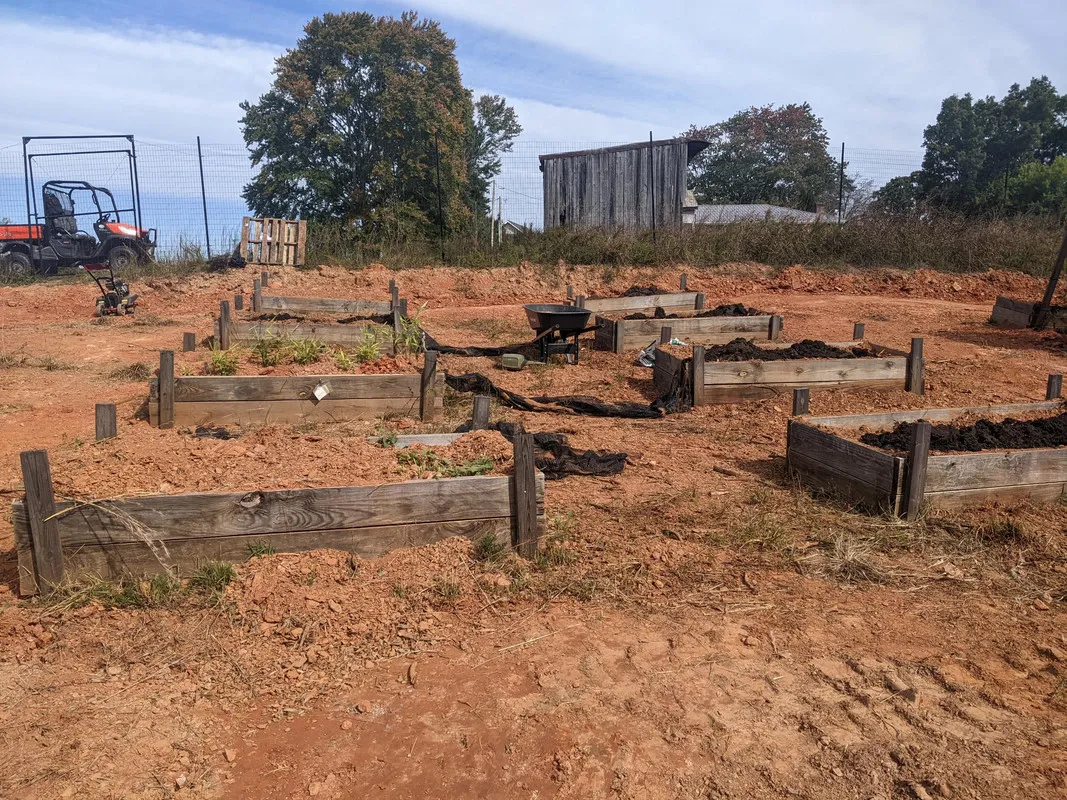
1.5 days have passed and the bulbs are ready, I go outside to my planting area and till the beds. Get the top soil ready for mixing with garden soil.

Running the tiller a few times in each bed helps loosen up the dirt.

A little clean up after running the tiller I can now add garden soil.

We can see the wood chips are starting to break down into the soil. The tilling helps with that, there are buried sticks and small branches deep in the beds.
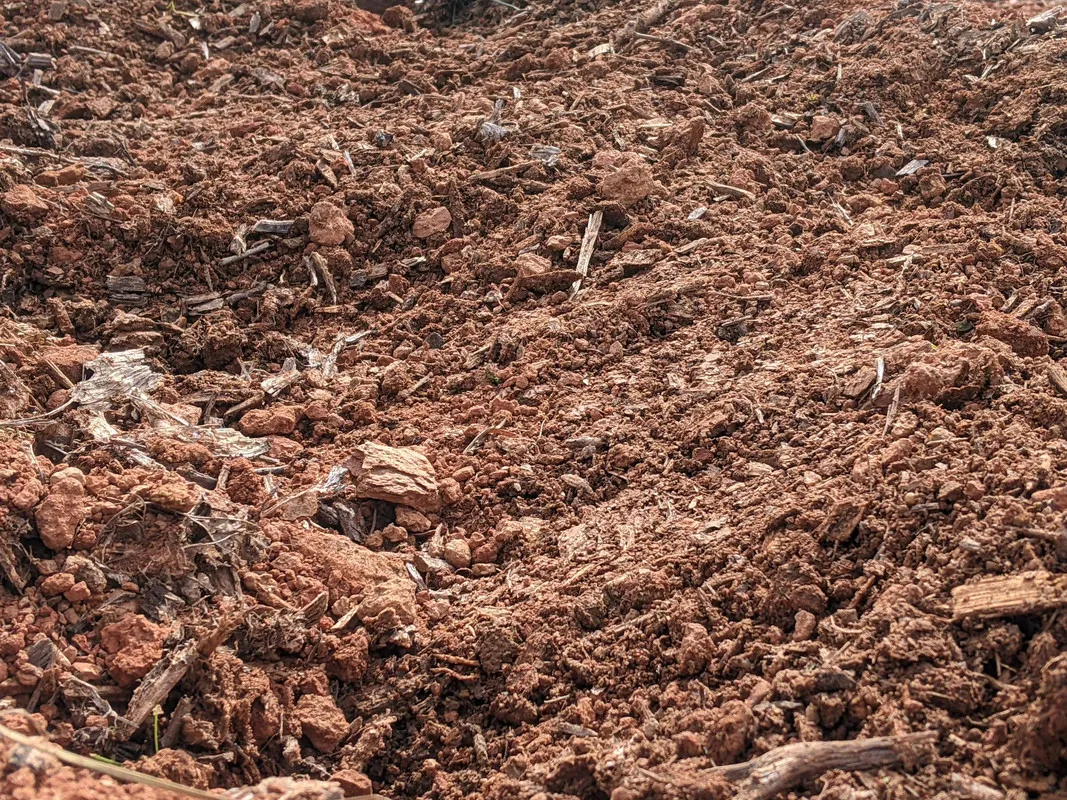
With the garden soil added it should help bring in even more fungus to break down the wood chips and plant debris into resources for the garlic.
We can see the black soil on top. This is Kellogs garden soil, bought myself a pallet of the bags and using it as I need to for each bed. I put a whole bag in a bed and then mix it with the top soil I tilled up.

These beds are ready, time to bring out the garlic cloves.

After soaking for 1.5 days some are already forming roots. Time to get them into the ground.

I planted them around 6-10 inches apart depending on the size of the bulb.
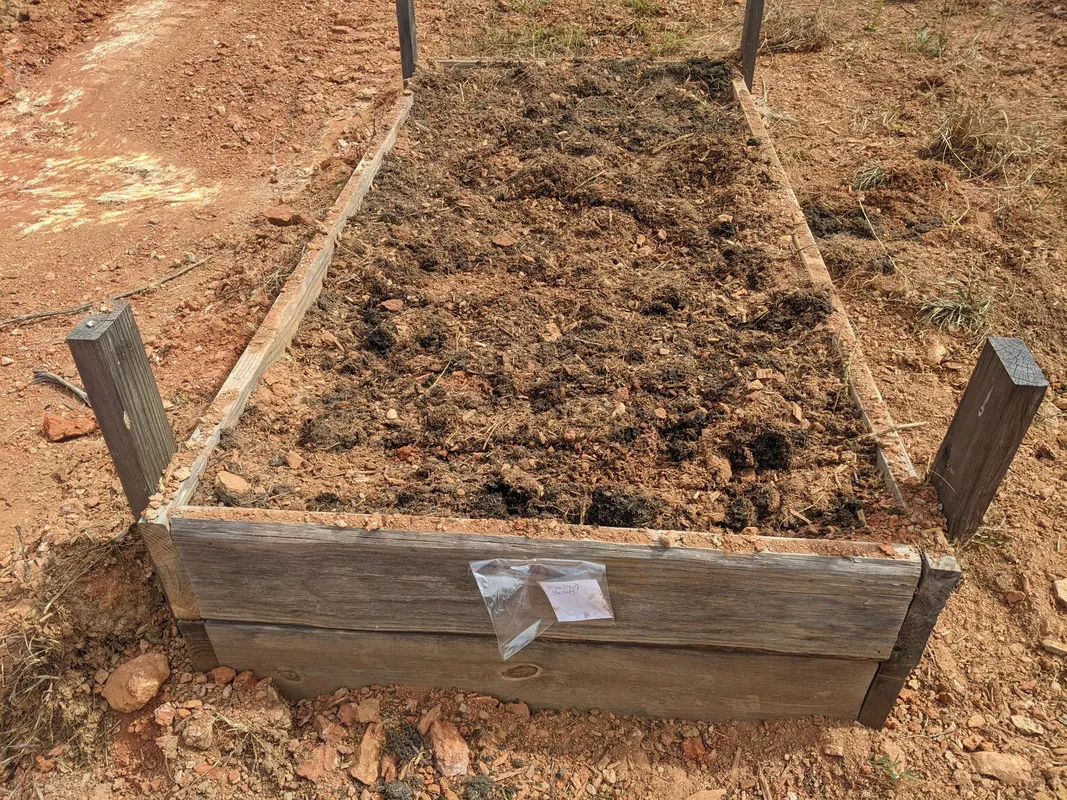
Stapled their label that I placed in a bag, so I will remember what is growing in each. Hopefully the bags wont be taken away the wind. I probably should do something a little better in the future for labeling them.
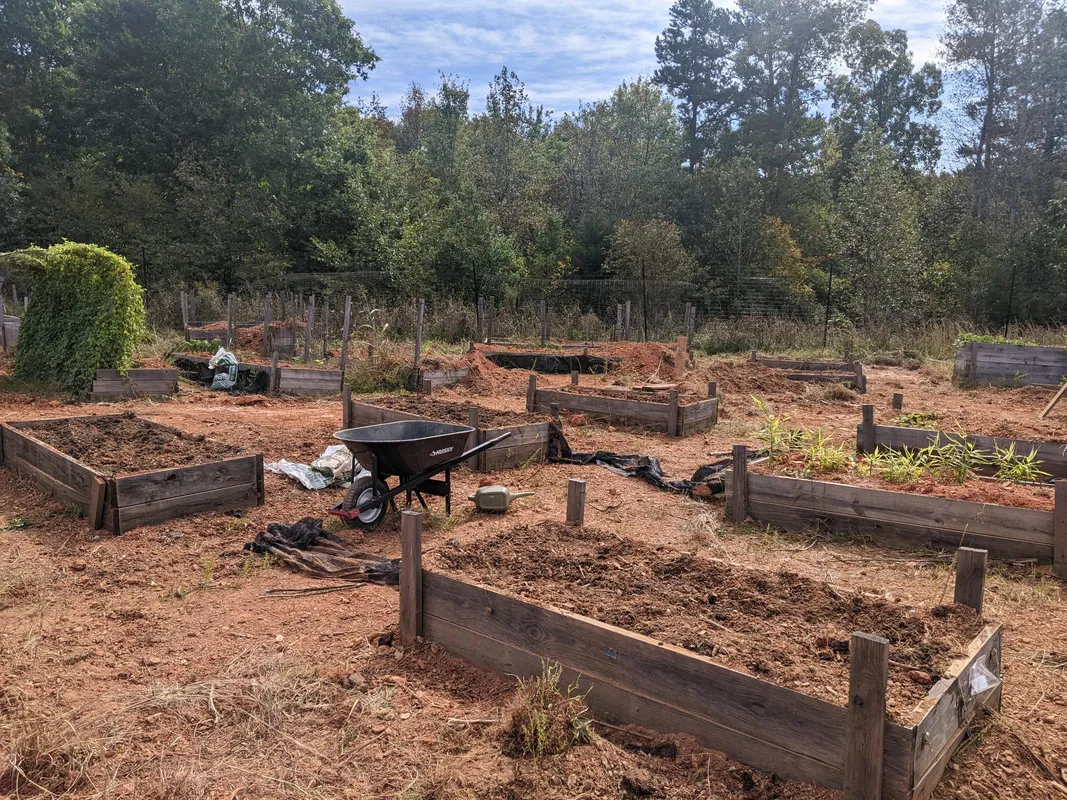
Nice, our first autumn planting is done.. Well besides the Kiwi vines but that only took a few minutes. Getting all the garlic beds prepped took me about half a day.

Soon I will pull out the tomato cages and rework the other beds as well. Dumped a bunch of dirt in them. Need to smooth it out and maybe climb up in them with the tiller. Those are 2x8 boards so its pretty high up. Ill need to be careful.. lol