Greenhouses are essential for any gardener who intends to make the most of the fluctuating climate in the northern & southern hemispheres where winters can drag on for a long time (and will continue to do so more and more as we enter deeper into the Grand Solar Minimum), preventing a lot of desirable plants from developing ahead of the spring in a way that gives them the longest possible growing season.
The land featured in this post is super hot and over exposed in the summer, super cold and frozen in the winter.
Some of you may remember how I solved the super hot summer problem with canopies of pumpkins, supported on hazelnut wood arches.
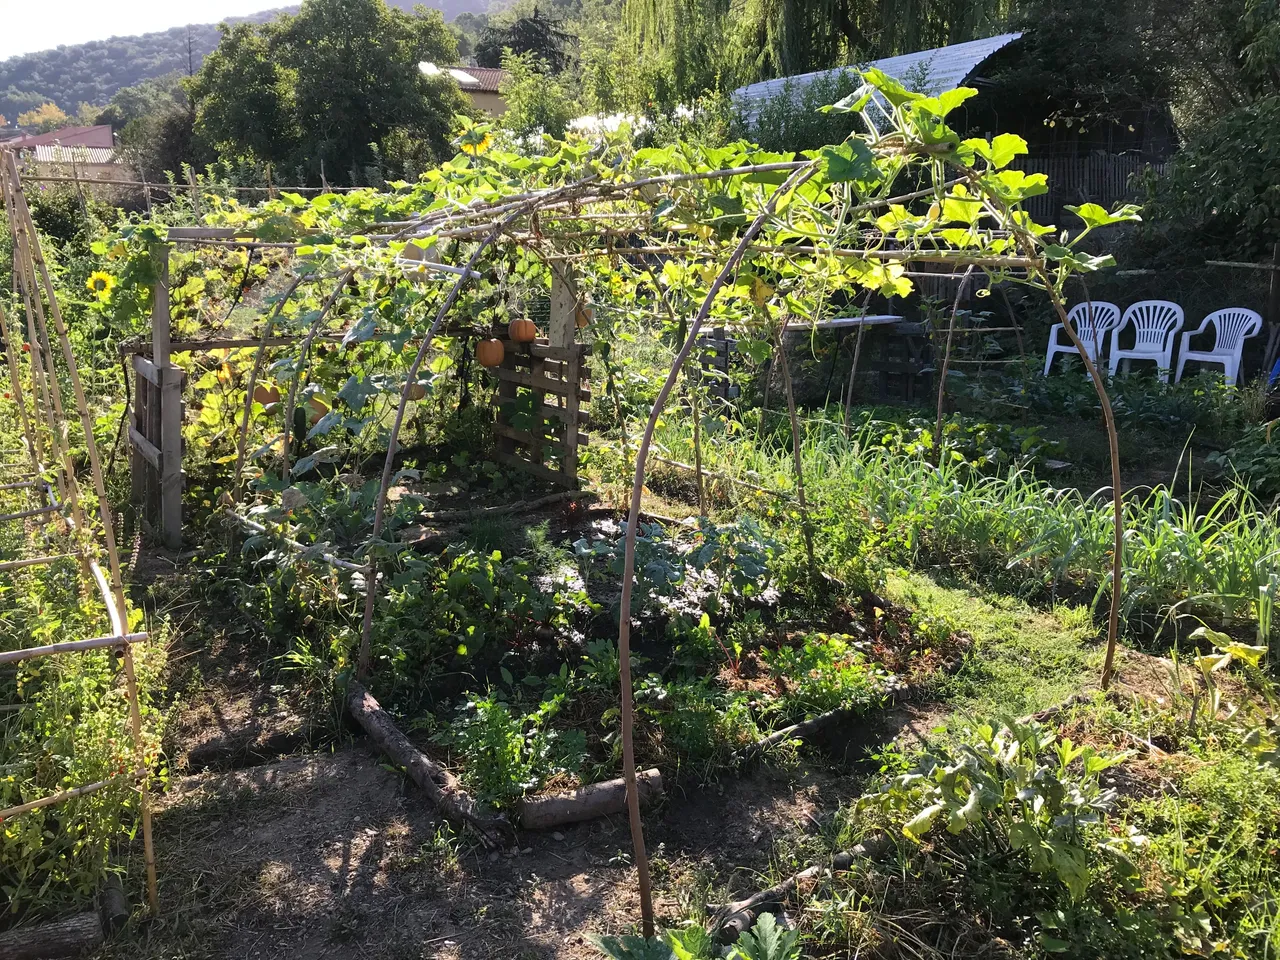
It worked perfectly, creating that extra bit of shade while growing a ton of pumpkins.
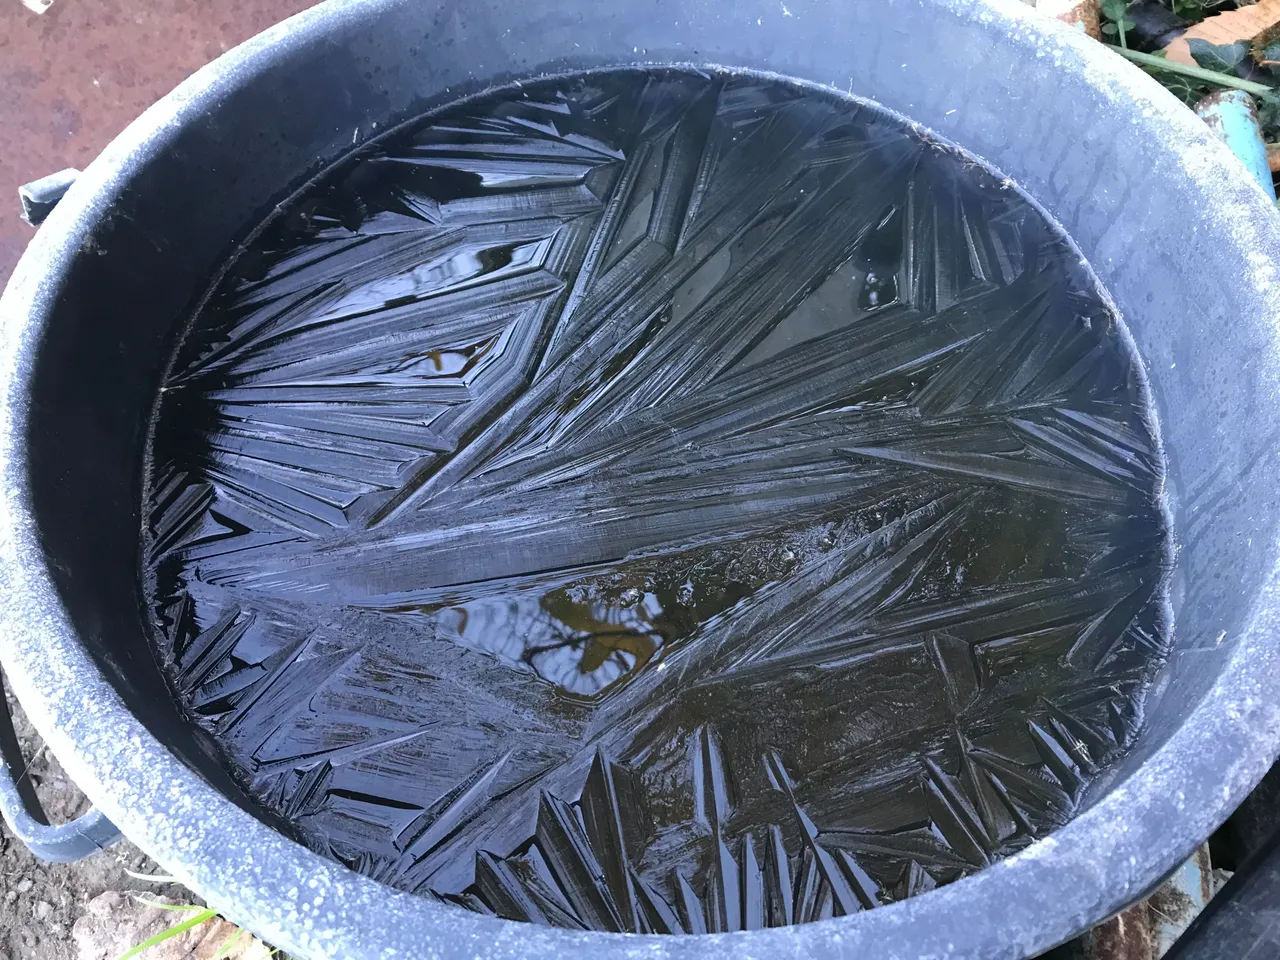
But what about the time of year when your water tub looks like this?
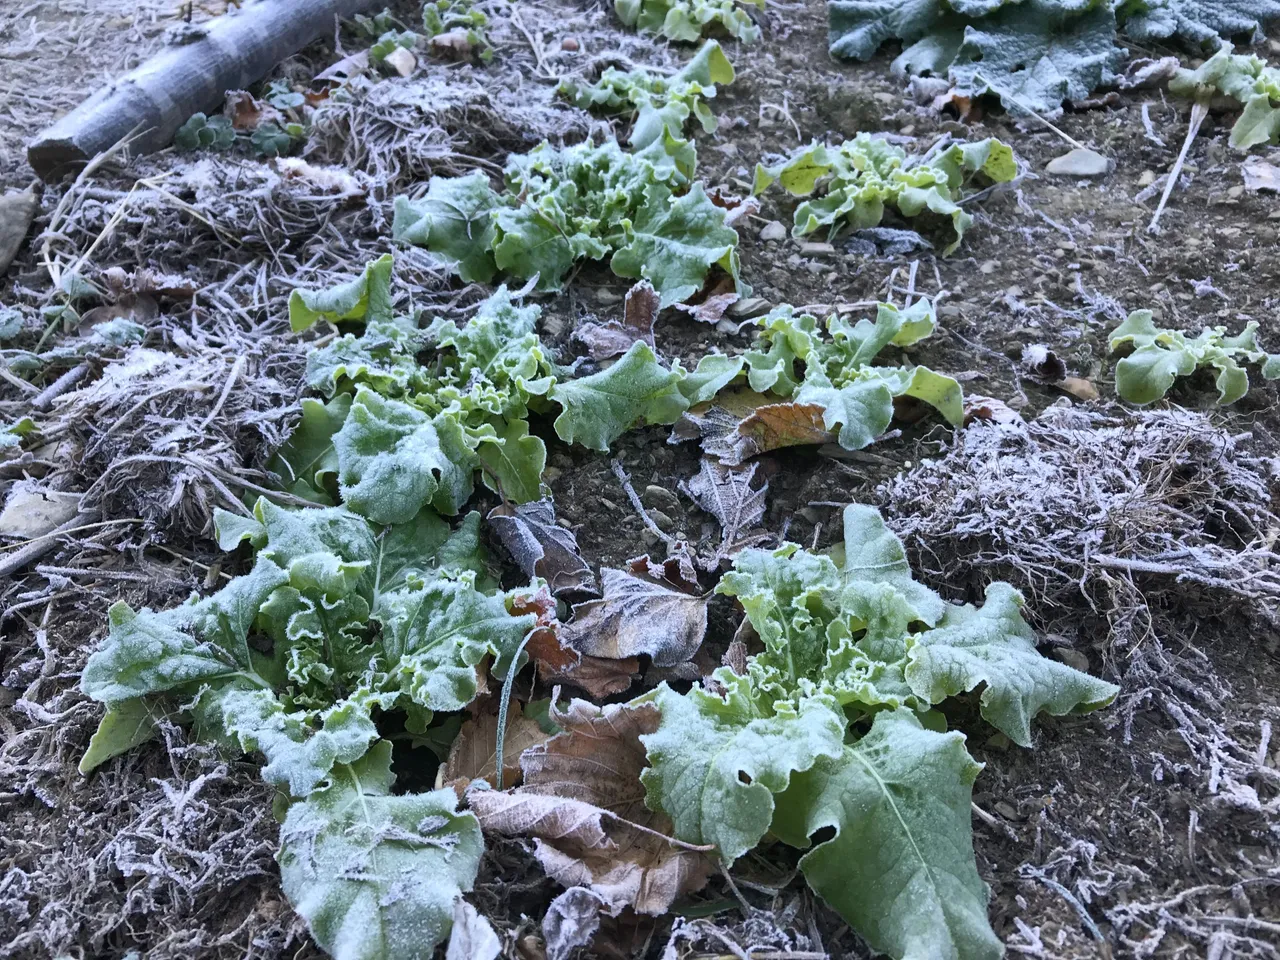
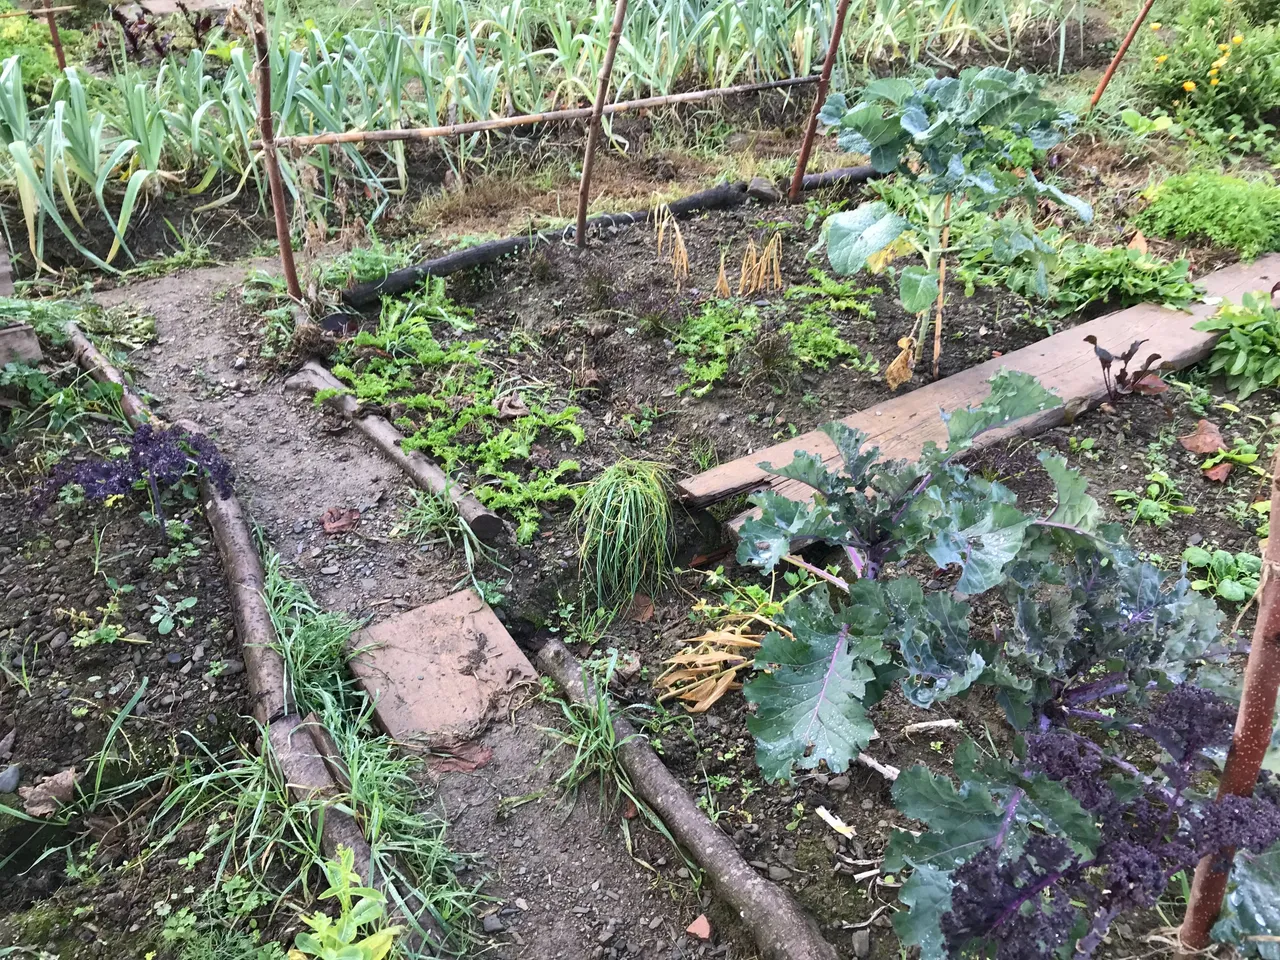
In truth I have only planted things here which will survive the winter (like these lettuce), but I am keen none-the-less to see what happens when they are enclosed within a greenhouse.
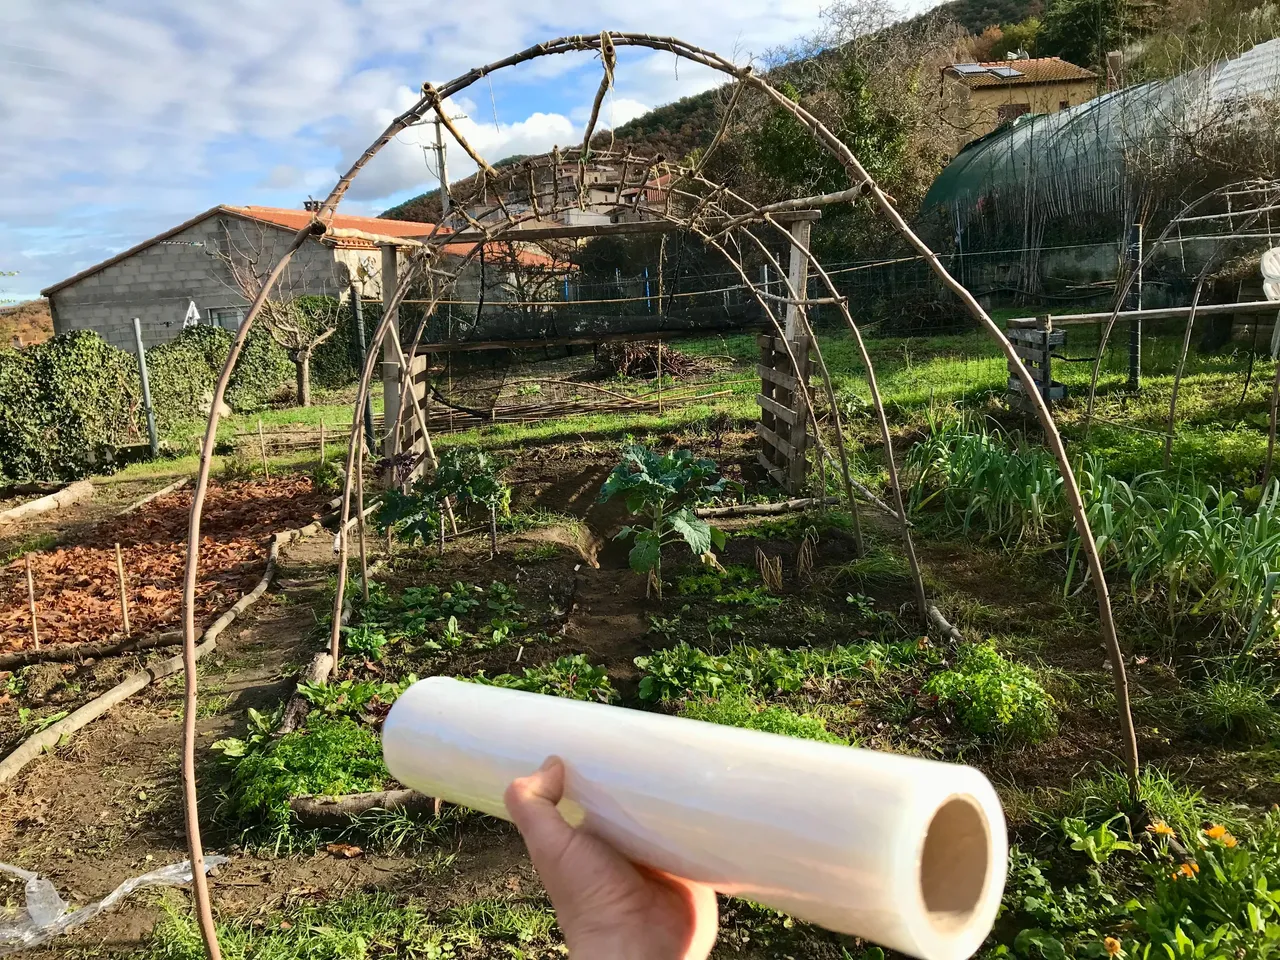
Sabrina told me recently about friends of hers using industrial cling film for this purpose, so I thought I would give this a go. It is the kind you use to wrap large items on a pallets, thicker than standard kitchen cling film.
This roll was €10 for 200m.
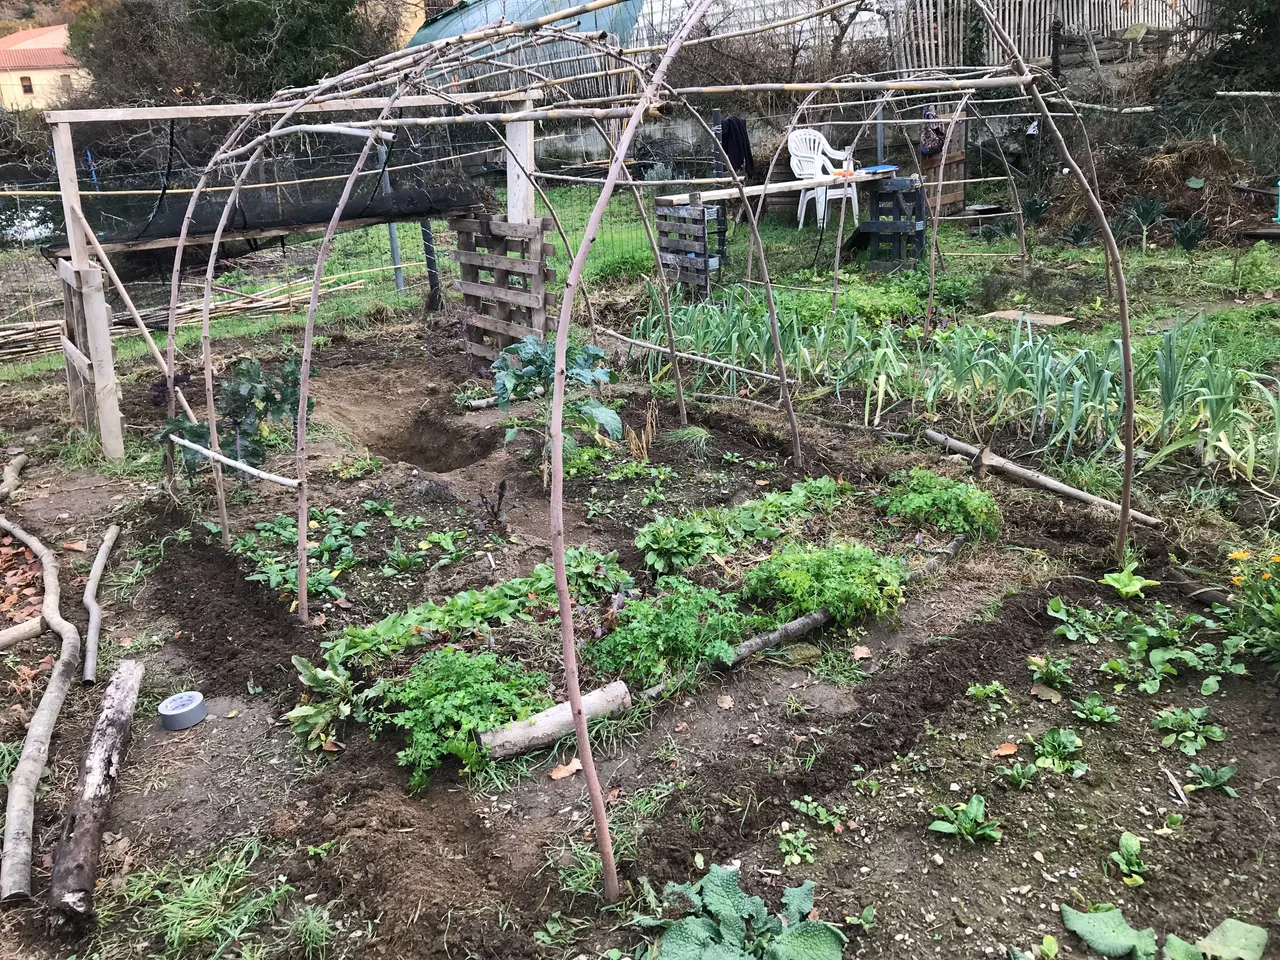
I have been looking at my arches for the last week, thinking about how best to wrap them, playing it through in my head over and over to find not only the simplest way to get this done but also the most secure and likely to survive the entire winter.
I couldn't figure out at first if I should involve this back bit with the pallets. It was useful getting the pumpkins off the ground up onto the roof of the structure, but not sure if it fits for this.
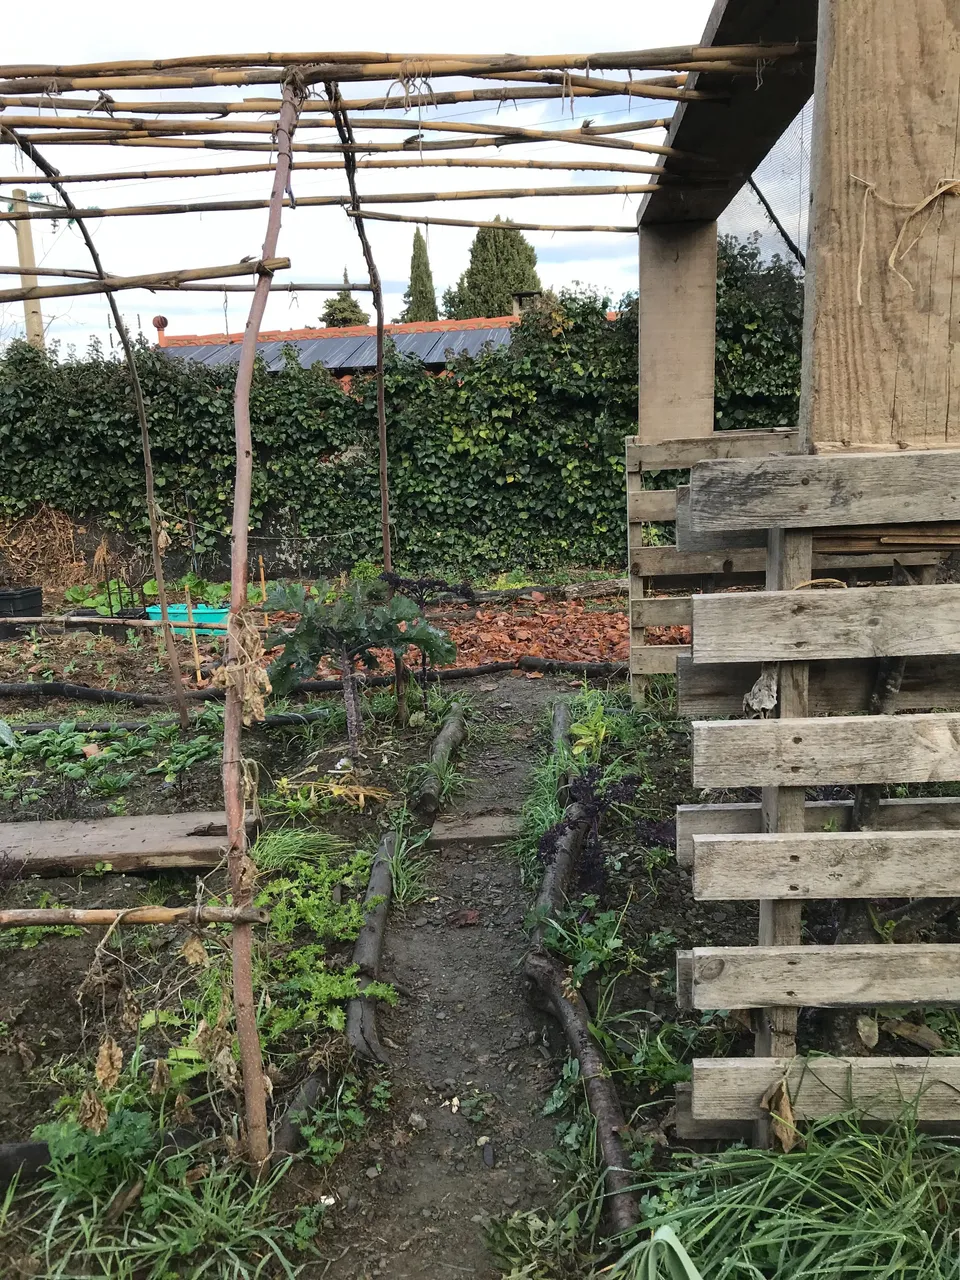
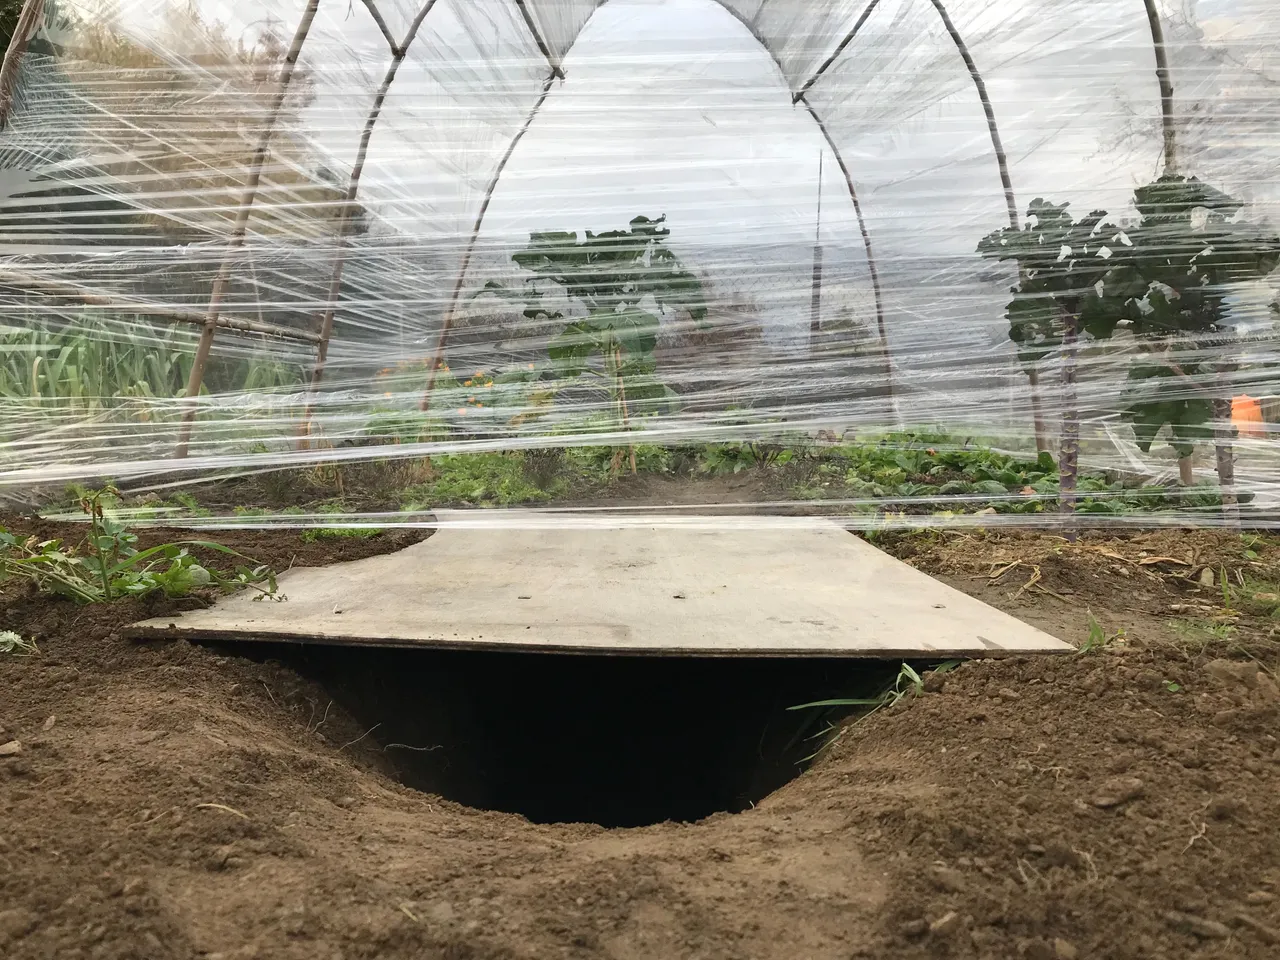
In the end it was decided to avoid involving the pallets and create the entrance where this path is.
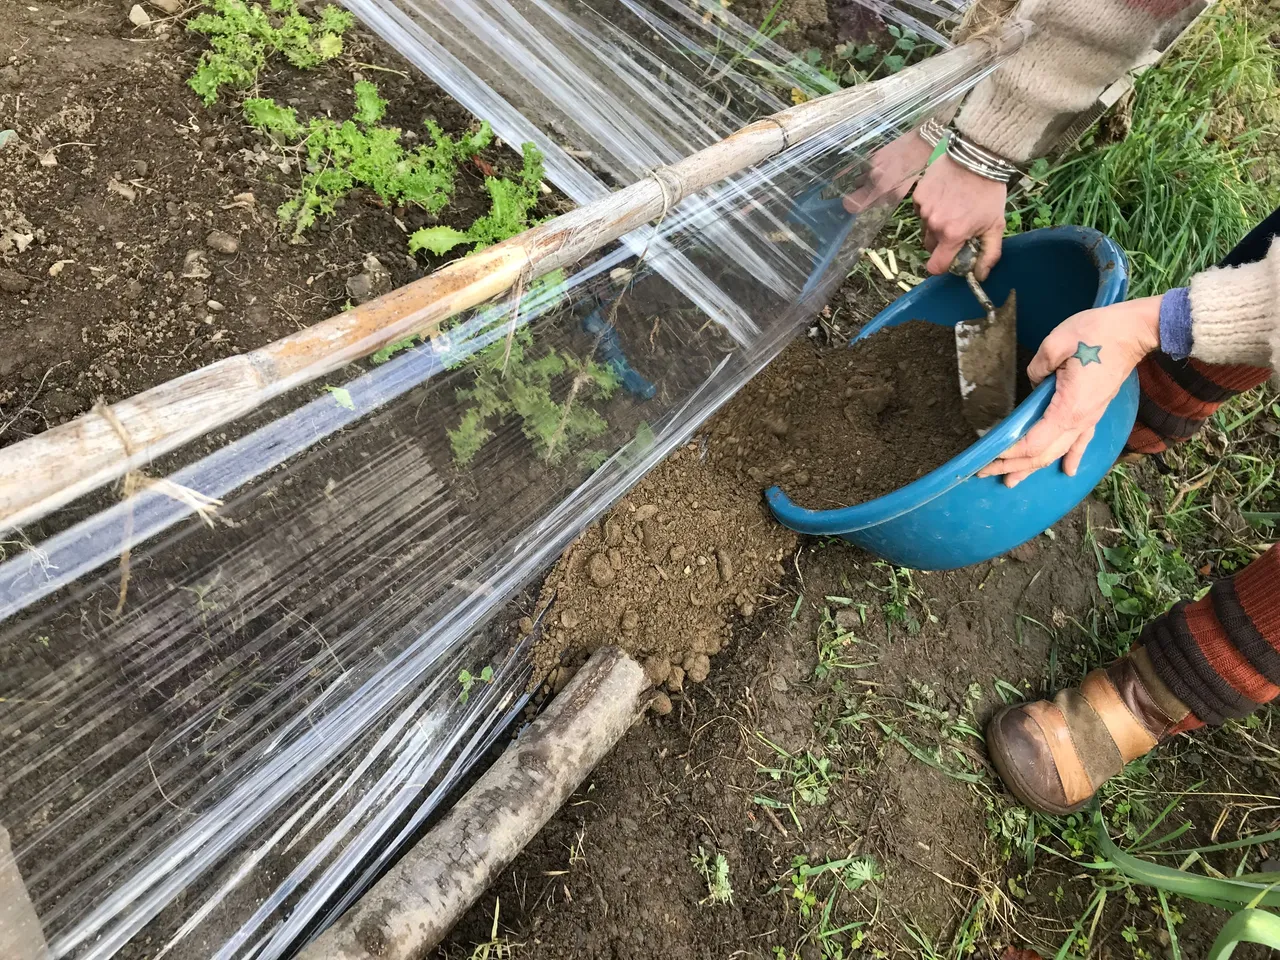
I had to move the chives and a few kale & lettuce to dig the entrance hole.

While meditating on this design I saw that the simplest and most secure way was to wrap it tight like a Christmas present. With this design however I have no choice but to dig down into the earth to create my entrance.
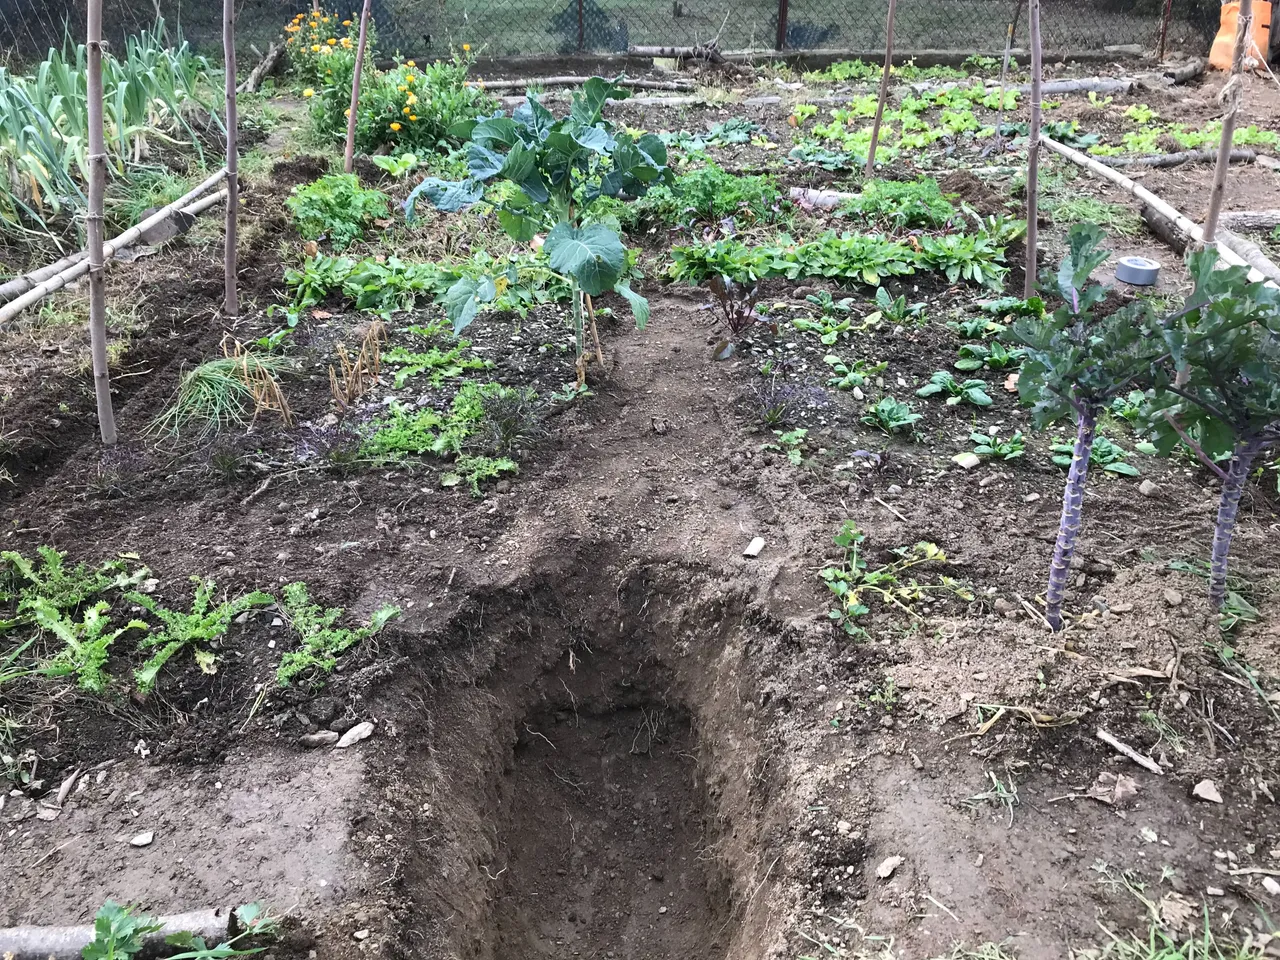
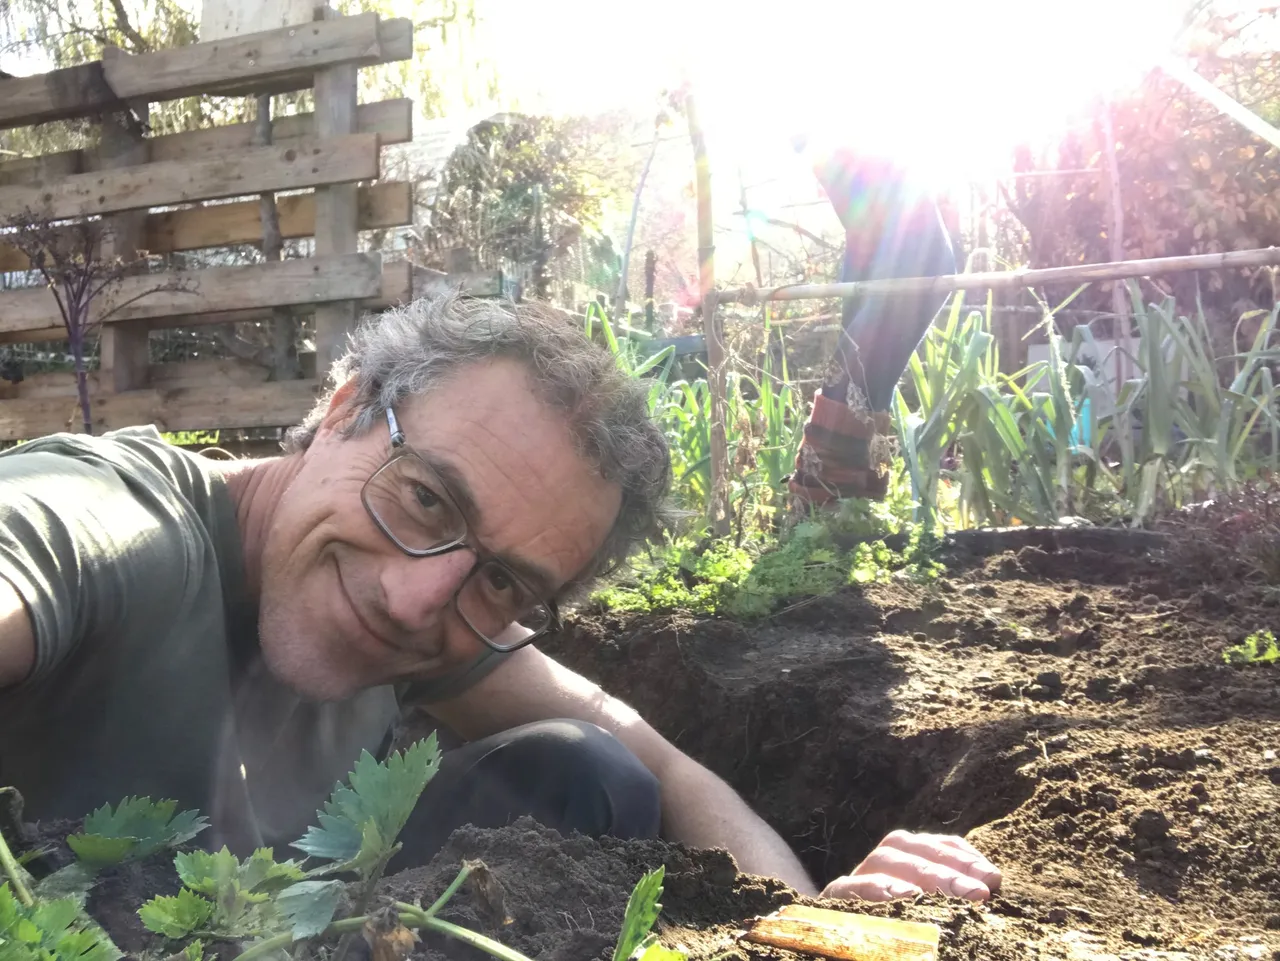
Here's me checking if the hole is big enough to crawl through without disturbing the structure too much.
After this I dug little holes around the edges. These will be important later.
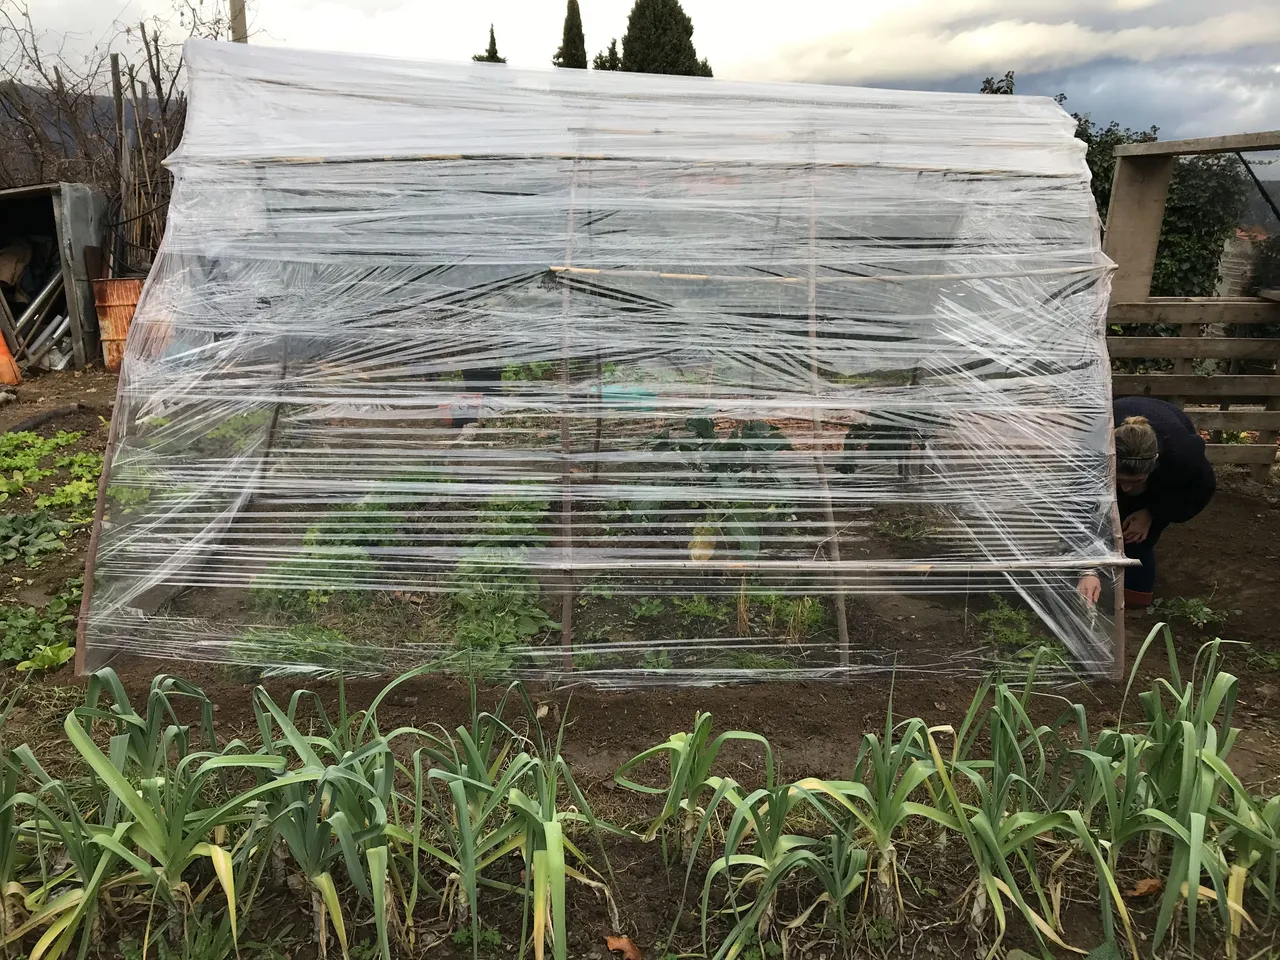
Getting started now with the plastic wrap I cover a section at the top.
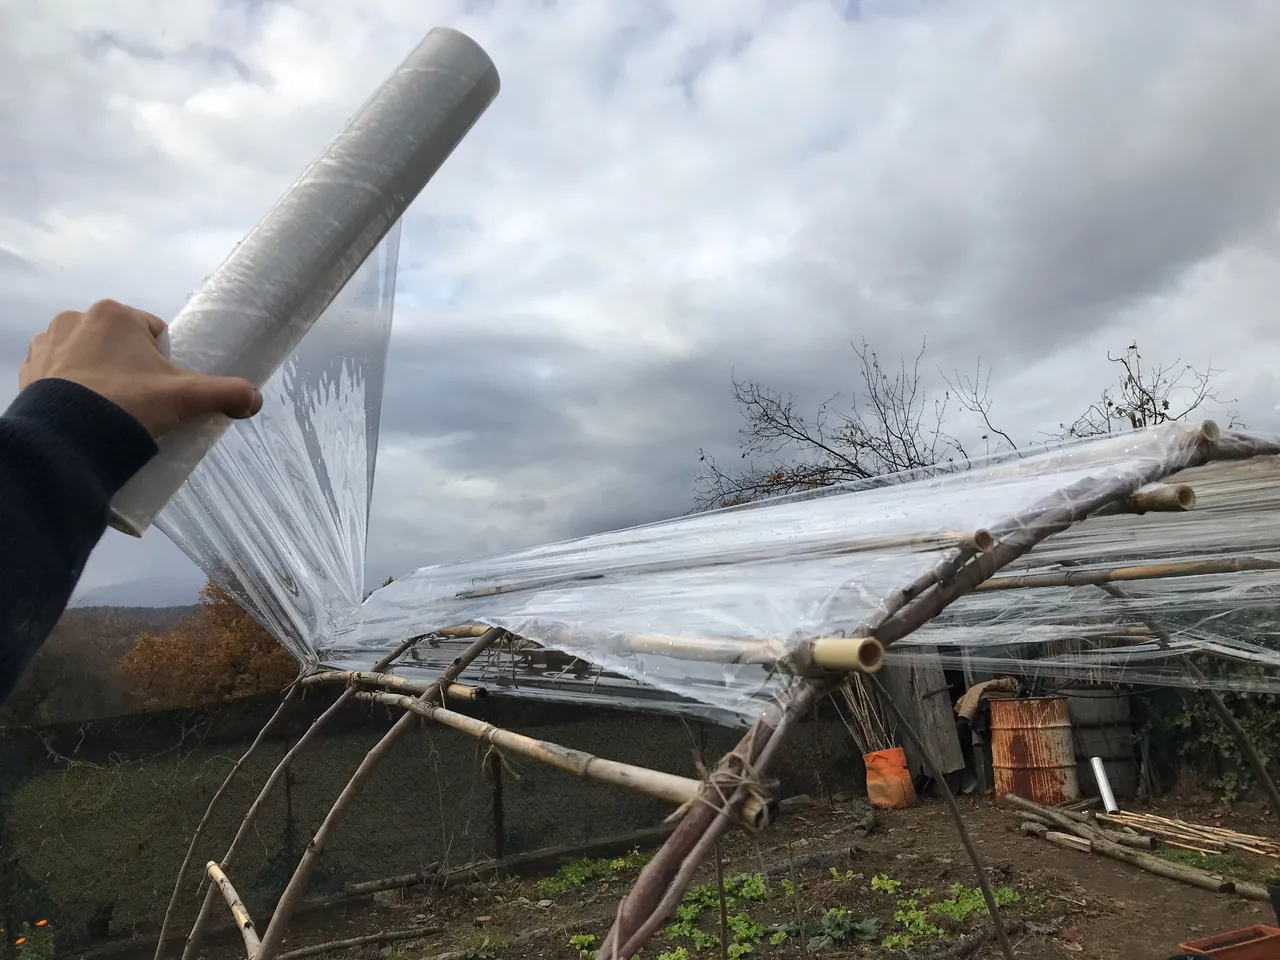
This is important because you cannot wrap the top when you start from the bottom. It just won't work. Top needs to be done first.
It also means that the roof layer will be under the wall layer, so when it rains the water should drip down all along the edges of the top, watering the plants inside the structure.
Next we start again with the plastic from the bottom.
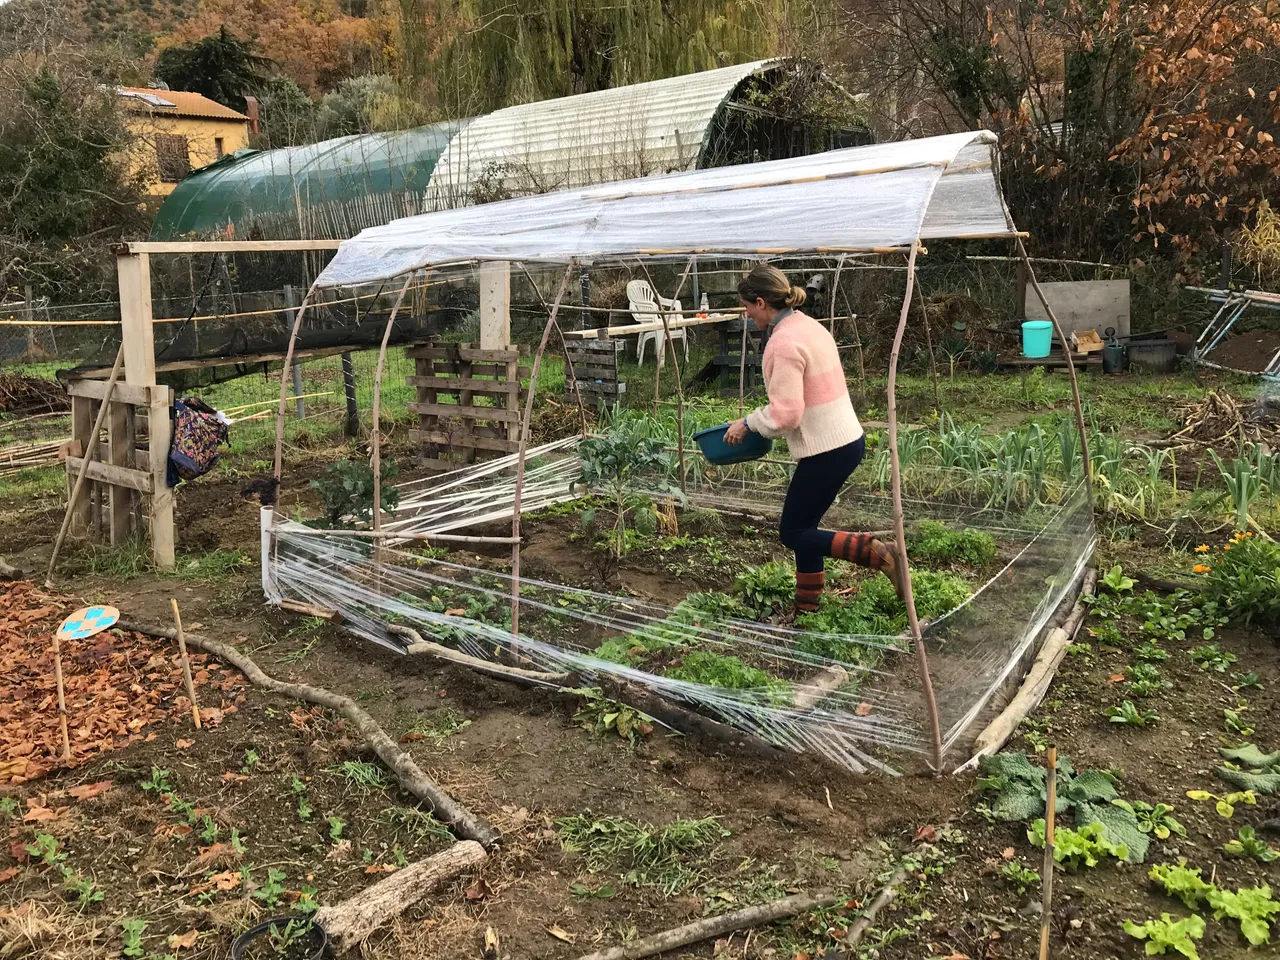
Using the holes we dug earlier, branches & earth are added to hold down the cling film in case of high winds.
Don't want any heat being lost around these edges.
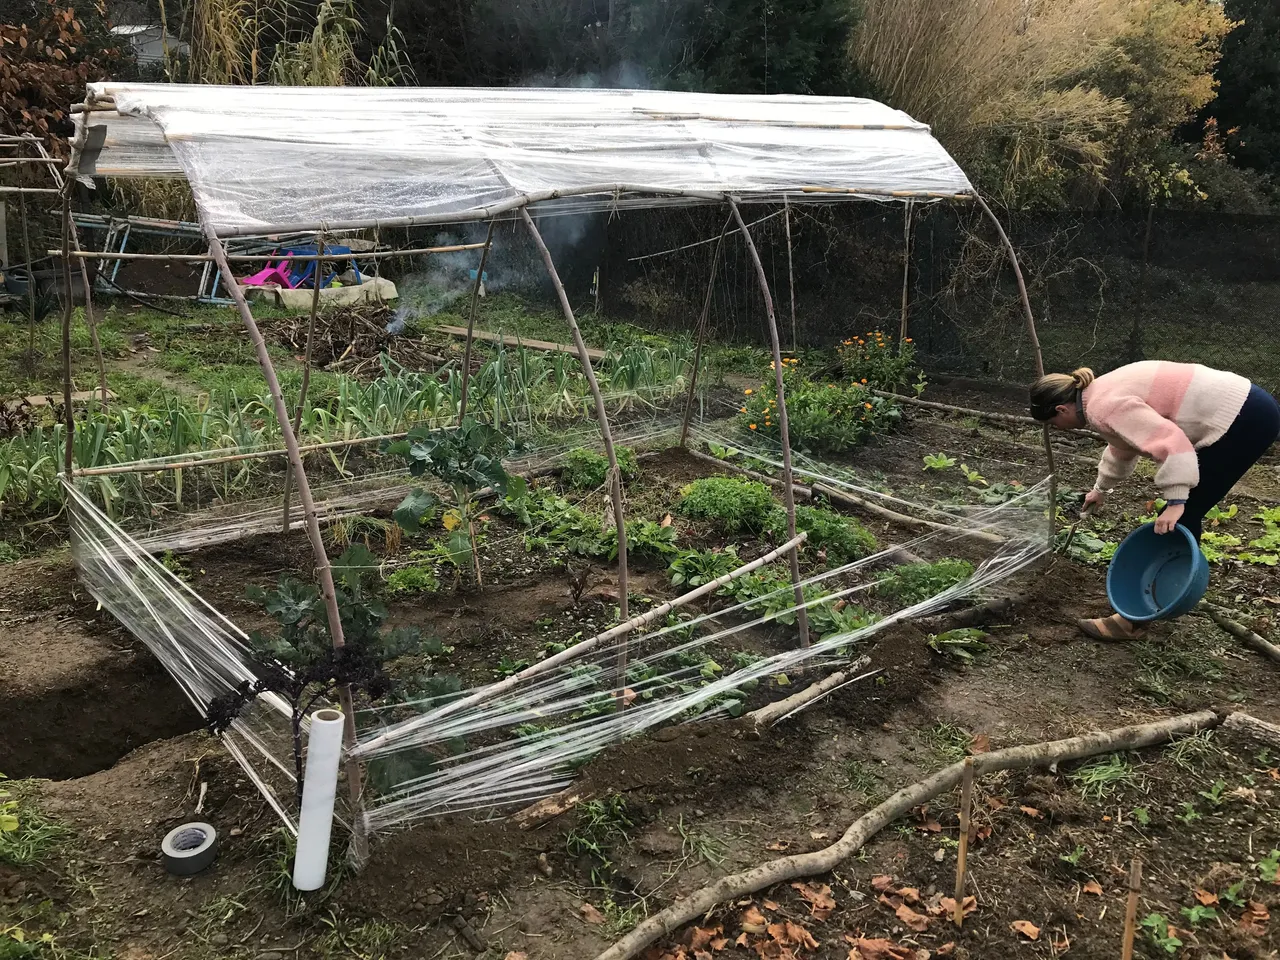
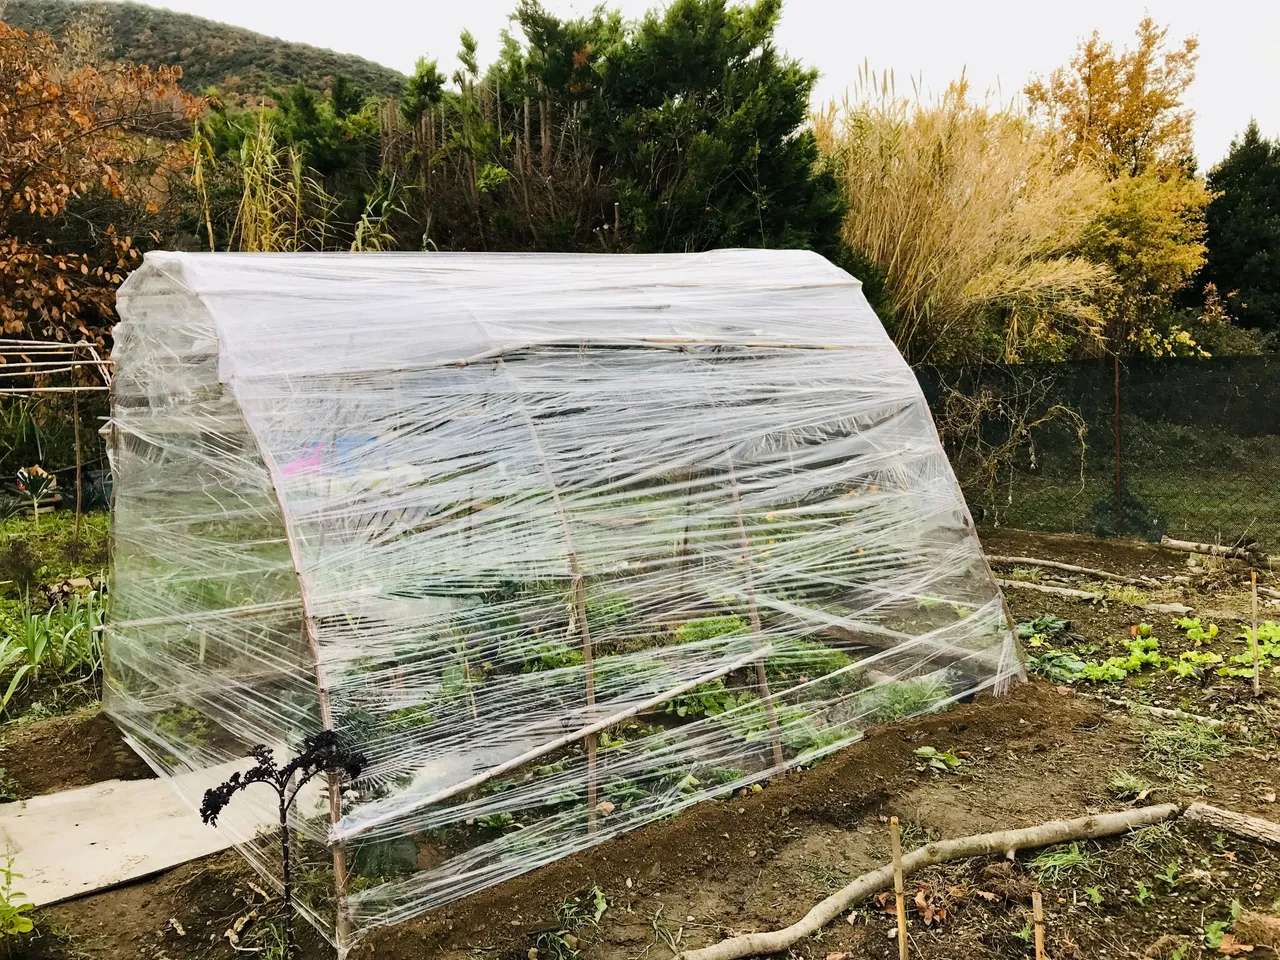
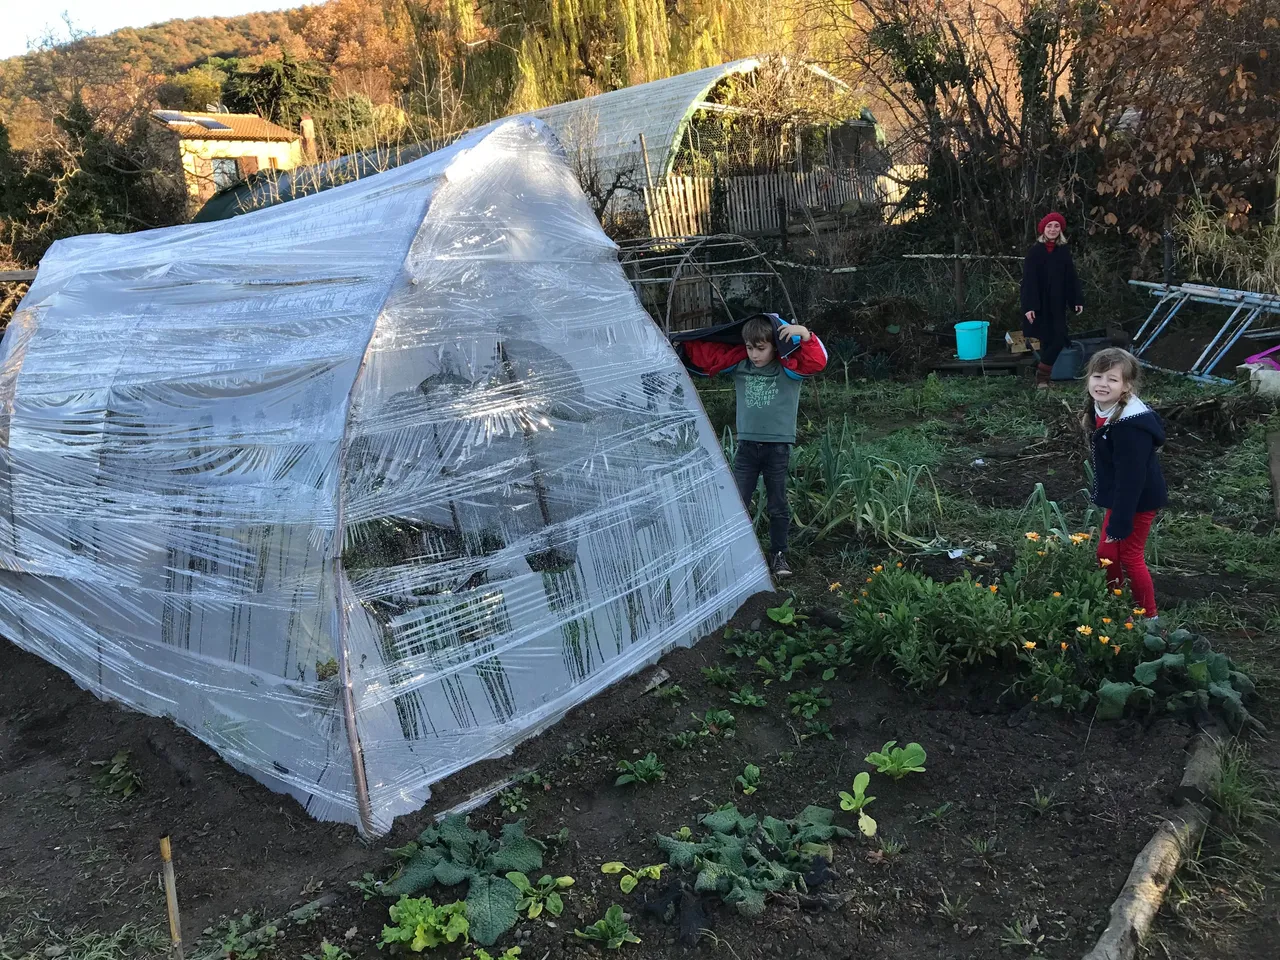
Up we go with the wrapping, keeping it tight and solid.
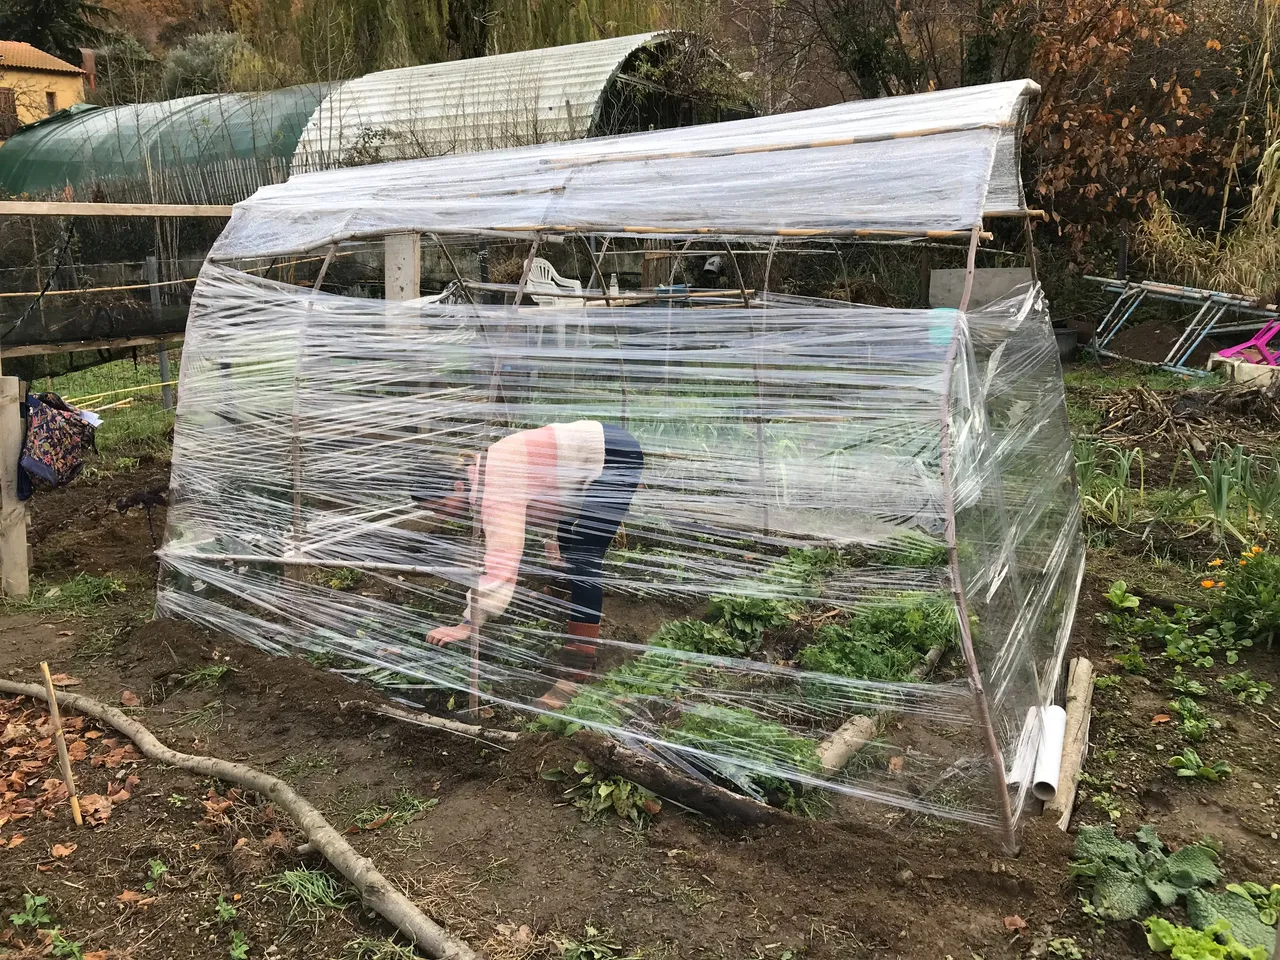
The last past wasn't easy due to the angle, but with two people it is achievable.
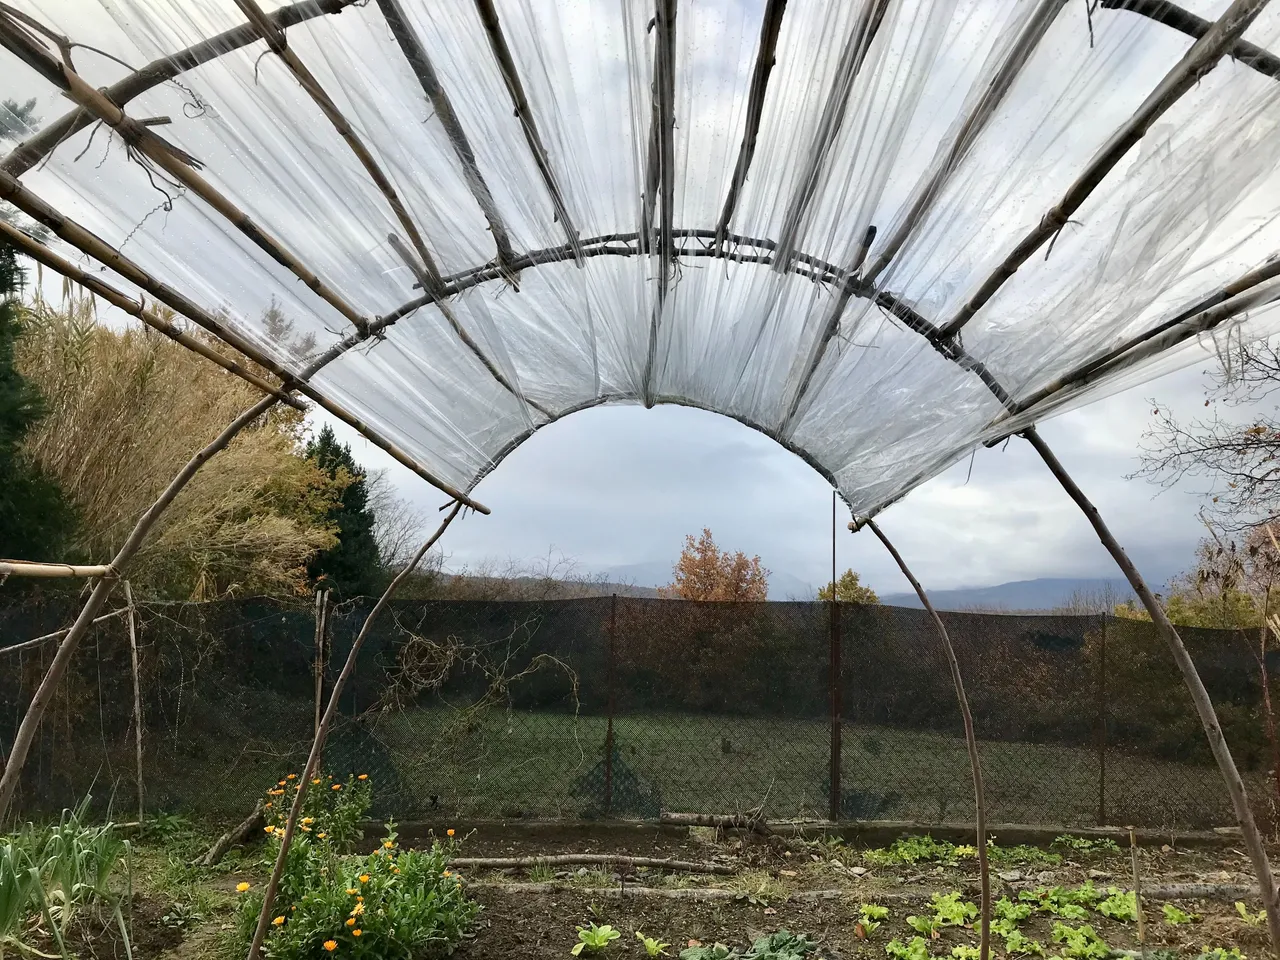
The extra pressure of the plastic wrap has changed the shape of the arch.
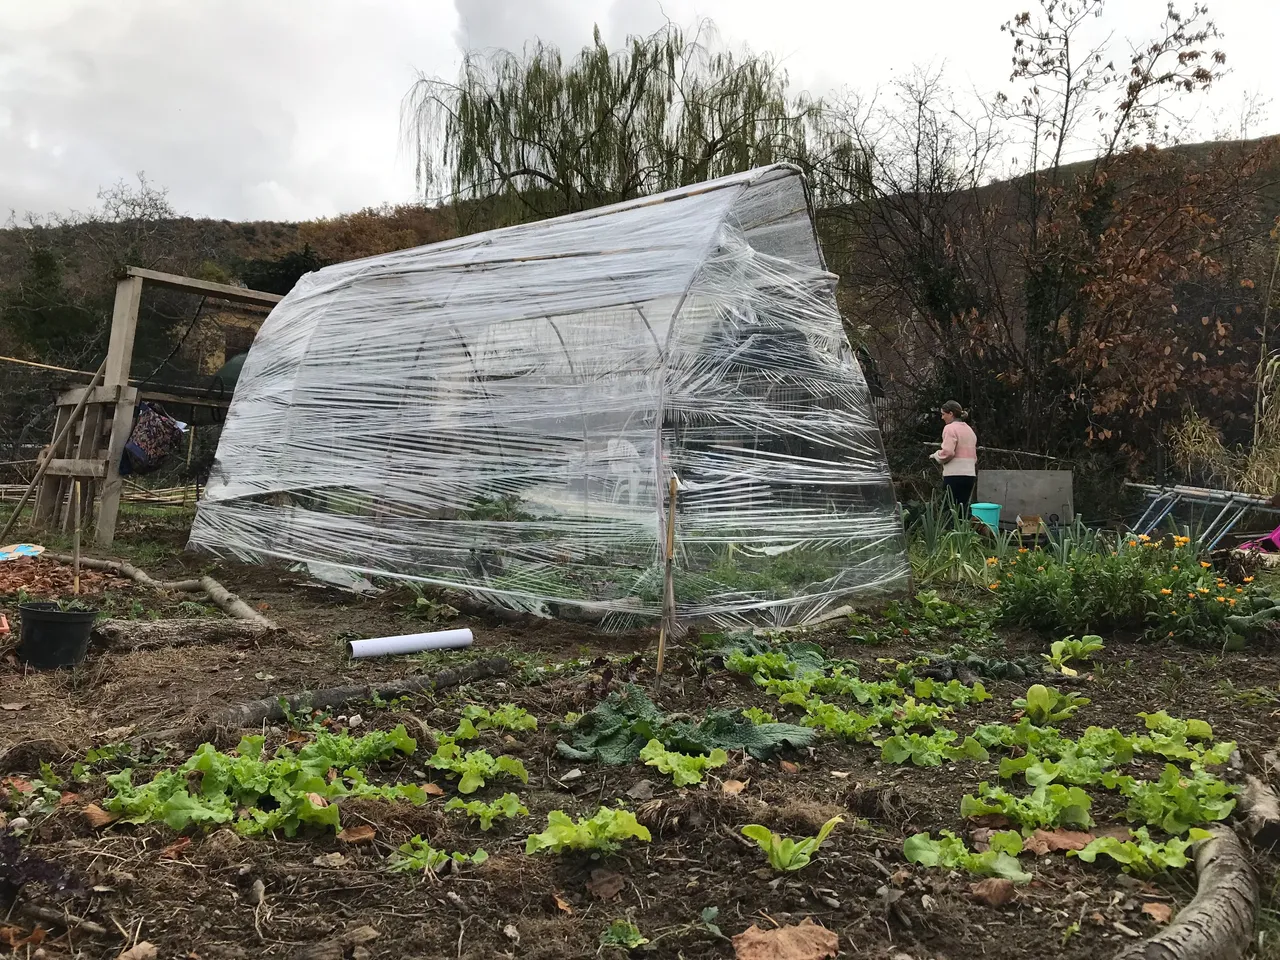
Looks more like a pyramid now! Plenty of headroom at least.
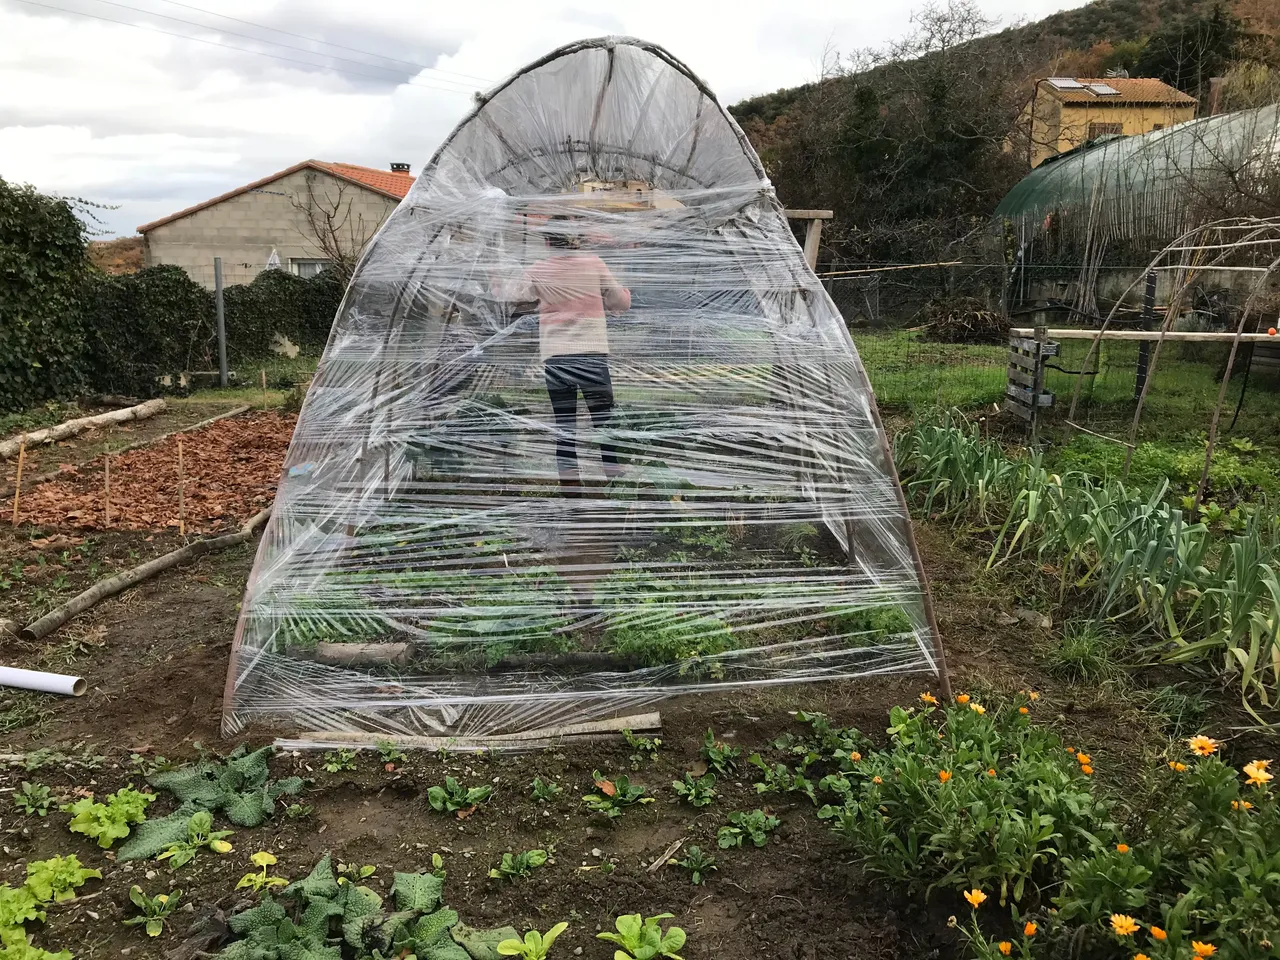
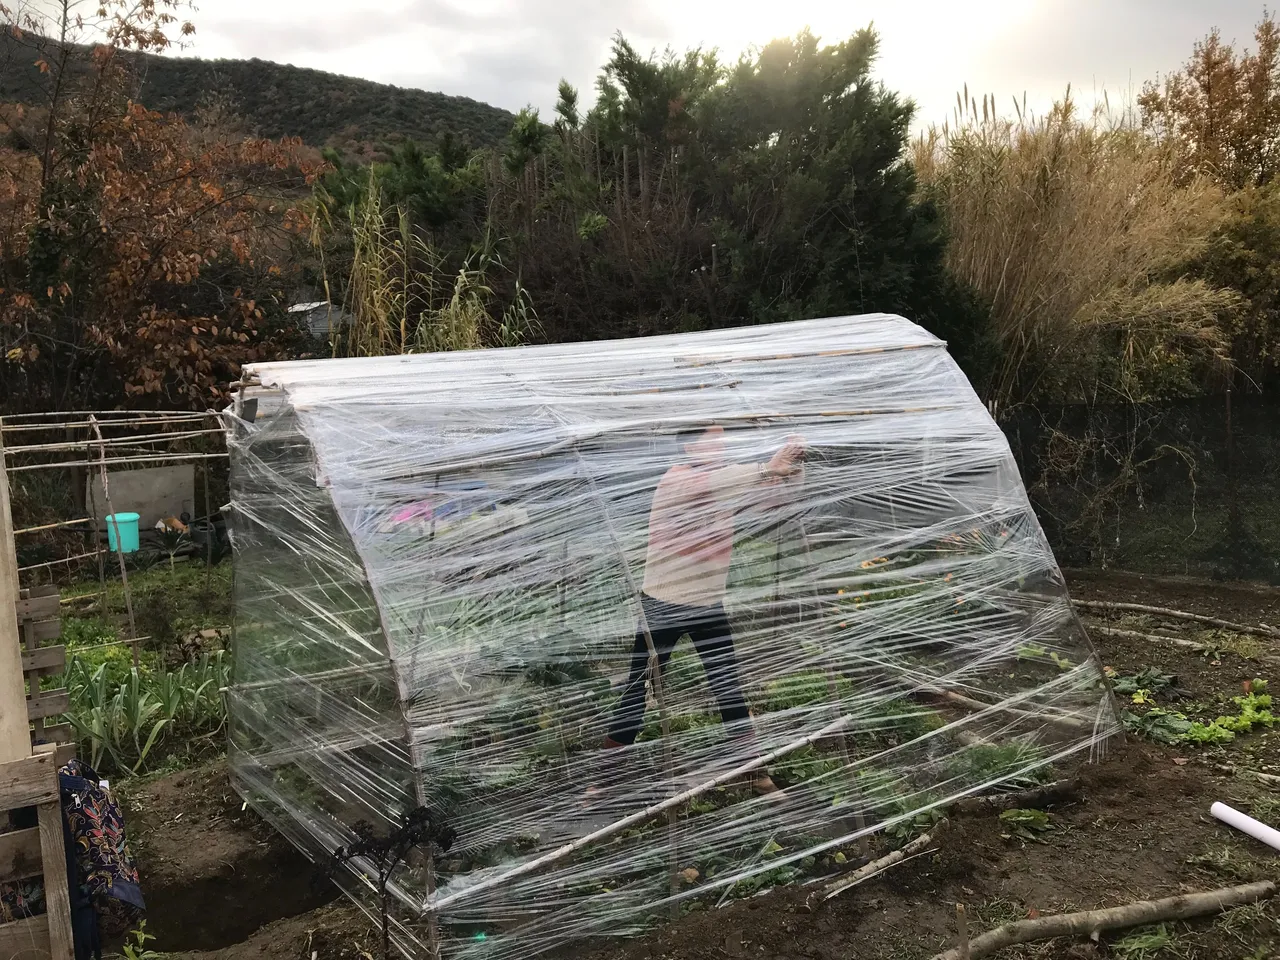
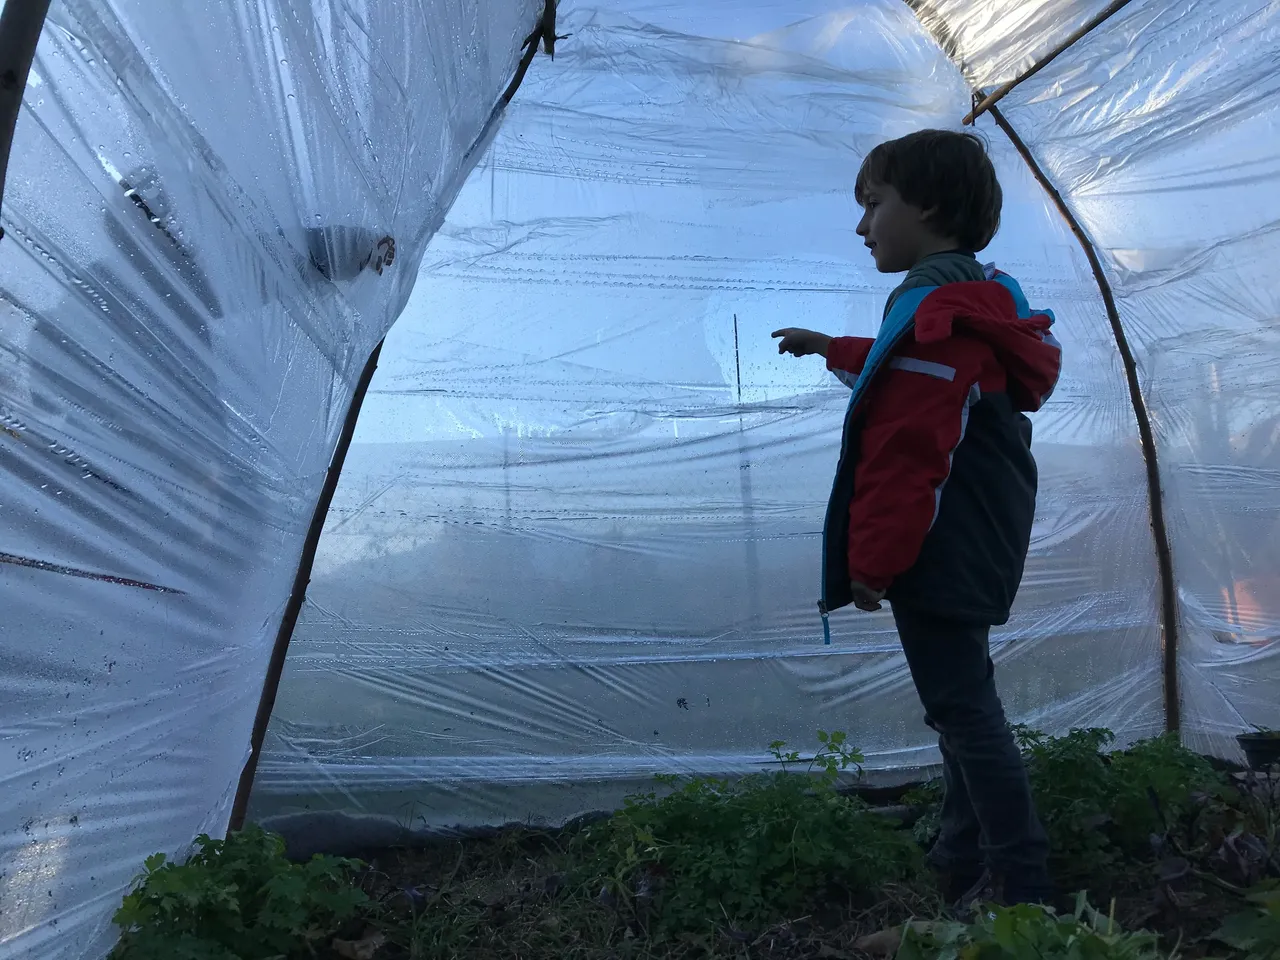
It is instantly warmer in here and the smell is amazing. I can smell the earth so clearly for the first time!
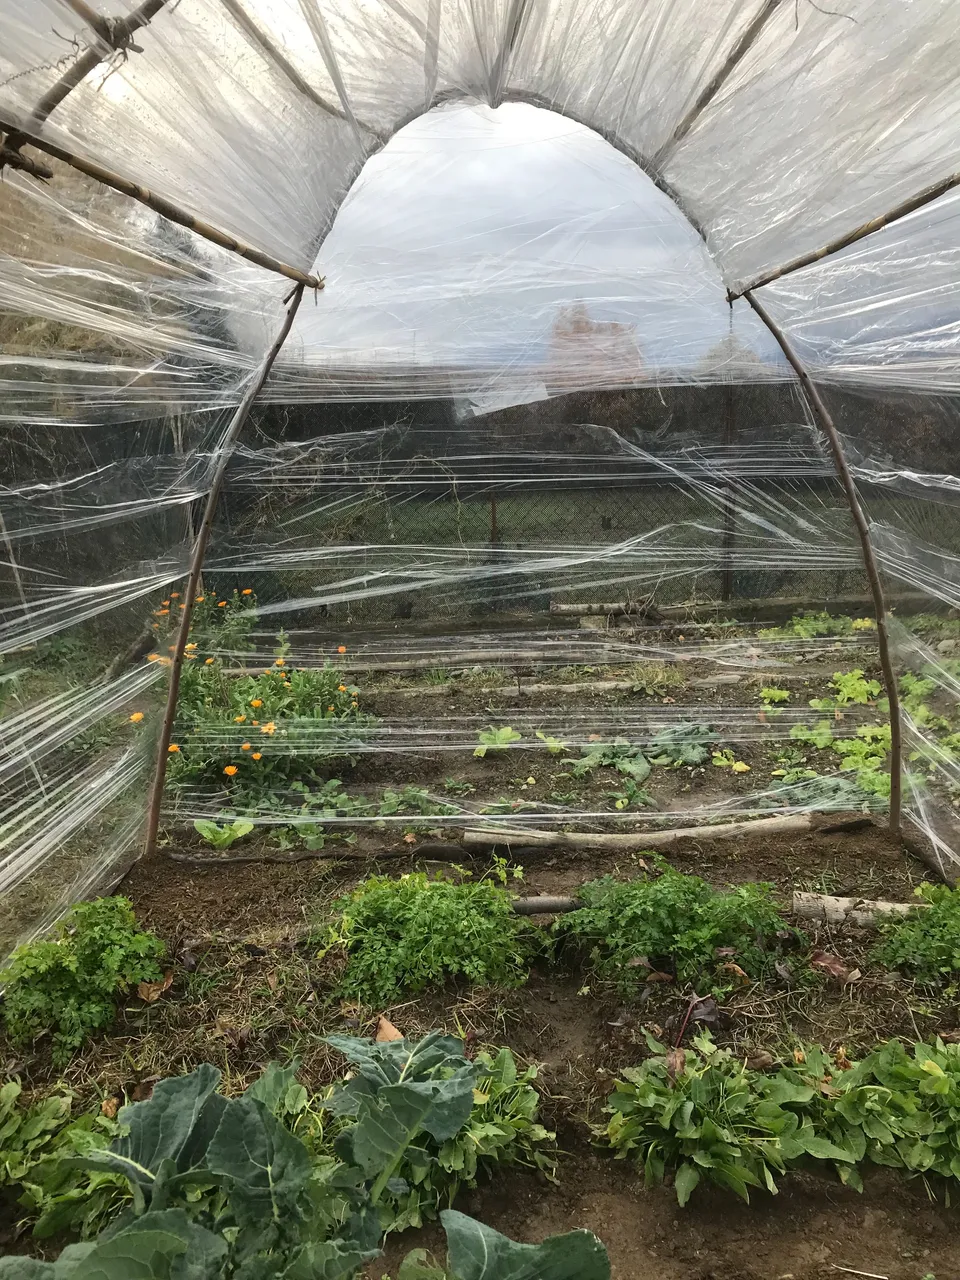
Down at the end there I have parsley, beetroot & sorrel but just beyond them I intend to put loads of pots, seedlings like tomatoes which can get a head start of at least a month or two.
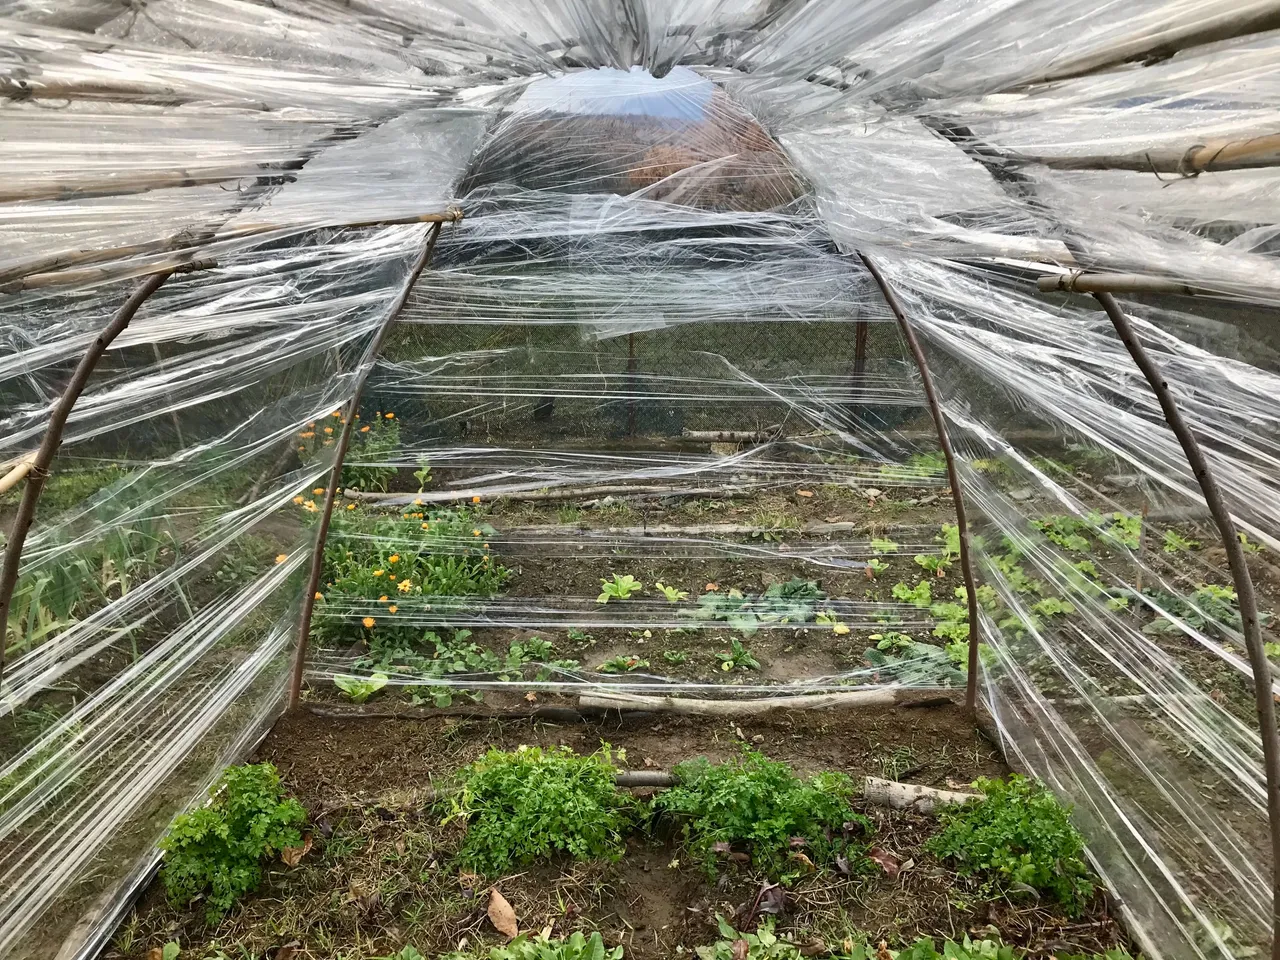
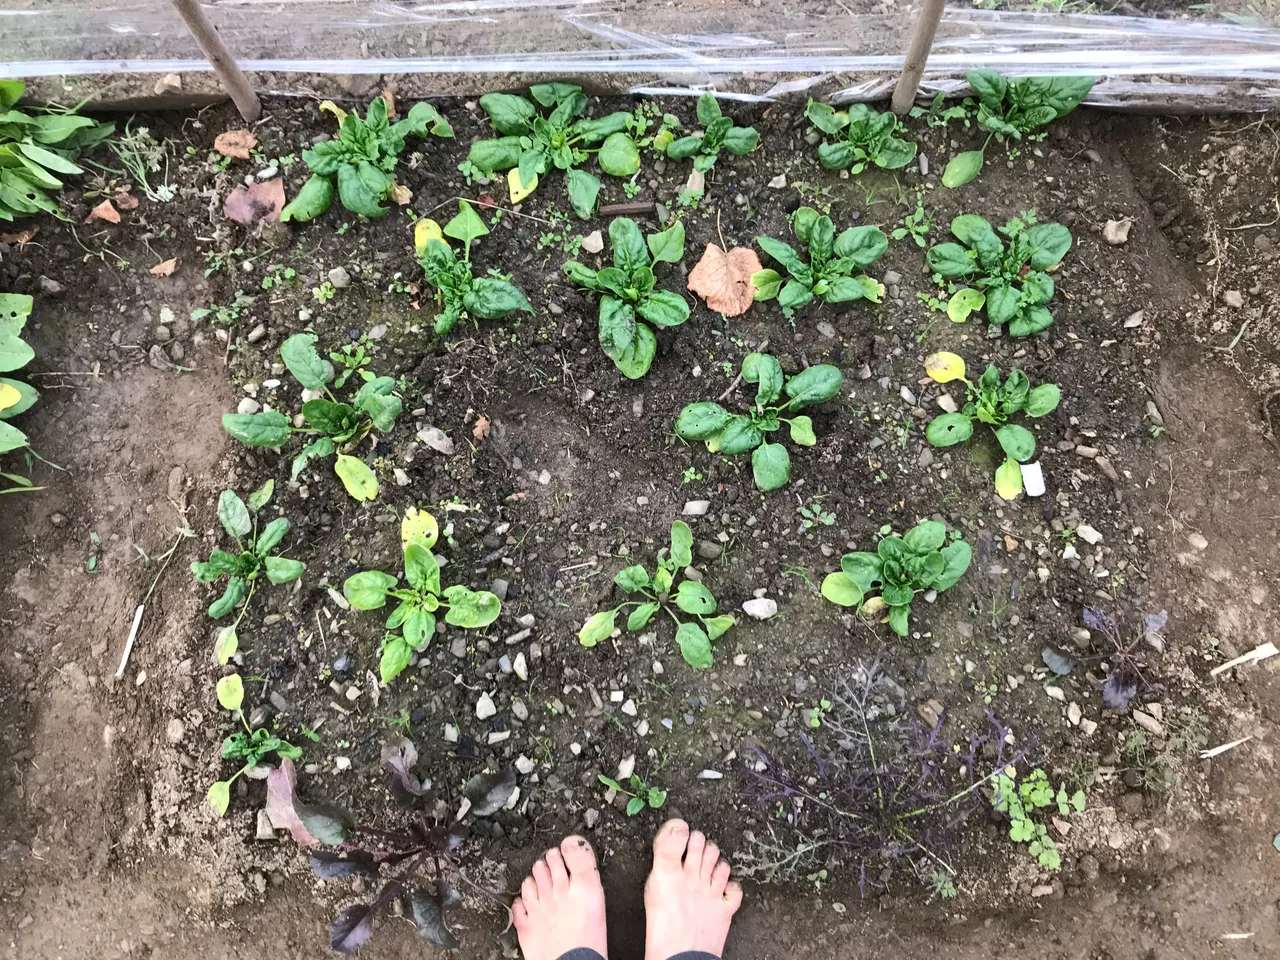
Over here I have spinach and a few other little things like beetroot, rocket, mustard, coriander and dill.
These kale (which recently had their growing points removed to encourage spring growth from the sides) should theoretically go crazy now.
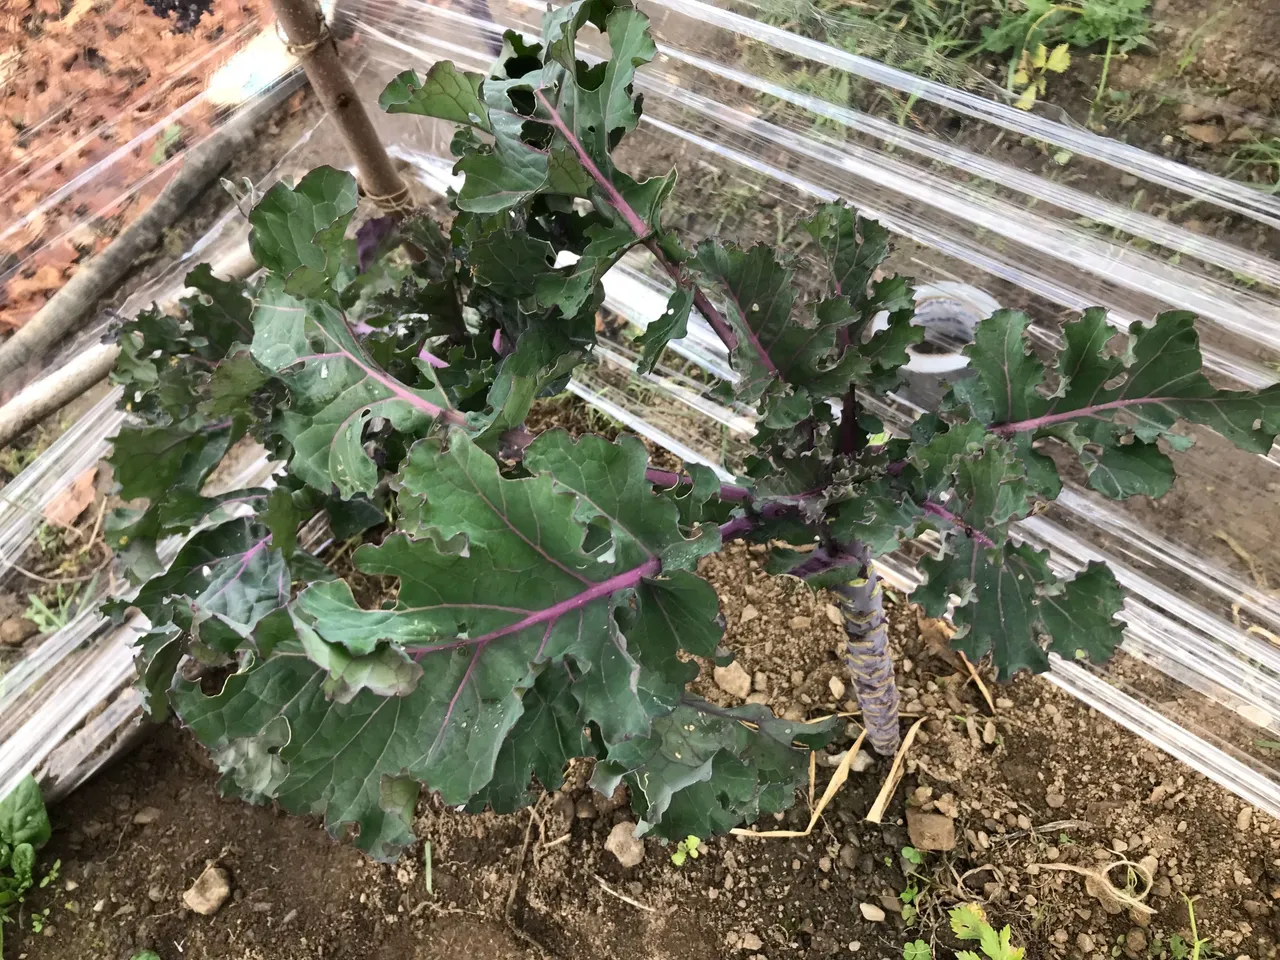
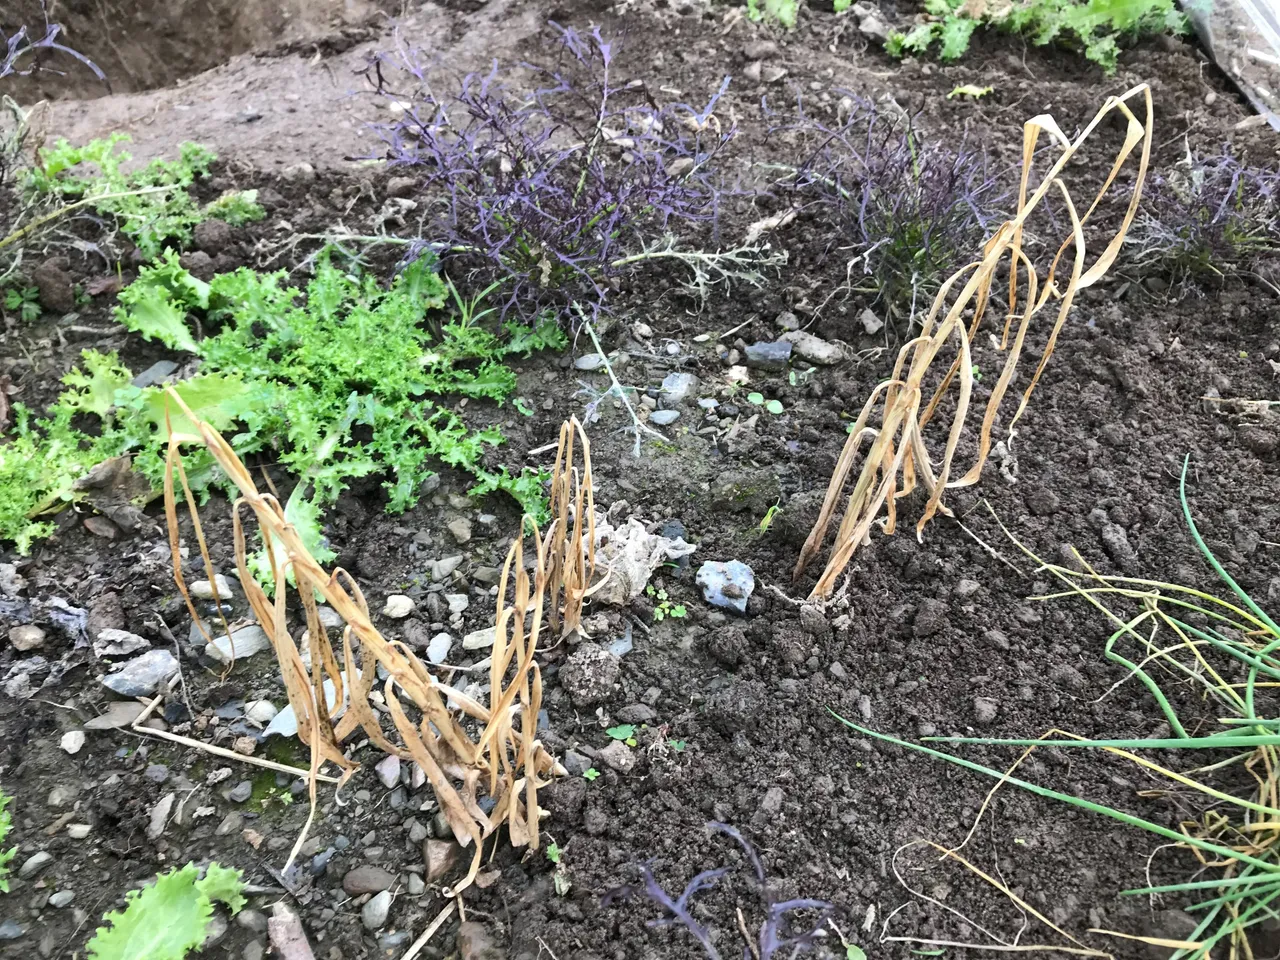
Their purple sister was just outside the plastic boarder and should make for an interesting comparison.

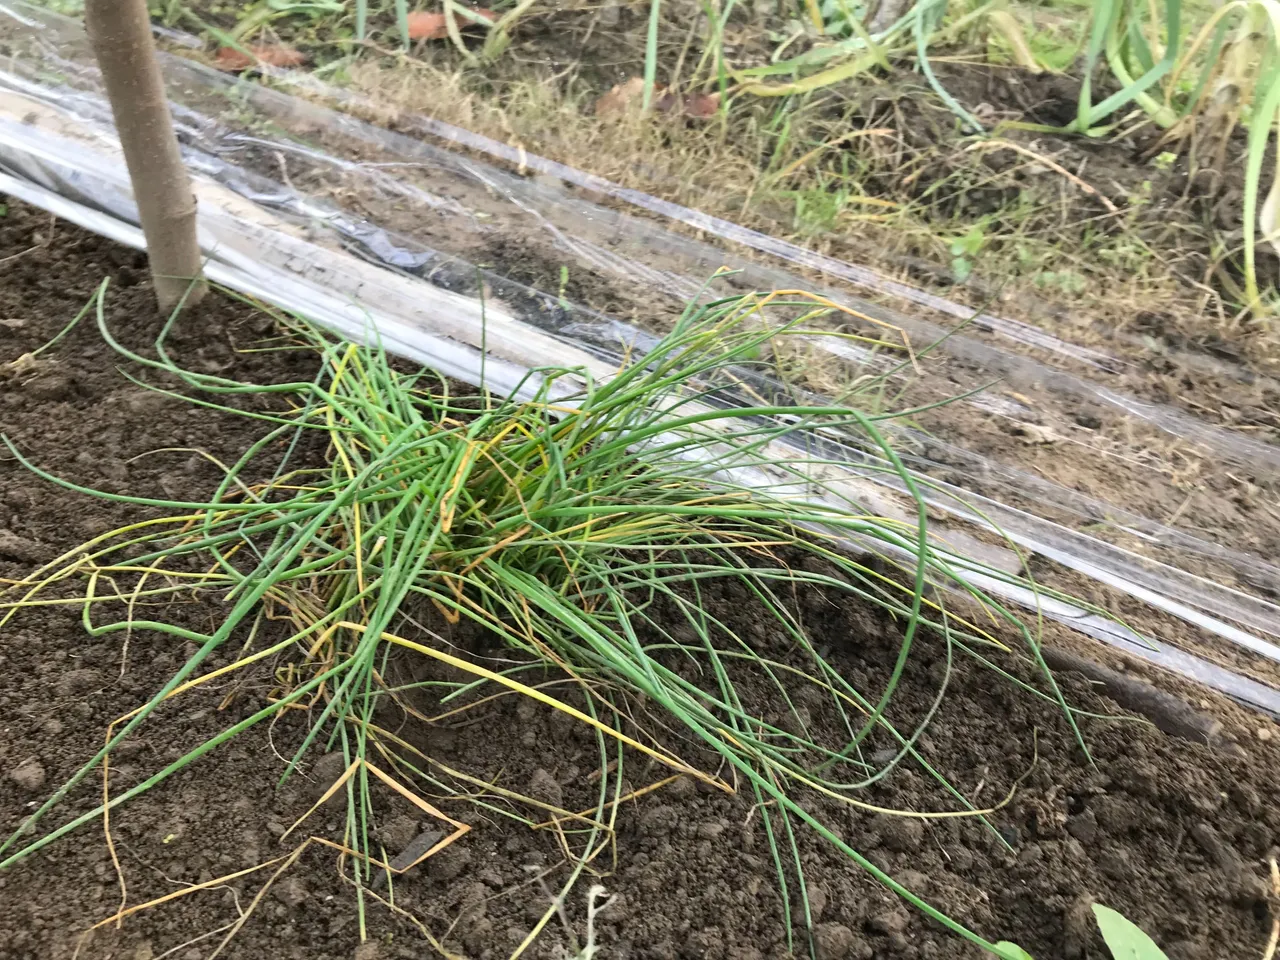
These are the chives I had to move. They will recover quickly with the increased temperature of the greenhouse.
Next to the chives I have some lettuce, some purple mustard and the remains of a ginger plant which doesn't like the cold. The roots will be fine however and I now expect to the ginger to grow back at a much faster rate than it would have done without the greenhouse.
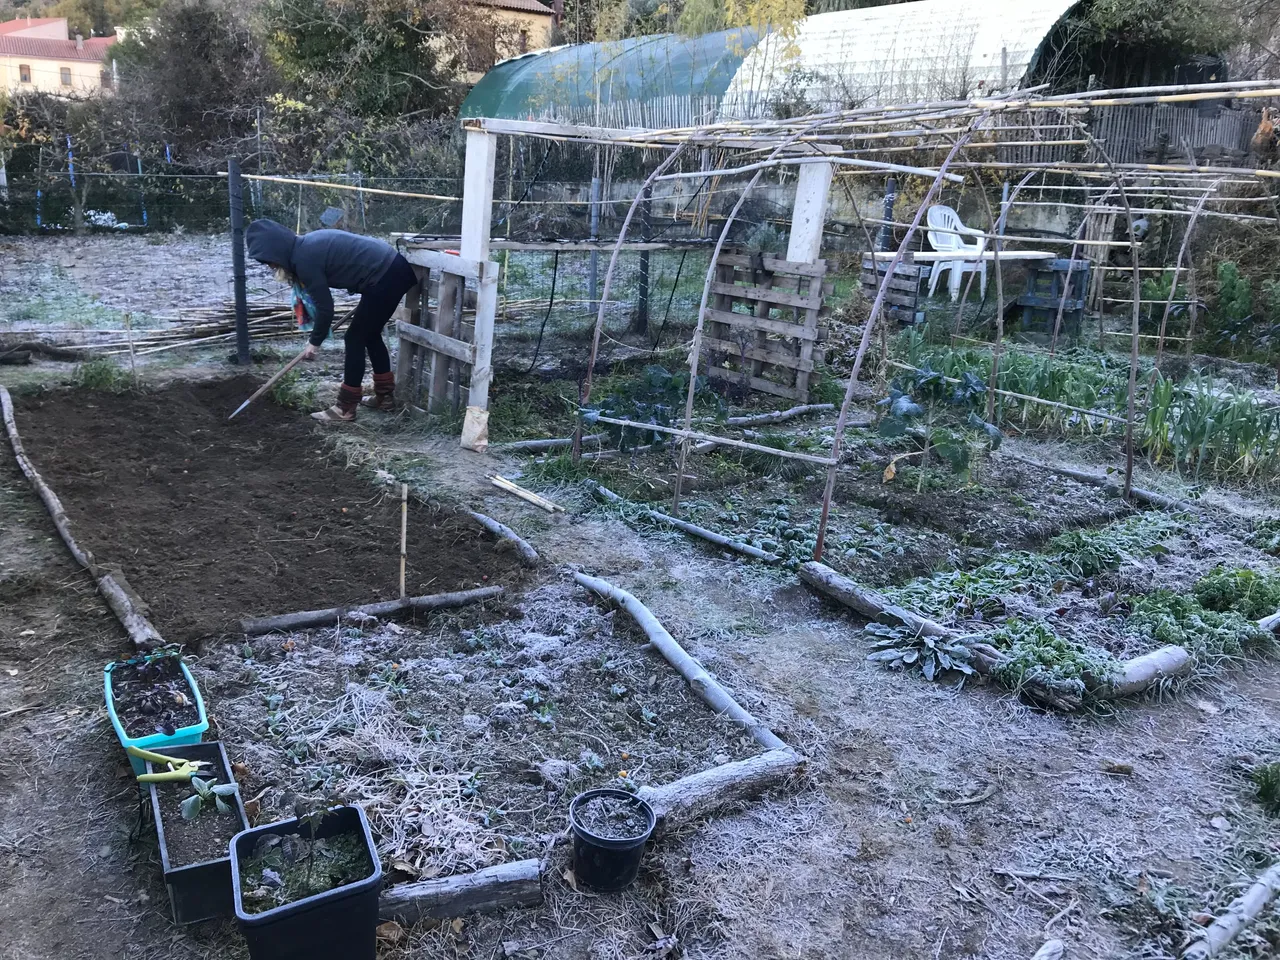
To keep the heat in at night I found this piece of wood for the hole. Needs to be a bit bigger really but it will do for now.
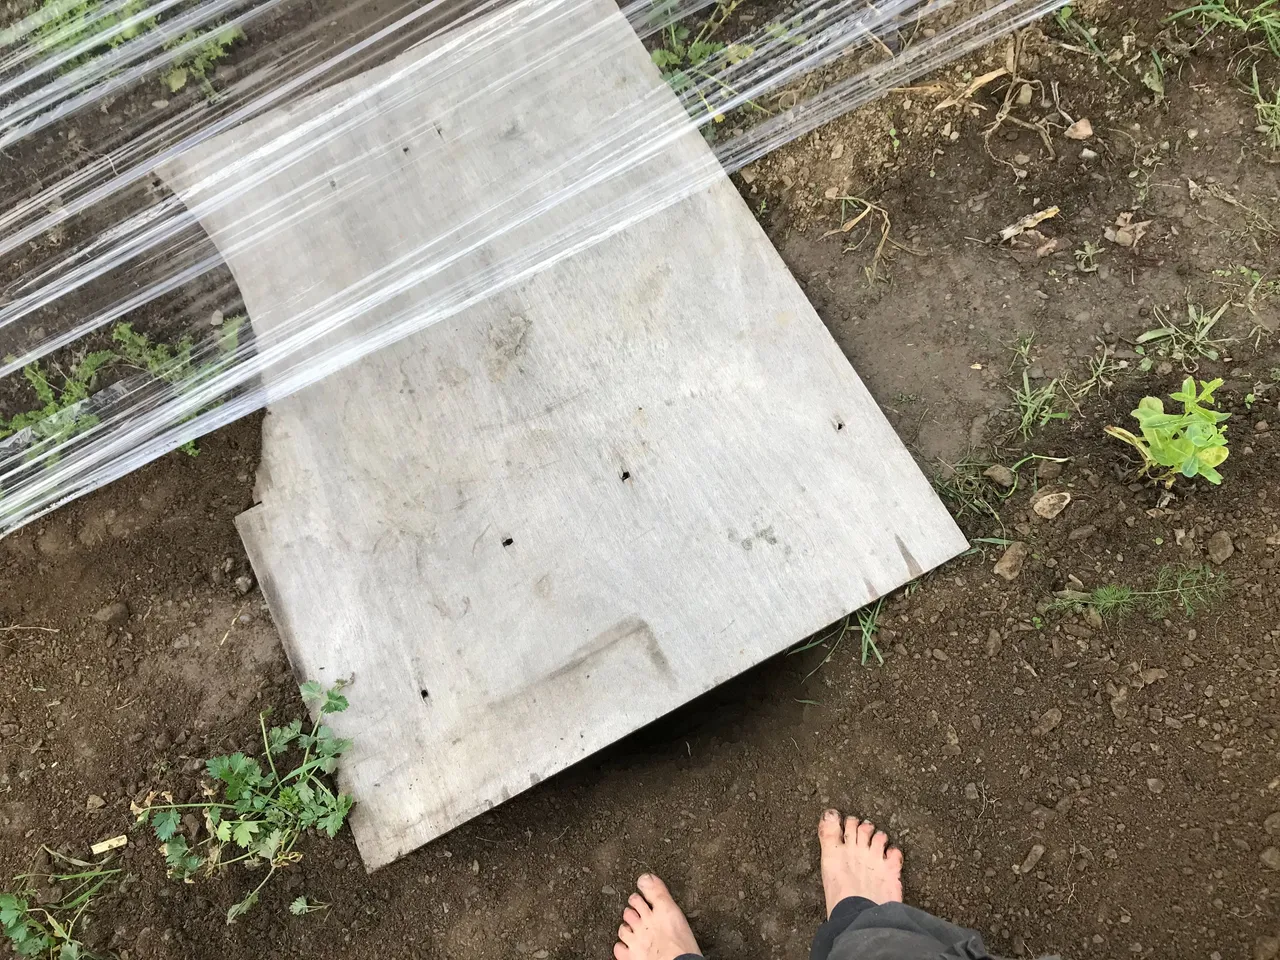
Cats can still get in there (there are many around here) but they won't be able to enter the greenhouse to dig anything up.
Feeling pretty good about this really. Seems solid and only took a few hours.
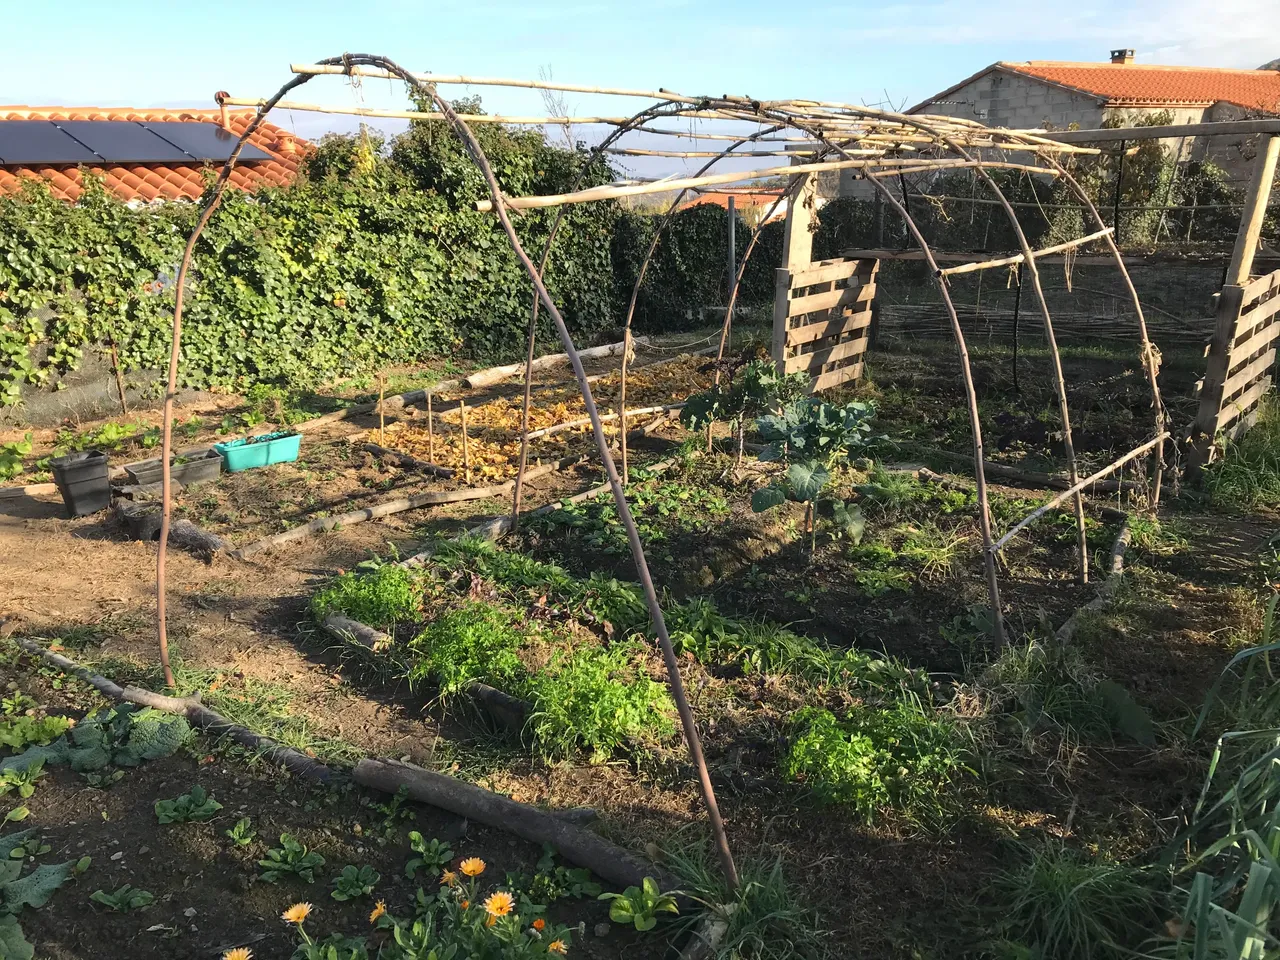
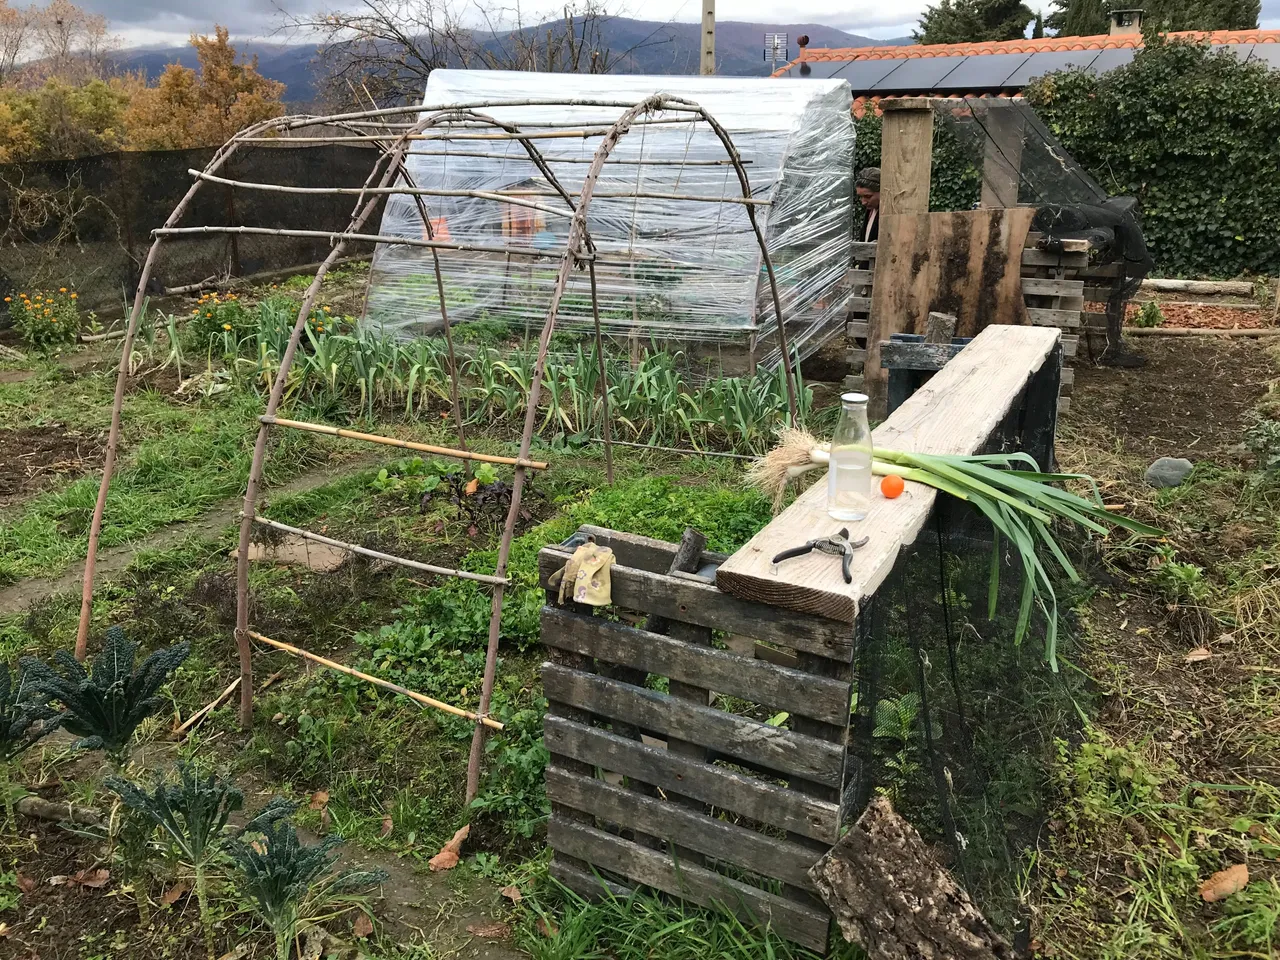
We still have a second structure seen here but it is too much in the shade at this time of year to be an effective greenhouse.
When we went back the following evening (after a night of heavy rain) everything looked fine and it was super warm & humid in there.
Which was very exciting for the little people!
So that's it I suppose.
One greenhouse good to go.
The wind will be the real test of course...
Final thoughts
If I could re-wind one year back to the point when this land was empty I would design it all differently, with electroculture techniques in mind. For one thing these shade/greenhouse structures would have been placed in alignment with north & south, permitting for magnetised steel cables to run under the earth, all the way through them, massively enhancing the growth of the plants there.
The whole garden would have been designed with sacred geometry in mind placing 51° cones at nodal points to create an energy grid, focusing plant growth on the lines between the nodes. Ideally one would seek a dowser to identify already existing energetic lines, incorporating them into their final design.
I have in fact ordered a bunch of electroculture equipment (couldn't help myself!) which will force me to re-design things to a certain extent, but I am happy at least to know that the greenhouse problem has been solved and we are now able to start seedlings early and make the most of the 2023 summer season which is going to be MEGA.
Love & Light everyone 🌱
