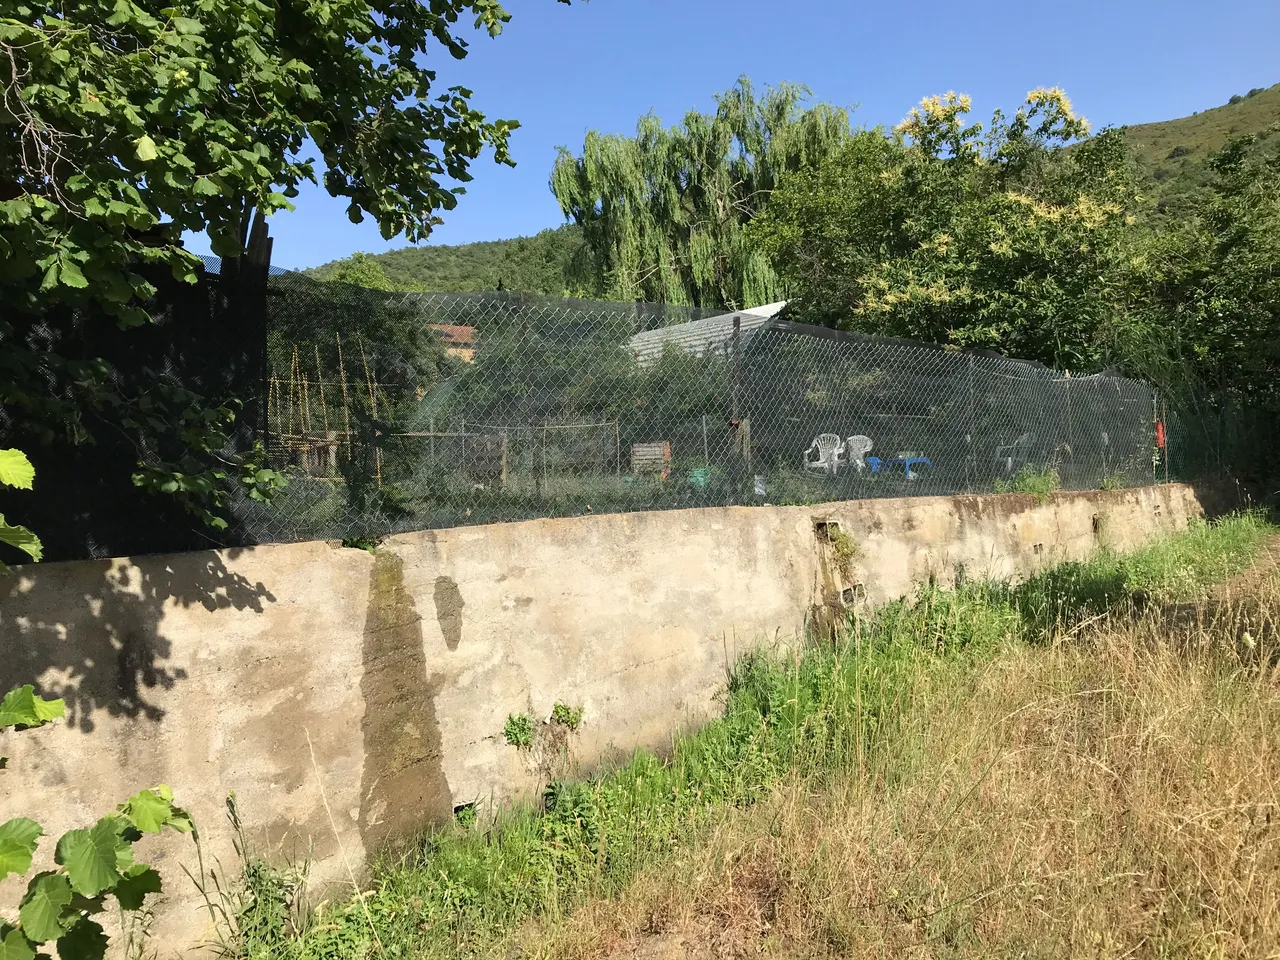
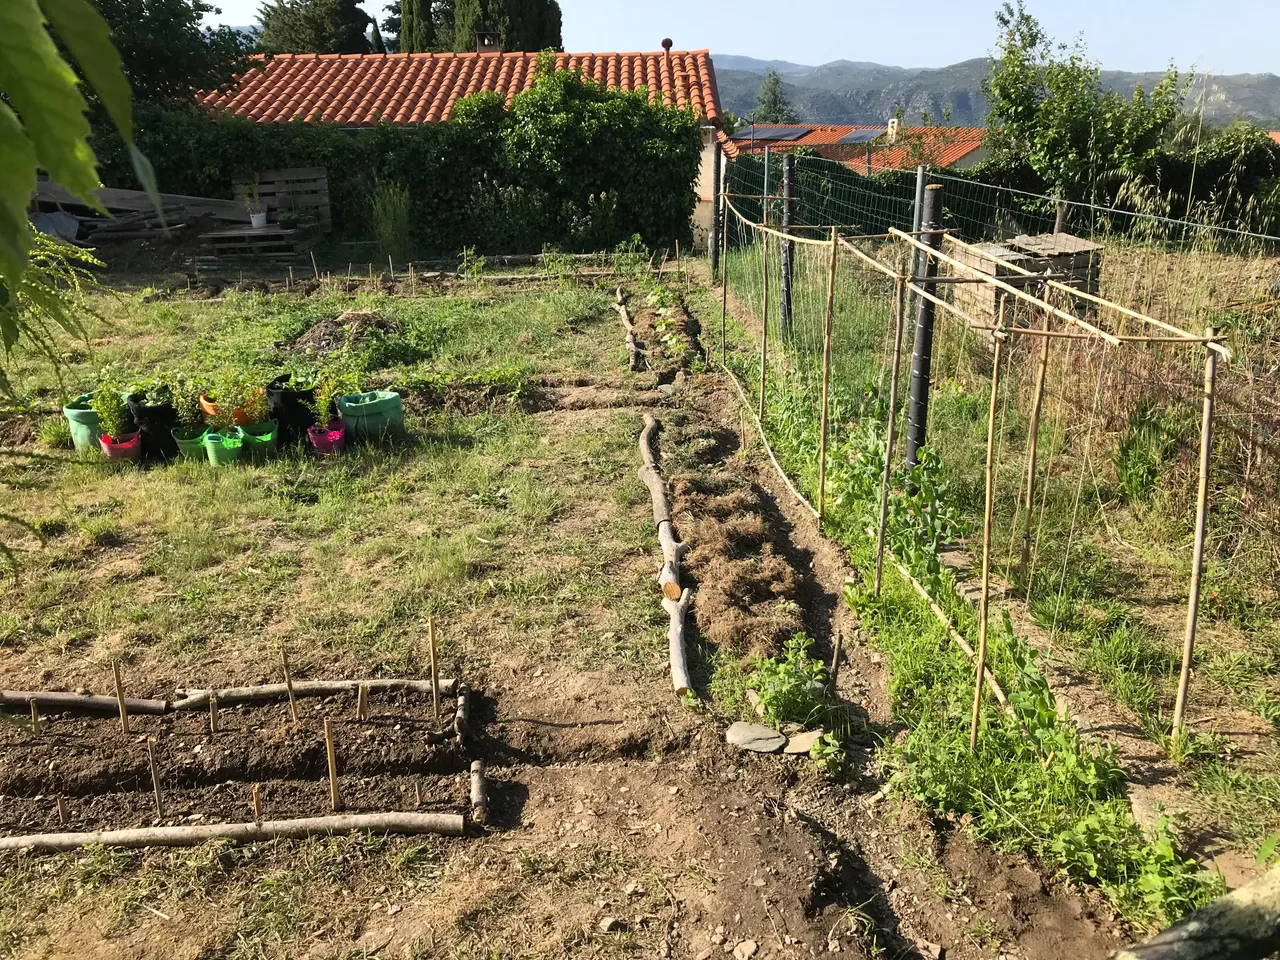
Our new garden has a great exposition receiving direct sunlight from sunrise to sunset but this is too much for many plants and they will not thrive as they should in the heat of the Summer here in the South of France where temperatures regularly push over 35°C at this time of year.
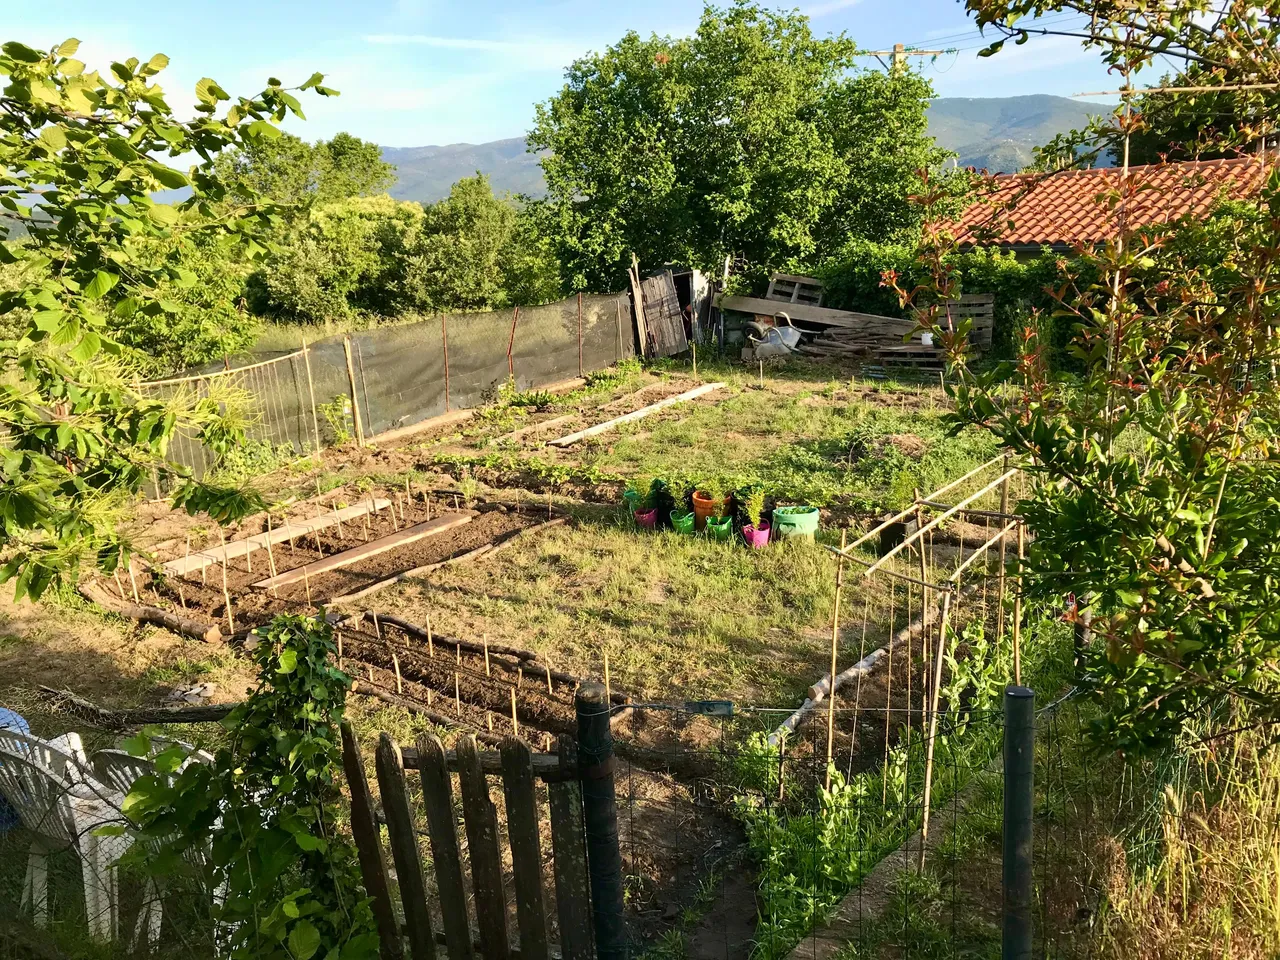
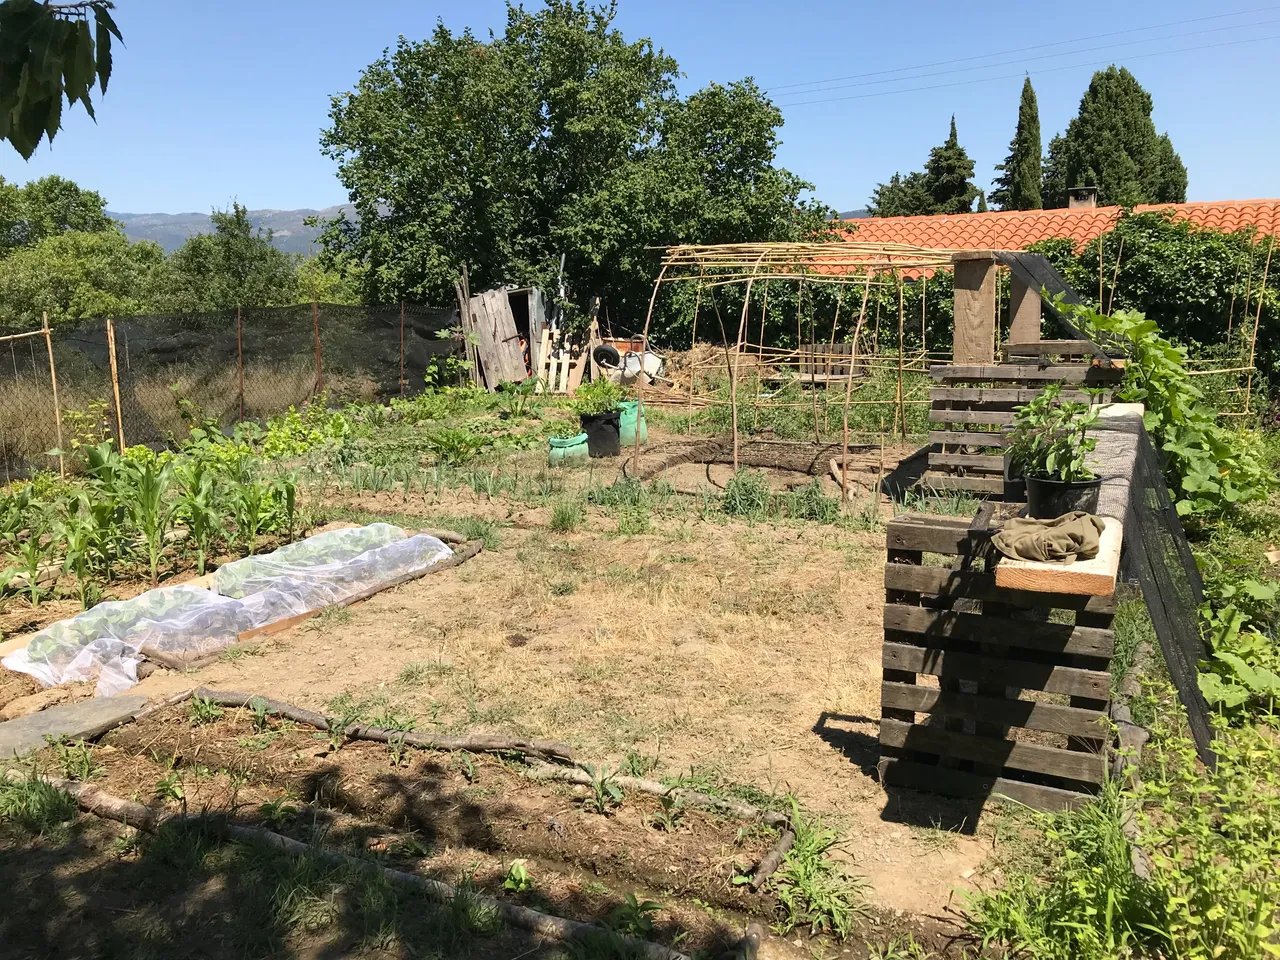
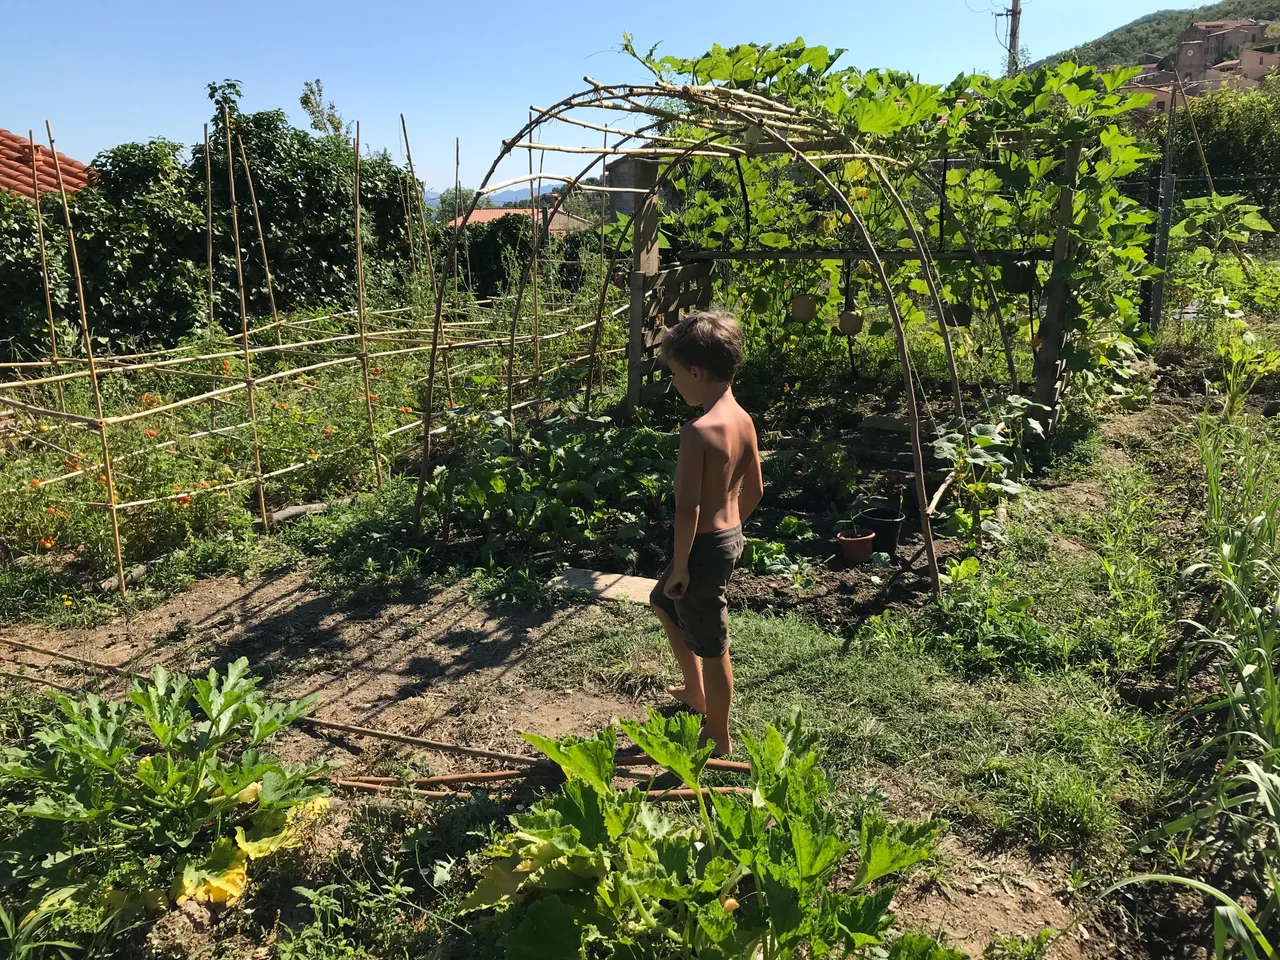
Determined to make the most of my new grow space (seen above at the beginning of May) I set about finding solutions, the first of which is a pretty obvious one: plant stuff which likes full sun! And so, the majority of this garden is dedicated to pumpkins, butternut squash, courgettes, cucumbers, melons & cucamelons which are all members of the same family known for its ability to tolerate this kind of sun intensity.
The second solution is rather more radical and a lot more work, but has the bonus effect of doubling the size of my grow space. I will tell you about that in a moment. First there is a little story.
Observation leads to new ideas
One year ago we planted a few pumpkin seeds in a car park on the other side of our ancient village, just for fun.
The plants excelled there, reaching lengths of over 10M, producing enough pumpkins for the entire village to help themselves. Which they did! Leaving very few for us in fact.
This was fine because what I gained from the experience was much more valuable. Despite google's assurances that the larger varieties of pumpkin can only grow up to 4.5M in length, producing a max of 1-2 pumpkins per plant, what I saw last year in that car park was so much more impressive.
With this in mind, an idea started to brew.
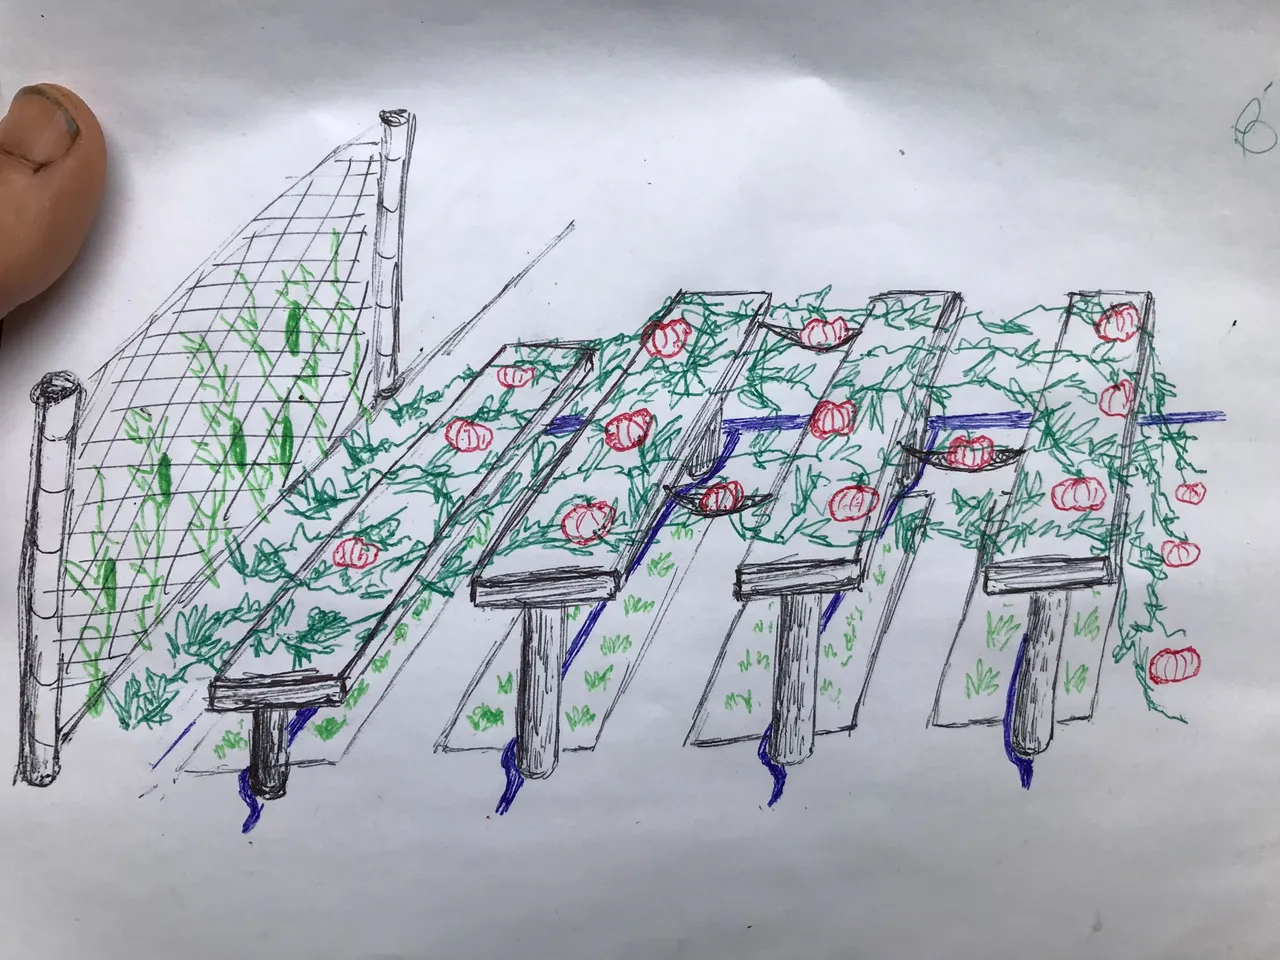
In the end it looked nothing like this but the principle remained the same. I would elevate them above the ground and use their incredible length to create shade for plants underneath them. The only downside I could see was amount of work involved in creating a structure strong enough to hold the weight of a large number of pumpkins. But I think those of you who have followed me for some time will know that I am not afraid of hard work. On the contrary, I thrive in these situations! Particularly when we are talking about something creative & functional, like the stone house.
And so, I invite you now to sit back and enjoy my photographic documentation of the construction process of a pumpkin house, which I also encourage you to try out for yourselves and improve upon. This is of course only my third year as a food producer and I have much to learn yet, so I am always open to your input.
The watering system
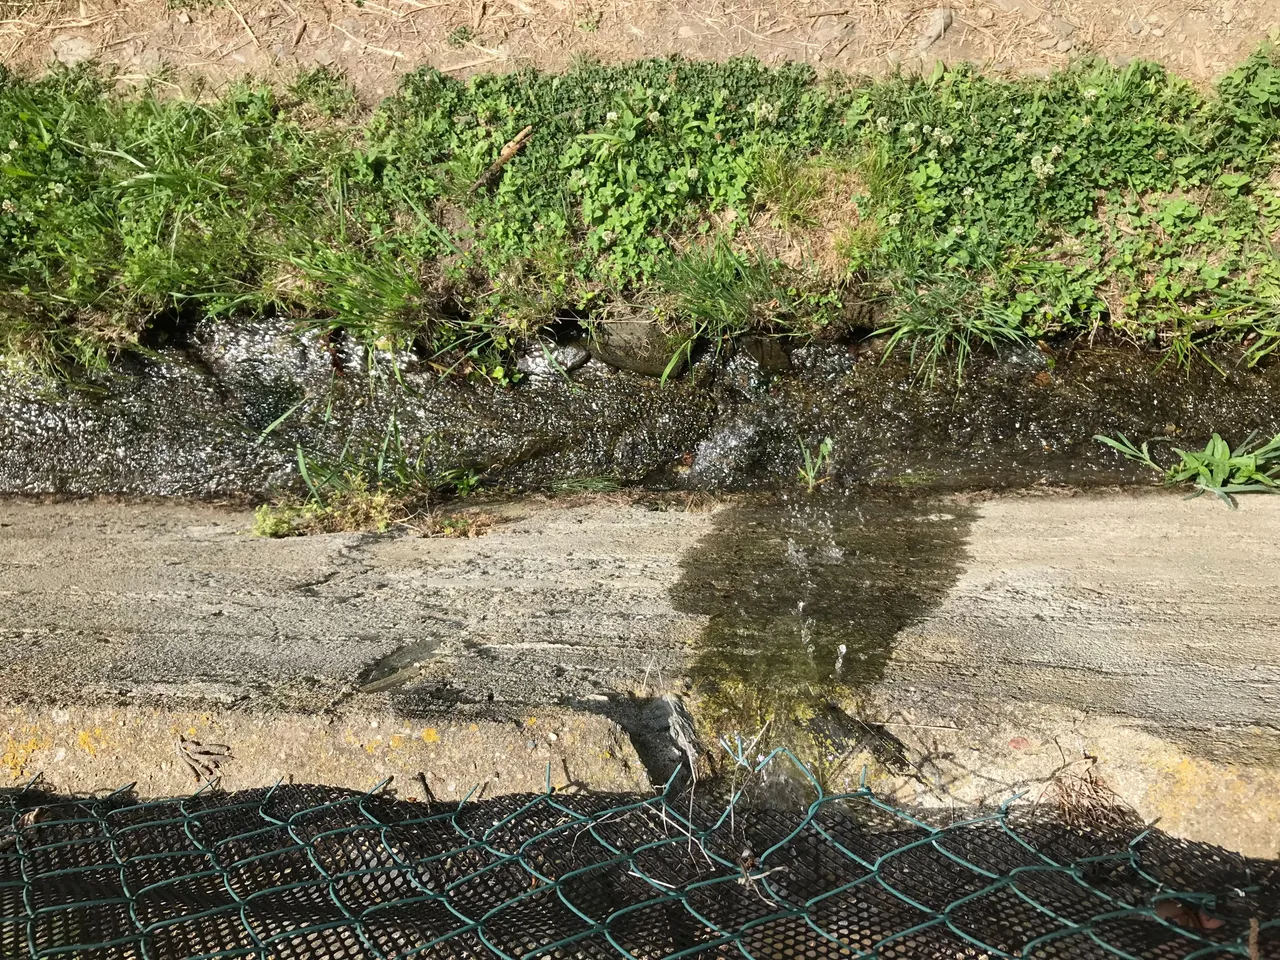
One essential component of a successful full sun garden is an effective watering system and thankfully this land has a canal which runs along side it, so all I have to do is lift that piece of metal up...
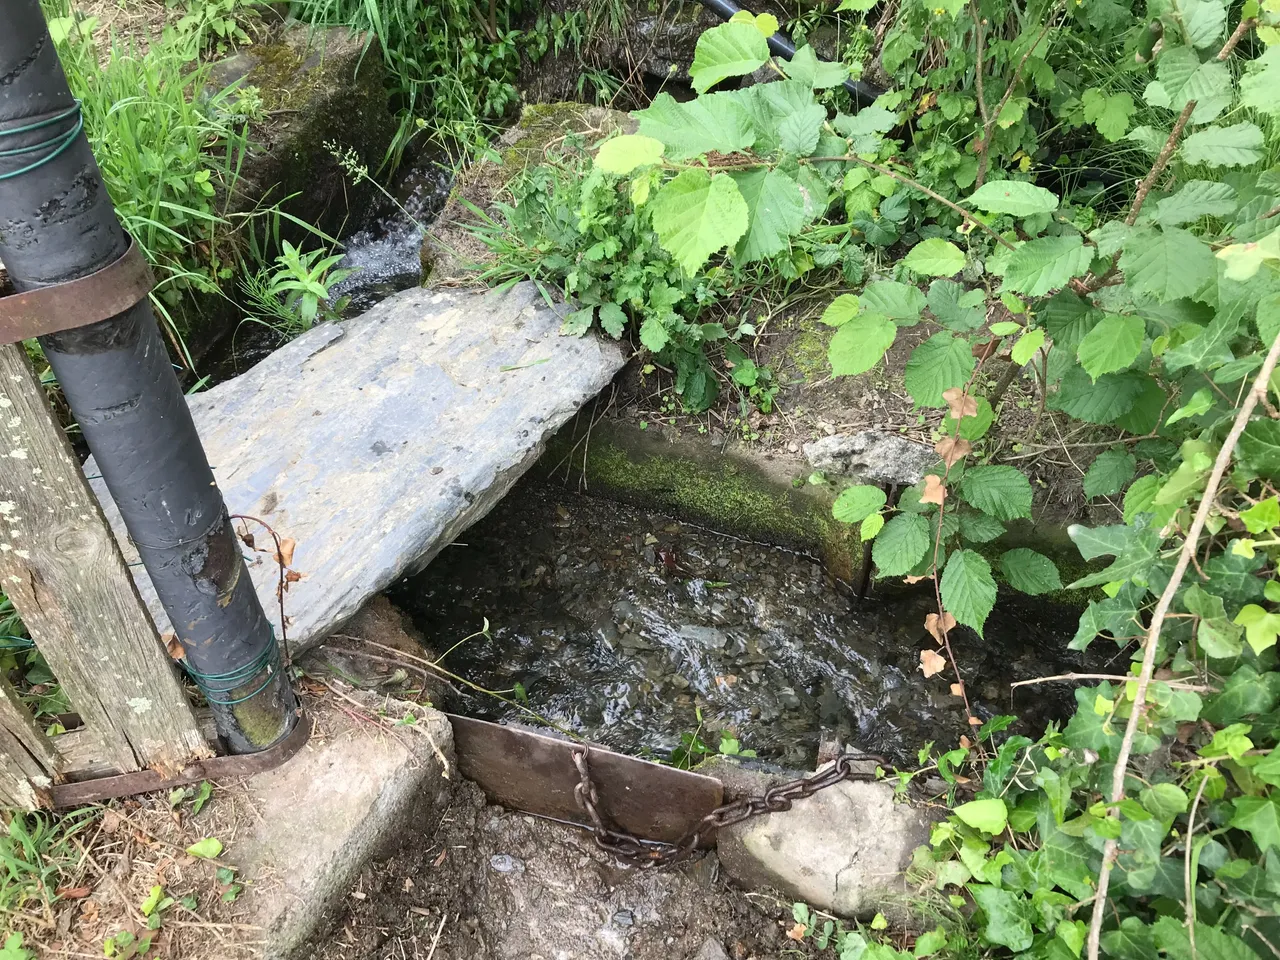
...and the water flows into the garden.
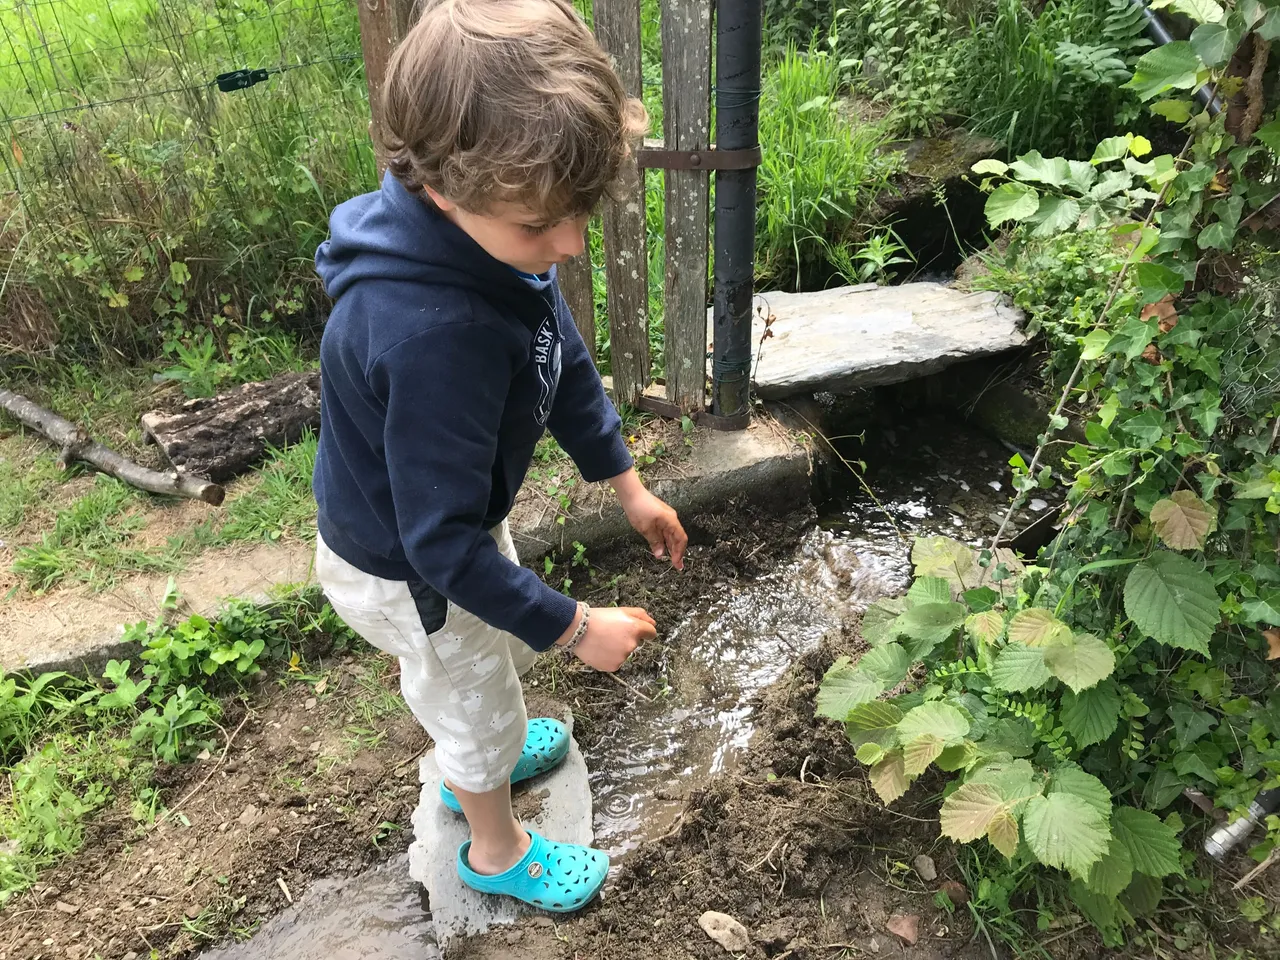
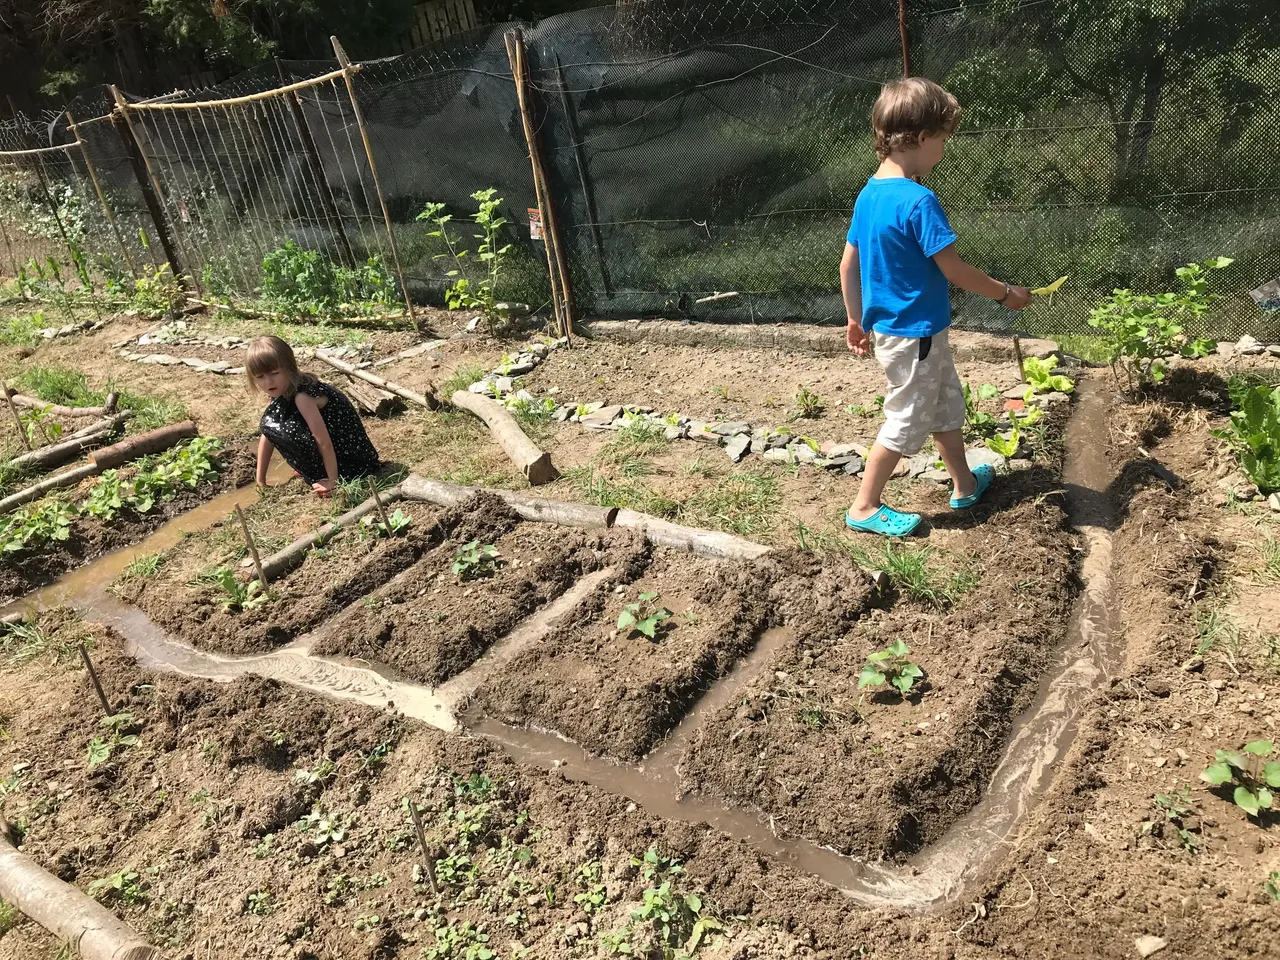
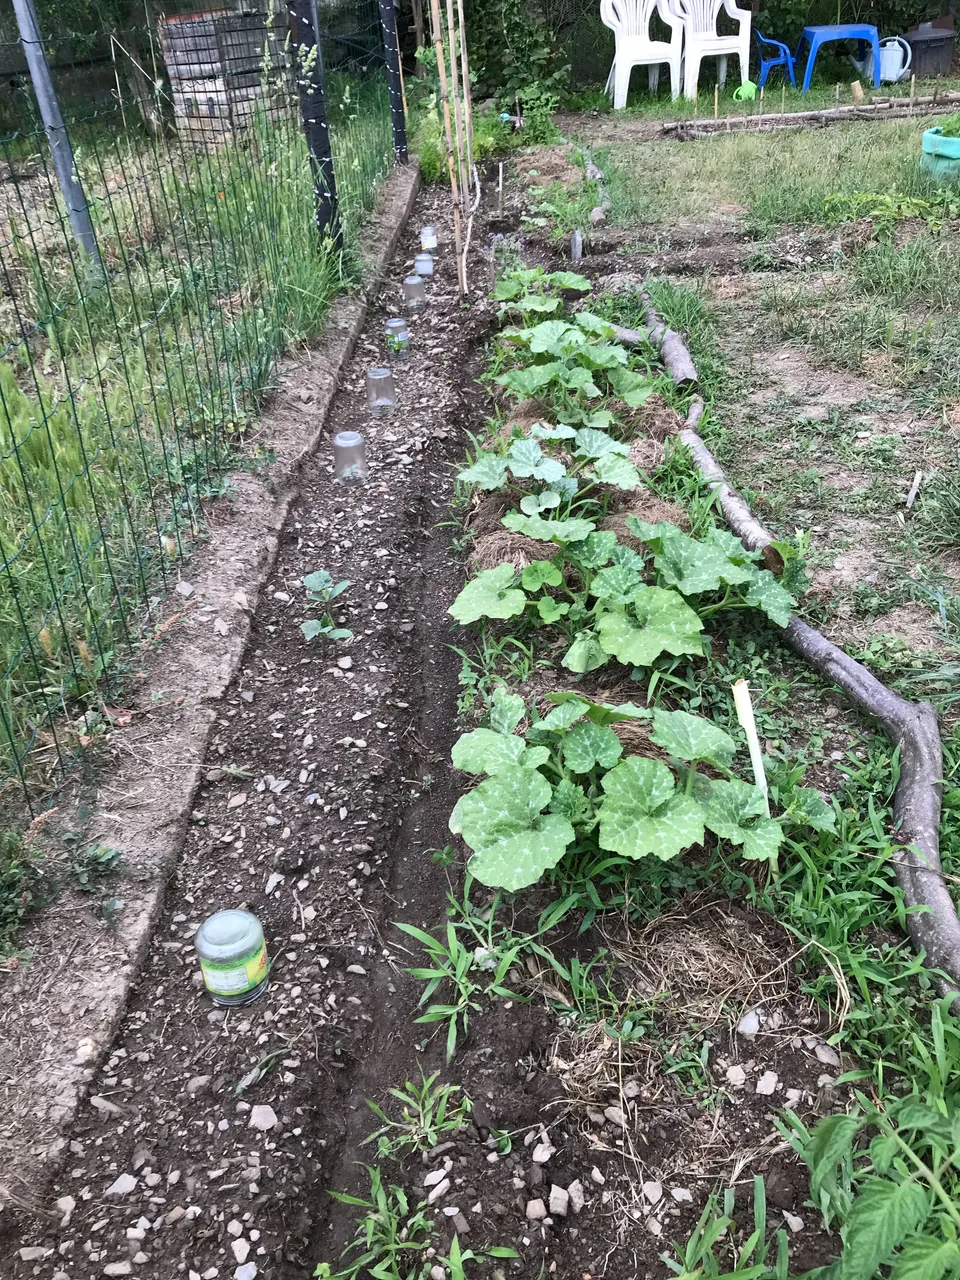
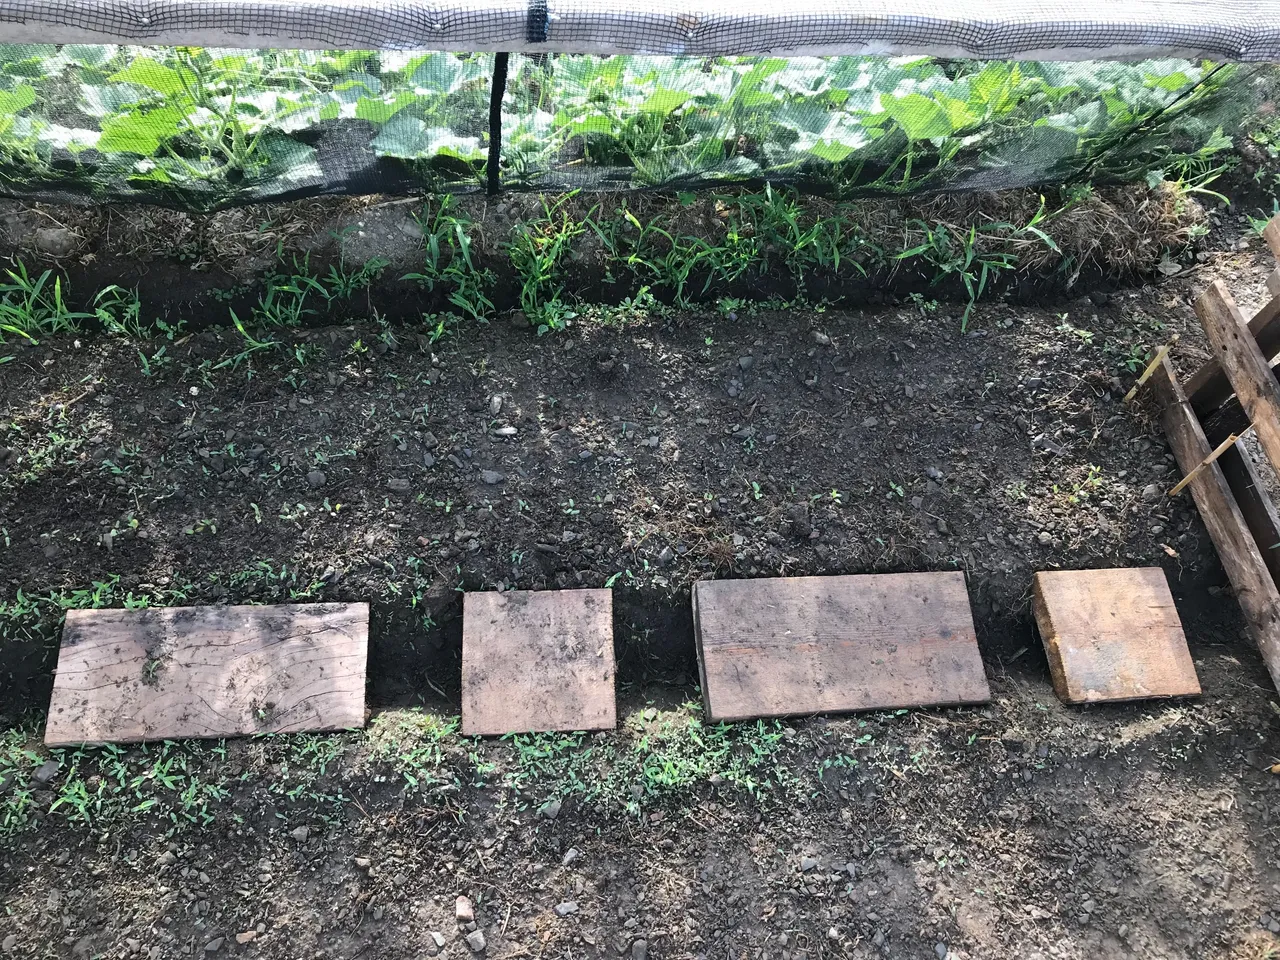
It was a lot of fun planning & digging these channels! Sweet potatoes seen here each with their own block.
Whoever designed this land did so with this basic watering system in mind because there is a slight gradient to it, permitting the water to run from one side to the other.
Once it has completed its journey, the water exits at two specific spots where the concrete permits and is returned to the canal beneath.
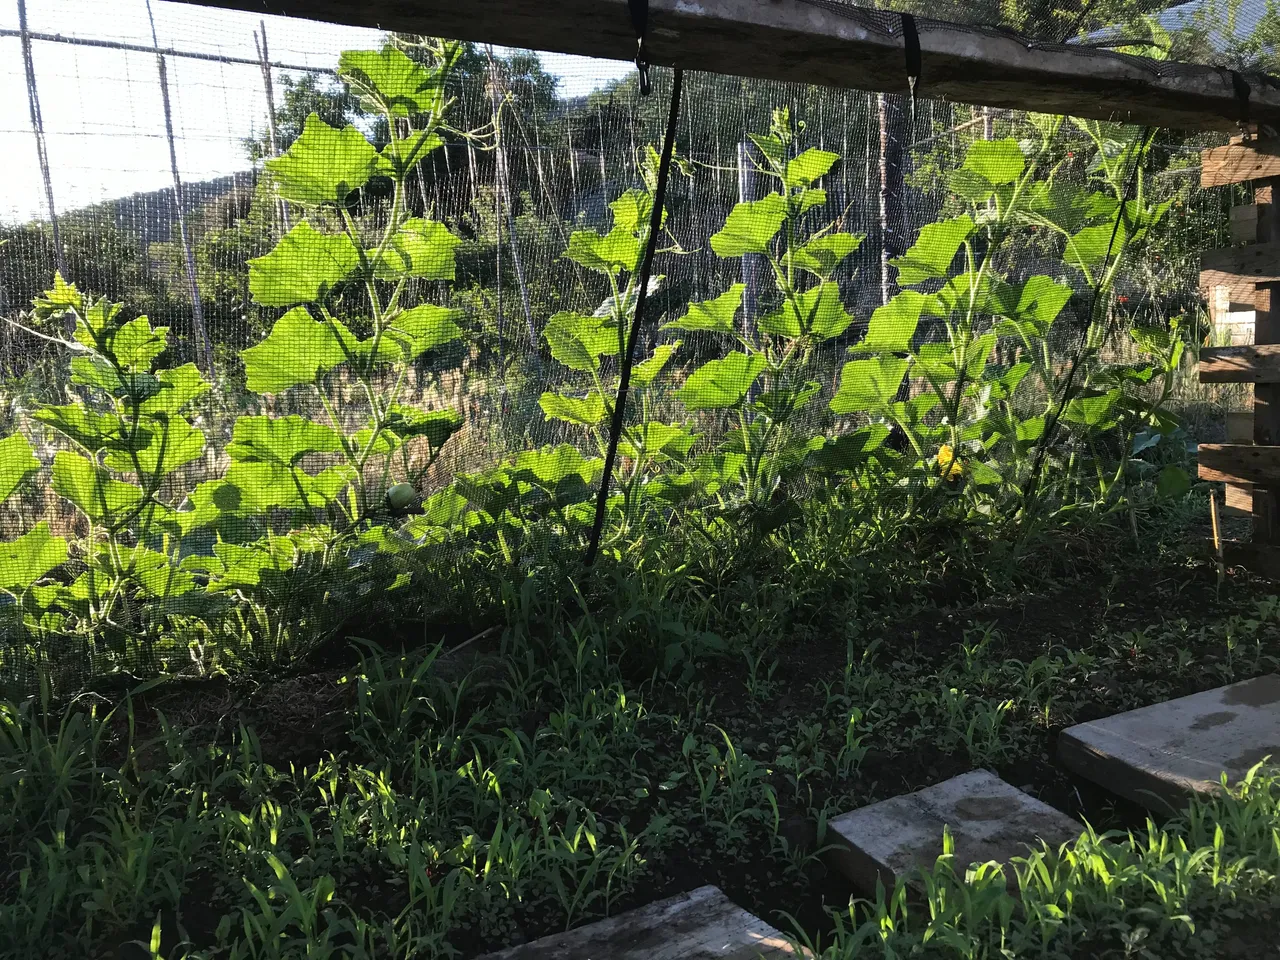
Getting back to the pumpkins, here you can see seven of them growing happily along side their watering channel.
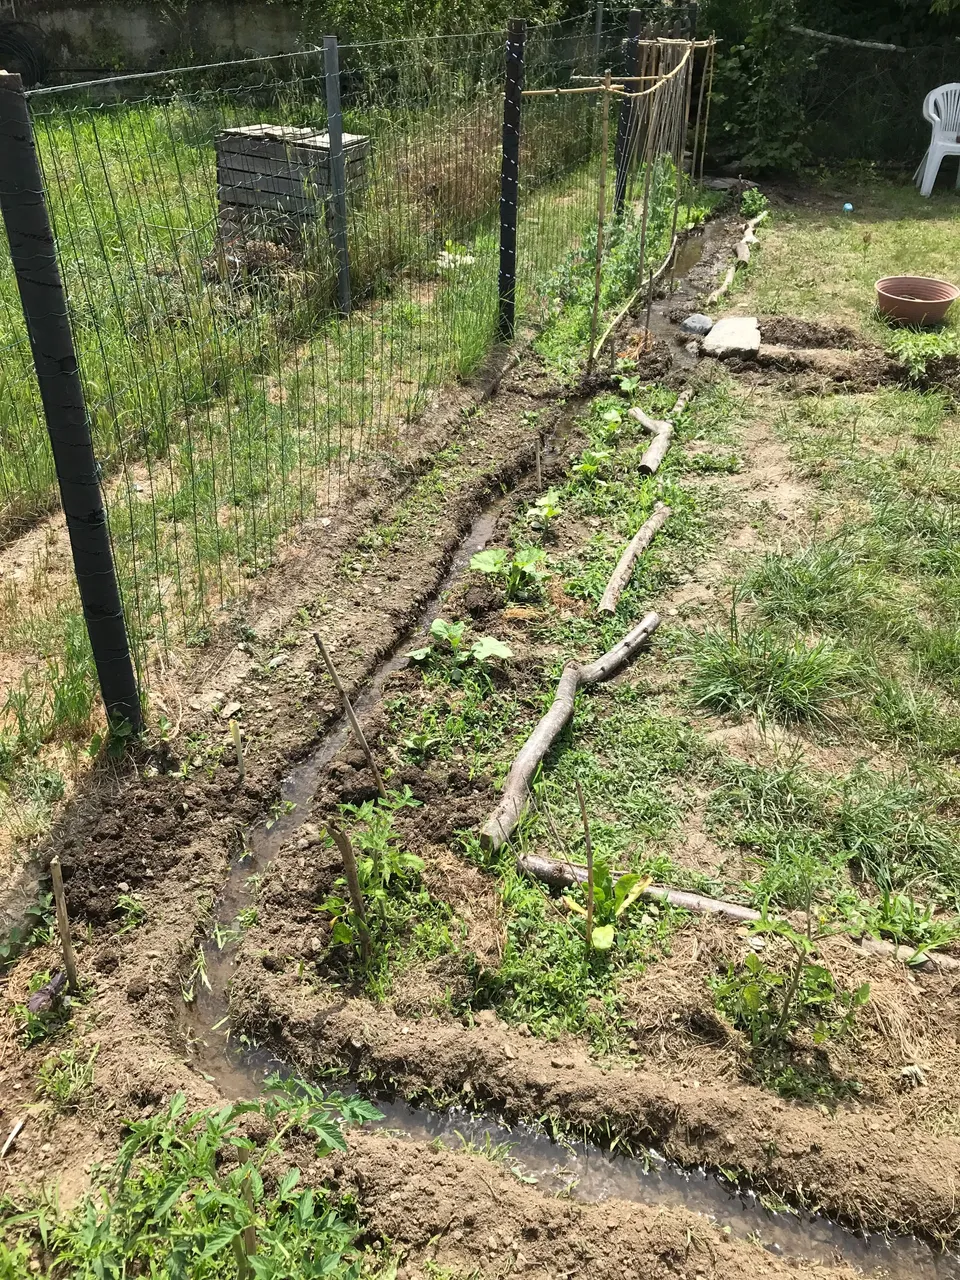
All that space to the right of the shot I intend to fill with other plants, under the shade of the pumpkin leaves.
Pumpkin house & butternut house
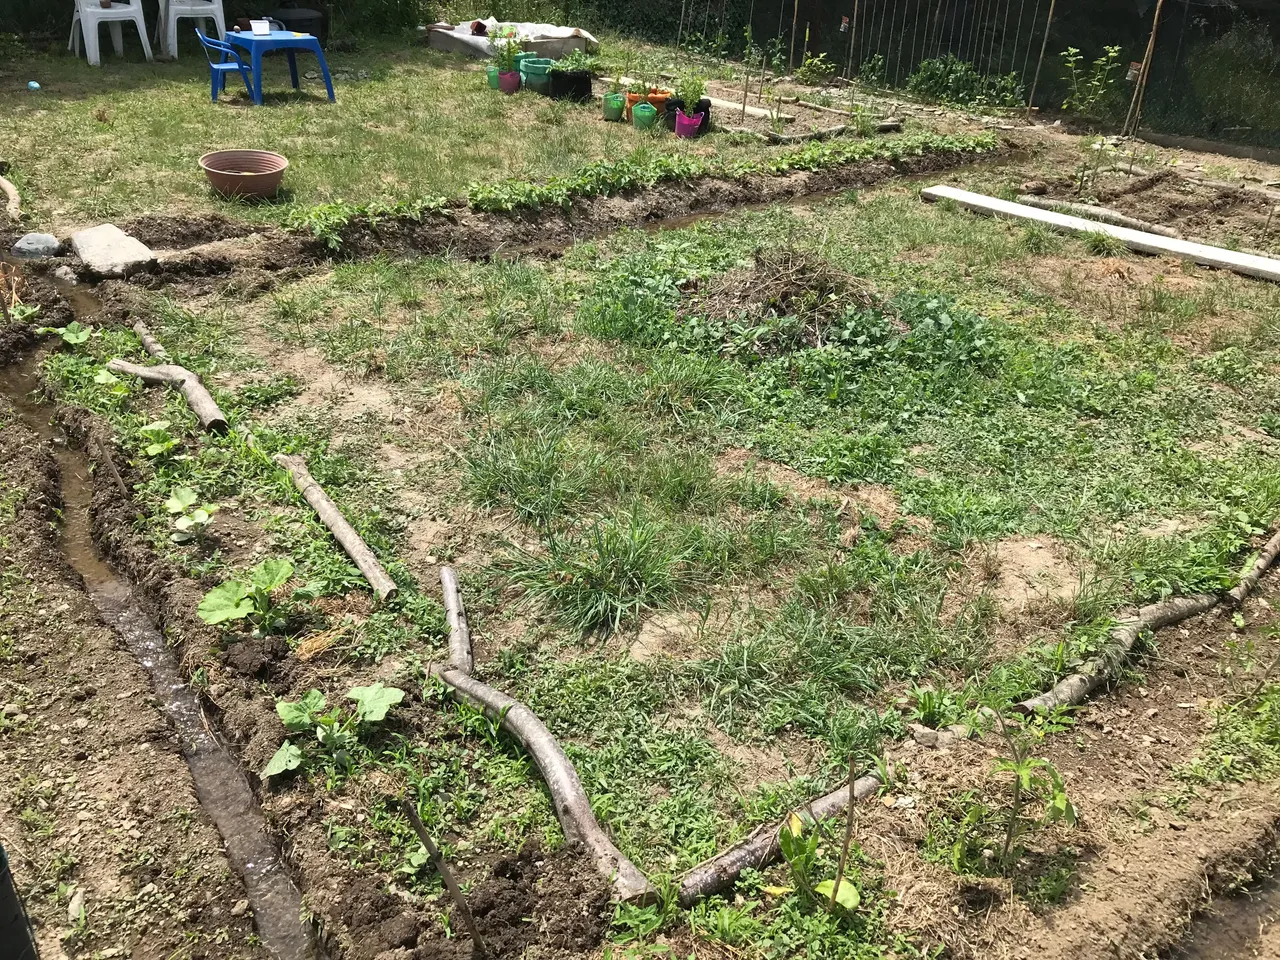
So, on one side I have seven pumpkins and on the other I have seven (currently very small) butternut squash which will ultimately need a little house of their own.
But first I must create one for the pumpkins which are faster to get started.
For your information the jam jars on the left are covering small cucumber plants to save them from getting eaten by slugs!
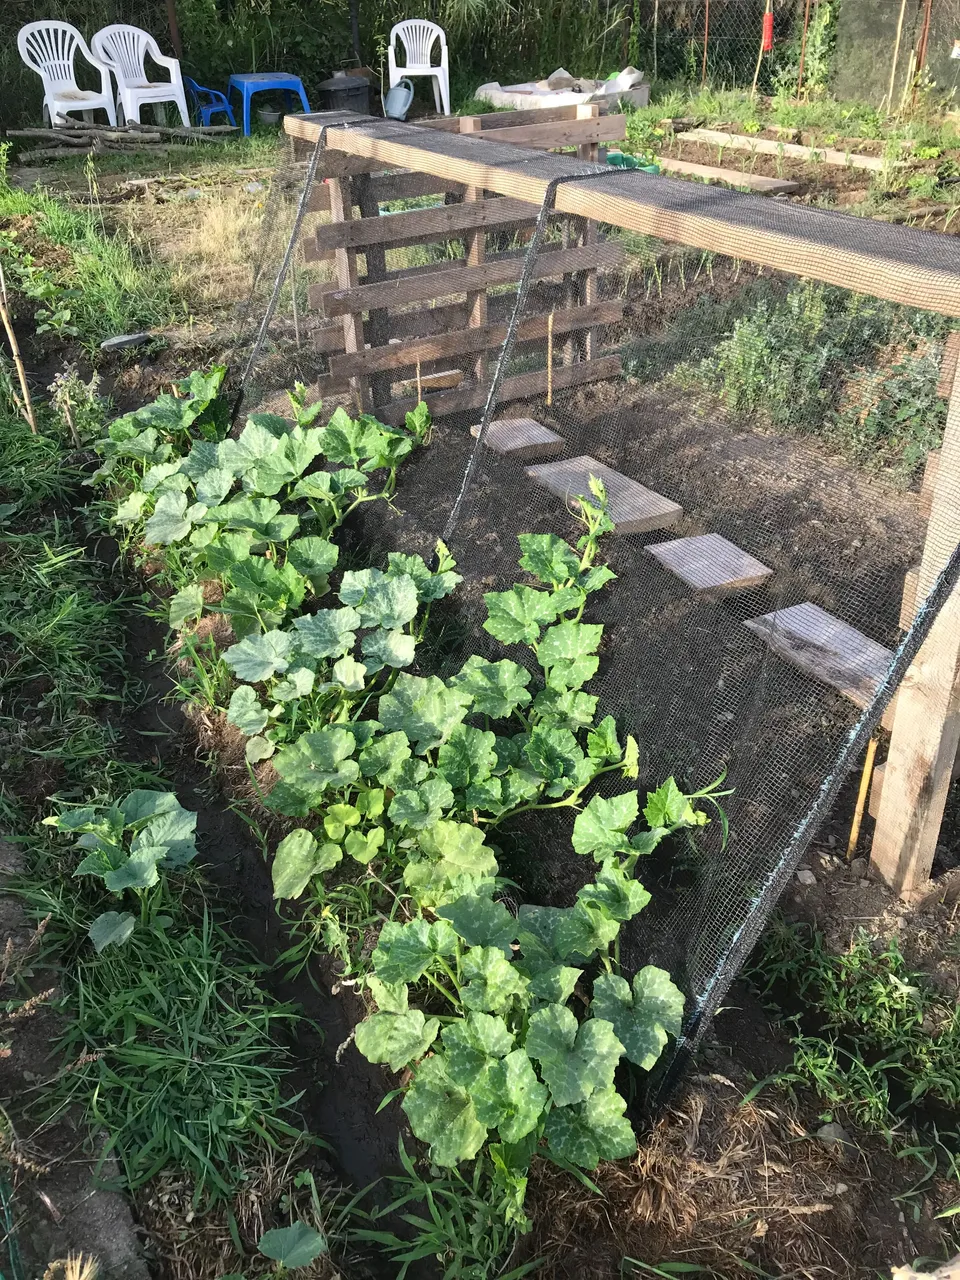
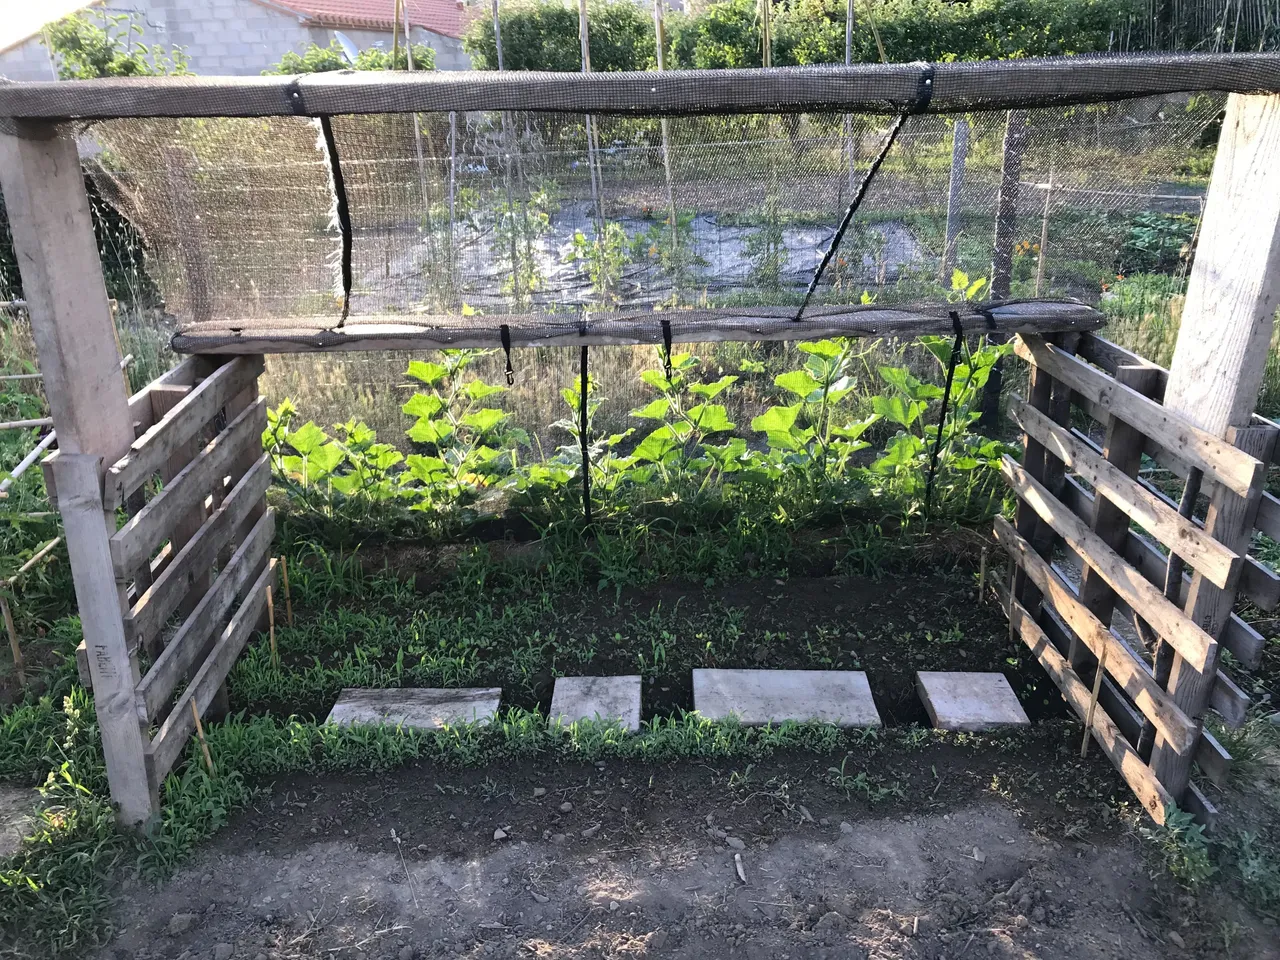
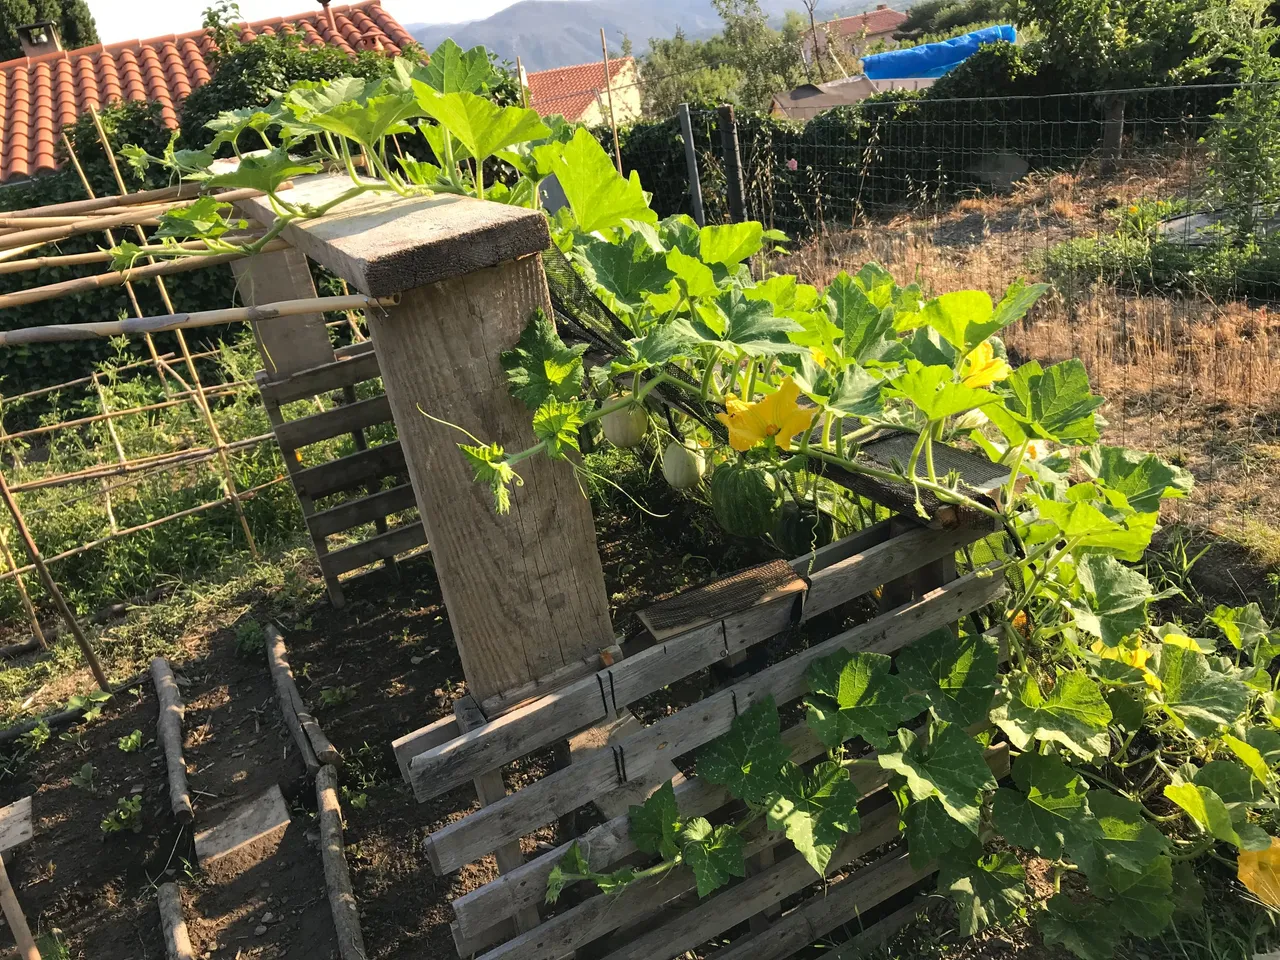
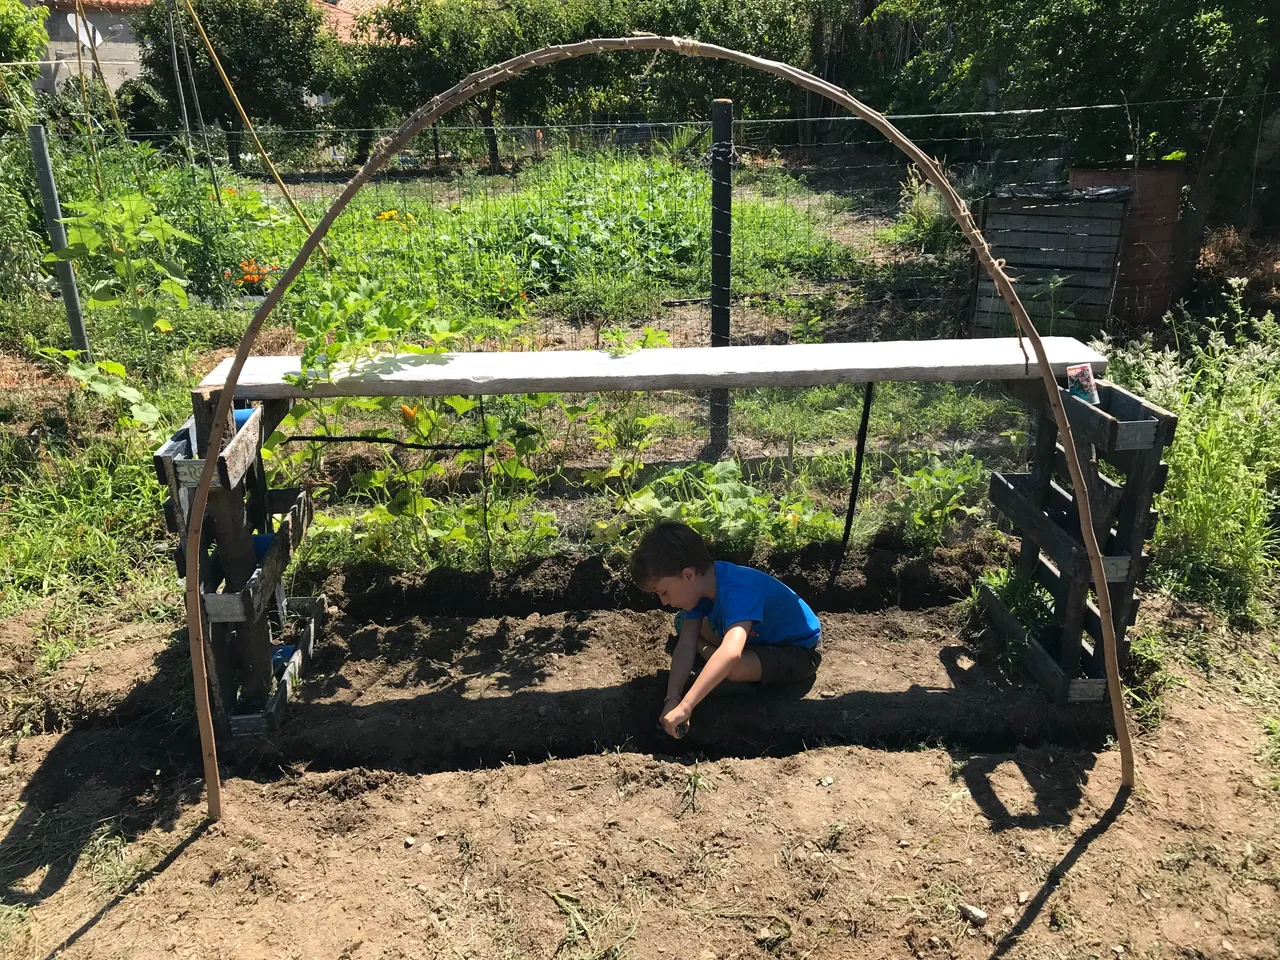
Getting started now with the pumpkin house area first I prepared the bed & watering channels beneath.
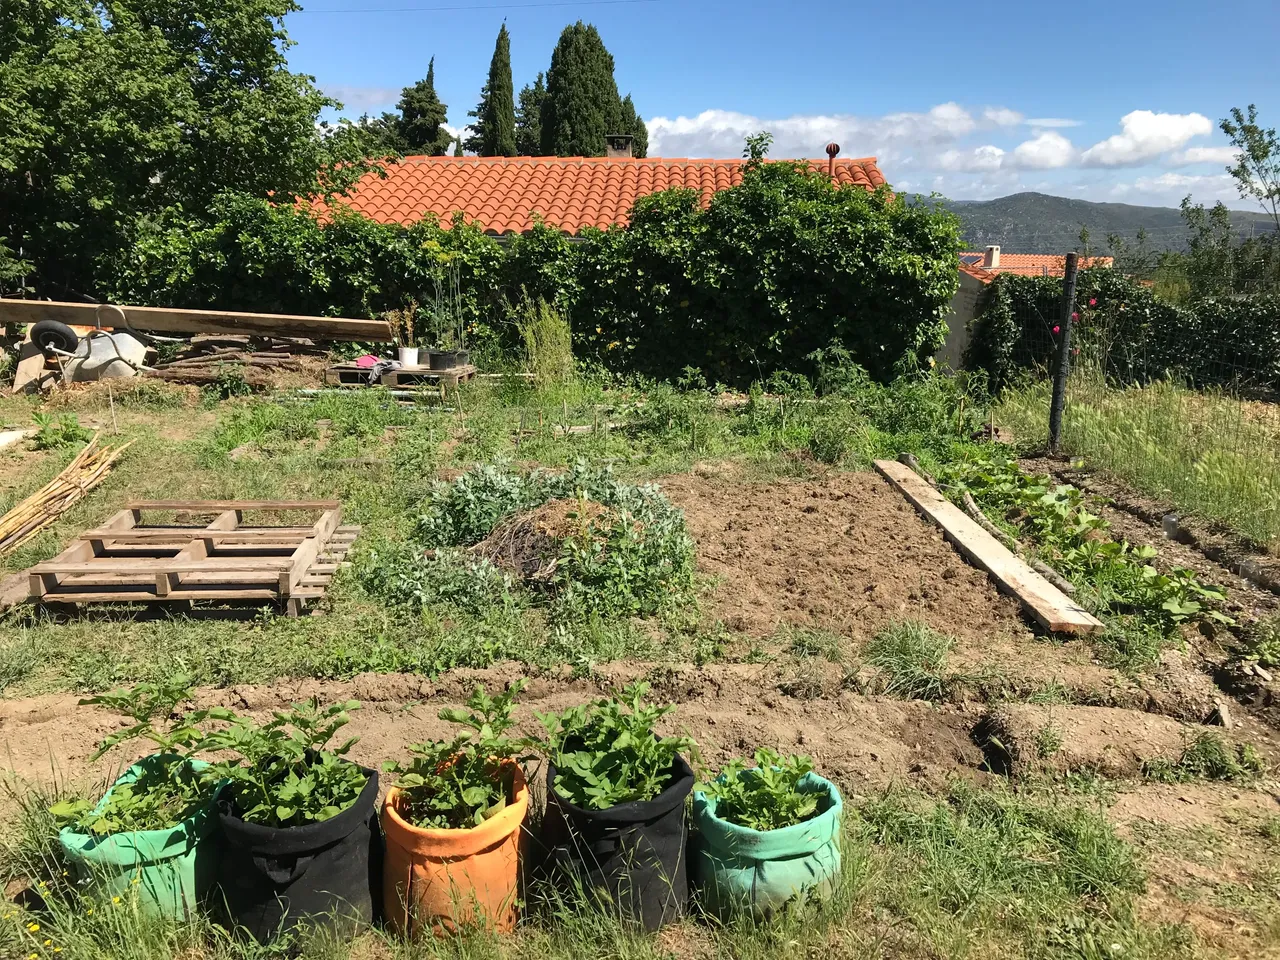
There were some pallets on the land so I used these as the base of my structure, each one held in place by two logs dug deep into the ground.

This garden also came with a bunch of these wooden planks which have been incredibly helpful as walkways over the watering channels. And now for this.
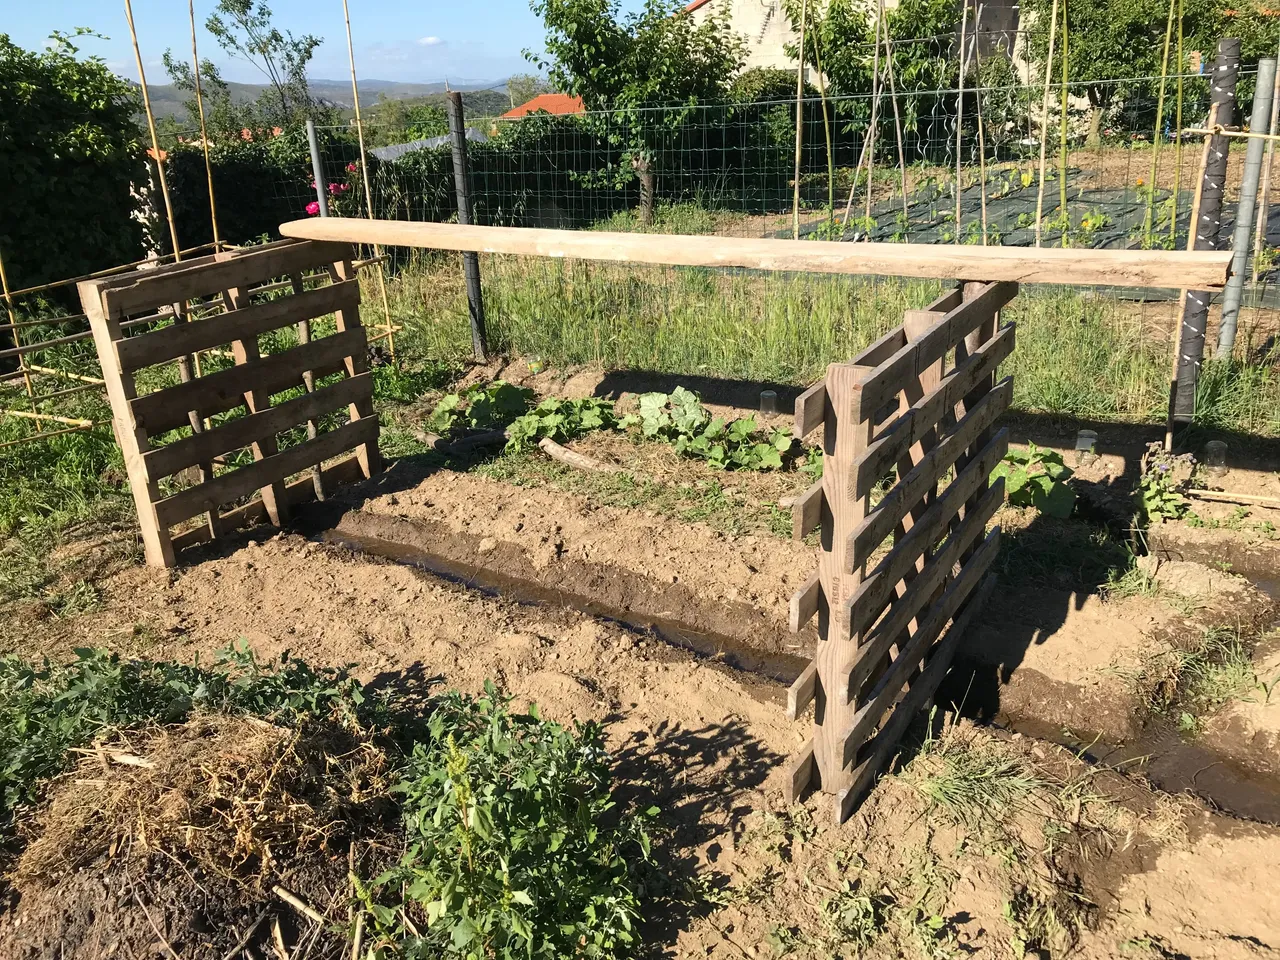
I used the safety net from our trampoline as the material required to get the pumpkins off the ground, up onto the top of the pallets.
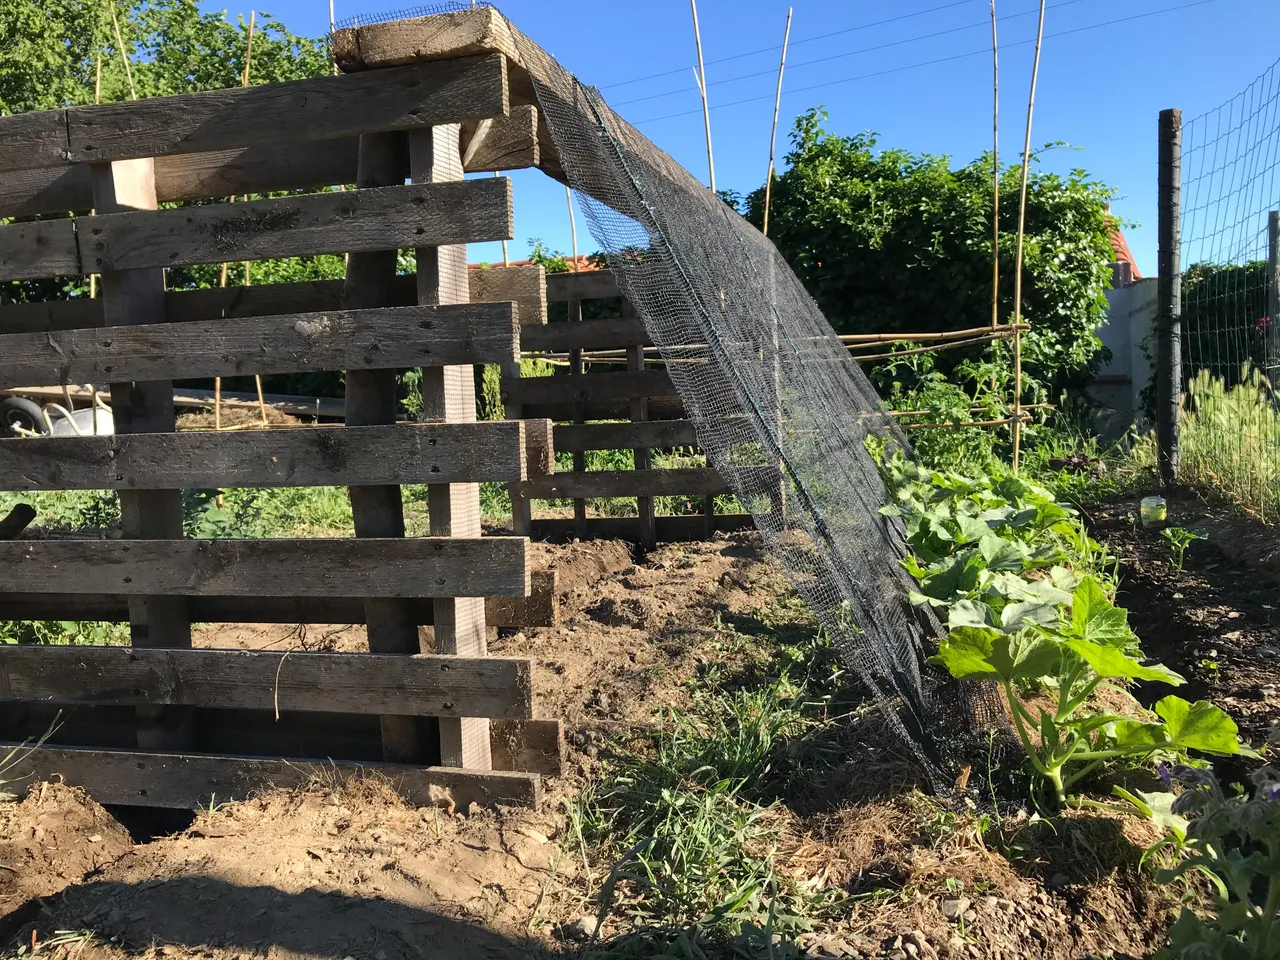
And I must say, it couldn't be more perfect for this purpose!
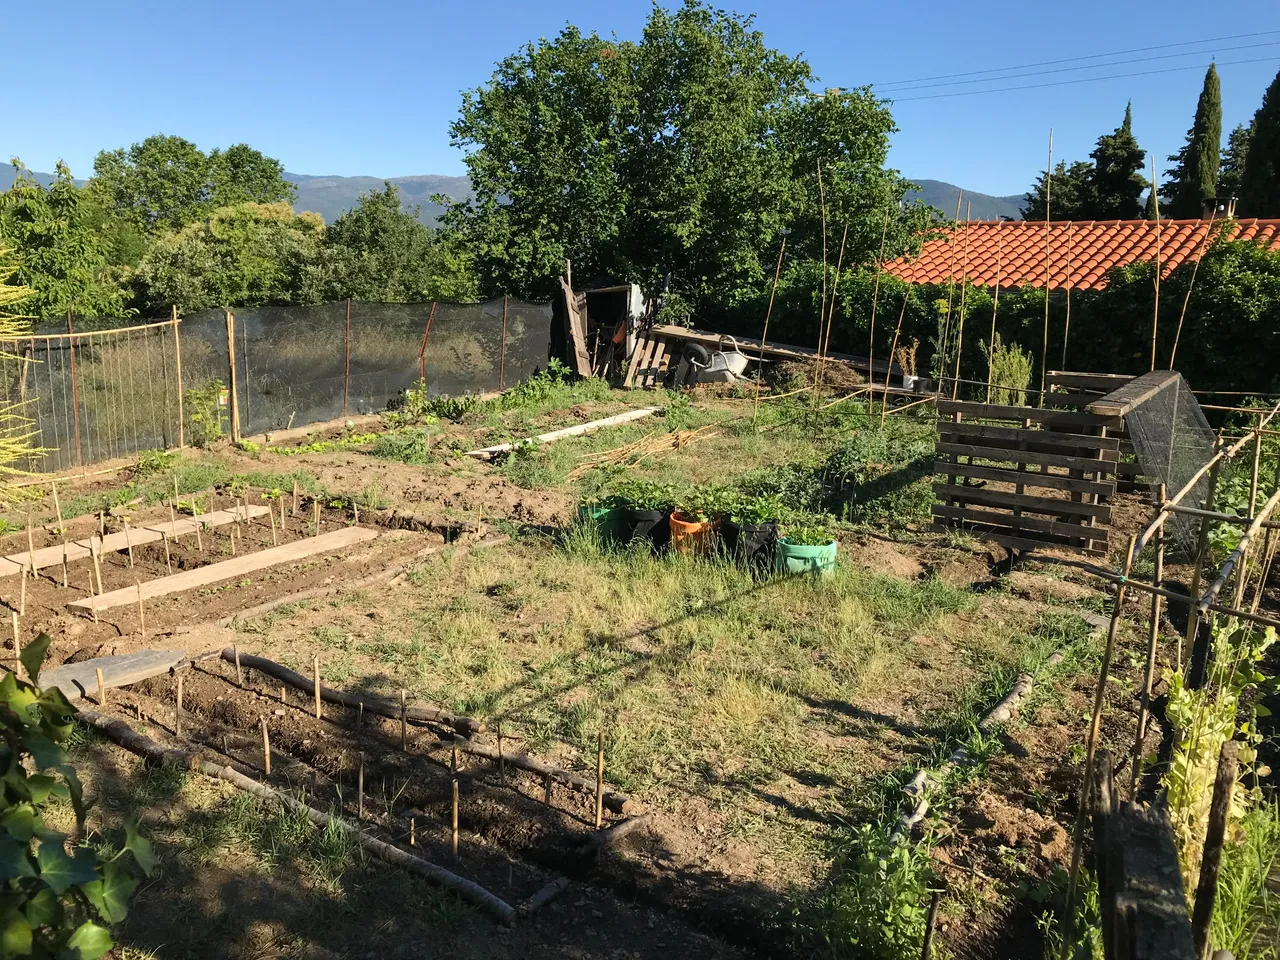
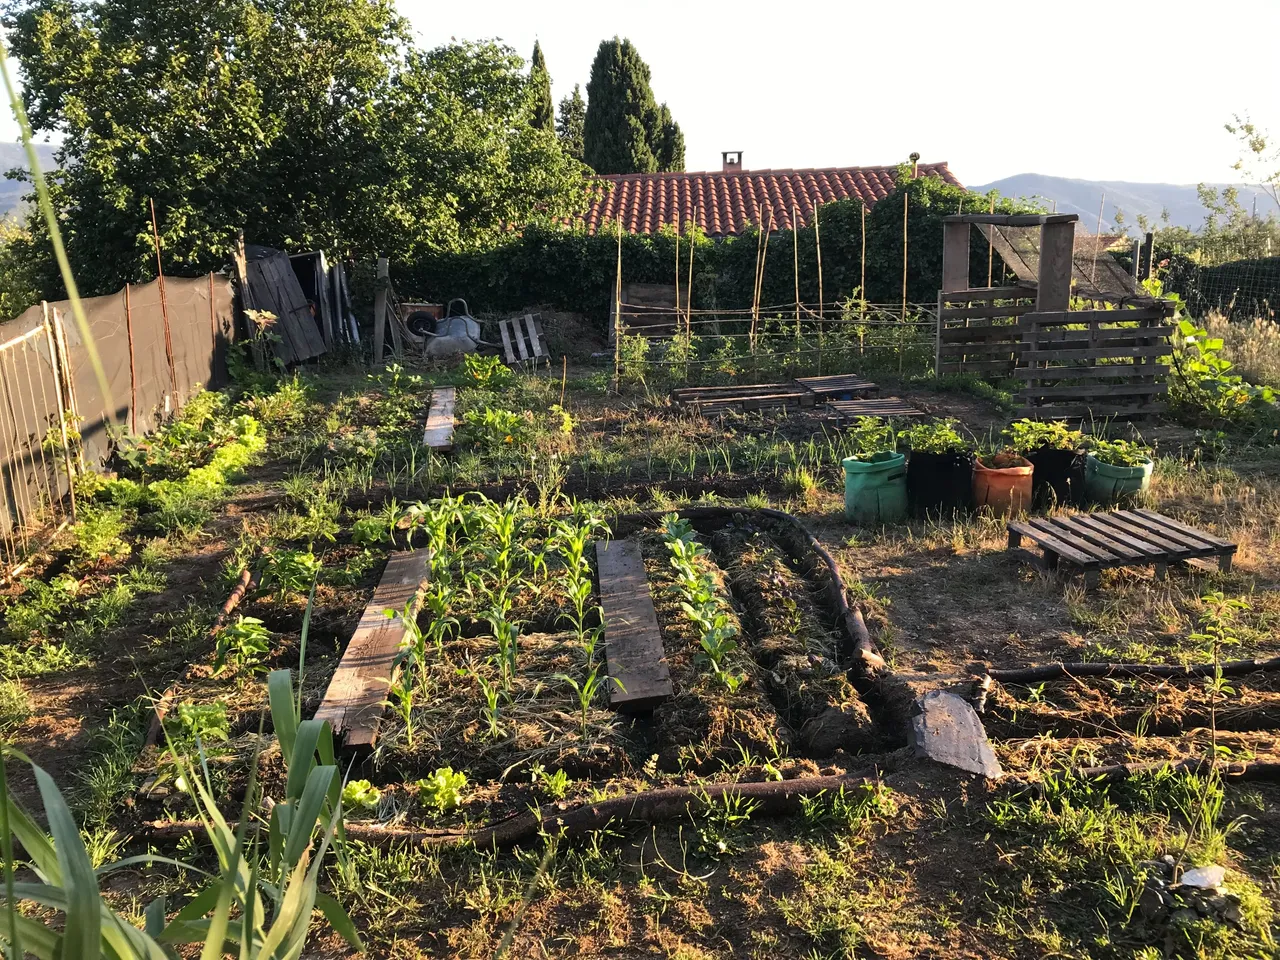
Stepping back you can see the rest of the garden taking shape at the same time, leaving those two large areas for my constructions.
The pieces of wood over the watering channels are essential in this situation, permitting me to kneel close to the action and get my fingers into the mud ;)

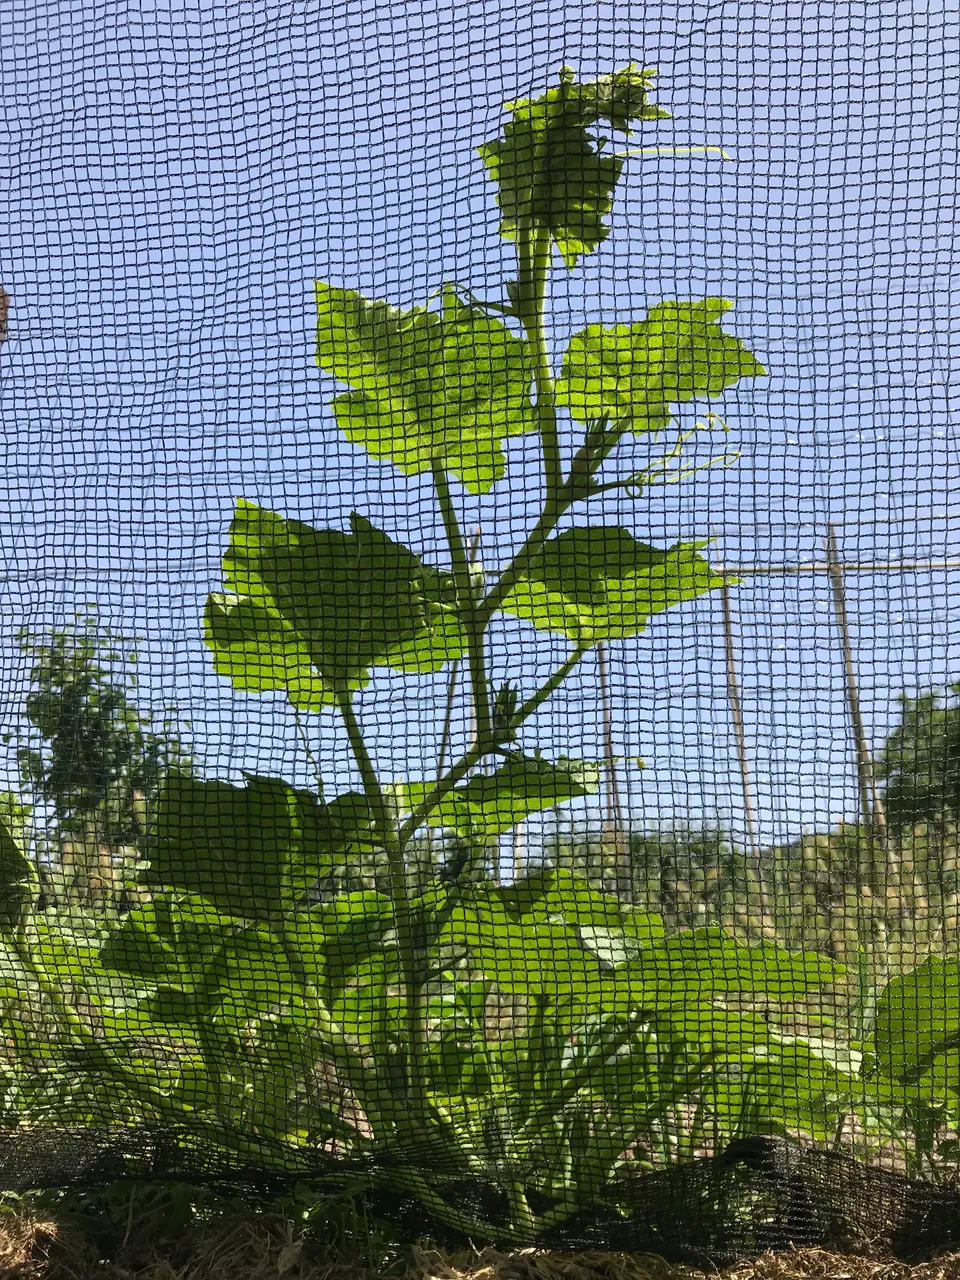
Love the way the pumpkins look from this side, so strong and green.
There is already a decent bit of shade now.
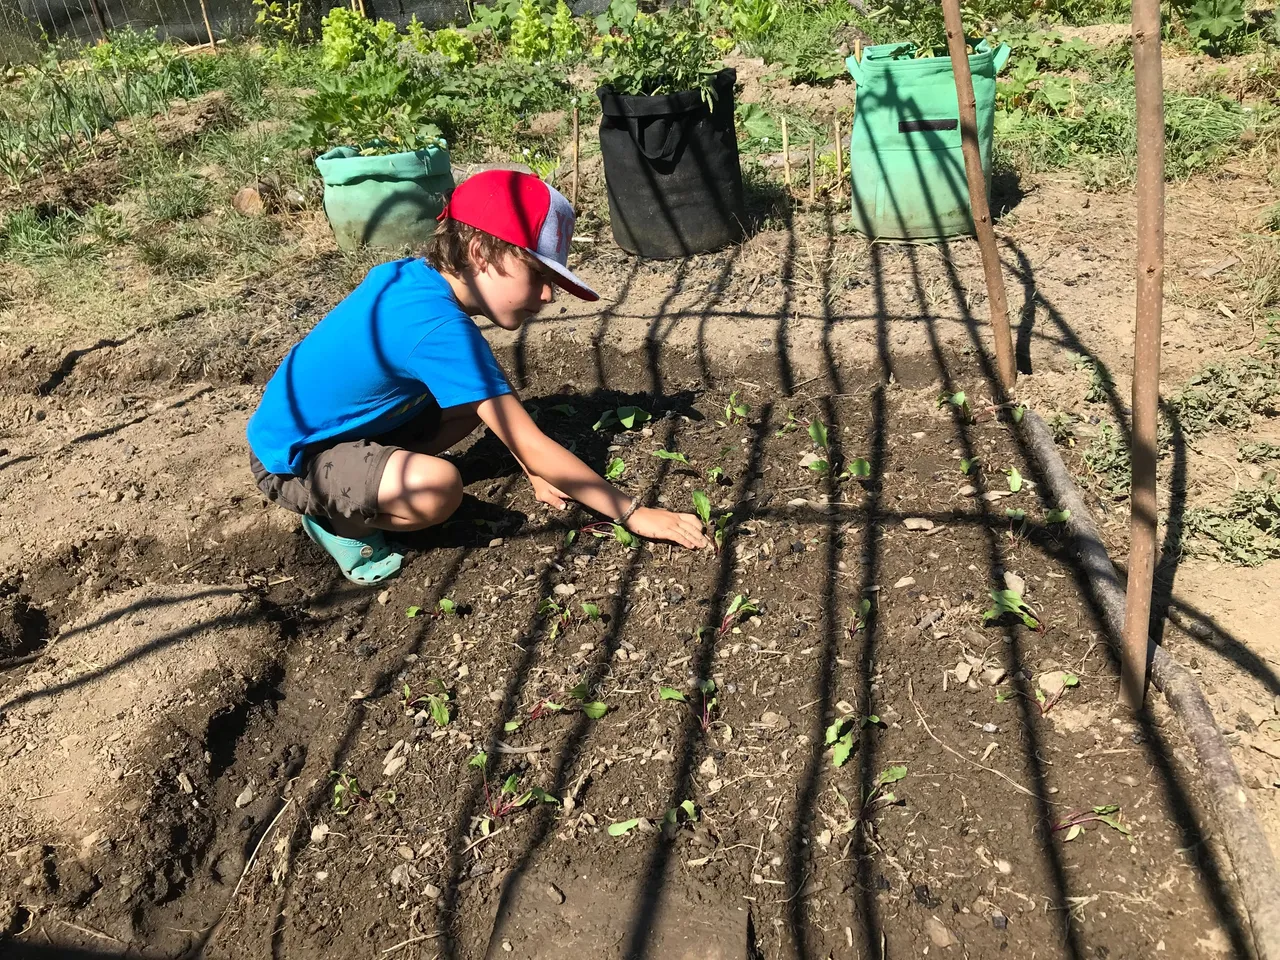
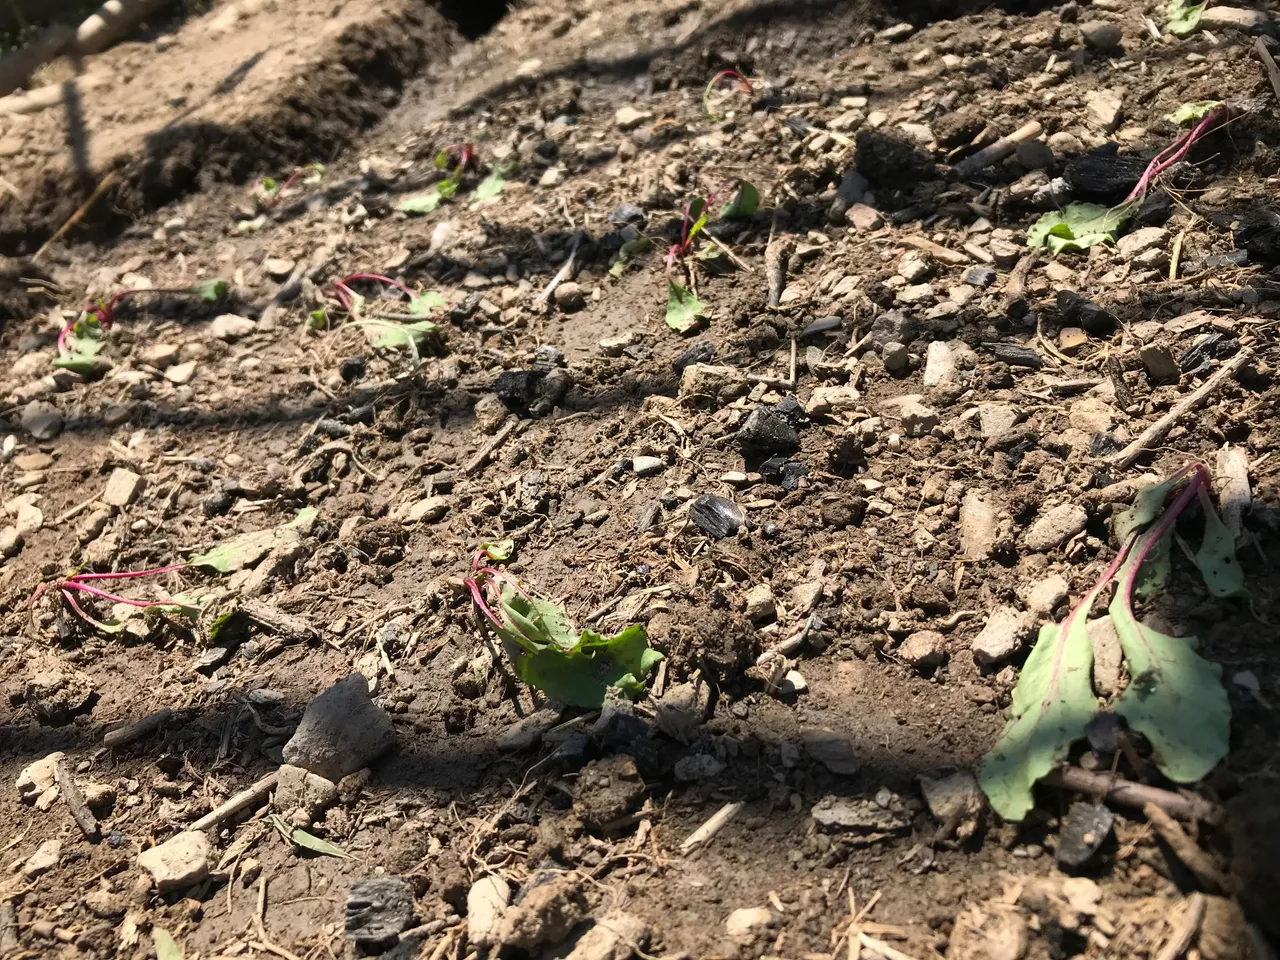
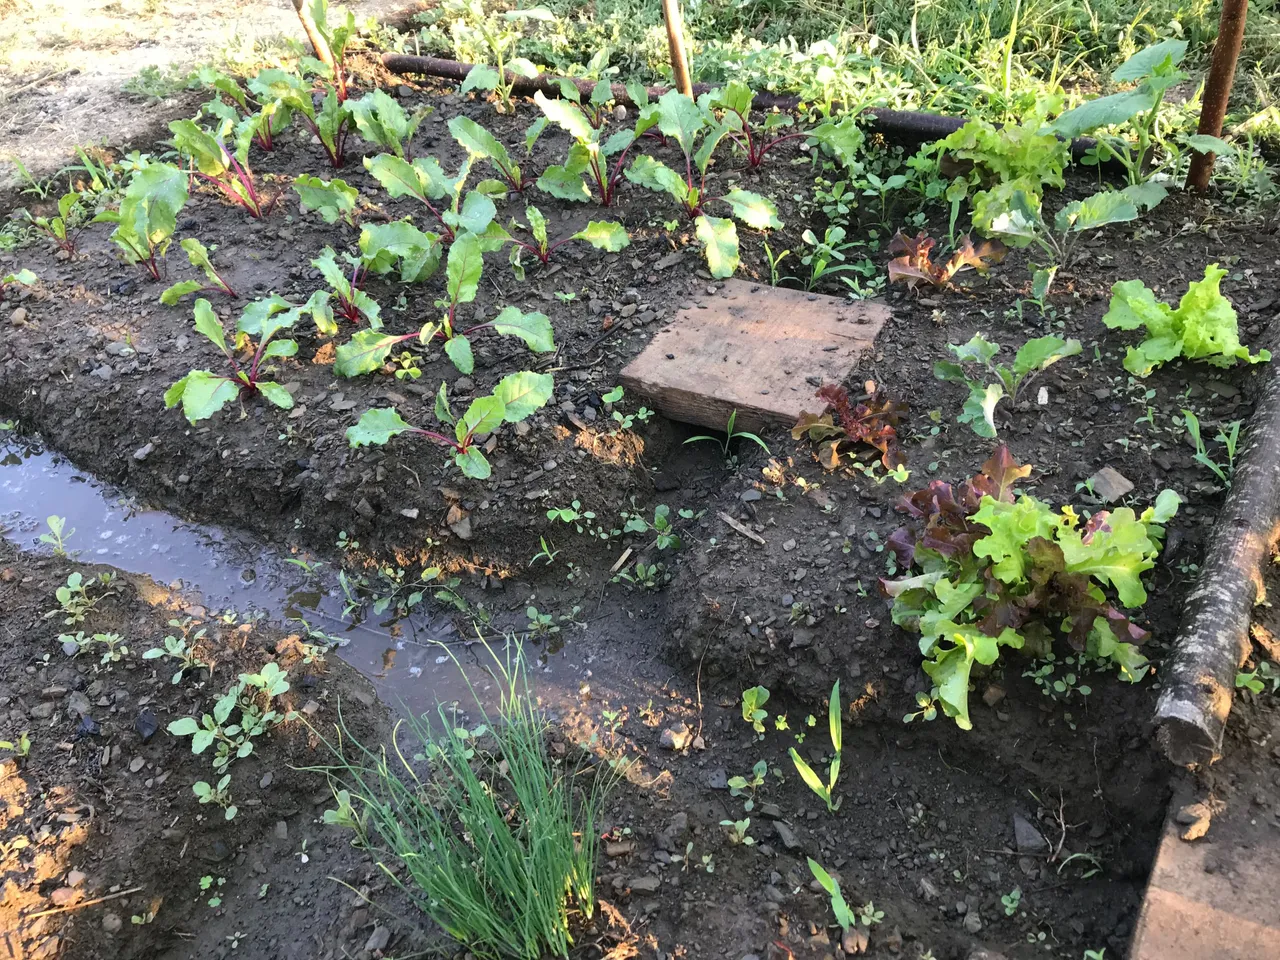
Enough for me to plant 76 beetroot babies.
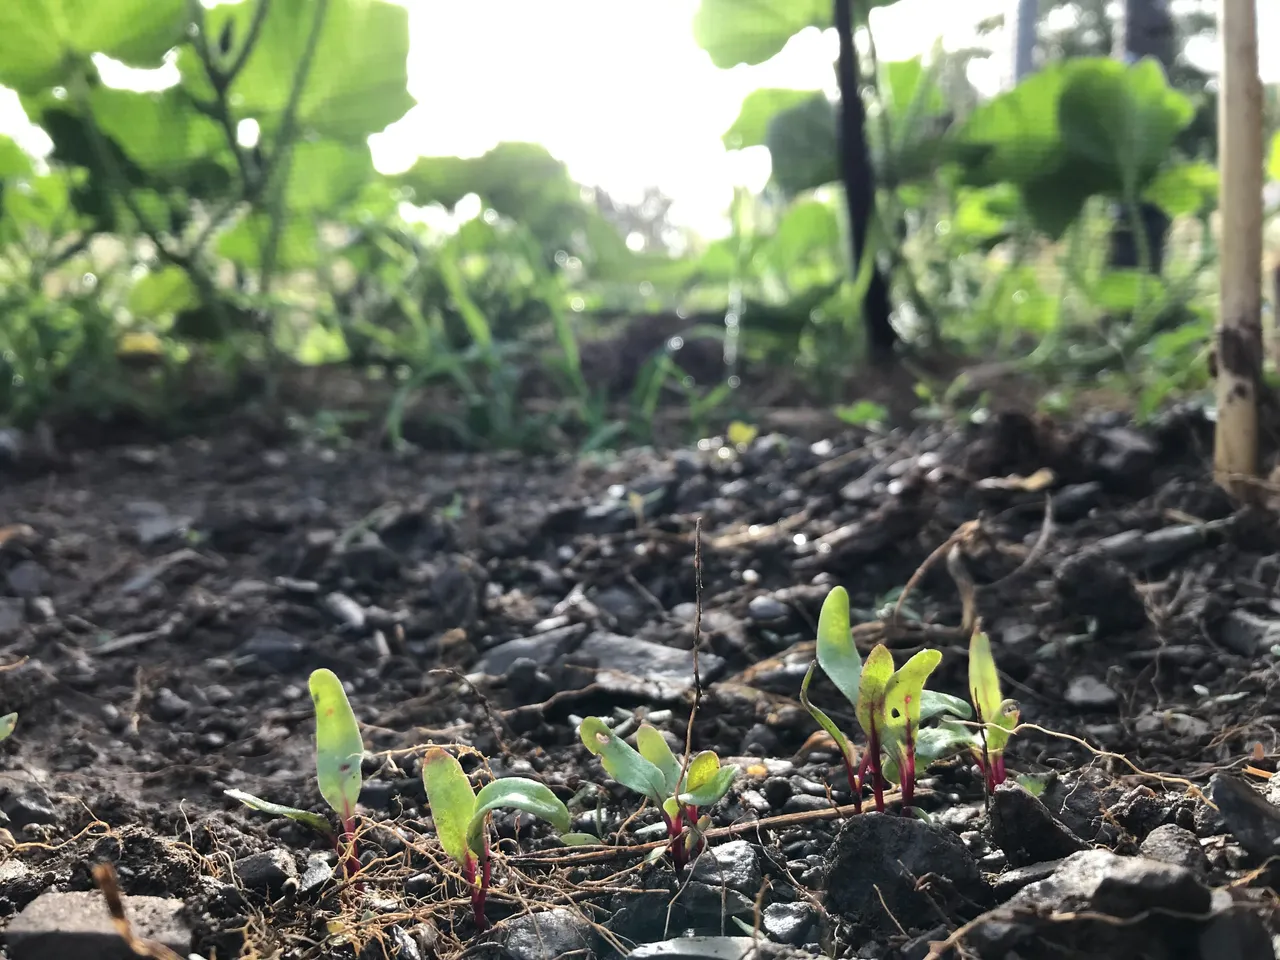
I planted one line of beetroot with the intention of re-distributing them once they have grown up a bit. My personal observations with beetroot are that they transplant extremely well with a very high success rate.
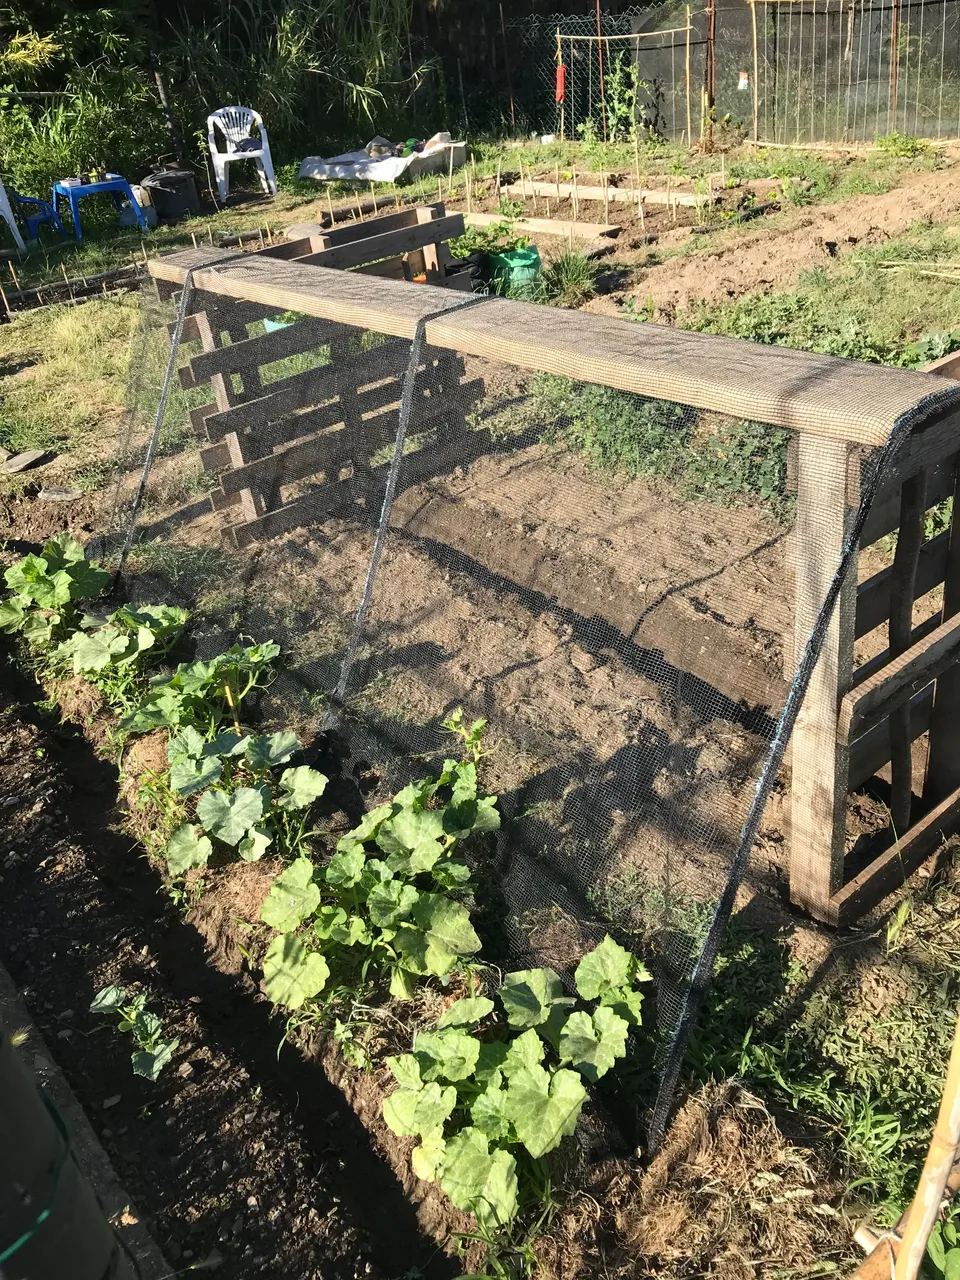
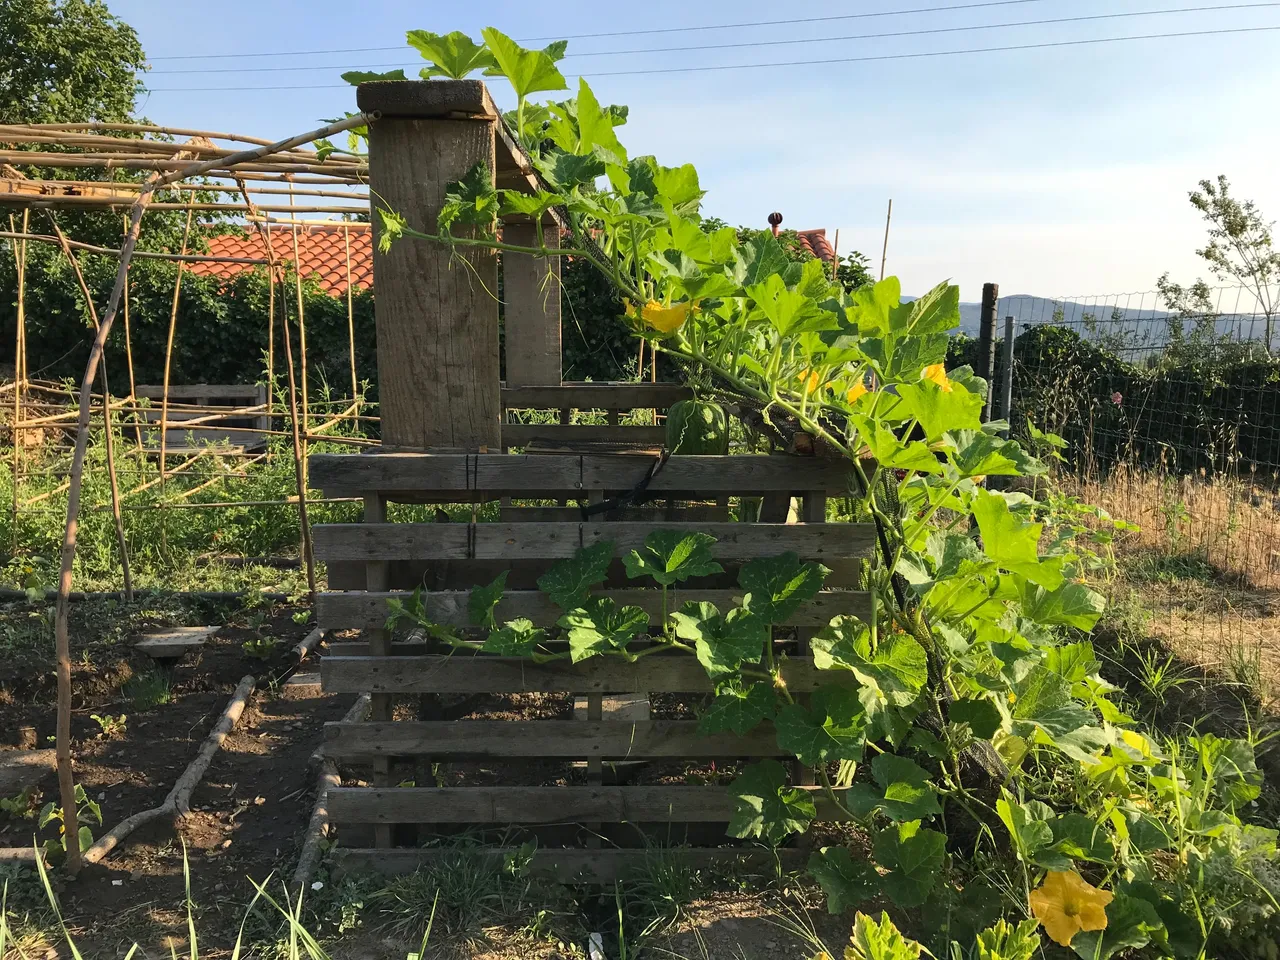
I am now cutting small holes in the net to permit for the pumpkins to grow through and ultimately hang down beneath it.
Here you can see the next layer of the construction, taking the pumpkins up to head height.
They crawled up that net at an amazing rate. Probably between 5-10cms a day.
Again, stepping back from the action you can see the rest of the garden slowly taking shape around the two empty spaces.
Up and up they climb.
Forever prompting me to begin the next stage of construction...
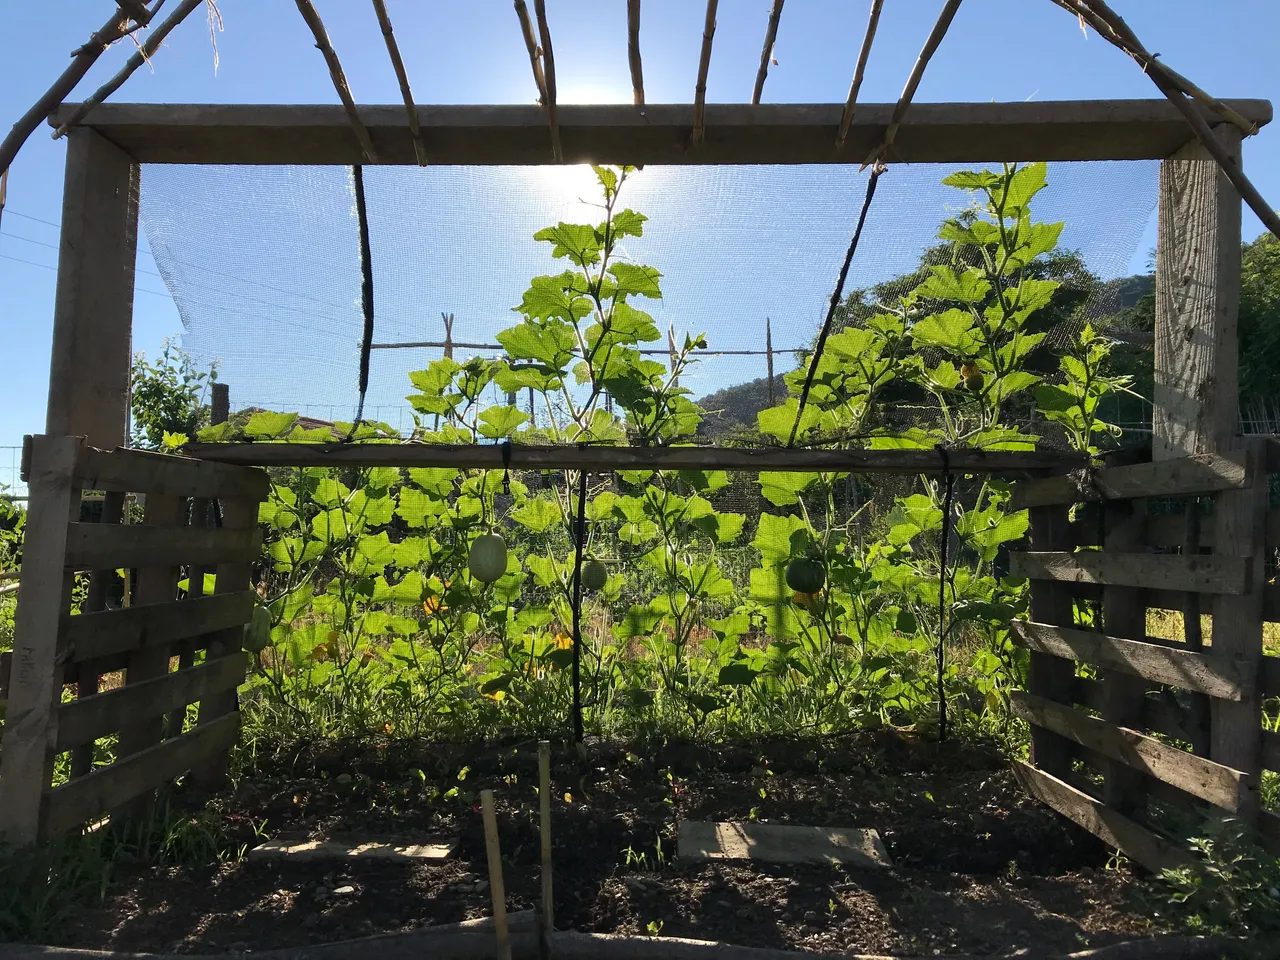
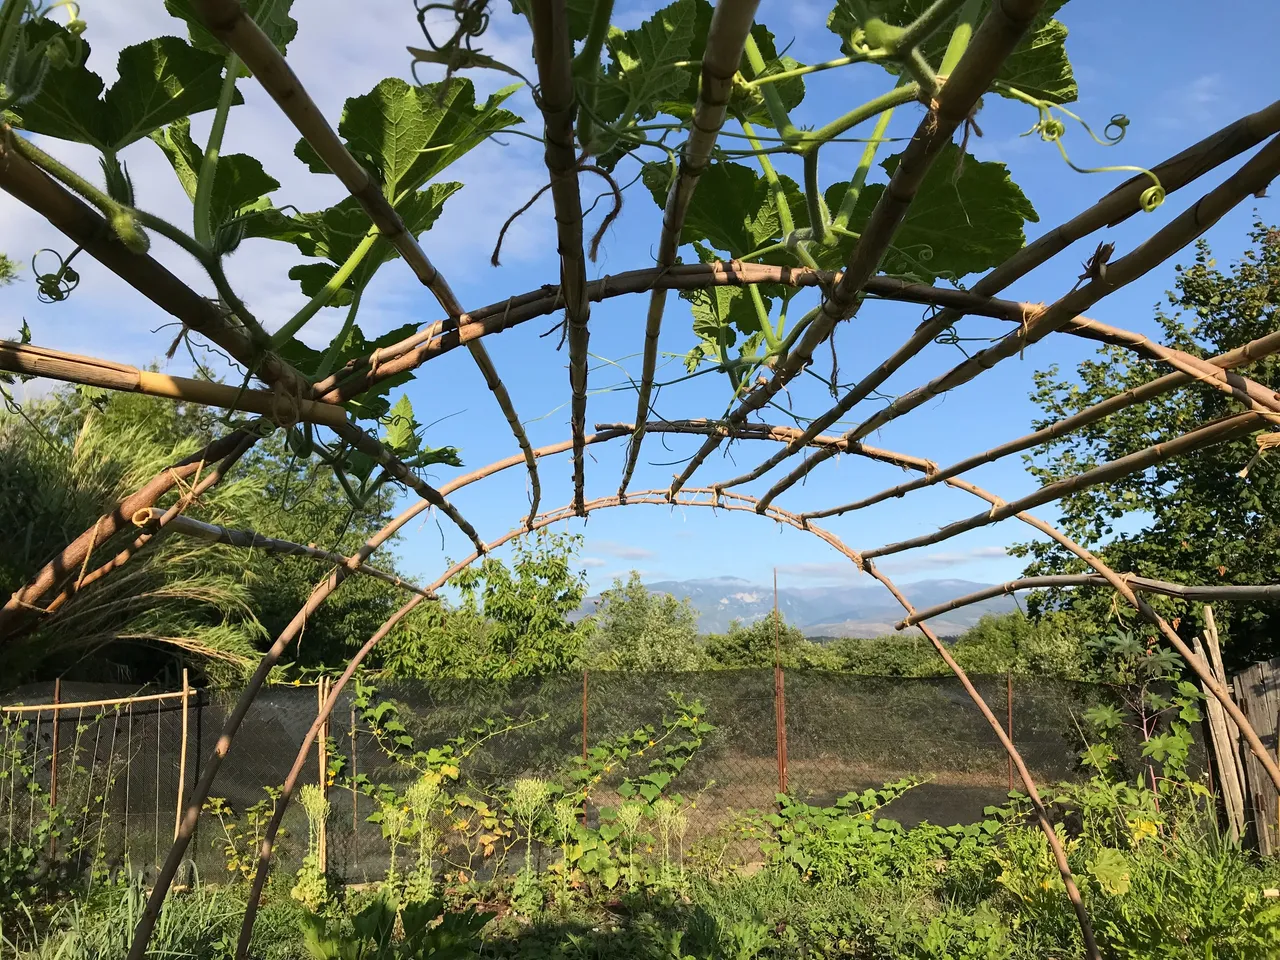
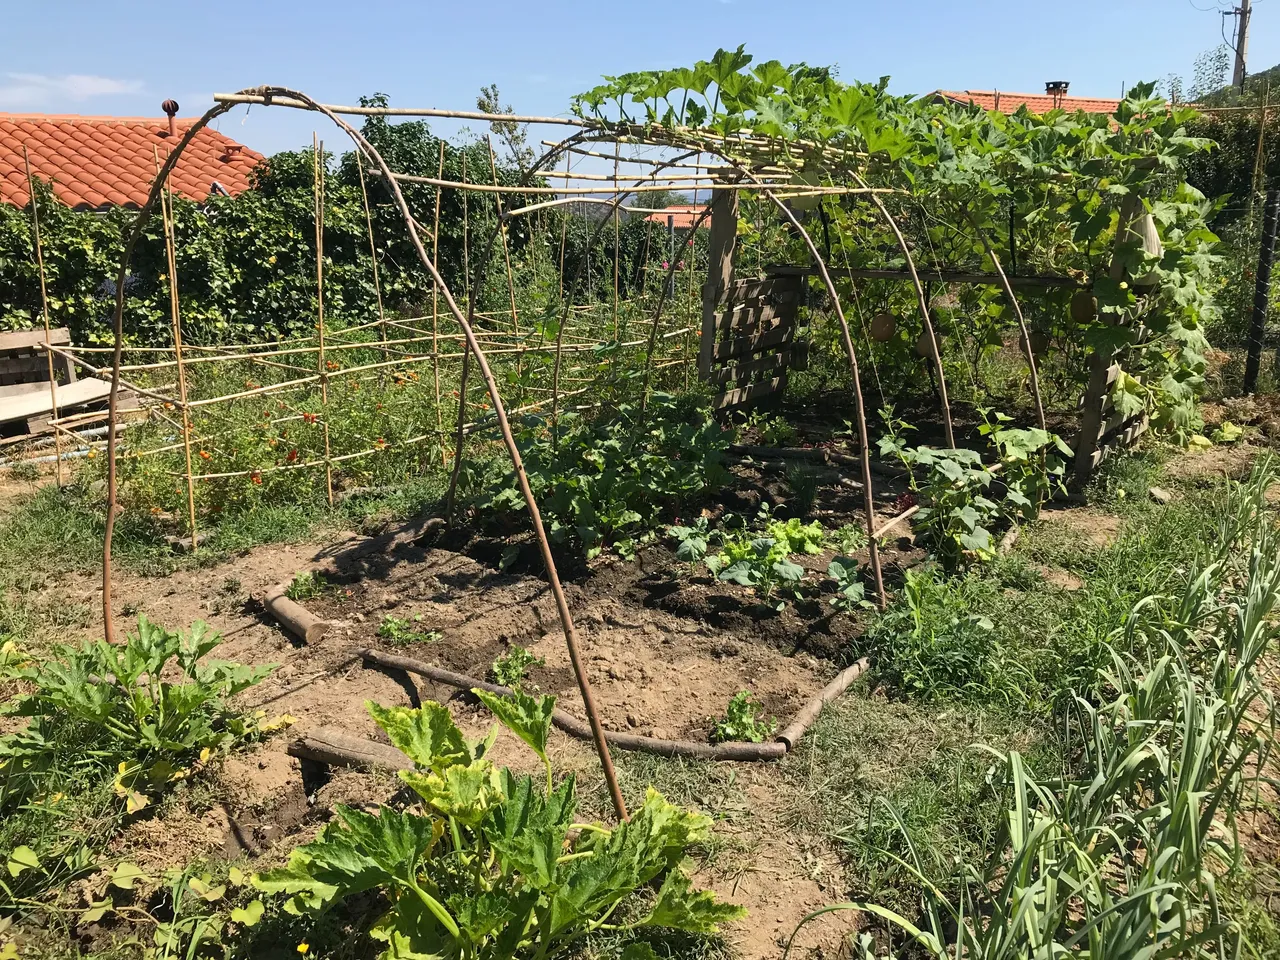
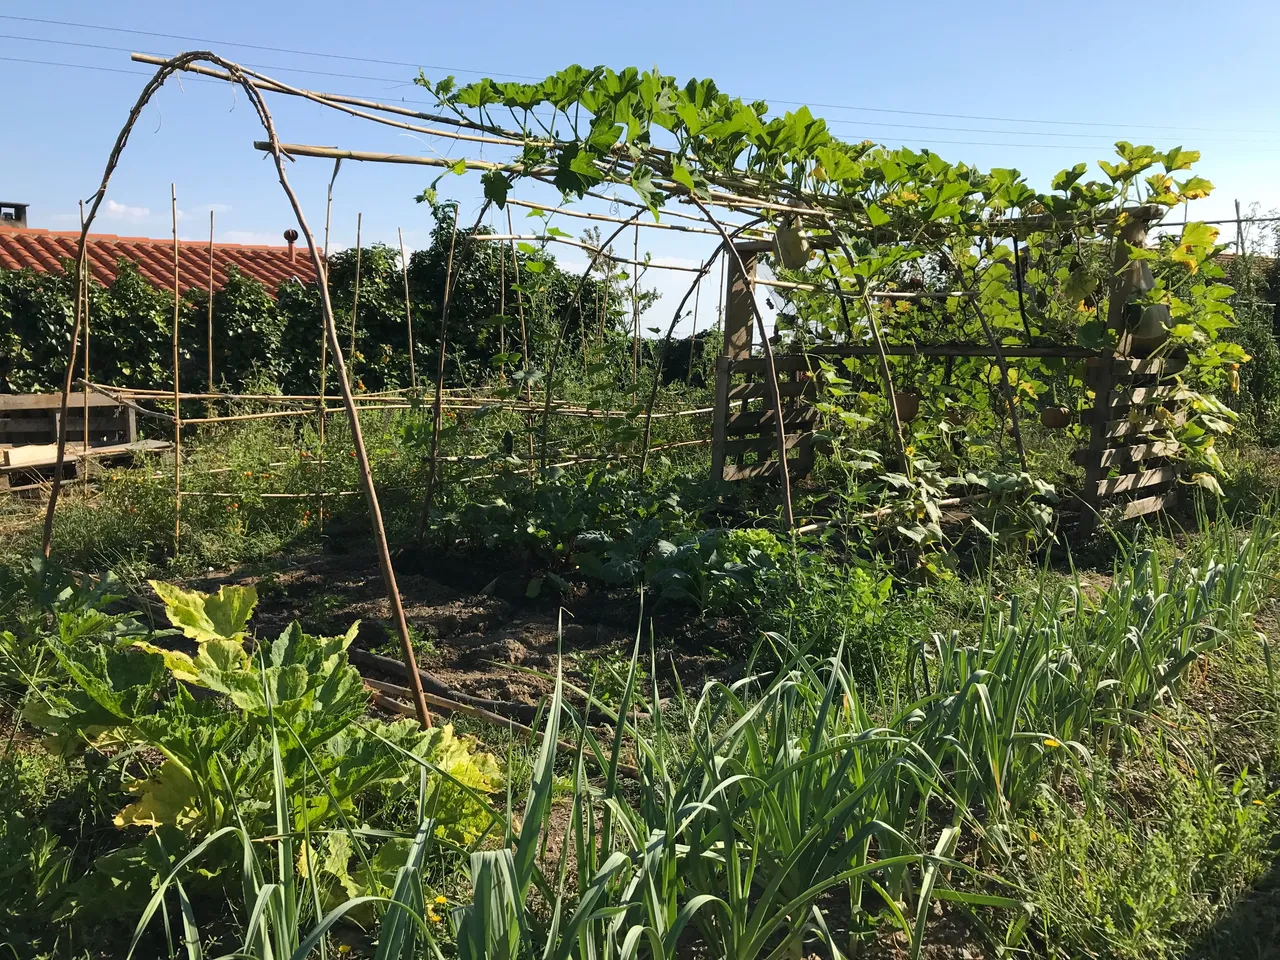
The 'house' itself.
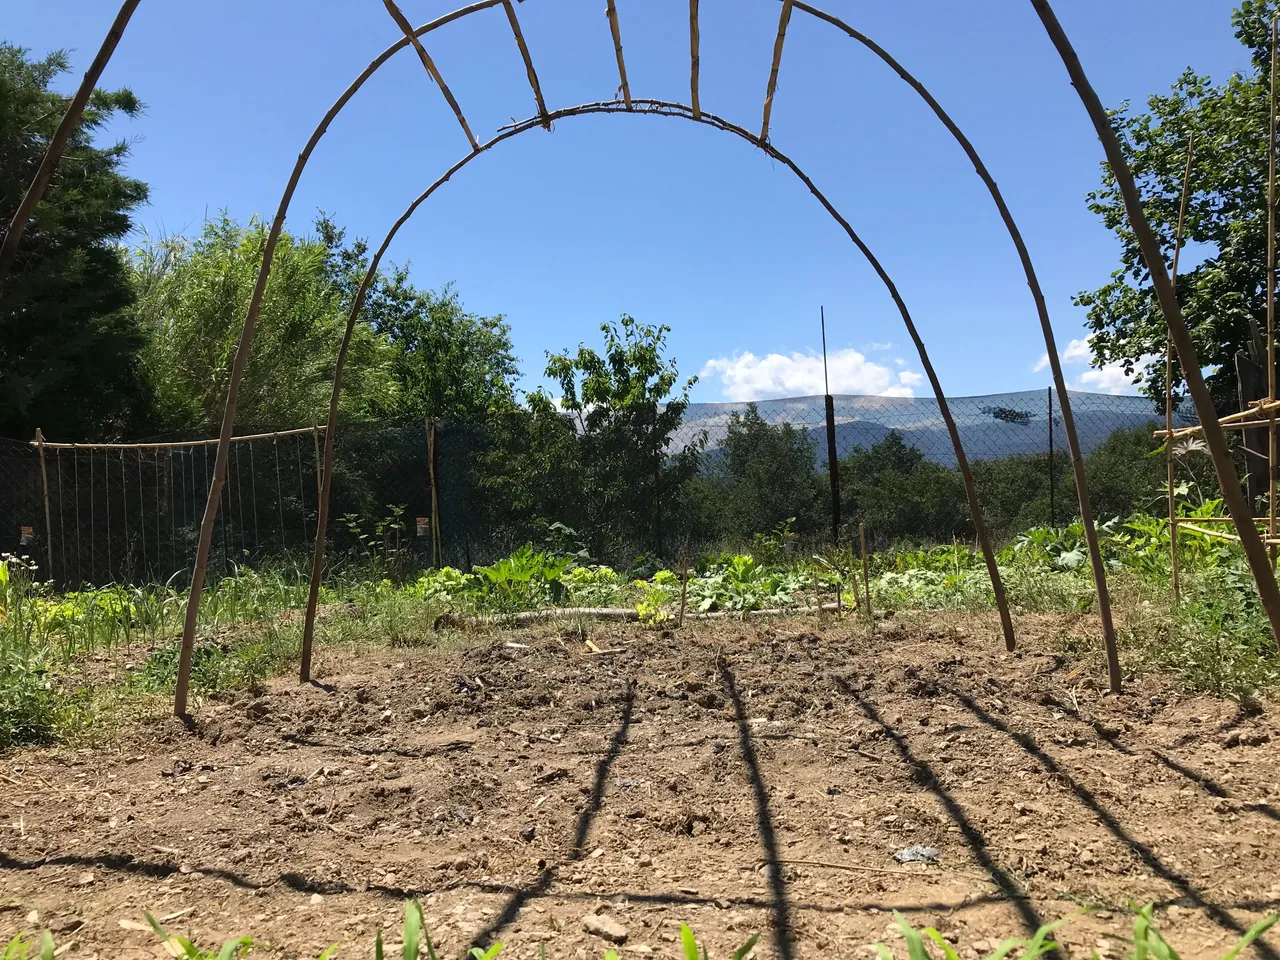
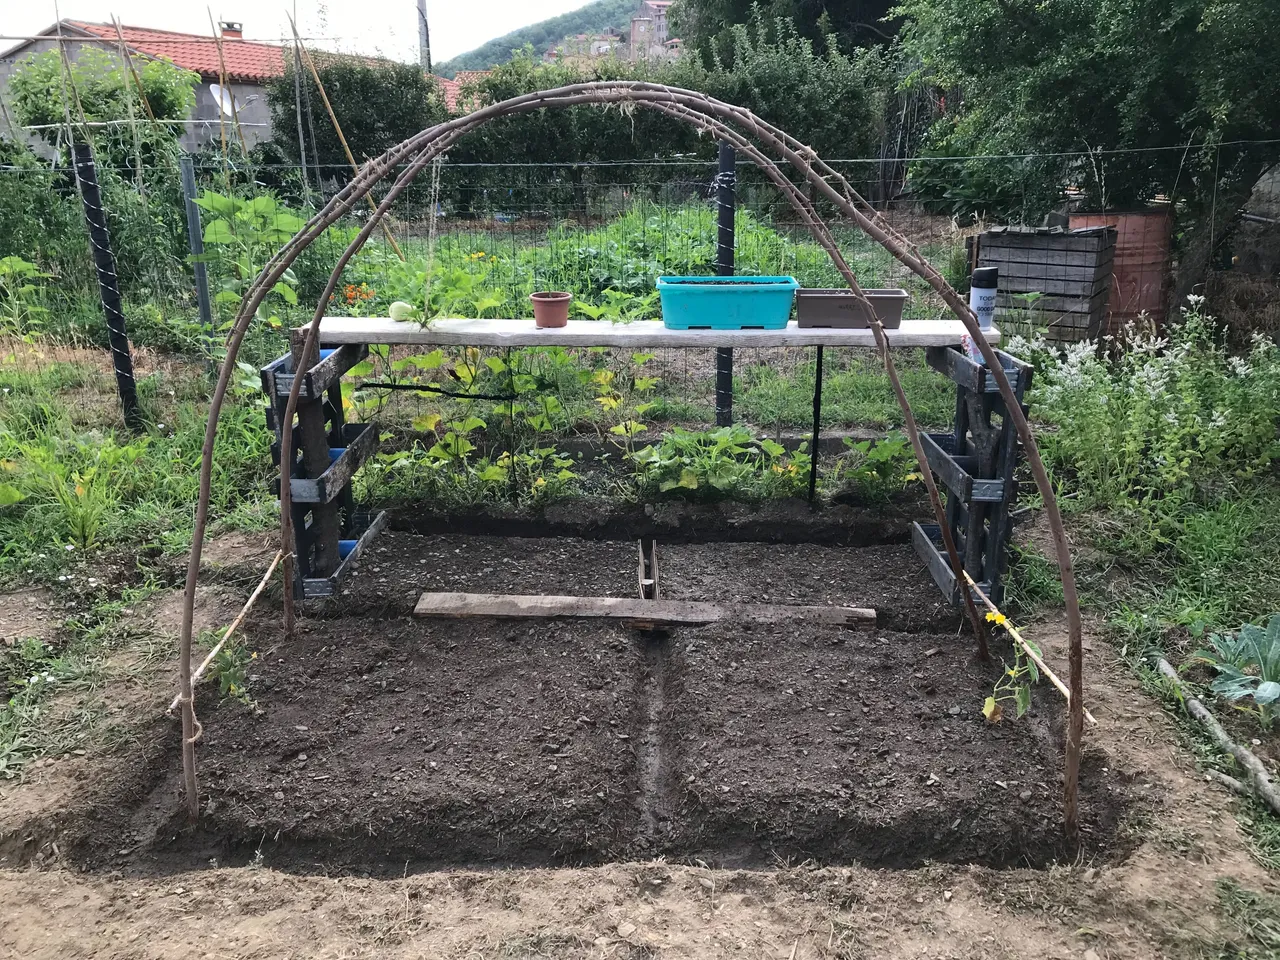
This was made with young hazelnut wood (abundant around here) dug deep into the ground and bent inward to create arches, linked together with string & bamboo.
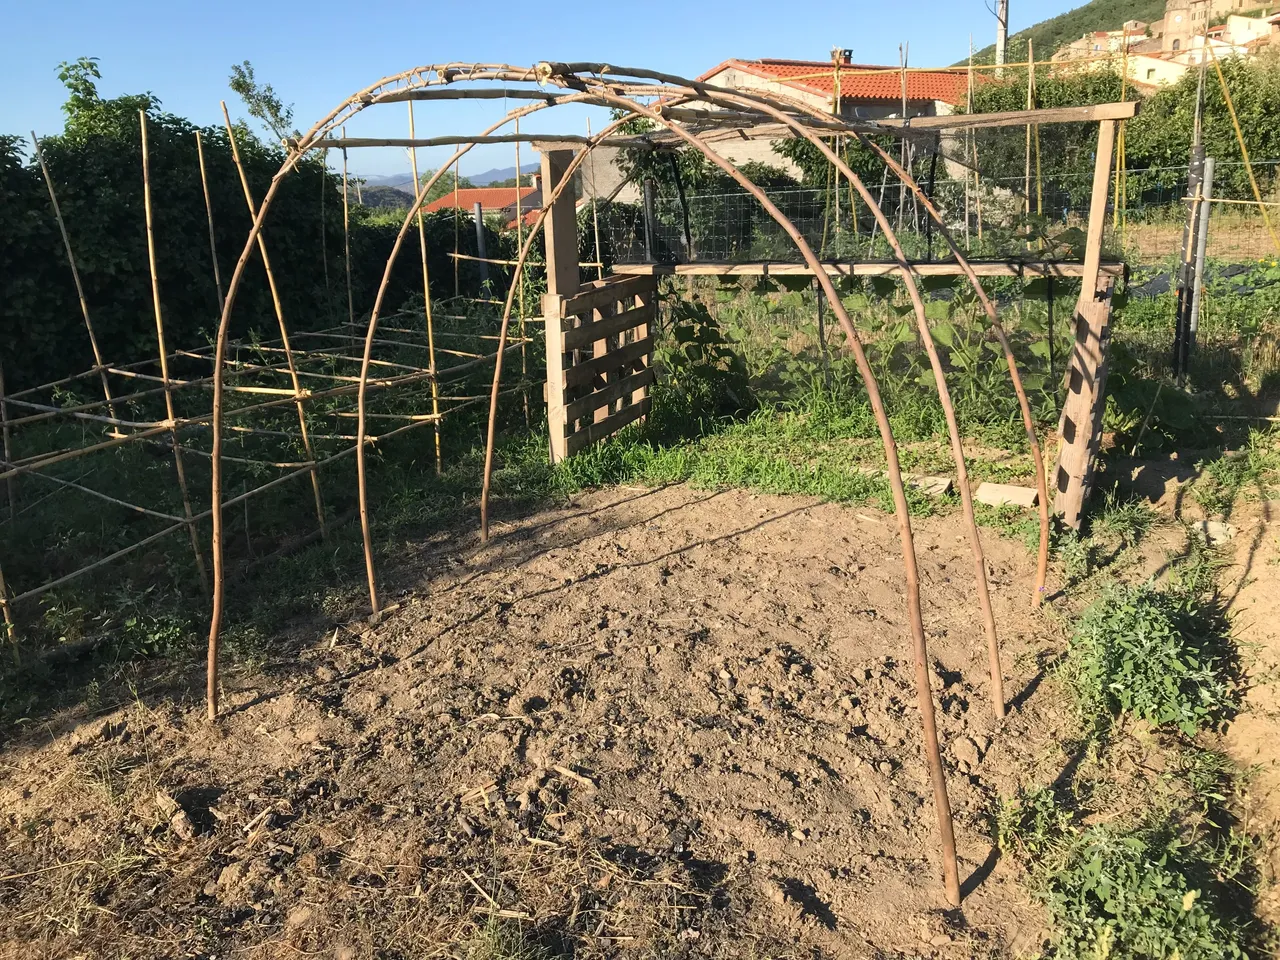
The watering channels went in next next.
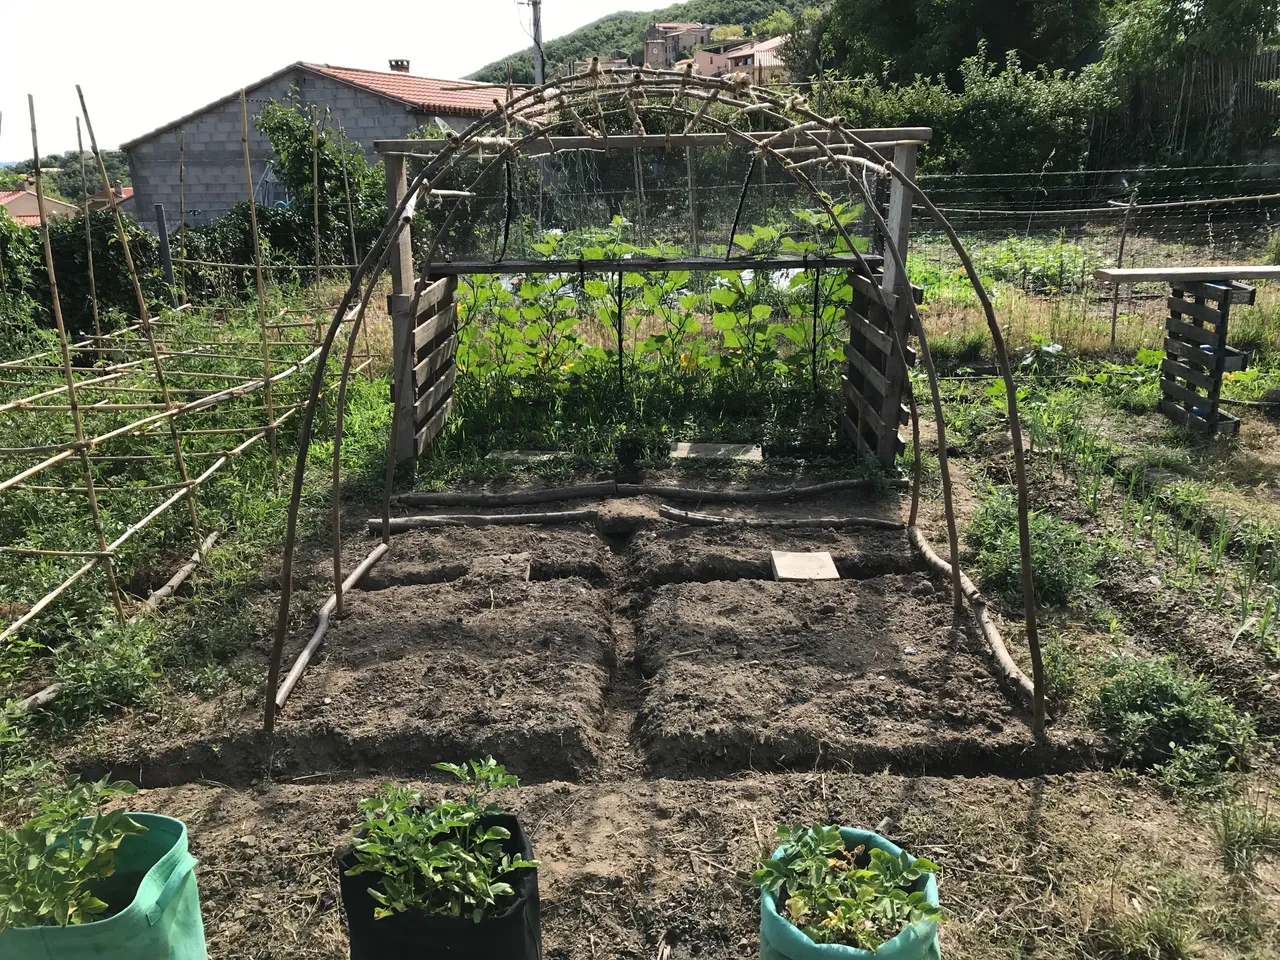
And finally we plant stuff!
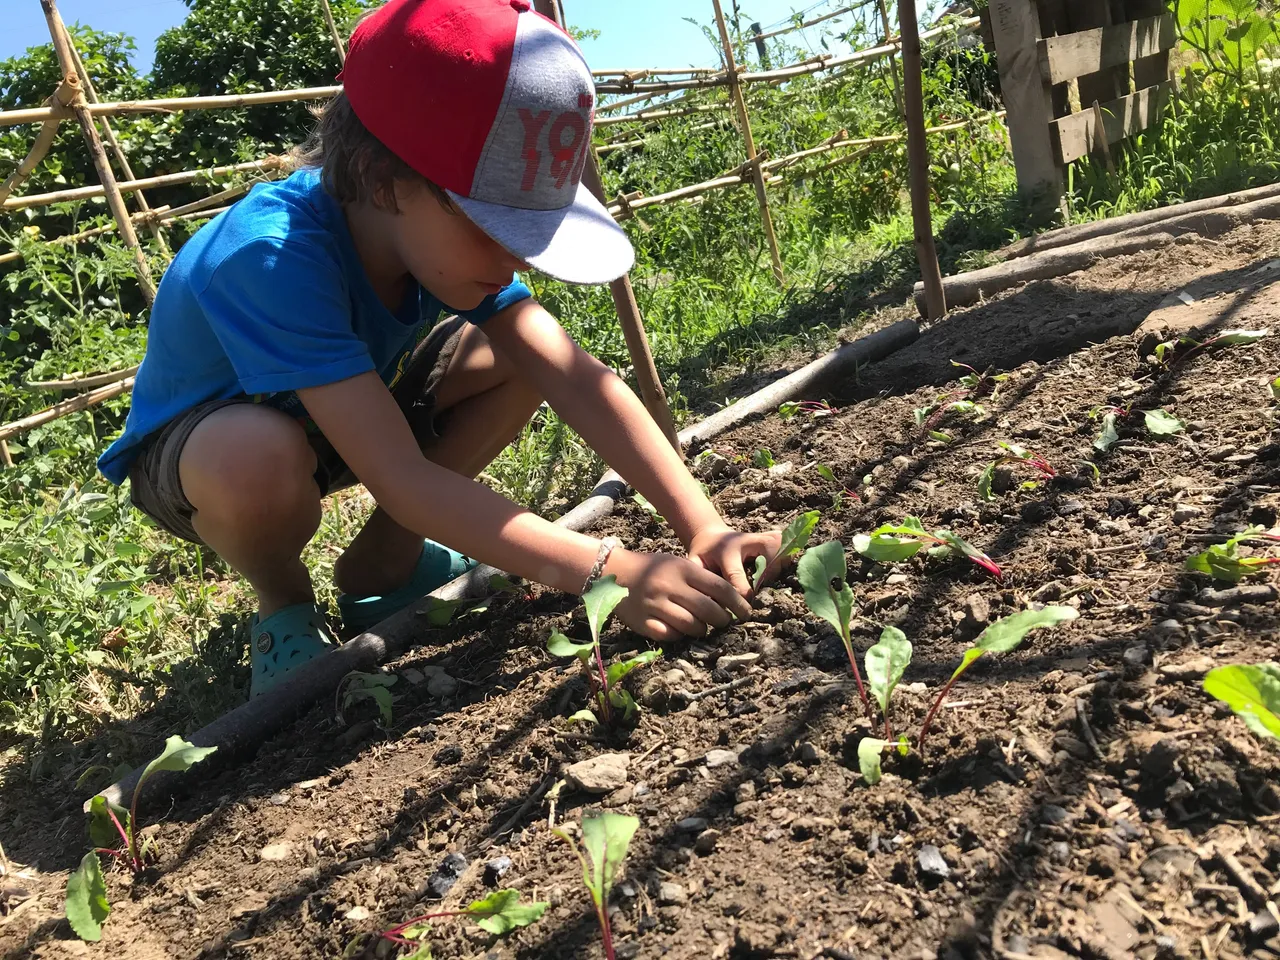
In this block Esteban transplanted beetroot from the shaded area.
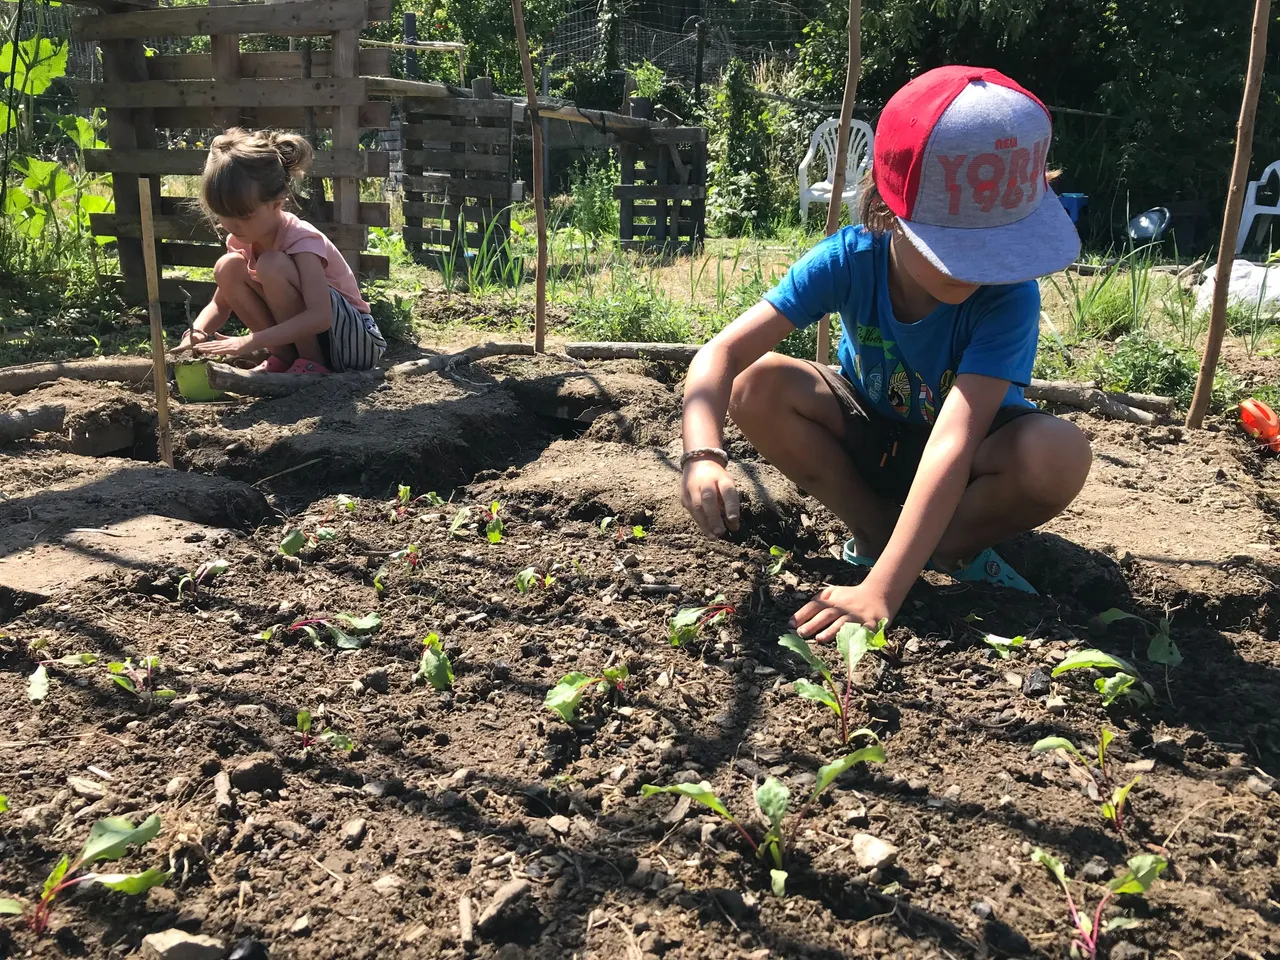
He is a really diligent little gardener now with some great knowledge & skills.
You can see in the background the second 'house' starting to take shape for the butternut squash.
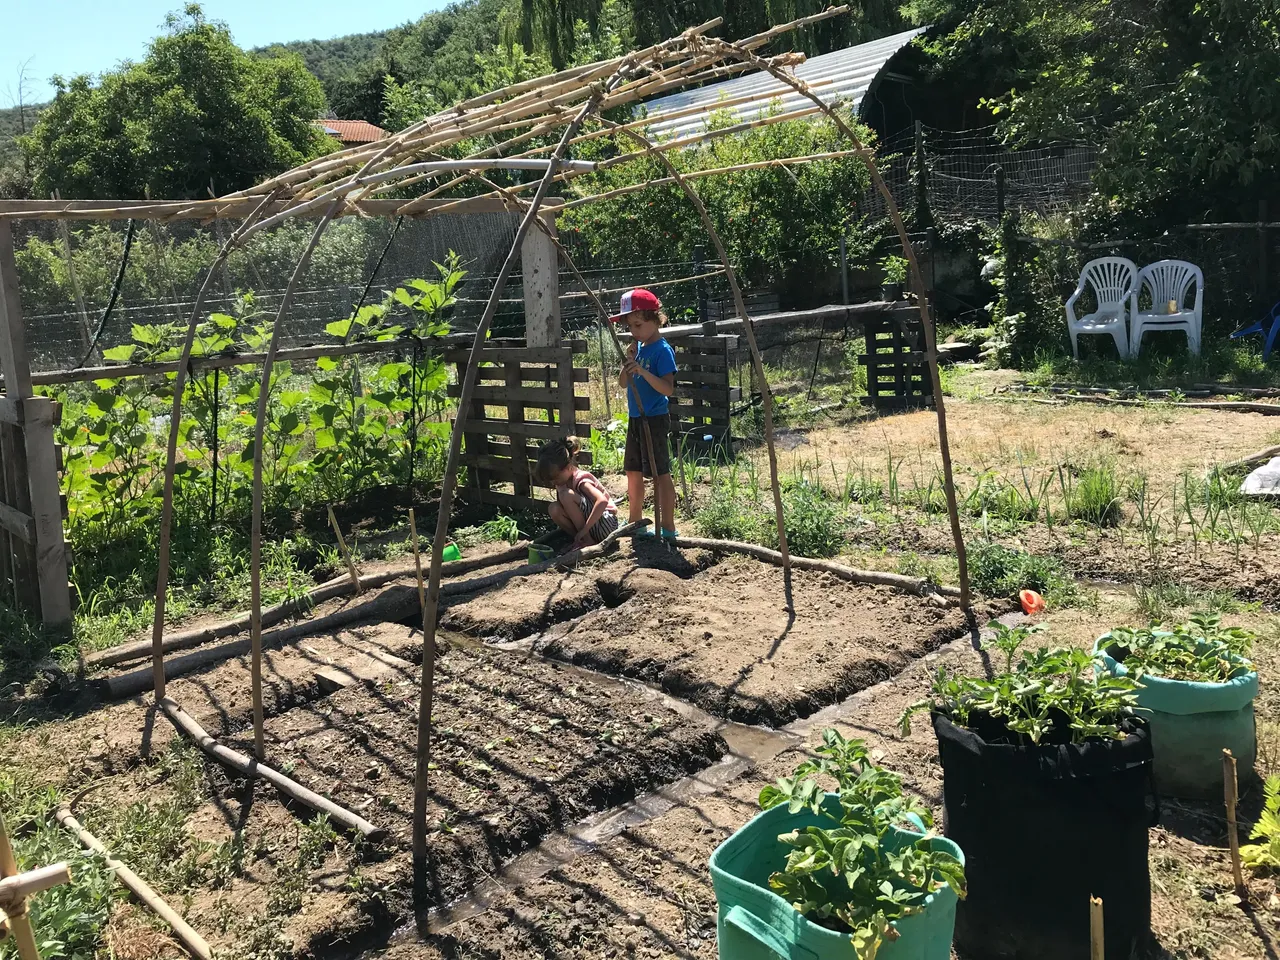
The butternut will fill this last empty space, next to the pak choi which are now covered with a net to stop them getting eaten by hungry bugs.
Esteban was concerned the beetroot transplants were dead the following day but I assured him they always look like this for the first few days.
With that said, I did feel a small sense of concern because we were pushing up to 40°C at the time and young transplants don't like this at all, especially when they are in the full sun all day. So we decided in the end to create some temporary shade until the pumpkins plants had covered the roof.
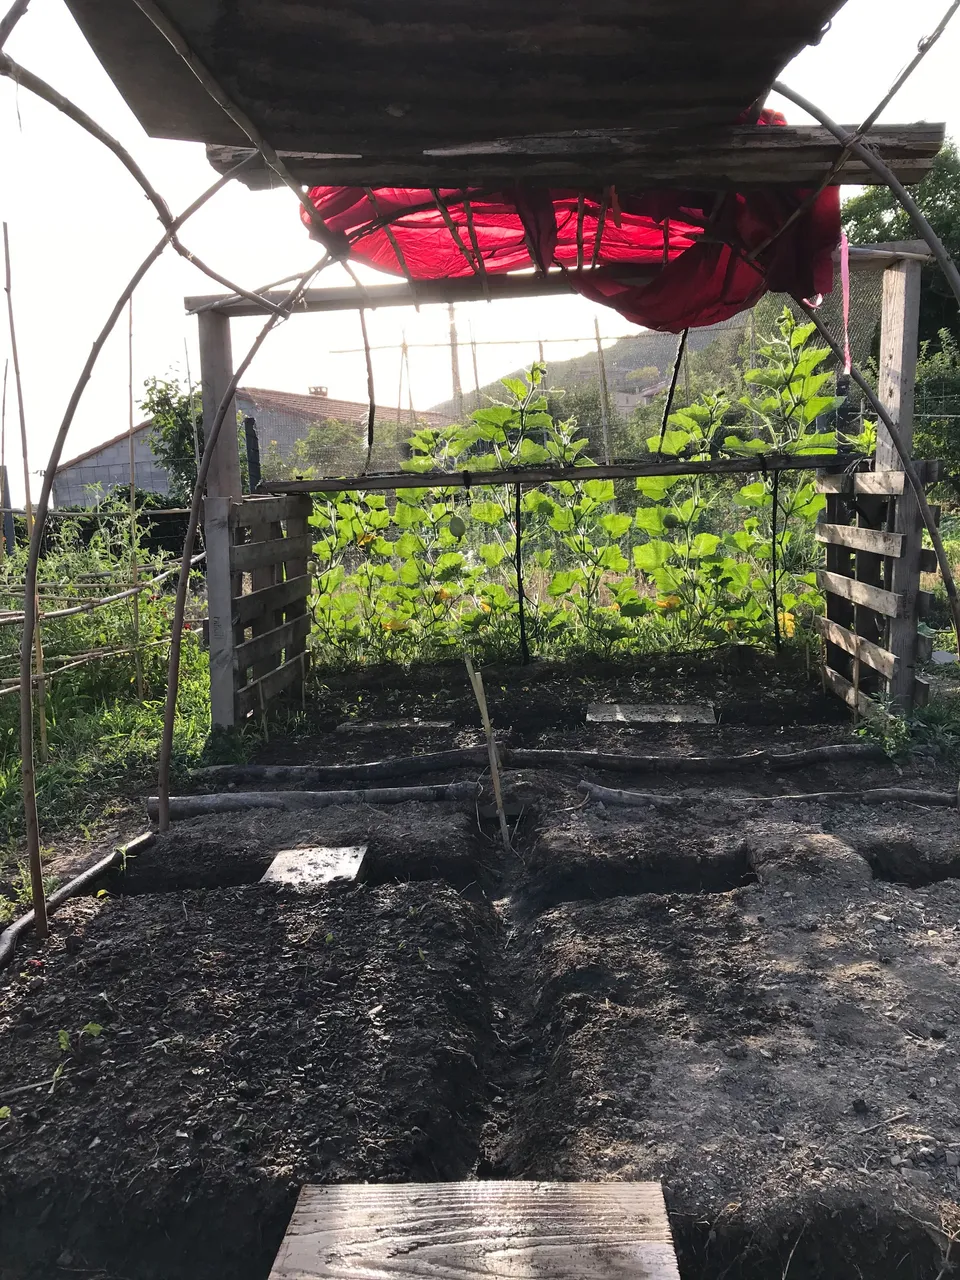
An old tent and some wood did the trick nicely!
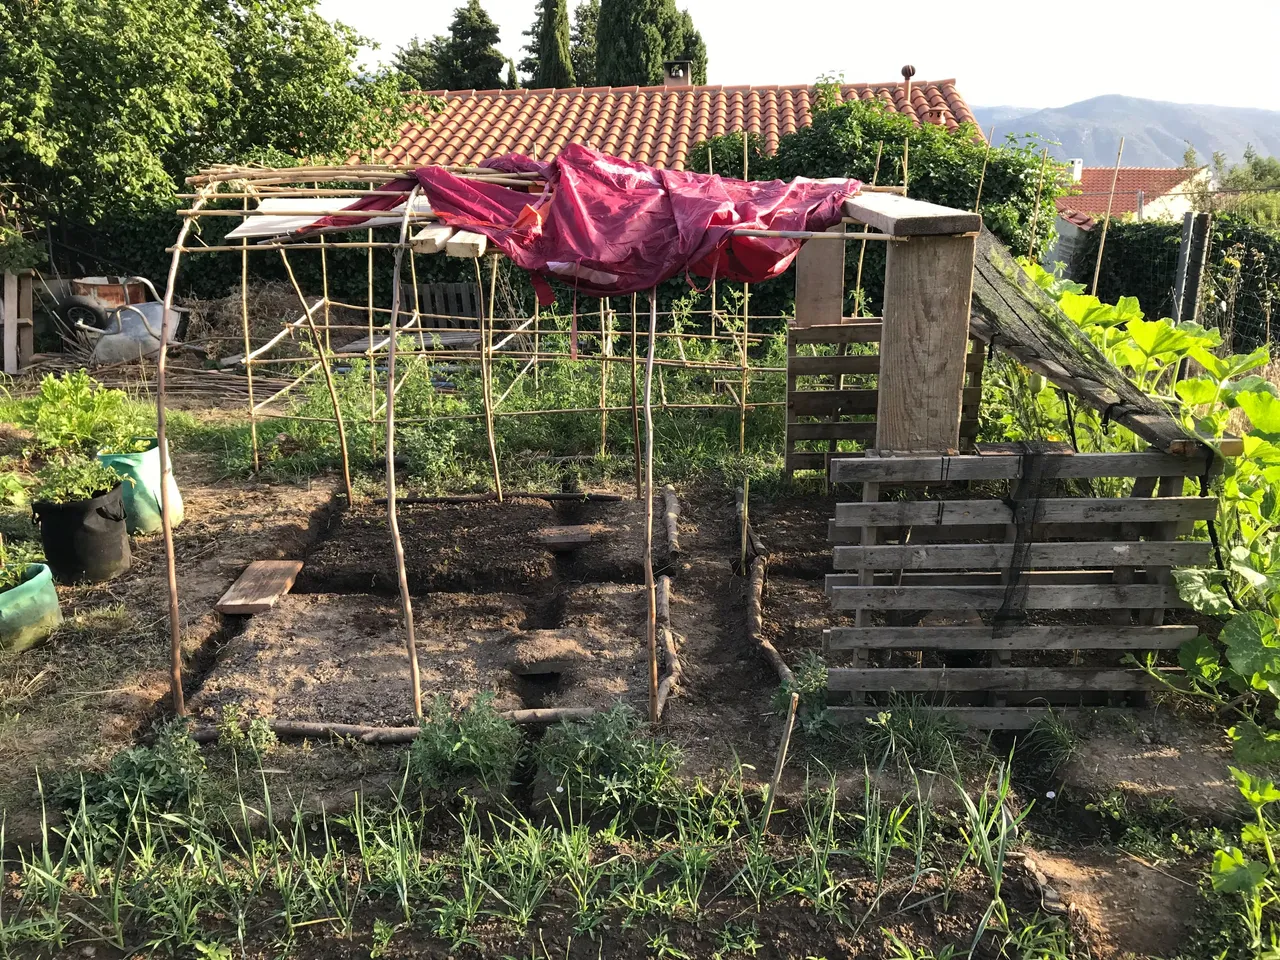
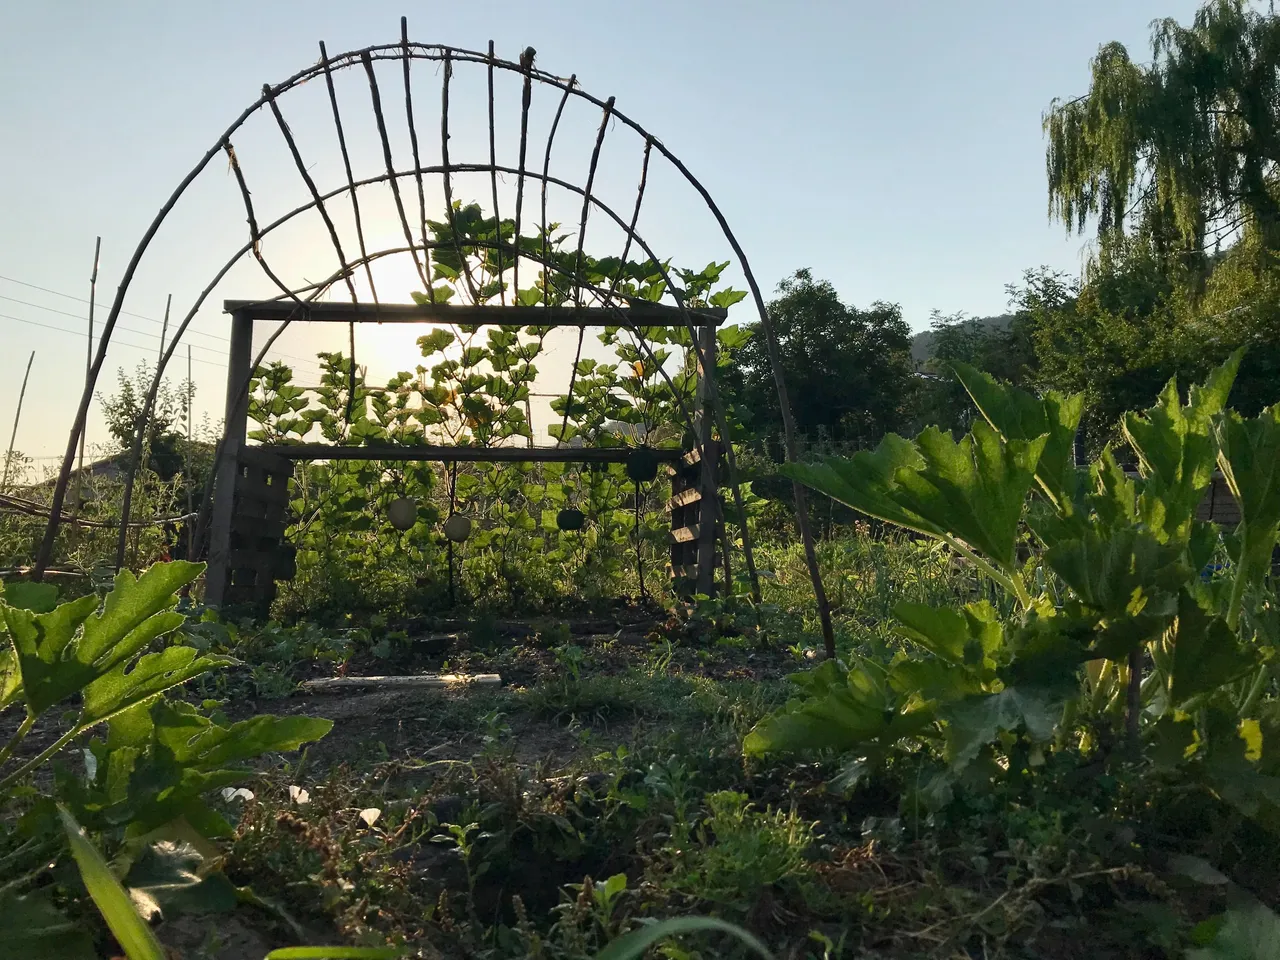
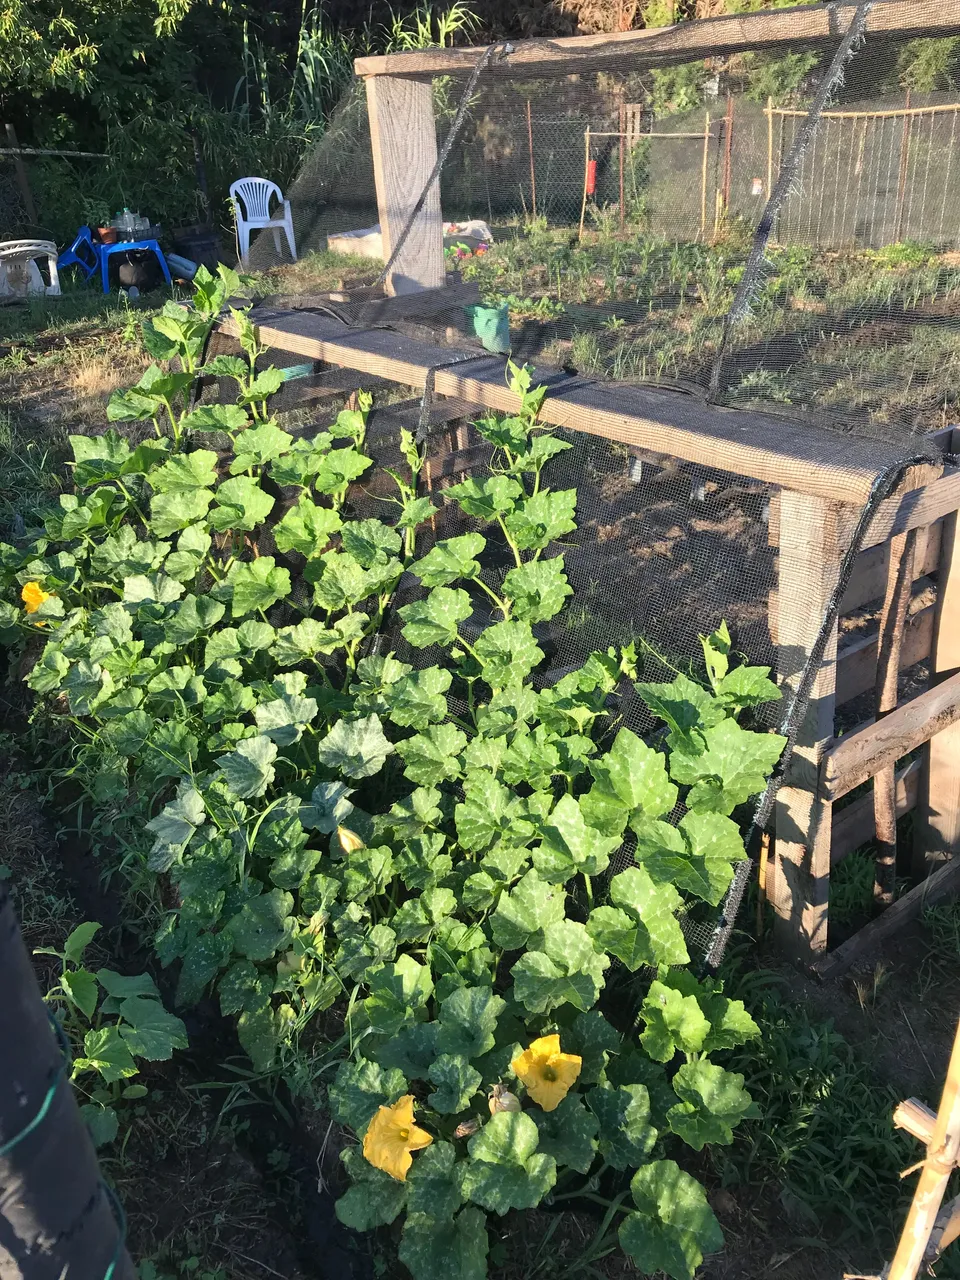
Spending time here in the mornings when the sun is low it is clear how effective my system is for the babies below, basking in dappled shade.
Glorious perfection.
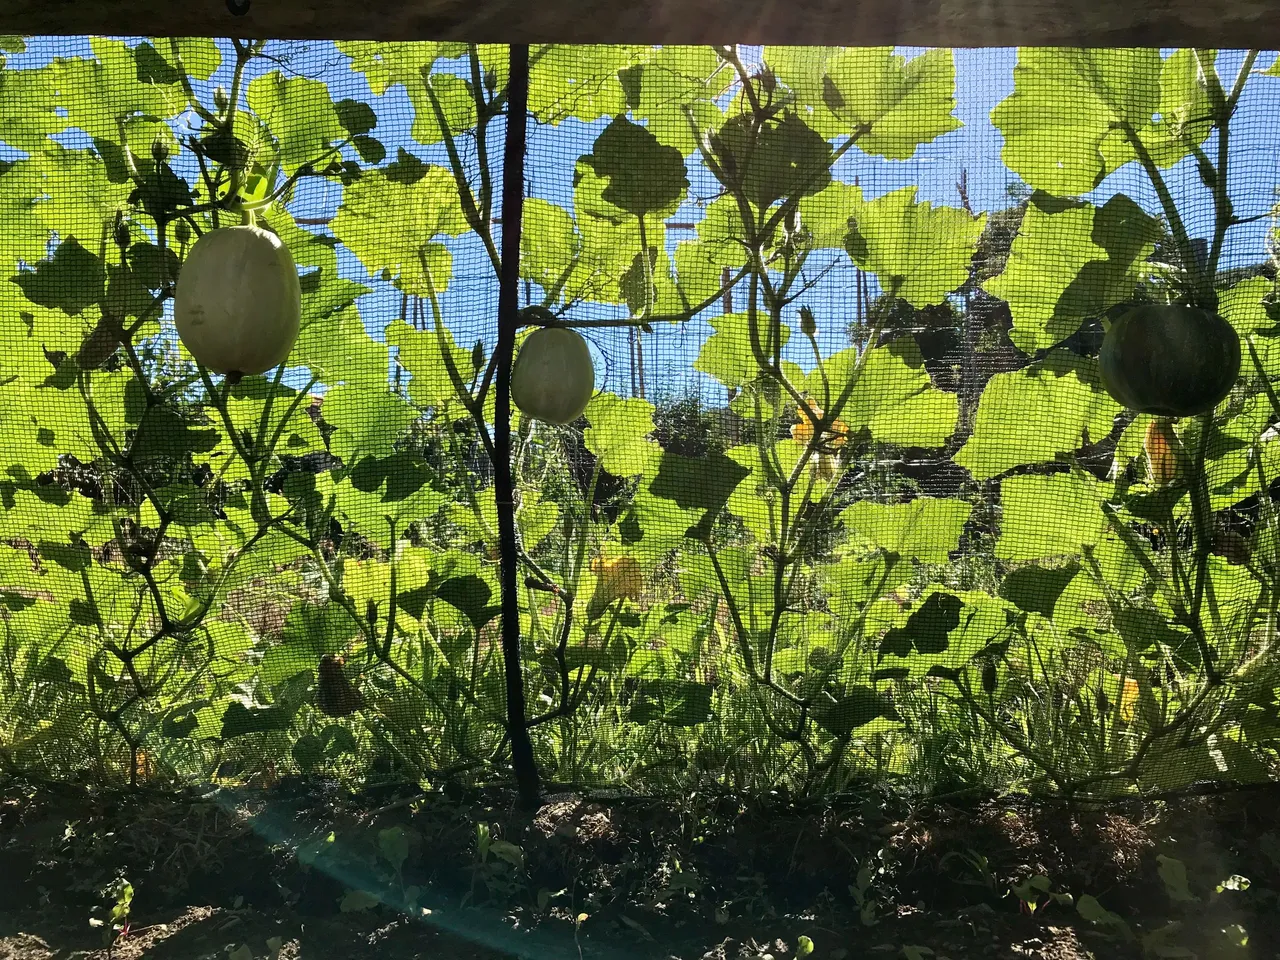
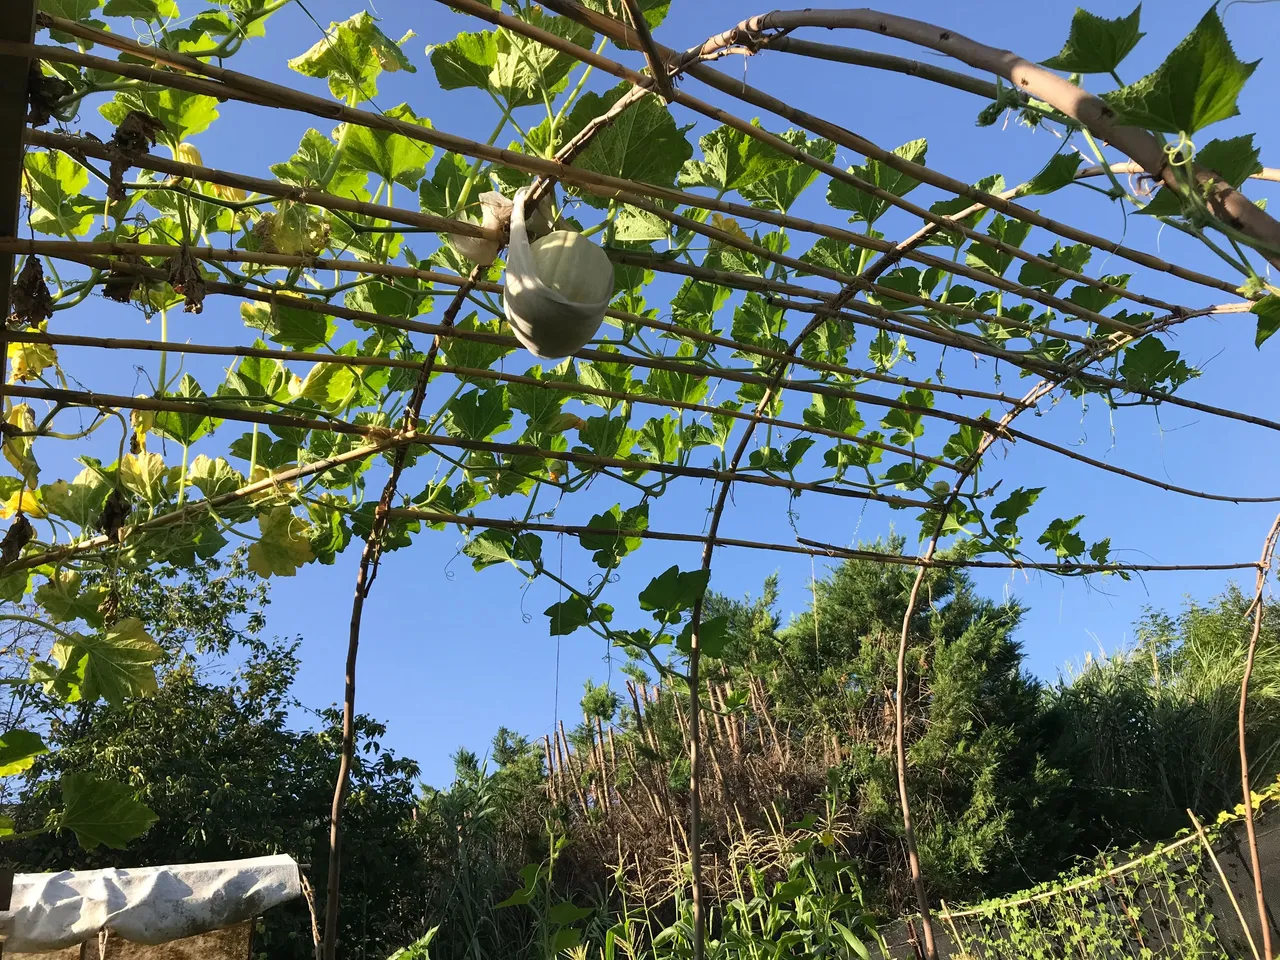
Am a bit confused why the first five pumpkins all look quite different and am wondering now if the white ones are not perhaps something else?
No matter. They are no doubt edible whatever they are.
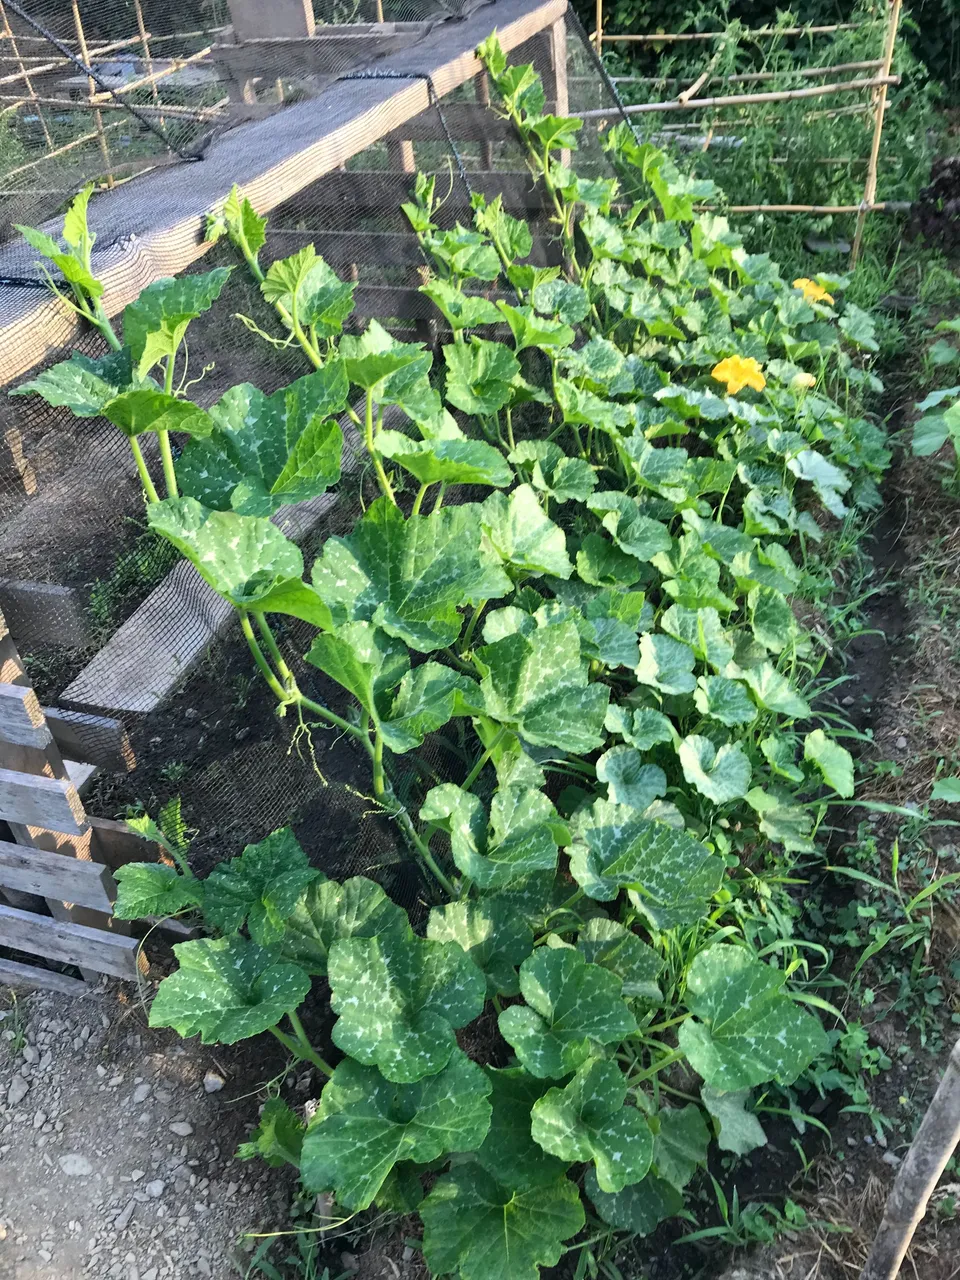
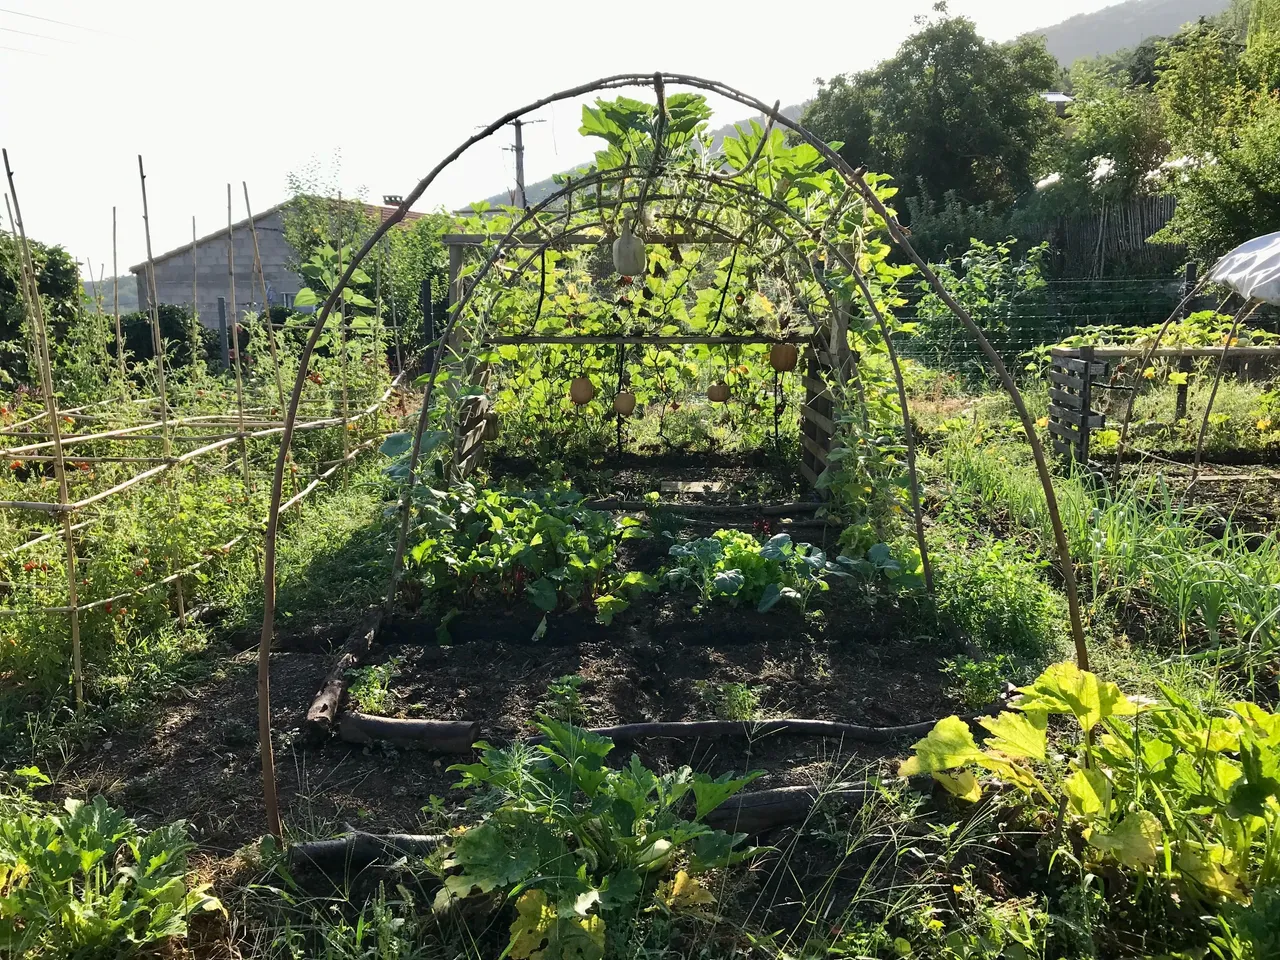
They have hit the top of my structure now and basically looking great.
Side view here.
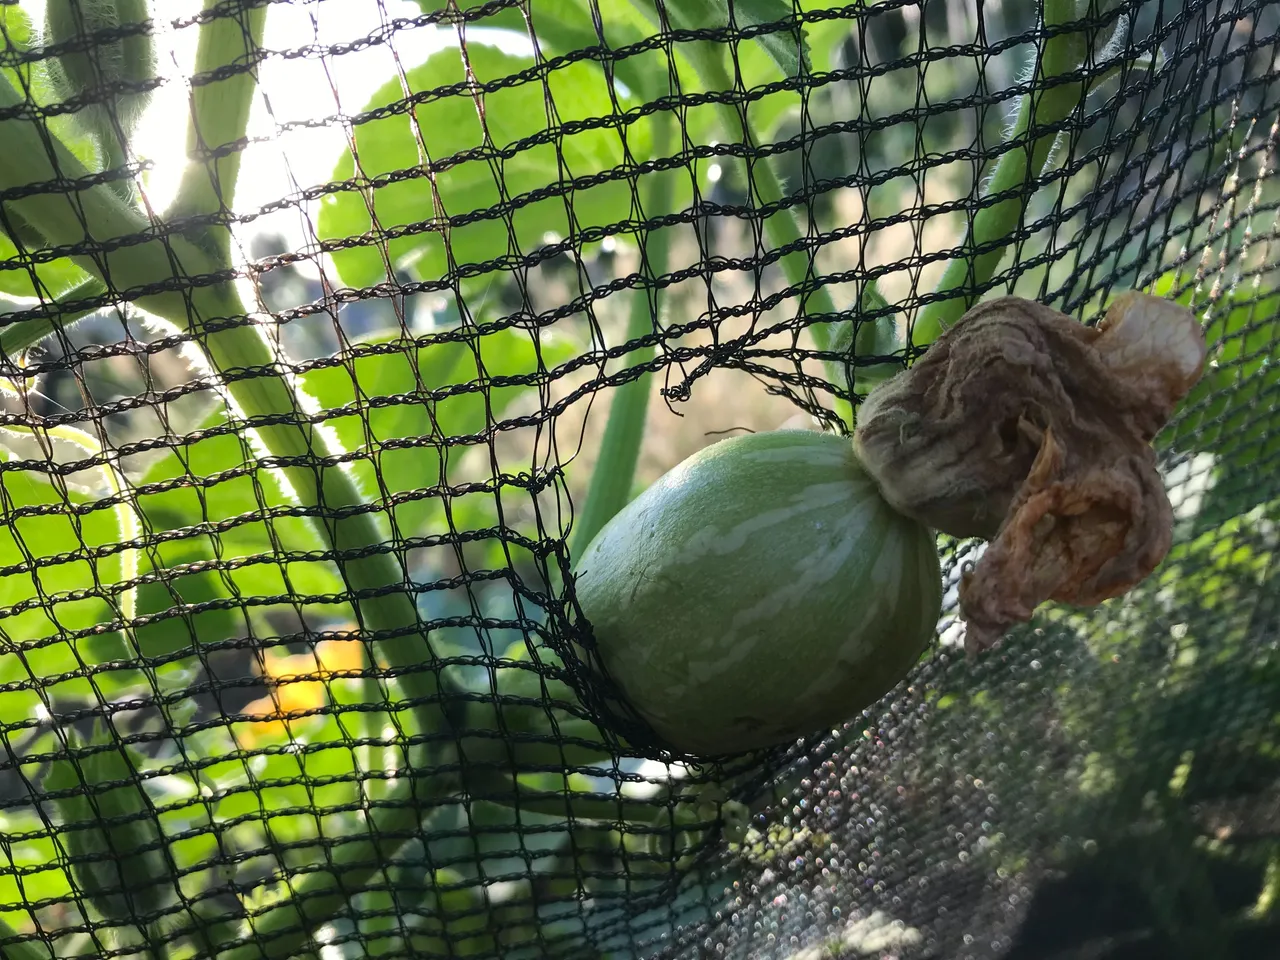
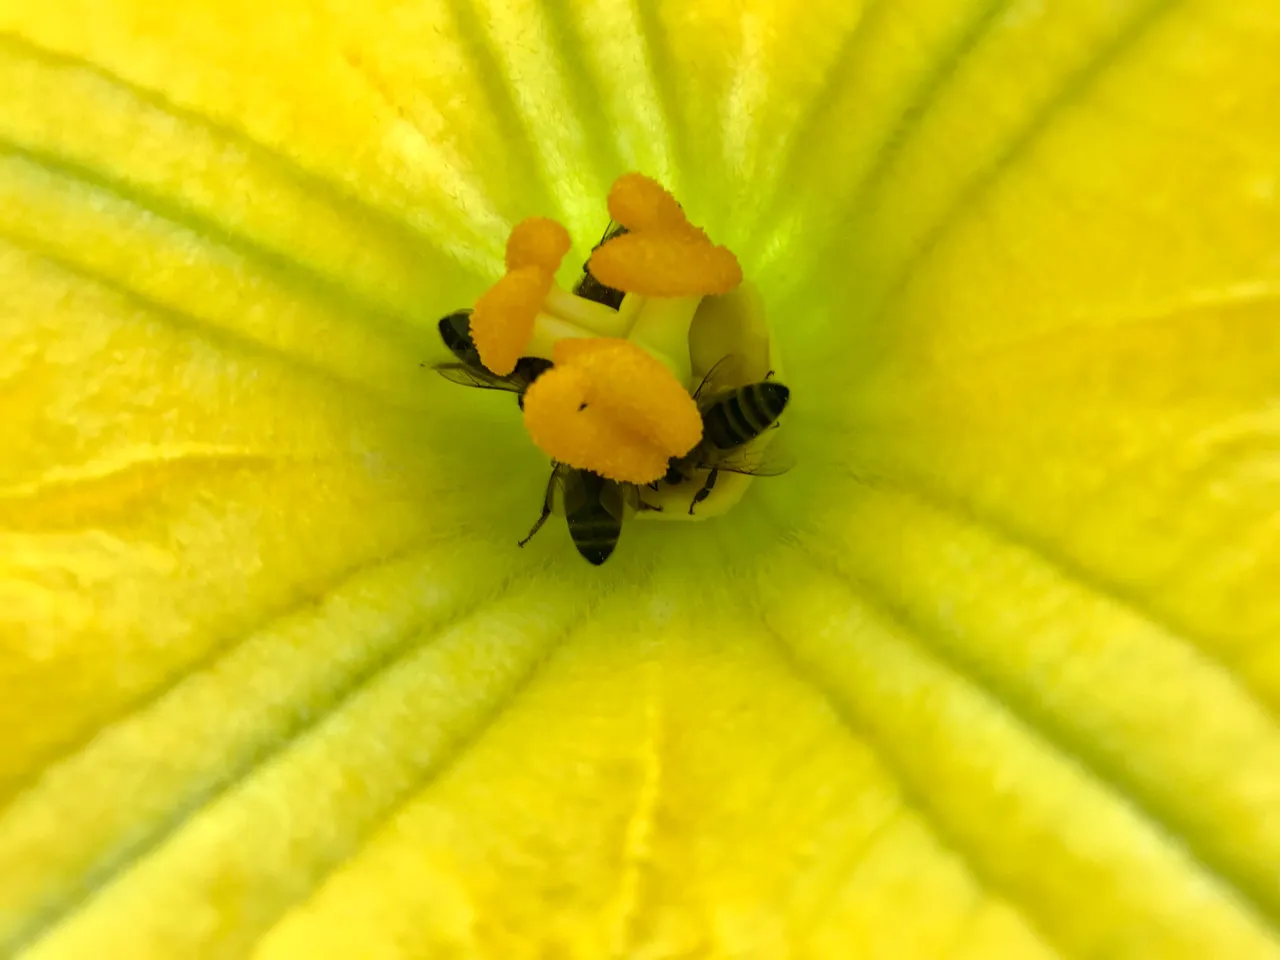
Love the way the flowers form after the fruit itself.
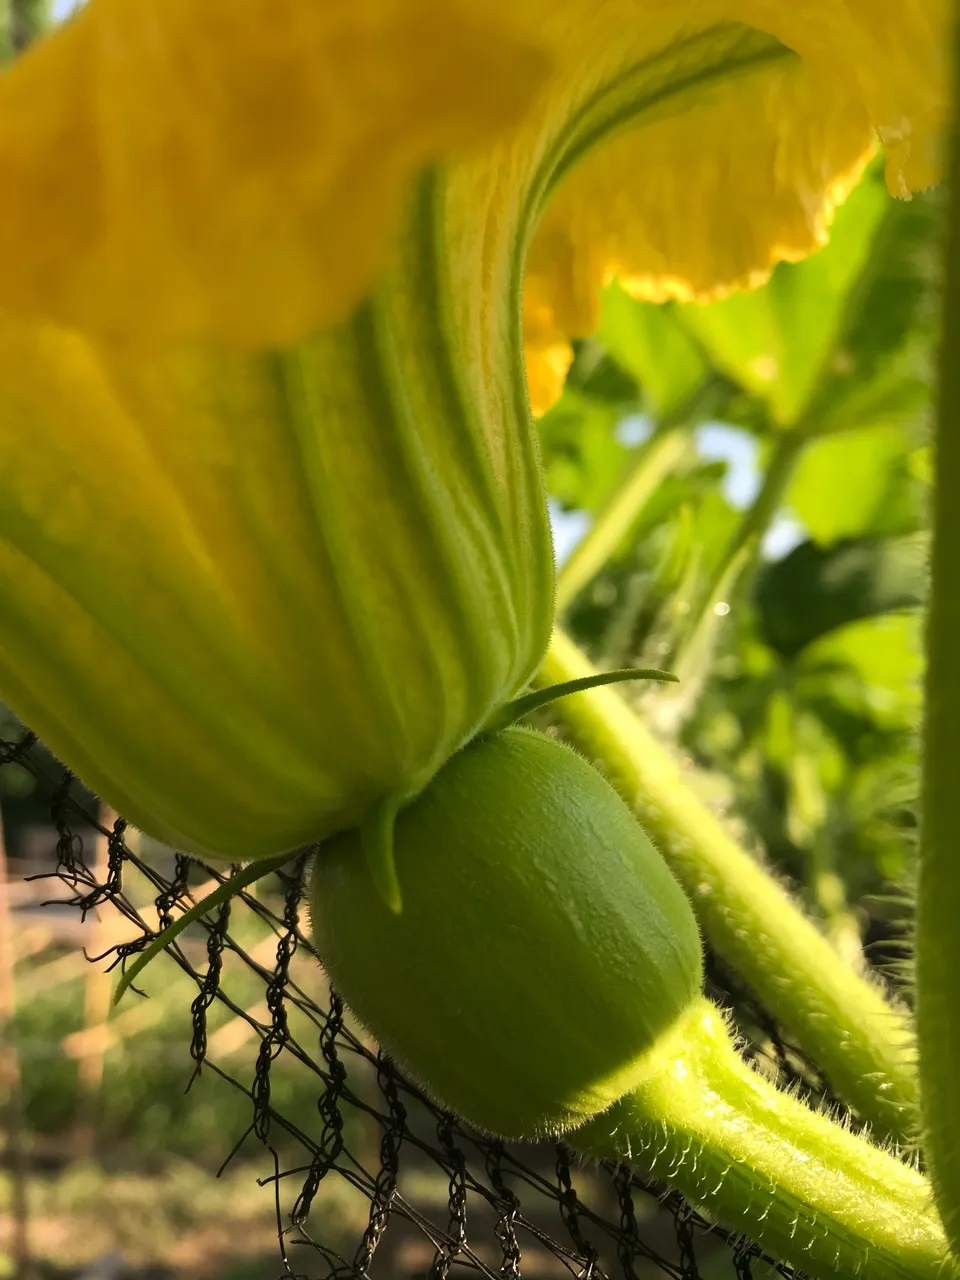
If the flower is successful in attracting pollinators the fruit will live. If not, it turns yellow and dies.
As you can see the first pumpkins are getting big now.

They have reached the top where I am attaching them with string to the bamboo.
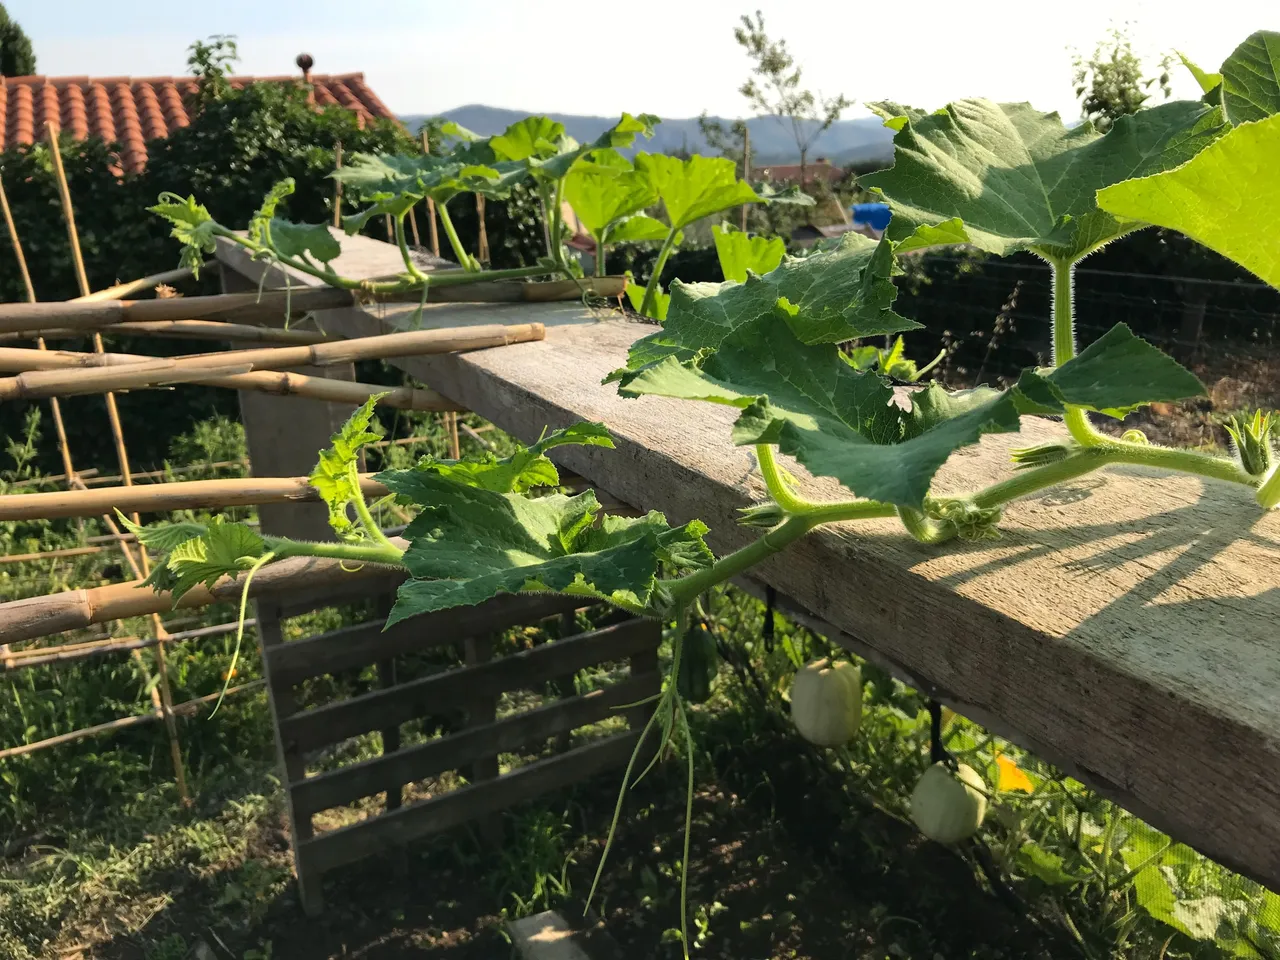
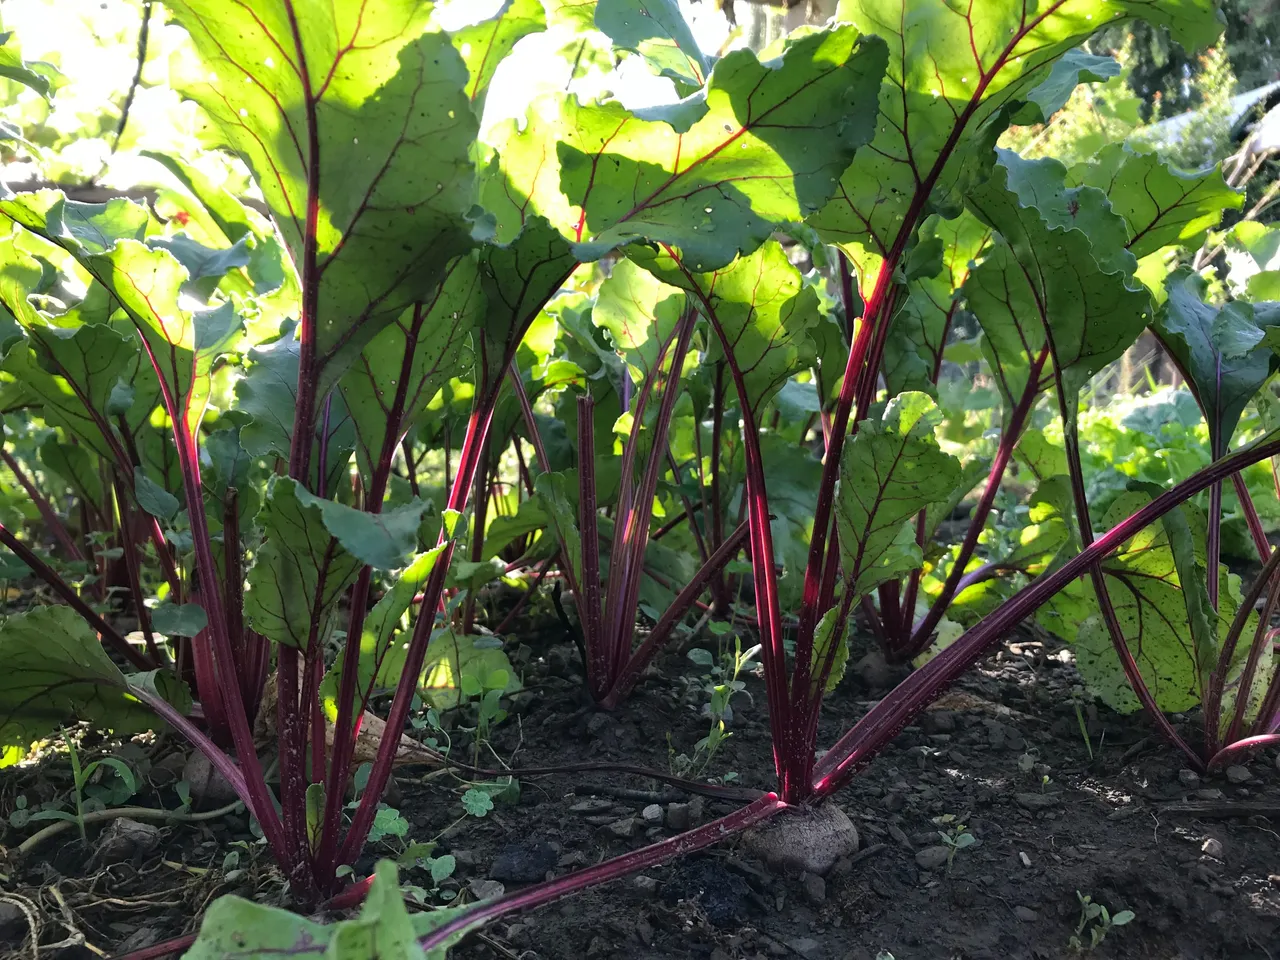
Underneath the structure the beetroot is super happy, anything but dead!
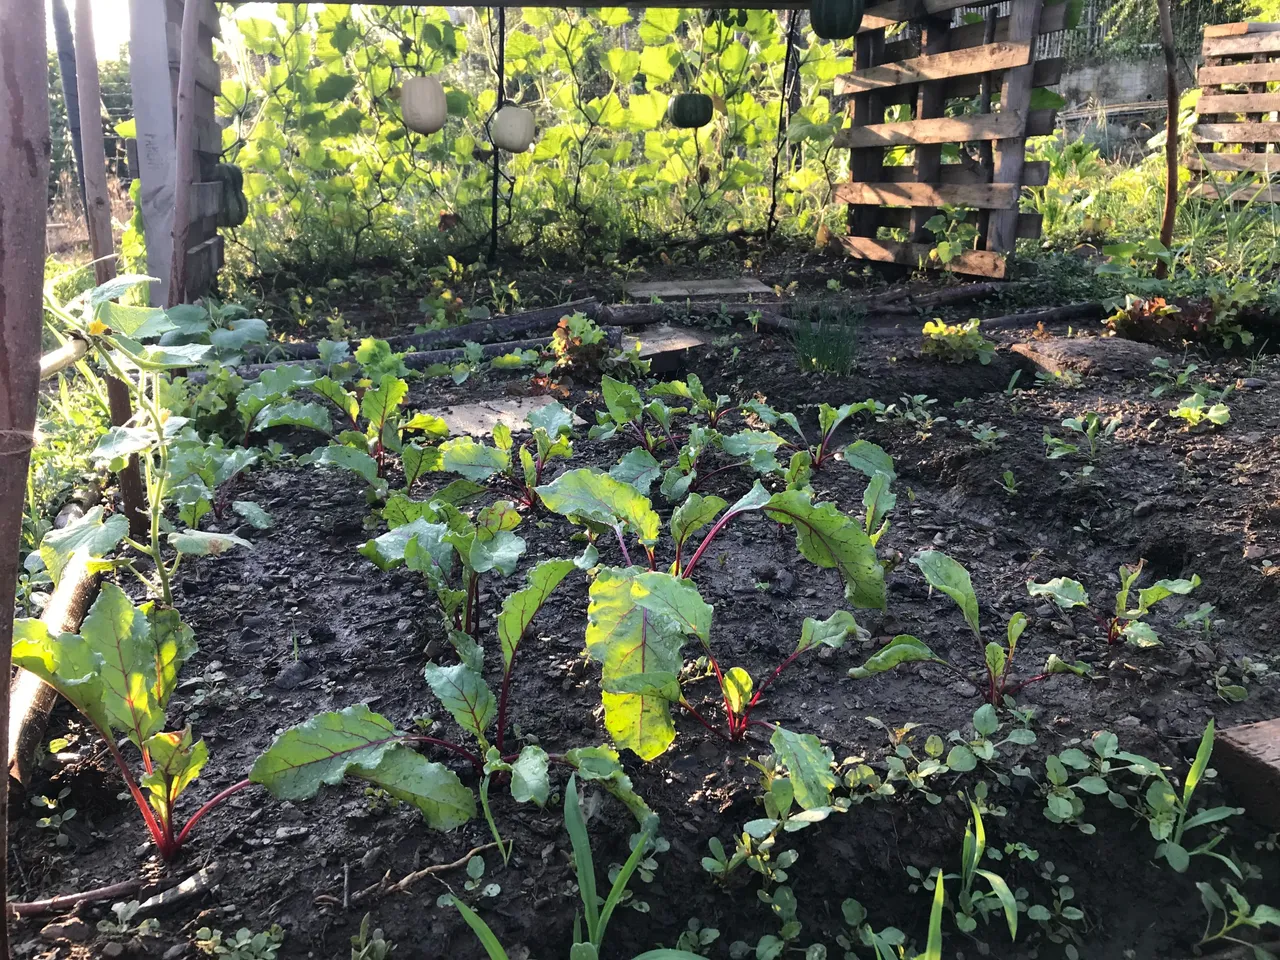
Not a single one died in fact. And the lettuce, chives and kale are also pretty happy there.
Love the way it looks at sunrise.
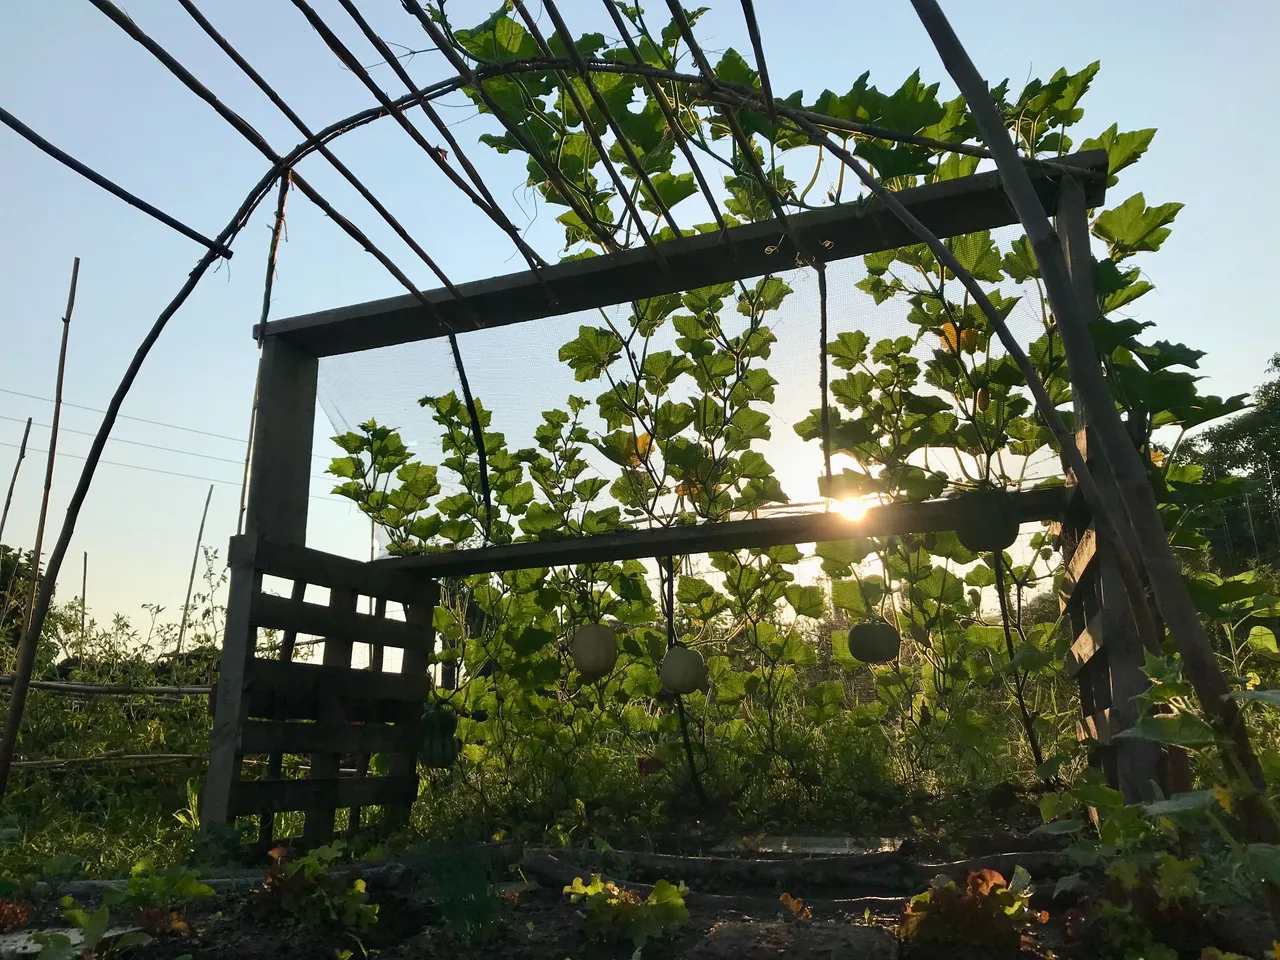
My 'roof' feels almost complete now.
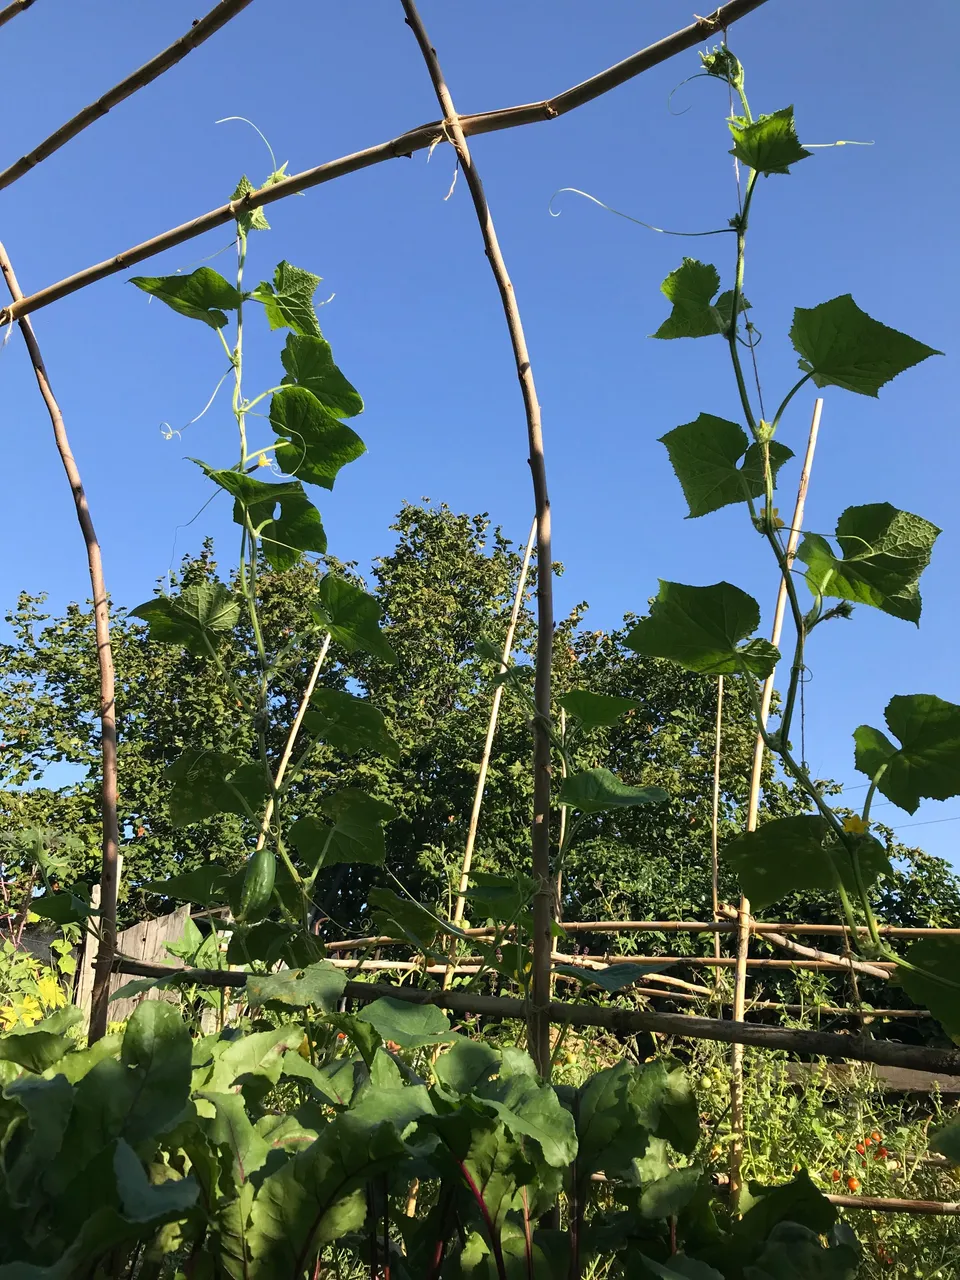
I planted cucumbers on the sides as I figured these would provide a bit of extra shade for the plants below.
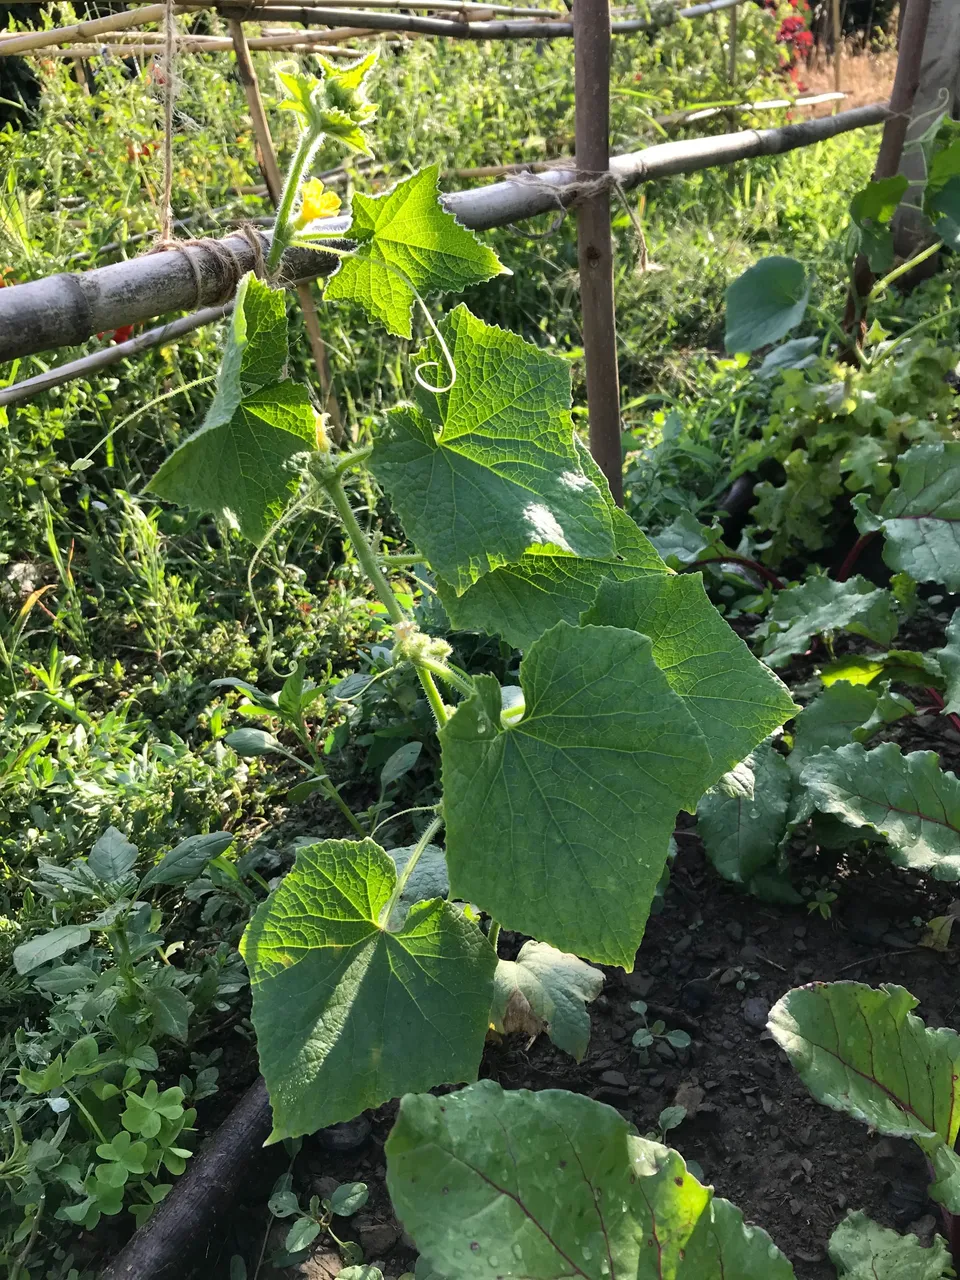
And I was right!

Each cucumber grows up a single piece of string. You don't need more than this in fact.
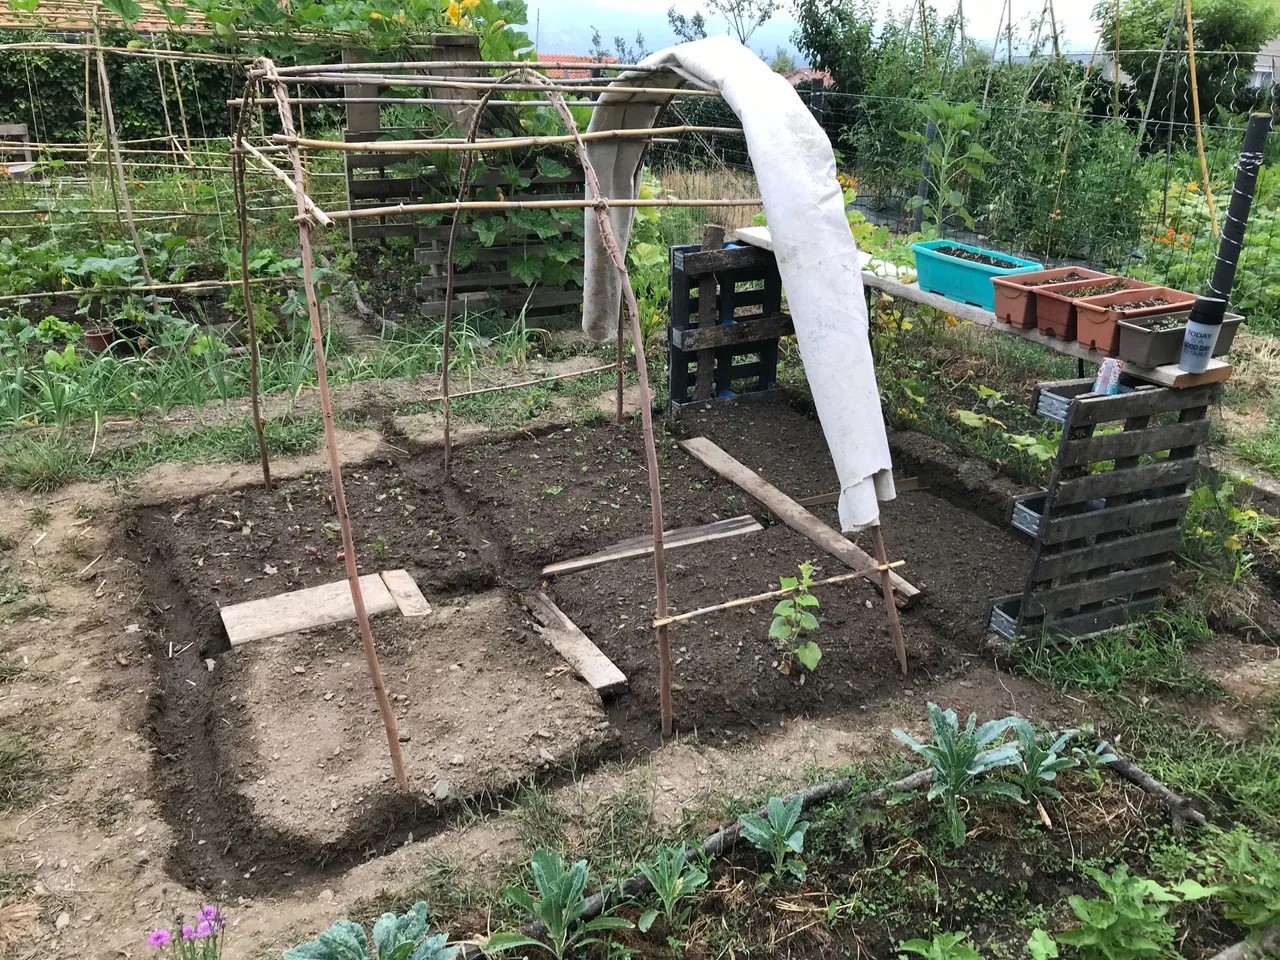
Moving over to the butternut house now, Esteban & I get to work.
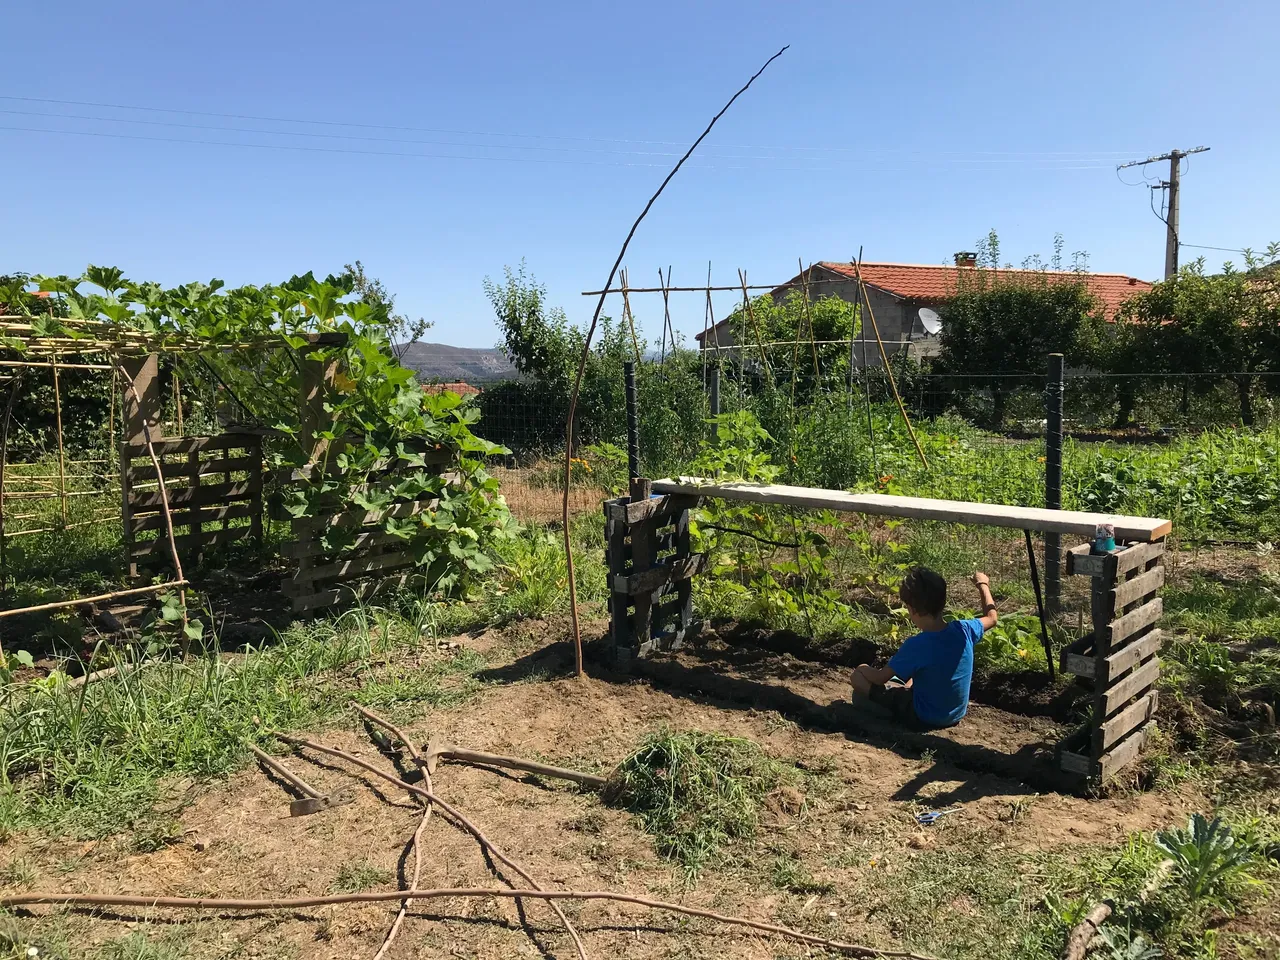
He really loves helping me dig the watering channels.
First stage finished here.
And now we are done. This time using a white piece of material for the temporary roof.
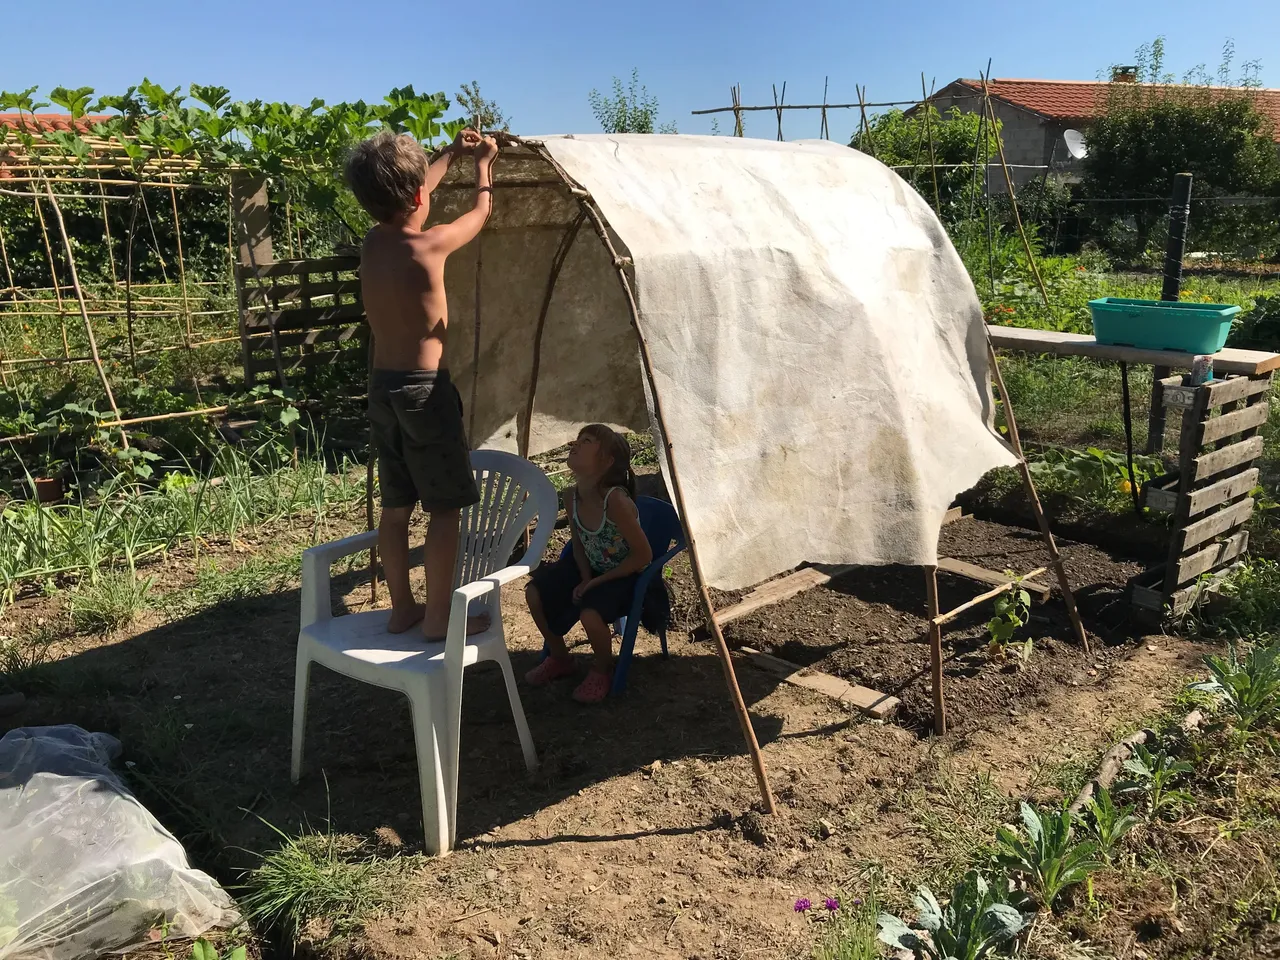
I like this cover because it can easily be rolled back on cloudy days.
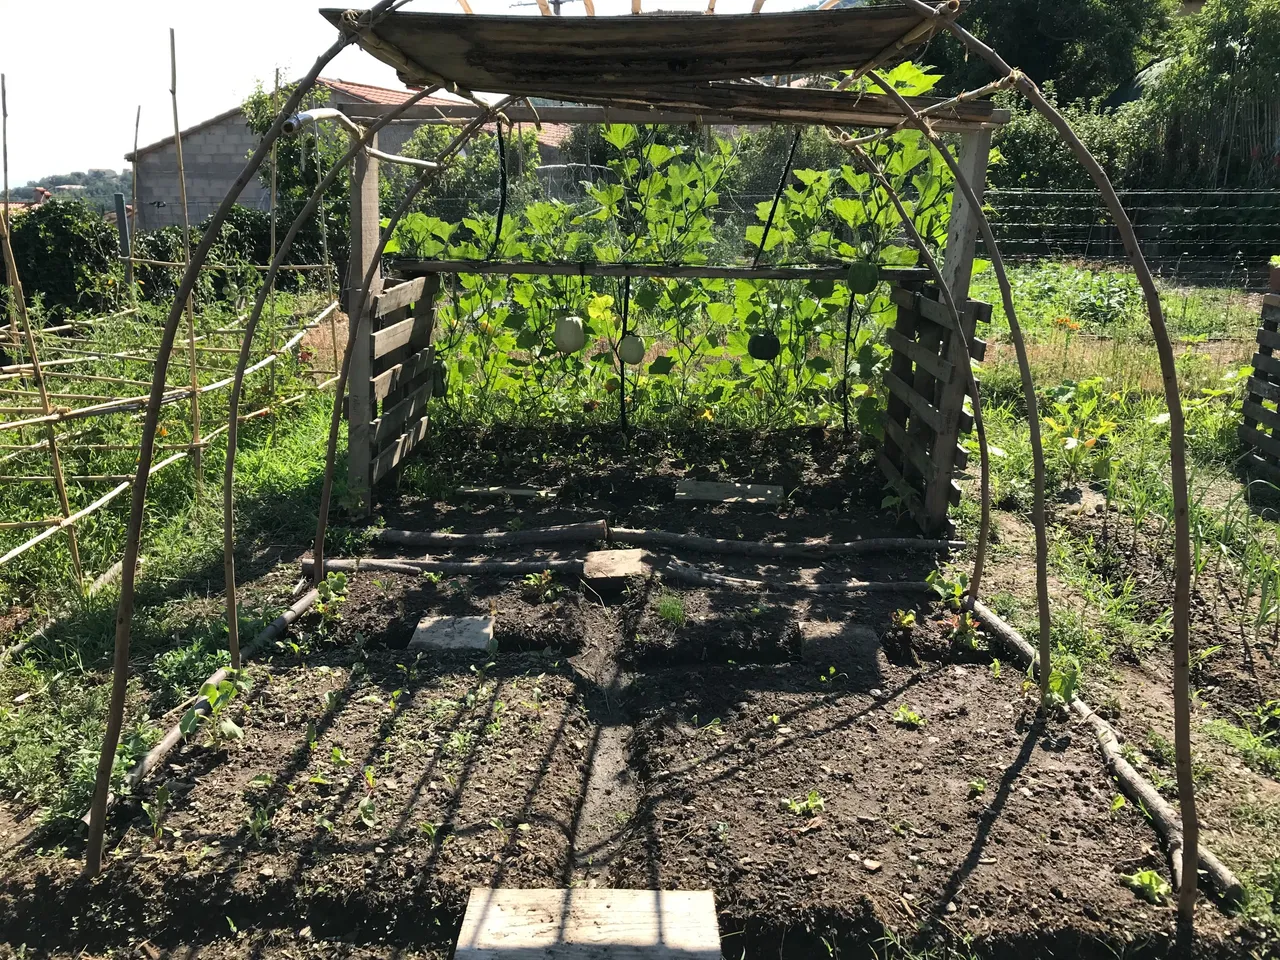
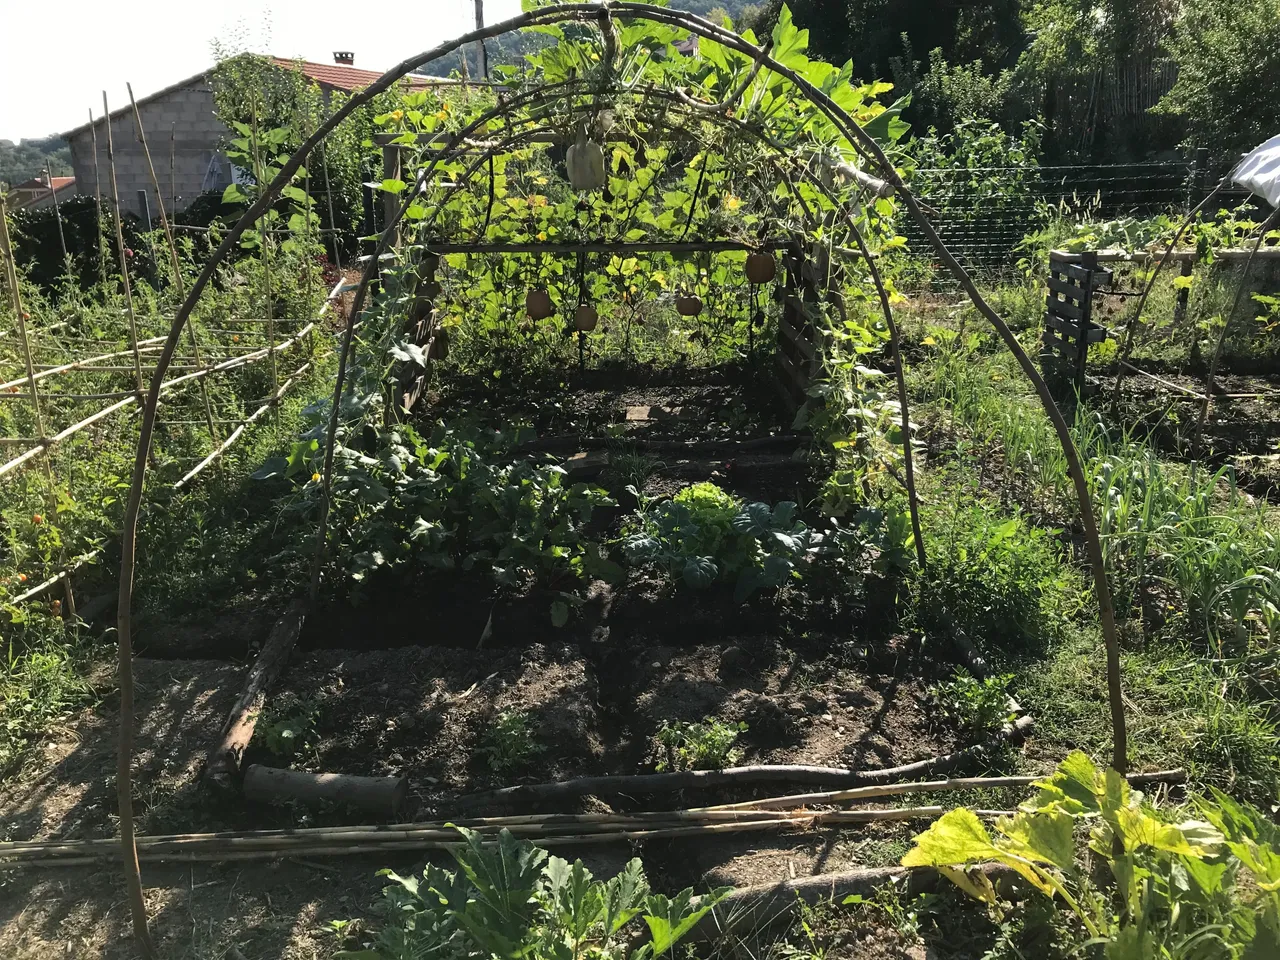
Over at the pumpkin house they have almost reached the end of the structure, once more prompting me to extend it.
And so, a few hours later the extension was complete, giving them a bit more space.
A beautiful sight to behold I think you will agree.
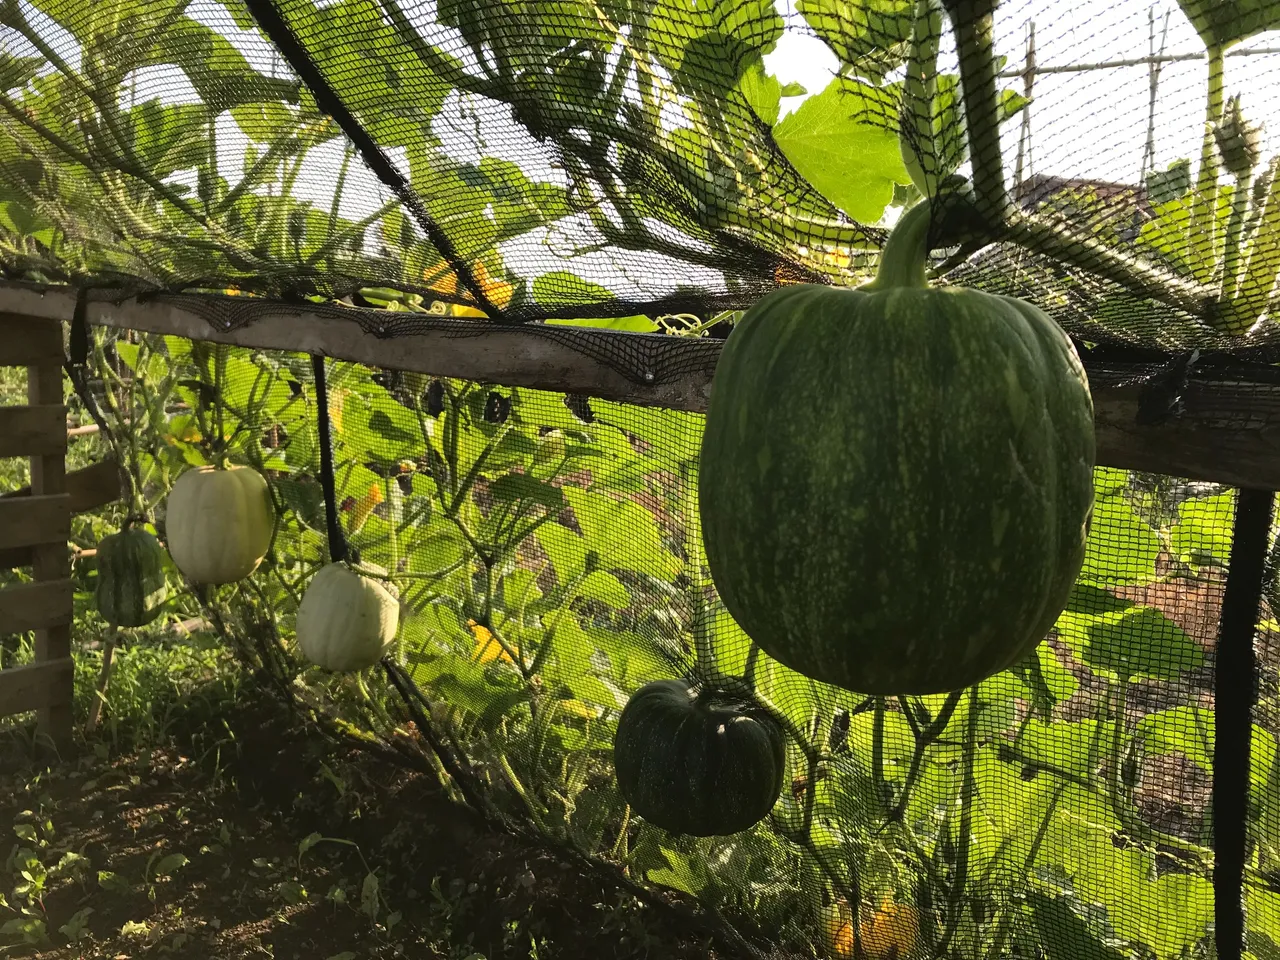
Some of the pumpkins need a little extra support so I used these nets to tie them up.
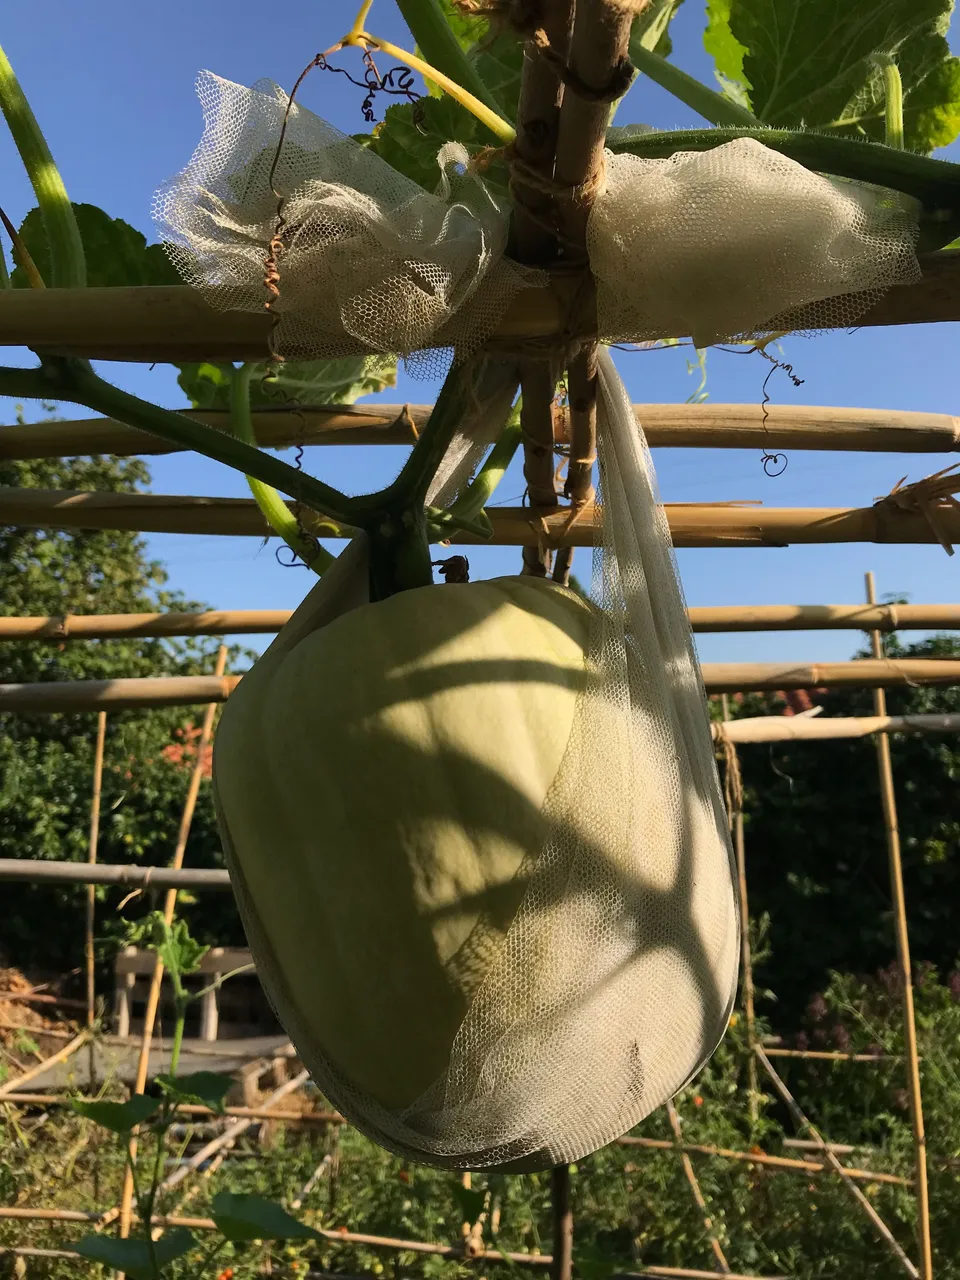
Esteban calls them pumpkin nappies ;)

Looks great right! A perfect roof to create dappled shade.
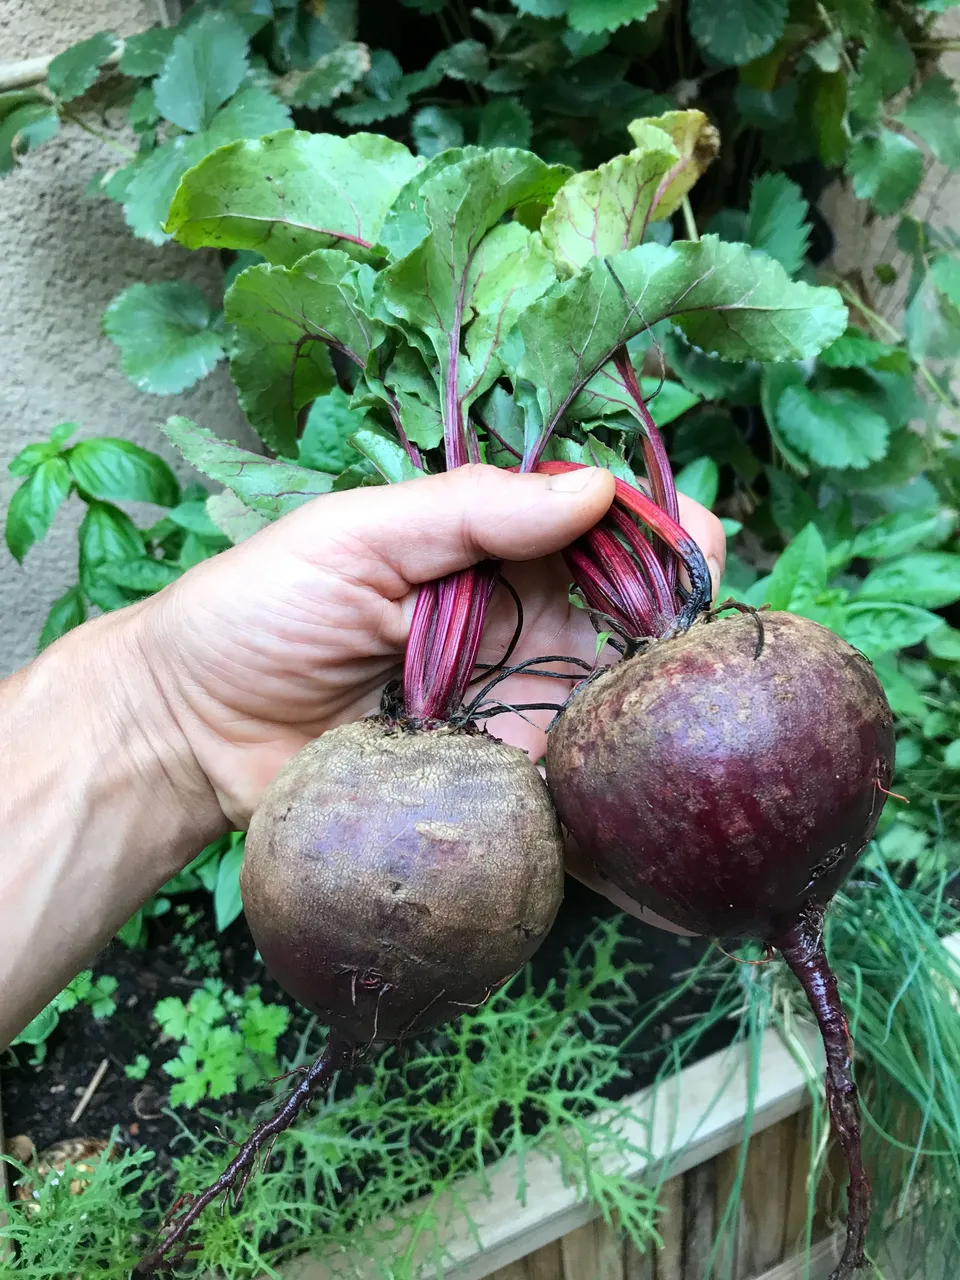
The beetroot plants underneath are truly magnificent.
Even better in my salads & juices ;)
Like I said before, if any of you have suggestions or ideas for other plants I might be able to use next year for creating shade, I would most interested to hear your thoughts. Or perhaps you have ideas about plants which might enjoy this kind of dappled shade underneath?
I was actually thinking about tomatoes as a potential candidate for the next roof but would have to keep them well pruned to stop them taking over the whole house.
So I think that's all I want to say about that.
I built a pumpkin house.
And it works :)
Love & Light everyone 🌱