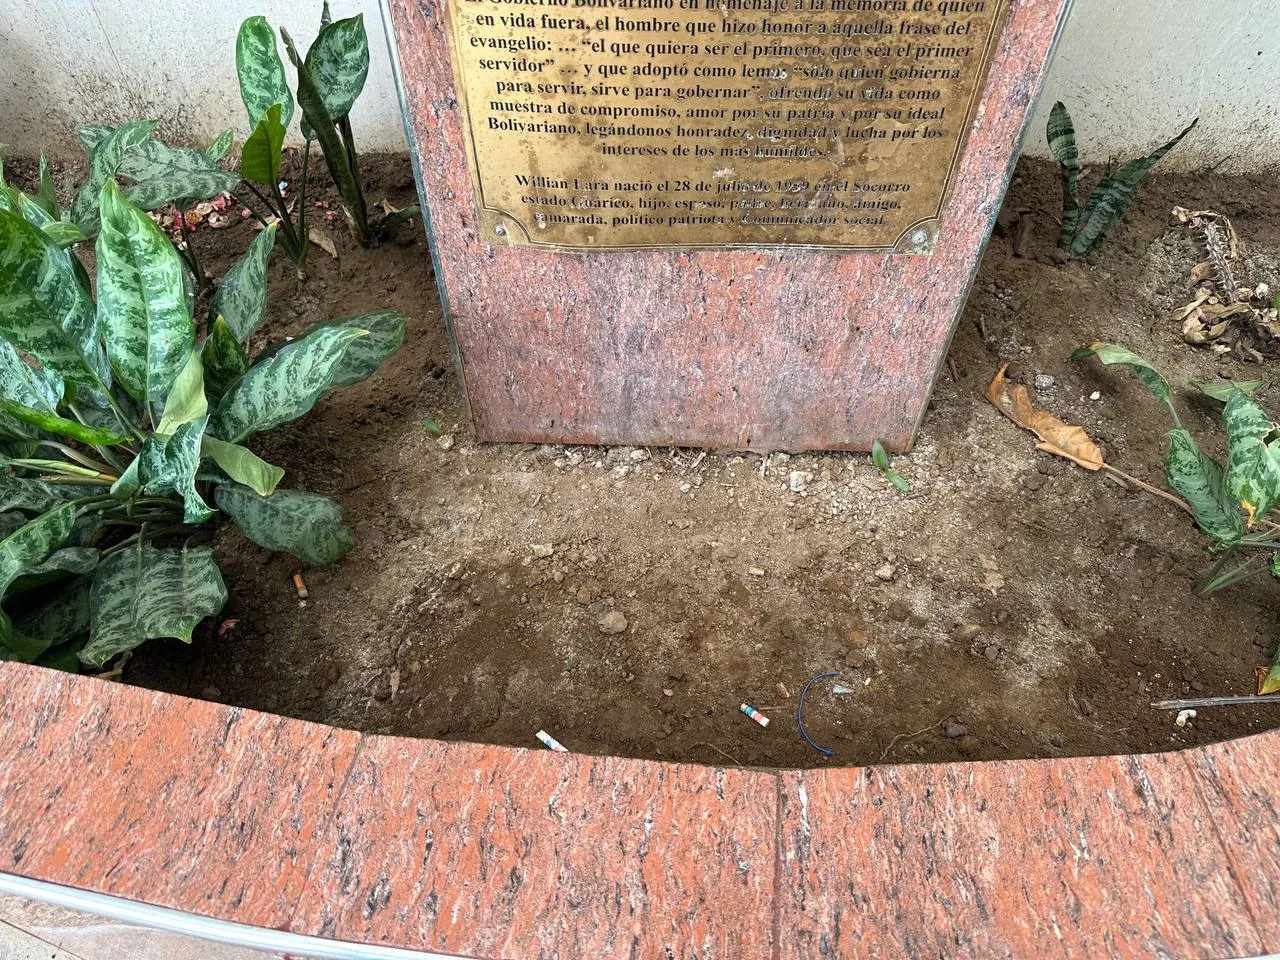
This process of beautifying the garden was not something that happened overnight, it took several days of work, however I will mention everything we did with my classmates to restore this space. When the diagnosis was made we could see as you can see in the picture that the place was in terrible condition so the first step was to clean the area as it contained a lot of garbage and food waste.
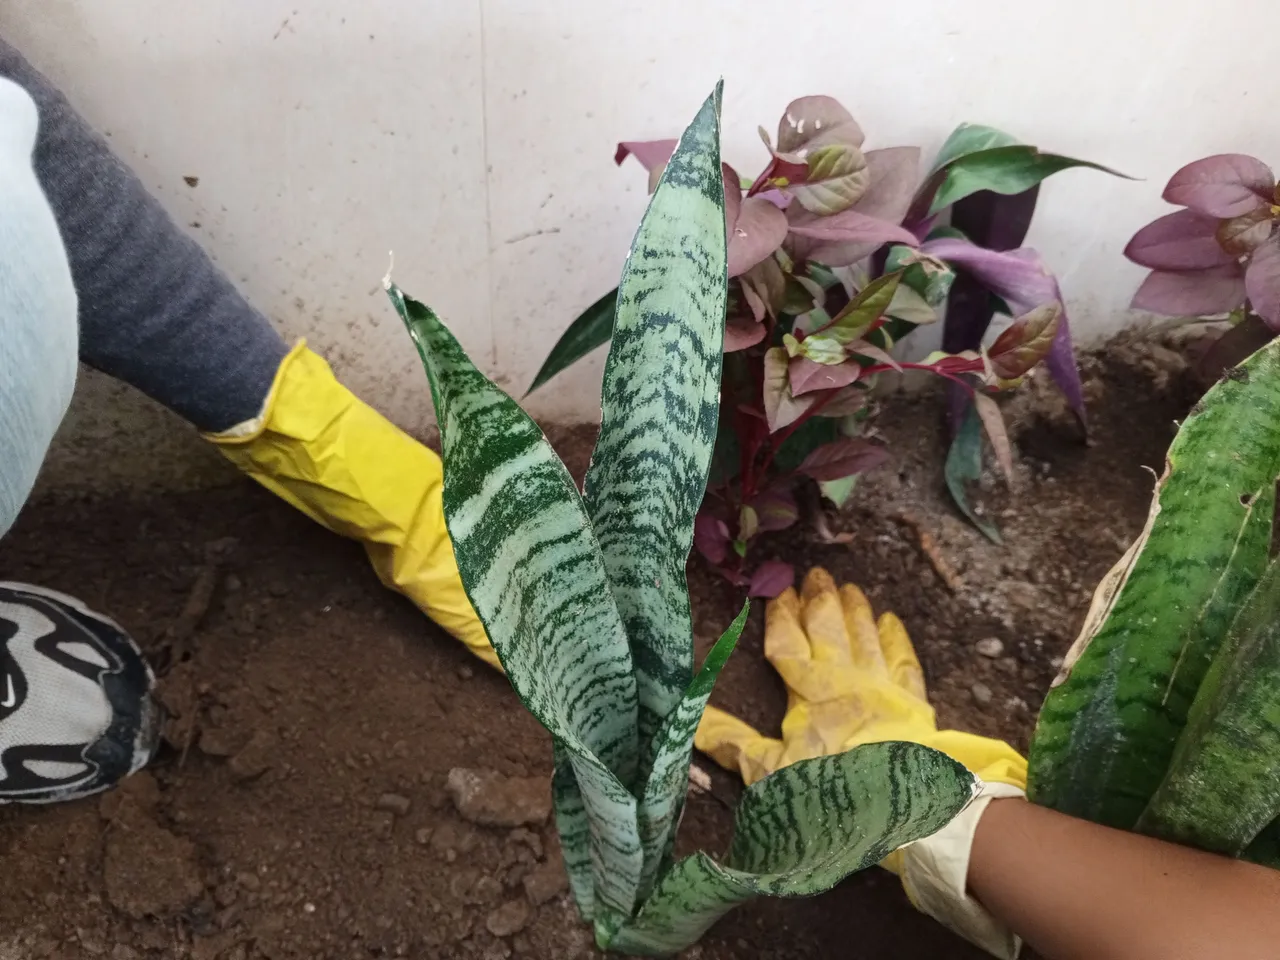
Once the cleaning was done, we proceeded to extract plants that were already dry and useless, we were left with plants that at first sight were alive and colorful, among them were the commonly called "mother-in-law's tongue" which was perfect for this type of spaces.
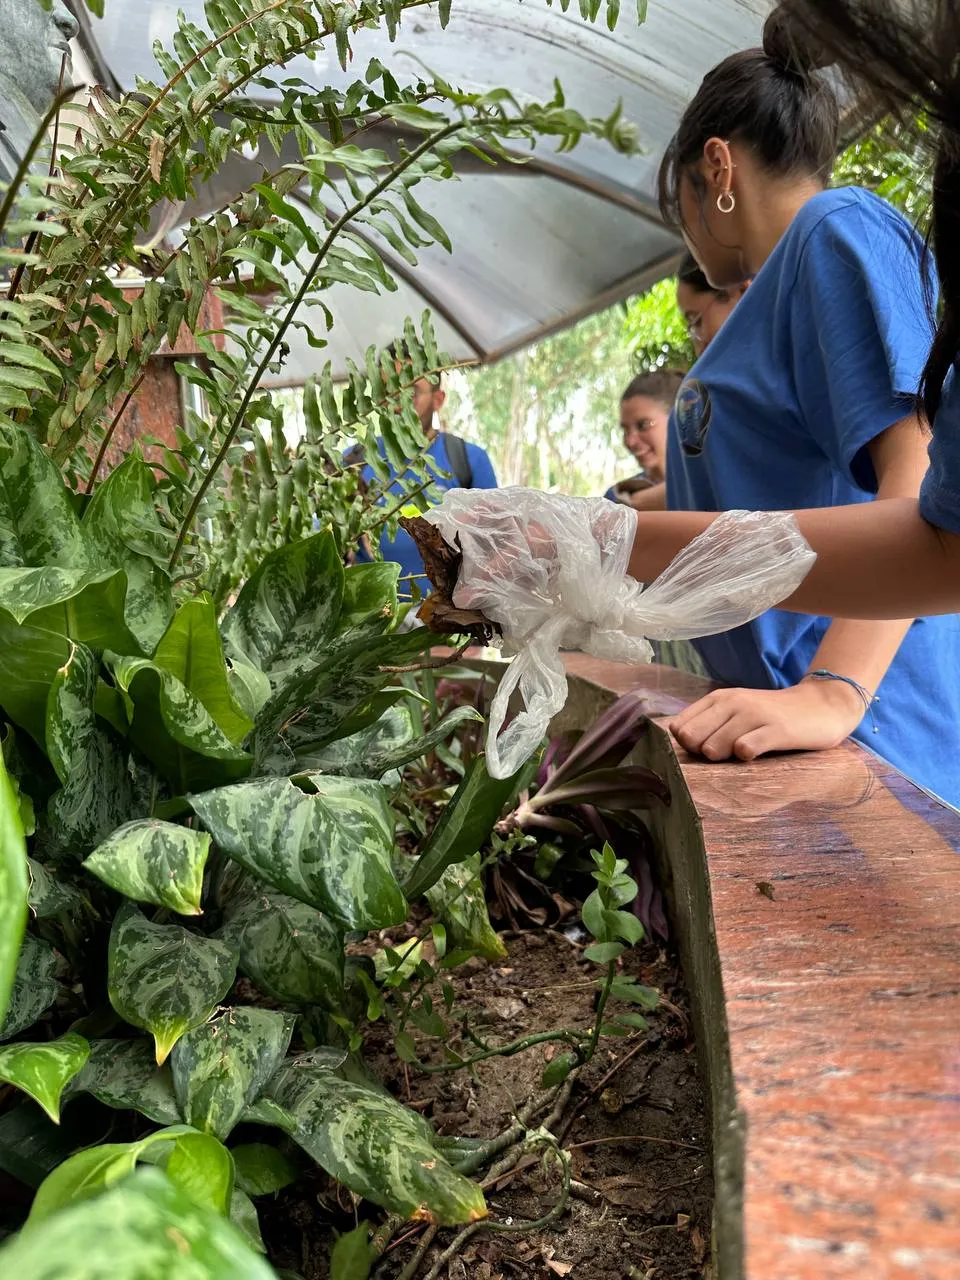
After the cleaning, which was quite deep because in this garden there were many plants, some of them that were in good conditions could be saved and later transplanted to another garden of the same university, but others that had no salvation were thrown away because they were almost dead.
Once the land was ready we took the next step which is the most complex because it is much more work than the previous processes because in stage we looked for plants in the nursery we were recommended the Amaranthus dubius and Laurus nobilis or also called laurel so that was the one we bought for the garden because it seemed that they were adaptable and beautiful for the place.

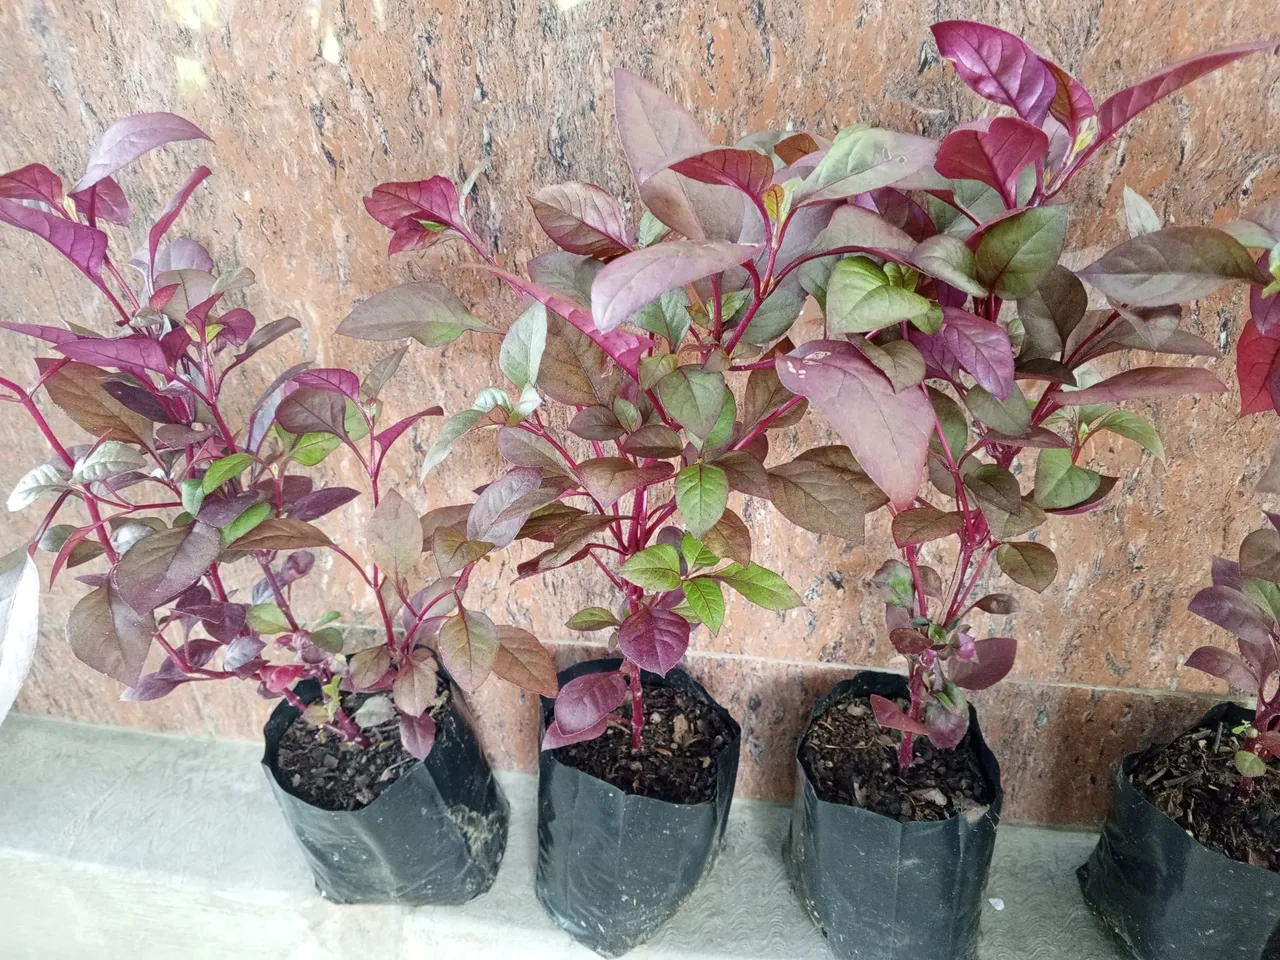
We bought about 8 plants, 4 of each species because the main idea is to place four on the right side and the other four on the left side so that visually it looks uniform and balanced but for this to happen the first thing you have to do is to open the holes, this time being plants and small spaces was done with the help of a knife and hands to remove the soil (it is important to wear gloves to take care we do not know what kinds of diseases or elements can be removed from there).
The holes that were opened were not very deep, about 10 to 15 centimeters deep enough to place the plant and start filling the hole again with soil covering all the roots up to a suitable height of the stem.
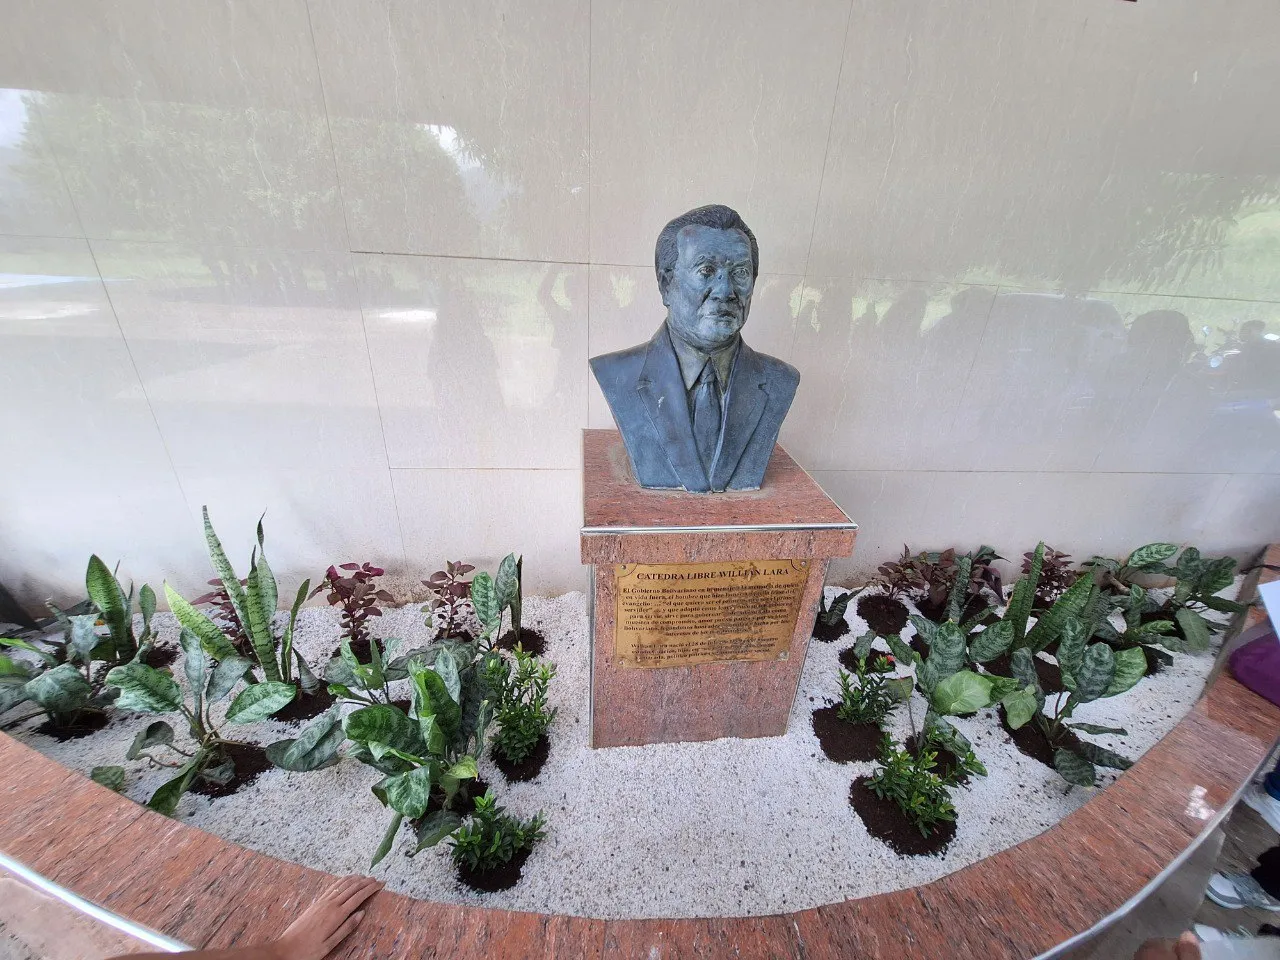
This process was done over and over again until all the plants were placed in the space, after we saw how it was looking we thought it was missing something and that is where we decided to fill with small white ornamental stones and thus give life to the garden, decorating every inch of the garden we got down to work and this was the result.
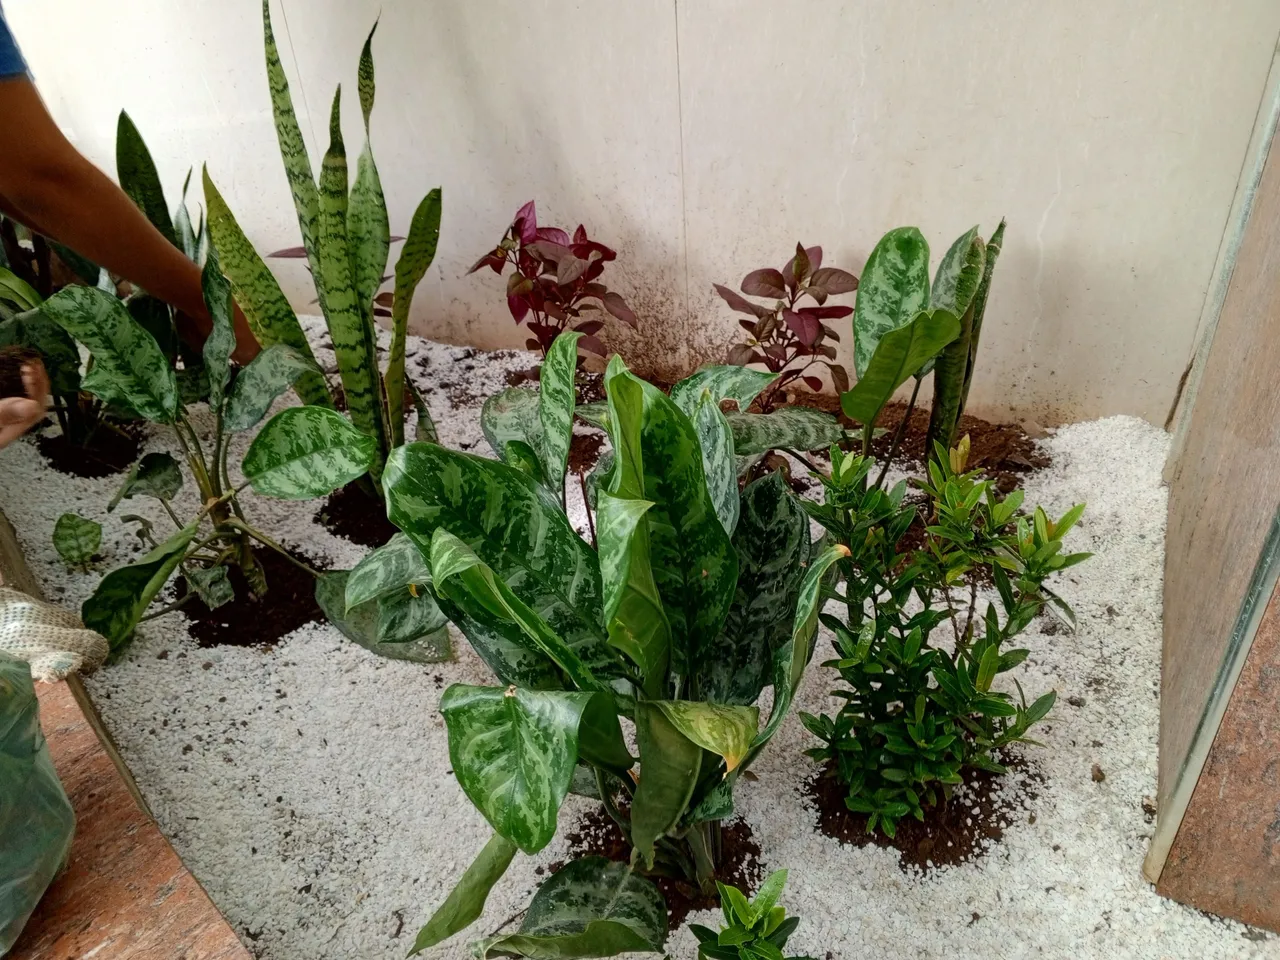
Finally, to make it look more aesthetic and eye-catching, we put compost at the bottom of each plant to finish this arduous work of beautification of my university's garden.