Ever since the sight of a bonsai tree ignited a strong desire within me to not only experience its beauty but also to eventually own at least one of these beautiful creations as a "lifelong companion". I so wanted to own one without hurting my wallet by its cost.
One time I was watching an interview on how Japanese people cultivate Bonsai Trees (insert those magnificent Japanese Bonsai Trees!) and I was astonished at the art of growing it, what amazed me more upon watching the interview was I learned that growing a Bonsai Tree often spans generations, (with the first generation planting and nurturing it, while the next generation witnesses the Bonsai's full growth and the craftsmanship it carries with age).
It's amazing and surprising to imagine the patience, dedication, art, and care for a very long time that is passed on to the next generation. Thinking of those old-age Bonsai beautifully and intricately crafted and cared for, I wanted to have one of my own. Huhu. However, I can't help but wonder, is there a cheat code for growing Bonsai and having one? I wanted to acquire one that is as old as me, much better older than me.
Ting! 💡 An idea came!
My visit to Kapenarra the home of the most grown Bonsai in my countryside made me discover the secrets of growing Bonsai. The caretaker told me that it was their late boss's hobby to hunt old trees that are suitable and candidates for a good Bonsai tree in the forest or the cliffs of the coastal area and then transplant them into the container. From there I got the idea of how to start and have our own. So I happily shared this with hubby and he interestingly searched for DIY tutorials on YouTube.
You can read my last visit to the Bonsai Garden here.
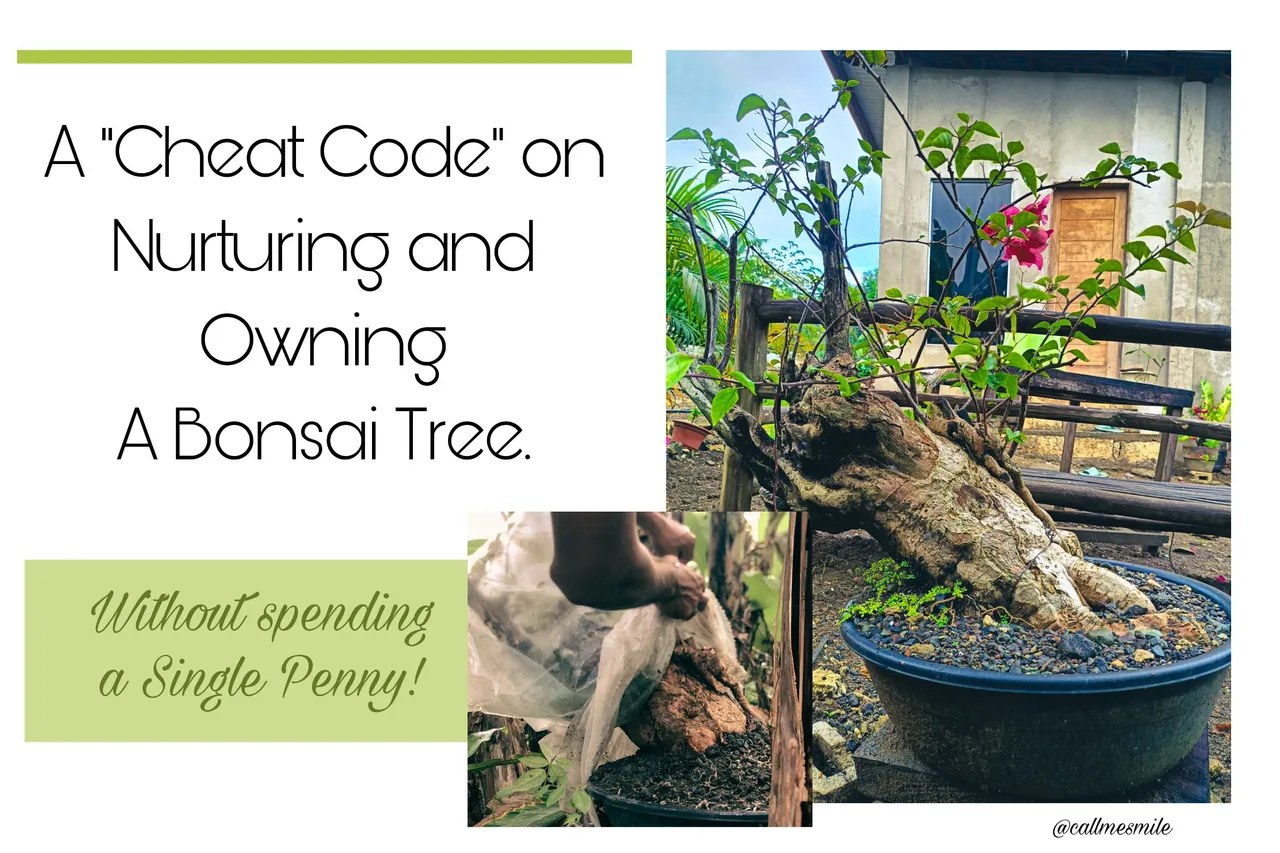
So today, I'm sharing our DIY but more on the experimental side of how we acquire and nurture our old Bonsai bougainvillea tree, a cheat code. 😎
Immediately my husband went out for a hunt. Luckily he remembered the old Bougainvillea his grandparents once had in the mountain that is now abandoned. He said, that even before when he was a kid, the Bougainvillea was already there blooming with flowers but his grandparents needed to abandon the place and relocate near the streets.
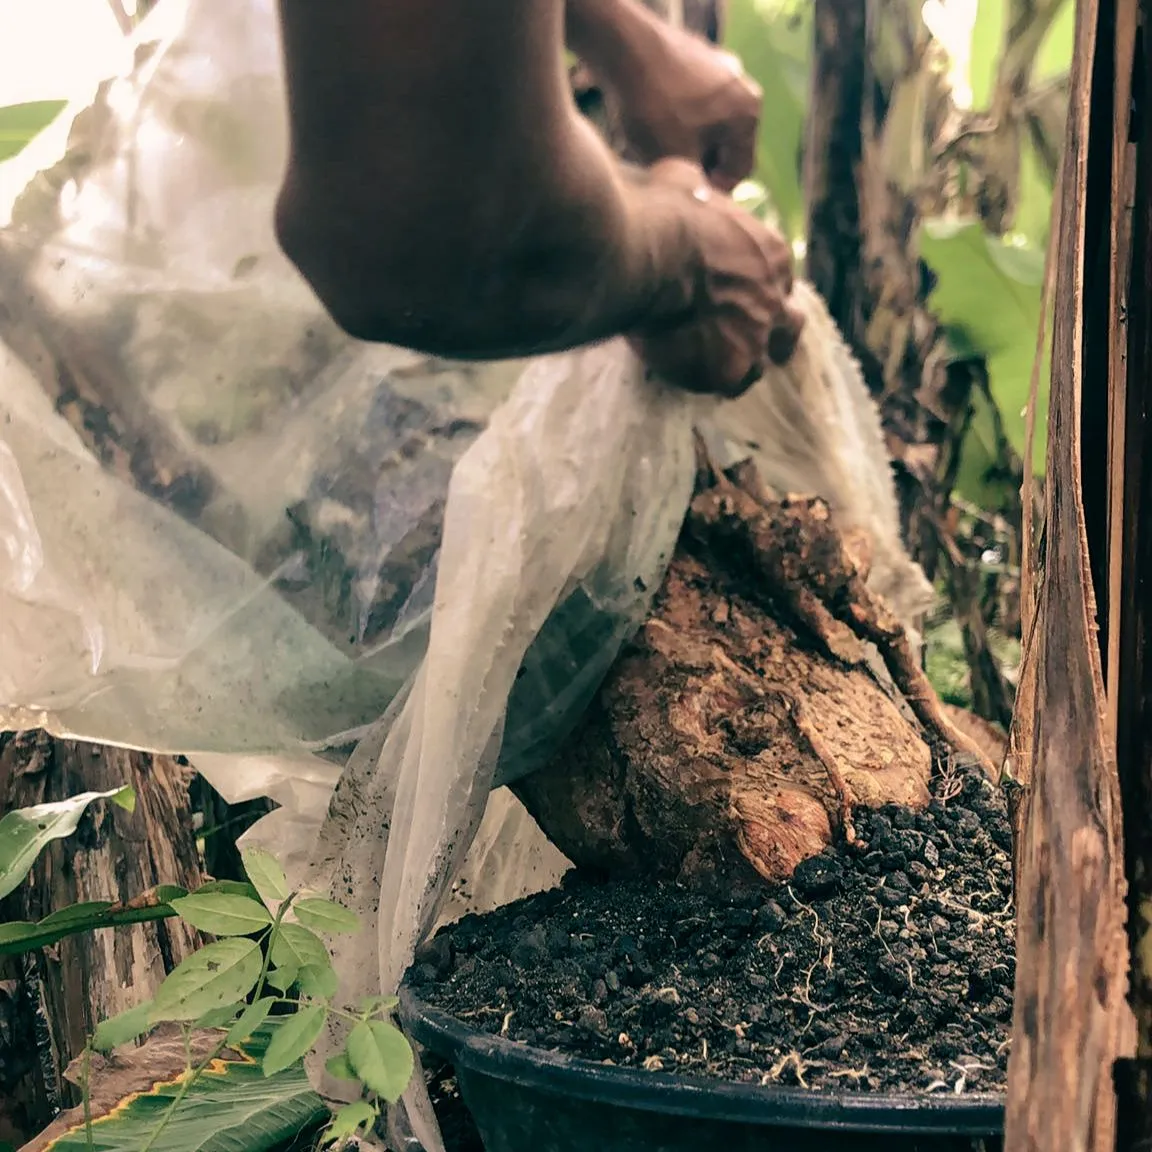
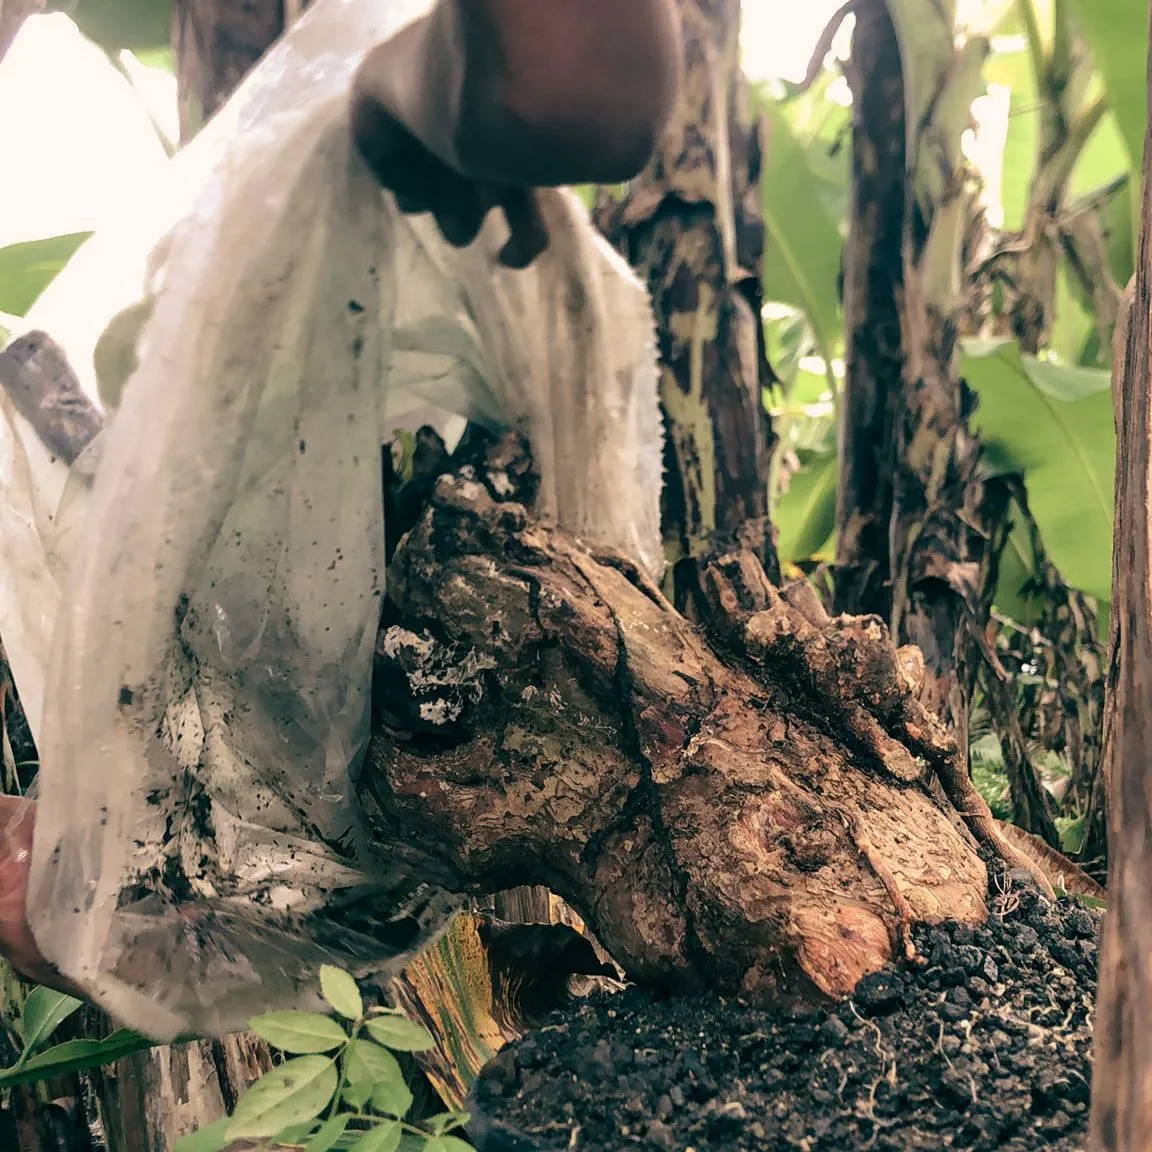
We carefully uprooted the Bougainvillea from the mountain ensuring that the roots were preserved and intact, we then transplanted the tree into the container that we prepared at home. Oh, you might be thinking of the whole giant tree, but it's not what you are imagining.
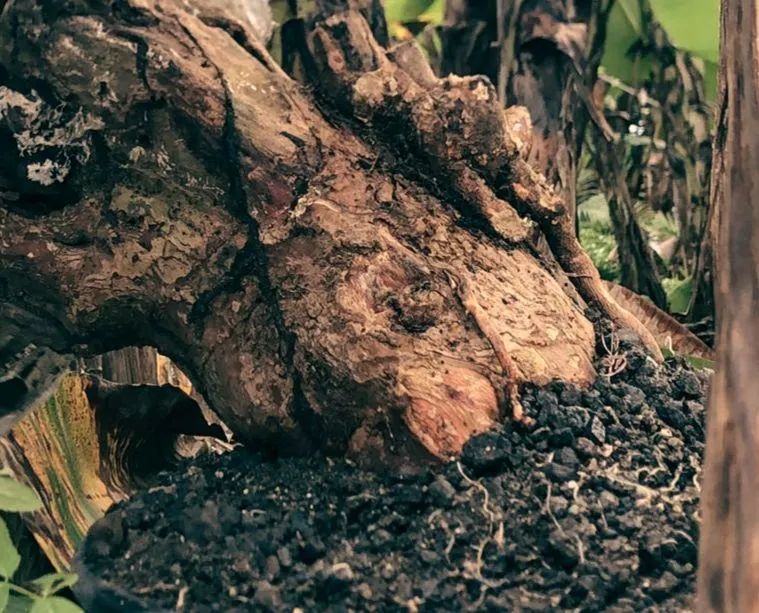
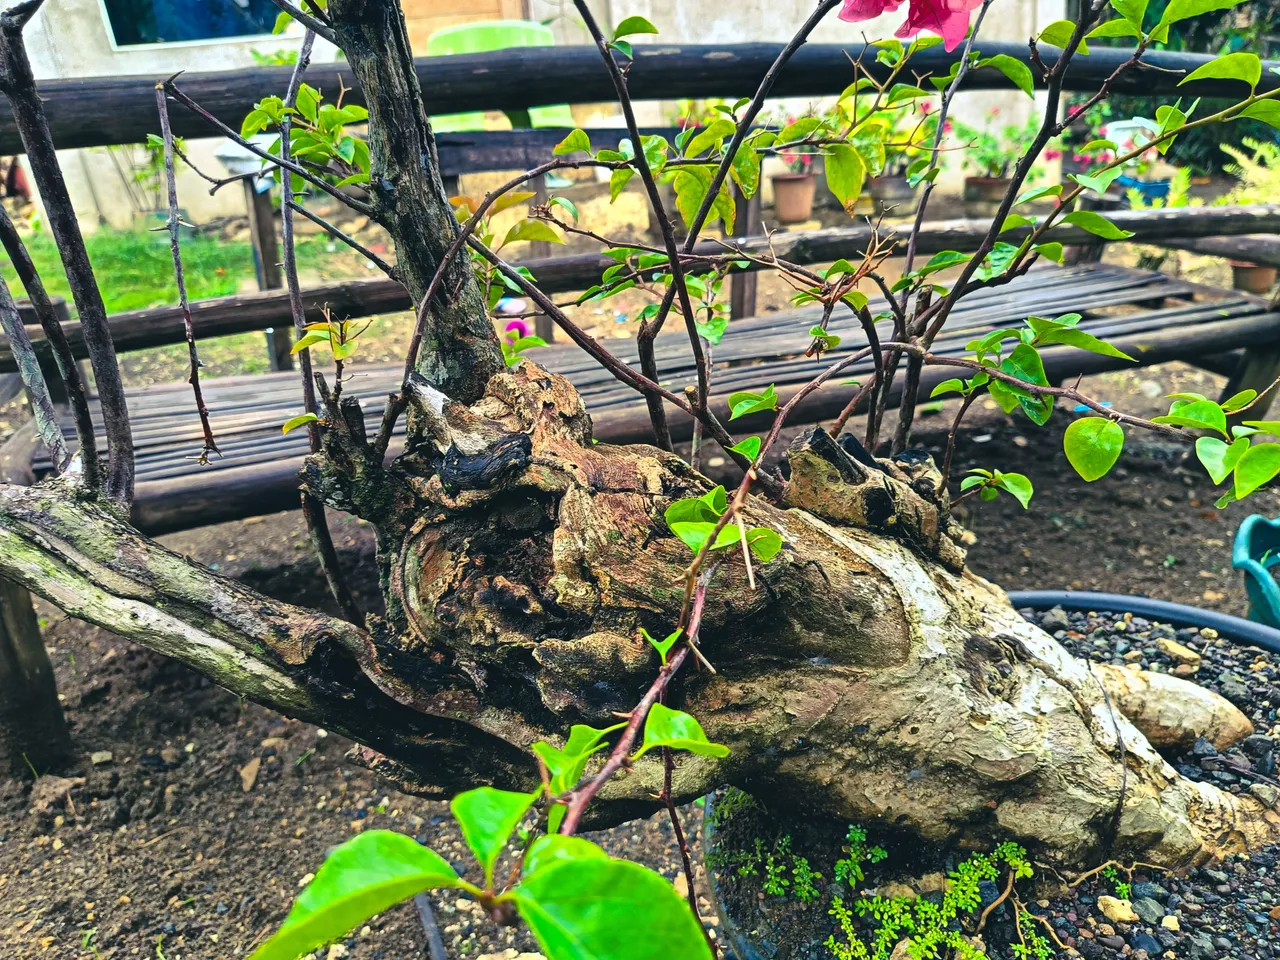
We first pruned the Bougainvillea leaving the few branches (that we think have a good design). As a result, what remains are primarily the base stem and a few well-chosen branches.
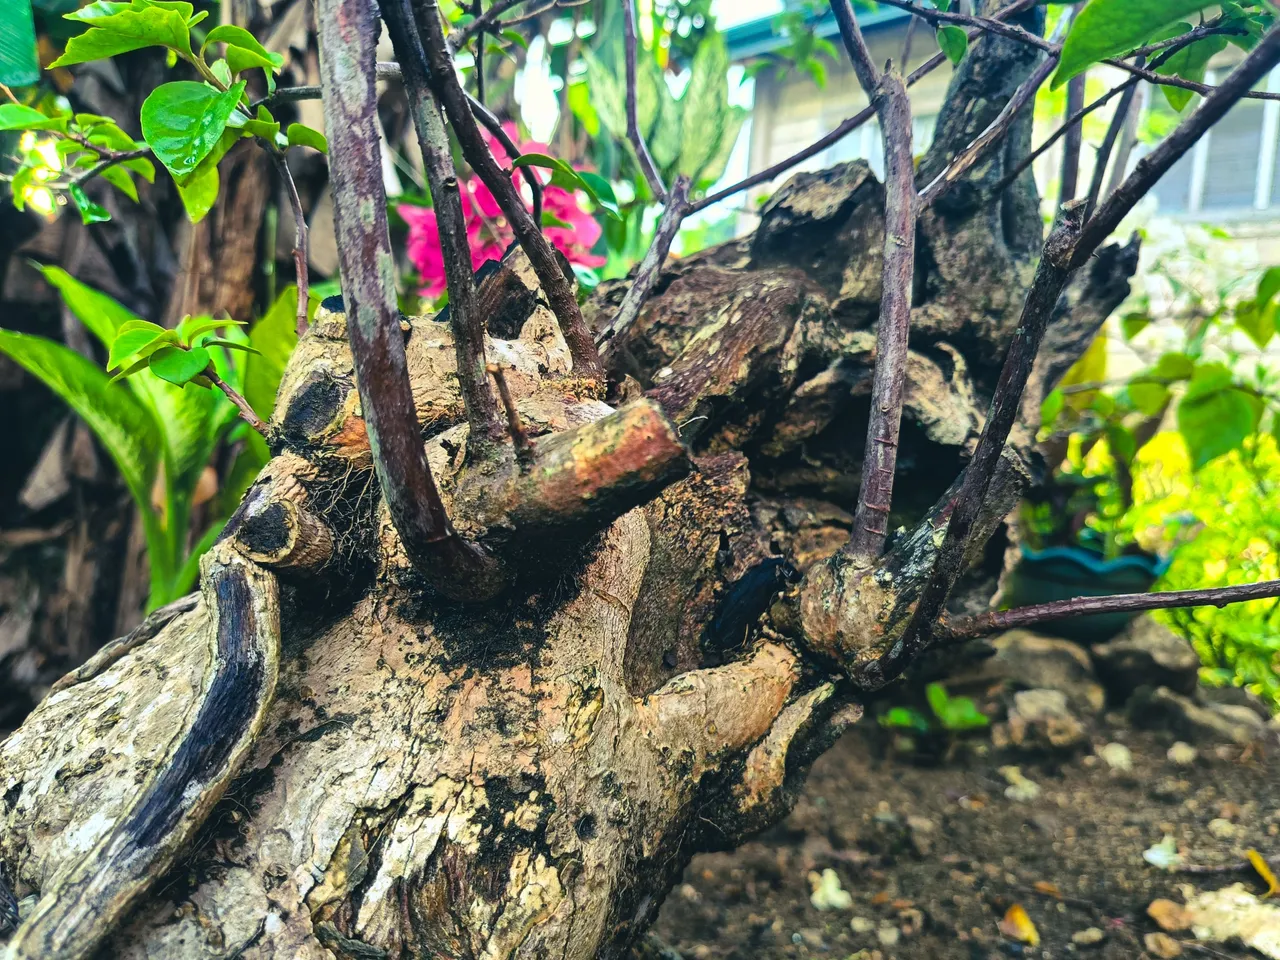
As for the soil preparation, we used a mixture of "loam soil, sand, and pebbles" and placed them in a plastic container. We put holes in the container for water drainage and for tie wires to secure the tree's position within the container.

As soon as we had everything and the newly hunted tree, we transplanted it right away.
The experiment begins. . .
When we had everything prepared, we covered the newly transplanted tree with plastic, but before that, we poured a cup of water into the soil first to make it wet and then covered it tightly with plastic. This is done to provide a controlled environment for the tree giving it enough humidity and for it to adapt gradually to its new growing conditions. By the way, we put tiny holes in the plastic so a small quantity of air could get in.
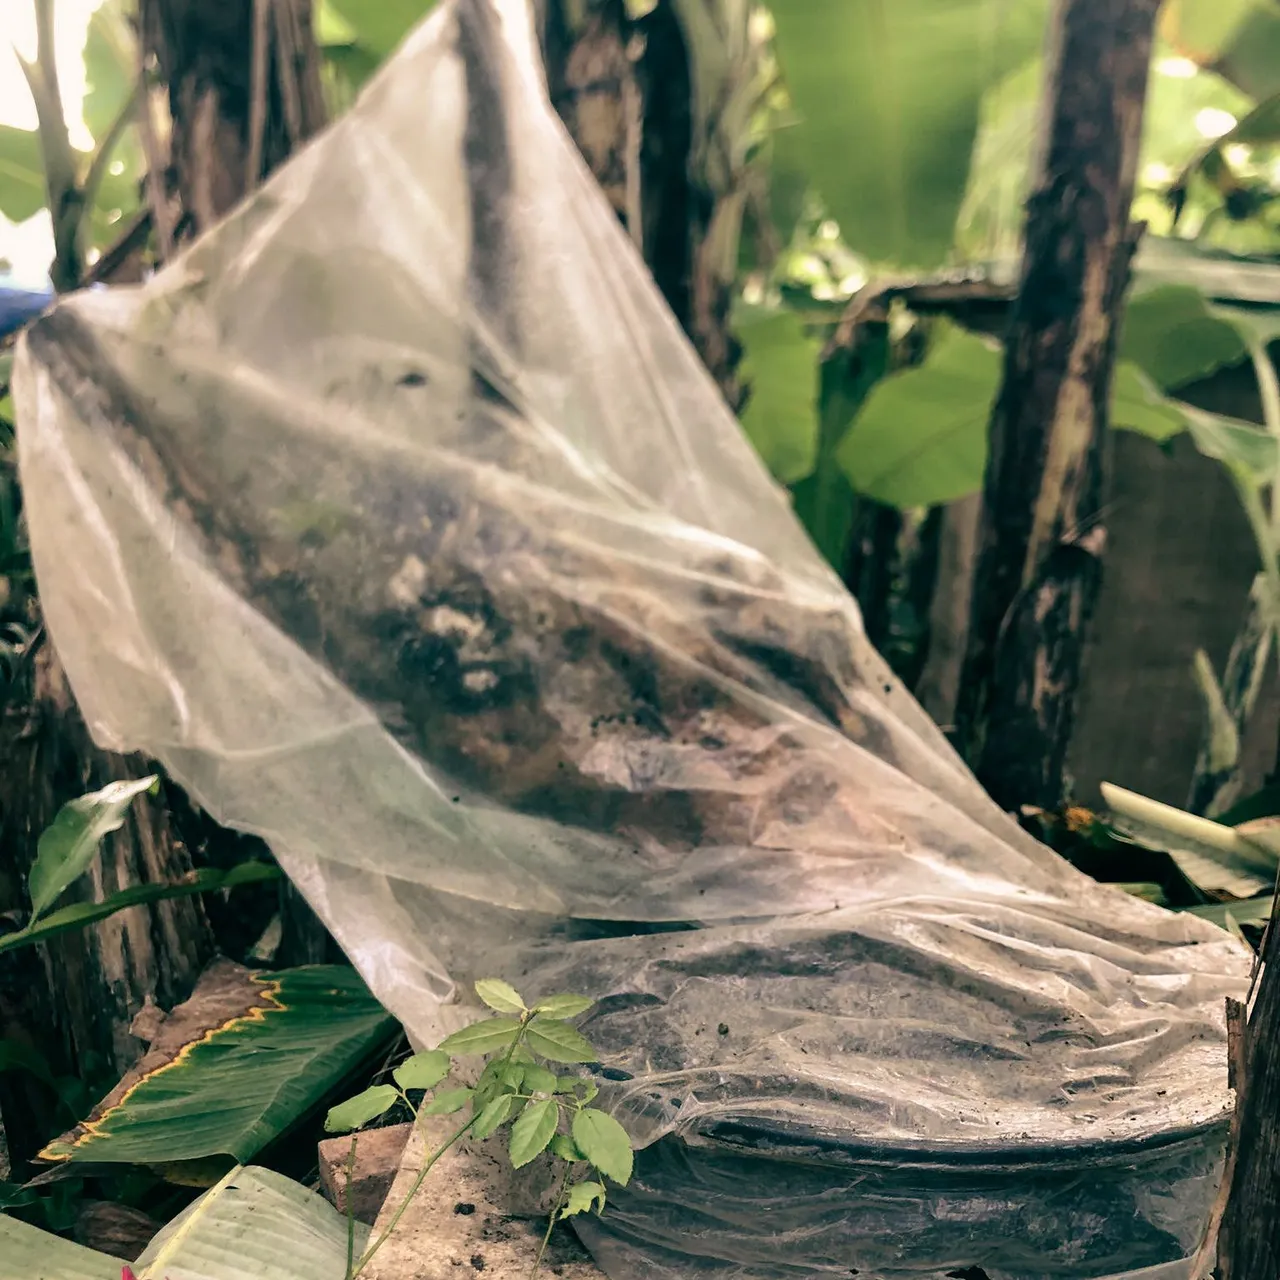
I have high hopes for our experiment. Though as per YouTube tutorial, this process will mostly yield positive results, however, it says that it depends on the type of tree, the type of weather, and the type of growing conditions.
With each passing day, my optimism grew, anticipating the emergence of fresh leaves on our recently transplanted bonsai tree. The first week had passed and all I saw was the plastic covered with condensation, the second week mirrored the same. It's on the third week that my hopes wavered a little and I was thinking that this experiment would fail. Huhu. I pondered whether a different tree species might be the answer. Regretfully, I couldn't help but feel sorry for the old Bougainvillea tree we had uprooted.
However, it was during the fourth week of this experiment that we finally glimpsed a heartening sight through the misted plastic—a cluster of vibrant green leaves had begun to show, signaling the triumphant start of our bonsai's new life! Yeaaaayy!!!. I was filled with eager anticipation as each day passed. I couldn't wait for the time to finally see the Bonsai with its fresh beginning. Finally, on the 30th day, we carefully opened the plastic and there it was - our bonsai's new journey, flourishing within its container.
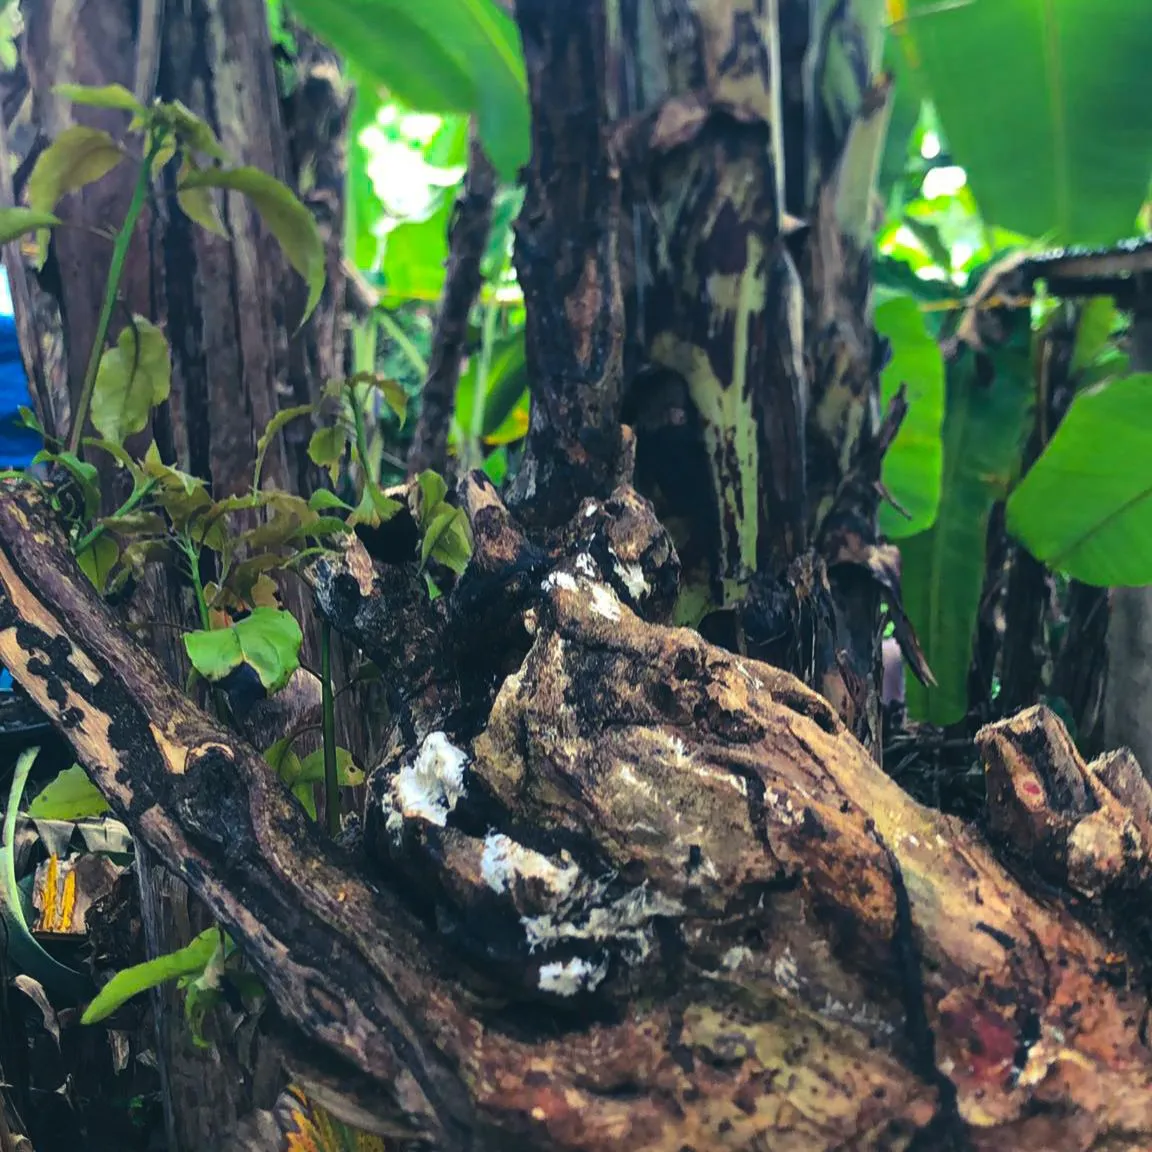
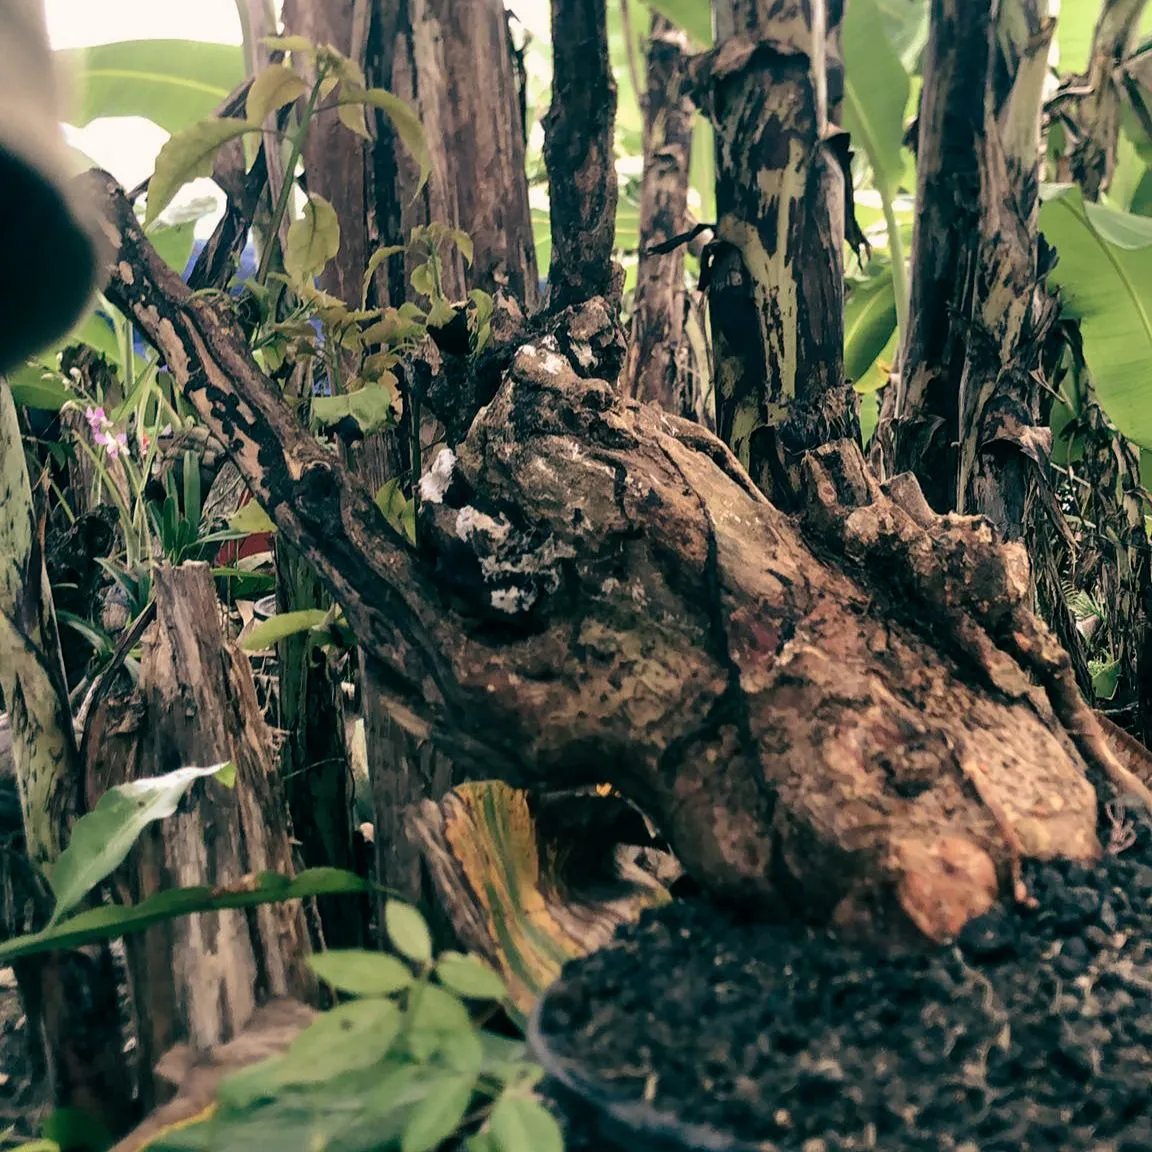
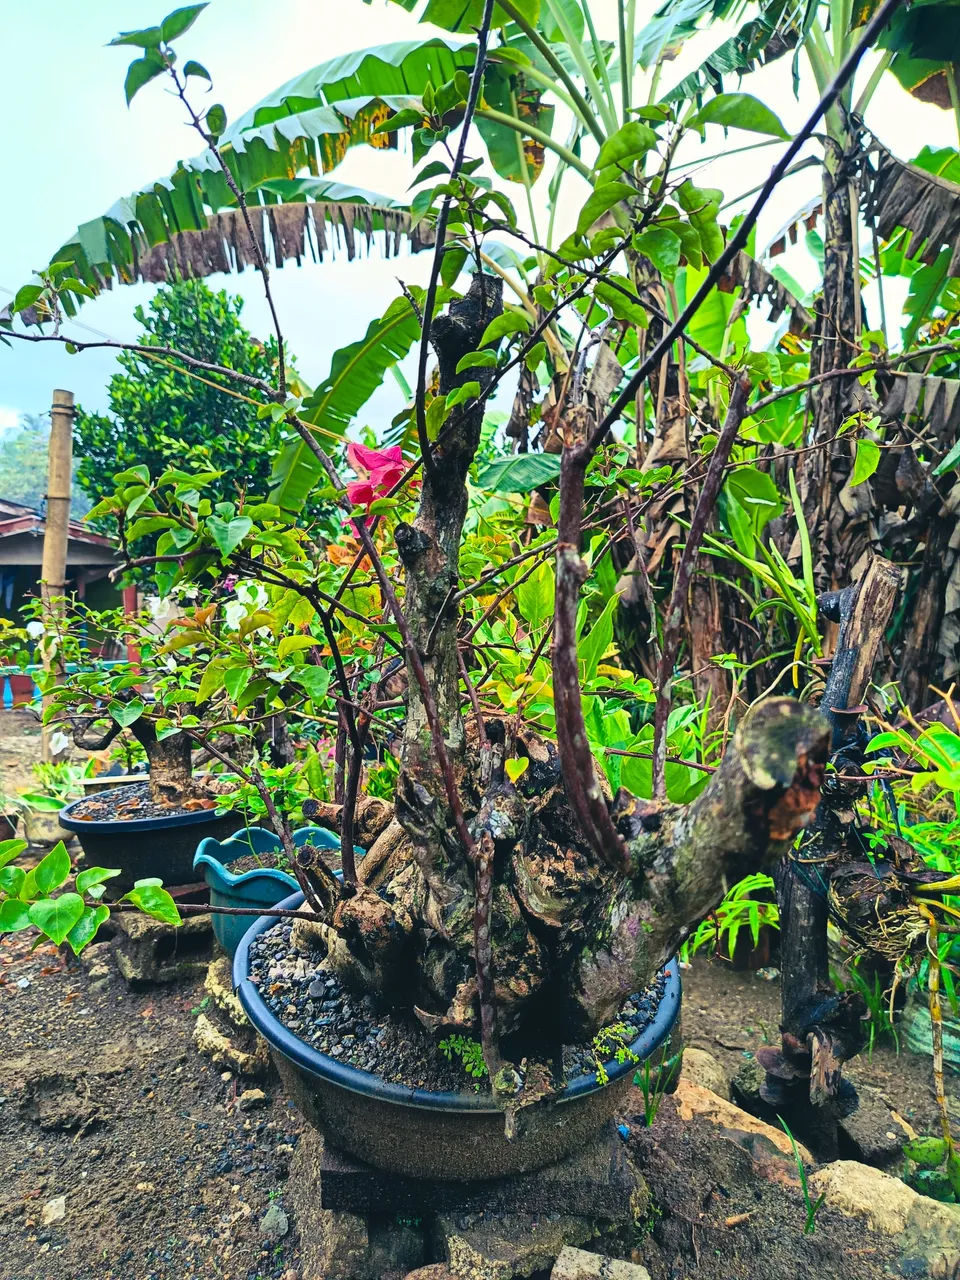
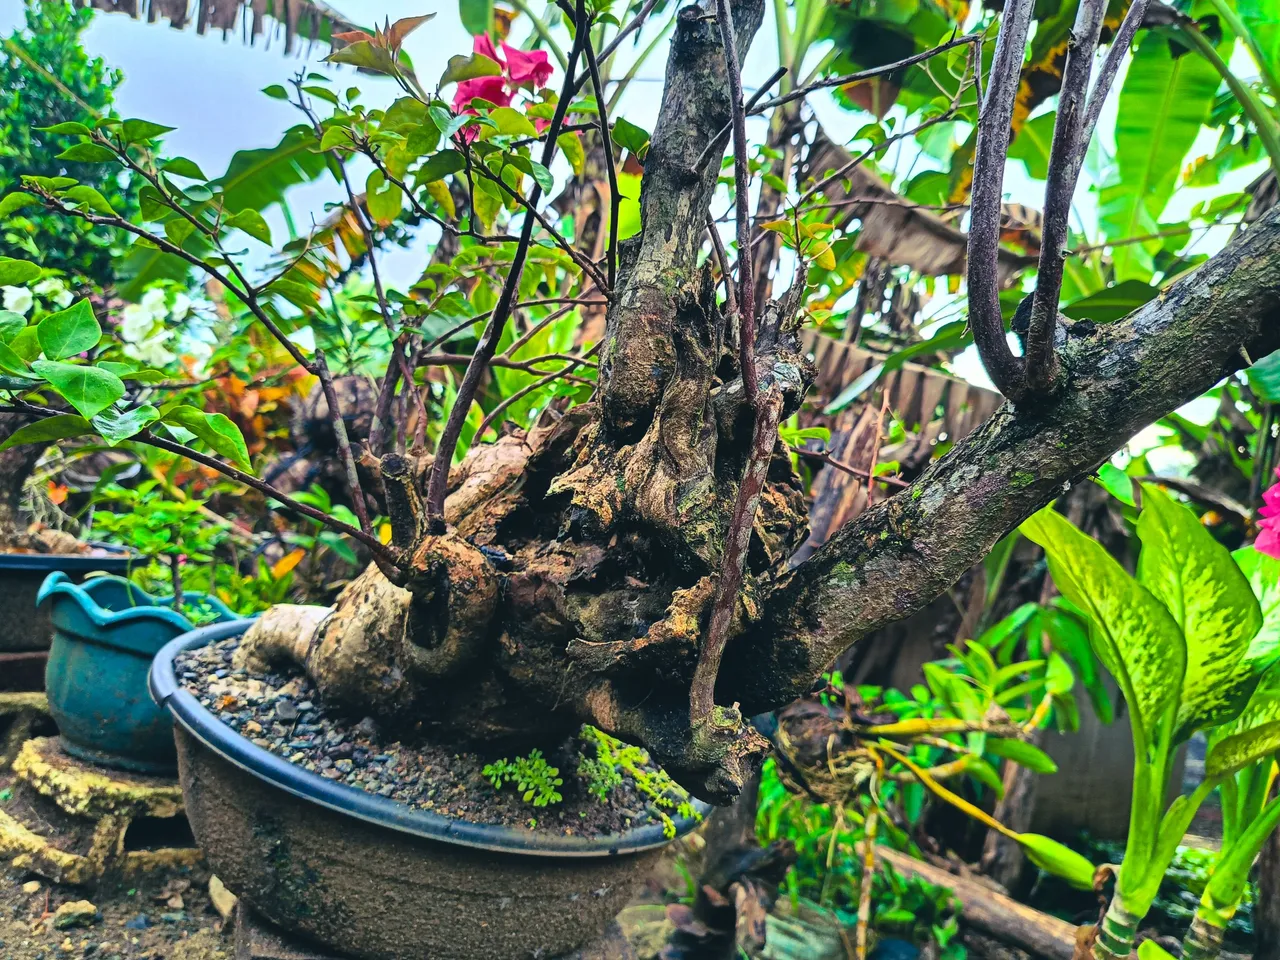
The flourishing Bonsai.
The beautiful Old Bonsai is now on display in our front yard. We only water the bonsai every after few days with the right amount of water it needs.
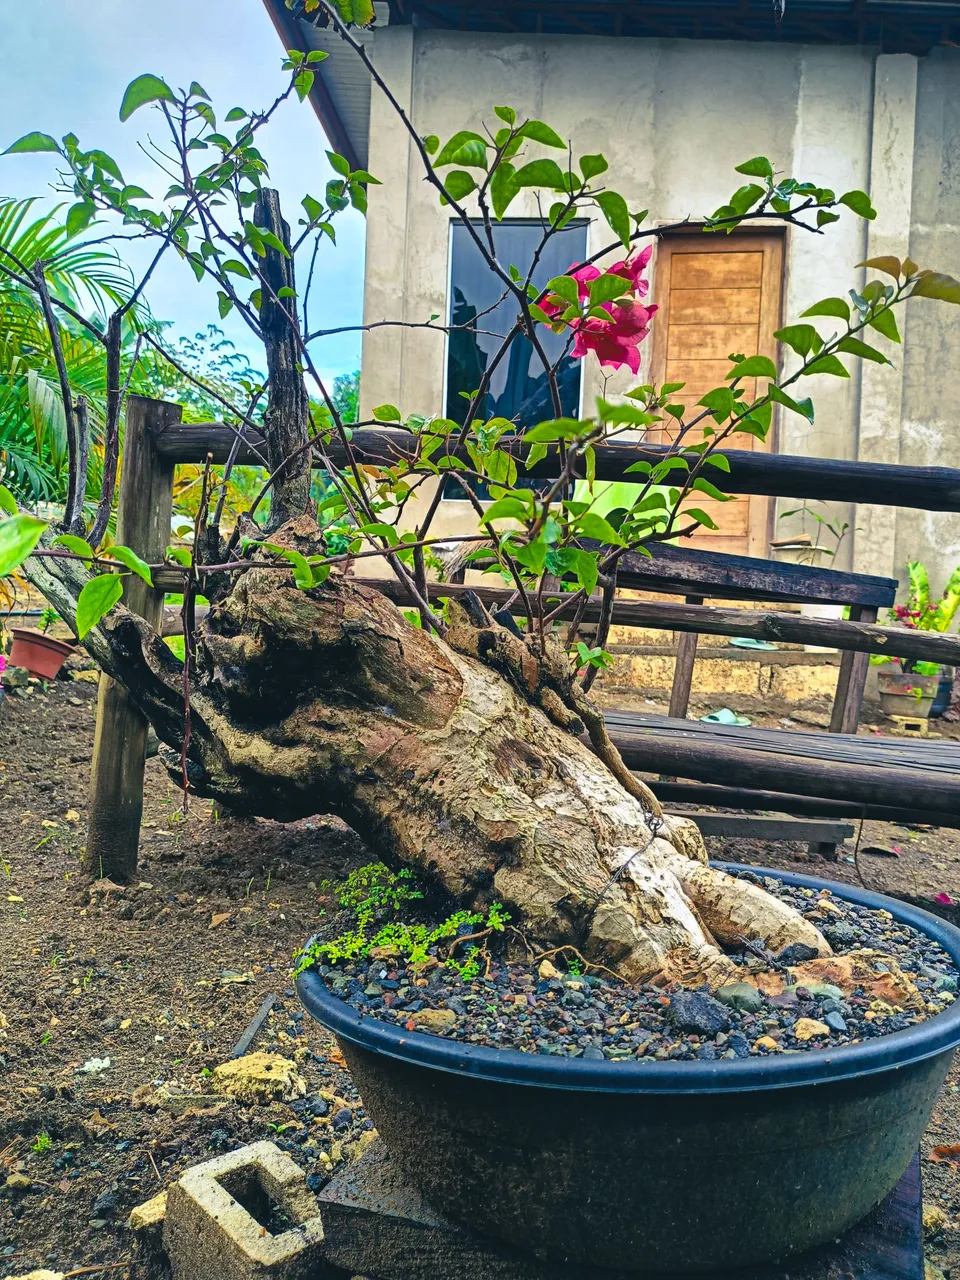
As you can see, the Bonsai hasn't been trained and wired yet, so this is my next project. Training/ wiring its branch is maybe a little late because I couldn't find the wire at the neighboring Hardware Store. So now I'm placing an order for a Bonsai wire in an online shop and hope it will be delivered next week.
I'll definitely make an update blog for the new beauty of our Bonsai after months of training it. I'll greatly appreciate you sharing some techniques and tips on nurturing a Bonsai tree. So until then.🤗
That's it for our DIY/cheat code for acquiring our first Bonsai. Thank you so much for reading. I hope you enjoyed it. I wish you all safe and well always.
Don't forget to smile often.🤗😘😍