so seriously might cry.... i was 90% way through a 2000 word post and i forgot to save it (GOING TO SCREAM) and i now only have the draft notes. So here i am rewriting the whole lot.
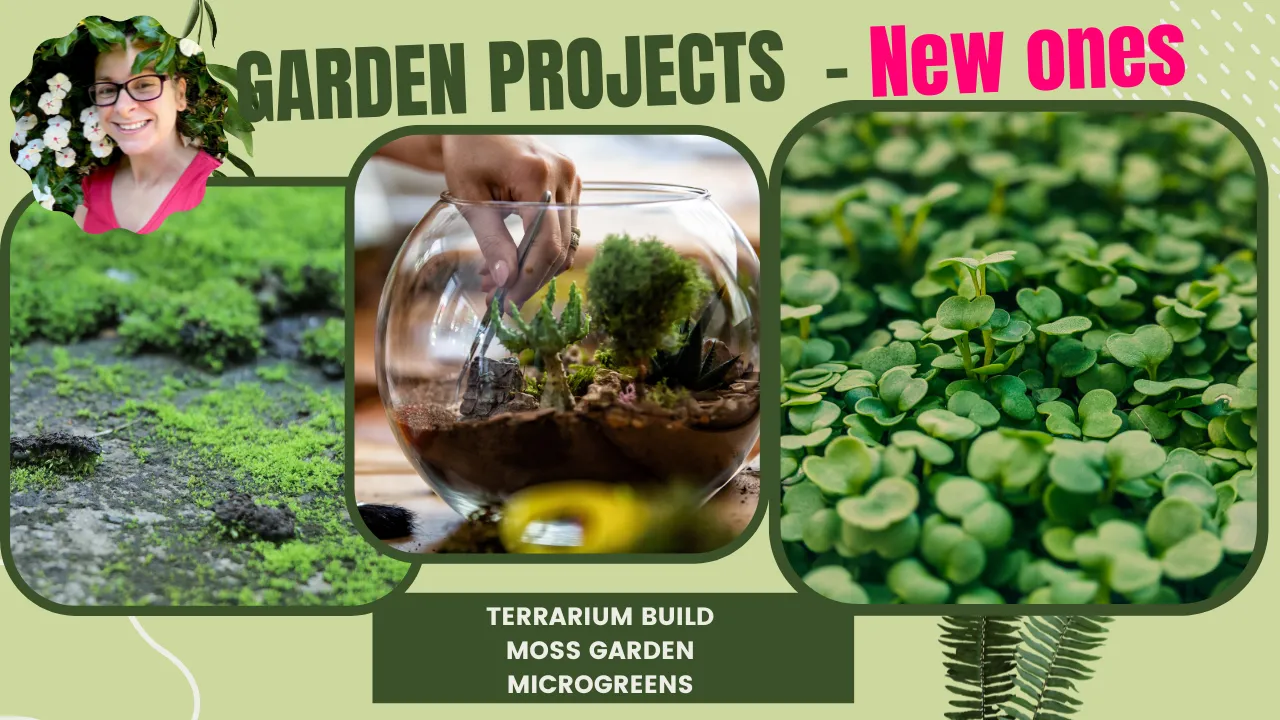
Today, we have a mini garden update, and while there isn't much happening in the garden itself, we're excited to share our two new mini projects of a garden nature. growing microgreens and creating an indoor decorative moss terrarium and indoor tropical plant area.
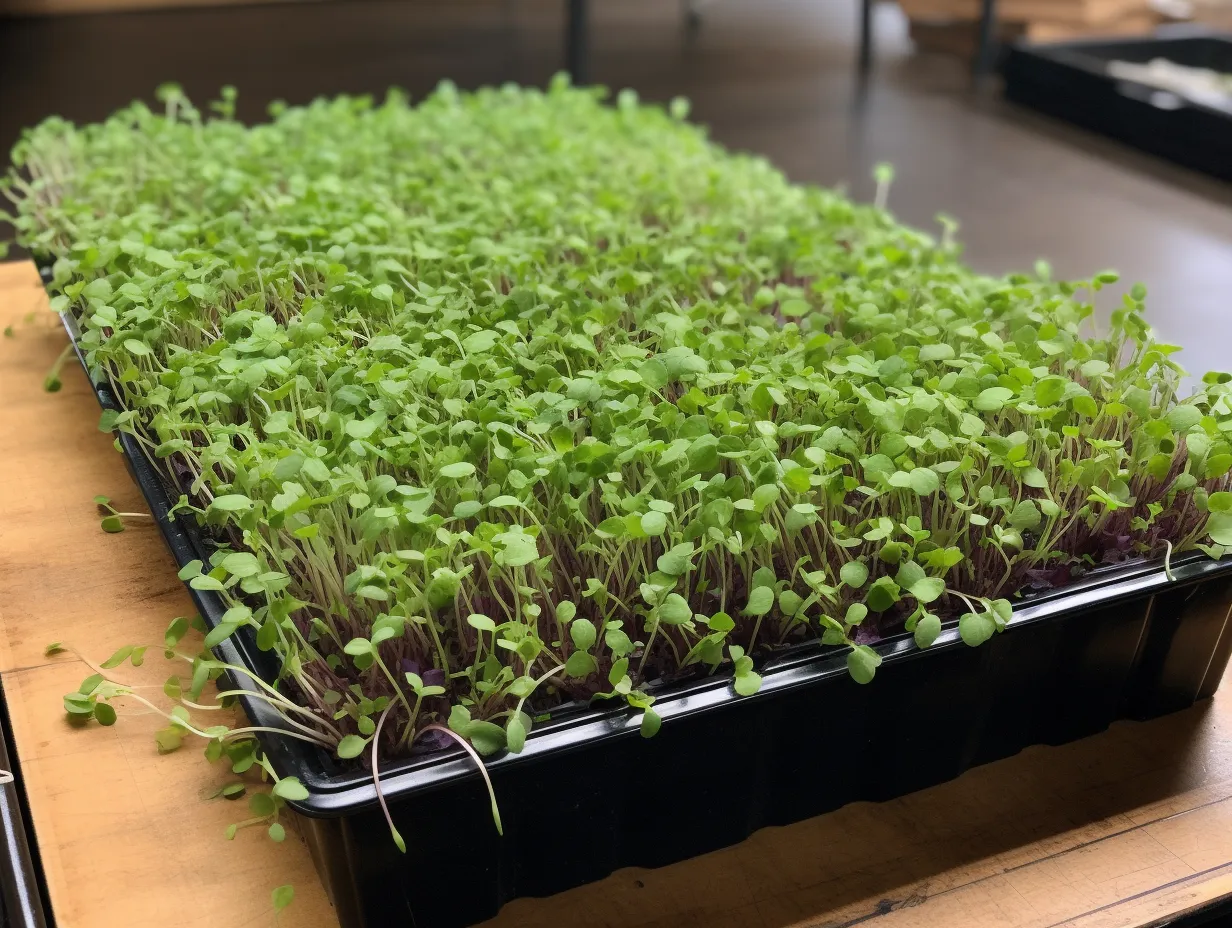
Microgreens
Let's start with microgreens. These tiny, nutrient-packed greens are not only easy to grow but also a delicious addition to various dishes. But why would we want to grow and eat microgreens, well we certainly do as they are DELICIOUS and so good for you.
We have tried this before without a proper set up and it was great - for like one tray so we need to get this right this time.
The Magic of Microgreens:
Microgreens are essentially the young seedlings of various herbs and vegetables. Despite their small size, they are incredibly rich in vitamins, minerals, and antioxidants. In fact, studies have shown that microgreens can contain higher nutrient levels than their fully mature counterparts. They are like tiny nutrition powerhouses! So whats not to like about that?
Both my kids LOVE green leaves and eating them. I know that sounds crazy.. but they love them. And we just let them munch away without saying anything. play dates are fun in this house.
why we have chosen microgreens
One of the biggest advantages of growing microgreens is their quick growth cycle. Most microgreens can be ready for harvest in as little as 7 to 21 days after germination, depending on the variety. This means you can enjoy a fresh and continuous supply of greens throughout the year, regardless of the season. Plus, they require minimal space, we can grow them in a shelf in the kitchen (which is our plan) and turn them over super fast.
For our initial venture into microgreens, we've chosen easy varieties to grow – broccoli and radish. Both of these are beginner-friendly and can thrive in the conditions we have available. radish is especially quick and broccoli is supposed to be one of the best for you.
Our Microgreens Setback:
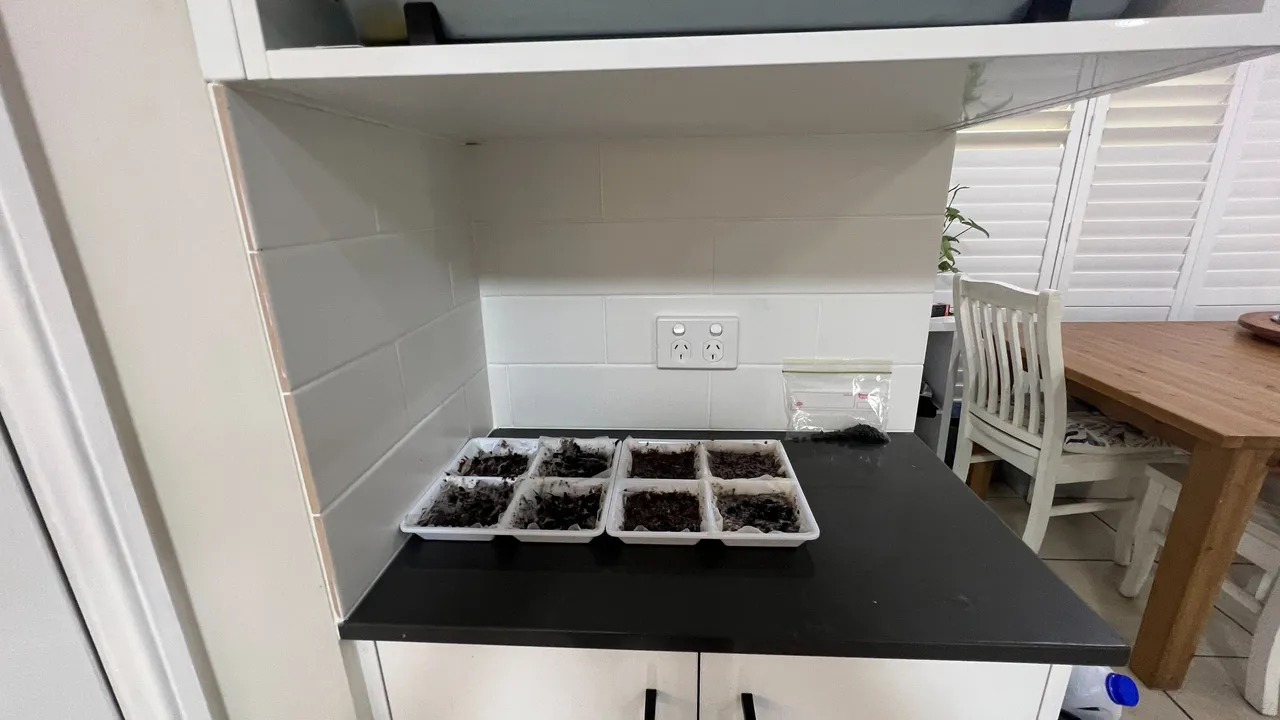
However, we did face a challenge in finding the perfect spot to grow them indoors. Our lovely cat, with a penchant for nibbling on greenery, posed a threat to the safety of these delicate greens. After much consideration, we've decided to set up our microgreen operation in the kitchen. With a bit of creativity and some shelves, we plan to create a space with 4-6 trays on two shelves, each equipped with grow lights. Having a power source in the kitchen makes this an ideal location. We can hopefully make this space work. I would love MORE space or grow in a trolley but we can't with the blasted cat. he even eats poisonous plants.
Speaking of the setup, we need to find the proper equipment and determine the best growing methods. Should we use soil or opt for a hydroponic water-based system? Is it better to use paper or go without it as a growing medium? Should we cover the seeds during germination, or is it better to leave them uncovered? These are some of the variables we're researching to make sure we can get this right
Challenges Along the Way:
Unfortunately, we encountered some obstacles in sourcing the necessary materials. The shop where we used to get bulk seeds seems to have disappeared, adding an element of difficulty in acquiring our preferred varieties. Additionally, as luck would have it, our grow trays are experiencing shipping delays,
as you can see here we have set up on non-ideal trays in the kitchen corner... its not big but we should get 2-3 levels of microgreens with lights in this area. AND i am in the kitchen so often that i can keep a close eye.
We're exploring alternative sources for seeds and exercising patience while eagerly anticipating the trays' arrival.
Stay tuned for updates on our microgreen journey. Meanwhile, let's move on to our second mini project – the indoor decorative moss terrarium.

Terrarium
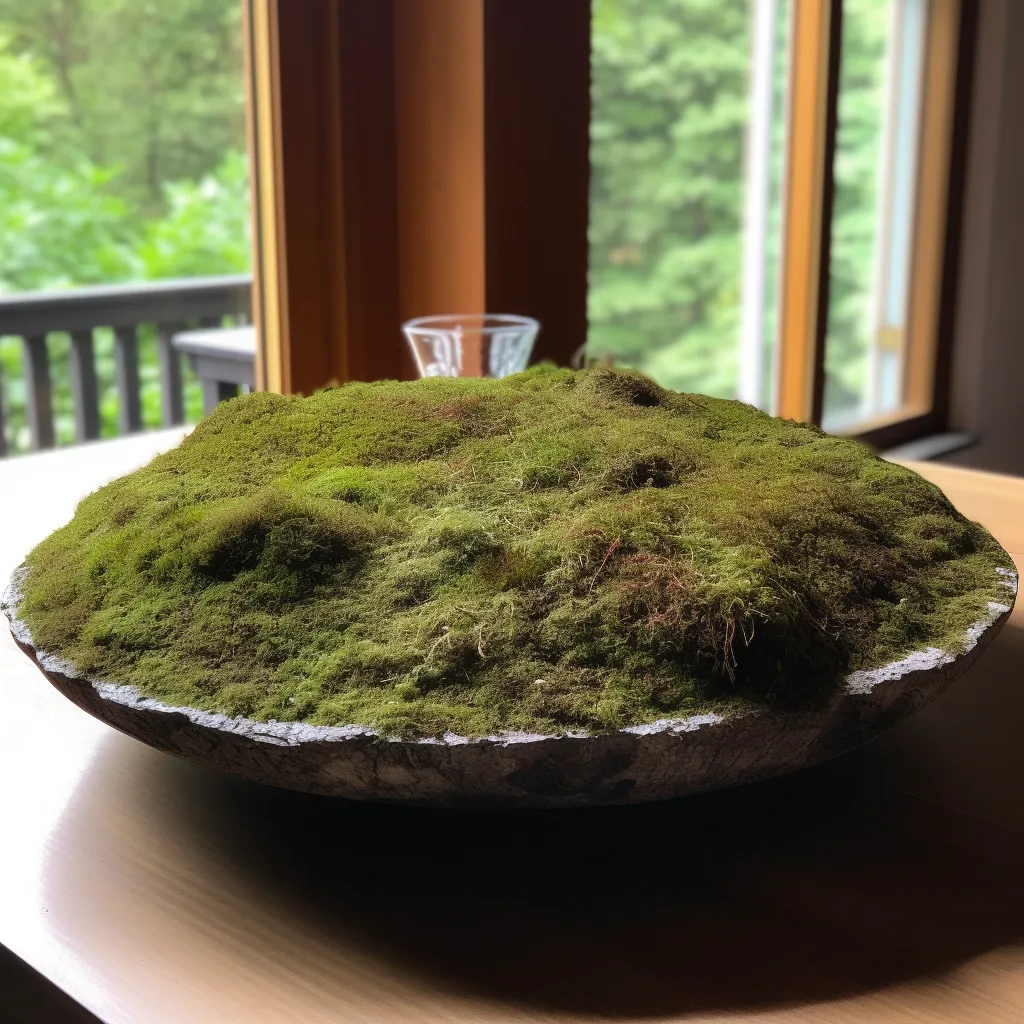
so the second project involves crafting an indoor Terrarium and creating a tropical plants area right in the heart of our lounge room. Also a big moss plate that can go in the centre of the dinner table. This creative venture has been inspired by my love for art and nature, as well as the input of my two imaginative daughters, who have added their touch with adorable fairy decorations. they LOVED going shopping for the decorations.
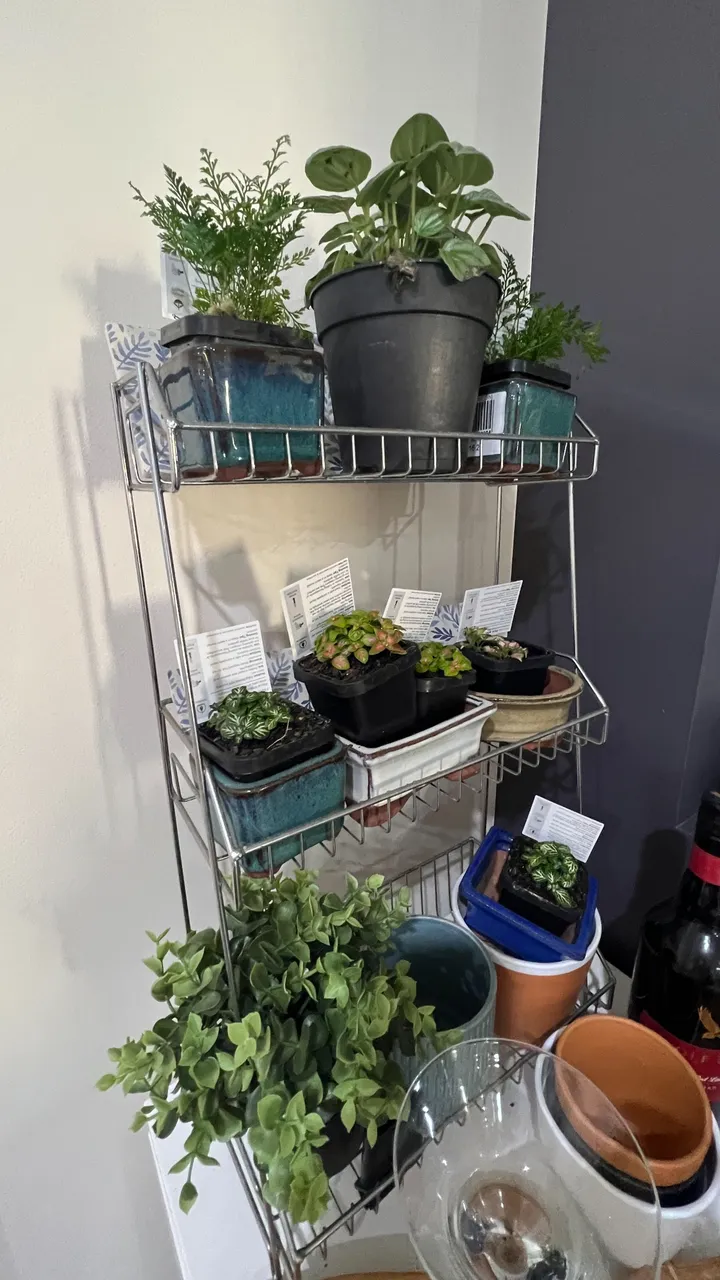
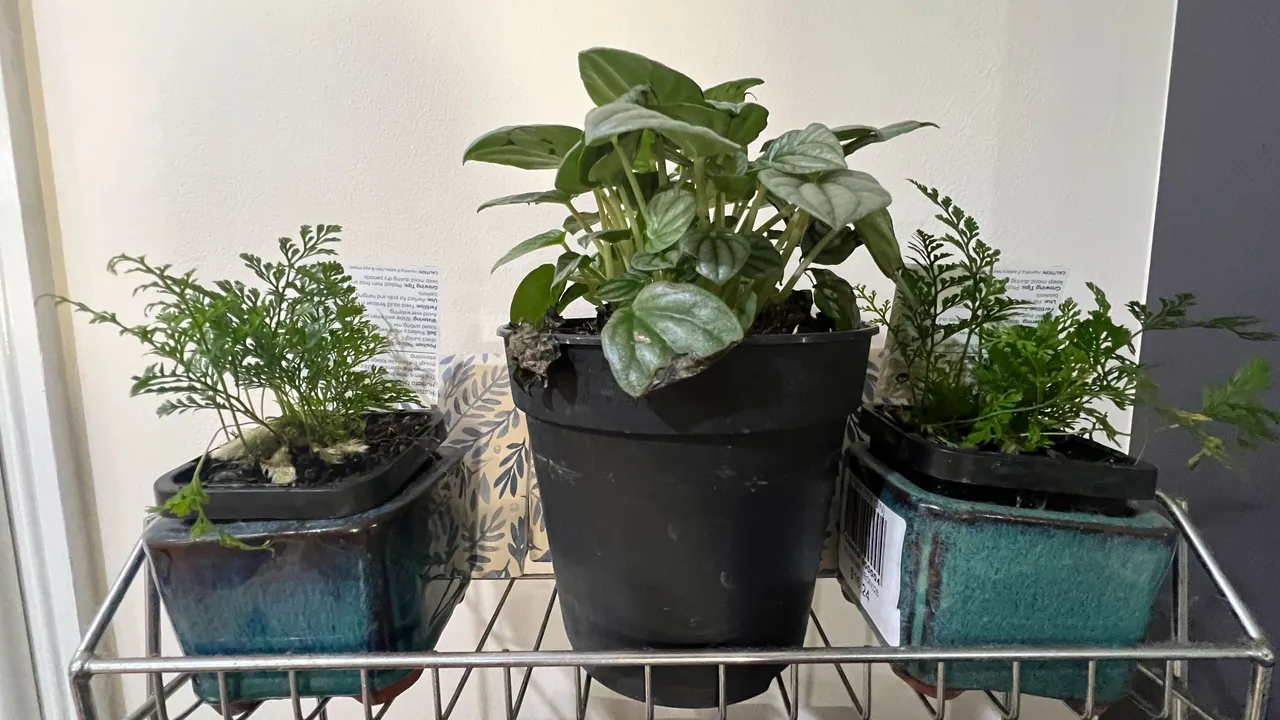
our lounge room deserves an extra touch of the tropics, so we've set our sights on creating a mini tropical plant stand Near the terrarium, it also mean i can grow plants to go IN terrariums as they are expensive. This delightful addition will house a selection of tropical plants, and we hope to incorporate a mini water feature to infuse the space with a tranquil ambiance. I love the sound of running water. However, given the dry nature of our lounge, we recognize the need for a humid microclimate to ensure the success of these plants, and thus, we are researching the necessary equipment and planning to achieve this microclimate balance. I have bought a humidity meter and a mini USB humidifier that are tied up in postage. grrrr
below you can see the area i am going to turn into this tropical area,as you can see i have the plants that i am misting several times a day as the humidifier is lost in post.
I will be making some sort of a plant stand to house these and the humidifier and perhaps water feature too... see how we go.
I've decided to start our indoor garden journey with a Terrarium project. Terrariums, with their self-contained ecosystems, offer an excellent opportunity to showcase our creativity and love for greenery in a confined space. alas the orchid bark has been delayed in postage as well.
Now, without further ado, let's delve into the step-by-step guide to building our terrarium wonderland:
Building a Terrarium:
Creating a terrarium is a delightful and artistic project that is a nice mix of both my hobbies. Here's a basic step-by-step guide to building your own terrarium:
Choose the Right Container: Select a large, clear glass jar or vase that will provide ample space for your chosen plants to grow. You can find suitable containers at stores like Kmart rather than buying an expensive one.
Create the Base: Layer the bottom of the container with small rocks or pebbles to create drainage and prevent water from pooling around the plant roots.
Add a Mesh Layer: Place a fine mesh screen over the rocks to separate them from the next layer, preventing the substrate from falling into the drainage layer.
Prepare the Substrate: In a mixing bowl, combine the following ingredients to create a nutrient-rich substrate:
Charcoal: Helps absorb odors and keeps the terrarium fresh.
Peat Moss: Retains moisture and promotes healthy plant growth.
Coconut Coir: A sustainable alternative to peat moss that retains moisture well.
Sand: Improves drainage and aeration of the soil.
Crushed Leaves: Adds organic matter for nutrient release.
Orchid Bark: Provides aeration and texture to the substrate.
Worm Castings: Rich in nutrients, promoting plant health.
Fill the Container: Add the substrate mixture on top of the mesh layer, ensuring it is deep enough for the plants' root systems.
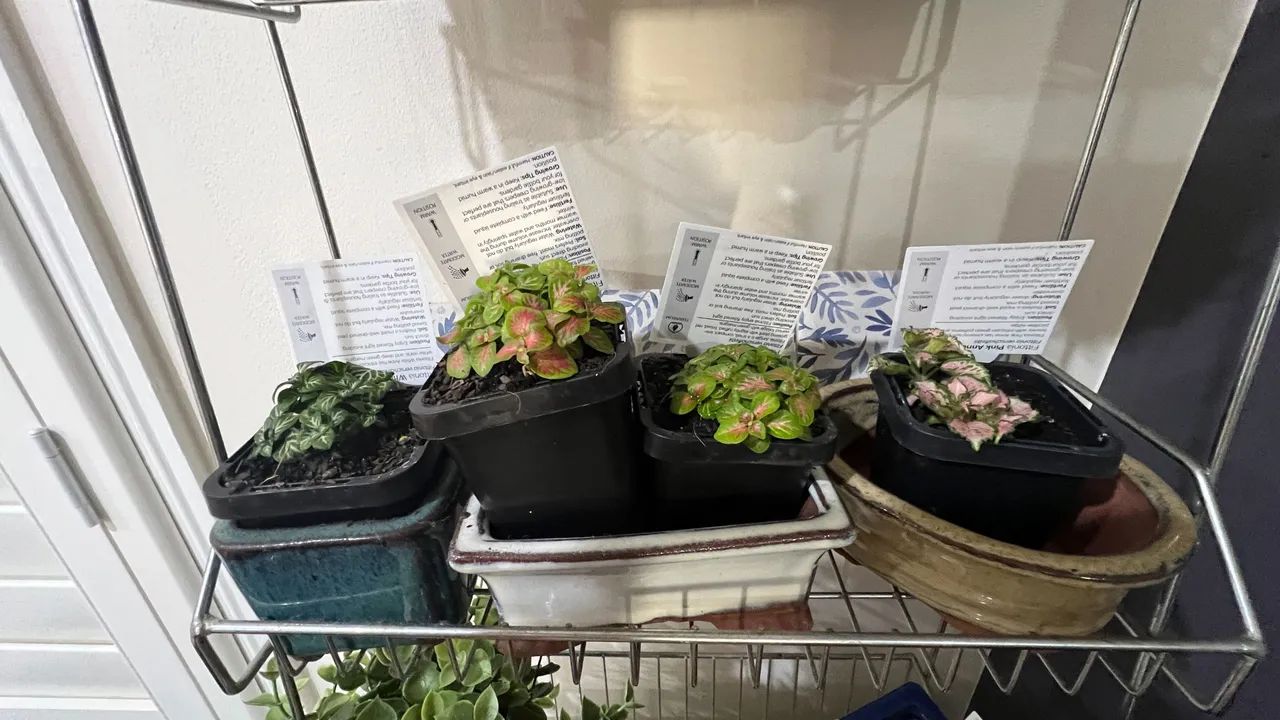
Plant Selection: Place your chosen plants, such as fittonia and pepperomia, into the substrate. These are the ones we have chosen along with some garden moss and purchased moss for added greenery.
hardscape done forget the decorations or hardscape - in this case little fairies
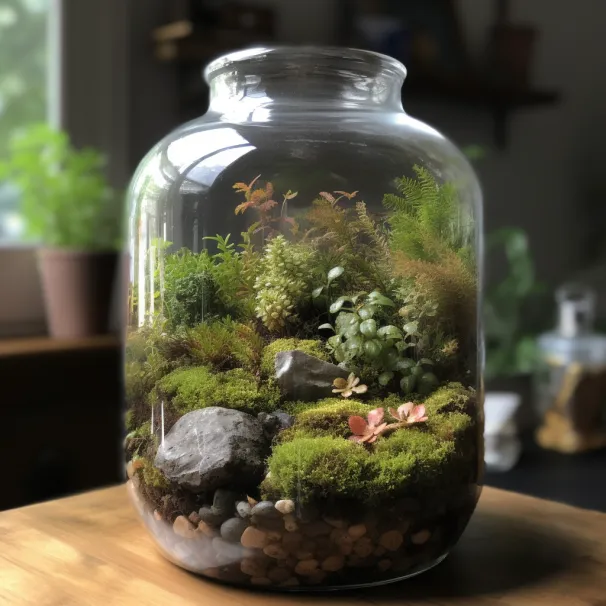
some examples
here are a couple of examples of what i want to create (obviously these are not real plants inside they are fake... lol)
Caring for Your Terrarium:
Terrariums are relatively low-maintenance, but we have heard of a few tips to help us keep it alive. The biggest is to avoid overwatering, as the enclosed environment creates a self-sustaining water cycle. Too much moisture can lead to root rot and the development of mold or fungus.
To prevent overwatering, monitor the moisture level in the soil. If the terrarium's walls are constantly fogged up, it indicates excessive humidity, and you can reduce watering frequency. If you see condensation, but the walls aren't consistently foggy, it means the humidity level is just right.
To keep the terrarium clean and free from decomposing organic matter, consider introducing springtails, tiny beneficial insects that help with decomposition and nutrient recycling. I have bought some of these and are waiting for the post to come to get these. AGAIN WITH THE JOLLY POST
Anyway that is where we are up to.Stay tuned for more updates and the first post is likely going to be on the SOIL MIX we are using for the terrarium.
General garden update
not that there is much to share at the moment as it is the end of winter and we are waiting for spring... however there are a couple of small garden projects.
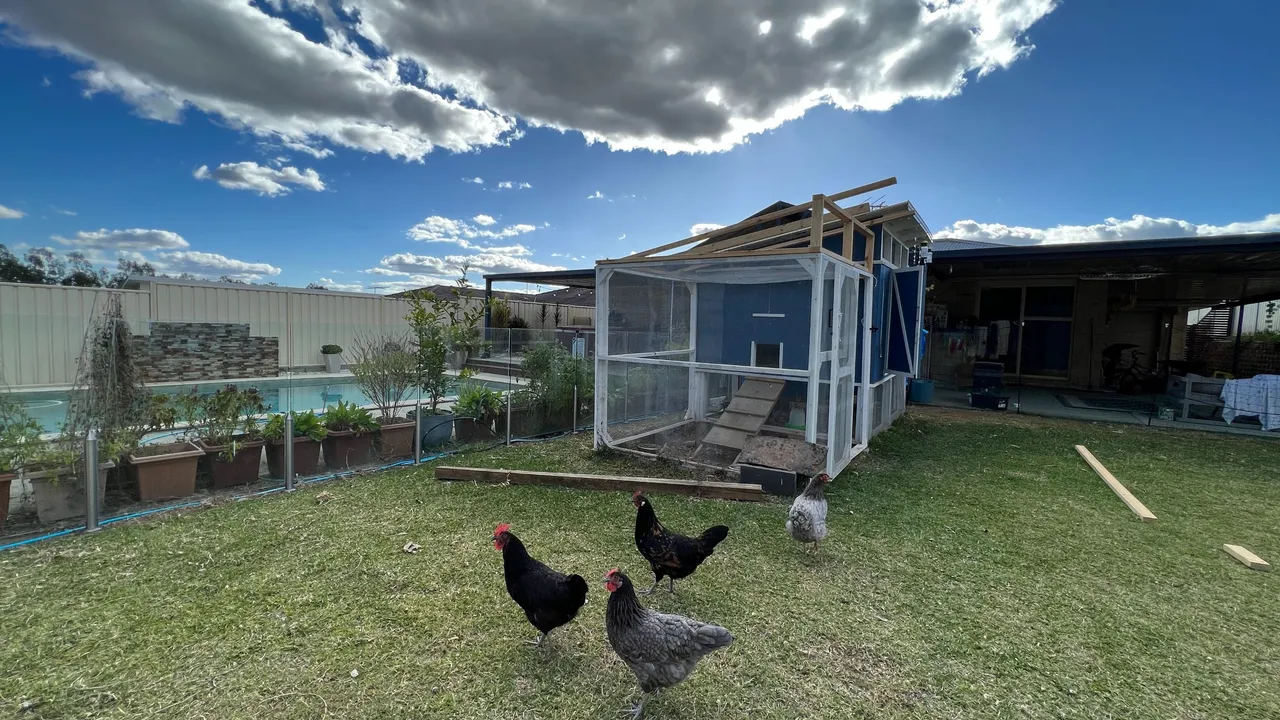
Rebuild of the chicken coop roof
so we had a tarp over much of the roof for ages which has been a terrible idea, and now need to build a more permanent roof over the run. Here you can see the framing going up and my husband is outside as i type trying to get if finished today.
Other garden shots
basically not much going on at all... need to get back in here in gusto in spring. which it nearly is.
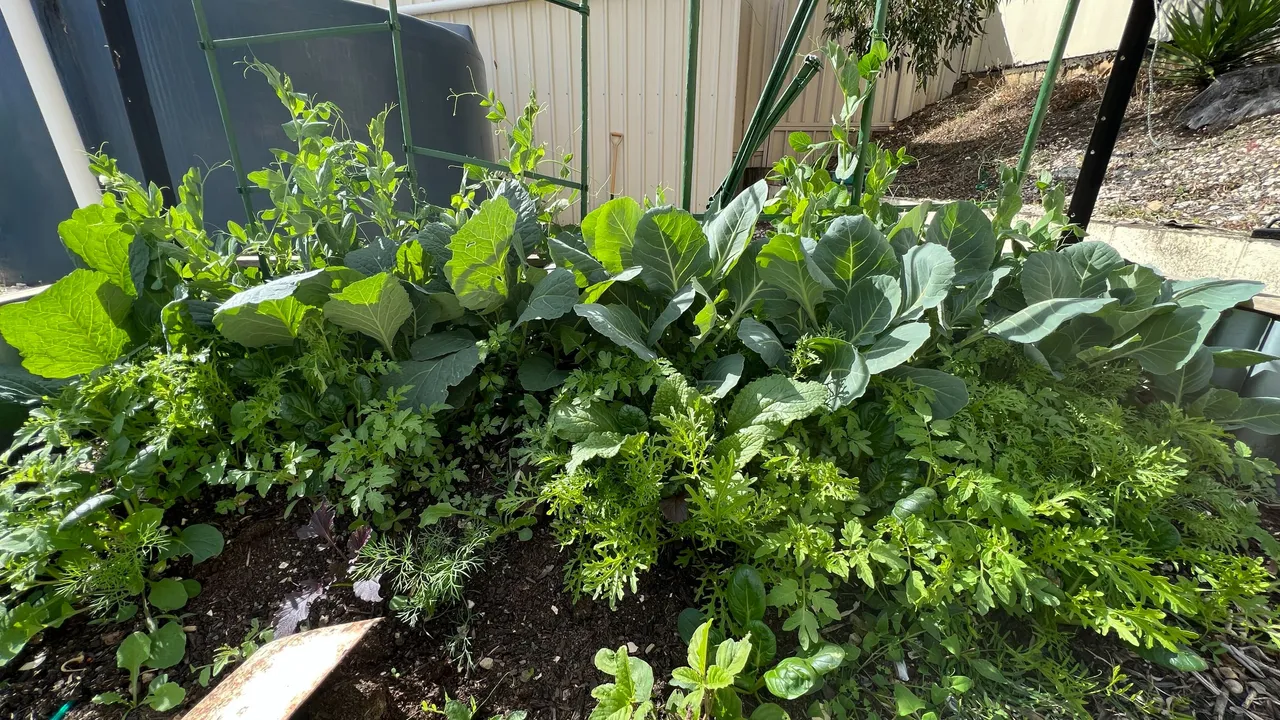
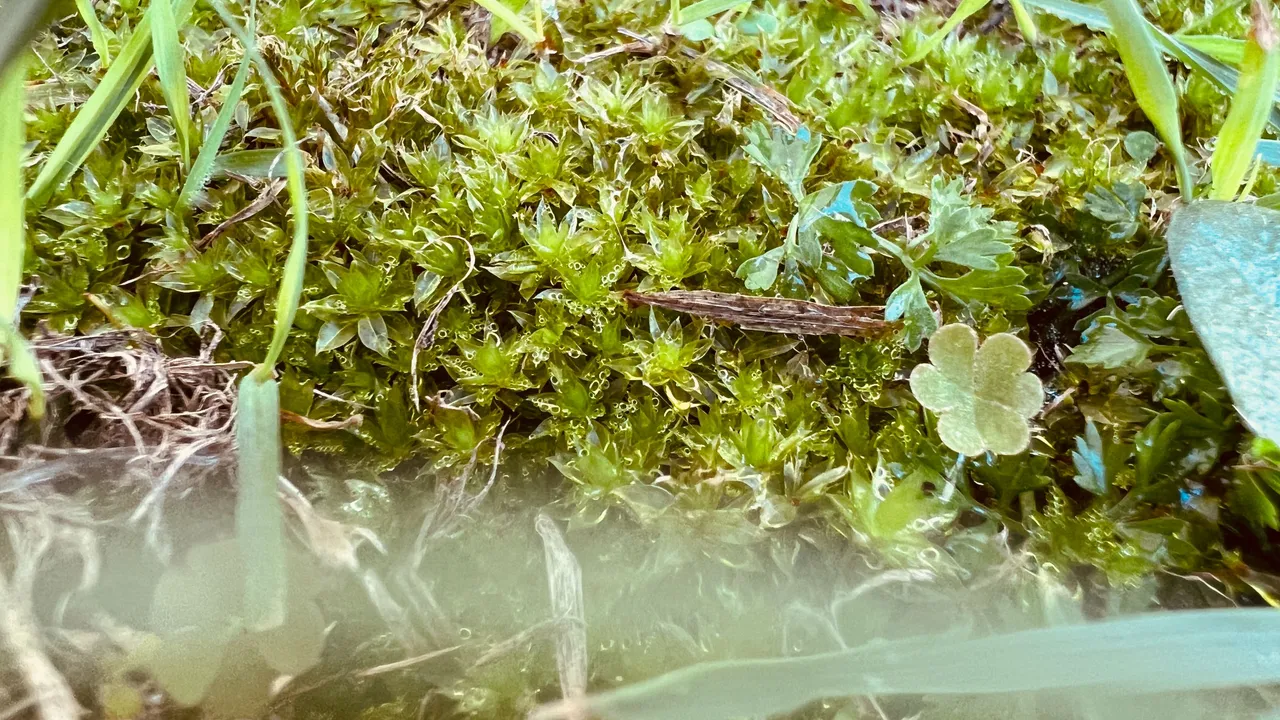
i found some mossy patches in the garden so very happy about that!!
anyway...
i a am now very over typing as i have done this post twice and although i had typed more in the last one i really can't be bothered fixing it proerly... waaaaa
so i will leave you all there. More updates on the projects to come.
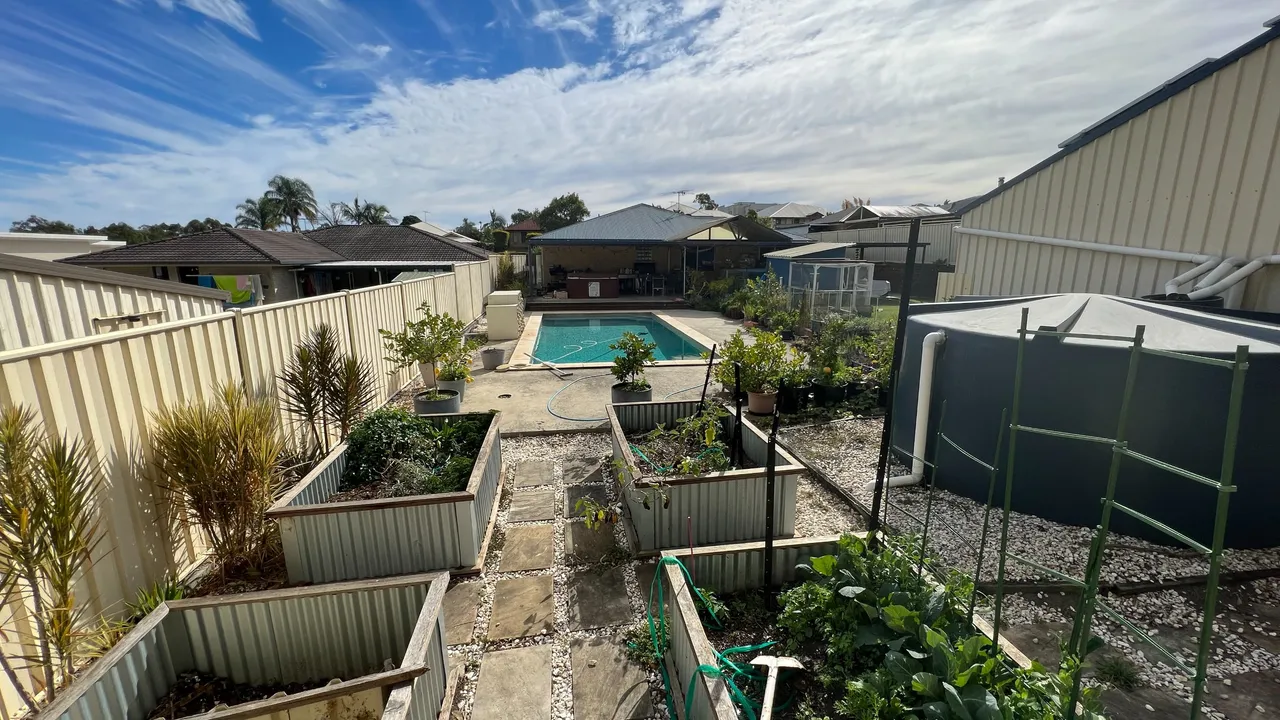
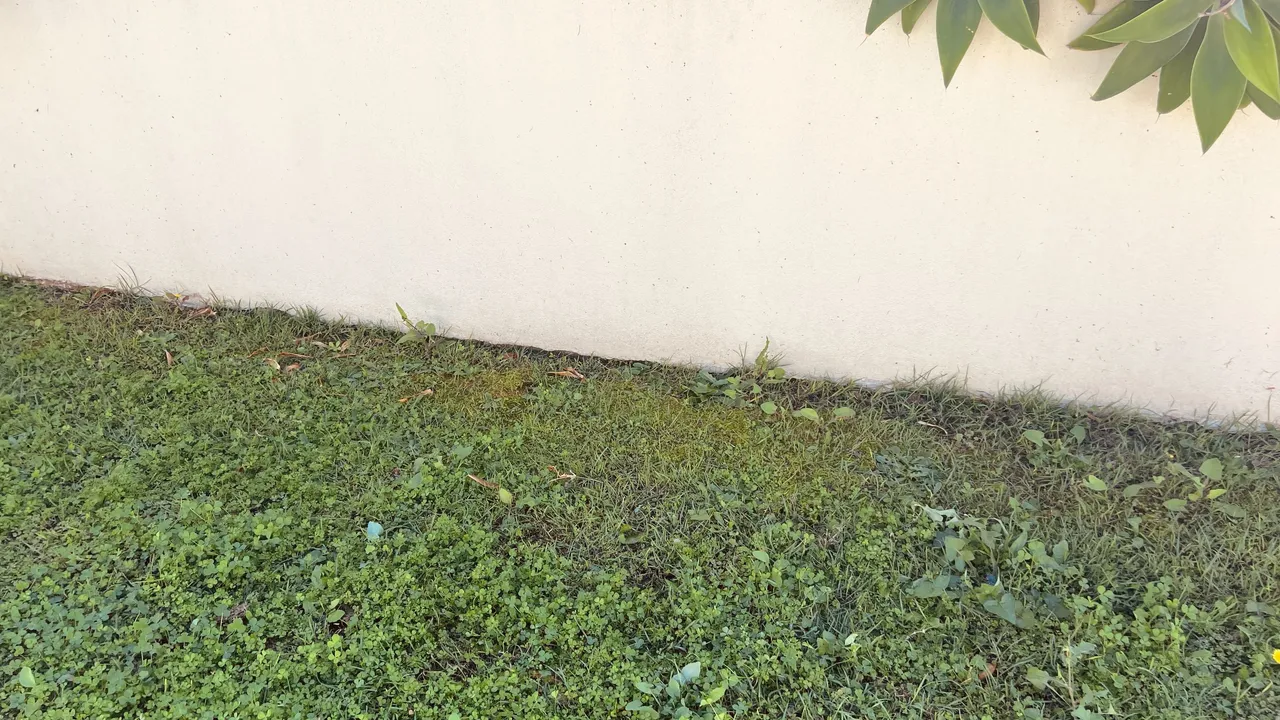
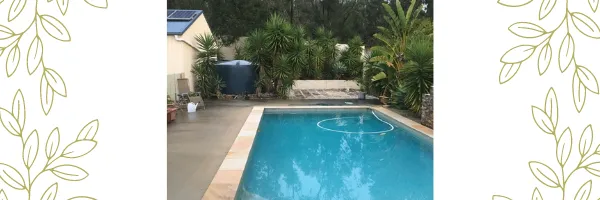
Below is the garden when we moved in - green - but nothing to eat
CONCLUDING MESSAGES
Just another very busy week all in all. I will now sign off and start the next video.. lol... as its already late as well
talk later
happy gardening
Sarah
Anyway thanks so much for stopping along and reading my posts I am just loving my HIVE experience so far. Such a fun platform for sure.
For those that don't know my i'm currently focusing on Daily painting and somewhat amusing my self and my family with Acrylic pouring.. lol.. i wish i had a separate studio for that as it is so messy.
My other HIVE interests are:
- cooking
sunset photography (i take photos of the sky every night)
Art
Graphic Design
Gardening (just a smidgion)
Ballet
Here are a couple of snaps of some of the stuff i do outside what you see up in the posts above.