Introduction
It's been quite a few weeks since my first post for my backyard aquaponics series but a lot has happened and I've been quite busy over the holiday period. Fortunately, I will be able to post a bit more regularly now and should be able to show a steady progression for the build.
In Part 2, I will be focusing on developing the area around where the aquaponics will be set up and detailing the build as it is undertaken.
The Area
In Part 1 I spoke about the concrete foundation and the fence around the area. Since then, I have concreted in four steel pillars (shown pictured below) to be the support for an overhead shade cloth. This will serve two purposes. It will provide some shade so the plants are not in constant sunlight and it will also stop the leaves and sticks from surrounding trees falling into the grow beds and fish tanks and causing issues for the pumps.
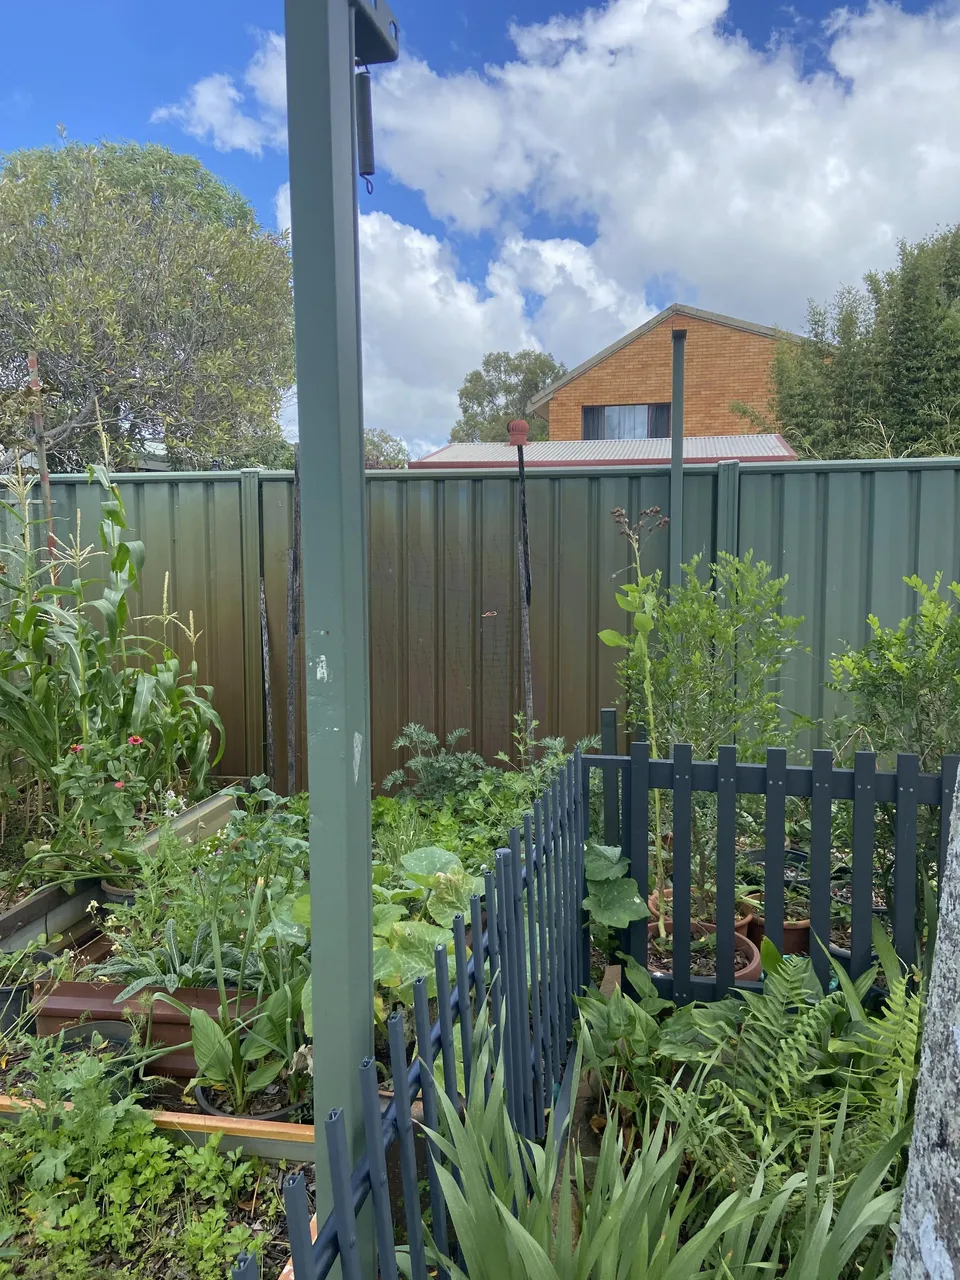
Two of the steel pillars.
The shade cloth was made from some recycled shade cloth that my sister sewed to reinforce the sides. Additionally some steel rings were sewn into the ends so it could be tensioned over the area.
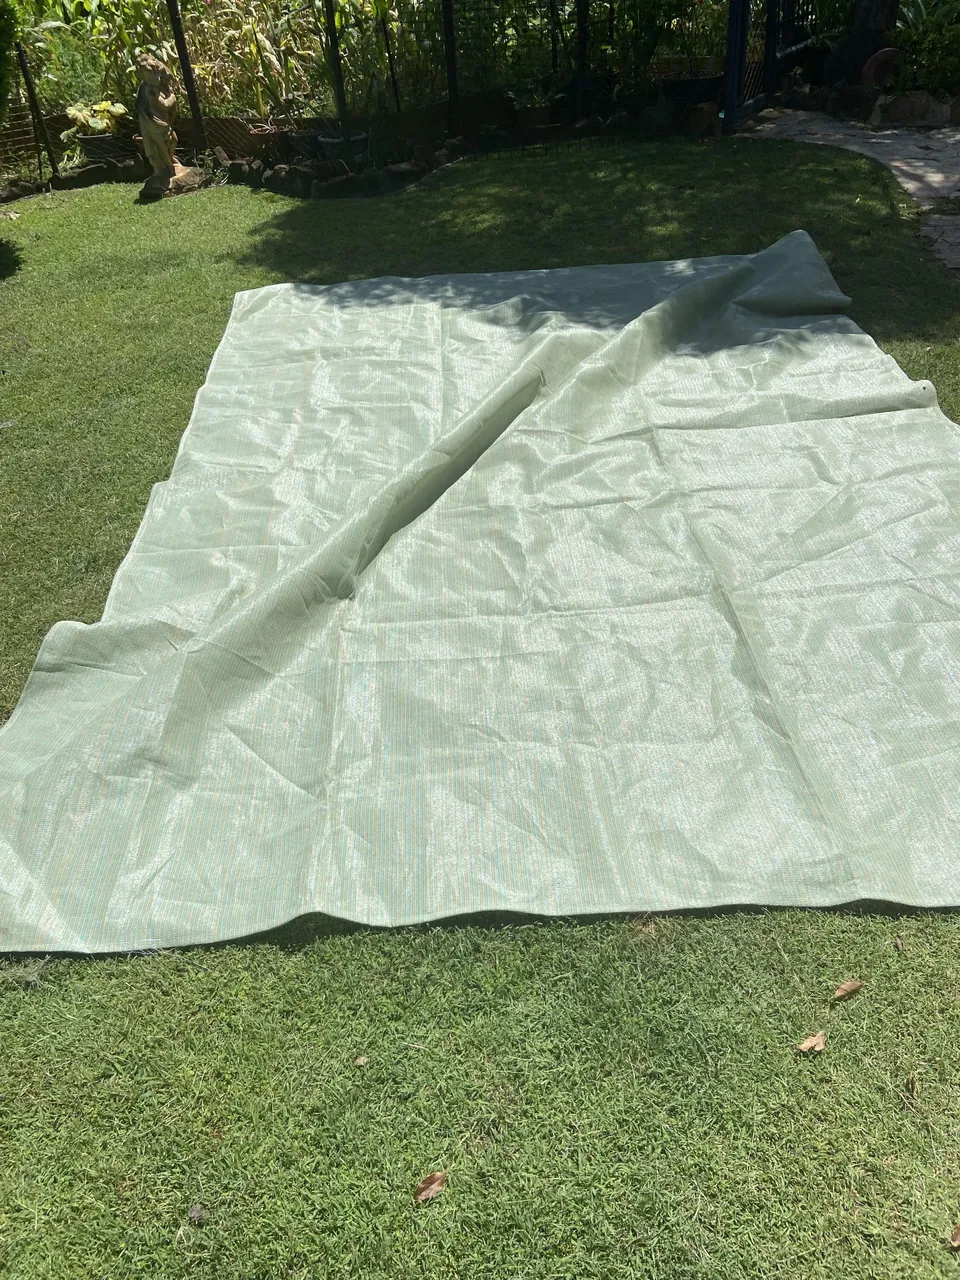
The shade cloth laid out and ready to be installed.
The shade cloth was then installed on the four still pillars above the aquaponics area and tensioned using a series of heavy duty steel springs and rope. This now marks the area as complete and ready to receive the build when it is ready.
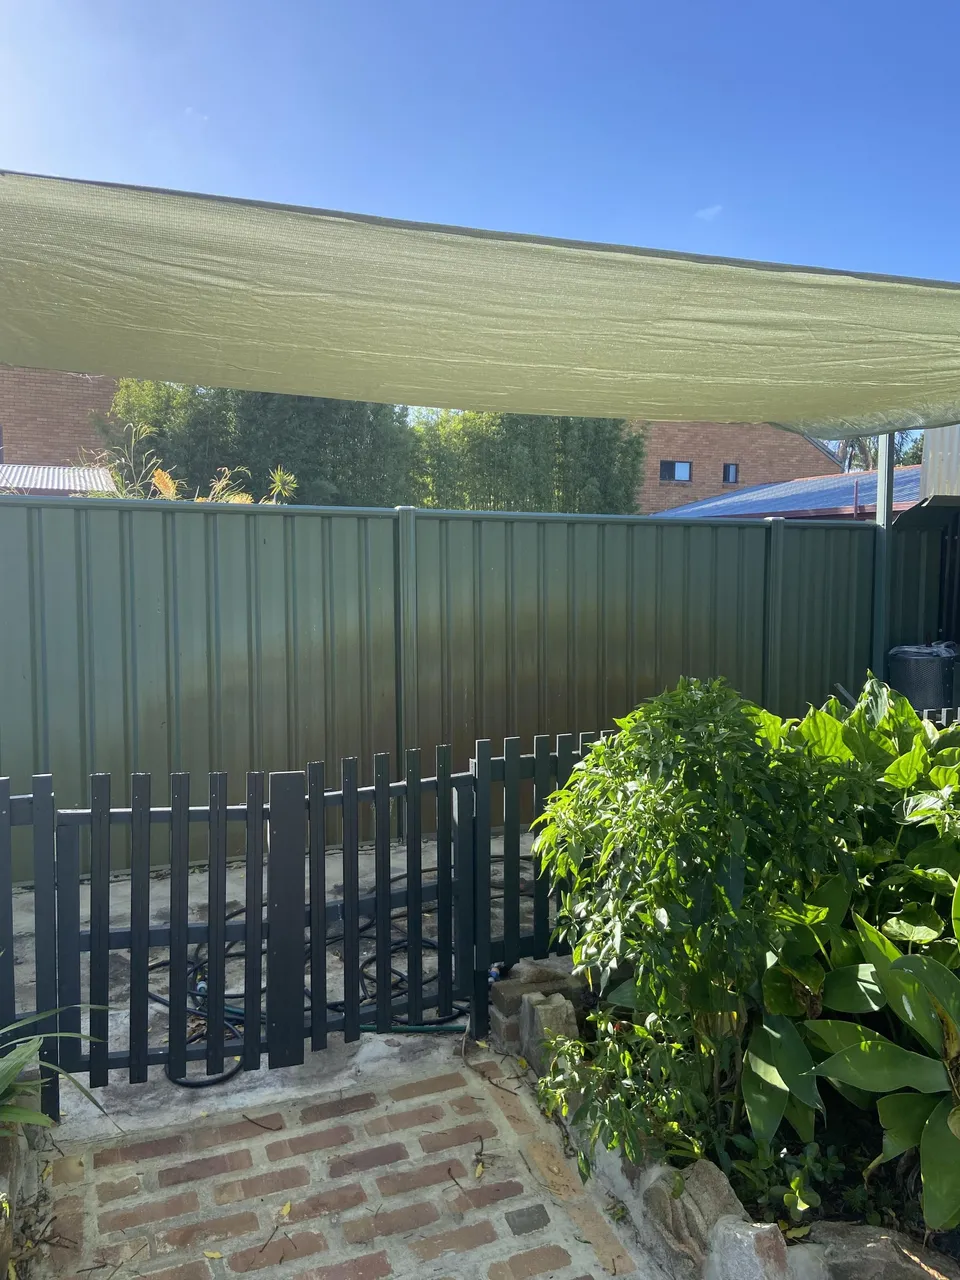
The shade cloth installed.
The Build
I was working on the build concurrently whilst the area was being completed. The first component that I was working on was strengthening the IBCs whilst also providing a level of protection for them.
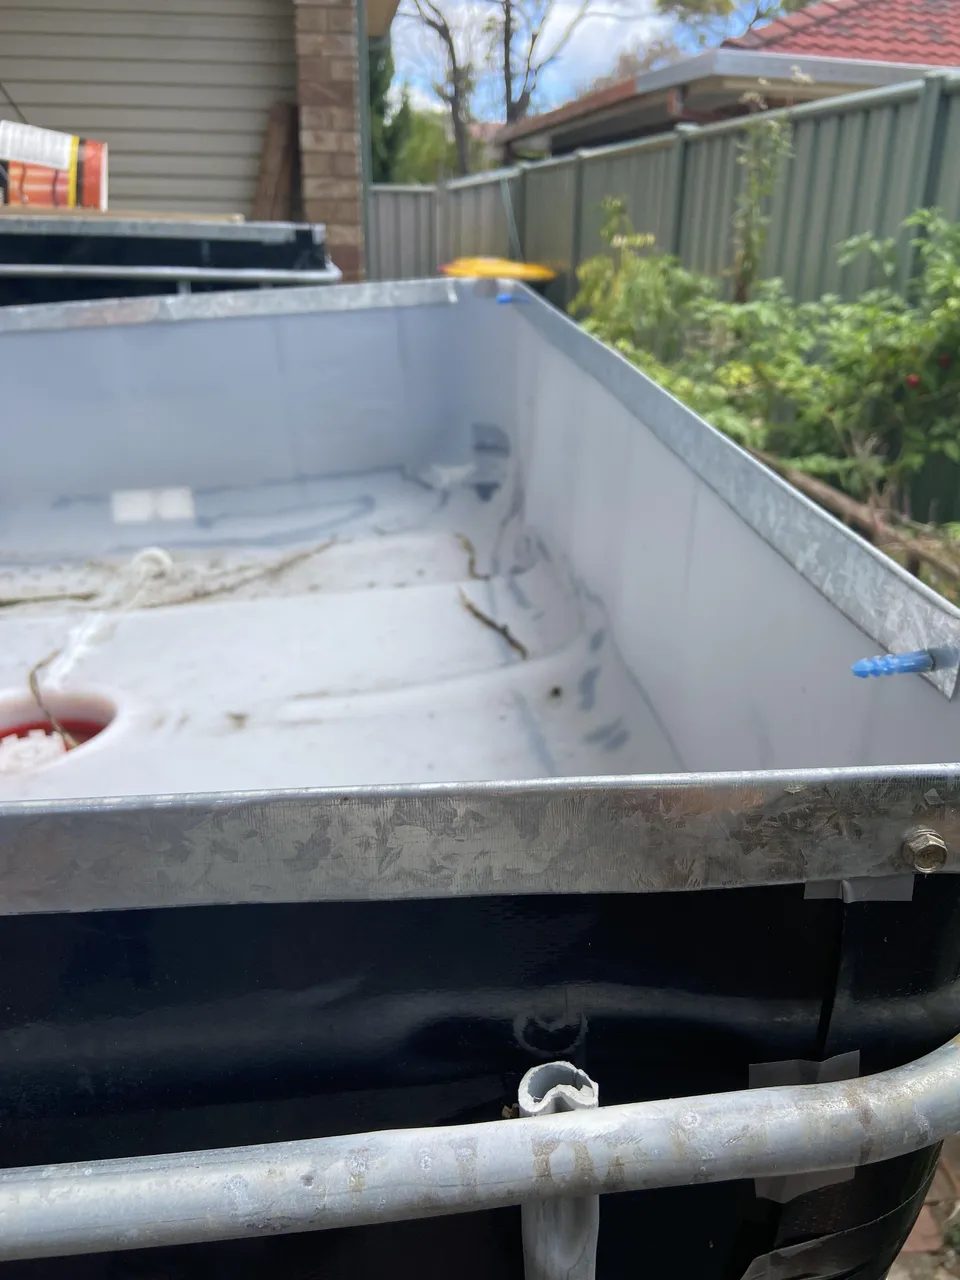
For the grow bed, I added some black plastic sheeting and some flashing around the top to provide some stability but also remove any sharp edges.
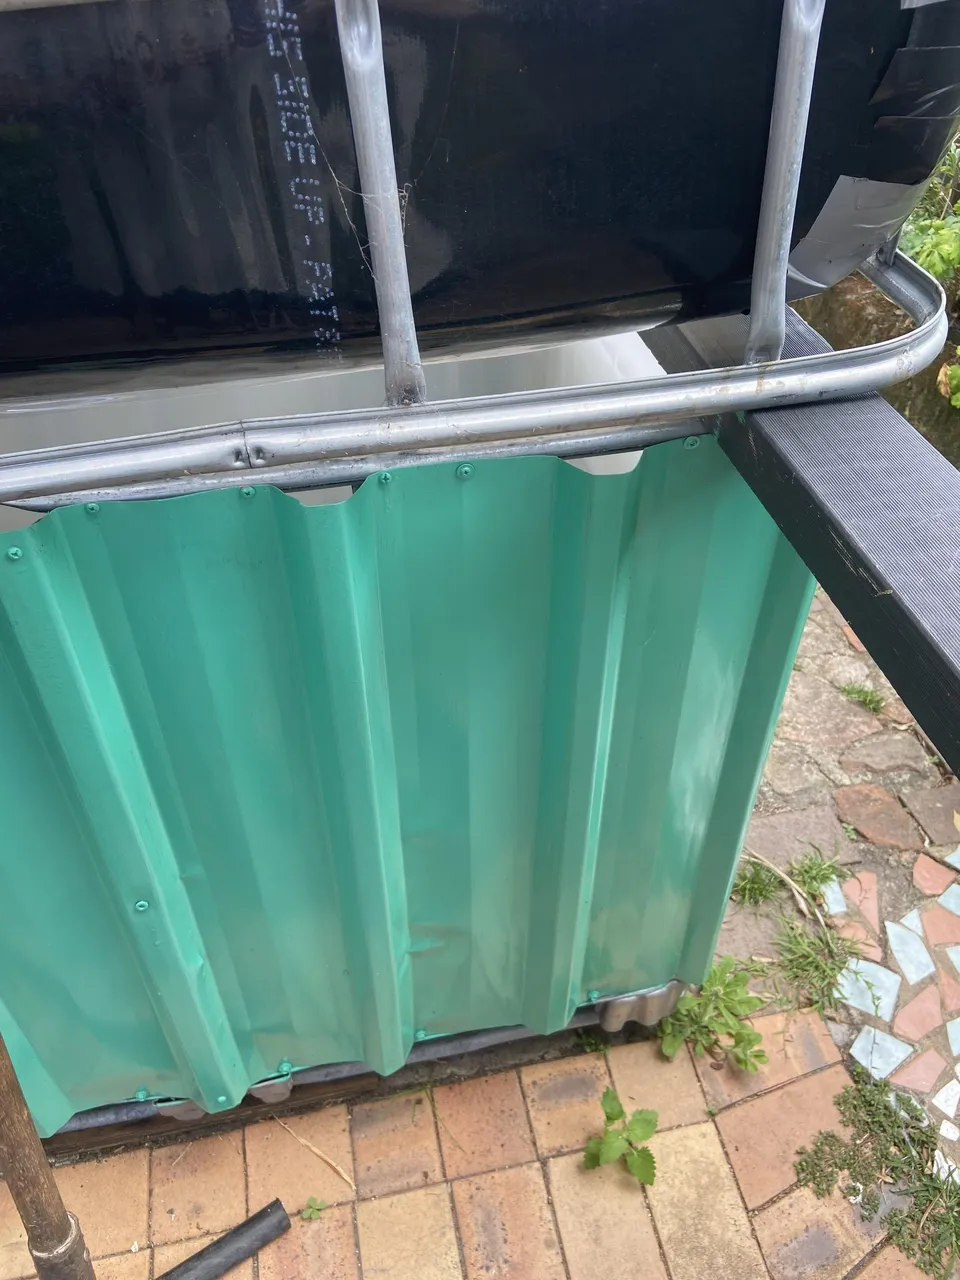
For the fish tank area, I added some tin sheeting around the entire tank. This was once again for some protection but also to block some of the light for the fish/crayfish so they will have some areas to hide in. I did this for both of the grow beds and fish tanks.
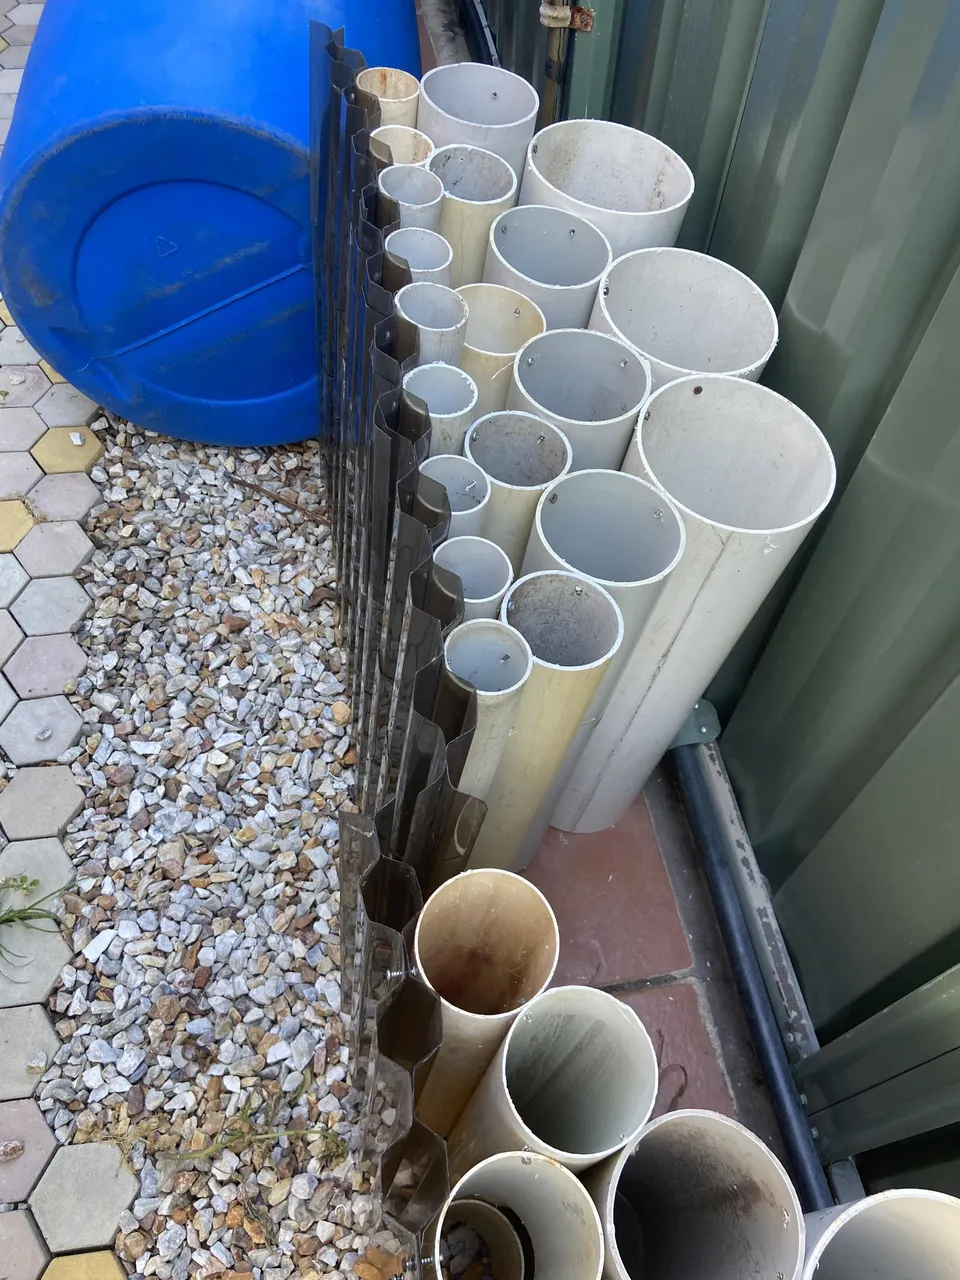
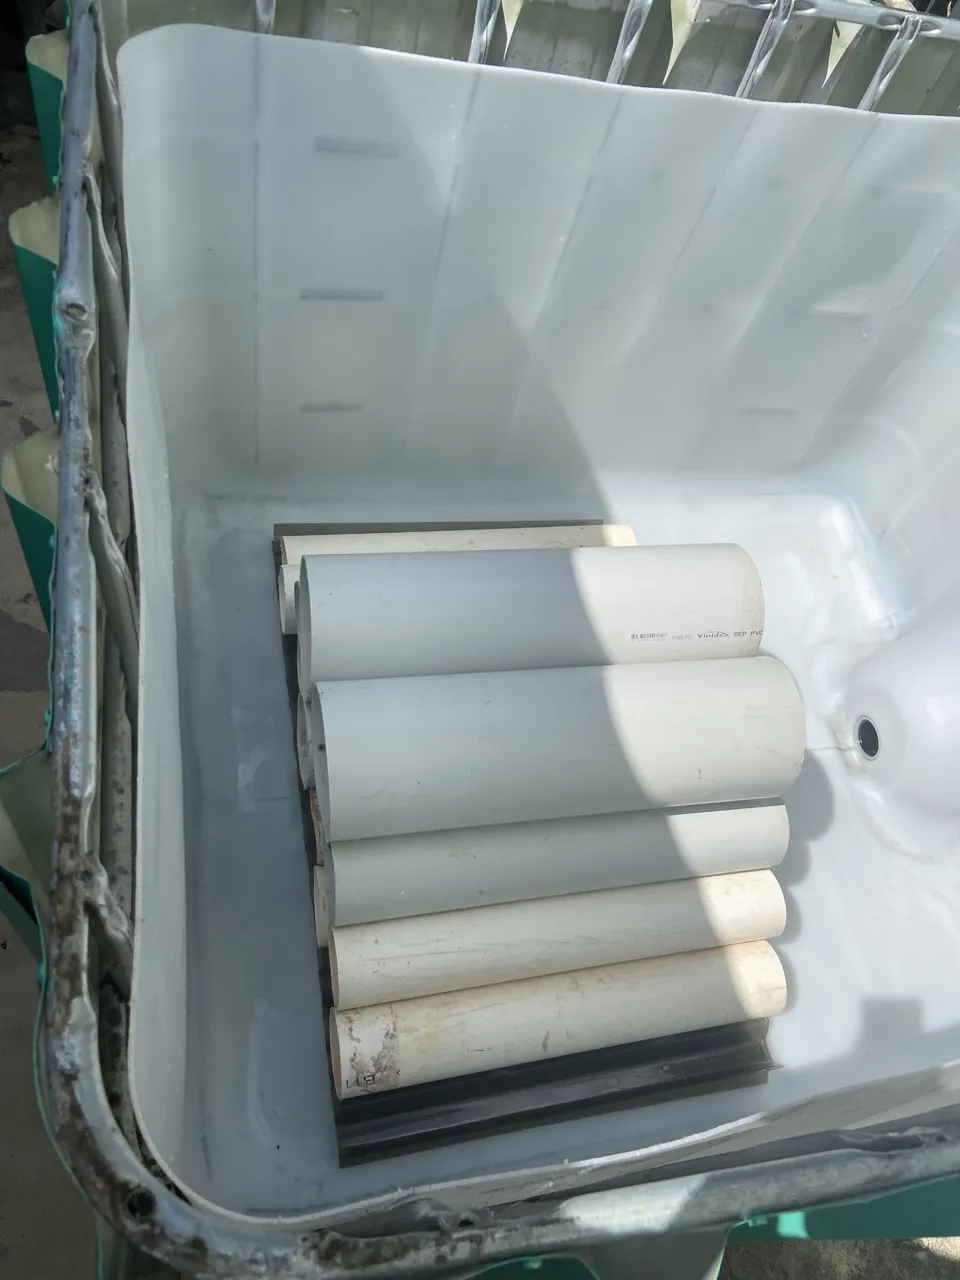
I gathered up all of PVC pipe offcuts and polycarbonate roofing I could find and set to work building some structures for the crayfish and fish to swim and hide in. This will also provide an area for the crayfish to shed and grow without getting eaten by the others in there. I purposely used as many different sizes as I could to provide a number of options for them.
This is what it looks like inside of the fish tank.
Components and Pricing
All the below prices will be in Australian Dollars ($AUD) and the measurements are in the metric system.
| Part | Quantity | Price | Notes |
|---|---|---|---|
| Shade Cloth | 3m x 4.2m (roughly) | N/A | Scavenged and sewed together to create the cover for the build area. |
| Steel Rings | 4 | $20 | These were sewn into the shade cloth as tensioning points. |
| Rope | Various Lengths | N/A | Reused from previous projects. |
| Steel Pillars | 4 | N/A | Scavenged from a construction site years ago. |
| PVC Pipe | Various | N/A | I asked a local plumber and irrigation company if they have any spare PVC offcuts and gave a series of random dimensions. Used to make the crayfish/shelter shelter |
| Polycarbonate Roofing/Tin sheets | Various sizes | N/A | Had lying around from old jobs/buildings. These made the crayfish/fish structures and lined the fish tanks. |
| Black Plastic and Flashing | Various | N/A | Laying around from an old renovation. These made the edging for the grow beds. |
| Steel Springs | 4 | N/A | From an old trampoline. Used for the shade cloth. |
Total Spent this Part: $20.00
Total Spent from previous Parts: $1,014.44
Total Spent: $1,034.44
Once again this shows that scavenging is key. I used as much stuff that I could find laying around the home or things that would be considered useless like small offcuts and random bits and pieces.
Conclusion
This closes out Part 2 of my Backyard Aquaponics series. This part covered a lot of time consuming work that will hopefully add some longevity to the system. This was mainly reinforcing the grow beds and fish tanks whilst also providing some overhead cover to look after the pump systems and keep some undesired leaf matter out of the system.
The next part in this series will be the building of the bell siphon and solids filter and moving the fish tank and grow beds over their final positions in the area so that the pump pipes can be installed.
As always, happy to answer any questions and more importantly get some feedback from some of the more experienced members out there.