
Introduction
Hello there! @Saydie here, playing Splinterlands everyday!
I'm here for this week's Battle Mage Secrets with the featured rule set Equalizer. It is a rule set that makes the health of all monsters the same on the monster with highest health.
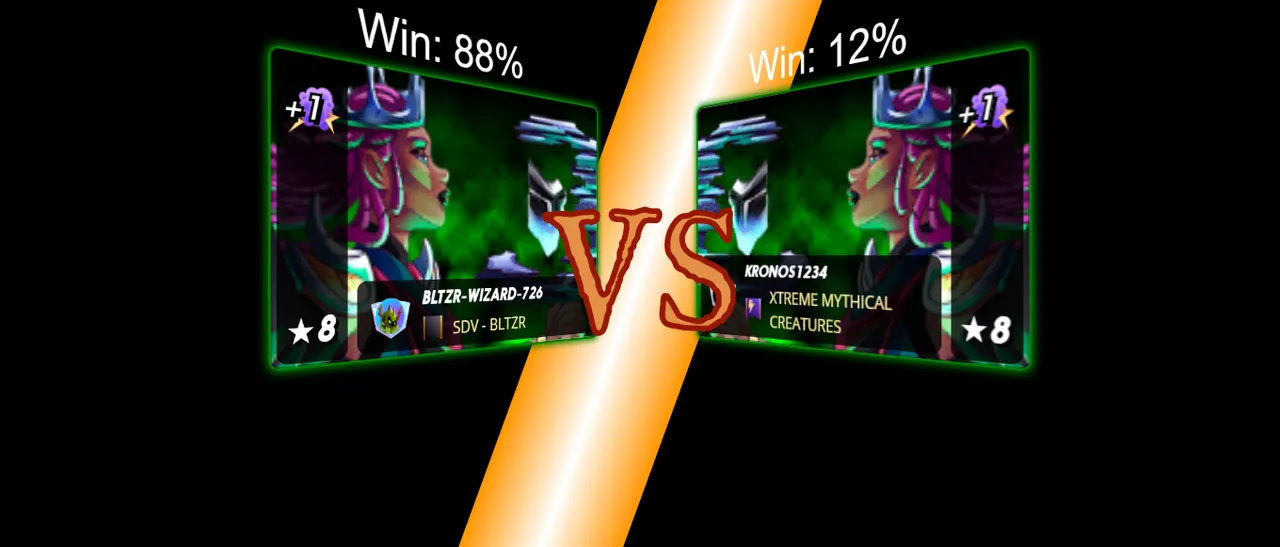
The Battle that I will show to you this week was from bltzr-wizard-726 which is the scholar account awarded to me by Balthazar guild that has max level Chaos Legion deck and is currently playing on the Diamond league for modern and Gold league for wild but before I show you the battle, let us learn more about this rule set.
Equalizer
 Equalizer
Abilities to Consider:
Revealing Battle Conditions and Team Lineup
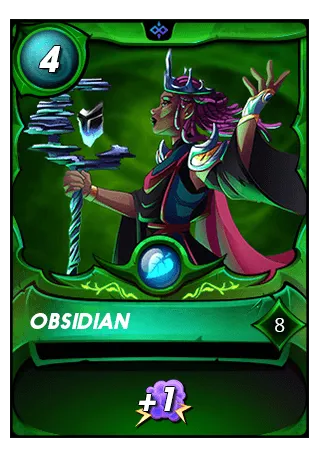
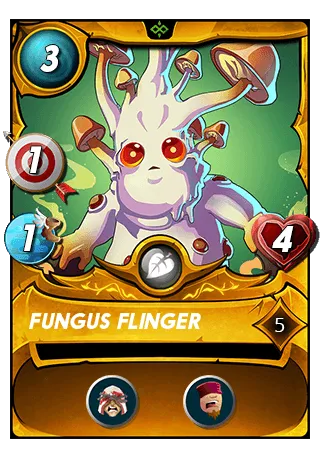
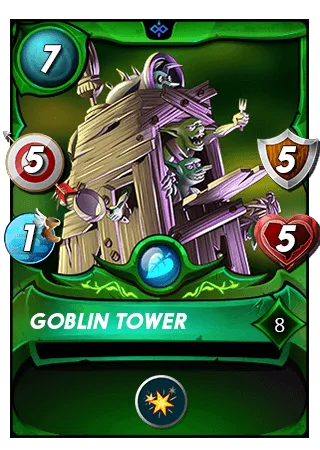
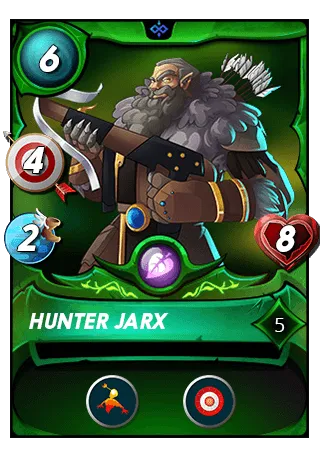
My Team
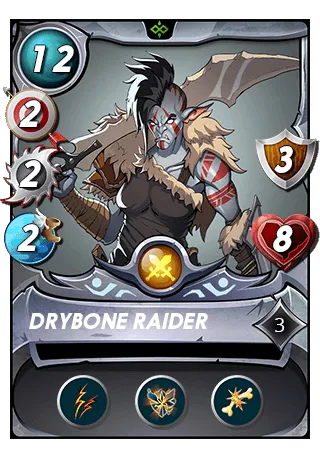
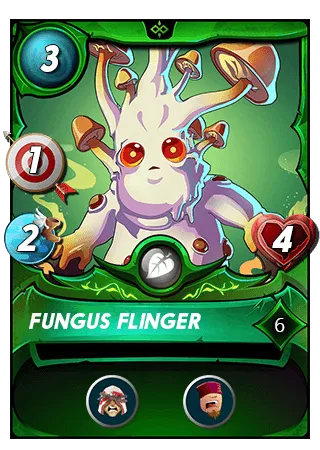
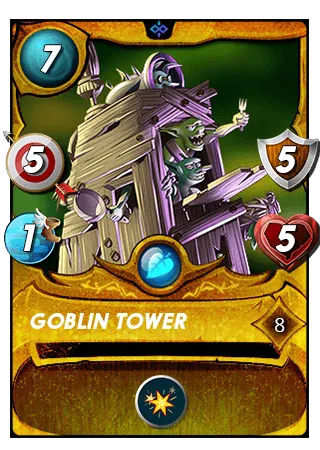
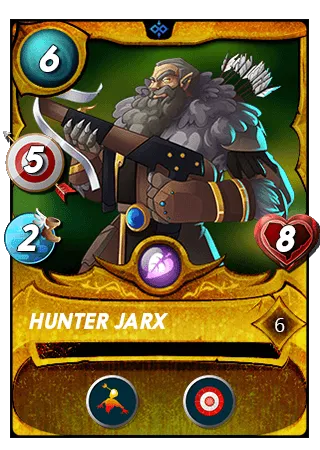
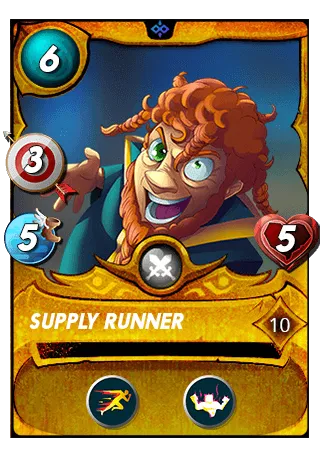
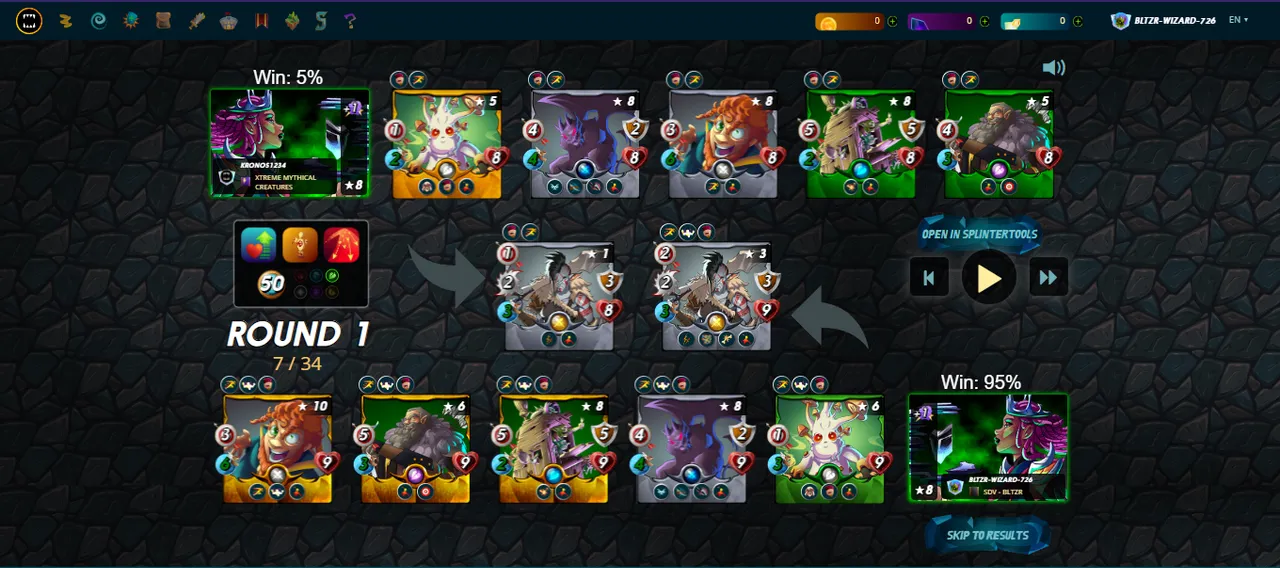
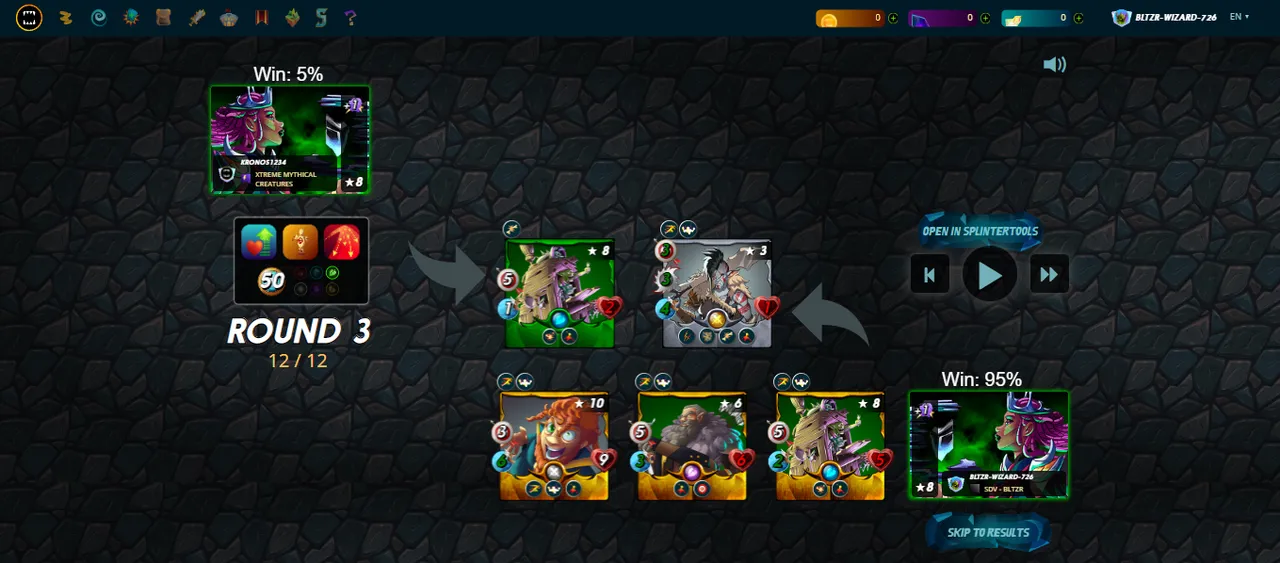
For this battle, we have the featured rule set Eaqualizer which equalizes the health of all monsters allong with Target Practice and Going the Distance which makes range monsters the only cards that I can use. Given this conditions, I choose the following cards for my line- up:
Revealing Battle Secrets
Pre- battle Phase: Applying ability buffs and de- buffs
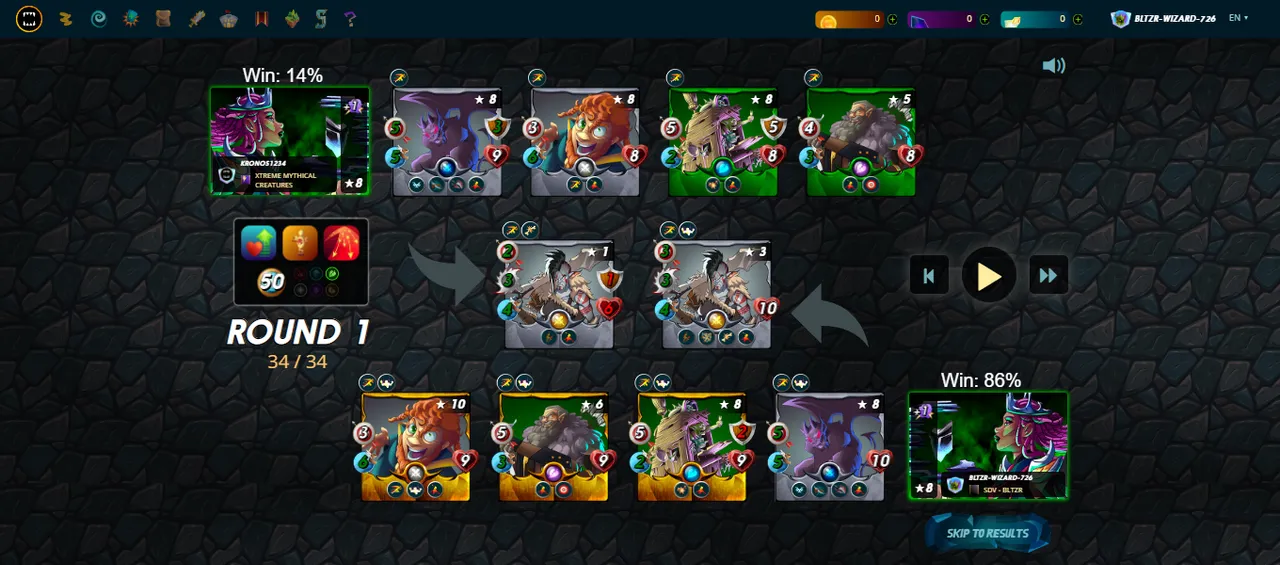
Round 1:
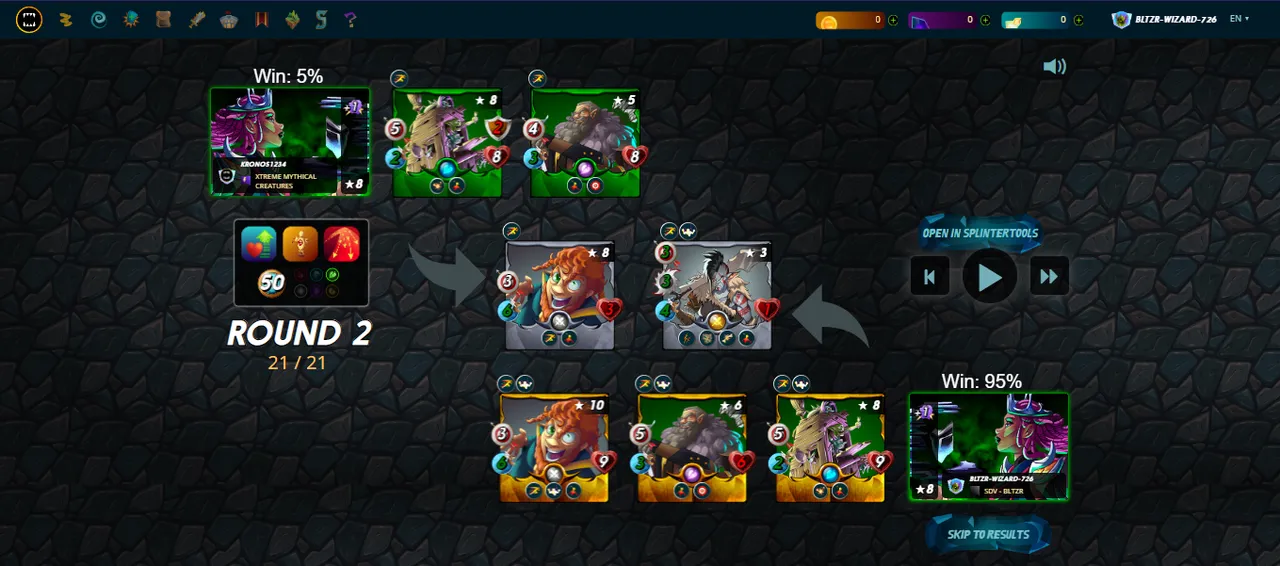
Round 2:
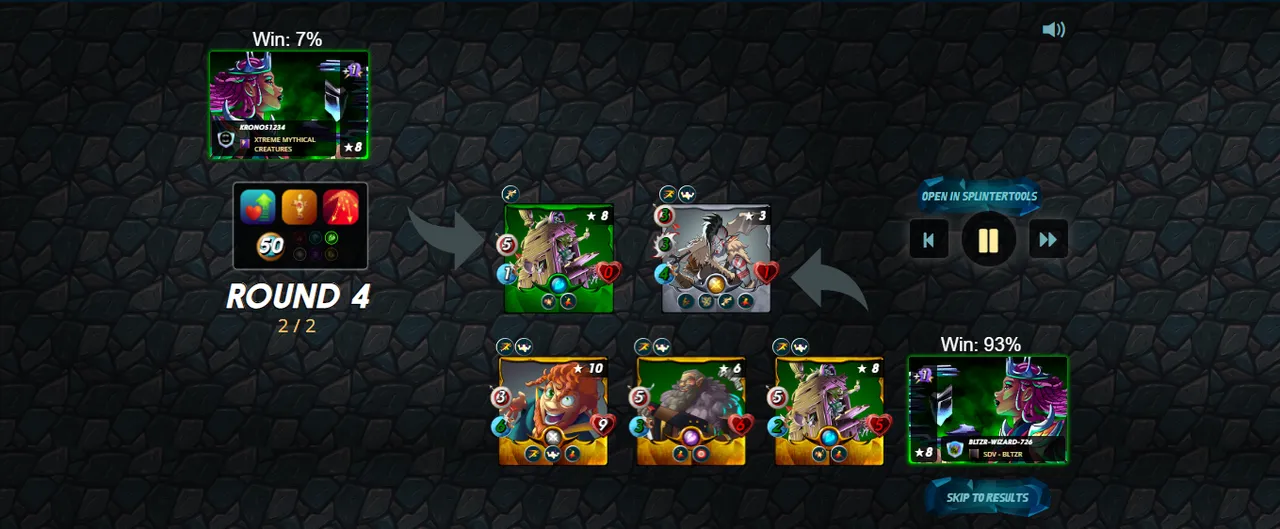
Round 3- 4:
Battle RecapHere is a replay of the battle which at you can watch at 3speak or in Splinterlands.
Did your Strategy Work?As Equalizer rule set makes the health of all monsters the same, the mana ocst of the monsters does not really matter whether you fill it all or not but what's important was that you have placed as many monsters as much as you can with as much damage and speed as you can cause this will help you to be able to do more damage and be the faster one to be able to attack.
Previous Battles
To read previous articles, just click on the image of the article that you want to read.
All the image that I edited here belongs to Splinterlands. All the battle links provided comes from my personal accounts and from the scholar account that I am using from Balthazar Guild. Card abilities and rulesets from Splintercards Thank you for reading my post. If you're interested to play Splinterlands, you can join by clicking this the images below and follow me on Twitter and 3Speak for timely Splinterlands updates.
|


 Earth
Earth

 Range and
  Magic attack Monsters have the