
I discovered what happened at Mantis Labs. I'll have to make a choice. This is the third episode of The Mantis Imperative.
Note: ENB replaces Reshade, Cinematech, Dynavision, and other visual mods. All the episodes from now on were recorded on a more powerful computer.
The mods I used in this series are listed here. Also, the complete playlist is now available on Youtube and Odysee.
Follow the timestamps.
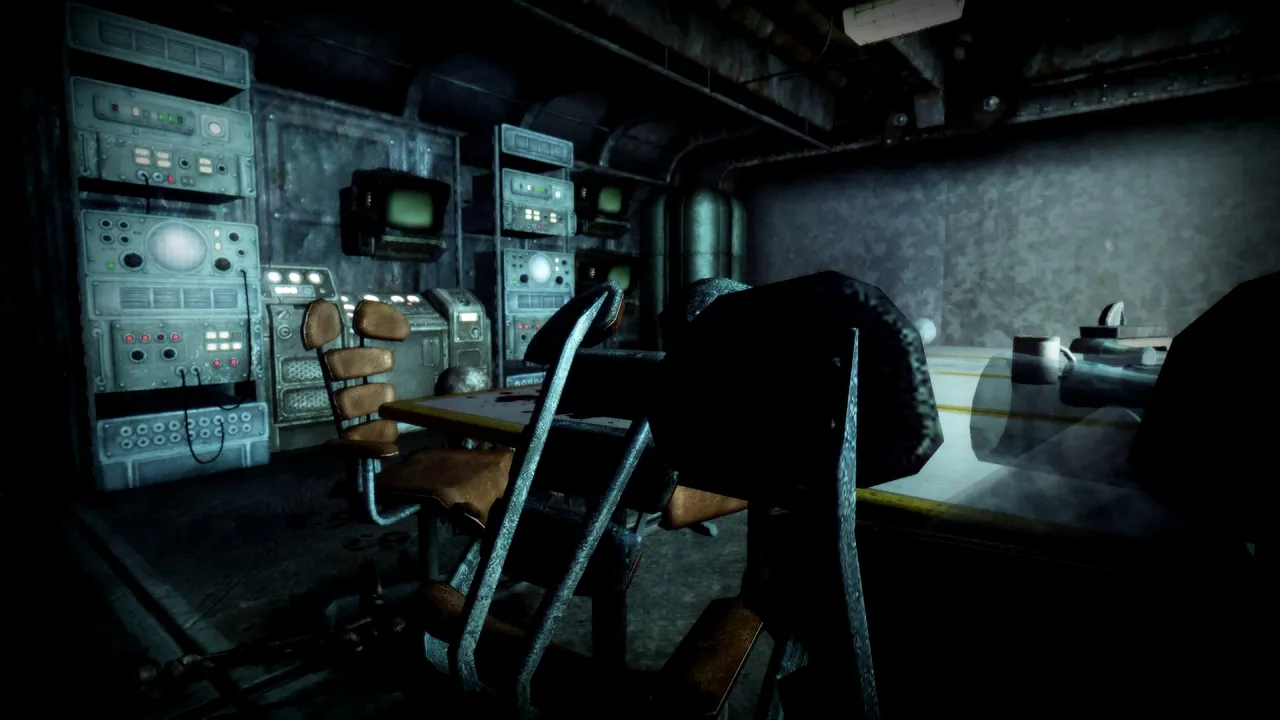
- 01:03 - Heading south through the corridor. I enter the room, access the terminal and read the "Training Turret" entry.
- 01:52 - The "A Soldier is Determined" entry.
- 02:11 - Activating the Training Module and entering it. I'm in another Vault-like place.
- 02:36 - The doors are inaccessible. Some have names on the walls, and all of them are printed on the southwest walls.
- 03:28 - To the northeast, an open door. A locked door at the end has yellow signs.
- 04:00 - A closer look at the names on the other southwest wall + the local map.
- 04:30 - The door to Simmons's room is open. I access the terminal on the desk and read the "Pigs" entry.
- 05:09 - The "Tranquilizer Gun - wrong model!" entry.
- 05:34 - "The wandering porker" entry.
- 06:03 - I open the wall safe. I take the Darts, the "Mantis - Freedom Bear Arsenal" note, and the Tranquilizer gun (Don't waste ammo).
- 06:29 - I read the "Freedom Bear Arsenal" note.
- 07:07 - A safe is under the restroom sink. The "Mantis - Skeleton Key" note and the Mantis Key were inside. The documents say the key opens some of the rooms.
- 08:13 - I leave the room and open the nearby Mansley/Morrison room. The pig rat ("Piggy") mentioned in the terminal was inside (and hostile). I use the Tranquilizer gun on the creature (one shot) before I jump on the tables. It leaves the room.
- 08:49 - I take the Energy and Microfusion Cells on the table. I didn't see the papers on it.
- 09:06 - Leaving the room. Piggy is friendly now. The Tranquilizer gun worked.
- 09:19 - I go northeast and open the last door on the right. It's a room full of dirt and rocks. I take the Piggy Chow box on the shelf.
- 09:53 - Piggy is following me because I have the Piggy Chow. I go northwest and unlock the R. Bentley/P. Freegram room.
- 10:16 - I bump on Piggy's Favorite Chow Bowl on the desk. Another Piggy Chow is on the floor.
- 10:21 - Accessing the terminal. I read the "Clean Halloween Contest" entry.
- 13:35 - The "Pig Duty" entry. Piggy runs really fast toward its food. I should try that on the door with the bear sign.
- 15:18 - The "Do not taunt the Pig" entry.
- 16:23 - I take Piggy's Favorite Chow Bowl from the floor.
- 18:52 - I place the Piggy Chow and Bowl near the door (bear sign). The creature ran to its food and destroyed the door.
- 19:41 - I open the safe, and the Switch spawns on the wall above it. The metal structuring blocking the path is removed when I activate it. Also, that's a Giant Robot Bear.
- 20:36 - I use the terminal on the wall. The "Execute Emergency Beacon" does nothing, but the "Test-Fire Thumb Cannon" option hurts.
- 21:08 - The "Confirm Team Assignments" is the puzzle.
- 23:28 - I return to the previous area, and all rooms are open now. I look for clues in them (paintings, posters, terminal entries).
- 25:43 - Team for GPS / Telemetry / Navigation = Johnson/Laredo.
- 25:50 - Team for the Rocket-propelled Ordnance = Andress/Zoldevro.
- 25:56 - Team for the electrically driven arm-mounted Minigun = Donover/Smith.
- 26:01 - Team for close-quarters-combat-chain-driven arm blades = Bentley/Freegram.
- 26:06 - Team for light amplified simulated of radiant redundant weapon systems = Mansley/Morrison.
- 26:12 - Team for optics / visual acquisition/pattern recognition systems = Parnis/Williams.
- 26:21 - I hear a sound. I opened the terminal and clicked the "Execute Rocket Test" option. The explosion makes some fences fall, creating a path to the floor above. I find a safe with my equipment and another safe with the Freedom Bear Target Painter, the Manis - Target Painter, and Training Detour notes
- 26:58 - I'm teleported to another area. I hear the Mantis voice again (Transmission 9), and the "Mantis - Radio / Mantis Labs Transcript" is updated.
- 27:39 - I'm teleported to a room with a reunion table and many skeletons. First, I read the notes from the safe.
- 29:18 - Reequiping my stuff. The Freedom Bear Target Painter doesn't work in interiors
- 30:16 - A wooden crate under the table has an Easter Papaya (4 of 5). I eat the fruit, and the "Mantis - Easter Papaya Notes" is updated (Papaya the Fourth).
- 31:28 - I use the terminal at the center. I read "The Spark and the Court" entry about what happened at Mantis Lab.
- 32:22 - The "Crime and Punishment" entry. To the left is a terminal to purge the AI. To the right is another terminal to download the AI core to my pip-boy.
- 35:04 - I chose to download the AI core to the pip-boy.
- 35:42 - I go to the door, and I'm teleported to the last training module room. A message box appears as I leave.
- 36:50 - That's the decision room. It's time to leave.
- 40:53 - Mantis Radio signal found.
- 42:21 - Easter Papaya (5 of 5) is in the entrance. It's in a wooden crate on the upper containers to the right. I eat the fruit, and the "Mantis - Easter Papaya Notes" is updated (Papaya the Fifth).
Mantis Radio has some "hidden" content to uncover.
▶️ 3Speak