TR
Merhabalar,
Aranızda küçükken uçurtma uçurmayan var mı? Eminim bir çoğunuz uçurtma uçurmuştur . Eğer uçurmadıysanız kendi uçurtmanızı kendiniz yapıp uçura bilirsiniz. Ben küçüklüğümde kendi uçurtmamı kendim yapardım. Kavak ağaçlarından aldığımız çıtaları naylon ile kaplayıp terazisini, ipini ve kuyruğunu yaptıktan sonra uçurtmamız hazır olur ve özgürce metrelerce yükseğe uçururduk. Göklerde kendi emeklerimle yaptığım uçurtmayı seyretmenin tadı bir başka olurdu.
Bende kızıma uçurtma yapmaya karar verdim. Haydi uçurtma yapmak için gerekli malzemelerimizi sayalım ;
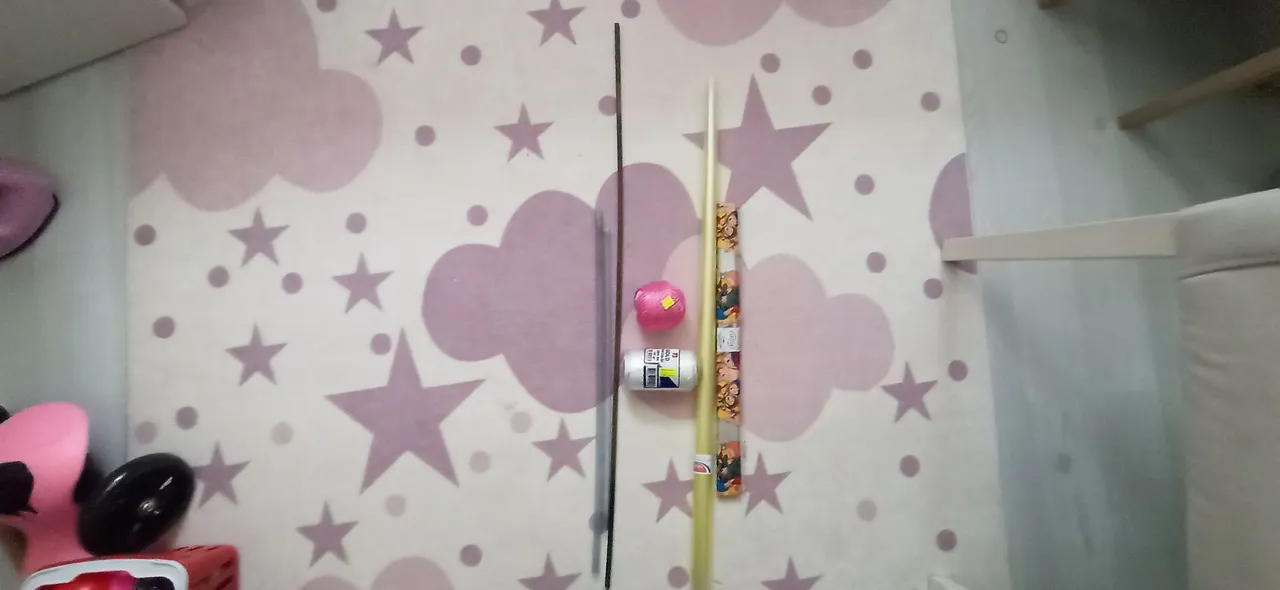
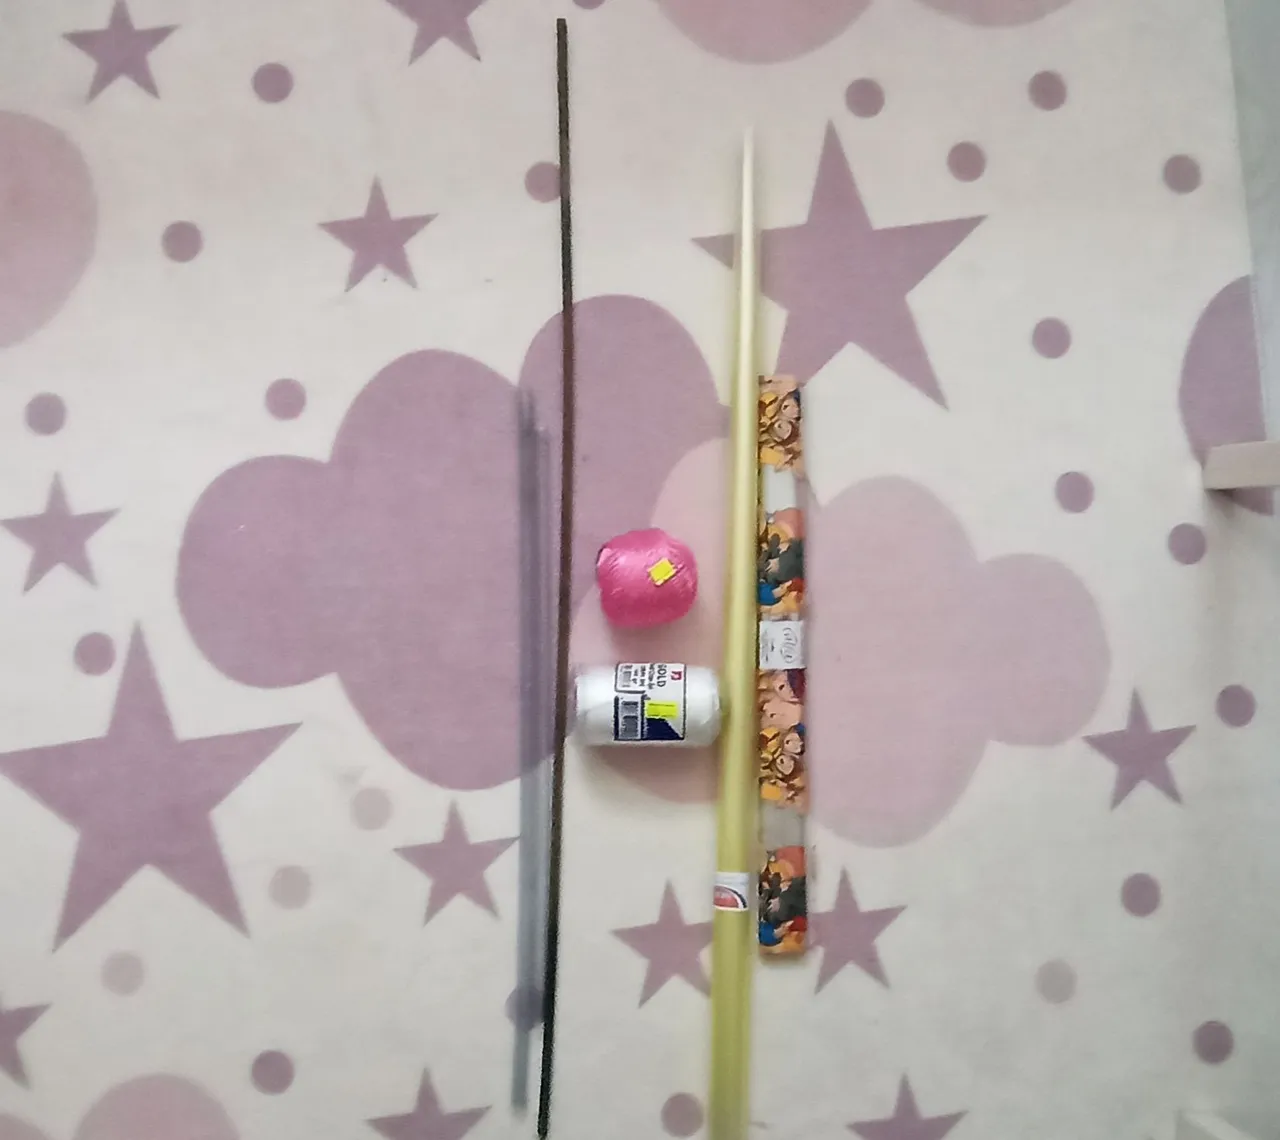
- 3 Adet çıta veya ona benzer sert plastikte olabilir.(Hafif olmasına dikkat etmelisiniz)
- 1 Adet büyük naylon kaplama veya poşette olur tercih size kalmış
- 1 Adet çamaşır ipi veya naylon ip
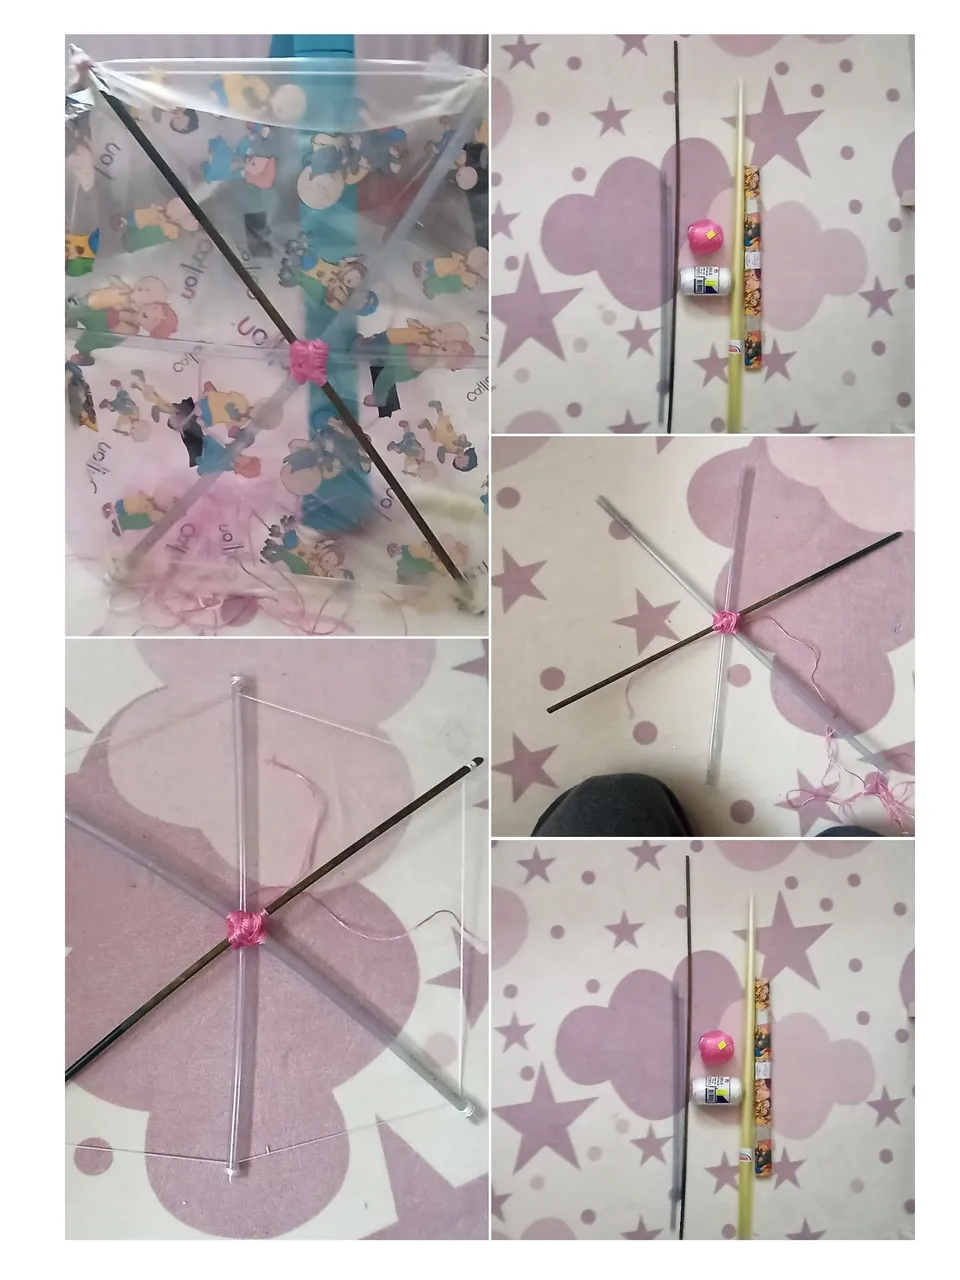
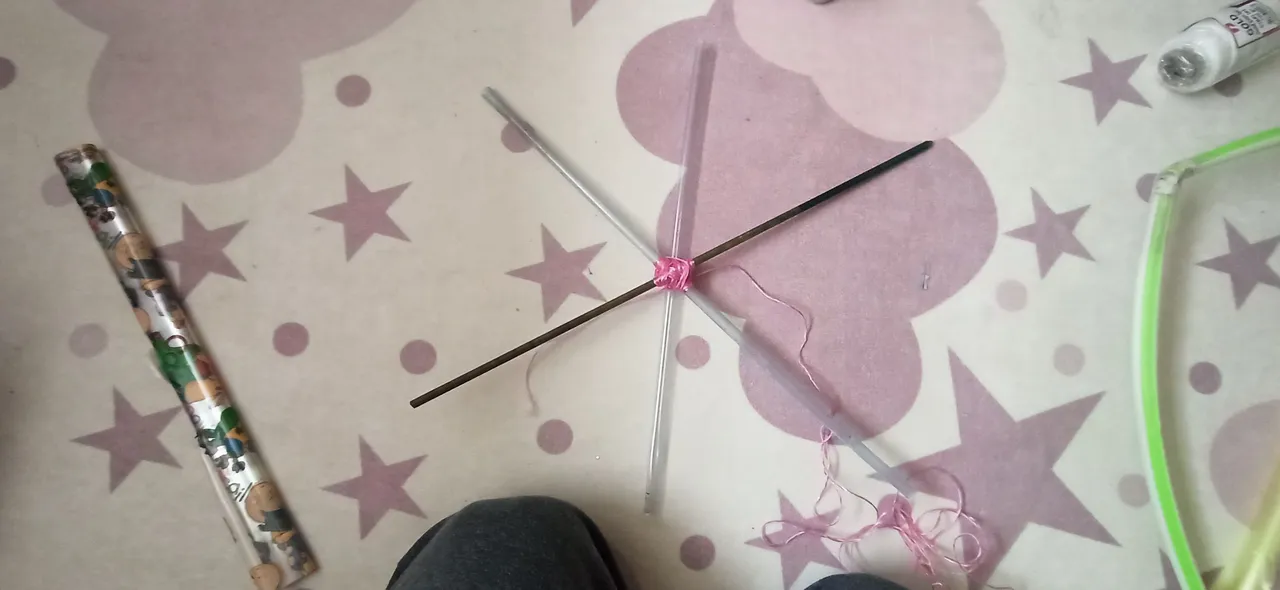
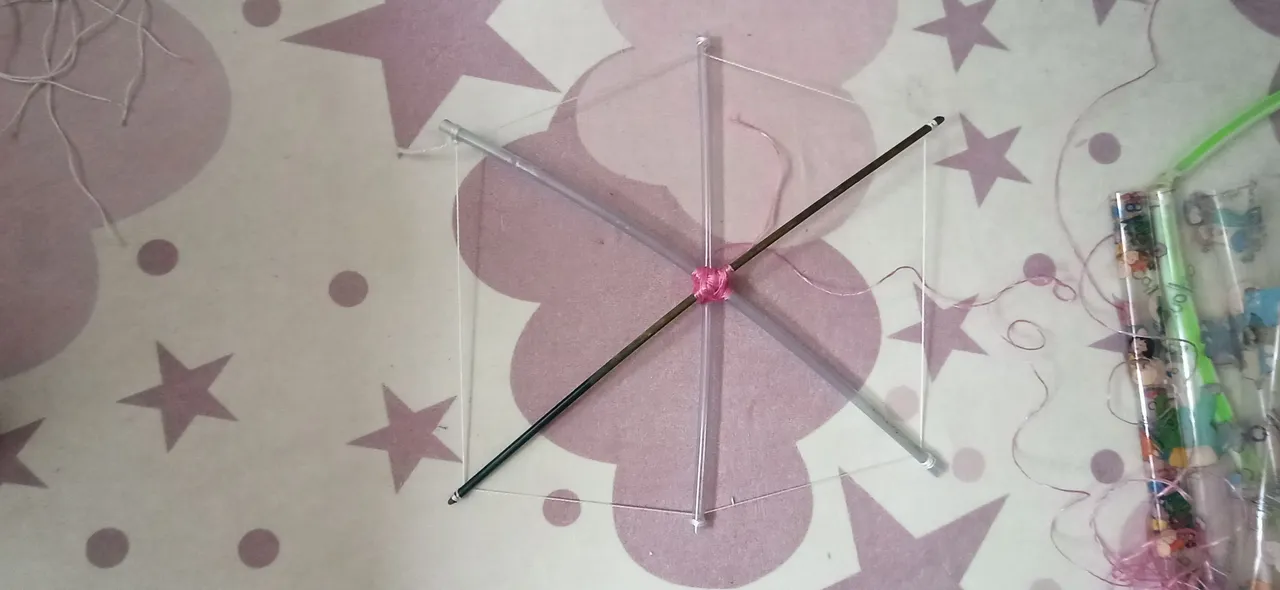
İlk önce çıtaların ikisini çarpı yapıyoruz üçüncü çıtamızı,çarpı yaptığımız çıtaların ortasına yatay olarak eşit bir şekilde koyuyoruz. Bu şekilde, yaptığımız çıtaların arasından, ortadan uzun bir ip bırakarak, çıtaları sabitlemek için sarmaya başlıyoruz. Birkaç defa sarma işlemini yapıp sağlam olduğundan emin olduktan sonra sarma işlemini bitirip, çıtalarımızın etrafını iplerle sararak bağlıyoruz.
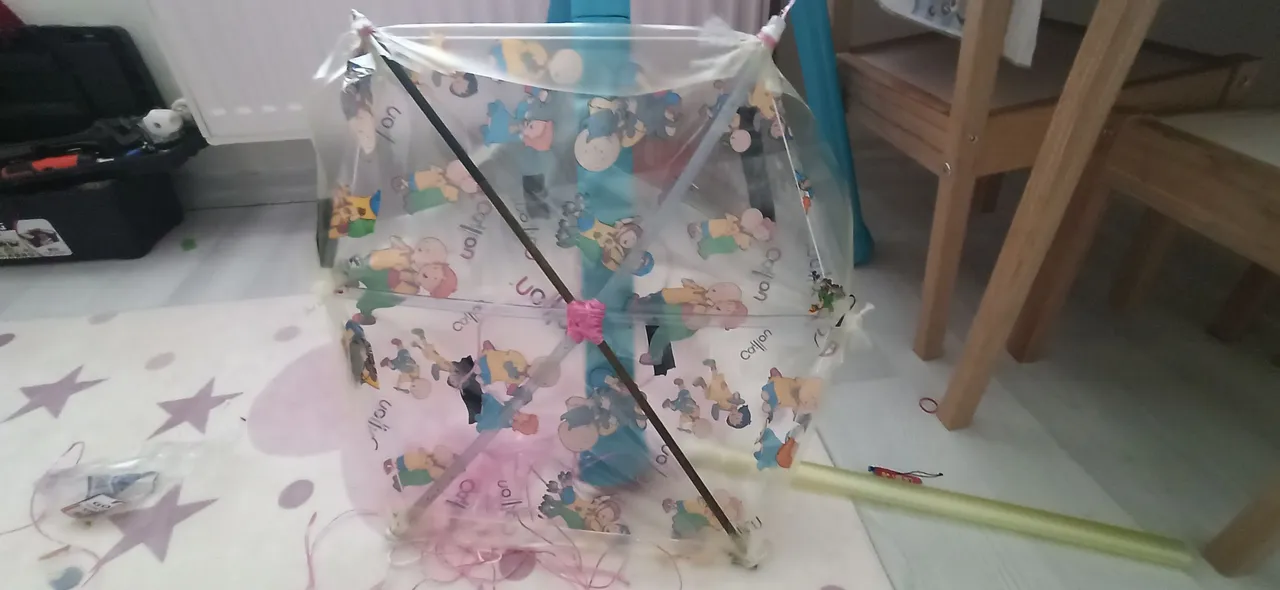
Uçurtmamızın iskeletini oluşturduktan sonra naylon veya poşet kaplamamızı çıtaların uçlarına sarıp sıkıca bağlıyoruz. Bu işlemide yaptıktan sonra uçurtmamızın en can alıcı noktasını yapmaya başlayabiliriz. Çıtaların ortasından bıraktığımız ipi, poşeti delip arka tarafına çıkartıyoruz.
Uçurtmamızın ipini bağlayacağımız yer eğer terazide dengeli olmazsa, uçurtmamız uçmaz. Bu yüzden, çıtanın uçlarına bağladığımız ipler ve ortadan çıkan ipi üçgen şeklinde gerdirip, birleşim yerlerini, sağ ve sol çıtaya eşit şekilde uzanıp uzanmadığını kontrol ediyoruz, uzanıyorsa uçurtmamız olmuştur. Eğer kısa geliyorsa, eşit olana kadar ipleri uzatıp bağlamamız gerekmekte yoksa uçurtmamız yere çakılır uçmaz.
Bu işlemide tamamladıktan sonra kuyruk kıymınıda yaparak uçurtmamızı tamamlıyoruz. Nihayet uçurtmamızı yaptık ve uçurmaya hazırladık. Uçurtmamızı kızımla birlikte yaptık ve uçurmak için sabırsızlanıyoruz. Uçurtmamızı uçurduğumuzda o keyif dolu anları birdahaki yazılarımdan birinde anlatmak üzere hoşca kalın.
EN
Hello,
Is there anyone among you who didn't fly a kite when you were little? I'm sure most of you have flown a kite. If you haven't flown one yet, you can make and fly your own kite. I used to make my own kites when I was little. After covering the slats we took from the poplar trees with nylon and making the scales, string and tail, my kite was ready and we could fly it meters high freely. It would be a great pleasure to watch the kite I made with my own efforts in the sky.
So I decided to make a kite for my daughter. Let's count the materials we need to make a kite;
- It can be made of 3 slats or similar hard plastic. (You must make sure it is lightweight)
- Comes in 1 large nylon coating or bag, the choice is up to you.
- 1 clothesline or nylon rope
First, we go over two of the slats and place our third slat equally horizontally in the middle of the diagonal slats. We leave a long rope in the middle between the slats we made in this way and start wrapping them to fix the slats. After wrapping it a few times and making sure it is solid, we finish the wrapping process and tie it with ropes around our slats.
After creating the skeleton of our kite, we wrap our nylon or bag cover around the ends of the slats and tie it tightly. After completing this process, we can start making the most crucial point of the kite. We pierce the bag with the rope we left in the middle of the slats and take it out to the back.
If the place where we tie the string of our kite is not balanced on the scale, our kite will not fly. For this reason, we stretch the ropes we tie to the ends of the lath and the rope coming out of the middle in a triangle shape to check whether the joints extend equally to the right and left slats. If so, our kite is ready. If it is too short, we need to lengthen and tie the strings until they are equal, otherwise our kite will fall to the ground.
After completing this process, we complete the kite by cutting off the tail of the kite. Finally, we made our kite and prepared it to fly. We made our kite with my daughter, we can't wait to fly it. Goodbye, I will tell about those pleasant moments when we flew our kite in one of my next articles.