Les saludo amigos creadores y artista de la comunidad, en esta ocasión les traigo una forma de procesar la materia prima para el modelado en arcilla, este proceso que les compartiré nos sirve para prácticas y para usarla en piezas que se le sacará molde al igual para maquetas escultóricas.
Una de las particularidades de la escultura en barro es que nos permite ejecutarla en cualquier lugar que tenga tierra arcillosa, es una de las ramas de las bellas artes aparte de la cerámica (arte del fuego) que más conexión tiene con lo primitivo y ancestral yendo así el ser a lo más puro "el barro" y manifestar a través de lo corpóreo su visión del mundo.
Dentro de mi visión en la escultura considero que debemos conocer como procesar la materia, al menos que lo hagamos una vez para obtener un conocimiento básico y pragmático de esta materia. De esta manera nuestra participación en la creación conduce con más seguridad y las intenciones que traemos con la escultura florecen con más sentido, iniciando la creación desde que buscamos, escarbamos y amasamos la arcilla, es en ese momento que nosotros empezamos a crear como sapiopensantes.

- Arcilla
- pala
- agua
- zaranda
- recipiente para mezclar
Paso 1
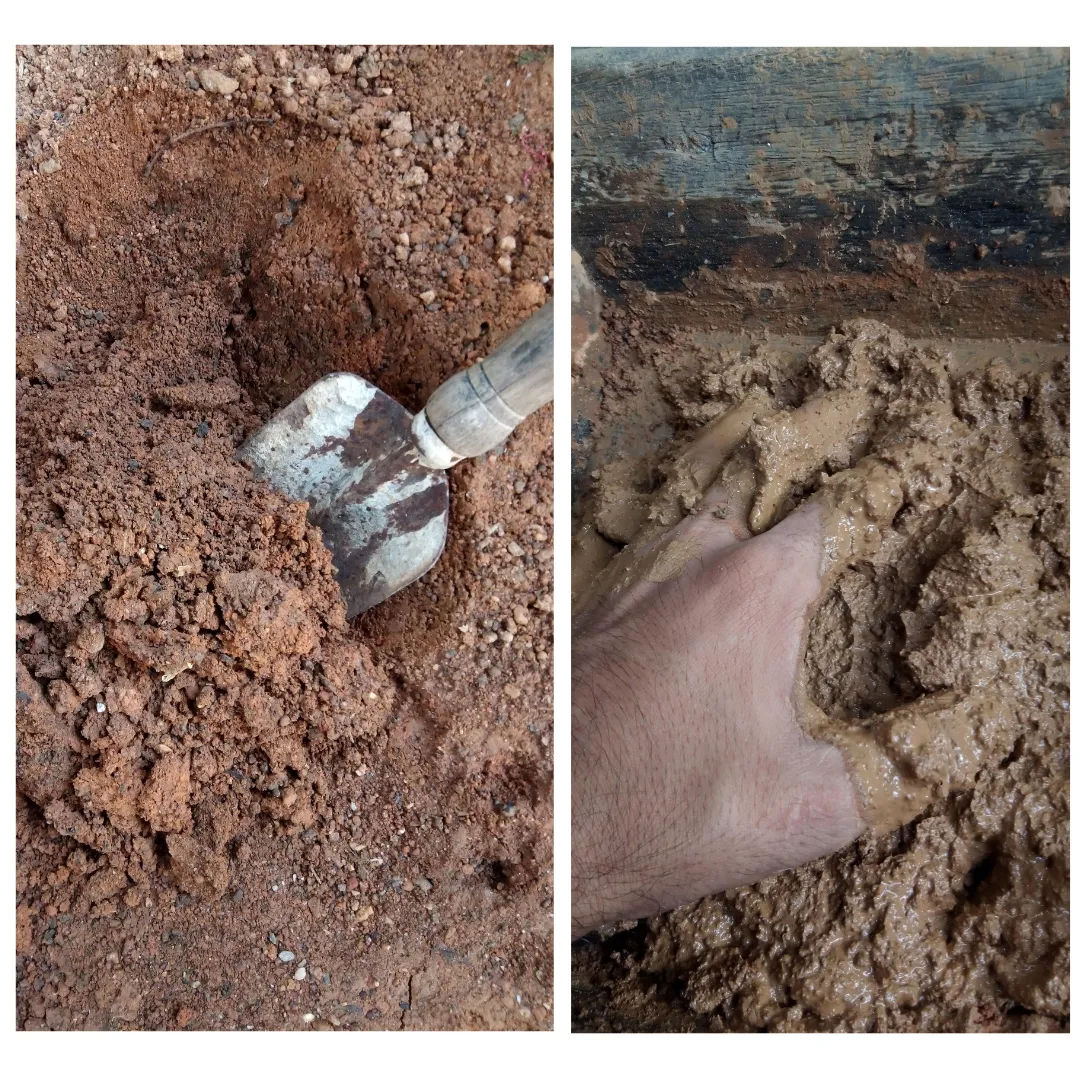
Lo primero es buscar el sitio donde queremos ir a escarbar, dependiendo del lugar vemos si lo podemos hacer, en dado caso, se busca el permiso de la comunidad, pero como solo buscamos lo necesario tomaremos unos cuantos kilos dependiendo de lo que queremos hacer y no los llevamos al taller.
Paso 2
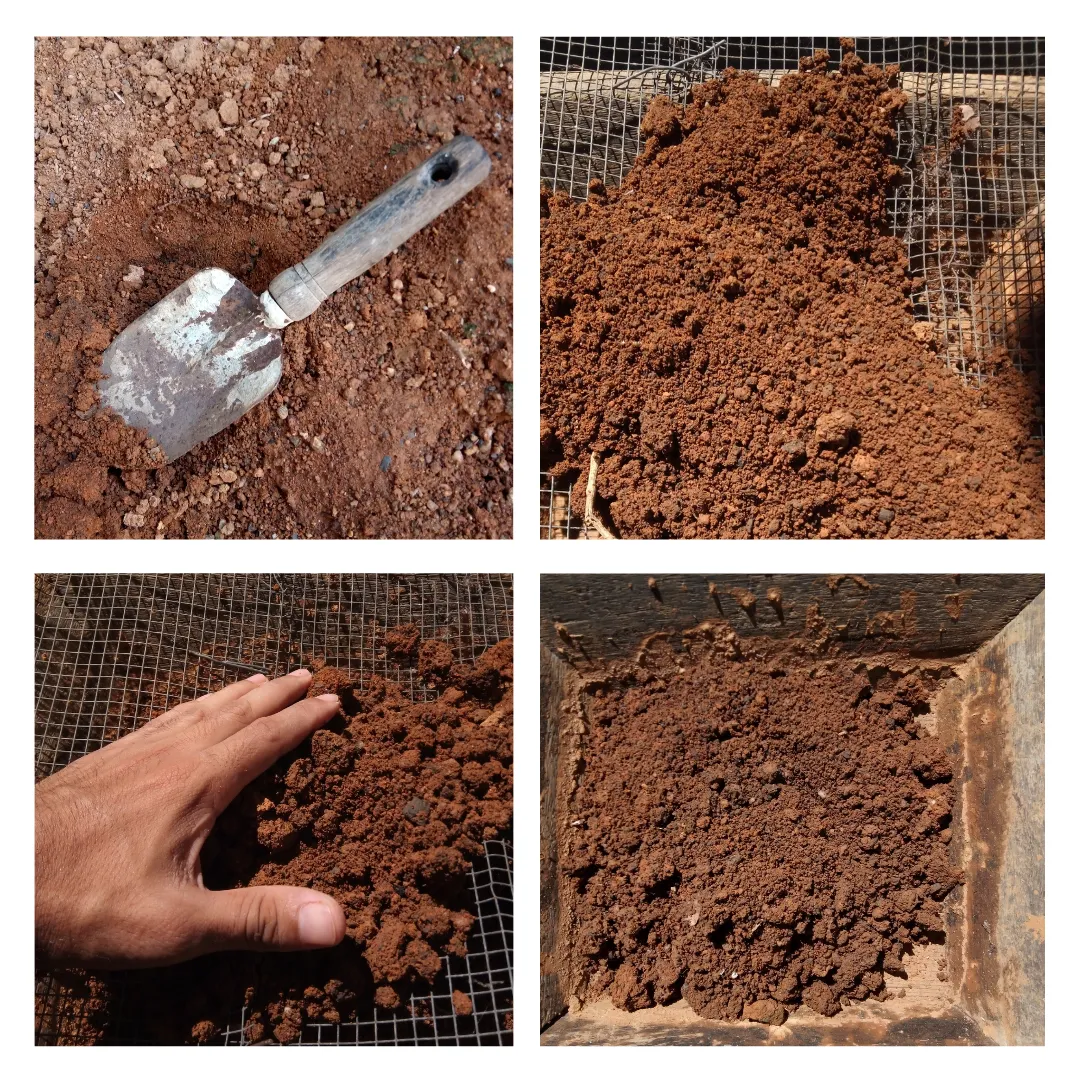
Una vez teniendo la arcilla en nuestro lugar, buscamos la zaranda, en esta ocasión usé una de malla gruesa, ya que está práctica fue lejos de mi atelier, la colamos y la dejamos en el recipiente, si queremos tamizarla más finas debemos pasarla por tres zaranda distinta, como esta es para práctica nos funciona tranquilamente.
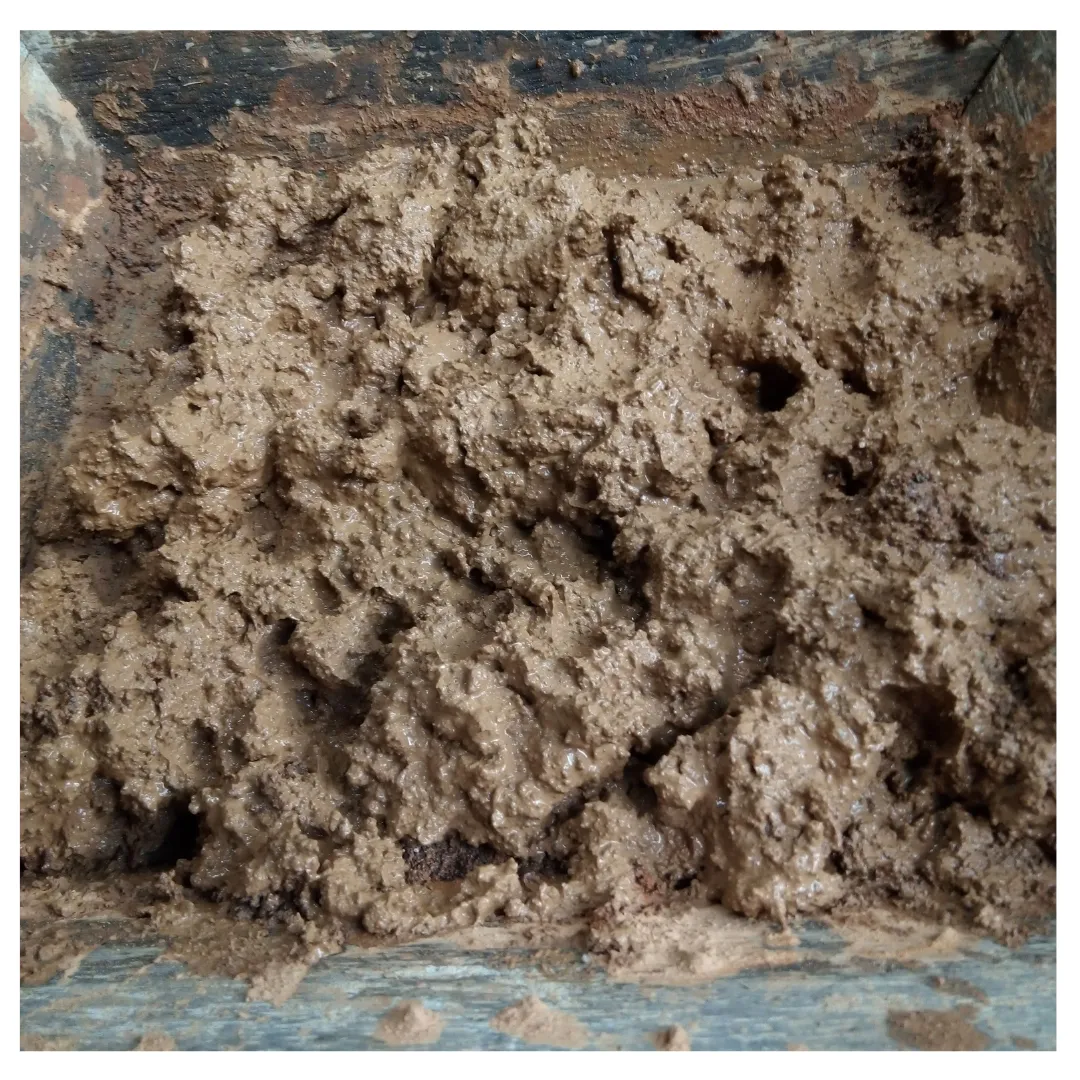
Paso 3
Agregamos un poco de agua a la arcilla, mezclamos con nuestras manos y sobre hidratamos un poco para dejar la mezcla aguada, de esta manera nos aseguramos que toda la arcilla esté humedecida.
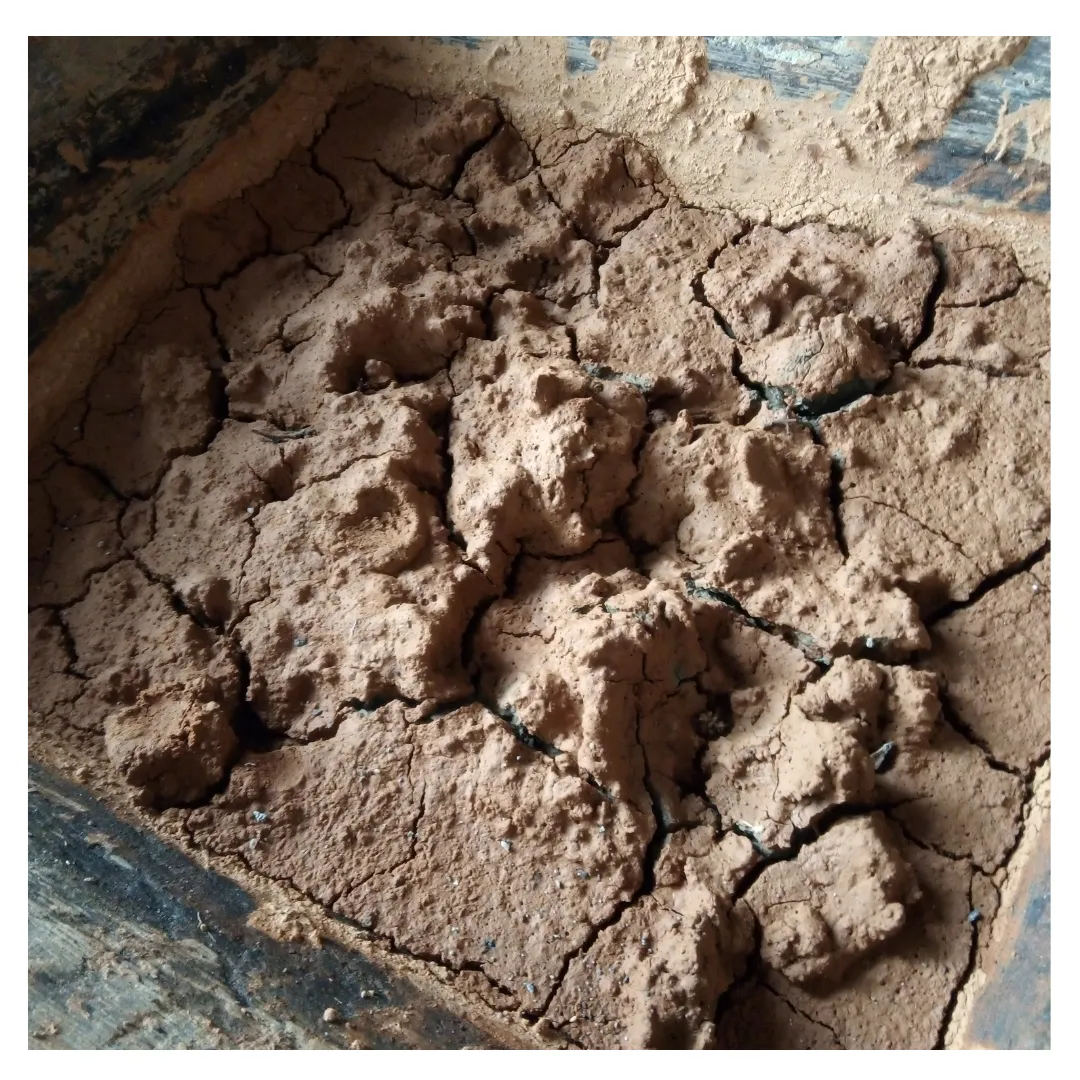
Paso 4
Logrando esta característica, la dejamos extendida, si tenemos buen tiempo, nuestro mejor aliado es el sol, de esta forma permitimos un poco mejor su deshidratación, ya que necesitamos luego amasar y esta no puede estar tan aguada.
Paso 5
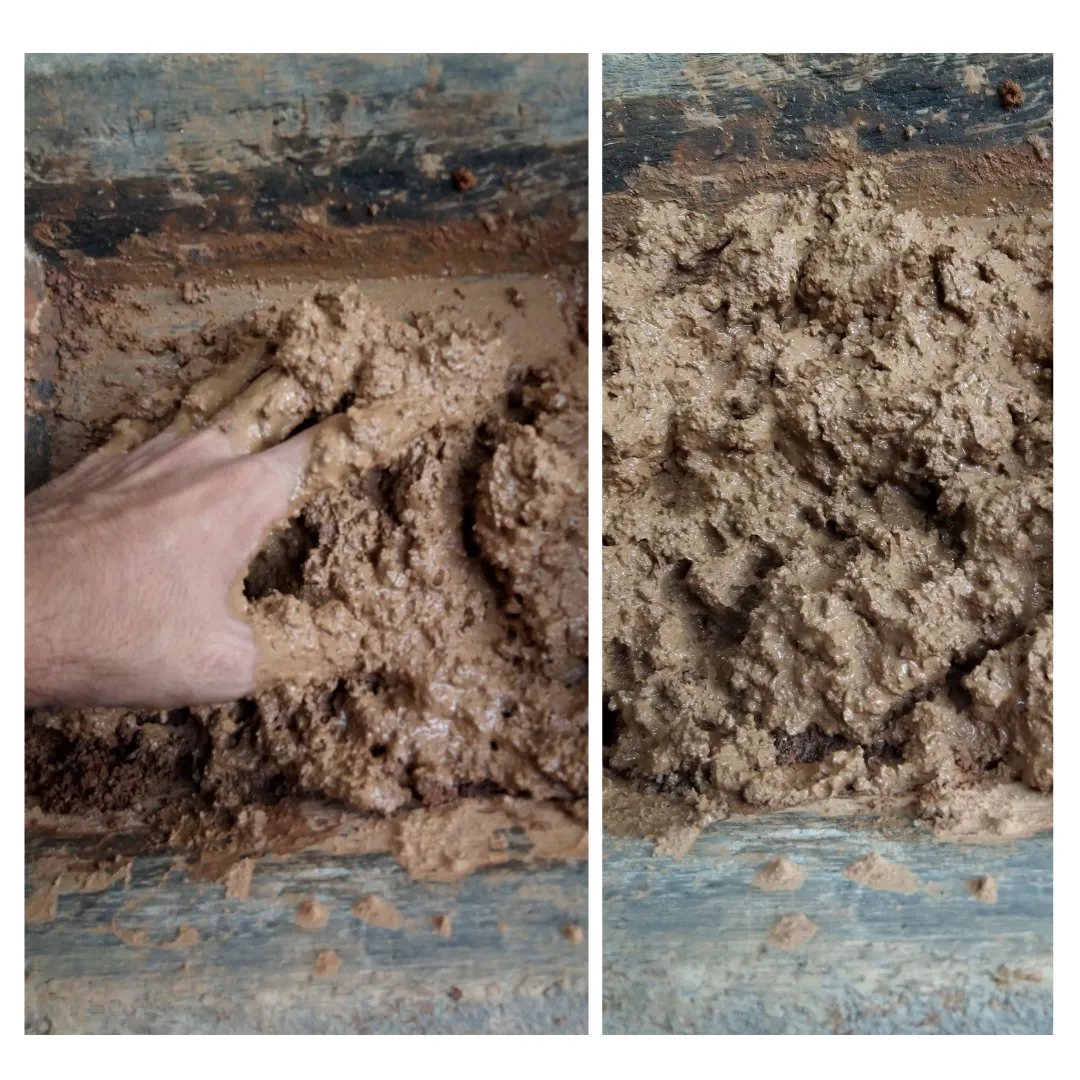
Con este aspecto debe estar la mezcla, la retiramos del recipiente y si no podemos seguir en la práctica la guardamos en una bolsa o ponemos una bolsa sobre el recipiente, ya que si se seca un poco más debemos rociar un poco de agua.
Paso 6
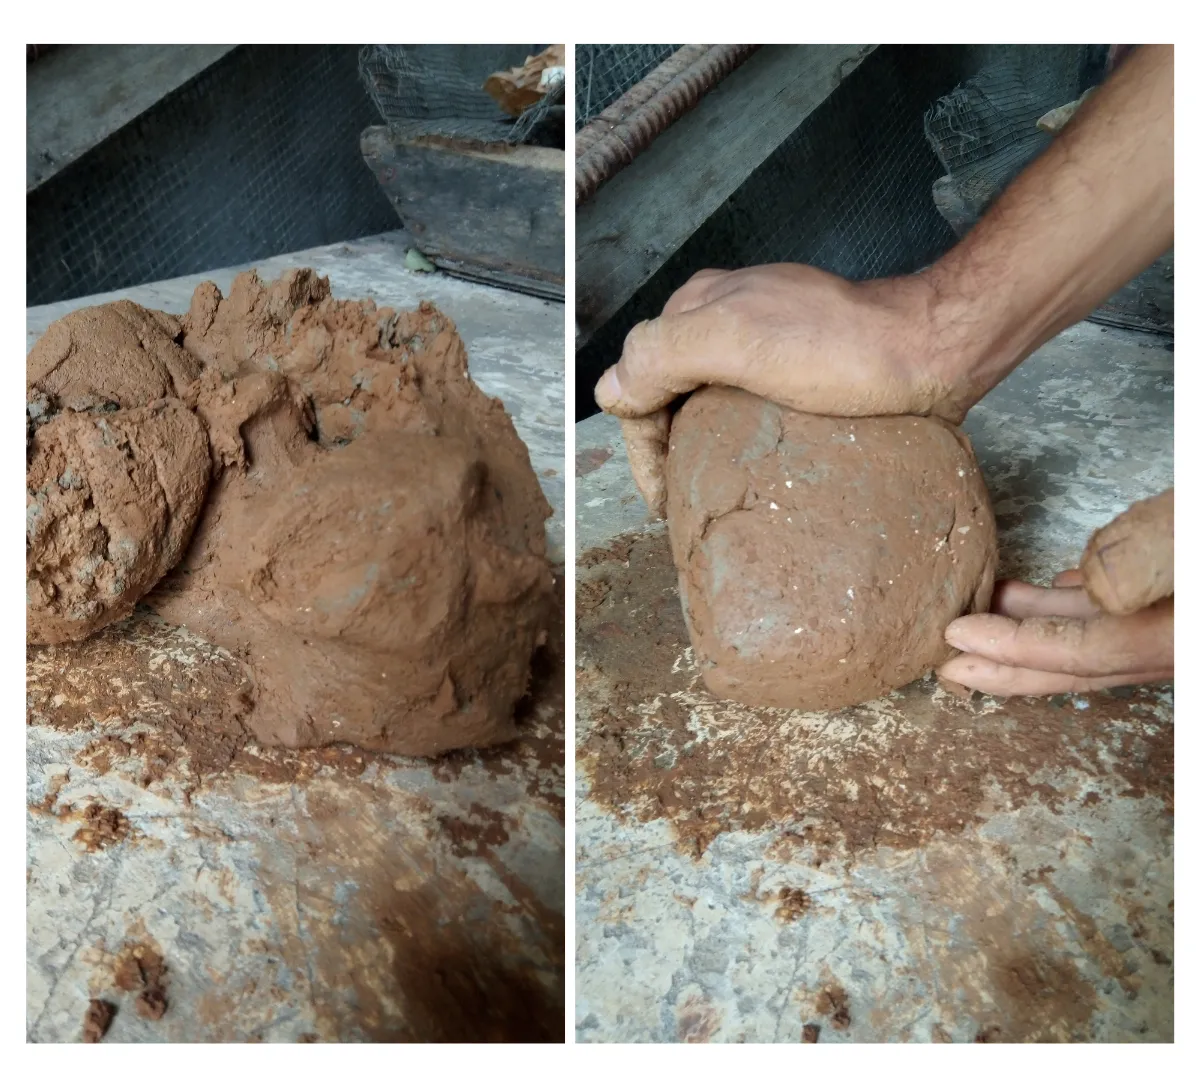
Comencemos a amasar y cuidemos de que la mesa de trabajo este limpia, ya que un residuo nos puede entorpecer el modelado más adelante.
Paso 7
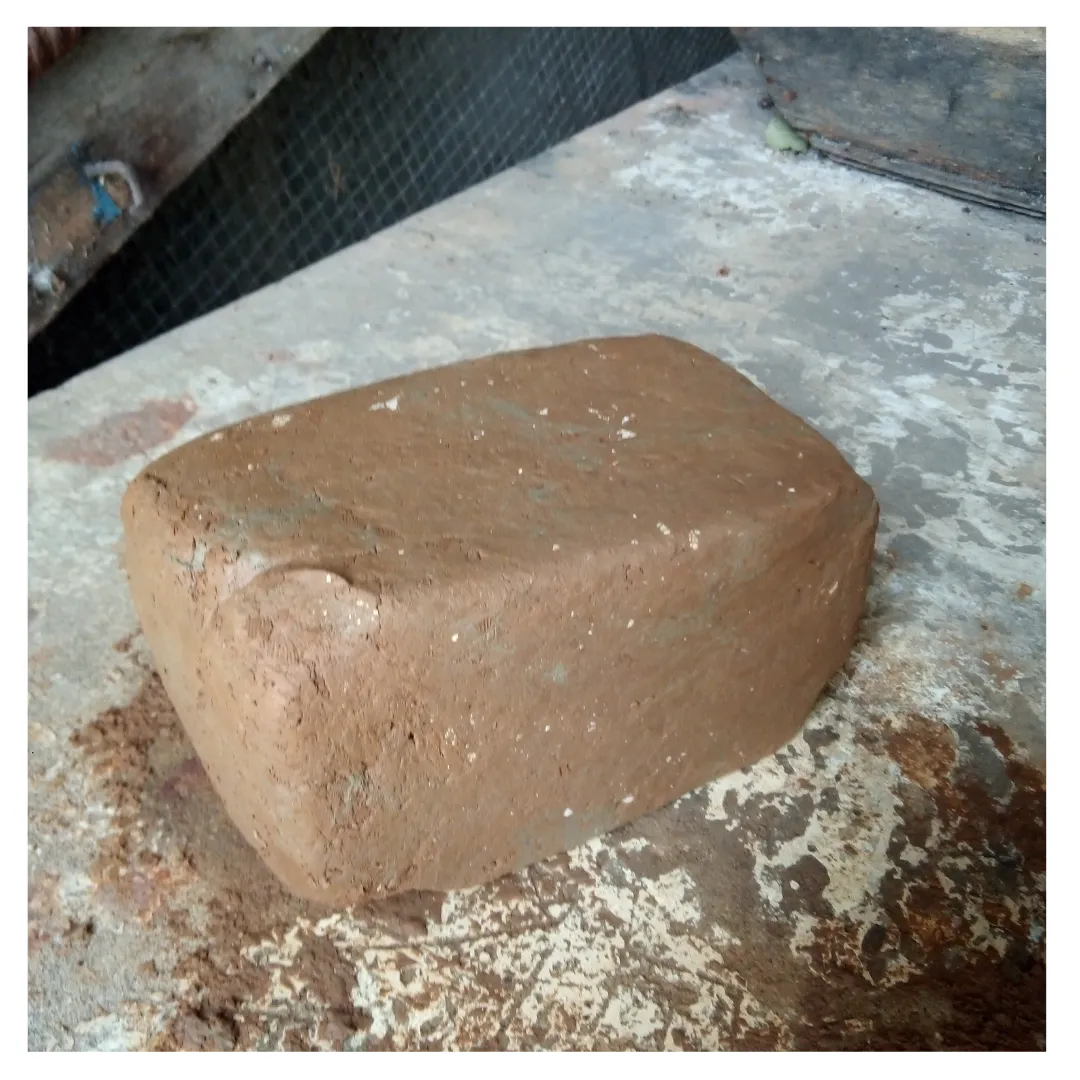
Luego de que todo esté homogéneo damos el último paso de esta etapa, es decir la del "procesado de materia" al tenerla amasada, podemos formar un rectángulo, generando golpes en cada cara de este, si la arcilla aún tiene mucha humedad en este formado, colocamos papel periódico en la mesa y este irá absorbiendo el agua, ya teniendo lista esta parte que no es obligatoria podemos iniciar nuestro modelado aunque podemos desde el paso 6 iniciar el proceso escultórico.
En una publicación futura estaré compartiendo como procesar la arcilla para hacer piezas terracota (arcilla cocida), ya que el proceso de esta debe ser más purificada.
Muchas gracias por leer este material, que le sea de mucha utilidad y conocimiento para iniciar en el arte de la escultura, si tienen alguna sugerencia o duda estoy atento a los comentarios.
Créditos
Fotografías de mi propiedad tomadas desde mi celular.
Edición de imágenes en canva.
Separador de texto realizado en Adobe illustrator.
Traducción de texto en deepl.
English
creators and artists of the community, this time I bring you a way to process the raw material for clay modeling, this process that I will share with you is useful for practices and to use it in pieces that will be molded as well as for sculptural models.
One of the particularities of clay sculpture is that it allows us to execute it in any place that has clay soil, is one of the branches of the fine arts apart from ceramics (art of fire) that has more connection with the primitive and ancestral thus going to the purest being "the mud" and manifest through the corporeal his vision of the world.
Within my vision in sculpture I consider that we must know how to process the material, at least that we do it once to obtain a basic and pragmatic knowledge of this matter. In this way our participation in the creation leads with more security and the intentions that we bring with the sculpture flourish with more sense, starting the creation since we search, dig and knead the clay, it is at that moment that we begin to create as sapiopensantes.
Materials
- Clay
- shovel
- water
- sieve
- mixing container
Step 1
The first thing is to look for the place where we want to go to dig, depending on the place we see if we can do it, if so, we look for the permission of the community, but as we only look for what is necessary we will take a few kilos depending on what we want to do and we do not take them to the workshop.
Step 2
Once we have the clay in our place, we look for the sieve, this time I used a coarse mesh, as this practice was far from my atelier, we strain it and leave it in the container, if we want to sift it finer we must pass it through three different sieves, as this is for practice it works quietly.
Step 3
We add a little water to the clay, mix with our hands and over hydrate a little to leave the mixture watery, in this way we ensure that all the clay is moistened.
Step 4
Achieving this feature, we leave it extended, if we have good weather, our best ally is the sun, thus allowing a little better dehydration, as we need then knead and this can not be so watery.
Step 5
With this aspect should be the mixture, we remove it from the bowl and if we can not continue in practice we keep it in a bag or put a bag over the bowl, because if it dries a little more we must spray a little water.
Step 6
Let's start to knead and make sure that the work table is clean, because a residue can hinder the modeling later.
Step 7
After everything is homogeneous we take the last step of this stage, that is the "processing of matter" having it kneaded, we can form a rectangle, generating blows on each side of this, if the clay still has a lot of moisture in this formed, we place newspaper on the table and this will absorb the water, and having ready this part that is not mandatory we can start our modeling although we can from step 6 to start the sculptural process.
In a future publication I will be sharing how to process the clay to make terracotta pieces, (fired clay), since the process of this must be purified.
Thank you very much for reading this material will be very useful and knowledge to start in the art of sculpture, if you have any suggestions or questions I am attentive to the comments.
Credits
Photographs of my property taken from my cell phone.
Editing images in canva.
Text separator made in Adobe illustrator.
Text translation in deepl.