Up To Eleven basically grant Amplify to the entire formation. Amplify increase the effect of Thorns, Magic Reflect, and Return Fire by 1. Unfortunately this does not affect Backfire, though it work very similar with the rest. And now with the release of Rebellion editions, there is new ability called Corrosive Ward which trigger when damage sustained by the possessor. It is yet to be known if Amplify will later be modified to include Corrosive Ward. Now let's continue to take a deeper look into this ruleset.

Pros & Cons
 |  |
|---|---|
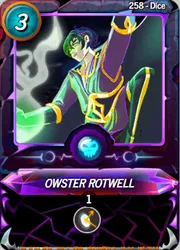
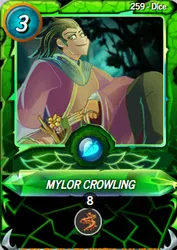
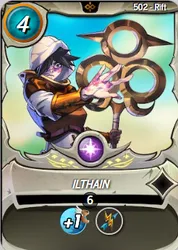
1. Players with a vast collection of cards with Thorns, Magic Reflect, and Return Fire should gained an upper hand by deploying them. But the paramount advantage would come from the Summoners such as Mylor Crowling, Ilthain, or Owster Rotwell. | 1. Although having increased damage, the counter damage are possible to be dampen from defensive abilities, such as Void and Shield. |
2. Anticipate the type of attack will be deployed by opponent might be a hindrance. And opponent might tried to avoid catastrophic loss by taking balanced attack type, which if so then the Amplify would be effective against only a handful of cards |


Best Cards To Use
As previously mentioned Mylor Crowling, Ilthain, or Owster Rotwell grant those abilities running in conjunction with Amplify. At least by deploying these summoners, players would have option to deploy cards with other counter abilities, allowing the cards to anticipate and counter 2 (two) damage types.
WATCH BATTLE
So here we have the battle experience with Up To Eleven as the ruleset. Click BATTLE LINK to see how the battle run.
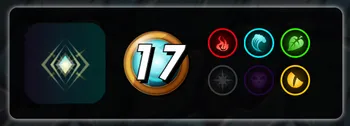
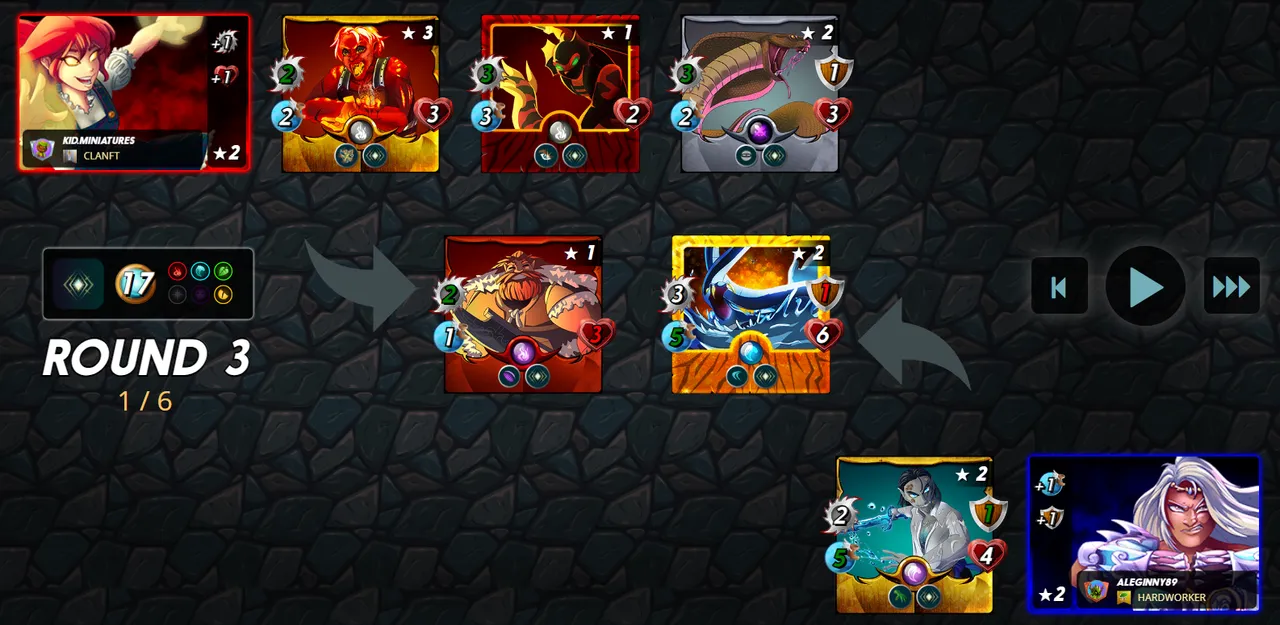
The battle has the maximum 17 mana cap, with Up To Eleven as the sole rulesets; while only Fire, Water, Earth, and Dragon Splinters are made available.
In this battle both formation of myself and my opponent didn't bring any counter abilities, thus Up To Eleven ruleset didn't apply. So we shall run this battle as standard battle. With only 17 mana cap, I bring a total 4 cards for battle. Tusk The Wide lead the frontline. It then followed with Radiated Scorcher as cannon fodder. My main Striker will be focused on Radiated Scorcher and Serpentine Spy. Last but not least is Scorch Fiend to fend of any Sneak attack.
Across the line, my opponent decided to deploy Kelya Frendul but with only 3 (three) cards. Serpent Of Eld, followed with Tide Biter, and Uraeus in the last row. This formation is quite formidable not only with its evasion but also with the damage dealt.
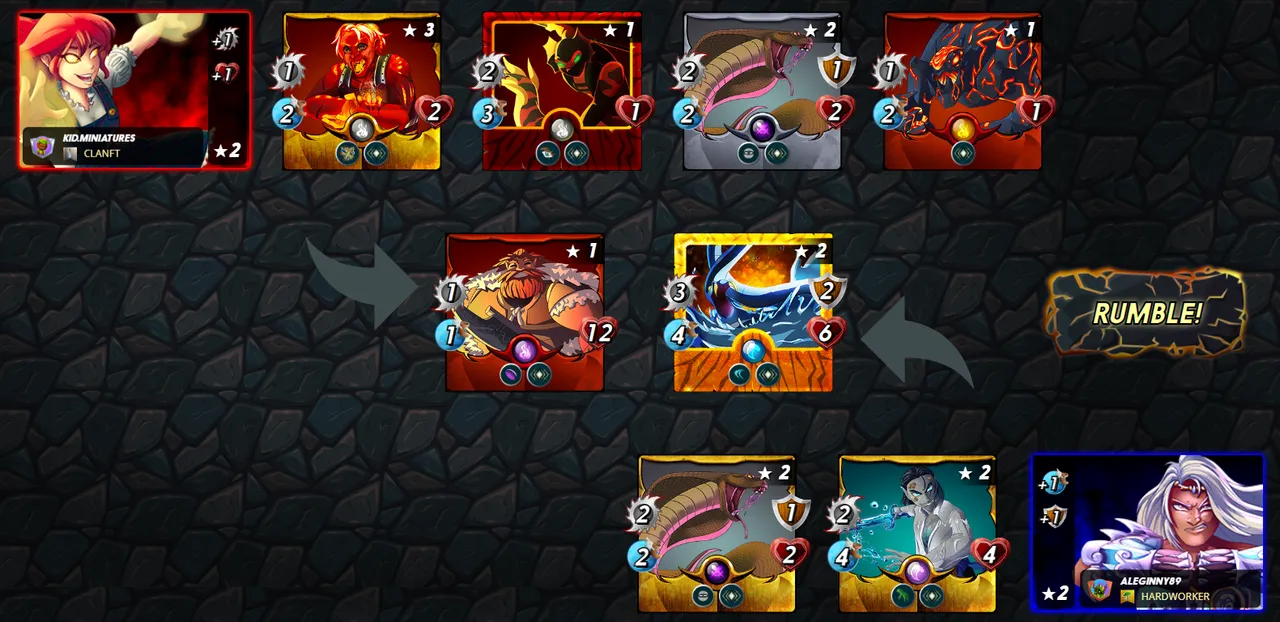
My opponent open with a blitz attack. Serpent Of Eld and Tide Biter strike directly into Tusk The Wide, while Uraeus score a kill over Scorch Fiend. My formation make a counter-attack, started with Serpentine Spy and Uraeus where both together scored a kill into Uraeus. Tusk The Wide strike into Serpent Of Eld, but its evasion is too much, resulting in Tusk The Wide missed its attack.
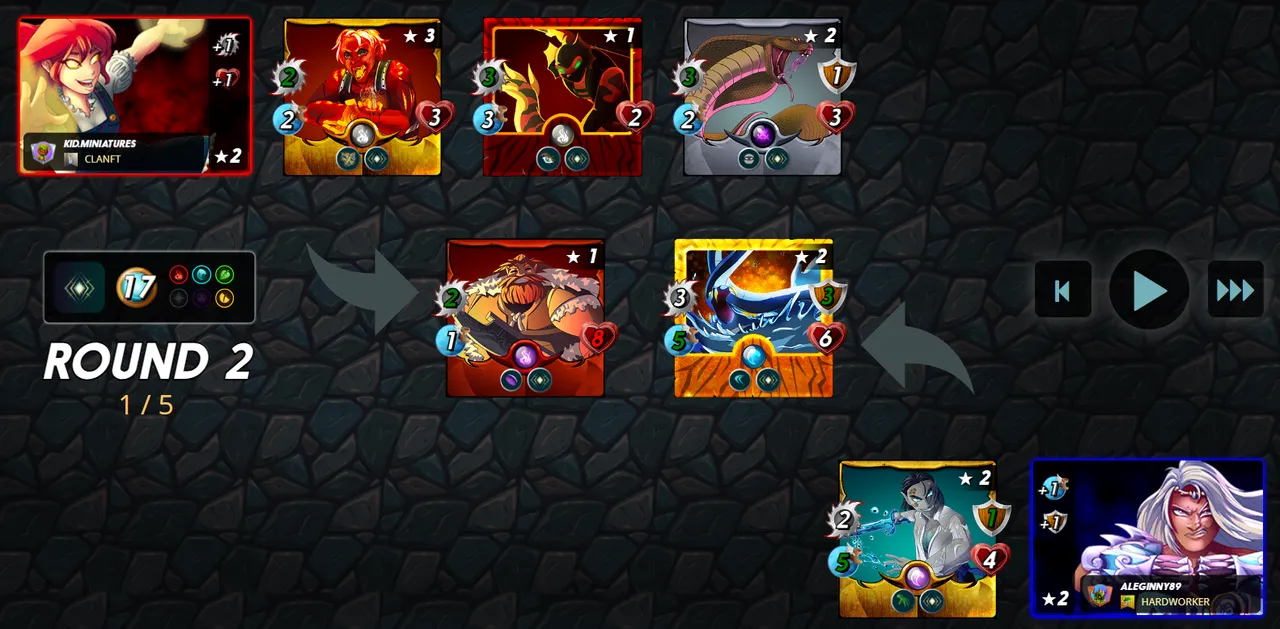
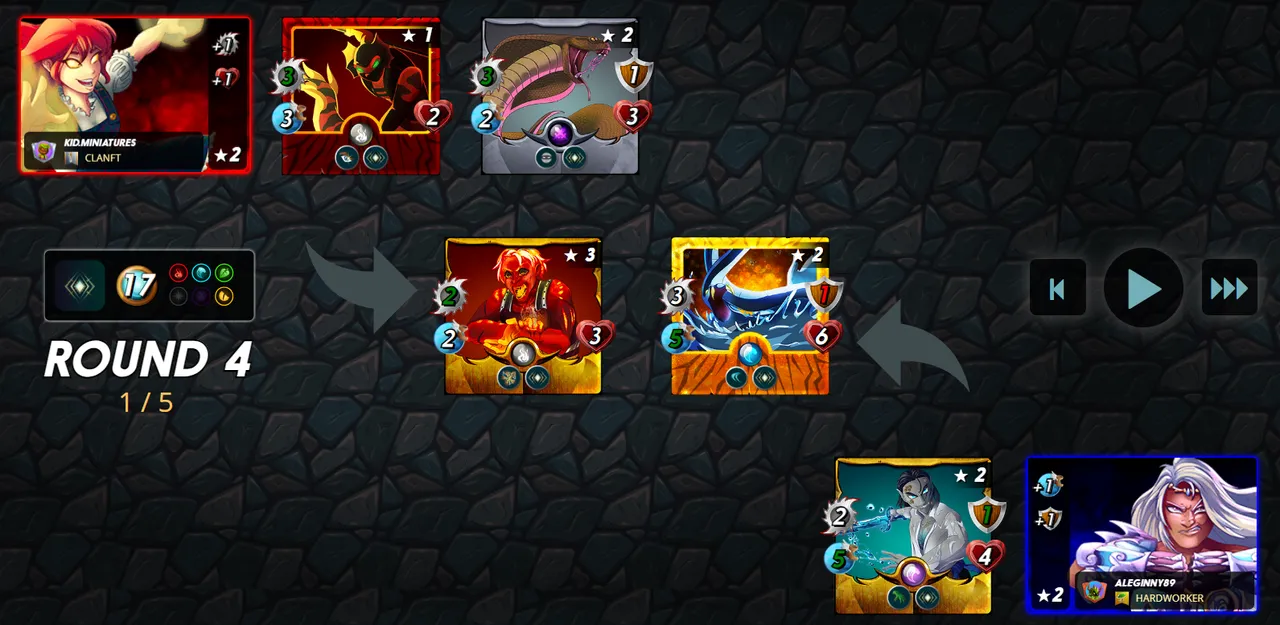
Round 2 run with a massive pummel from Serpent Of Eld and Tide Biter, dealing 5 damage into Tusk The Wide, leaving with only 3 health remaining. Unfortunately Serpentine Spy and Uraeus missed its attack on Tide Biter. But surprisingly, Tusk The Wide land its blow into Serpent Of Eld.
Entering Round 3, Tide Biter and Serpent Of Eld devastated Tusk The Wide. Radiated Scorcher now step up to the front row. And again for the second straight times both Serpentine Spy and Uraeus missed their attacks on Tide Biter.
The tide start to ride against my formation as Serpent Of Eld and Tide Biter bring down Radiated Scorcher. Serpentine Spy and Uraeus made their last attempt to crush down the opponent armor.
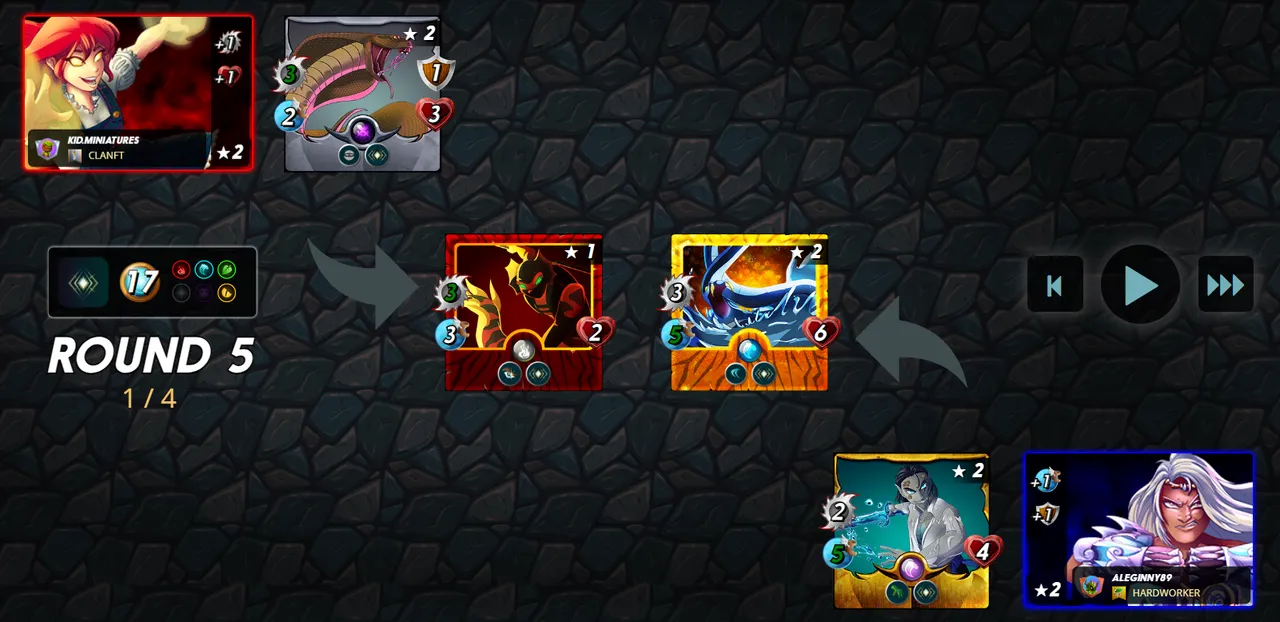
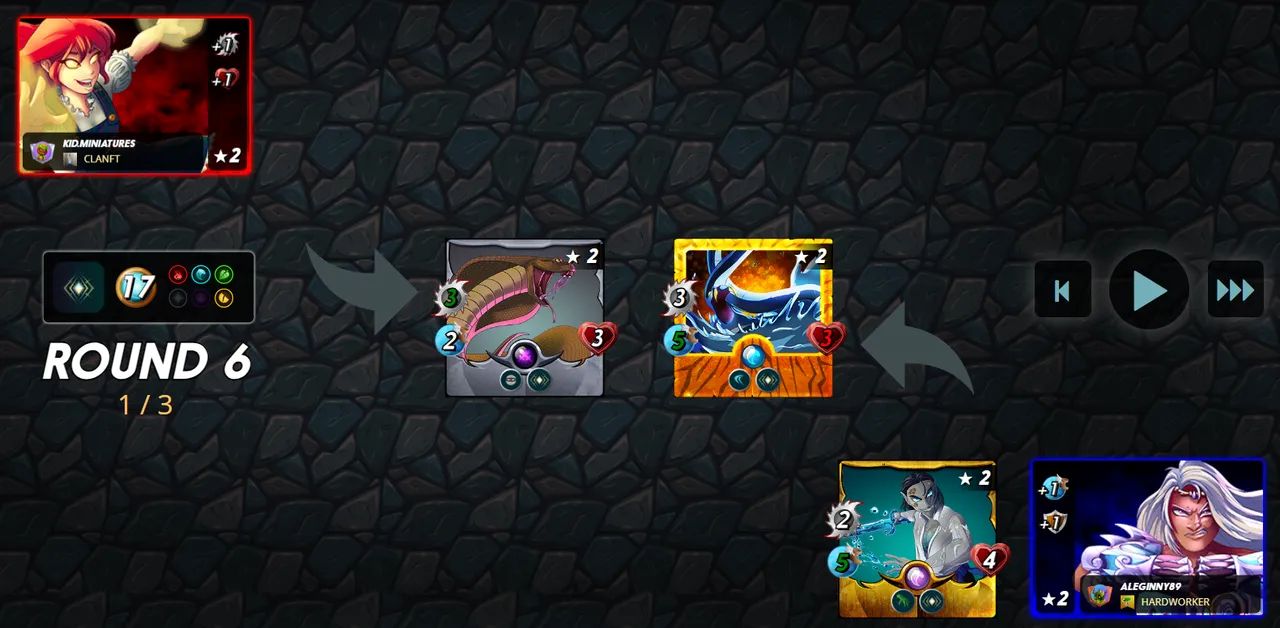
Entering Round 5, Serpentine Spy lose its ground and decimated by Tide Biter. Serpent Of Eld follow up to crush Uraeus armor. Uraeus managed to hit Serpent Of Eld but still survived with 5 health remaining. With another round running, the fate of my formation is sealed for good with only Uraeus left alone.

CONCLUSION

Click the banner below to find our guild.