
The ruleset for this week's challenge
- Maneuvers - Units with melee attacks gain Reach
The ruleset that I managed to get

- Rulesets - Maneuvers, Stampede & Aim True
- Mana Cap - 18
- Active Elements -


Here's my starting lineup
Summoner: Mylor Crowling
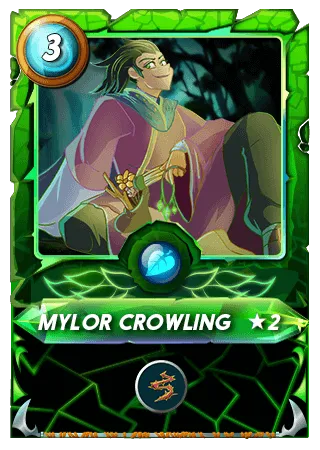
- With the ruleset that I got I felt like my enemy might play some kind of melee comp
- So I settled for Mylor Crowling as in my opinion he is one of the strongest summoners right now
1st Position: Fungus Flinger
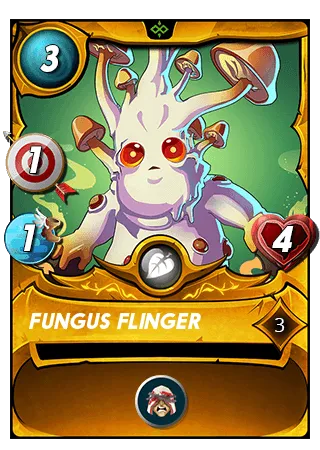
- Fungus Flinger had only one job
- He needed to fall and buff my Flesh Golem
2nd Position: Flesh Golem
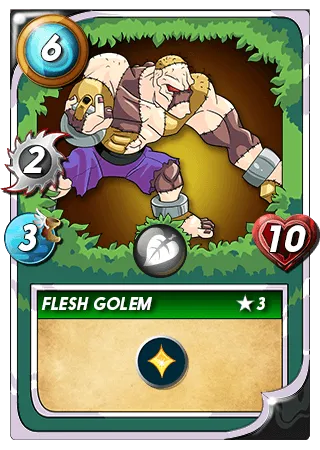
- Flesh Golem was my main tank for this battle
- Main reason I like Flesh Golem here a lot is his Heal ability
- Heal - Restores a third of the max health to this Unit's health each round
3rd Position: Hill Giant
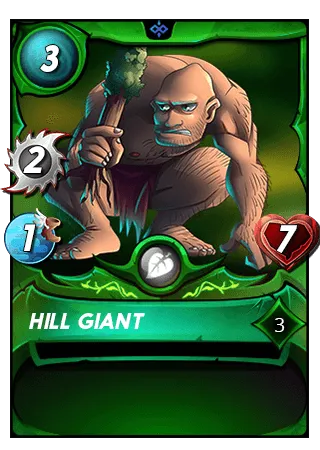
- Low mana cost melee monster
- After Fungus Flinger fall Hill Giant should be in the 2nd position and be able to attack with Reach
4th Position: Uraeus
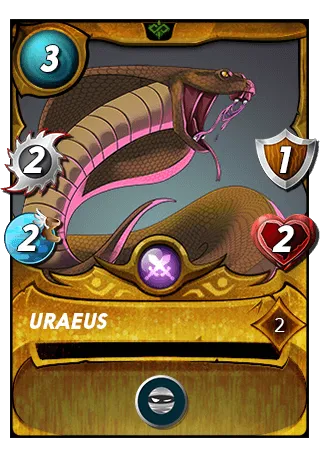
- Next up in line is one lovely Sneak monster
- For 3 mana you get 2 melee damage, 2 speed, 1 armor and 2 hp
- Sneak - Targets the last Unit on the enemy Team instead of the first Unit
5th Position: Fungus Fiend
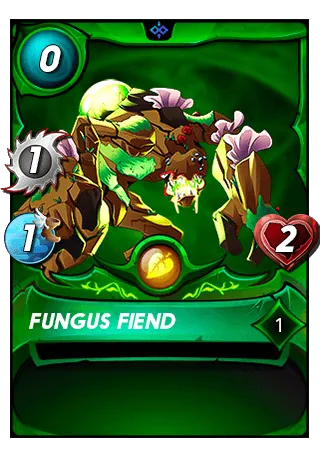
- Nothing really to say here other than why not play him he costs 0 mana when you have room for him of course
6th Position: Furious Chicken
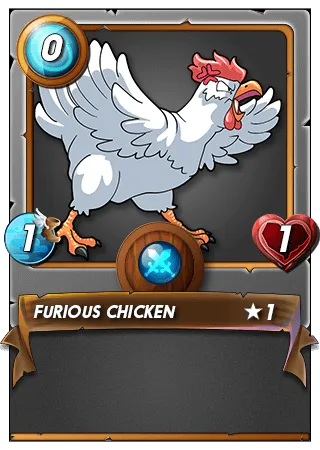
- And for last but not least is Furious Chicken
- Same applies as to Fungus Fiend
Starting board
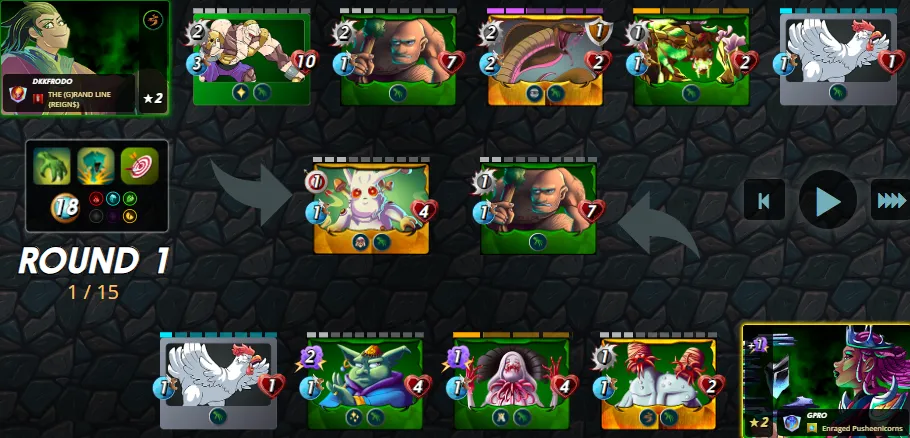
- Already after seeing the starting board I was quite confident I would win because I just had more hp and damage
- But anything could still happen so lets start it up and have a look
Here's how the battle went
1st & 2nd Round
- After first two rounds my theory was correct
- I had managed to take down 3 for my enemies monster without losing almost anybody in my team except Fungus Flinger who was meant to fall in the beginning
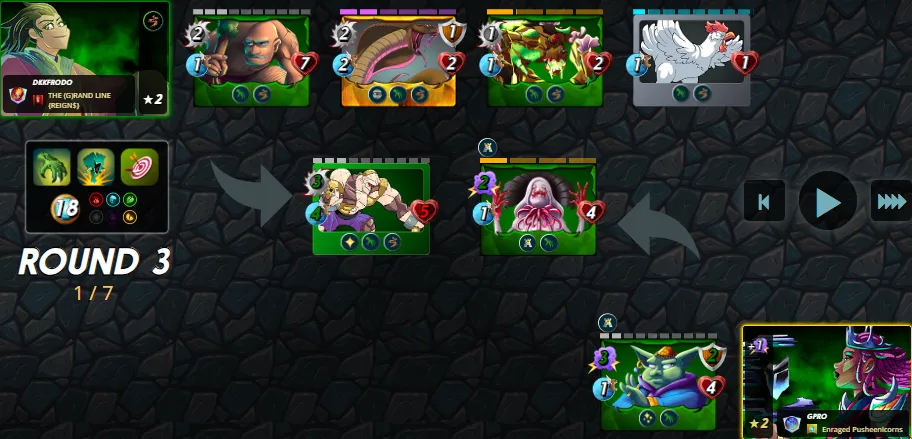
3rd & 4th Round
- Next two rounds where waisted taking down only one standing monster as his healer was still alive
- But now my enemy had nothing left to do and I just needed to wait till his last monster also falls
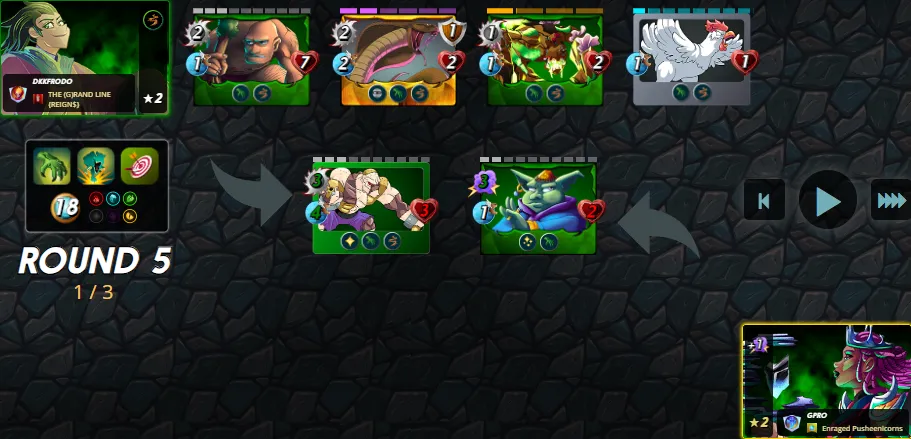
5th Round
- It took me 1 turn to kill my enemies last standing monster
- After his Goblin Psychic had fallen I took the victory
- Battle Replay Link
Summary
- This battle was definitely heavily one sided but still fun to watch
- I believe the battle came down to just level and stat diff
- If you also would like to hop on the Splinterlands train feel free to use my Referral
Thanks for reading and thanks for all the upvotes, reblogs, comments and follows. And till the next challenge, KEEP BATTLING!