This Splinterlands Social Media challenge post features a battle with the (somewhat) new Deflection Shield ruleset! In this battle, we will be taking a look at a ruleset that has only recently been added to the game. Something that I love about this rule is that it (for one battle at least) removes an aspect of the game which can be frustrating to play with. Monsters taking damage every time they attack? How annoying, especially since seeing your monsters deal out damage is one of the most satisfying parts of the game! However, as the cards at your disposal and your toolkit of strategies grow it becomes much more manageable. In this battle I will be showcasing a basic strategy that can prove to be powerful in this ruleset.
You may be able to tell what it does from its icon, but Deflection Shield is a relatively simple ruleset - it grants every monster in the battle the Reflection Shield ability. In case you forgot, Reflection Shield prevents damage from Thorns, Return Fire, Reflect Magic, and Blast. Since every monster in the battle gets the ability, this means that those abilities effectively are removed in Deflection Shield battles. This makes monsters and summoners with Thorns, Return Fire, Reflect Magic, or Blast are a bit less useful. You can still use them, but you are most likely paying more mana for a slightly less useful monster or summoner.
If you wanted to jump right to the action, the Battle Link is right here. Want to hear some more about the lineup? Read on further!

Here are the rules for our battle - it's a relatively simple one! We have Deflection Shield, which we discussed above, and paired with it is Fab Four, which limits us to a summoner and four monsters for our lineup. We also have a relatively high amount of mana cap of 36, and every splinter except Life available.
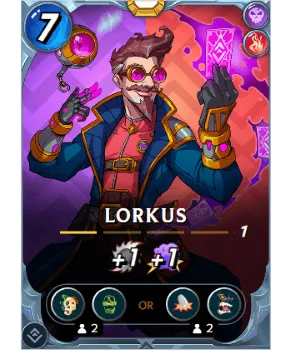
With a fairly generous mana cap and most of the splinters available, one of the first summoners that might come to mind is Eternal Tofu. Fortunately, the Deflection Shield ruleset makes Tofu much less effective for this battle, so we will be looking elsewhere! Lorkus is another summoner who is a solid generalist who does well in many situations. And unlike Tofu, Lorkus doesn't have any summoner abilities which will be nullified by the ruleset. Lorkus buffs melee and magic attacks, while also offering us an assortment of useful abilities.
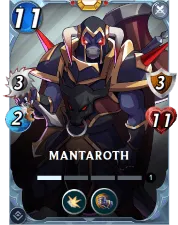
I led off my lineup with Mantaroth. Mantaroth is an amazing monster to pair with Lorkus, because Mantaroth's Armored Strike ability gives the summoner abilities from Lorkus two potential attacks to trigger. I am planning on selecting Lorkus' Life Leach and Affliction option, so Mantaroth will have the opportunity to steal life AND inflict Affliction two times per turn as long as his armor sticks around. Pair that with plenty of bulk and the Shield ability, and Mantaroth is a super solid frontline tank for this battle.
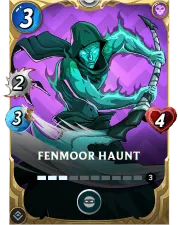
I backed up Mantaroth with a pair of melee attackers who could take advantage of Lorkus' melee attack buff. Pallus and Fenmoor Haunt both deal a decent amount of damage, which gets boosted even more by Lorkus. Fenmoor Haunt offers a cost effective 2 Sneak damage for just 3 mana, whicl Pallus is a heavy hitter who also has a respectable amount of bulk and a bit of evasion thanks to to the Flying ability.
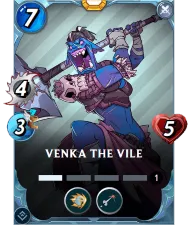
I closed out my team with Venka the Vile. Venka's Charge ability allows it to attack out of the back line, and its Piercing ability paired with a whooping 4 melee attack gives it a better chance than most monsters of being able to take advantage of Lokus' Life Leach ability. My hope for the battle is that Mantaroth will be able to buy plenty of time at the front, while my team's melee damage makes quick work of the enemy monsters.

With the lineup set, it's off into battle! When I see the selected teams I am not sure what to think. The opposing team has an impressive amount of recovery with Tank Heal and Repair, not to mention double Cleanse. The Cleanse in particular is worrying because it will be able to remove any Affliction that my monsters might be able to inflict.
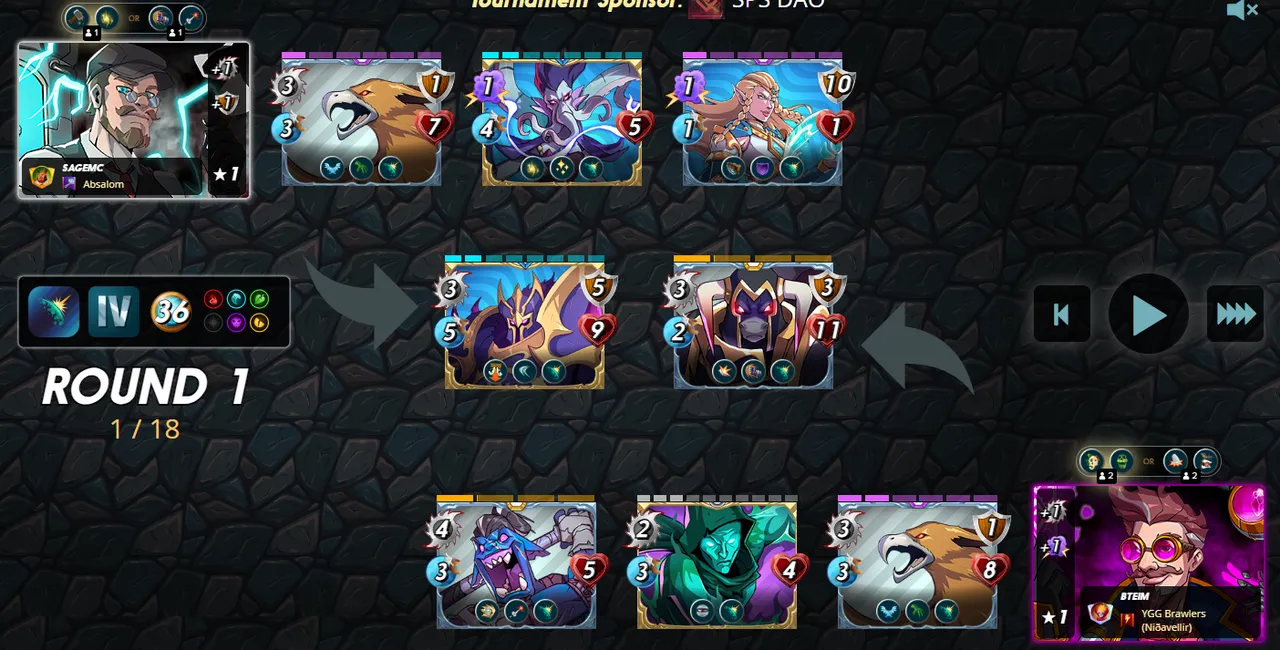
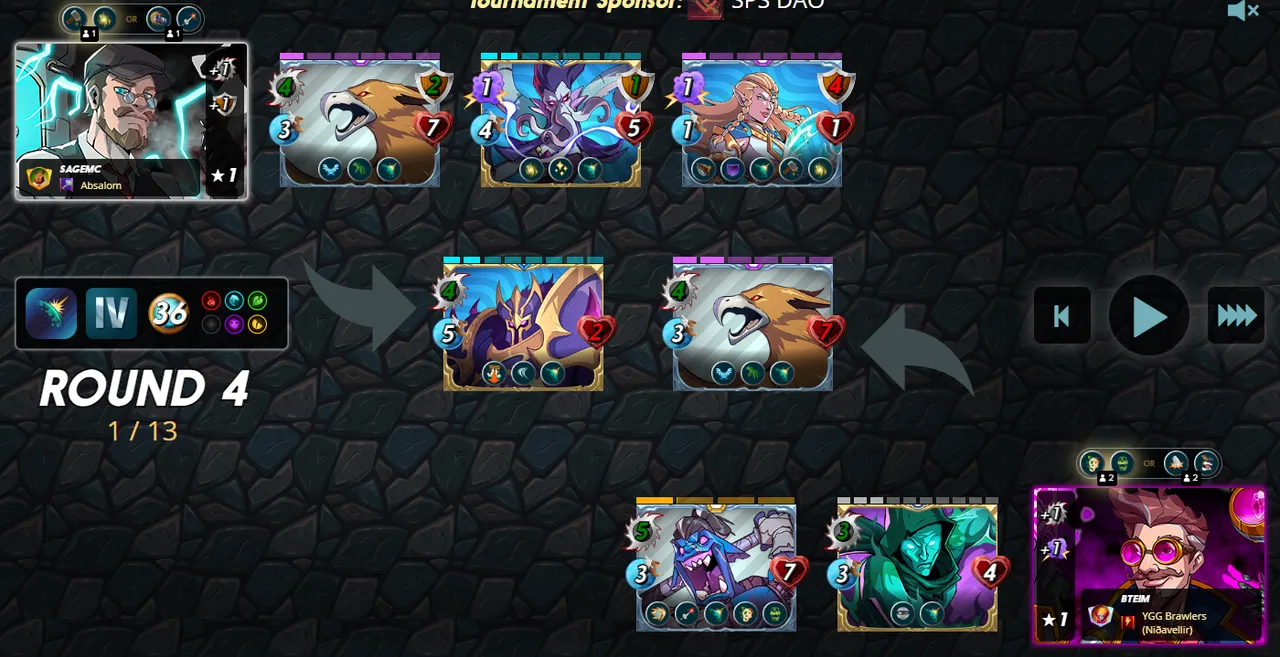
The battle progresses slowly, mostly due to the amount of healing on the enemy team. However, my team has enough damage output to make a bit of progress, and by the start of round 4 the opposing Commander Slade is about to be knocked out of the fight. Unfortunately, the damage is not entirely in my favor, as my Mantaroth is already wiped off the board by this point.
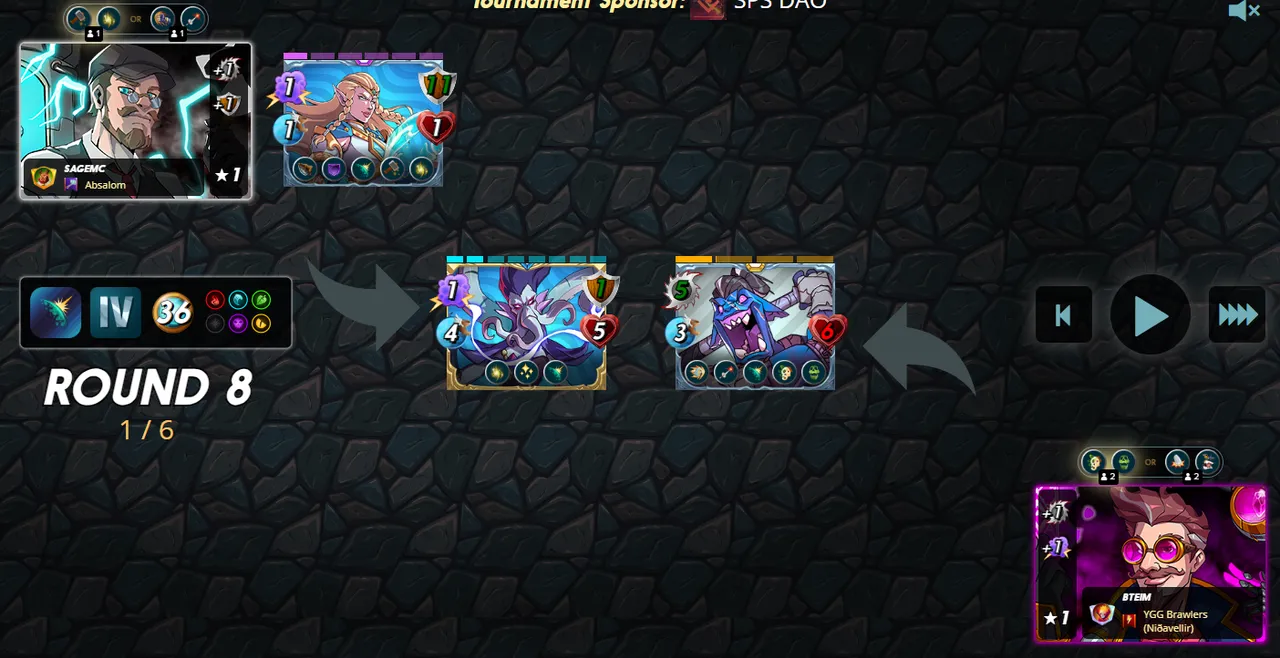
There is plenty of damage to go around in this battle, but by the start of round 8 I appear to have gained the slight edge - my Venka is now in a position where it can Lifesteal enough health to out-steal the opposing monsters' damage output. Who needs healing abilities anyway!
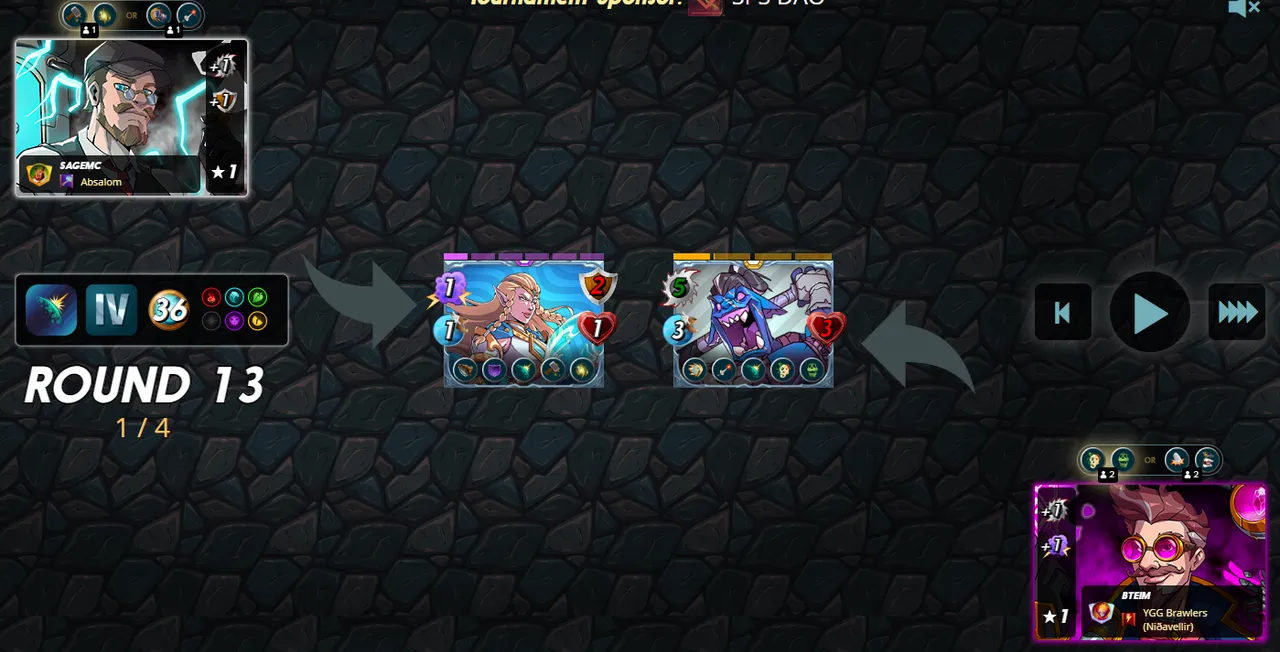
It took quite a few more rounds, but by round 13 the battle was just about over. My Venka was poised to take down the enemy Thanalorian Scoion and - just barely! - claim victory. And again, if you wanted to see the whole battle for yourself, you can see it right here.
I would be lying if I said that this battle went according to plan - my frontline tank did not last nearly as long as I hoped, but my team's high firepower and collection of abilities were enough to squeak out the win. Lorkus is one of my favorite Rebellion summoners, and this battle is an excellent example of why that is the case - he offers some solid stat buffs which are useful with a wide variety of battle strategies, while also providing some abilities which can make a crucial difference in a fight.

Thank you so much for reading all the way to the end. Interested in seeing some more of my writing in the future? Be sure to give me a follow! In the meantime, if you'd like to see some of my recent posts:
Share Your Battle Challenge - Battling with Going the Distance! - A Splinterlands battle analysis, featuring Going the Distance!
Splinterlands Economics: Causation - A look at causation, and how we can apply it to Splinterlands!
Splinterlands Economics: Ceteris Paribus - An introduction to the concept of Ceteris Paribus, and how we can apply it to Splinterlands!
Thinking about giving Splinterlands a try but haven't signed up yet? Feel free to use my referral link: https://splinterlands.com?ref=bteim, and be sure to reach out to me if you have any questions!
All images used in this article are open source and obtained from Pixabay or Unsplash. Thumbnails borrowed with permission from the Splinterlands team or made in Canva.