This week's Share Your Battle challenge features Djinn Apprentice! This is one of those challenges that I refer to as a "learning challenge", because it featured a card that I don't normally play with often. While Fire is one of my favorite splinters, I rarely use magic damage in my Fire teams, so Djinn Apprentice is usually left on the bench. Well, this week that changes - there was finally a great excuse to see what Djinn Apprentice could do!
As you may have been able to tell from the introduction, Djinn Apprentice is a Fire splinter magic attacker. Upon closer examination, it is actually a bargain for its cost - for just 5 mana you get 2 magic damage and 2 speed, to go along with a slightly squishy 4 health. Low health aside, 2 magic damage for 5 mana (at level 1) is a great price to power ratio and if Djinn Apprentice was part of a splinter that used magic damage more regularly then it would probably be in my lineups all the time. Alas, my Fire teams tend to focus on either melee or ranged damage. But having a bit of magic damage is always nice in case you want to bypass some armor or are concerned about RNG misses, so today's battle will showcase a lineup with mixed damage types.
If you wanted to jump right to the action, the Battle Link is right here. Want to hear some more about the lineup? Read on further!
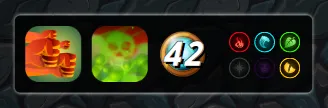
First up: the ruleset. This was a decent ruleset to try out a lineup with Djinn Apprentice because it is seems like a good battle to bring the Fire splinter into play. 42 mana is plenty to work with to bring a variety of attackers in, and Fire's summoners with bonus health as well as the Forgotten One with Immunity are both excellent in the Noxious Fumes ruleset.

As I just mentioned, I wanted to use a summoner that increased my monster health in order to allow my team to last longer under Poison from the battle ruleset. This is a relatively high mana battle with a 42 mana cap, so I went with Yodin. Yodin is borderline (or perhaps not so borderline) overpowered, boosting ranged attacks AND giving all of my monsters Blast, in addition to that +1 health.
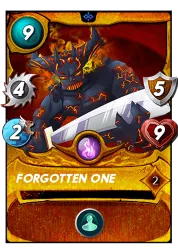
I started my team with my tank and secondary tank. Tusk the Wide led off, and my goal was to bring a monster that could be a buffer for as long as possible. Tusk has a sky-high 12 health as well as Void, which should allow it to stand up to all sorts of attacks, Magic or otherwise, as well as survive Poison damage for longer. Forgotten One was my secondary tank, with Immunity protecting it from Poison entirely, and with crazy melee attacker stats for whenever it gets to the front position of my lineup. My gameplan was for Tusk to stall for as long as possible, and the Forgotten One to step up to the front and mow through my opponent's team which should by then be considerably weakened from Poison and the rest of my attacking monsters.
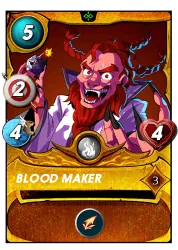
The middle of my lineup had as much damage as I could fit in. Our guest star of the week, Djinn Apprentice, provides some cost effective magic damage. That magic damage could potentially bypass shields and work with Poison damage to quickly knock out opposing monsters. Blood Maker got a big boost from Yodin, gaining some extra attack power as well as the ability to hit something important with Scattershot. Both of these monsters would benefit greatly from Yodin's Blast, being able to hit two or perhaps even three enemy monsters at once.
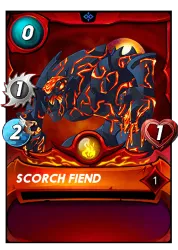
The back of my team contained my backup plan in case the rest of my lineup wasn't able to do the job - Tinderlock with Last Stand, with a Scorch Fiend to help shield it from a bit of damage. I really hoped that all of the Blast attacks from my team coupled with an Immune Forgotten One would mean that Tinderlock doesn't ever get to the front position, but if it did then it would begin to hit awfully hard thanks to Last Stand!

With the lineup set, it's off into battle! When I see the selected teams I have no idea how the fight will play out. Yodin's Blast will help my team to hit more monsters with their attacks, but my opponent has brought more magic damage than I did, and their Tenyii Striker could potentially take out Tinderlock and my late game plans.
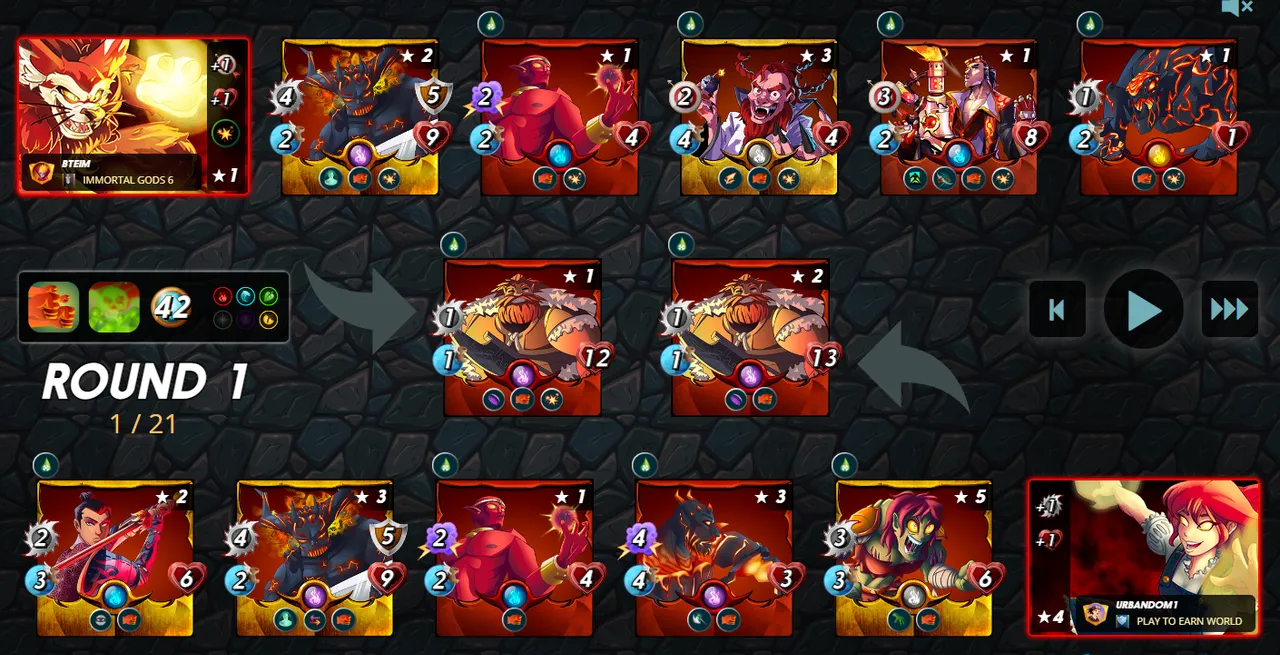
In the first round of battle both of our Tusk the Wilds take heavy damage, and it appears that I may be losing the race at the front. One huge thing to note is that I was able to land an attack on my opponent's Djinn Inferni, meaning that it will die after just 1 turn of poison damage, never getting off that second hit - a big difference considering that it has an attack of 4!
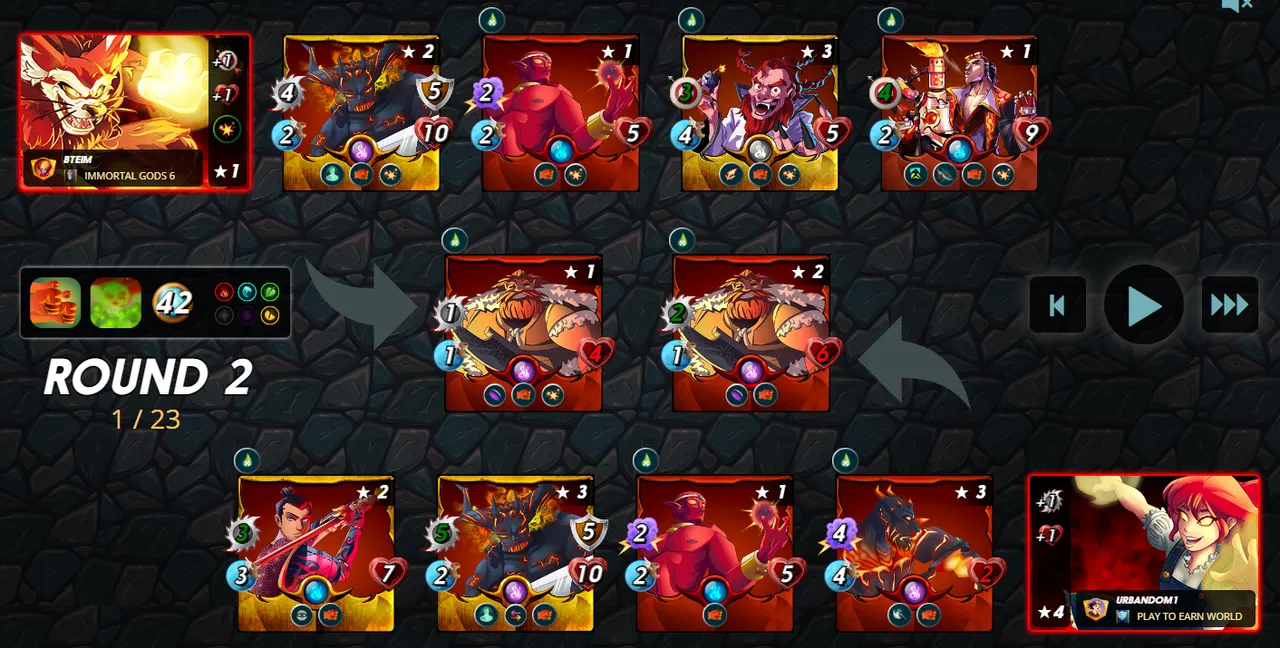
Thanks to all of the Poison damage and Blast attacks flying around, this battle ended up being a quick one - after just one more round all of my monsters' ranged and magic attacks compounded quickly and the battle was nearly decided. My opponent was down to just 2 heavily damaged monsters, with the bulk of my team still intact. A couple more quick attacks and my team was able to seal the victory! And again, if you wanted to see the whole battle for yourself, you can see it right here.

Despite a couple of potential concerns after seeing the starting lineups, my plan ended up working perfectly - my tanks at the front were able to hold the line while my mix of ranged and magic attackers dealt heavy damage to my opponent's lineup. Djinn Apprentice got off a few crucial hits in the battle and even managed to survive all the way to the end - no easy feat for a 4 health monster in a Noxious Fumes ruleset! While Djinn Apprentice will most likely not see heavy play from me going forward, I am a fan of it and it certainly has a place in the meta as a efficiently costed magic attacker.

Thank you so much for reading all the way to the end. Interested in seeing some more of my writing in the future? Be sure to give me a follow! In the meantime, if you'd like to see some of my recent posts:
Splinterlands Economics: Dollar Cost Averaging - An introduction to the concept of dollar cost averaging, and how we can use it in Splinterlands.
Better, Faster, Stronger - Using Magi of Chaos in Battle! - Last week's battle challenge, featuring Magi of Chaos!
Splinterlands Economics: Utility - An overview of the concept of utility, and how we can apply it to Splinterlands.
Thinking about giving Splinterlands a try but haven't signed up yet? Feel free to use my referral link: https://splinterlands.com?ref=bteim, and be sure to reach out to me if you have any questions!
All images used in this article are open source and obtained from Pixabay or Unsplash. Thumbnails borrowed with permission from the Splinterlands team or made in Canva.