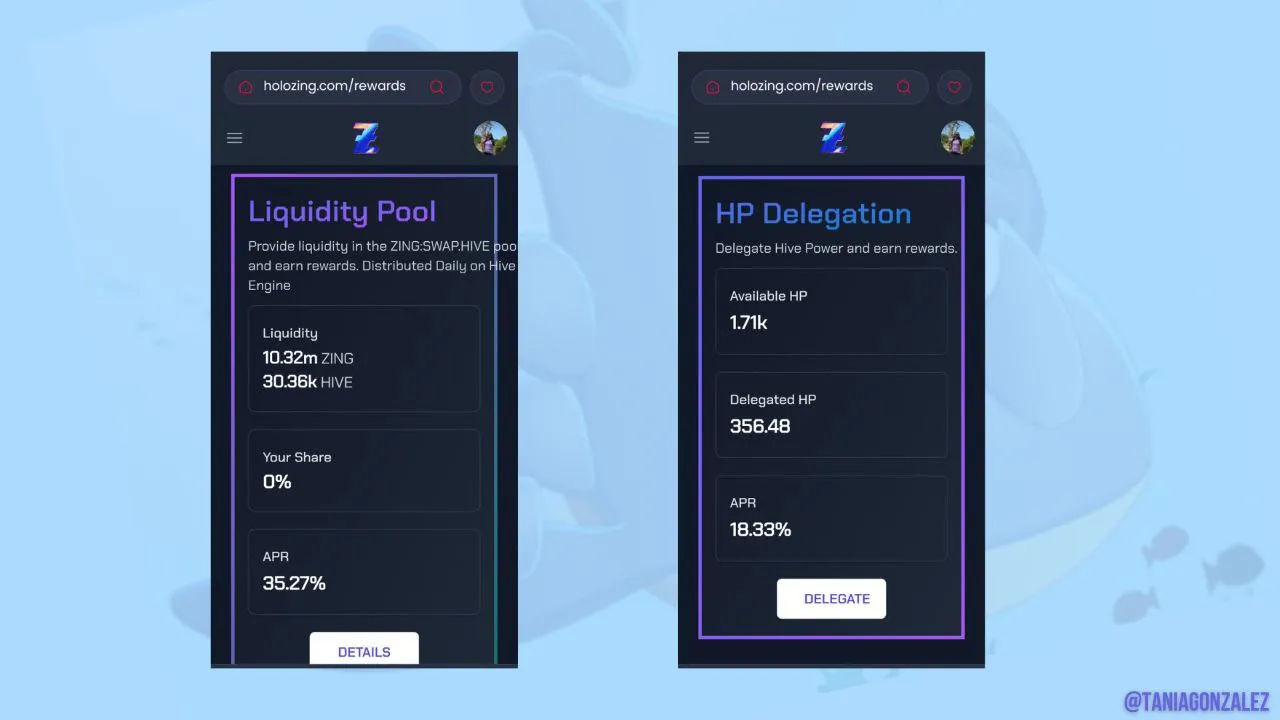
Greetings, dear friends of #holozing. Once again I am here with you to share with you my proxy earnings and another of my crafts.
Saludos, queridos amigos de #holozing. Otra vez estoy acá con ustedes para compartirles mis ganancias por la delegación y otra de mis manualidades.
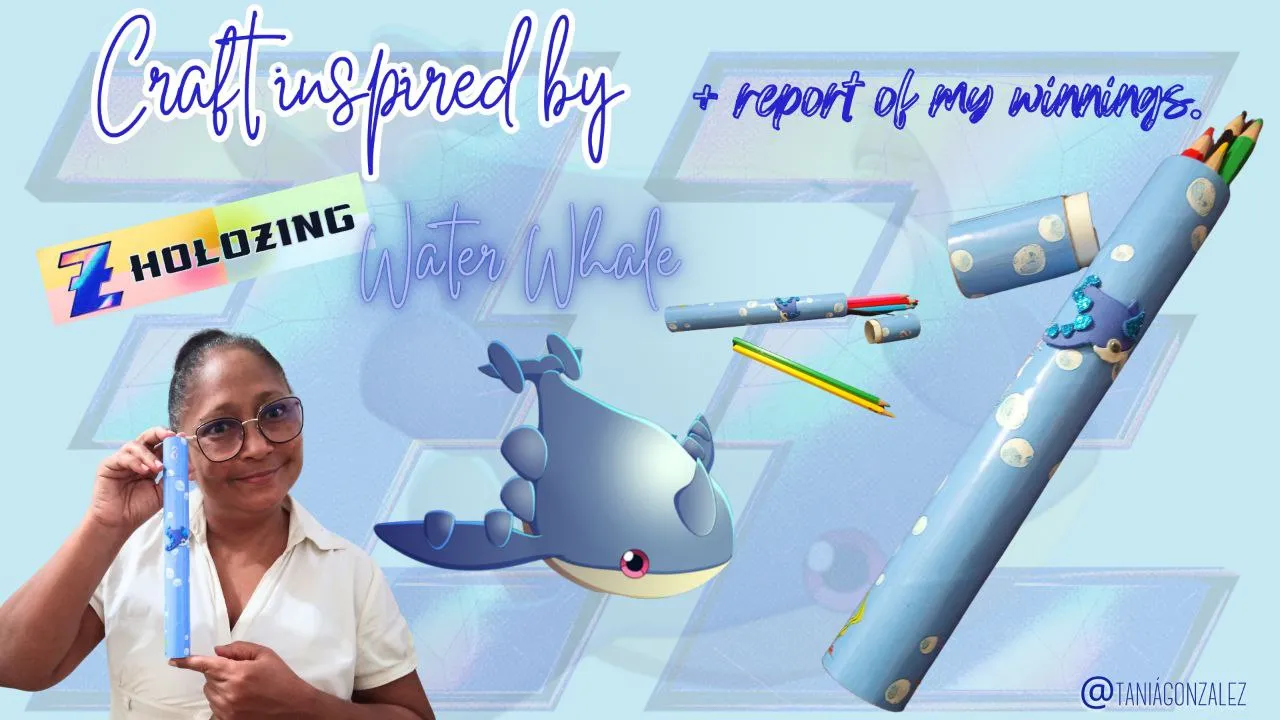
This time, I have made a pencil holder to give to Emmanuel, a very affectionate boy with a special condition (TDH, TEA). He loves animals, especially dogs and fish.
A few days ago, he went with his mom to the city to look for school supplies and so I want to surprise him with this pencil holder that I know he will like. Next, I will show you the materials I used and step by step how I made this beautiful pencil holder inspired by “Water Whale”.
.
.
.
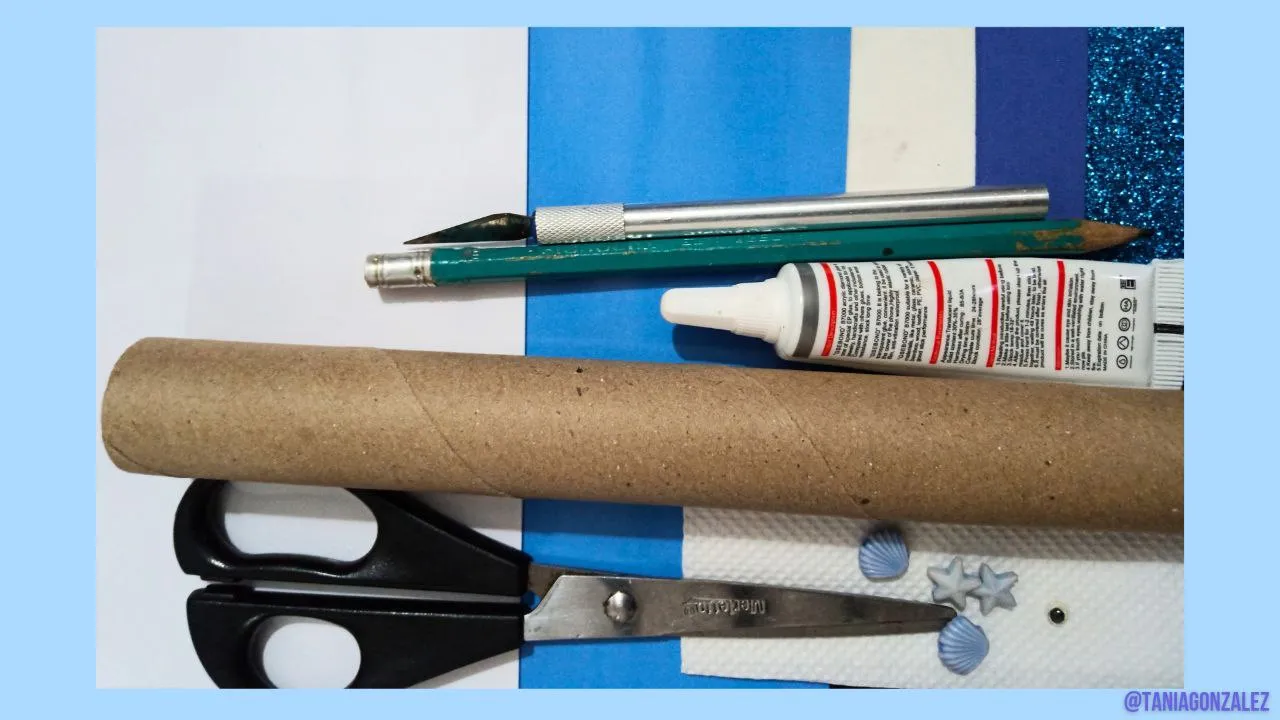
For this craft I used the following materials:
- Cardboard tube
- White cardboard
- White, blue and blue frosted Foami
- White sheet
- Movable eye
- All-purpose glue
- Pencil
- Model knife
- Scissors
En esta oportunidad, he elaborado un portalápices para regalarle a Emmanuel, un niño sumamente cariñoso con una condición especial (TDH, TEA). Es amante de los animales, en particular de los perros y peces.
Hace unos días, fue con su mamá a la ciudad para buscar utensilios escolares y por eso quiero sorprenderlo con este portalápices que sé que le gustará. A continuación, les mostraré los materiales que utilicé y paso a paso cómo fui elaborando este hermoso portalápices inspirado en "Water Whale".
Para esta manualidad utilicé los siguientes materiales:
- Tubo de cartón
- Cartulina blanca
- Foami blanco, azul y azul escarchado
- Hoja blanca
- Ojo móvil
- Pega multiuso
- Lápiz
- Cuchilla de maqueta
- Tijeras
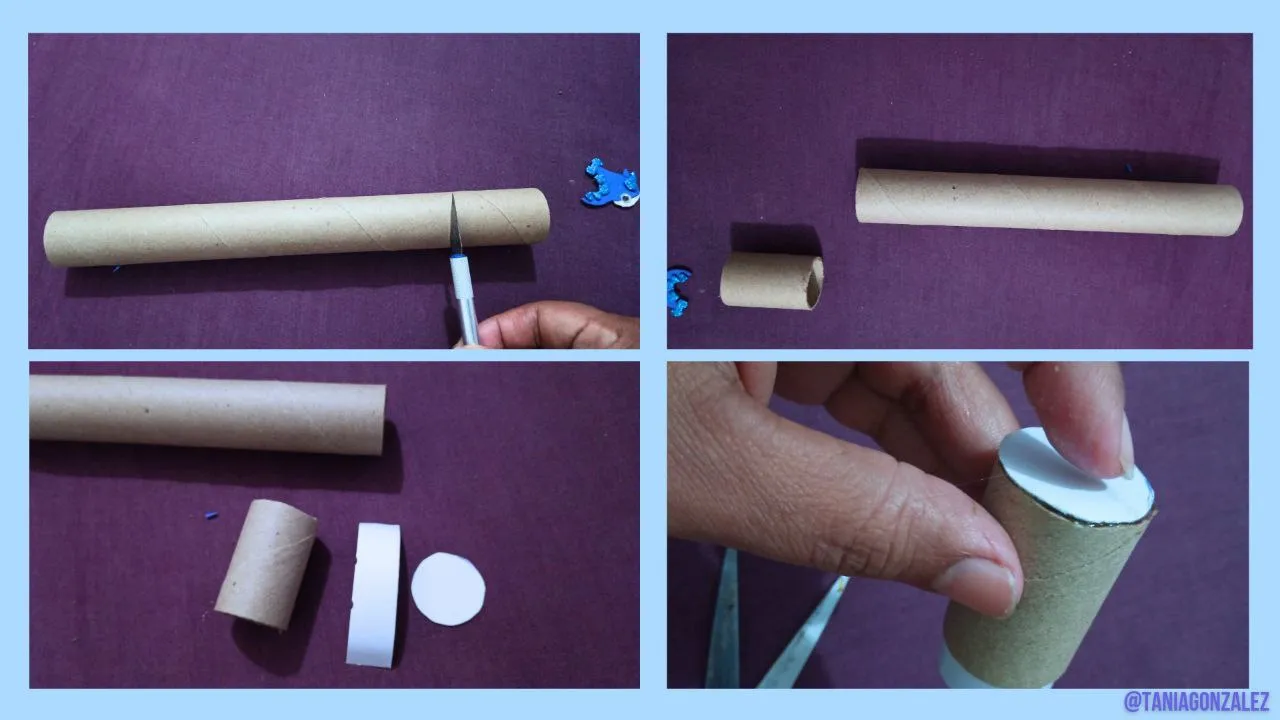
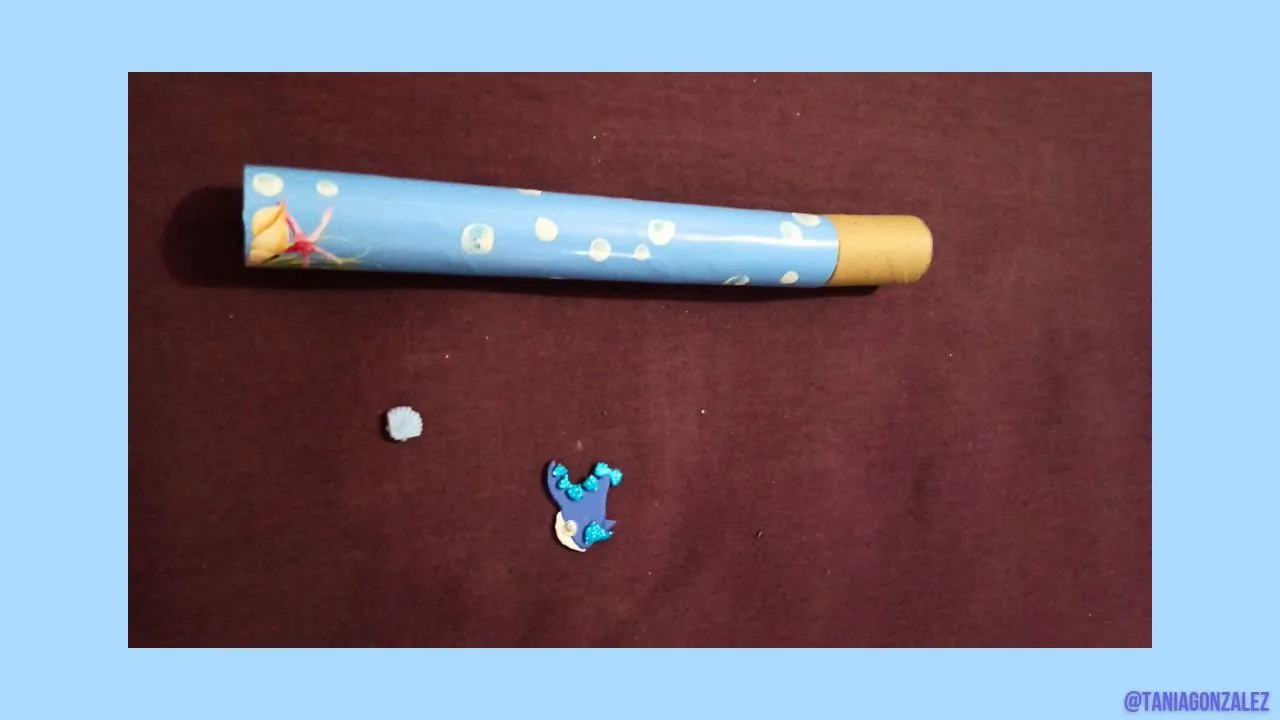
To start this craft, I took the 23 cm tube and made a cut at 4 cm to use this part as the lid. Then, I cut two circles to seal the bottom of the tube and the lid. Then, I cut a 1 cm wide by 4.5 cm long ribbon to place in what will be the lid. With the pencil holder ready, the only thing left to do is to line it.
Para comenzar esta manualidad, tomé el tubo de 23 cm y le hice un corte a 4 cm para usar esta parte como la tapa. Luego, corté dos círculos para sellar el fondo del tubo y la tapa. Después, corté un listón de 1 cm de ancho por 4,5 cm de largo para colocarlo en lo que será la tapa. Dejando así listo el portalápices, solo queda forrarlo.
To continue with this beautiful craft, I drew on a sheet of paper the image of “Water Whale” to get an idea of how it would look and, in turn, to make the mold.
Para continuar con esta bella manualidad, dibujé en una hoja de papel la imagen de "Water Whale" para tener una idea de cómo quedaría y, a su vez, para hacer el molde.
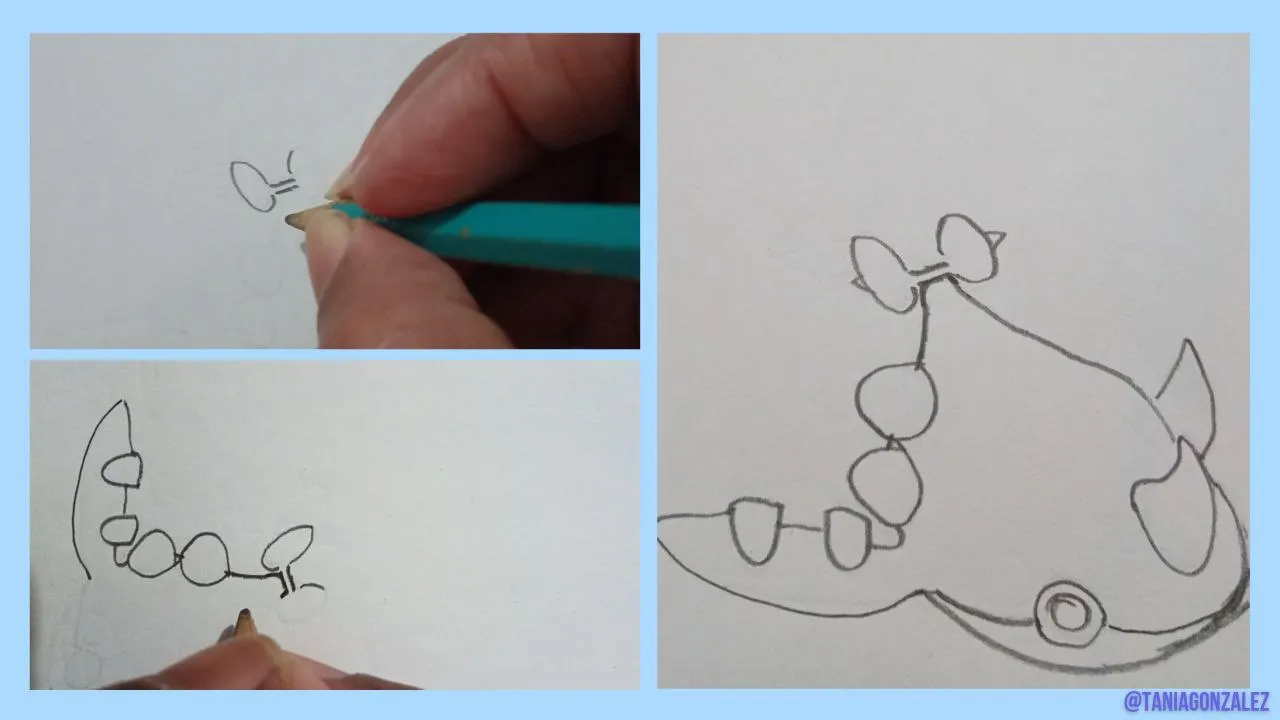
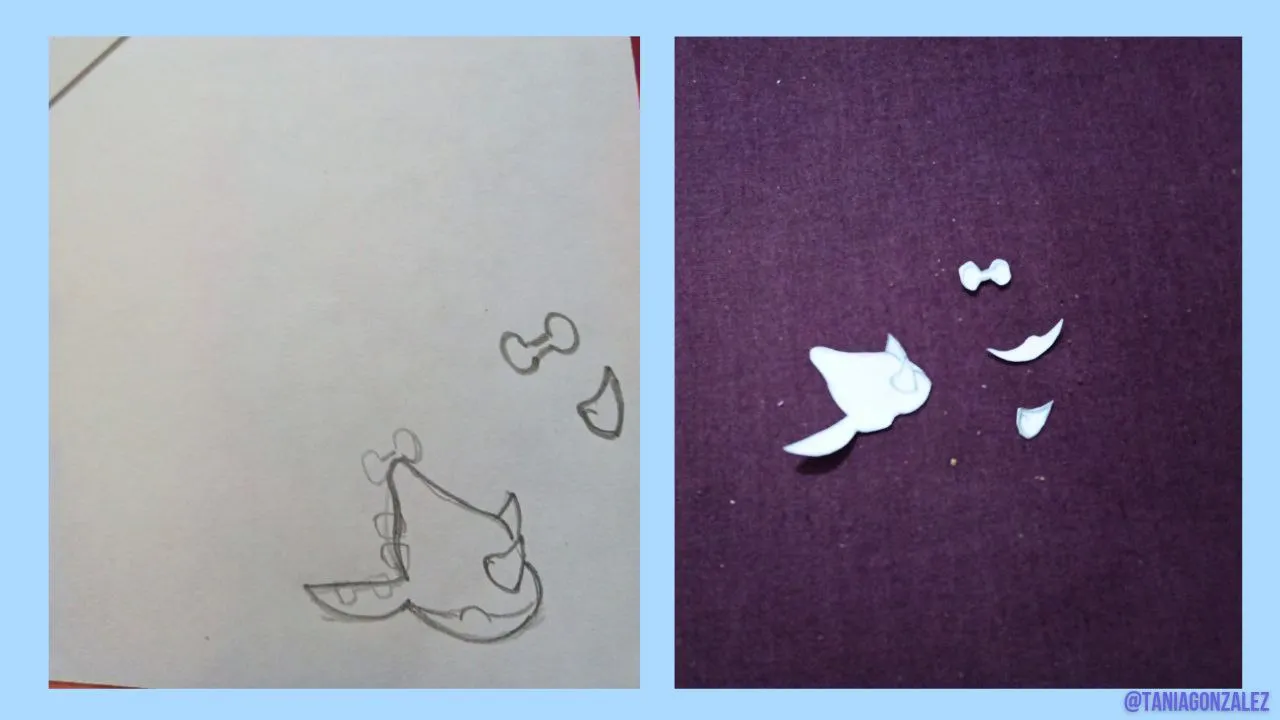
When I had the molds ready, I cut them out so I could transfer them.
I will transfer the pieces to the foami, each piece in a different color of foami.
Cuando tuve los moldes listos, los recorté para poder transferirlos.
Paso a transferir las piezas al foami, cada pieza en un color de foami diferente.
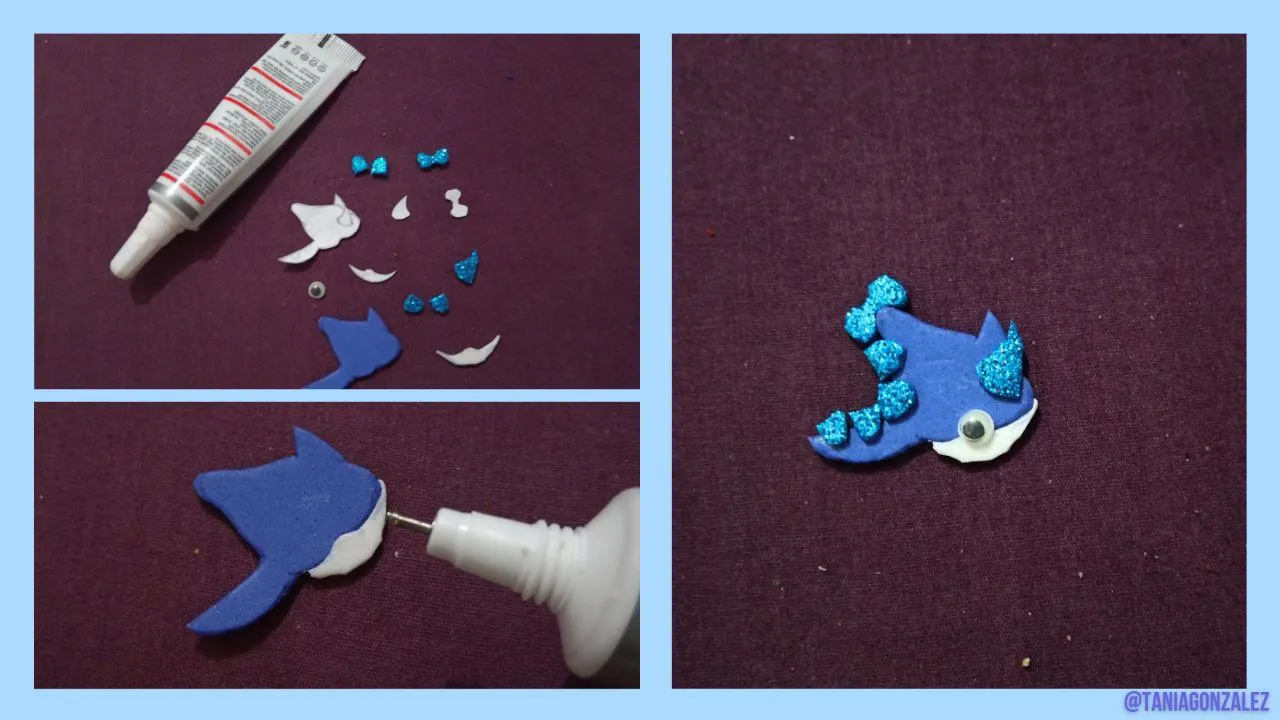
I cut out the foami pieces and then, with the help of the multipurpose glue, I assembled the figure of the charismatic whale, leaving it ready.
Recorté las piezas de foami y, luego, con ayuda de la pega multipropósito, armé la figura de la carismática ballena, dejándola lista.
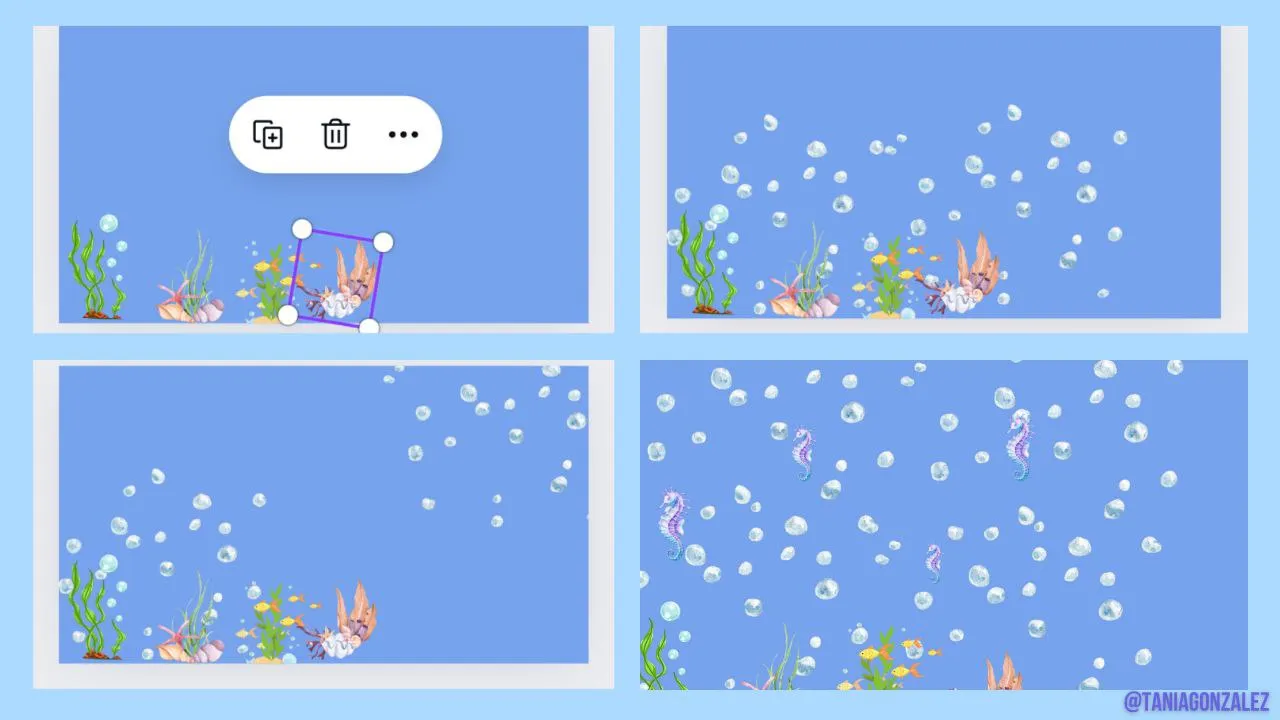
I designed in Canva a background to form the pencil holder. When the design was ready, I printed it in full color.
Paso a diseñar en el programa Canva un fondo para formar el portalápices. Cuando estuvo listo el diseño, lo imprimí a full color.
When the print was ready, I trimmed the edges. With the help of the multipurpose glue, I lined the body of the pencil holder.
Cuando la impresión estuvo lista, recorté los bordes. Con ayuda de la pega multipropósito, forré el cuerpo del portalápices.
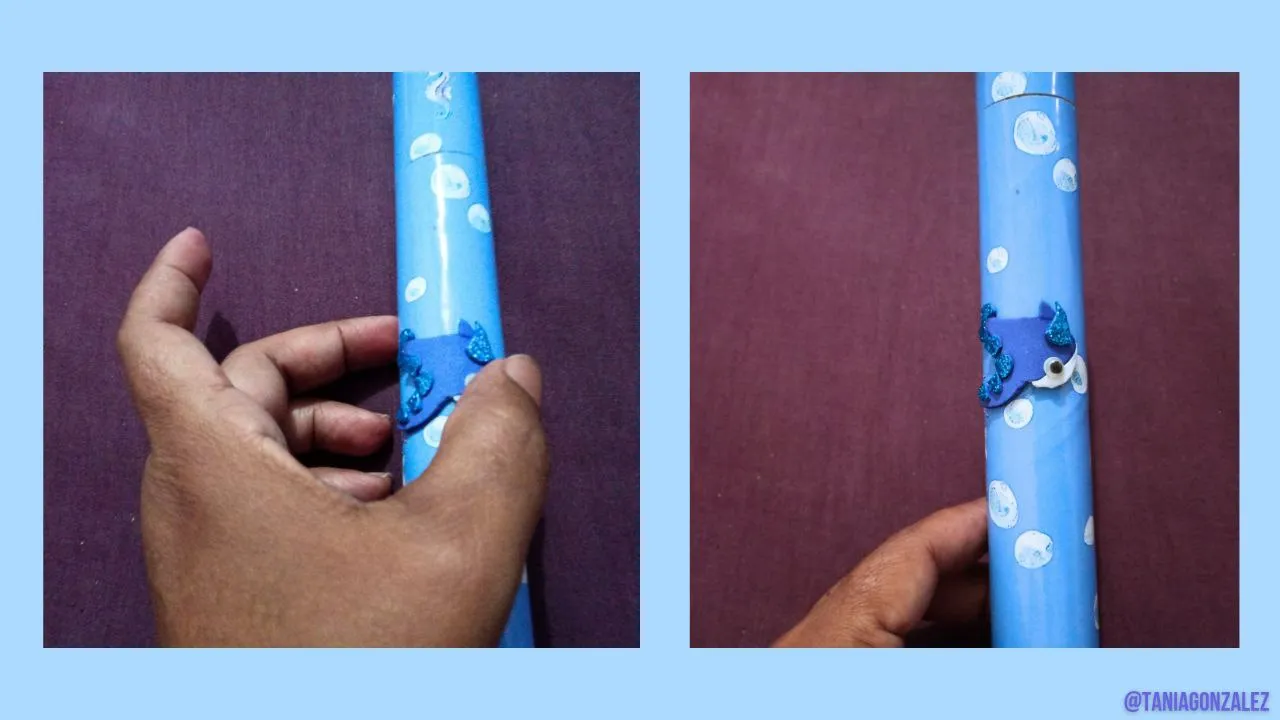
Finally, I glued the foami whale in the center, leaving this beautiful craft ready.
Por último, pegué la ballena de foami en el centro, dejando lista esta bella manualidad.
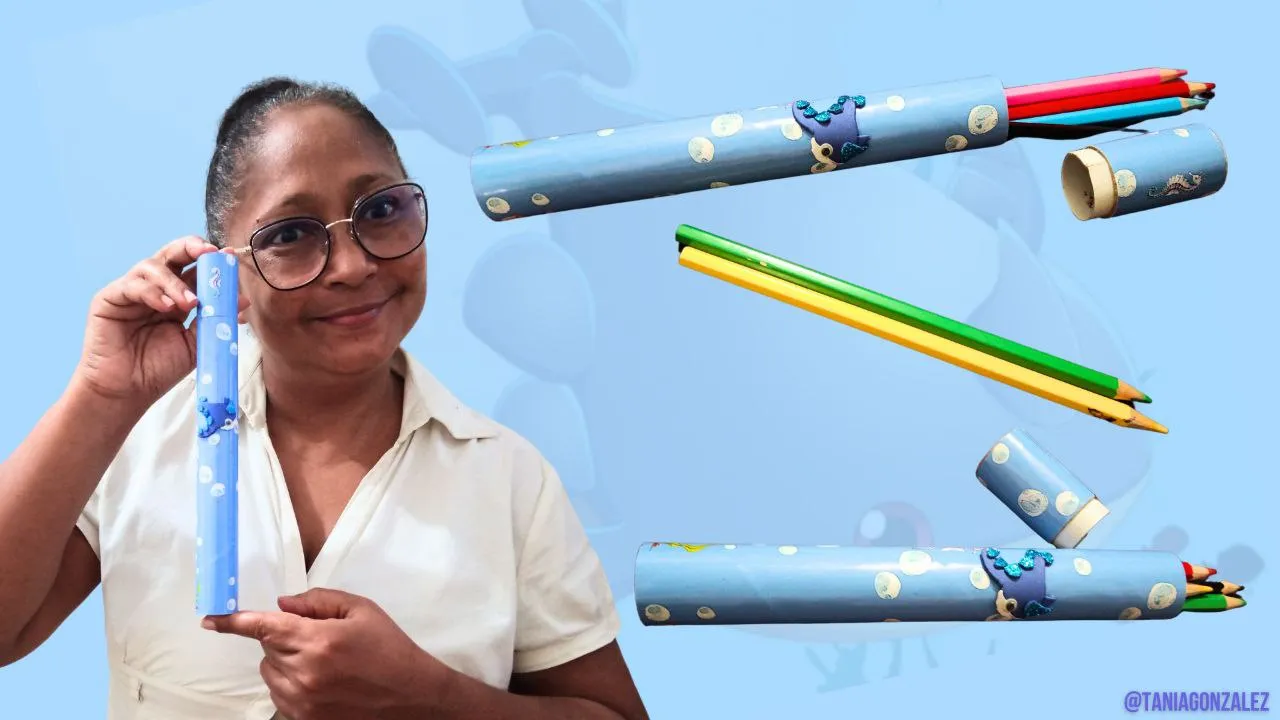
Here I show you how the pencil holder for Emmanuel turned out.
Acá les muestro cómo ha quedado el portalápices para Emmanuel.
I hope, dear friends, that you liked this craft. I will see you again in another of my publications.
See you soon.
Bye!
Espero, queridos amigos, que les haya gustado esta manualidad. Los volveré a ver en otra de mis publicaciones.
Hasta pronto.
¡Chao!

The photos were taken with a Bison X10 Pro
DeepeL was used
Dividers made in Microsoft Power Point.
Photos was made with Canvas