
Feliz martes comunidad Holozing, saludos cordiales para todos los miembros presentes les deseo una semana llena de bendiciones y prosperidad. Hoy me encuentro trabajando será un día muy movido pero aún así les quiero compartir una nueva decoración en foami inspirada en las criaturas de Holozing.
Happy Tuesday Holozing community, cordial greetings to all the members present, I wish you a week full of blessings and prosperity. Today I am working, it will be a very busy day but I still want to share with you a new foam decoration inspired by the Holozing creatures.
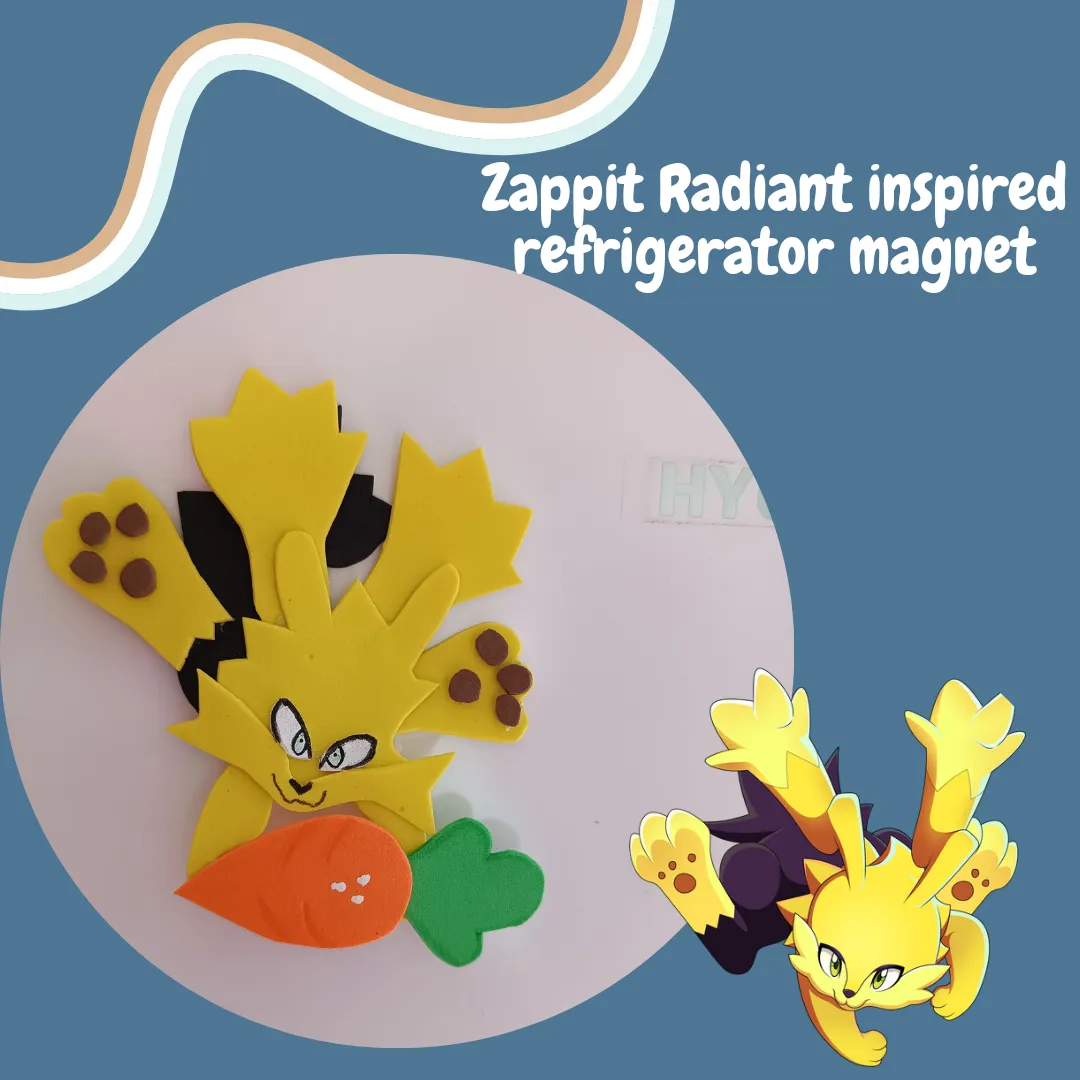
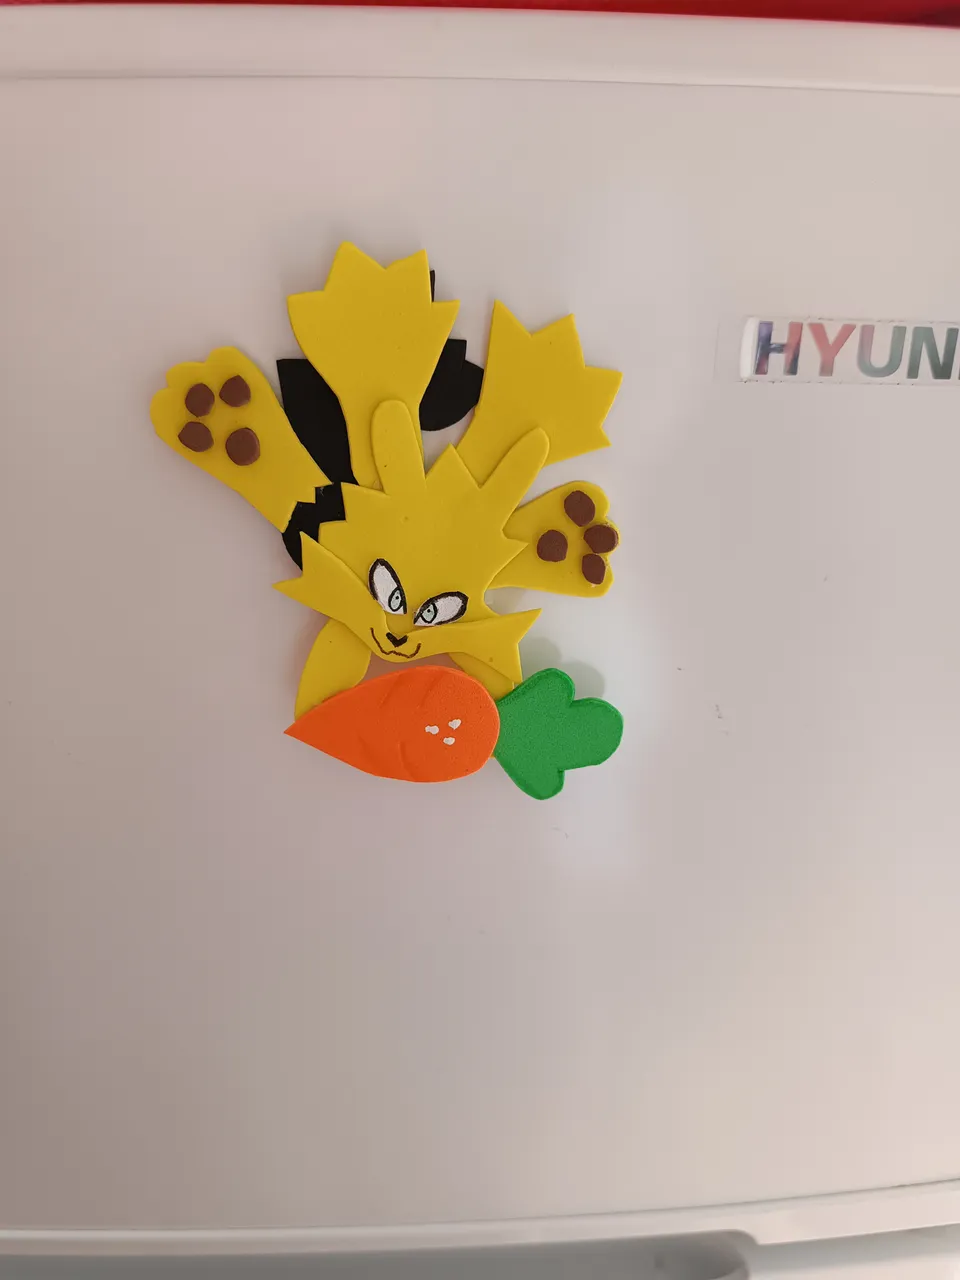
En este caso me inspiré en Zappit Radiant para realizar este lindo imán para nevera, ideal para decorar ese espacio en blanco, su versión radiante me gusta ya que su piel cambia a un tono amarillo más vibrante, lo bueno es que se utilizan pocos materiales y toma demasiado tiempo, a continuación les muestro los materiales y el paso a paso.
In this case I was inspired by Zappit Radiant to make this cute refrigerator magnet, ideal for decorating that blank space, I like its radiant version since its skin changes to a more vibrant yellow tone, the good thing is that few materials are used and It takes too much time, below I show you the materials and the step by step.
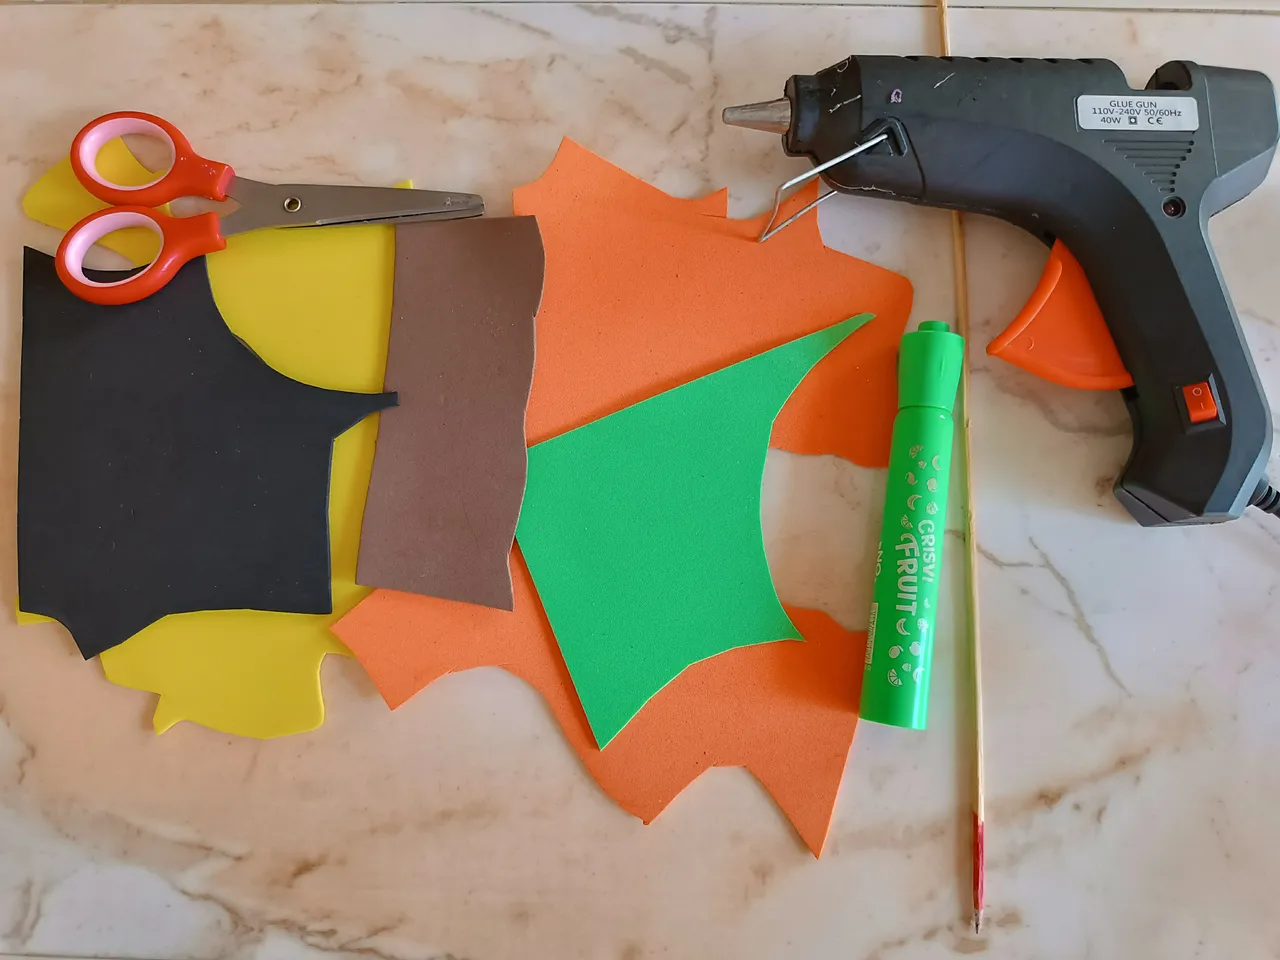
Materiales:
✅Foami amarillo.
✅Foami negro.
✅Foami verde.
✅Foami naranja.
✅Foami marrón.
✅Pintura blanca.
✅Marcador fino.
✅Tijera.
✅Silicón.
✅Lápiz.
✅Imán.
Materials:
Yellow foam.
Black foam.
Green foam.
Orange foam.
Brown foam.
White paint.
Fine marker.
Scissors.
Silicone.
Pencil.
Magnet.
Paso a paso / Step by Step
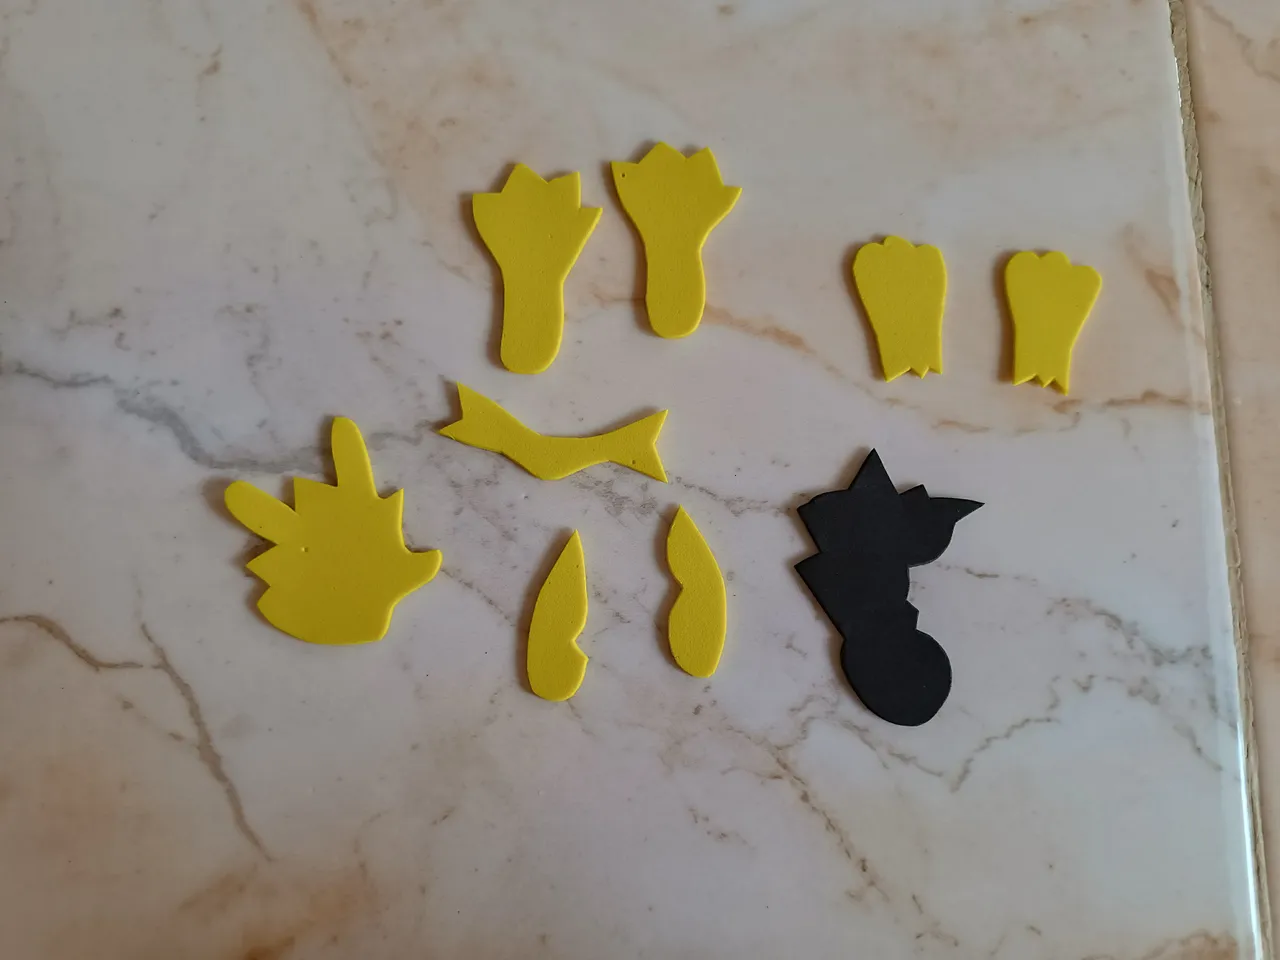
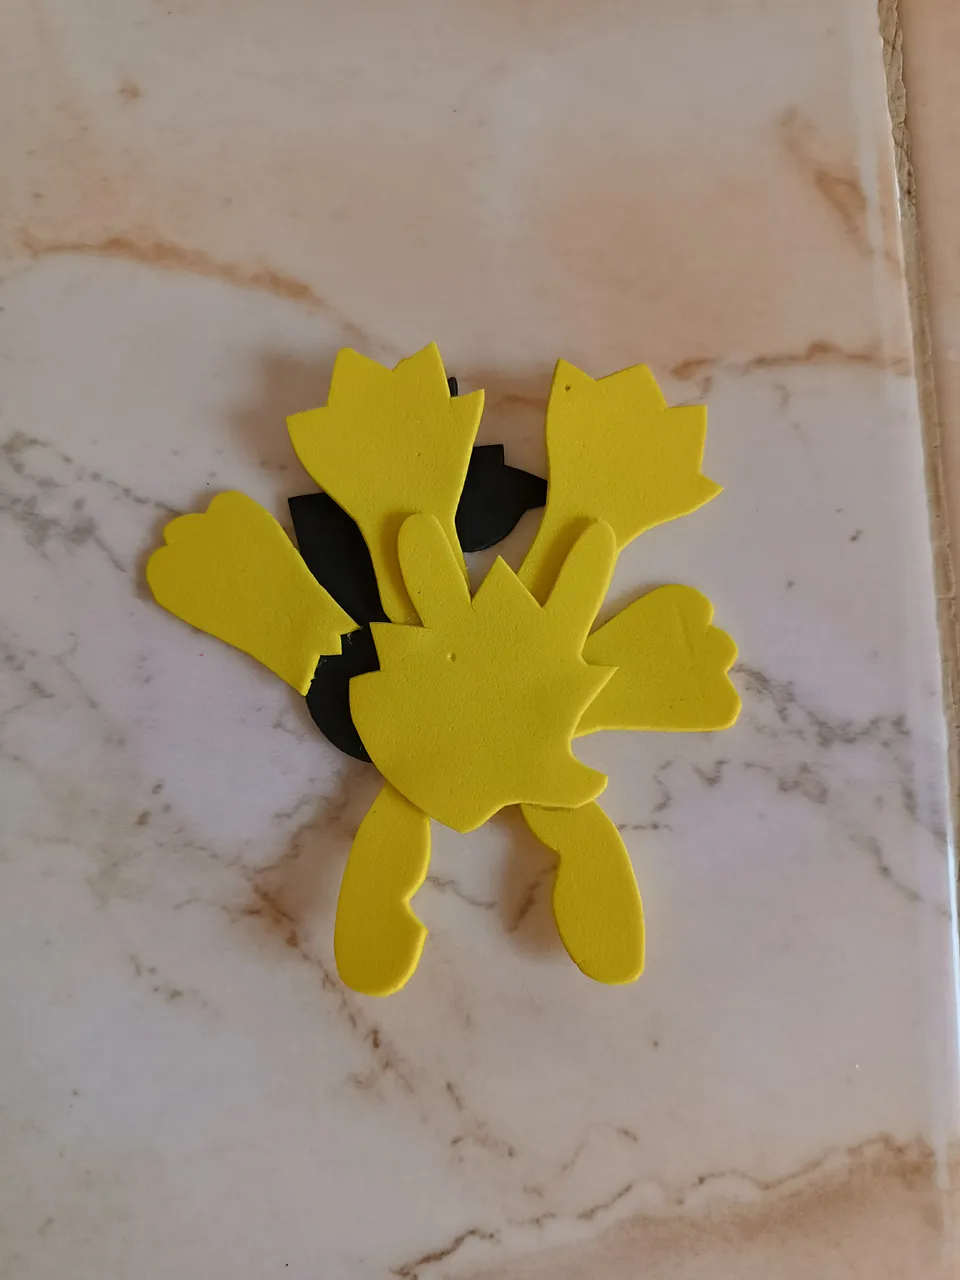
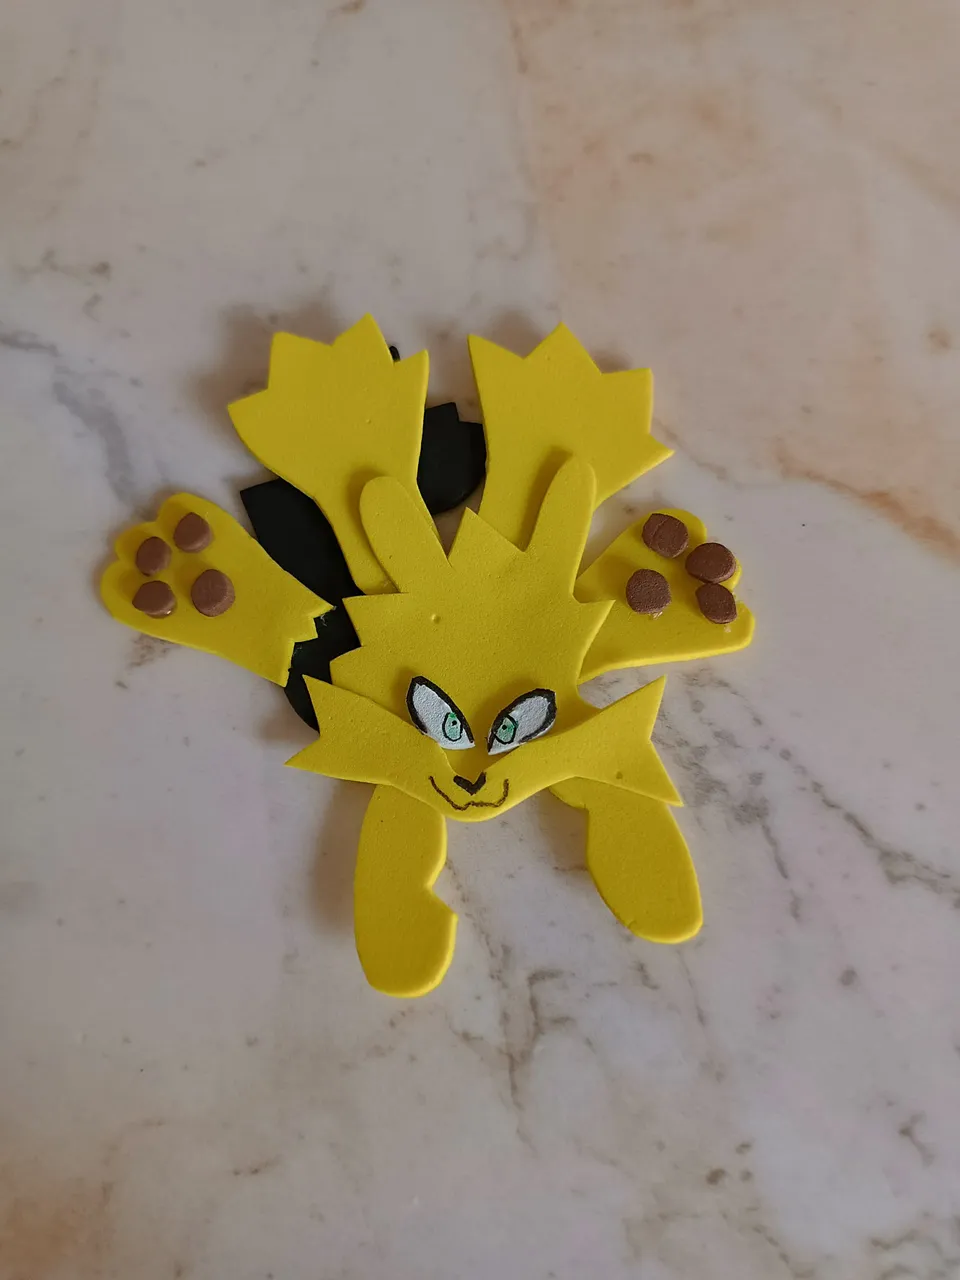
El primer paso es dibujar un molde en hojas para luego pasar al foami, primero realicé parte del cuerpo, en partes que luego se irán uniendo con silicón.
The first step is to draw a mold in sheets and then move on to the foam. First I made part of the body, in parts that will later be joined with silicone.
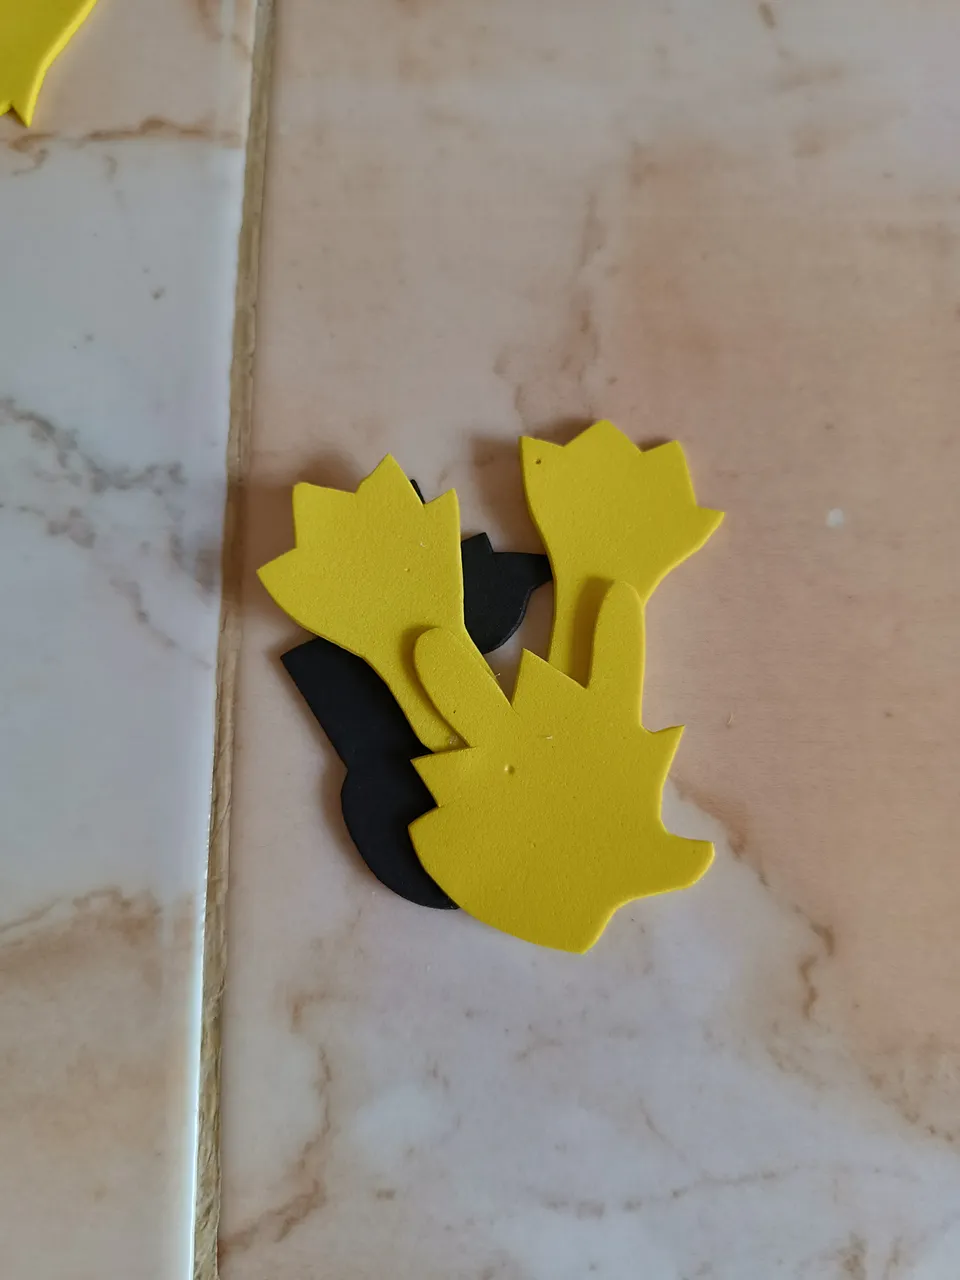
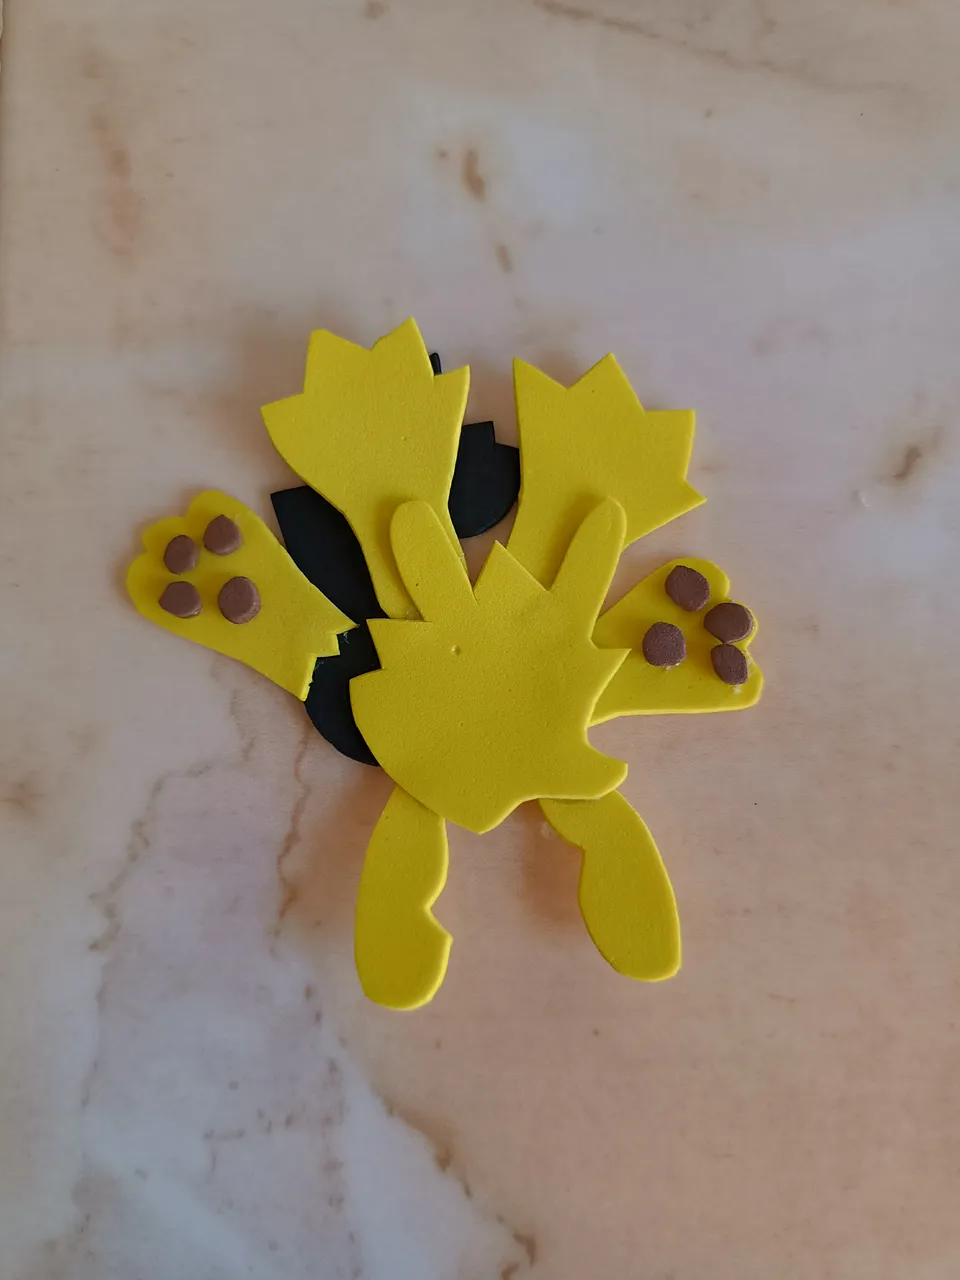
Pegamos la cabeza, las patas traseras y delanteras, colocamos los detalles en círculos, debemos tener paciencia al momento de pegar cada parte para no confundirse.
We glue the head, the hind and front legs, we place the details in circles, we must be patient when gluing each part so as not to get confused.
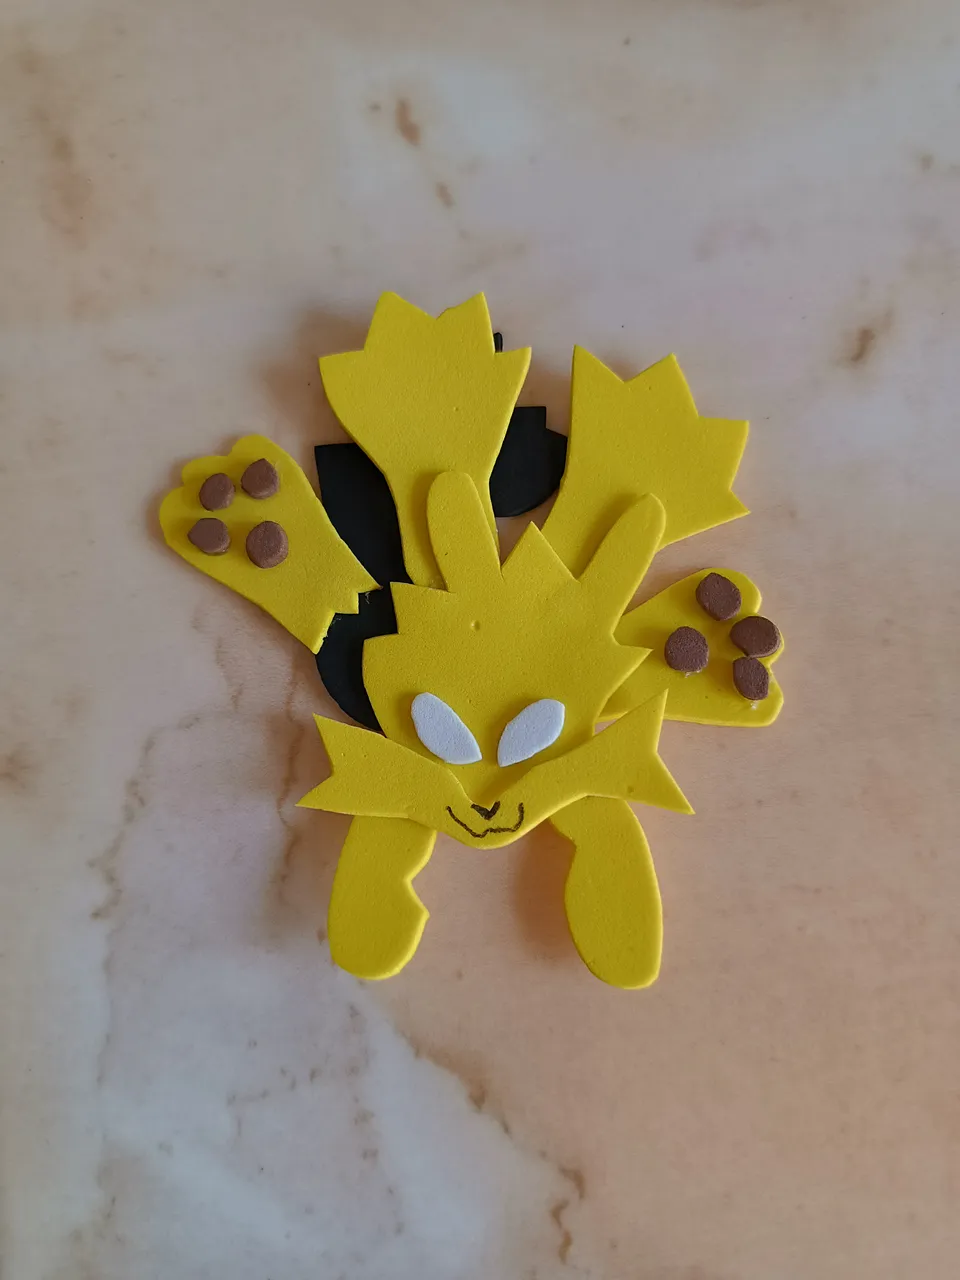
Luego voy a realizar sus ojos en foami blanco, allí resalto la mirada con pintura, y marcador negro, también realicé su boca y nariz. Al terminar la figura de Zappit voy a realizar la zanahoria que lo acompaña entre sus patas.
Then I am going to make his eyes in white foam, there I highlight the look with paint and black marker, I also made his mouth and nose. When I finish the Zappit figure I am going to make the carrot that accompanies him between his legs.
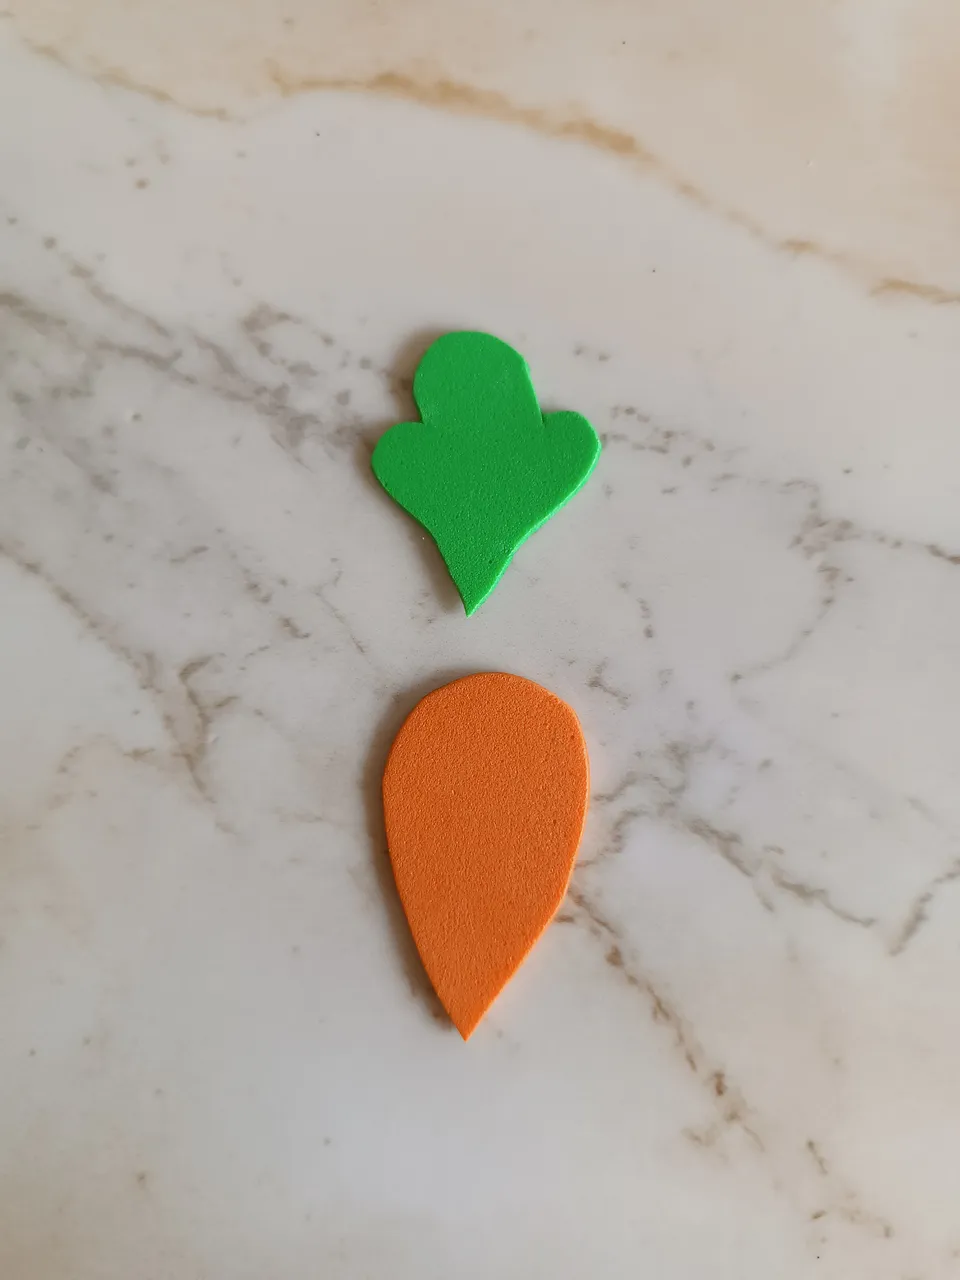
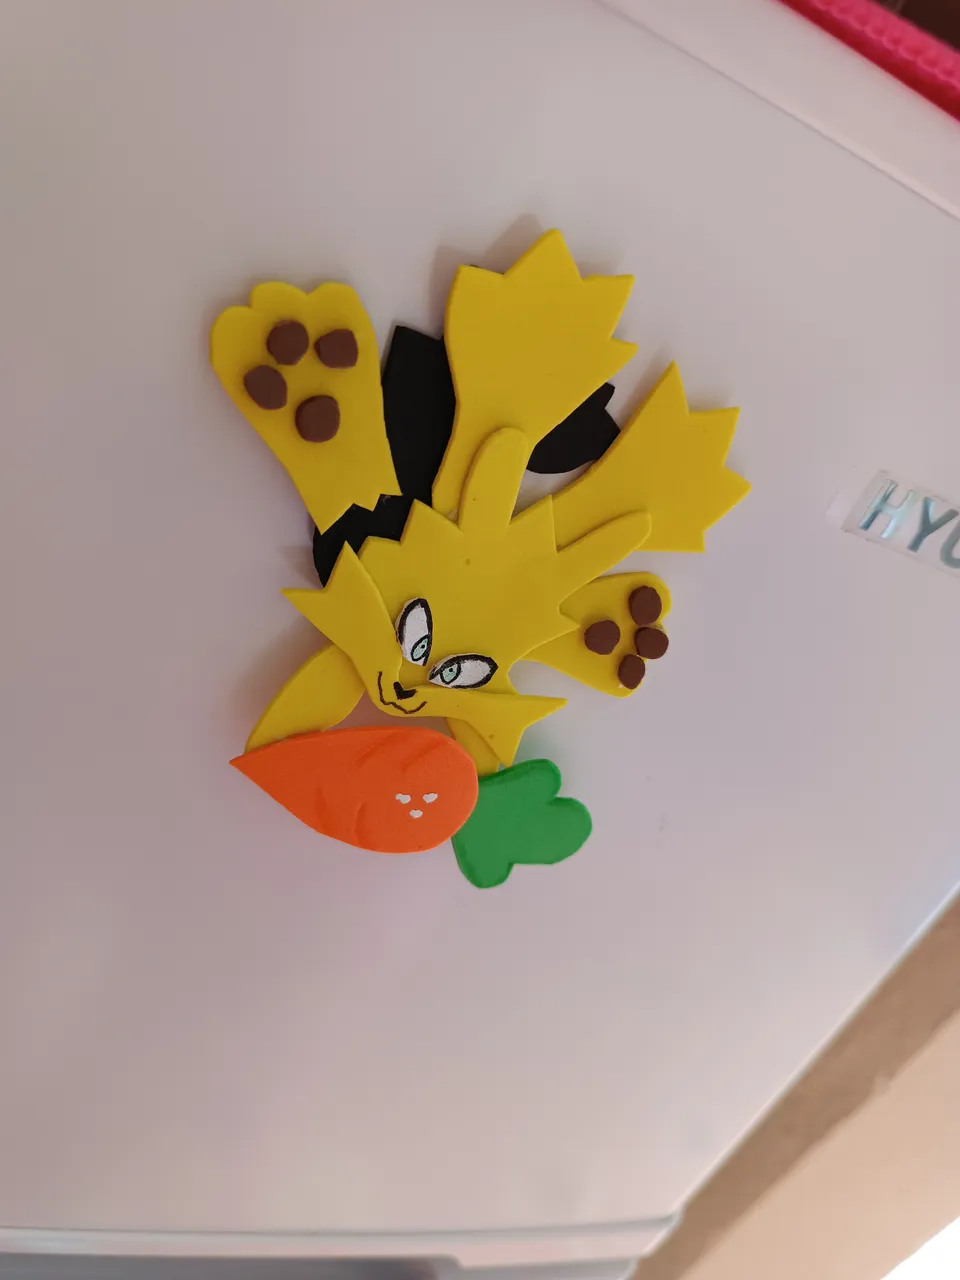
Para esto dibujé en foami naranja una especie de gota y en foami verde lo que será la hoja, ahora voy a unir ambos para formar la zanahoria, agregué unos detalles en blanco algunas sombras al igual que a la hoja.
For this I drew in orange foam a kind of drop and in green foam what will be the leaf, now I am going to join both to form the carrot, I added some white details some shadows as well as the leaf.
Por último voy a pegar la zanahoria entre sus patitas y listo, hemos terminado ahora ya se puede colocar en el refrigerador o nevera, gracias por visitar mi publicación, nos vemos en una próxima oportunidad con más ideas creativas.
Finally I'm going to stick the carrot between its legs and that's it, we're done, now it can be placed in the refrigerator, thank you for visiting my publication, see you next time with more creative ideas.

Contenido original. - original content.
Los separadores y banner fueron realizados en Canva. - The dividers and banner were made in Canva.
Las fotografias son tomadas con mi teléfono Redmi Note 11s y editadas en PicsArt - The photographs are taken with my Redmi Note 11s phone and edited in PicsArt.
Traducción de: Google traductor - Translation of: Google translator.
