
Felíz martes comunidad Holozing, saludos a los miembros presentes les mando un abrazo y espero se encuentren bien en éste día, comienza una semana larga de bastante actividad, también trato de distribuir el tiempo para lograr realizar algunas manualidades inspiradas en Holozing.
Happy Tuesday Holozing community, greetings to the members present, I send you a hug and I hope you are well on this day, a long week of quite a lot of activity begins, I also try to distribute the time to be able to make some crafts inspired by Holozing.
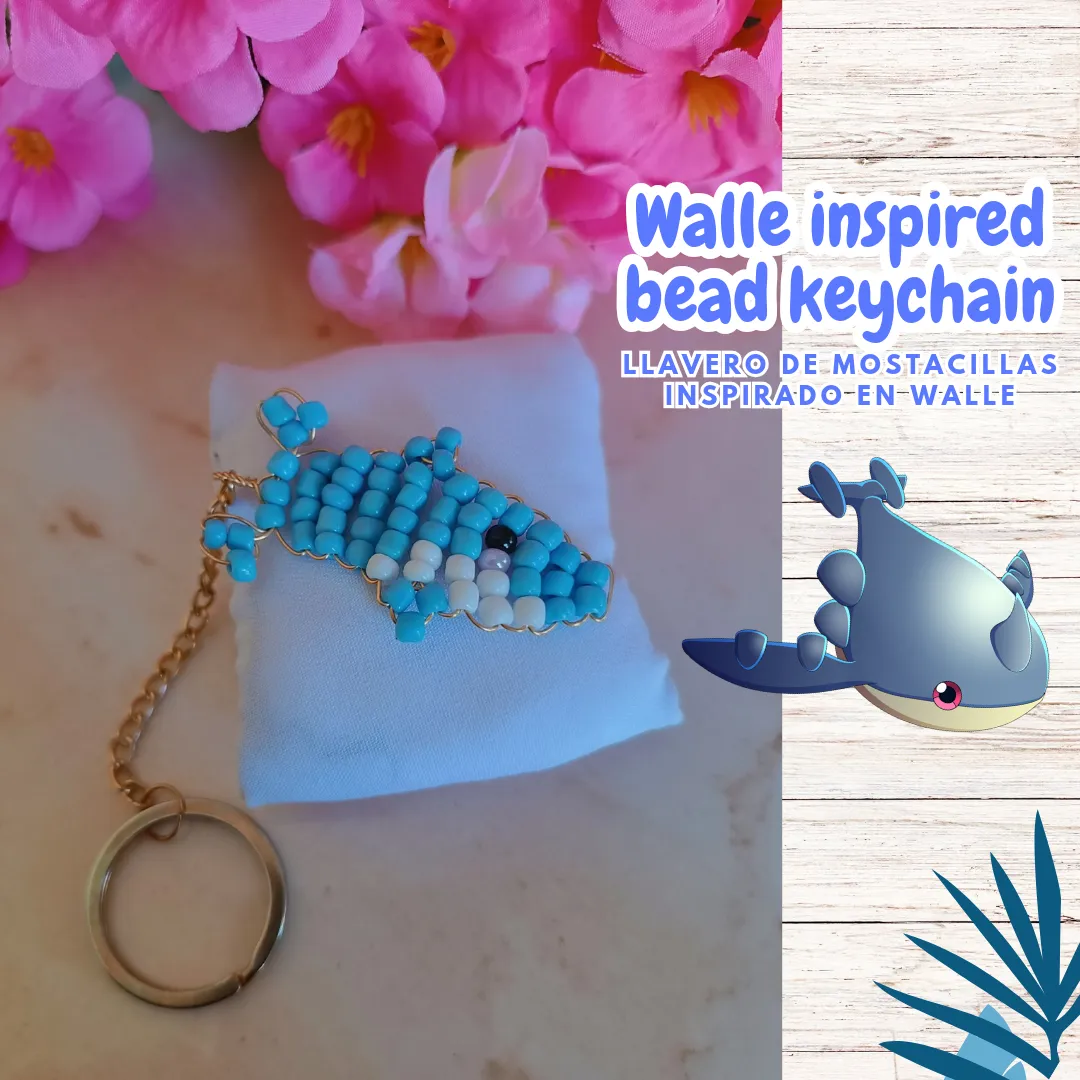
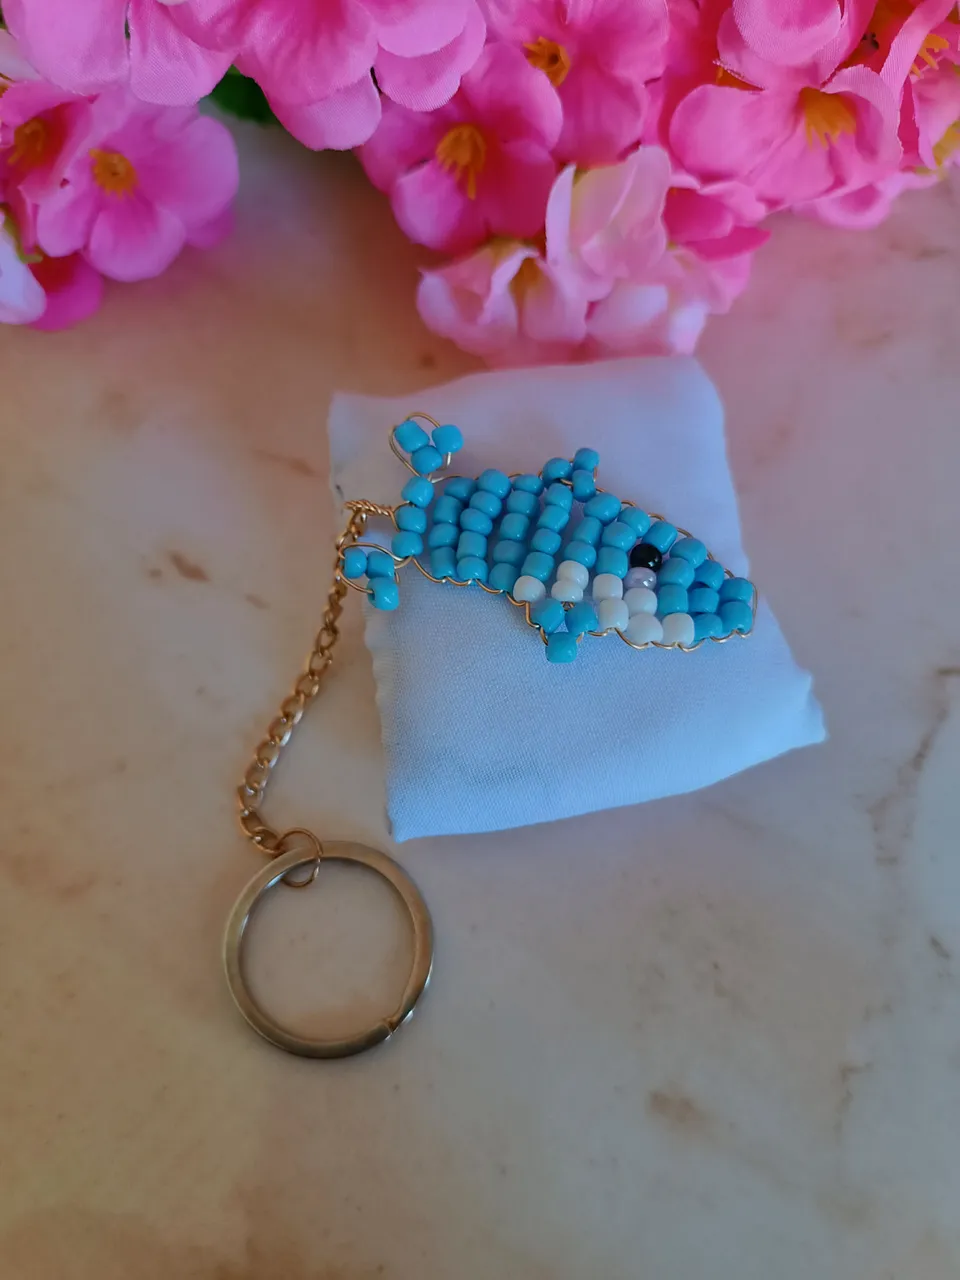
En ésta ocasión les comparto un lindo llavero de mostacillas inspirado en Walle, utilicé alambre mostacillas azul y blancas de acuerdo a su color en su versión original, me encanta este llavero porque es cómodo de llevar, lo podría colocar junto a mi bolso y se veria bien, a continuación les muestro el paso a paso y los materiales que utilicé.
On this occasion I share with you a cute bead keychain inspired by Walle, I used blue and white bead wire according to its color in its original version, I love this keychain because it is comfortable to carry, I could place it next to my bag and it would look Well, below I show you the step by step and the materials I used.
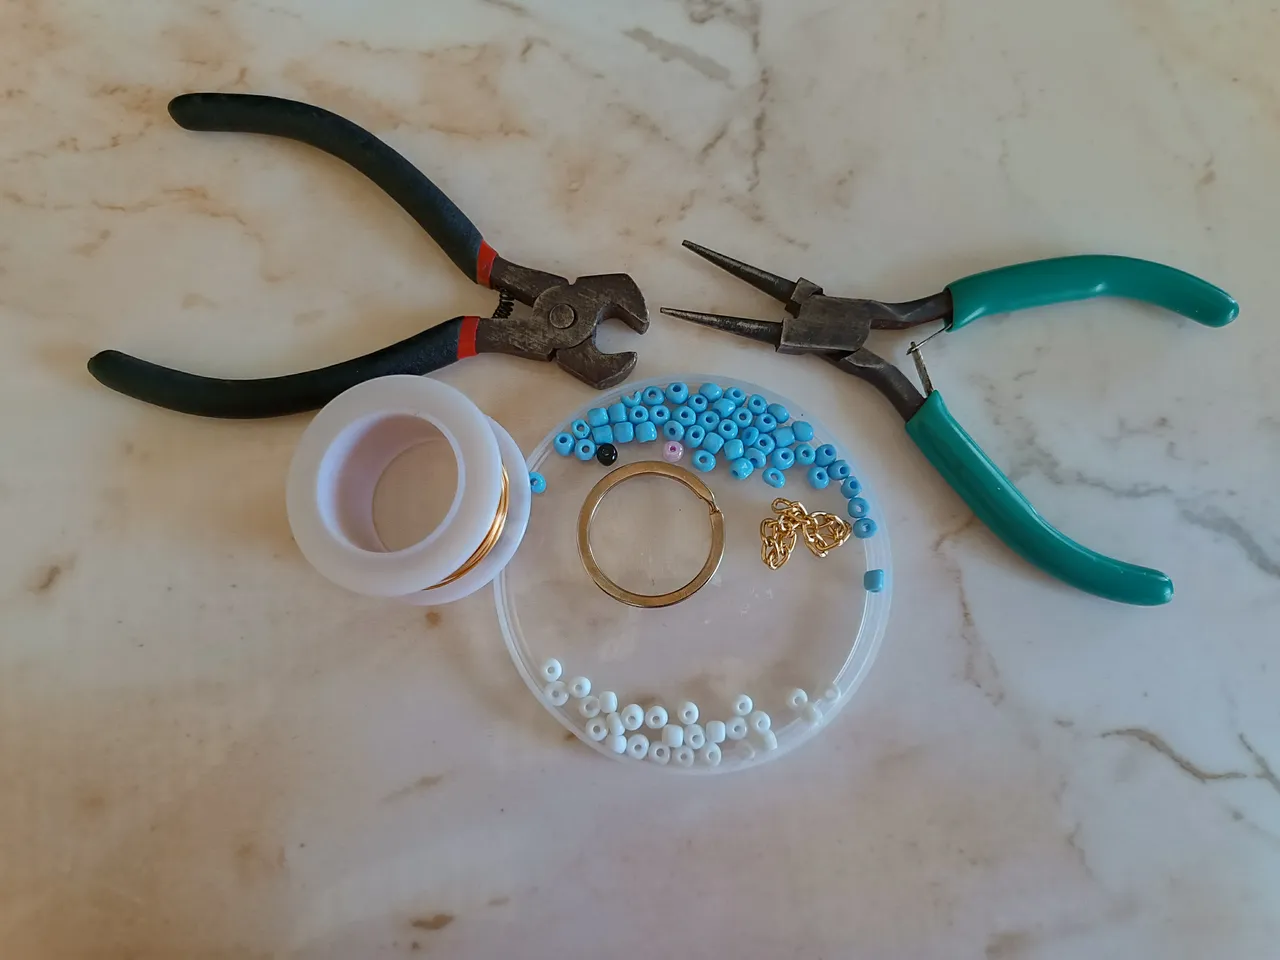
Materiales:
🩵48 mostacillas color azul.
🩵8 mostacillas blancas.
🩵1 mostacilla negra.
🩵1 mostacilla color rosa.
🩵Alambre dorado #22.
🩵Pinzas de bisutería.
🩵Cinta métrica.
🩵Retazo de cadena.
🩵Aro para llavero.
Materials:
48 blue beads.
8 white beads.
1 black bead.
1 pink bead.
Gold wire #22.
Jewelry tweezers.
Measuring tape.
Chain scrap.
Keychain ring.
Paso a paso / Step by step
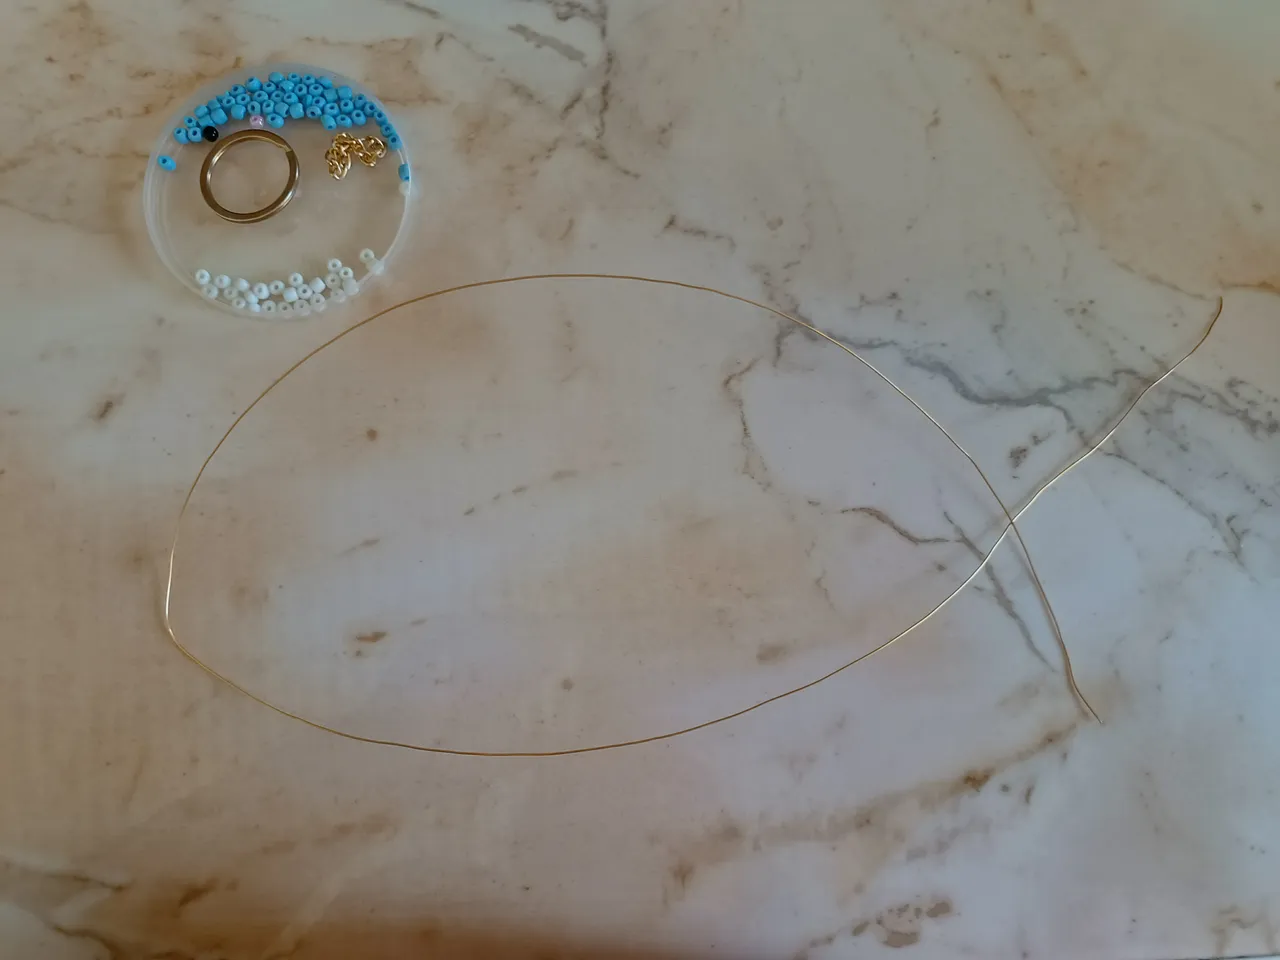
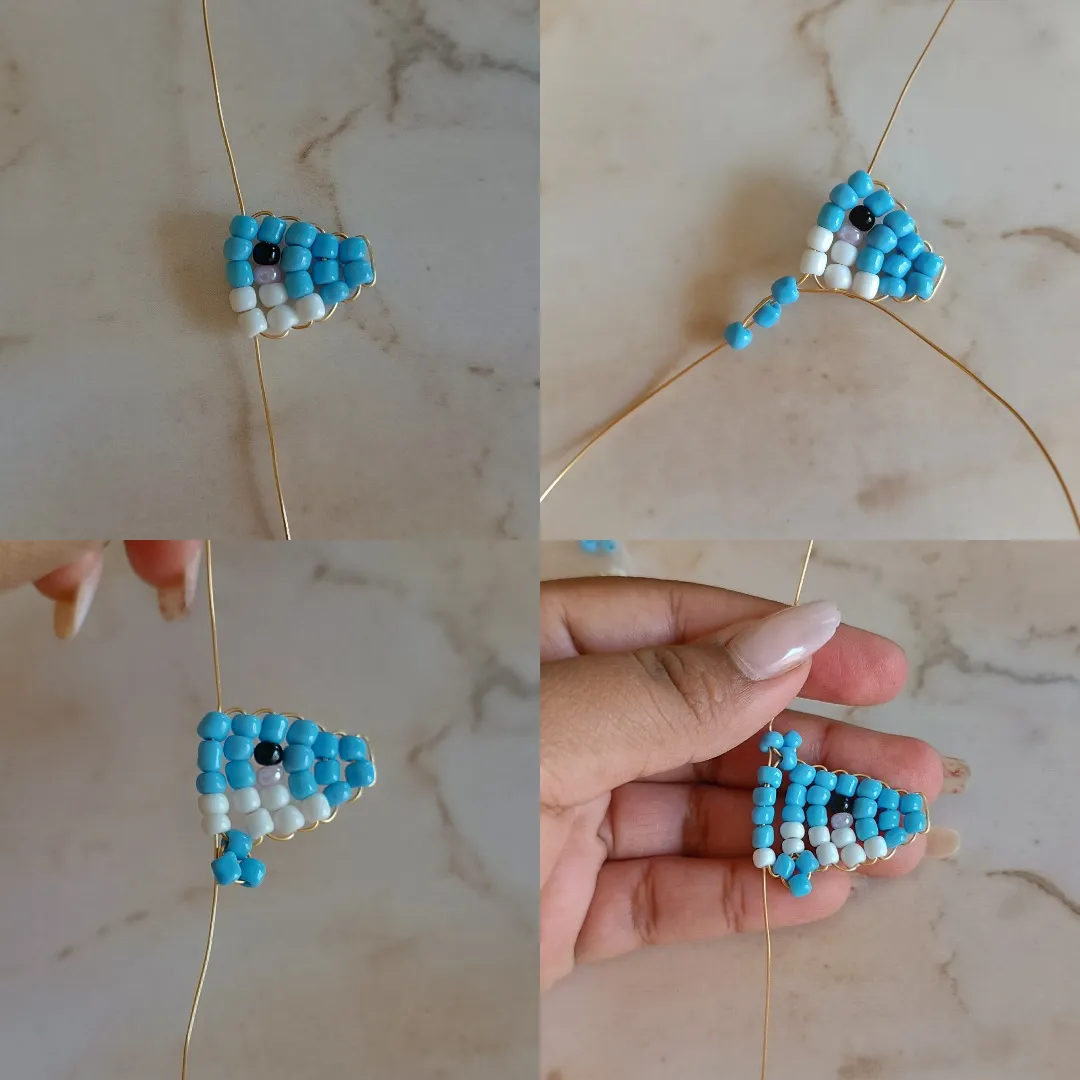
El primer paso se trata de cortar 50 cm de alambre dorado #22 con ayuda de una pinza de bisutería, vamos a doblar un poco hasta la mitad y comienzo colocando dos mostacillas azules en una de las puntas del alambre, ahora con la otra punta voy a pasar a través de las dos mostacillas y llevamos hasta el medio.
The first step is to cut 50 cm of #22 gold wire with the help of a jewelry pliers, we are going to bend it a little halfway and I start by placing two blue beads on one of the ends of the wire, now with the other end I go to pass through the two beads and take it to the middle.
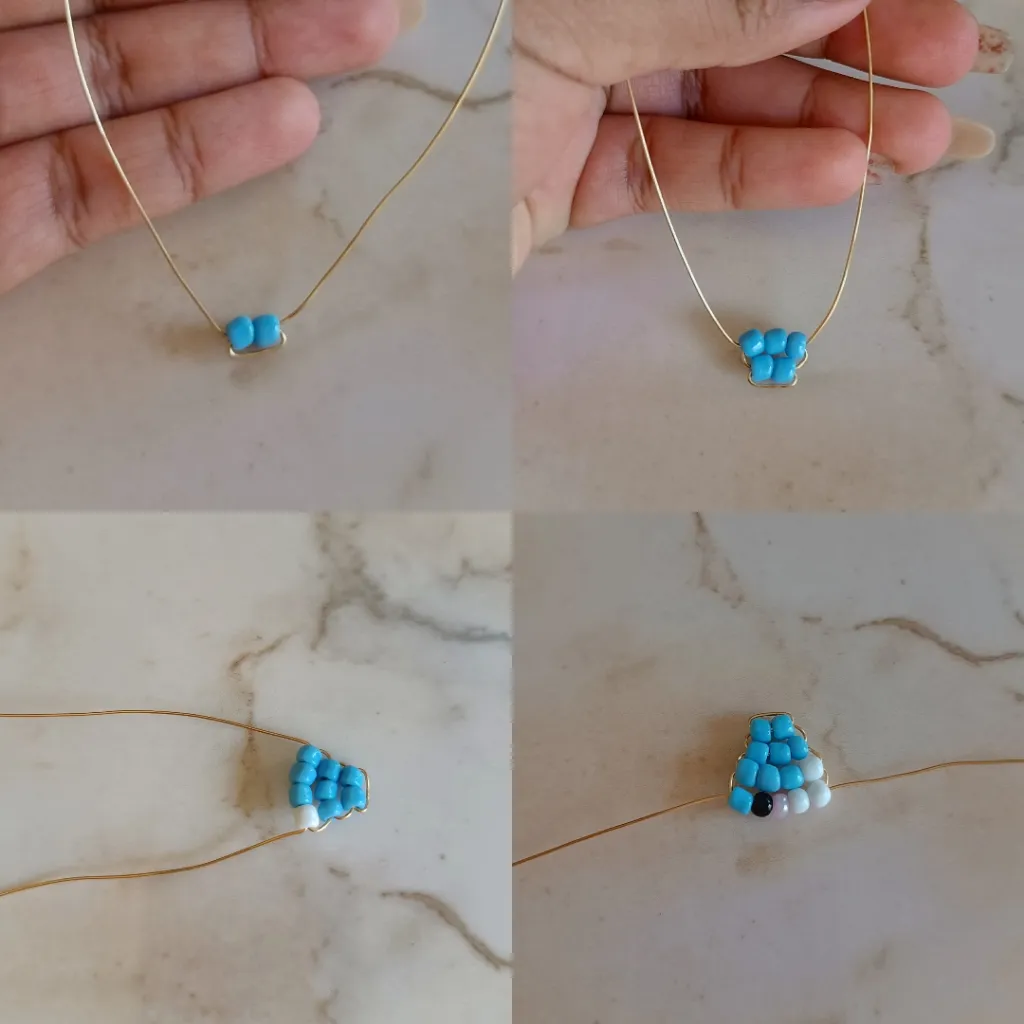
Ahora voy a colocar tres mostacillas y realizamos el mismo paso anterior, seguido coloco tres azules y una blanca, luego una azul, para realizar el ojo una negra y una mostacilla rosa más dos blancas, seguimos con tres azules y dos blancas, el siguiente paso es colocar tres mostacillas azules en uno de los alambres y la misma punta la voy a pasar por la primera mostacilla esto para formar una de las aletas, realizamos el mismo paso en el otro alambre.
Now I am going to place three beads and we carry out the same previous step, then I place three blue ones and one white one, then one blue one, to make the eye one black one and one pink bead plus two white ones, we continue with three blue ones and two white ones, the next step is to place three blue beads on one of the wires and I am going to pass the same tip through the first bead to form one of the fins, we carry out the same step on the other wire.
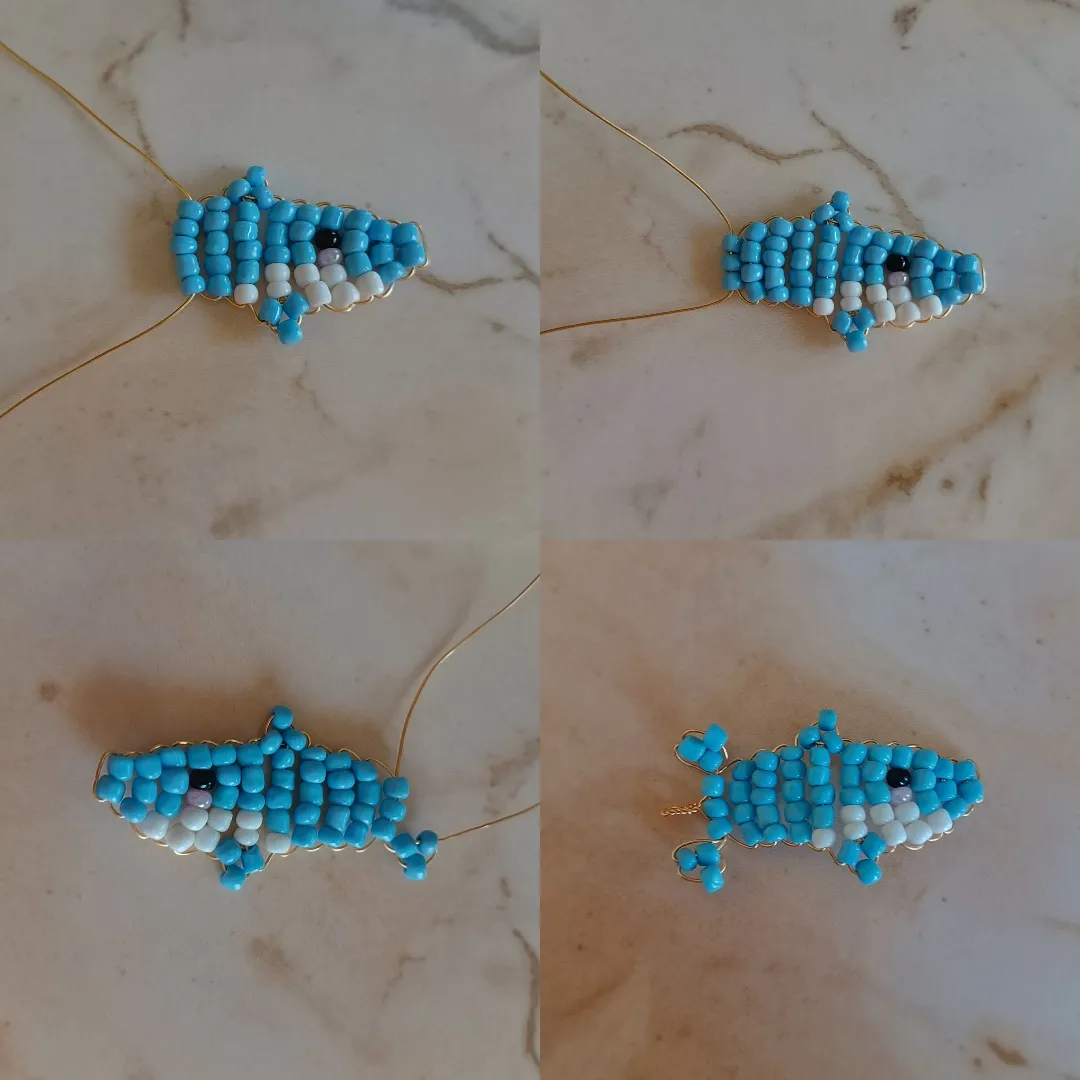
Luego continuamos con cuatro azules y una blanca, repetimos cinco azules dos veces, para finalizar tres azules, en cada alambre sobrante voy a colocar tres mostacillas azules y pasamos el alambre por las primeras dos mostacillas para formar la cola, luego cada punta la pasamos por la primera mostacilla de cada lado y entorchamos el alambre, cortamos con una pinza el sobrante.
Then we continue with four blue and one white, we repeat five blue twice, to finish three blue, on each remaining wire I am going to place three blue beads and we pass the wire through the first two beads to form the tail, then we pass each end through the first bead on each side and twist the wire, cutting the excess with tweezers.
El último paso es colocar un retazo de cadena junto al aro de llavero y colgamos de la figura de mostacillas, de ésta forma terminé a Walle, espero les haya gustado, nos vemos en una próxima oportunidad con más ideas creativas.
The last step is to place a piece of chain next to the key ring and hang it from the bead figure. This is how I finished Walle. I hope you liked it. See you next time with more creative ideas.

Contenido original. - original content.
Los separadores y banner fueron realizados en Canva. - The dividers and banner were made in Canva.
Las fotografias son tomadas con mi teléfono Redmi Note 11s y editadas en PicsArt - The photographs are taken with my Redmi Note 11s phone and edited in PicsArt.
Traducción de: Google traductor - Translation of: Google translator.
