Saludos todos los creadores de esta colmena, algo alejada, pero regrese, porque hace poco recibí un encargo para realizar un trabajo digamos educativo, didáctico, de una vecina, colega que es maestra, que por falta de recursos y tiempo no podía, así que me lo pidió a mi, me mando el modelo por WhatsApp, le dije precio hicimos el contrato,
Cuando hizo el pago fui al día siguiente al centro en el Paseo Orinoco en mi ciudad a comprar lo que me hacia falta principalmente los marcadores y de los nuevos que es una cosa maravillosa, doble punta, nos ahorramos de comprar mas marcadores, son dos en uno.
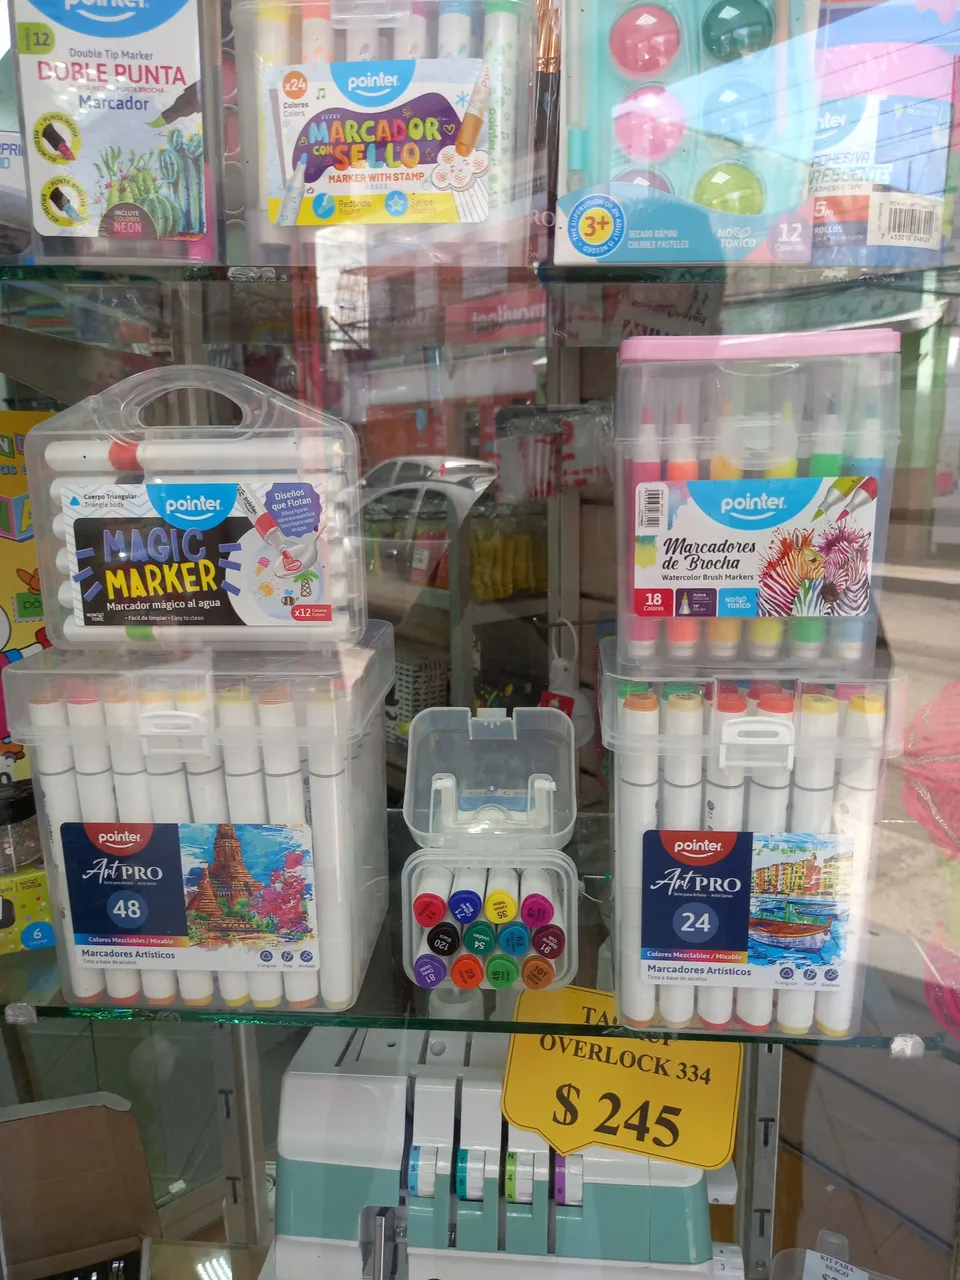
Esos son otros modelos de marcadores, porque hay para todos los gustos y precios, ya en casa, prepare los demás materiales para la elaboración de estas paletas didácticas.
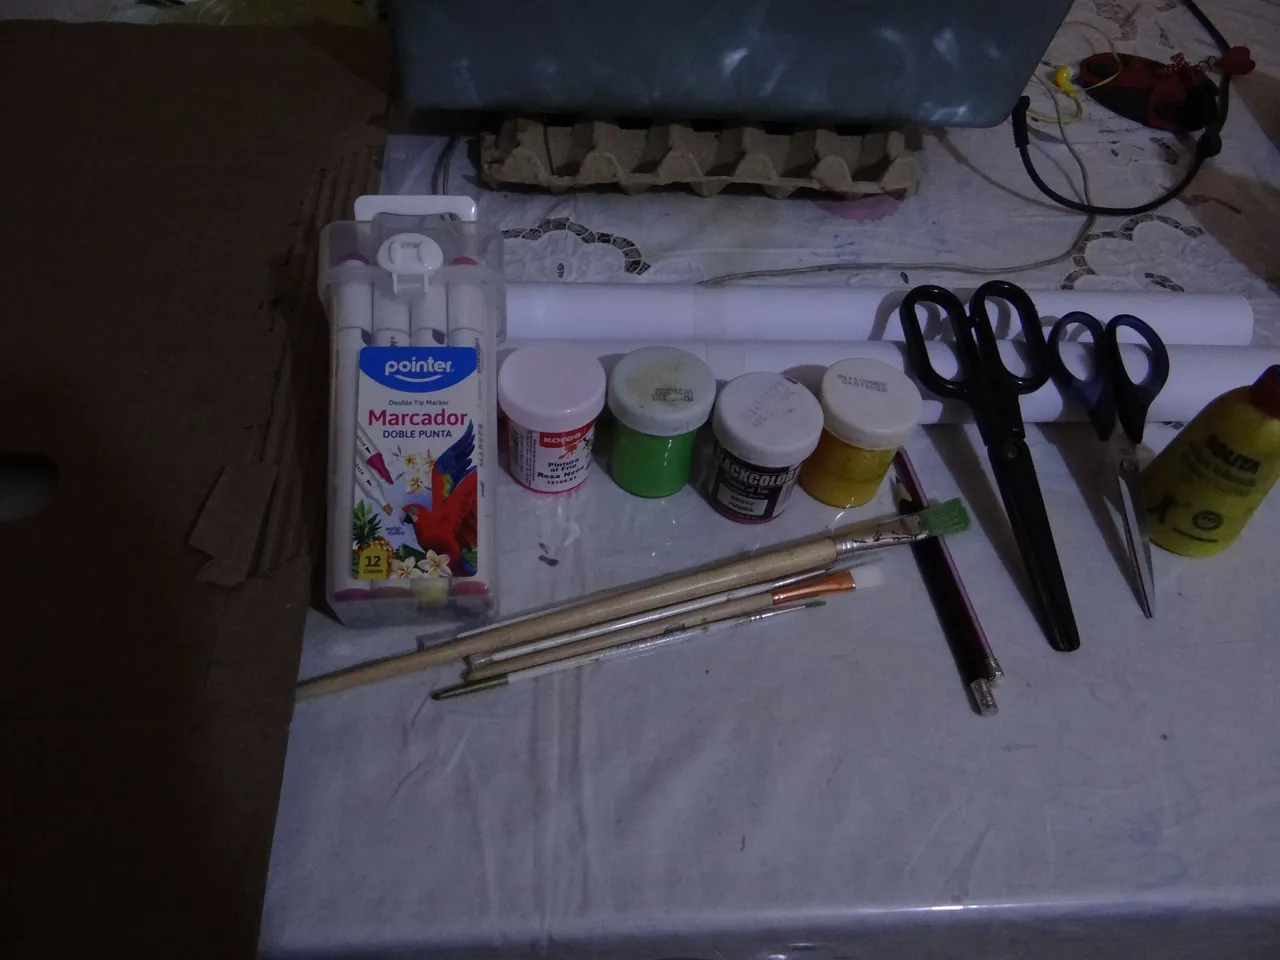
Materiales que utilice:
-Pinturas al frio.
-Marcadores.
-Tijeras, lapiz de grafito, regla, pega blanca.
_Pistola y barras de silicon.
-Cajas de carton.
-Cordones de colores.
-Pinceles.
-Pliegos de papel bond.
1er paso:
La paleta o chupeta que también le dicen es un recurso educativo didáctico, con un mensaje acorde lo que vayan a hacer, me pidieron 10, así que use de medida un plato de plástico, no debía ser tan grandes ni tan pequeños, que fuera visible lo que luego se escribiría.
2do paso:
Reforcé aquellos círculos donde estaba el dobles de las tapas de la caja de cartón, para que el circulo no se doblara, lo hice con los mismos retazos o recortes de cartón que iban quedando.
3er paso:
Listos los círculos, los forre o cubrí con papel bond por ambos lados, para que quedaran con mejor presentación, se vería muy feo lo de atrás el cartón, con los parches y las letras.
4to paso:
La paleta lleva una franja de colores vivos, similar a un arco iris, pero tipo vitral, primero saque el patrón, para luego pasarlo a los círculos, con lápiz de grafito y luego con el marcador negro.
5to paso:
Después coloreo unos con marcadores y pinto otros con la pintura al frio, que los colores no queden tan cerca, que resalten por eso se escogen los colores mas vivos.
6to paso:
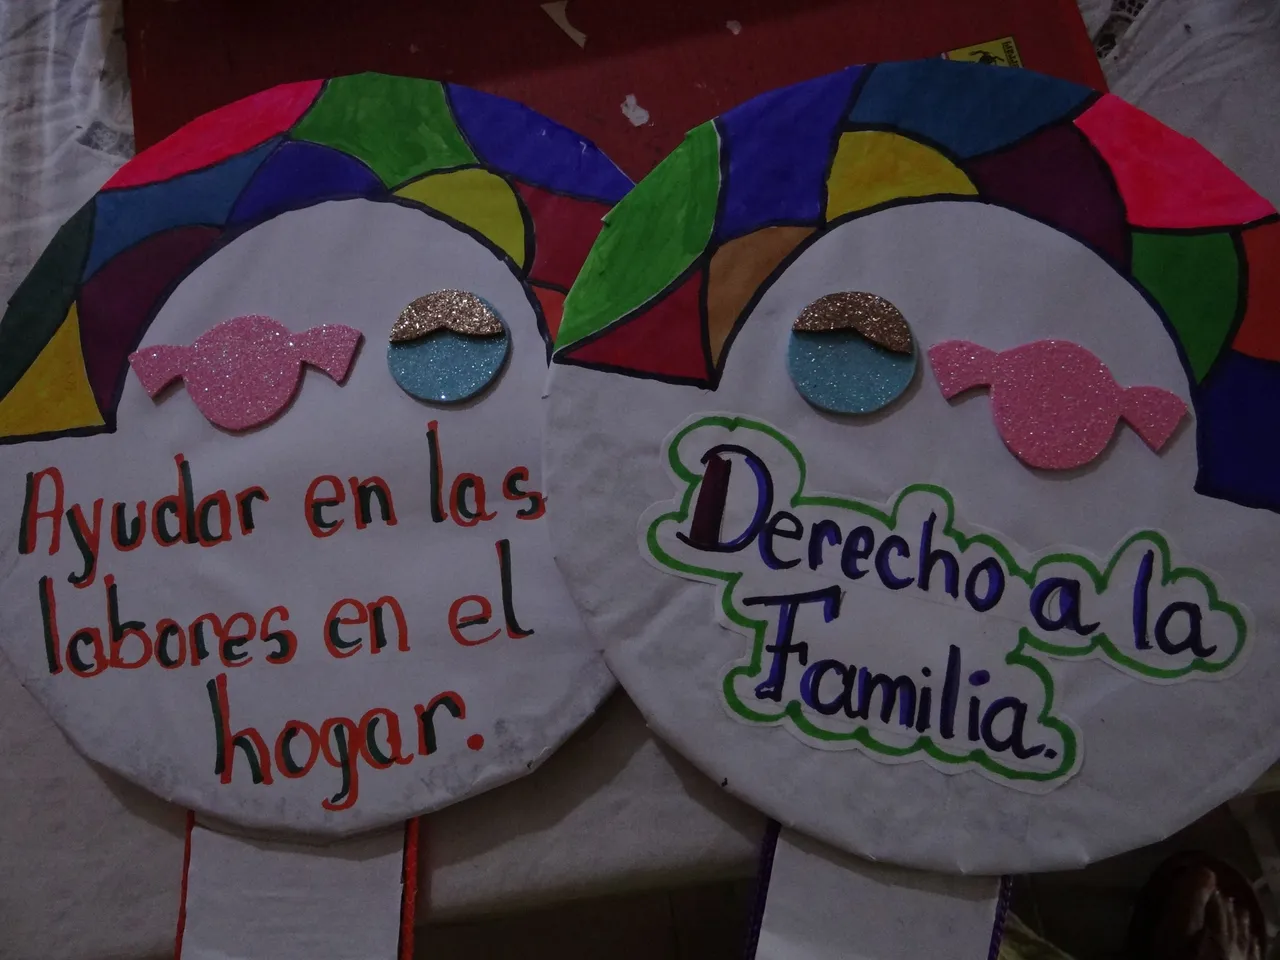
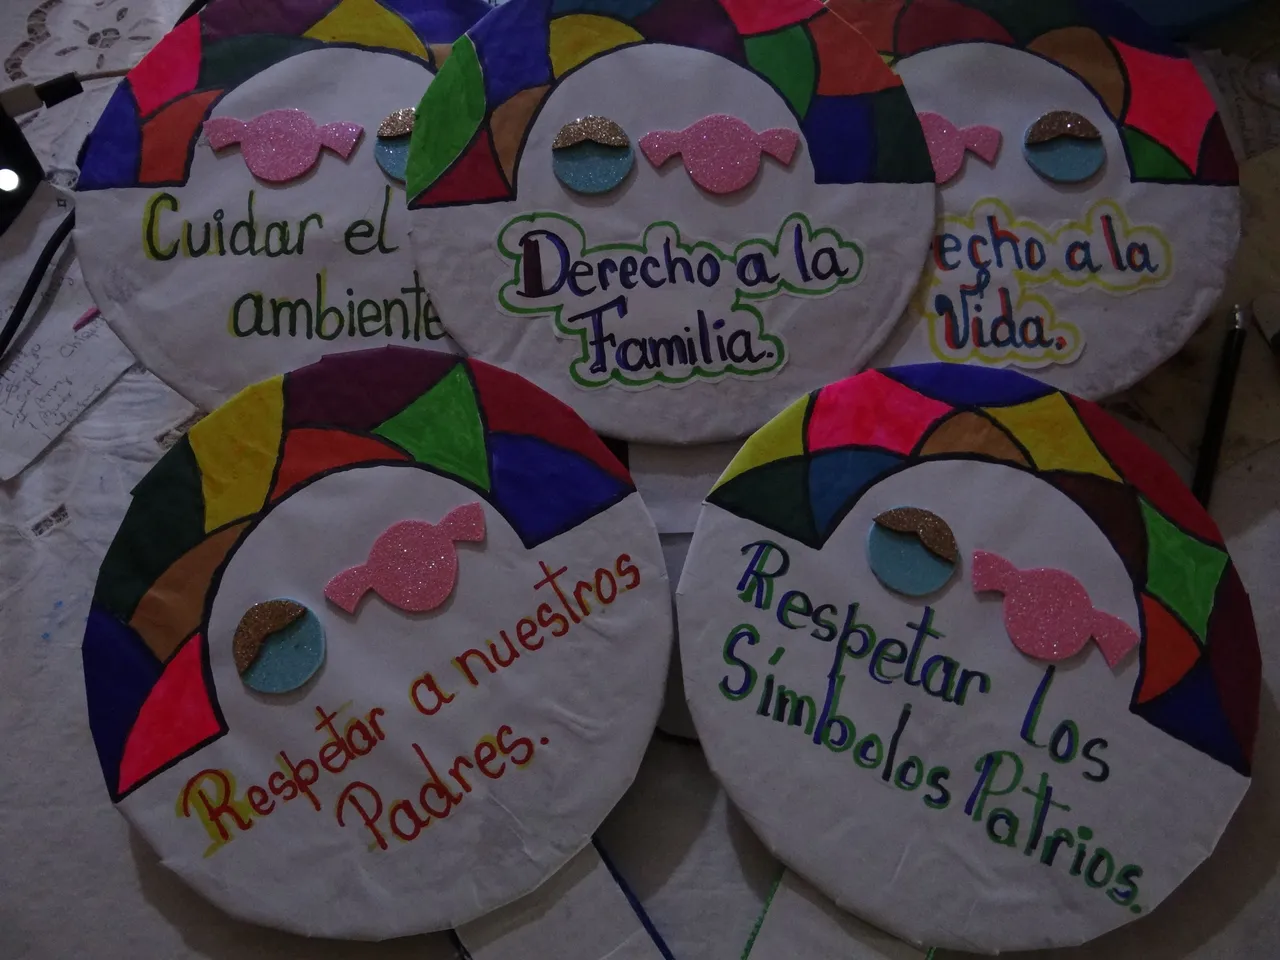
En estas paletas debían llevar unos escritos estos eran sobre los derechos y los deberes de los niños, 5 de cada uno, los cuales los escribí primero en lápiz, los repase en marcador de diferentes colores, le trace un contorno de diferente color, luego los recorte y pegue en las paletas.
7mo paso:
Listo todos los círculos con sus mensajes, faltaba hacer por donde agarrar las paletas, así que con el mismo cartón hice o di forma como paletas de helado, doble cartón para que quedara mas fuerte, también los forre con el papel bond blanco, los pegue con silicón, después en los círculos,
8va parte:
Para tapar lo feo del borde de las paletas, lo tape con unos cordones que encontré muy buenos de colores también, así que con silicón los fui pegando, quedaron bellos, mas colorido imposible.
9no paso:
Faltaban los detalles en los círculos que eran unas figuras alusivas a un niño y una niña hechos en foami azul y rosado.
10mo paso:
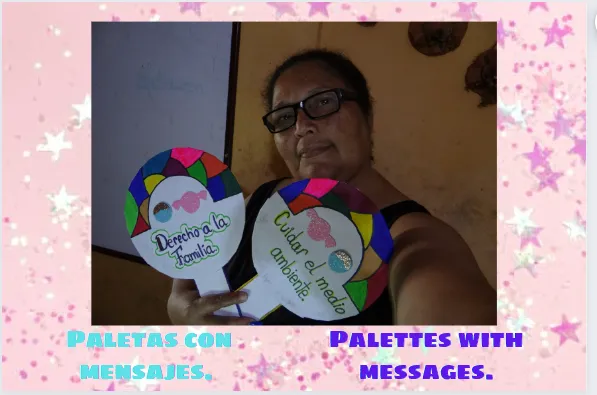
Ya están listas las paletas le tome la foto se la mande a mi vecina y quedo feliz con el trabajo, pero se lo entregaría al día siguiente ya era muy tarde.
Ha sido todo por esta vez mis bellos amigos de esta colmena, si les mandan a sus hijos que debe llevar una paleta o chuoetam aqui esta la idea, yo una vez le hice a mi hijo una, pero diferente.
Todo el paso a paso en fotos con mi camara Sony.
La traducción con la app DeepL.

Greetings all the creators of this hive, somewhat distant, but I returned, because recently I received an order to perform a work let's say educational, didactic, from a neighbor, colleague who is a teacher, who for lack of resources and time could not, so she asked me, she sent me the model by WhatsApp, I told her price we made the contract,
When she made the payment I went the next day to the center in the Paseo Orinoco in my city to buy what I needed mainly the markers and the new ones which is a wonderful thing, double tip, we save us from buying more markers, they are two in one.
Those are other models of markers, because there are for all tastes and prices, already at home, prepare the other materials for the elaboration of these didactic palettes.
Materials I used:
-Cold paints.
-Markers.
-Scissors, graphite pencil, ruler, white glue.
Silicone gun and sticks.
-Cardboard boxes.
-Colored cords.
-Brushes.
-Sheets of bond paper.
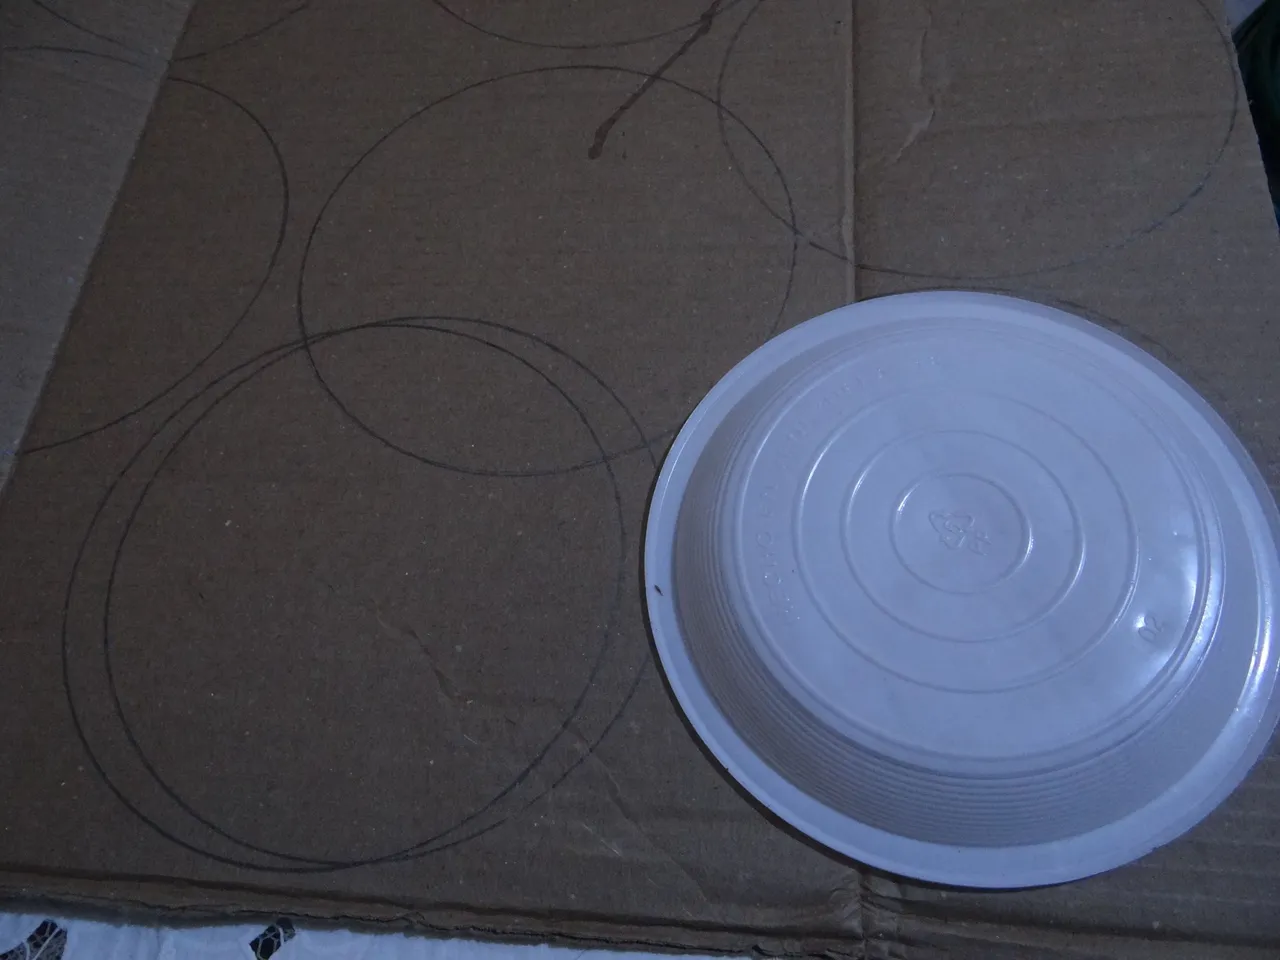
1st step:.
The palette or lollipop is also called a didactic educational resource, with a message according to what they are going to do, they asked me for 10, so I used a plastic plate as a measure, they should not be so big or so small, so that it was visible what would be written later.
2nd step:
I reinforced those circles where the folds of the cardboard box lids were, so that the circle would not bend, I did it with the same scraps or cardboard cuttings that were remaining.
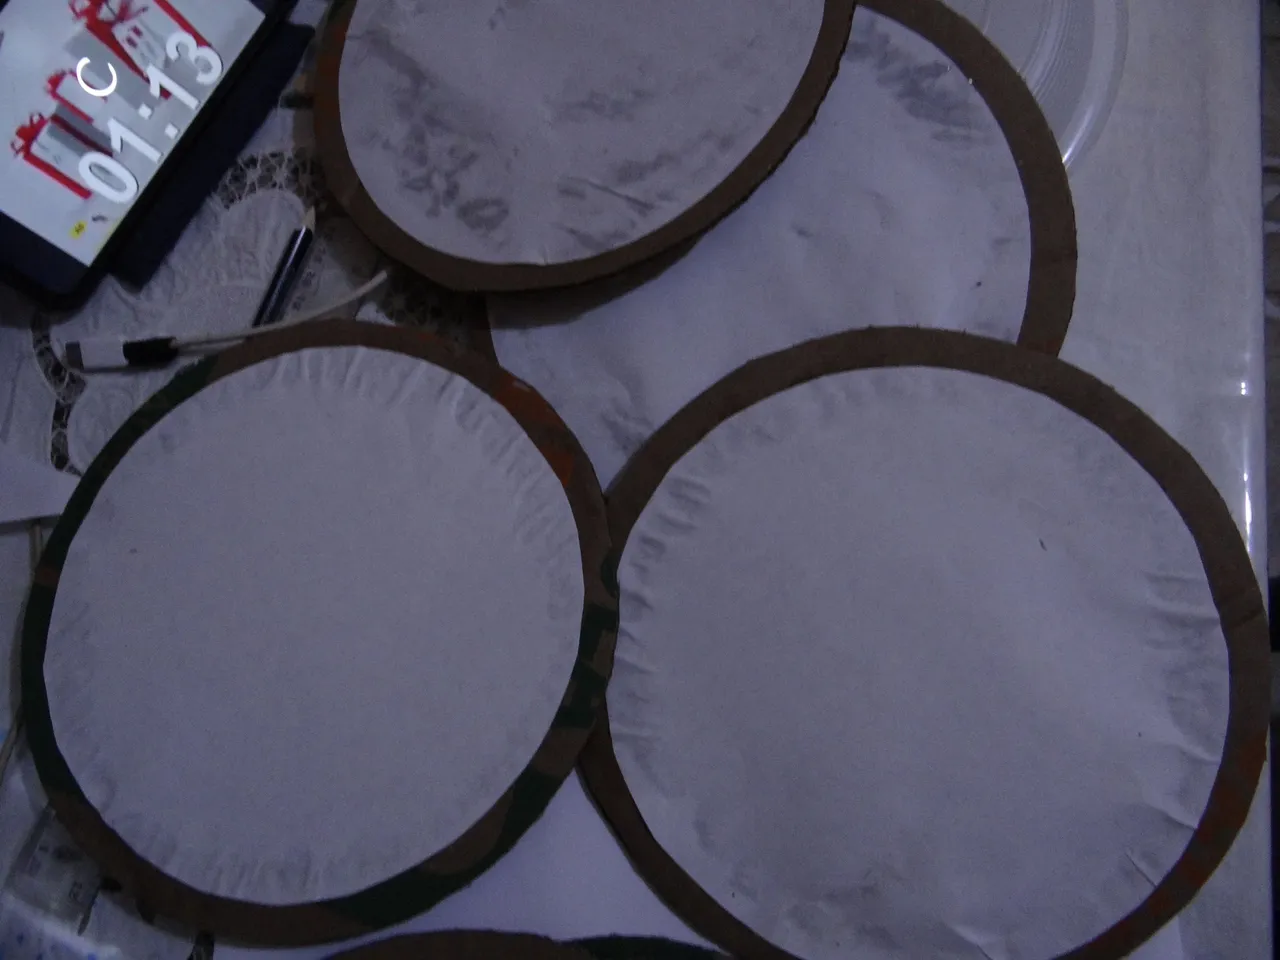
3rd step:
Once the circles were ready, I lined or covered them with bond paper on both sides, so that they would look better, it would look very ugly on the back of the cardboard, with the patches and the letters.
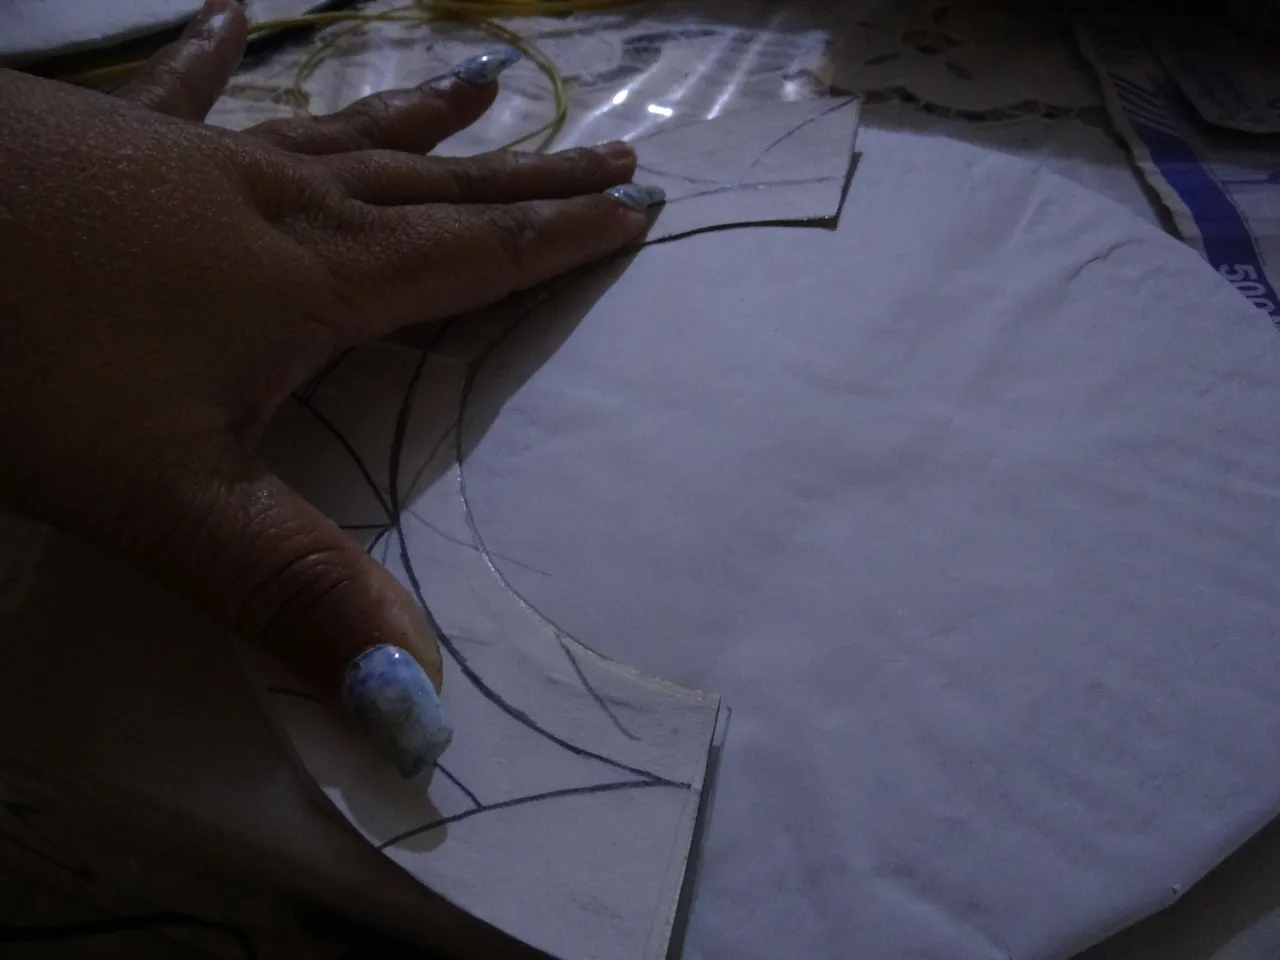
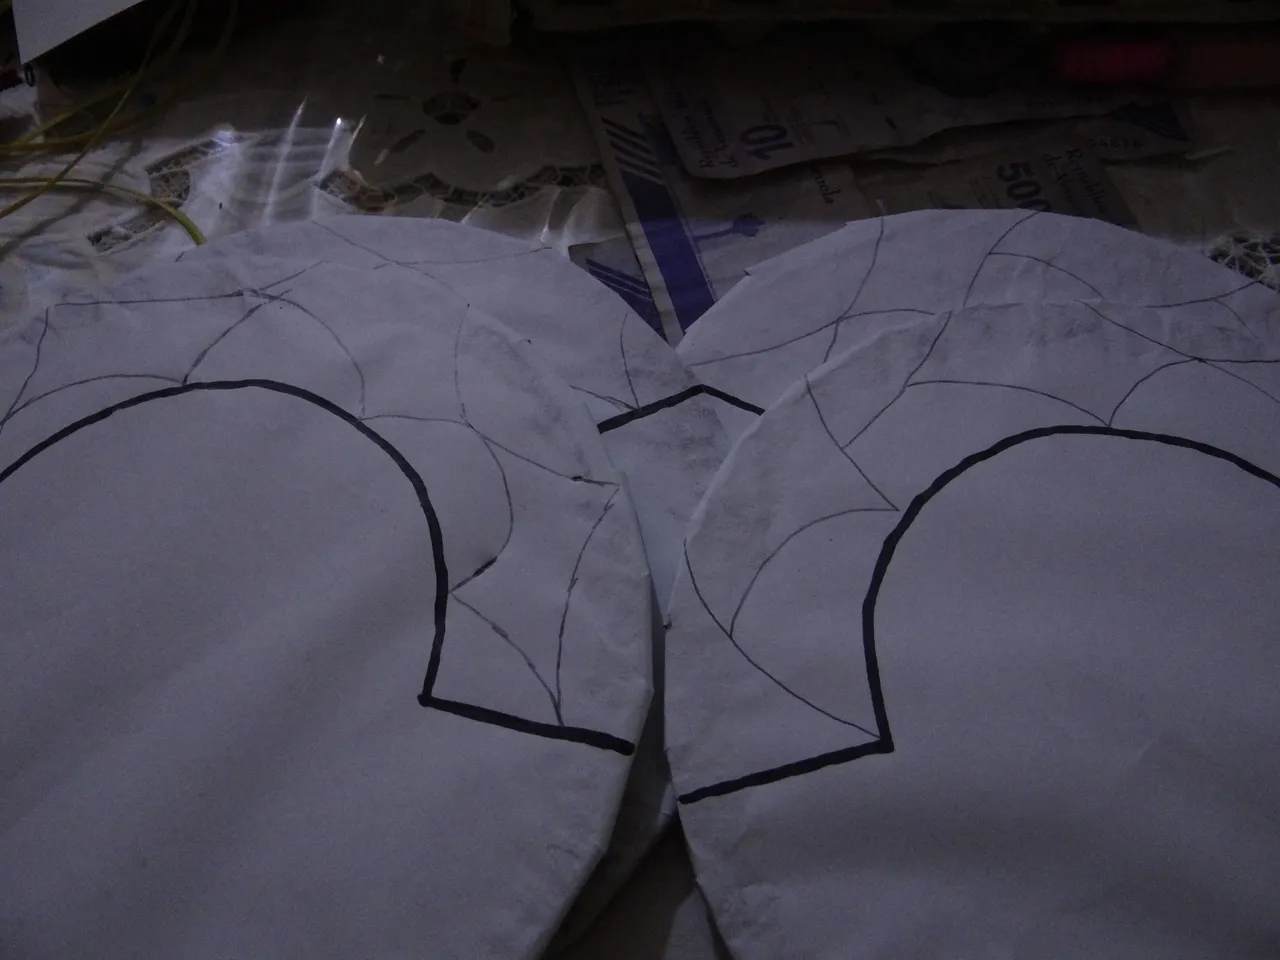
4th step:
The palette has a strip of bright colors, similar to a rainbow, but stained glass type, first draw the pattern, then pass it to the circles, with graphite pencil and then with the black marker.
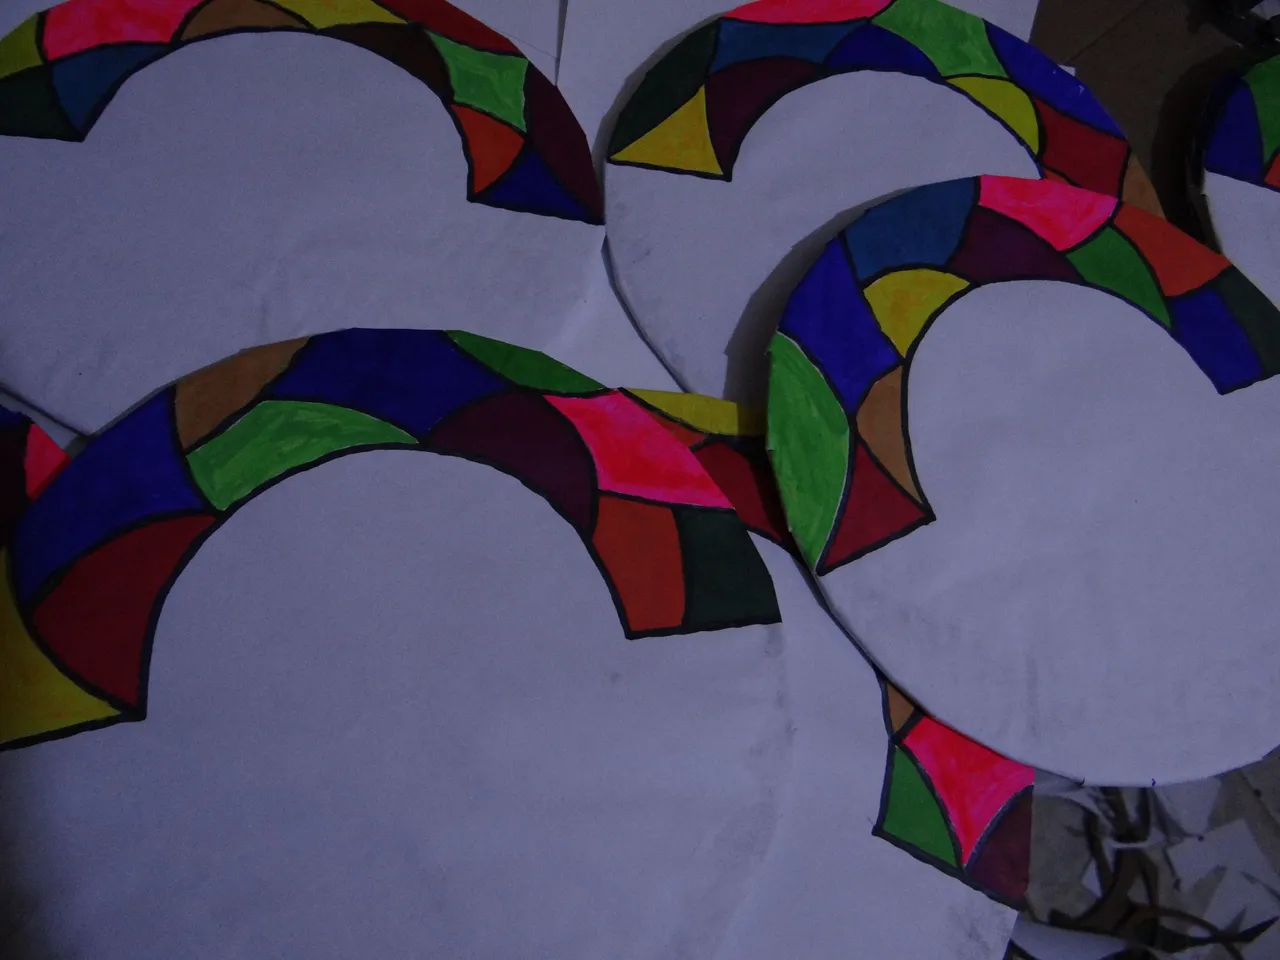
5th step:
Then I color some with markers and paint others with the cold paint, so that the colors are not so close, so that they stand out, that's why the brightest colors are chosen.
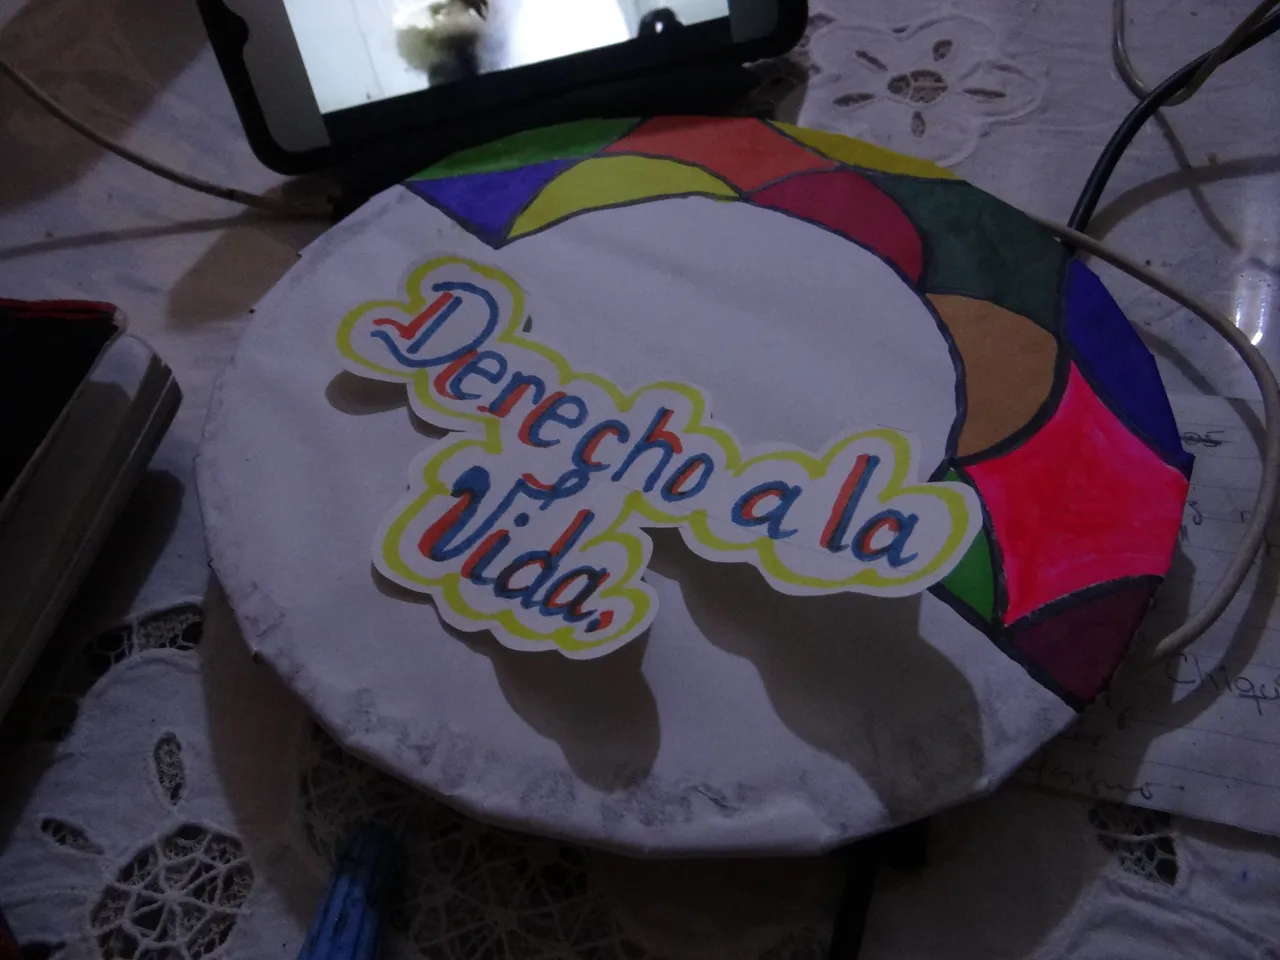
6th step:
In these pallets had to carry some writings these were about the rights and duties of children, 5 of each, which I wrote them first in pencil, reviewed them in marker of different colors, I drew an outline of different color, then cut and paste them on the pallets.
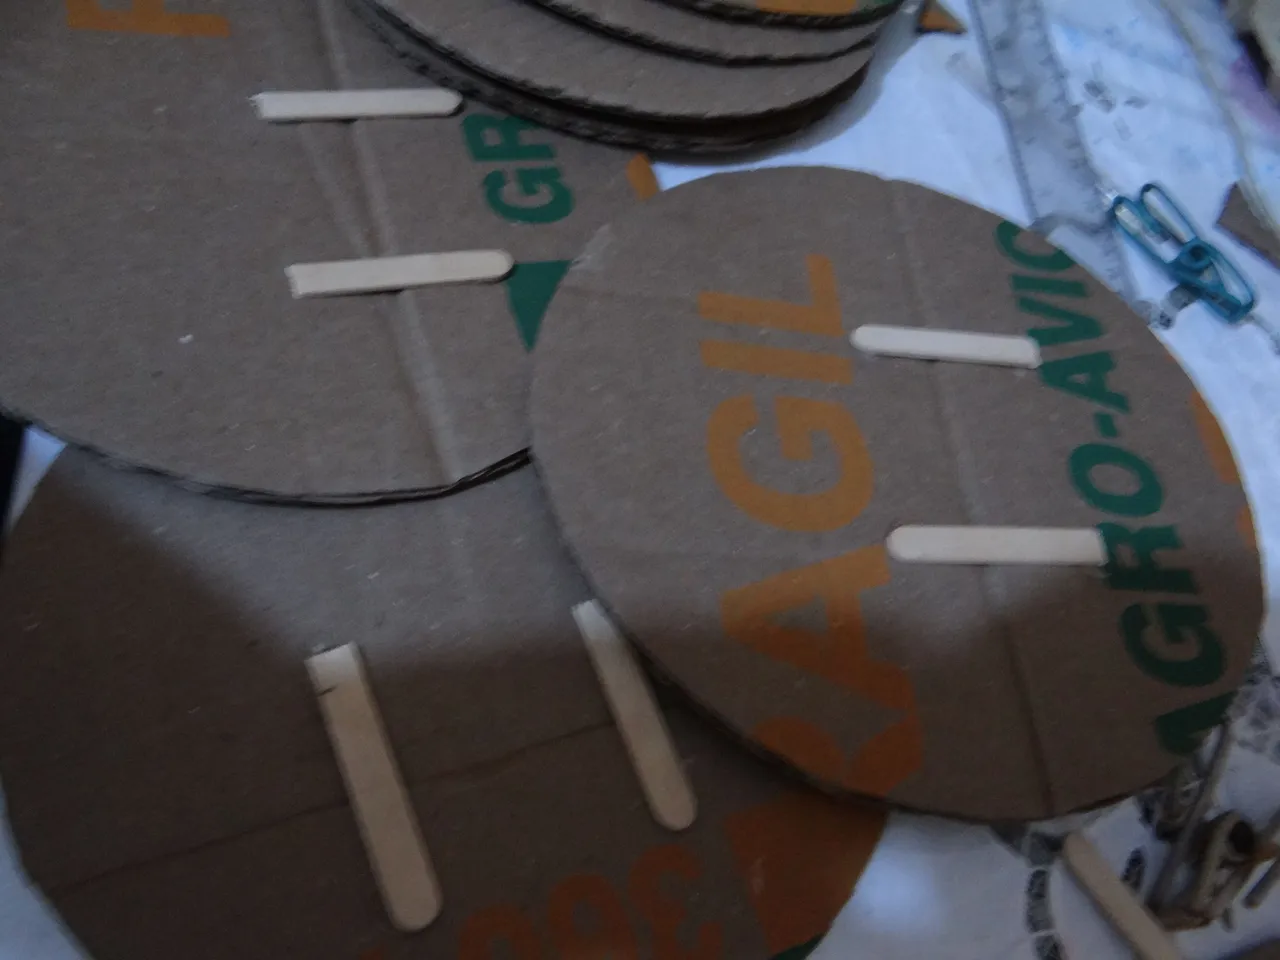
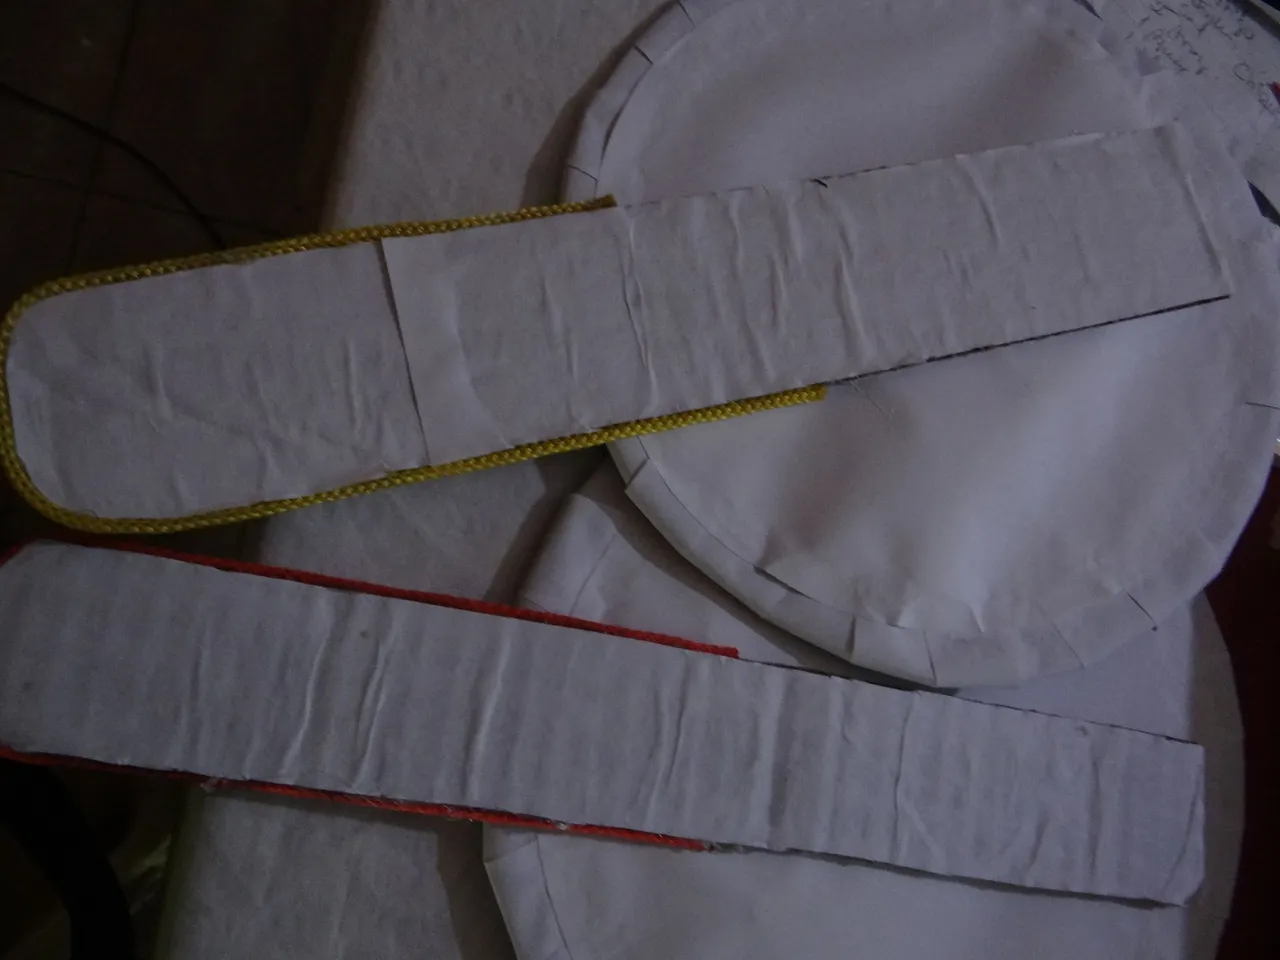
7th step
Ready all the circles with their messages, I needed to make where to hold the popsicle sticks, so with the same cardboard I made or gave shape as popsicle sticks, double cardboard to make it stronger, also lined them with white bond paper, glue them with silicone, then in the circles,
8th part:.
To cover the ugly part of the edge of the popsicle sticks, I covered it with some colored cords that I found very good, so I glued them with silicone, they were beautiful, more colorful impossible.
9th step:
I was missing the details in the circles, which were figures alluding to a boy and a girl made in blue and pink foami.
10th step:
I took the picture and sent it to my neighbor and she was happy with the work, but I would give it to her the next day it was too late.
That's all for this time my beautiful friends of this beehive, if you send your children that should take a popsicle or chuoetam here is the idea, I once made one for my son, but different.
All the step by step in photos with my Sony camera.
The translation with the app DeepL.