
Hola mis lindas abejitas, de nuevo por aquí, estaba buscando n uevas ideas para compartir aquí con ustedes, como ya estamos en la temporada navideña, al menos en mi pais Venezuela ya la decretaron.
Asi que vi propicia la idea de empezar con las manualidades navideñas.
Esta de la estrella, la habia visto hace un tiempo, hasta que decidi hacerla, pero le cambie algunas cosas, porque originalmente estaba hecho con los tubos de los rollos de papel higienico, pero no lo veo como muy estetico, aunque lo pinten y eso es como gastar mas.
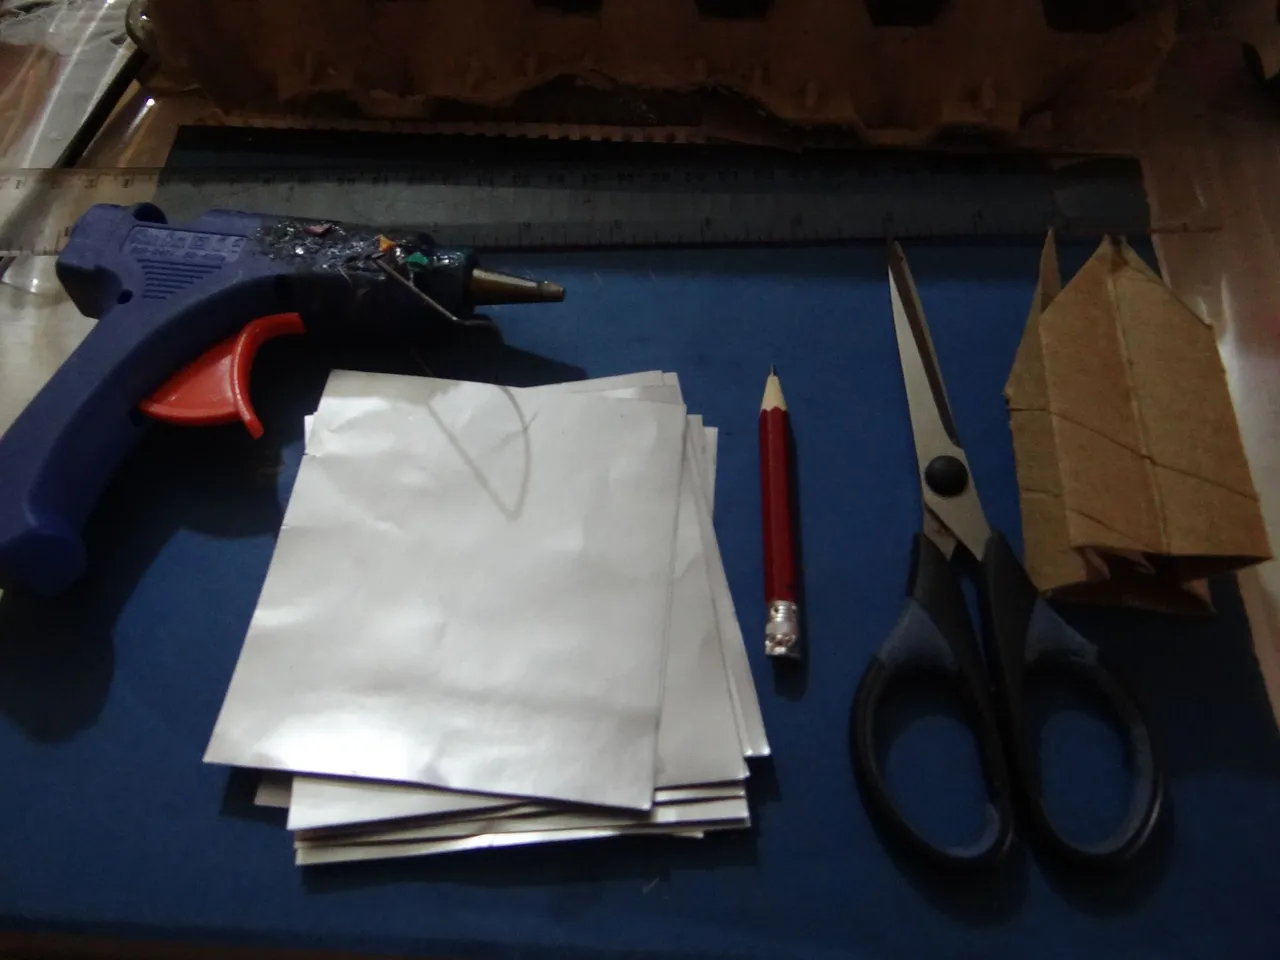
Materiales:
-Cartulina metalizada plateada.
-Tijera, lapiz, regla.
-Pistola y barras de silicon.
-Cordon o cualquier hilo para colgar.
Paso a paso:
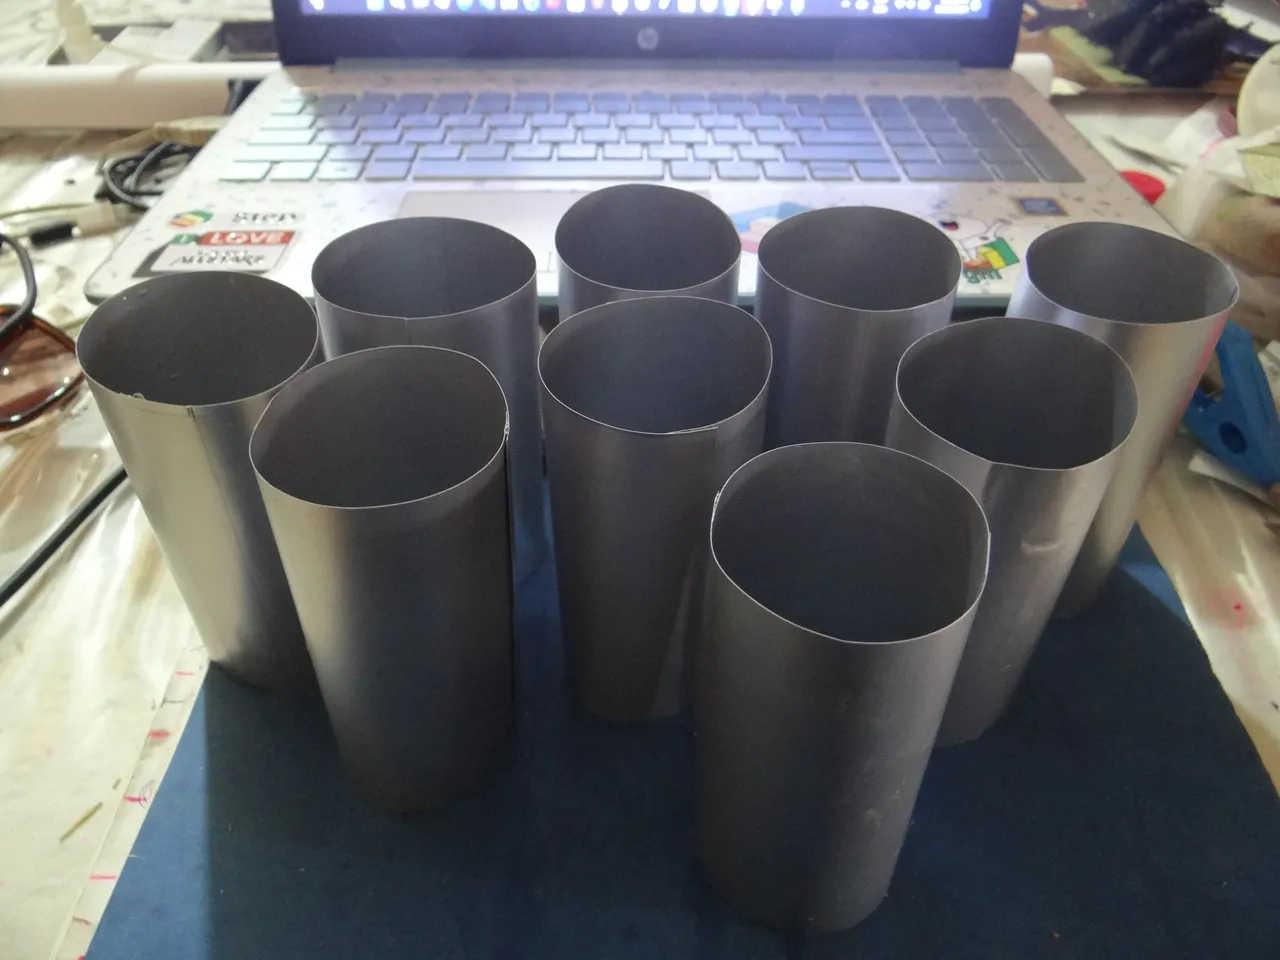
1.Medi, corte unos rectangulos con la cartulina metalizada de 17 x 10 cms.
2.Arme los cilindros con estos rectangulosm que los pegue con la pistola de silicon.
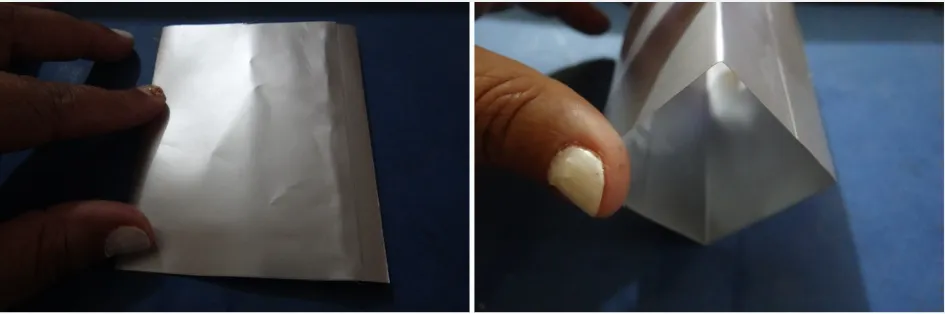
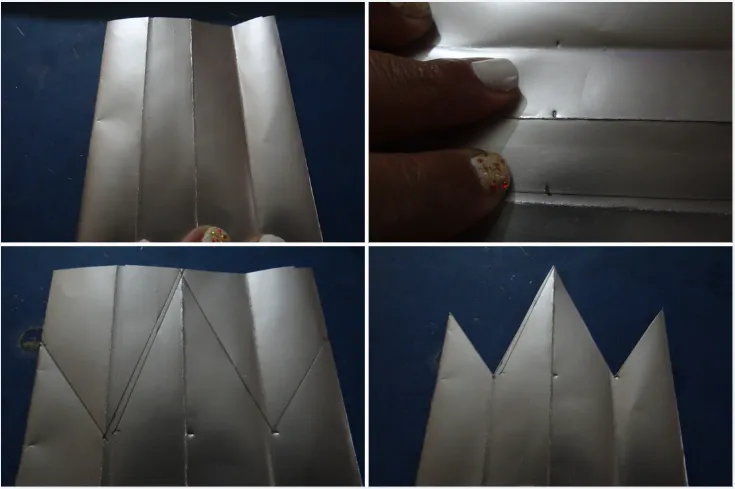
3.Los cilindros luego los pise, si muy bien, deberian de quedar de 8 cms. Y despues los volvin a doblar que pareciera un cuadrado, al desdoblar veriamos como 4 partes.
4.Asi podemos ver 4 partes iguales que deben ser de 2 cms cada uno, como ,mide 10 cms de largo, medi a 5 cms y trace una linea en el medio.
5.En los bordes medi hasta 2.5 cms, la mitad de los 5 cms.
6.Desde arriba en el medio, hasta las lineas 2 y 4 trace unas lineas que parecia un triangulo y desde estas abajo otras lineas hasta donde marque 2.5 cms, se deben ver un triangulo grande y los otros como la mitad.
7.Ahora a recortar todo con cuidado, porque asi y solo asi, tendremos una bonita estrella.
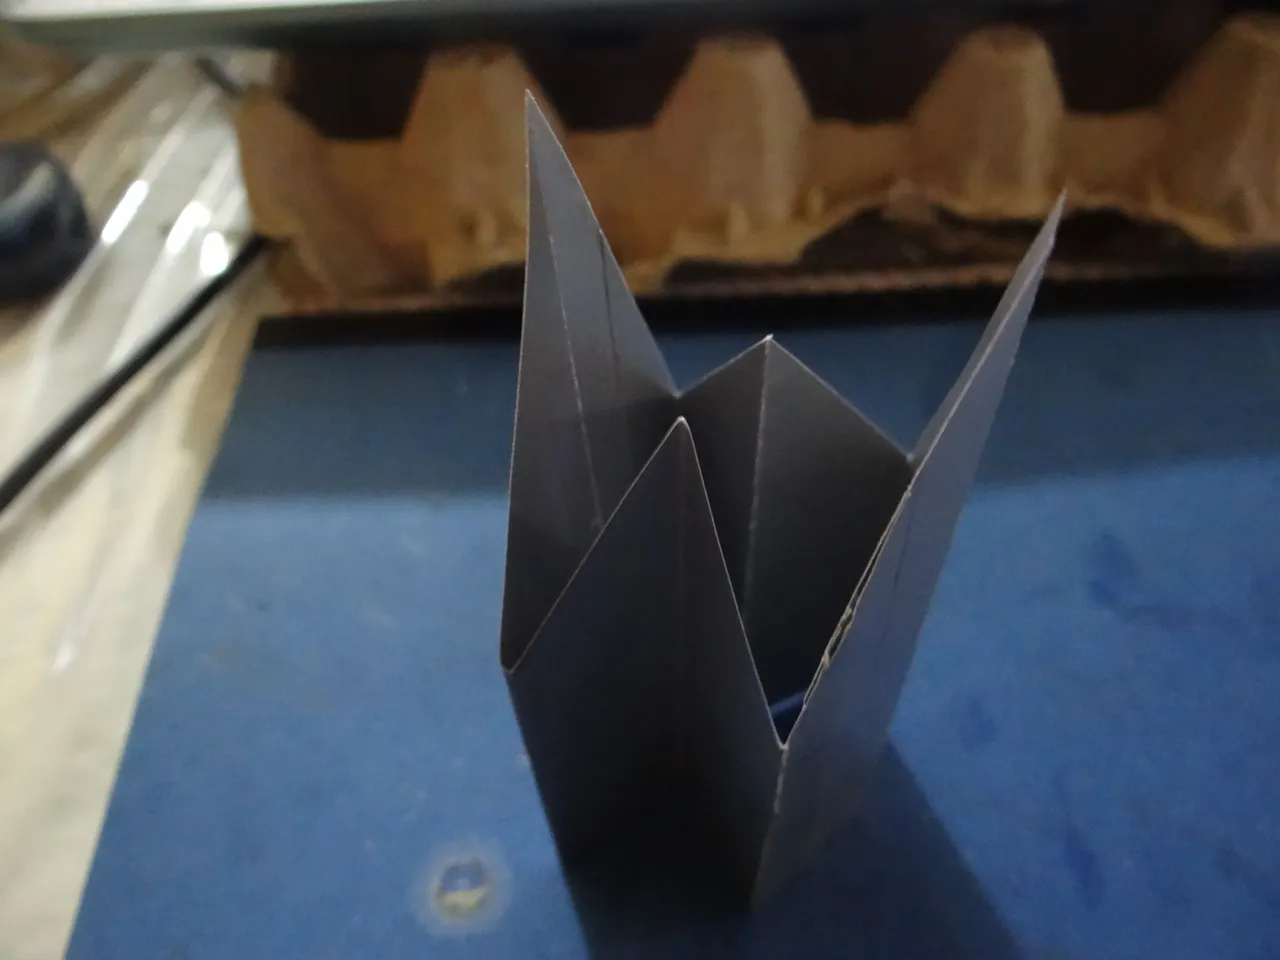
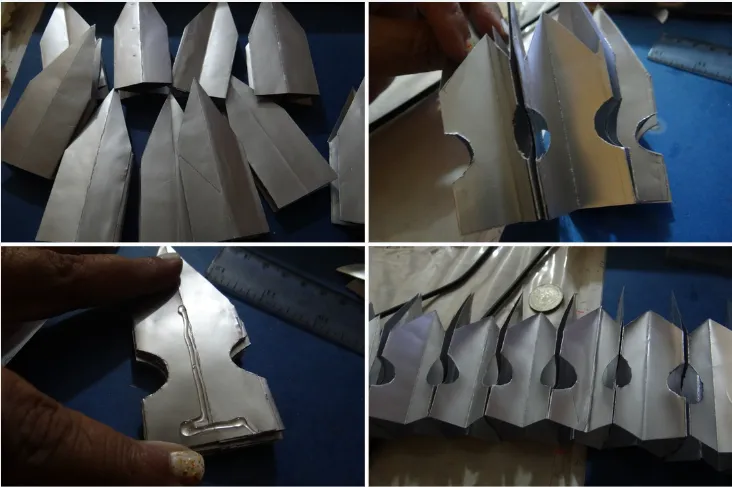
8.Los lados donde vemos el triangulo pequeño, abrimos y doblamos hacia adentro, va quedar como un plegado, hacemos como un medio circulo a los lados del triangulo grande.
9.Con la pistola y el silicon bien caliente hacemos como una T invertida siempre y vamos pegando todos los cartones que son 10.
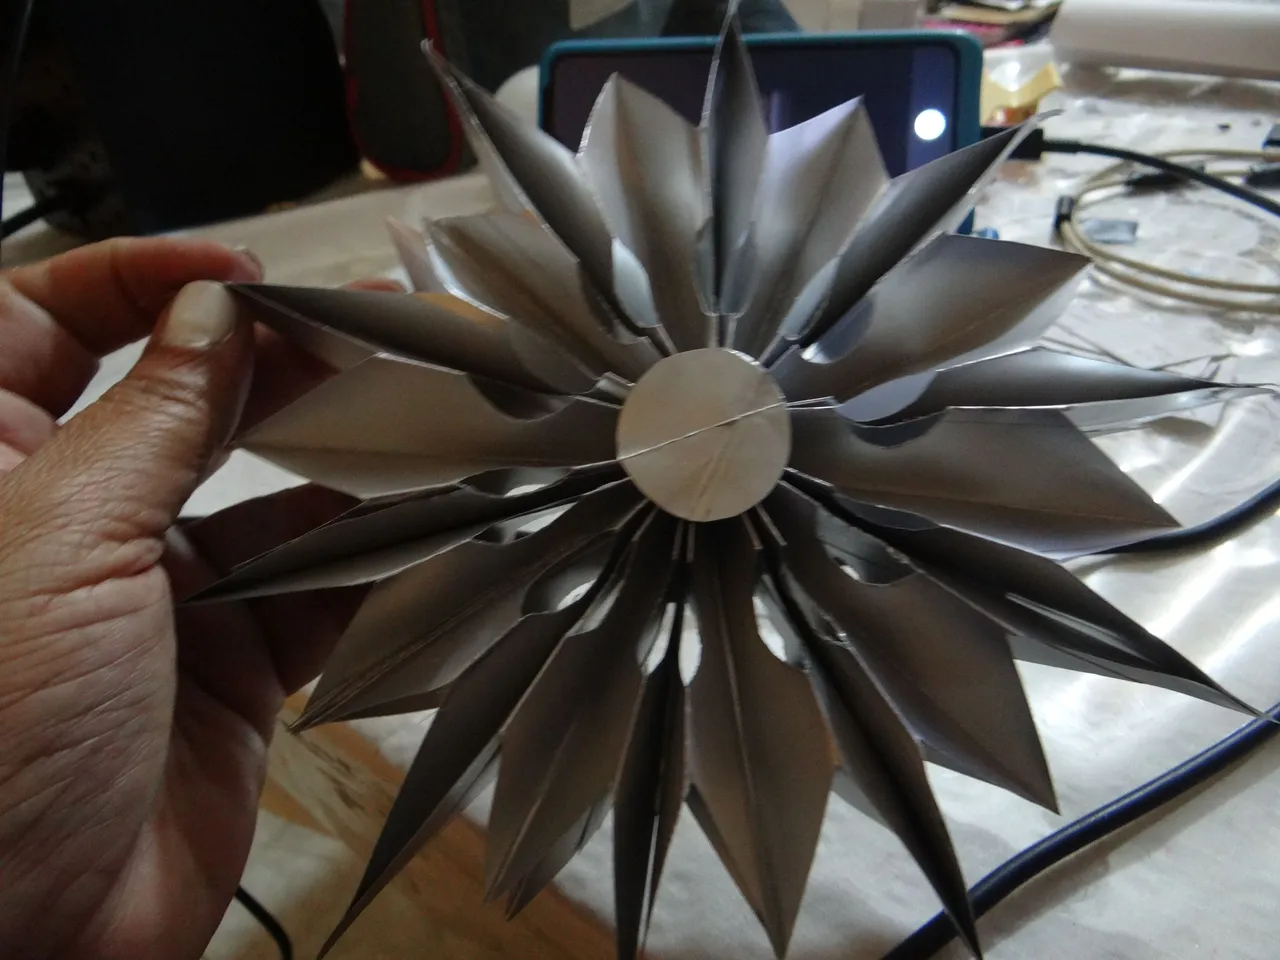
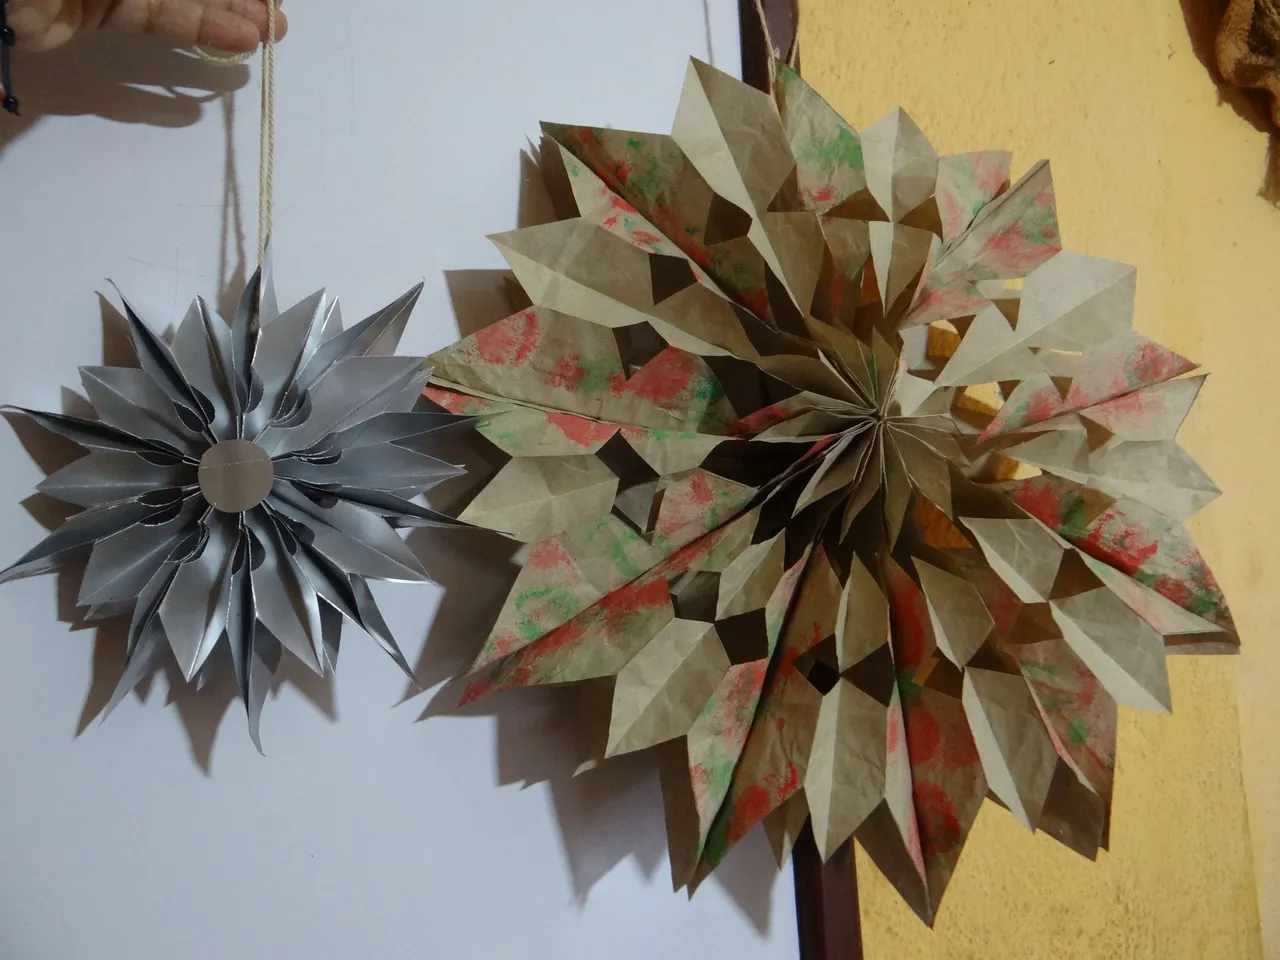
- Para cerrar, el mismo procedimiento pero esta vez con el carton 1 y el 10, tenemos la estrella, para evitar que se abra porque puede pasar pegamos en el centro, de cada lado un circulo con la misma cartulina, ponemos el cordon y ya la estrella esta lista.
11.No solo con cartulina, con los tubos de los rollos, se pueden hacer estas estrellas, tambien con las bolsas de papel marron, como esta otra que hice y queda mas grande, eso lo el tamaño de la bolsa.
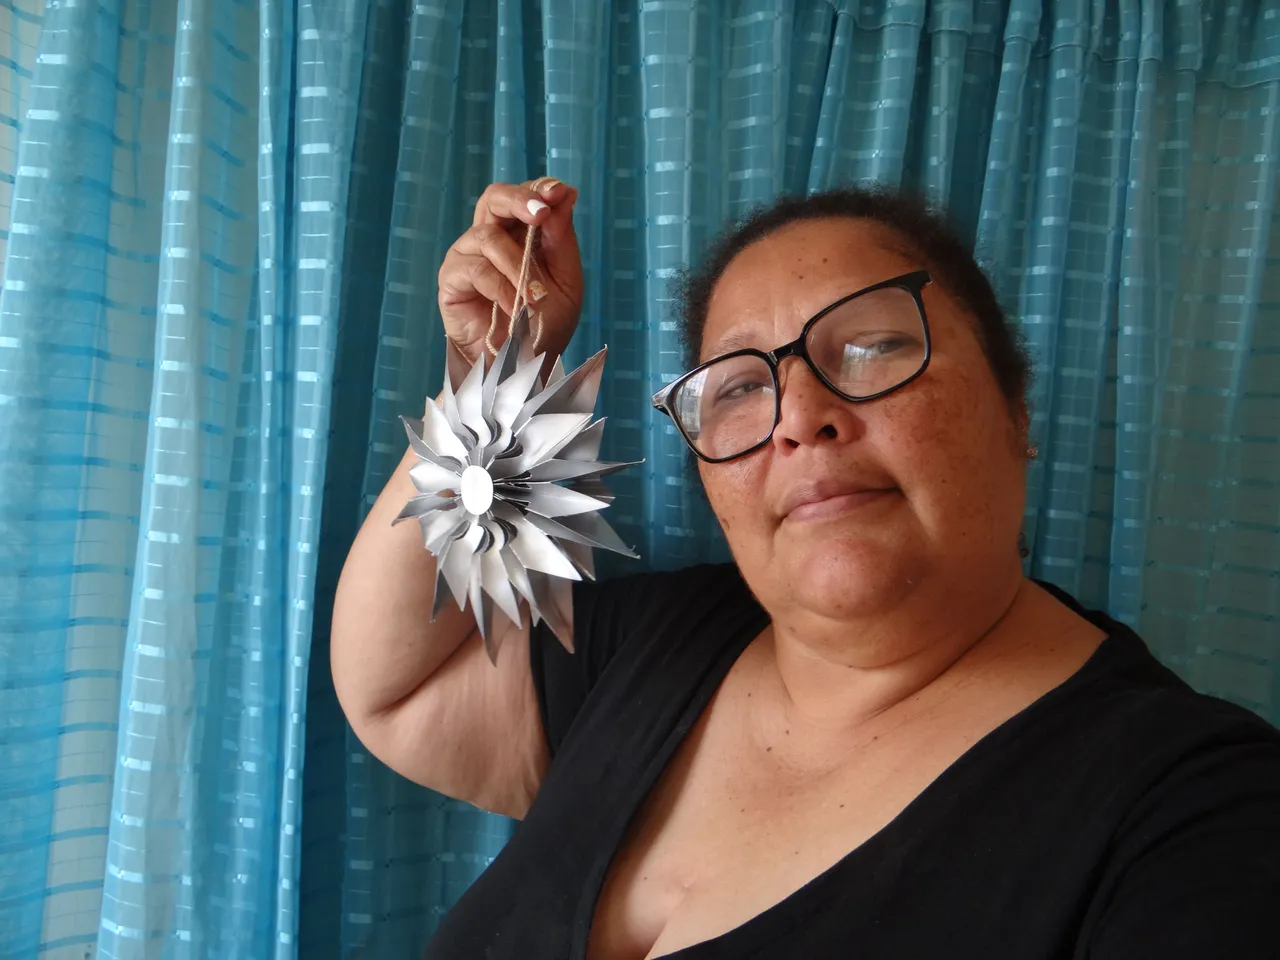
Todas las fotos del proceso las tome con mi camara Sony, las del selfie con mi celular Samsung Galaxy A12.
La portada diseñada en Canva, como las fotos en collage tambien.
Traducido todo con la app DeepL.

Hello my cute little bees, back here again, I was looking for new ideas to share here with you, as we are already in the Christmas season, at least in my country Venezuela already decreed it.
So I saw the idea of starting with the christmas crafts.
This one of the star, I had seen it some time ago, until I decided to make it, but I changed some things, because originally it was made with the toilet paper roll tubes, but I don't see it as very aesthetic, even if you paint it and that's like spending more.
Materials:
-Silver metallic cardboard.
-Scissors, pencil, ruler.
-Gun and silicon bars.
-String or any thread for hanging.
Step by step:
1.Medi, cut some rectangles with the metallic cardboard of 17 x 10 cms.
2.Assemble the cylinders with these rectangles and glue them with the silicone gun.
3.The cylinders then step on them, if very well, they should be 8 cm. and then I folded them back to look like a square, when unfolded we would see as 4 parts.
4.So we can see 4 equal parts that should be 2 cm each, as it is 10 cm long, I measured to 5 cm and draw a line in the middle.
At the edges measure up to 2.5 cm, half of the 5 cm.
From the top in the middle, to lines 2 and 4 draw some lines that looked like a triangle and from these down other lines to where I marked 2.5 cm, you should see a large triangle and the others as half.
7.Now cut out everything carefully, because this way and only this way, we will have a nice star.
8.The sides where we see the small triangle, open and fold inward, it will be like a folded, we do as a half circle on the sides of the large triangle.
9.With the gun and the very hot silicon we make like an inverted T always and we are gluing all the cardboards that are 10.
- To close, the same procedure but this time with the cardboard 1 and 10, we have the star, to prevent it from opening because it can happen we paste in the center, on each side a circle with the same cardboard, put the string and the star is ready.
11.Not only with cardboard, with the tubes of the rolls, you can make these stars, also with the brown paper bags, like this one that I made and it is bigger, it depends on the size of the bag.
All the pictures of the process were taken with my Sony camera, the selfie with my Samsung Galaxy A12 cell phone.
The cover designed in Canva, as well as the collage photos.
Translated everything with the app DeepL.