A warm greeting to the creative partners of Hive Diy, today I feel excited, today I am going to teach you how to make a colorful peacock, a majestic bird, beautiful, just to decorate our homes.
Materiales / Materials
- Silicon líquido
- Tijera
- Foami , verde, amarillo, naranja y azul claro
- Hoja reciclada
- Cartulina roja y azul Oscuro
- Liquid silicon
- Scissors
- Foami , green, yellow, orange and light blue
- Recycled sheet
- Red and dark blue cardboard
Paso a Paso / Step by Step
Primer paso/First step
Lo primero que hice fue el cuerpo del pavo real, en cartulina azul oscuro y su barriga o centro del cuerpo en foami azul claro; ya teniendo una referencia del cuerpo comencé a trazar y recortar los colores de las plumas, realice 18 por cada color comenzando por el verde y los colores restantes en degradación de tamaño, amarillo, naranja y por último el característico círculo oscuro del centro de las plumas de esta ave.
The first thing I did was the body of the peacock, in dark blue cardboard and its belly or center of the body in light blue foami; already having a reference of the body I began to trace and cut out the colors of the feathers, I made 18 for each color starting with green and the remaining colors in size degradation, yellow, orange and finally the characteristic dark circle in the center of the feathers of this bird.
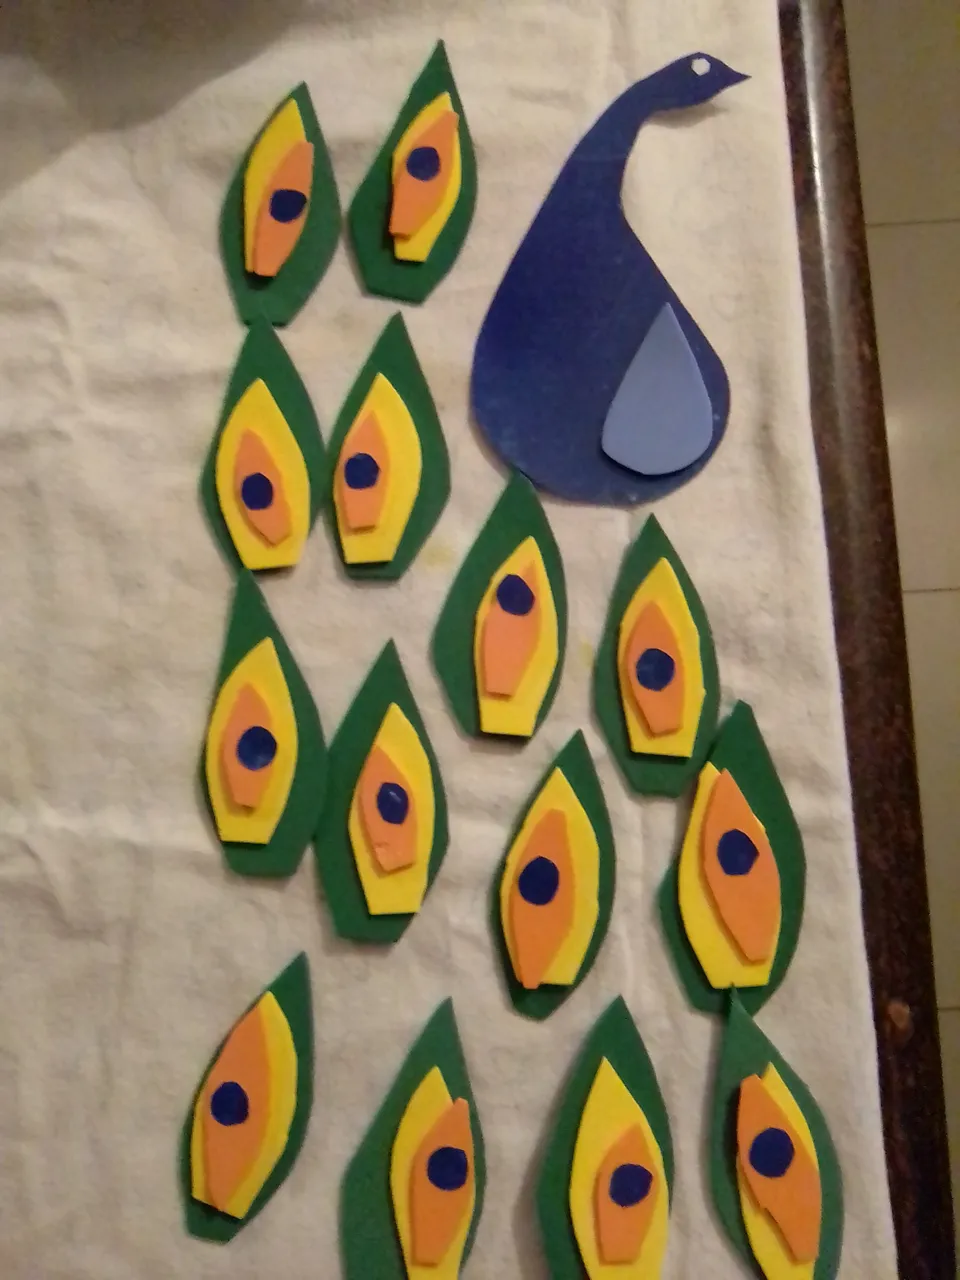
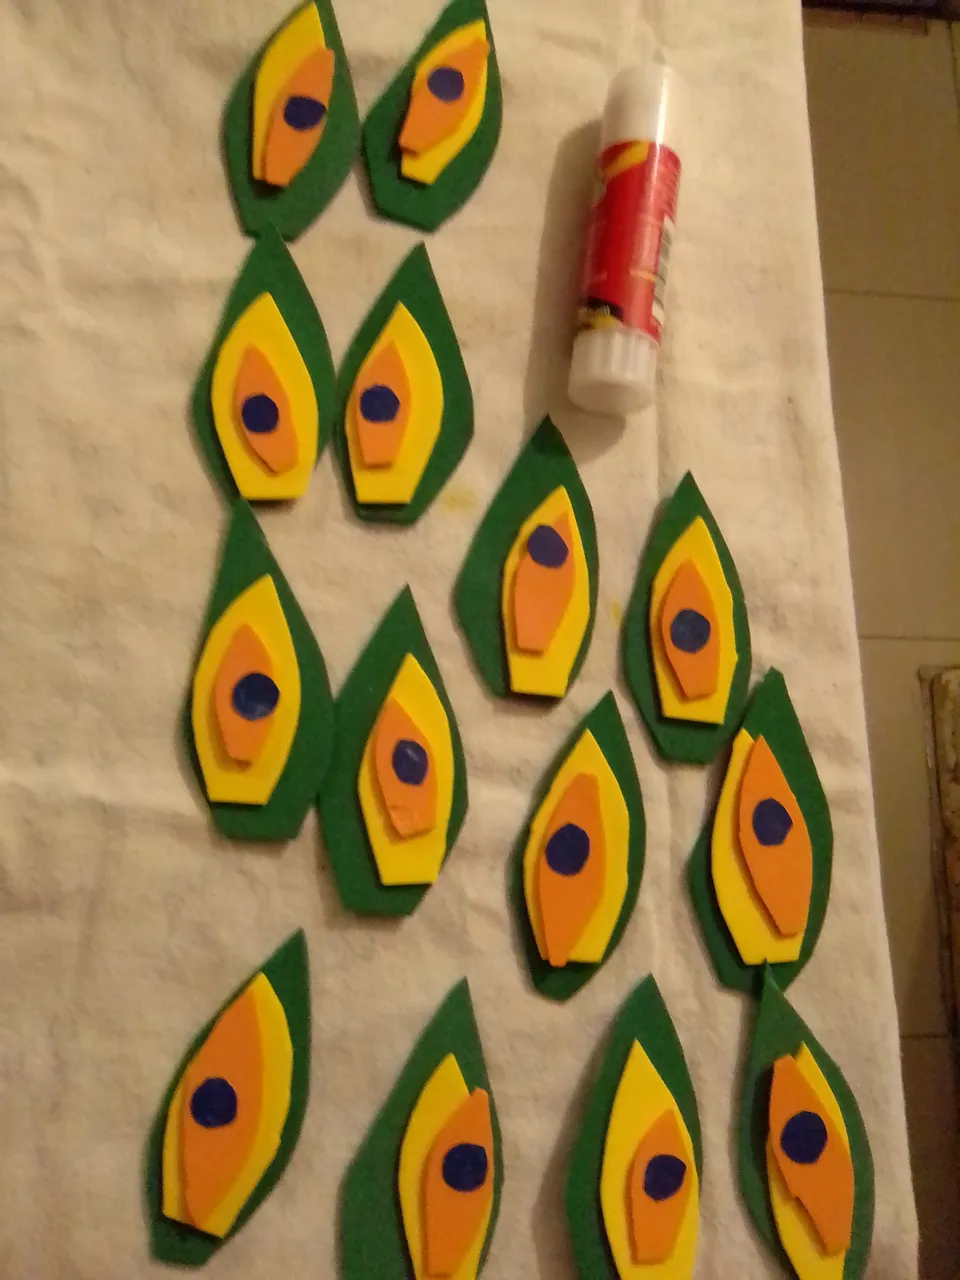
Segundo paso / Second step
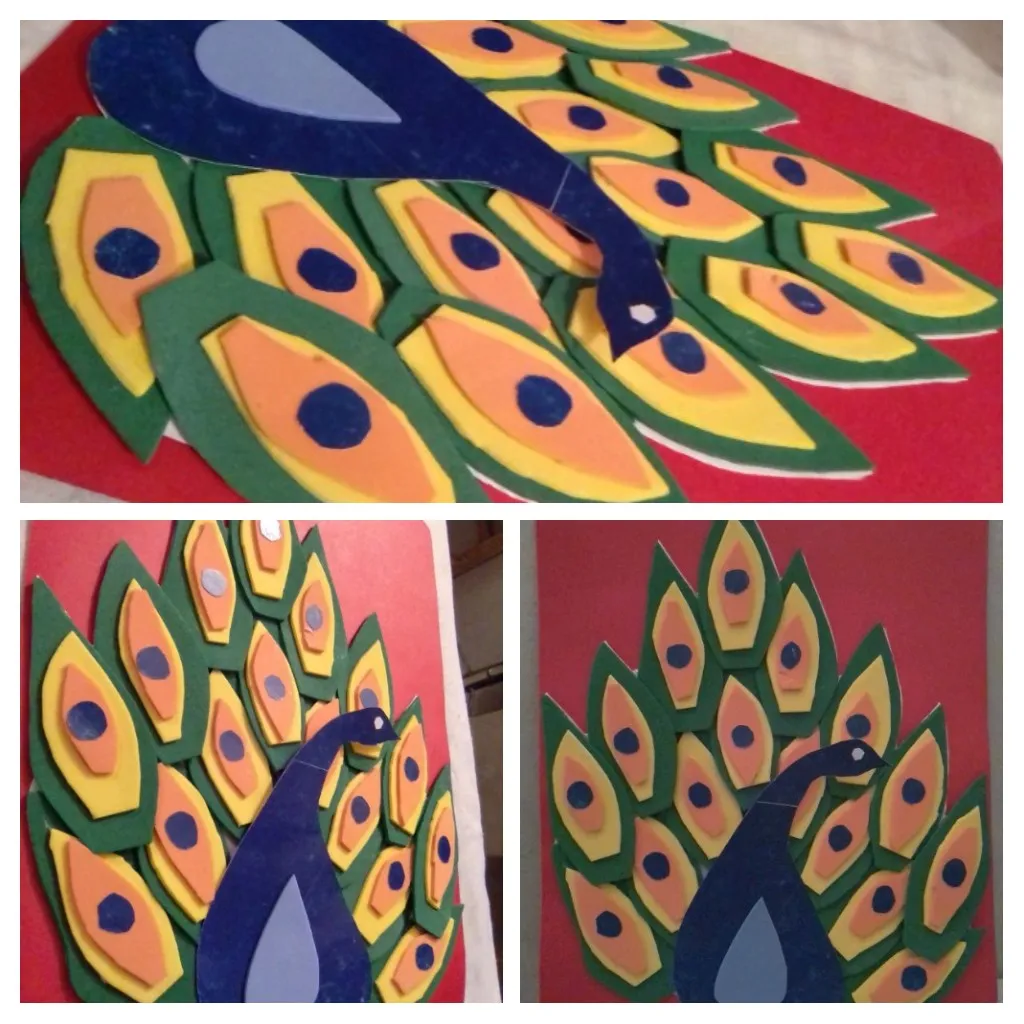
Luego terminé el cuerpo del pavo real, pegue se parte central y el ojo y continúe con las plumas , pegue en el siguiente orden, verde como base , amarillo, naranja y el círculo azul de último.
Then I finished the body of the peacock, glue the central part and the eye and continue with the feathers, glue in the following order, green as a base, yellow, orange and the blue circle last.
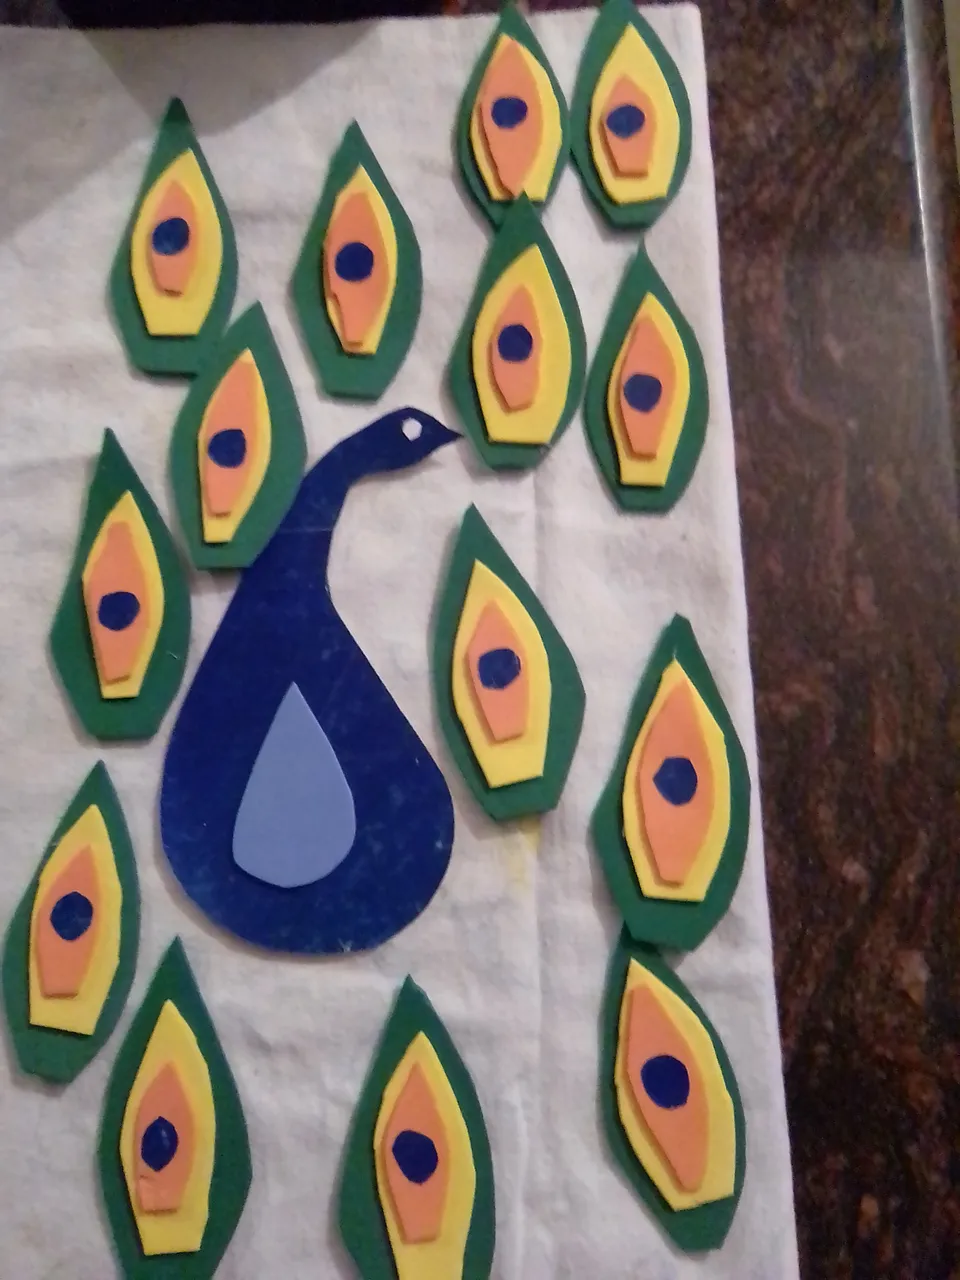
Tercer paso / Third step
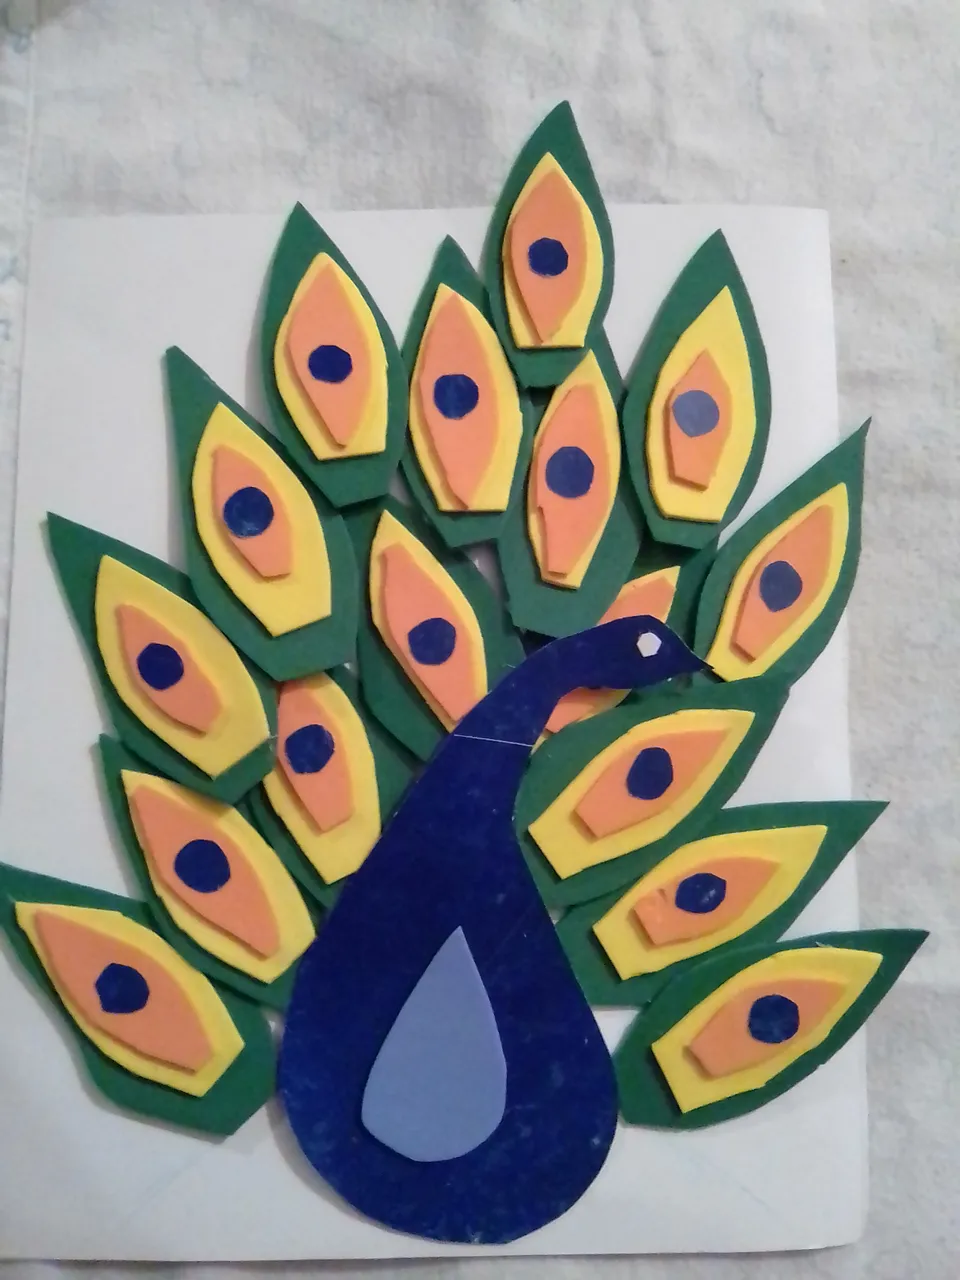
En una hoja blanca de reciclaje, fui armario el pavo real, primero coloque el cuerpo sin pegar, y fui ubicando cada pluma muy juntas de manera que no quedasen espacios en blanco y luego fue que comencé a pegar, pegue primero el borde de la parte inferior del cuerpo y luego las alas próximas a el, allí fui donde terminé de pegar el resto del cuerpo y deje su cuello y cabeza sin pegar. Así continúe colocando el resto de las plumas.
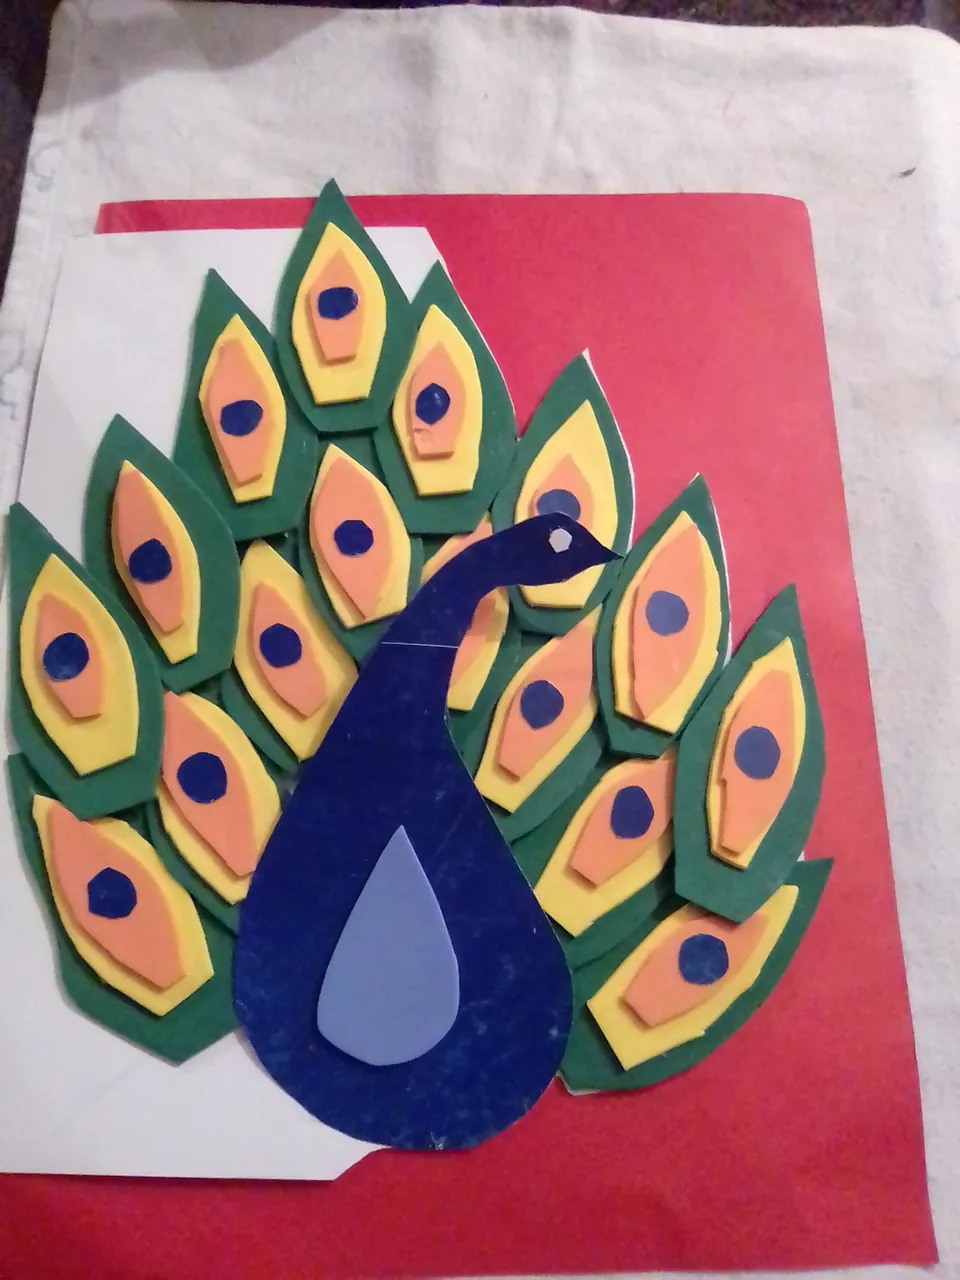
Al terminar recorte el excedente de papel blanco y pegue mi pavo real en cartulina roja.
On a white recycled sheet, I put the peacock together, first I placed the body without gluing, and I placed each feather very close together so that there were no blank spaces and then I started gluing, I first glued the edge of the lower part of the body and then the wings next to it, then I finished gluing the rest of the body and left the neck and head without gluing. I continued gluing the rest of the feathers.
When I finished I trimmed the excess white paper and glued my peacock on red cardboard
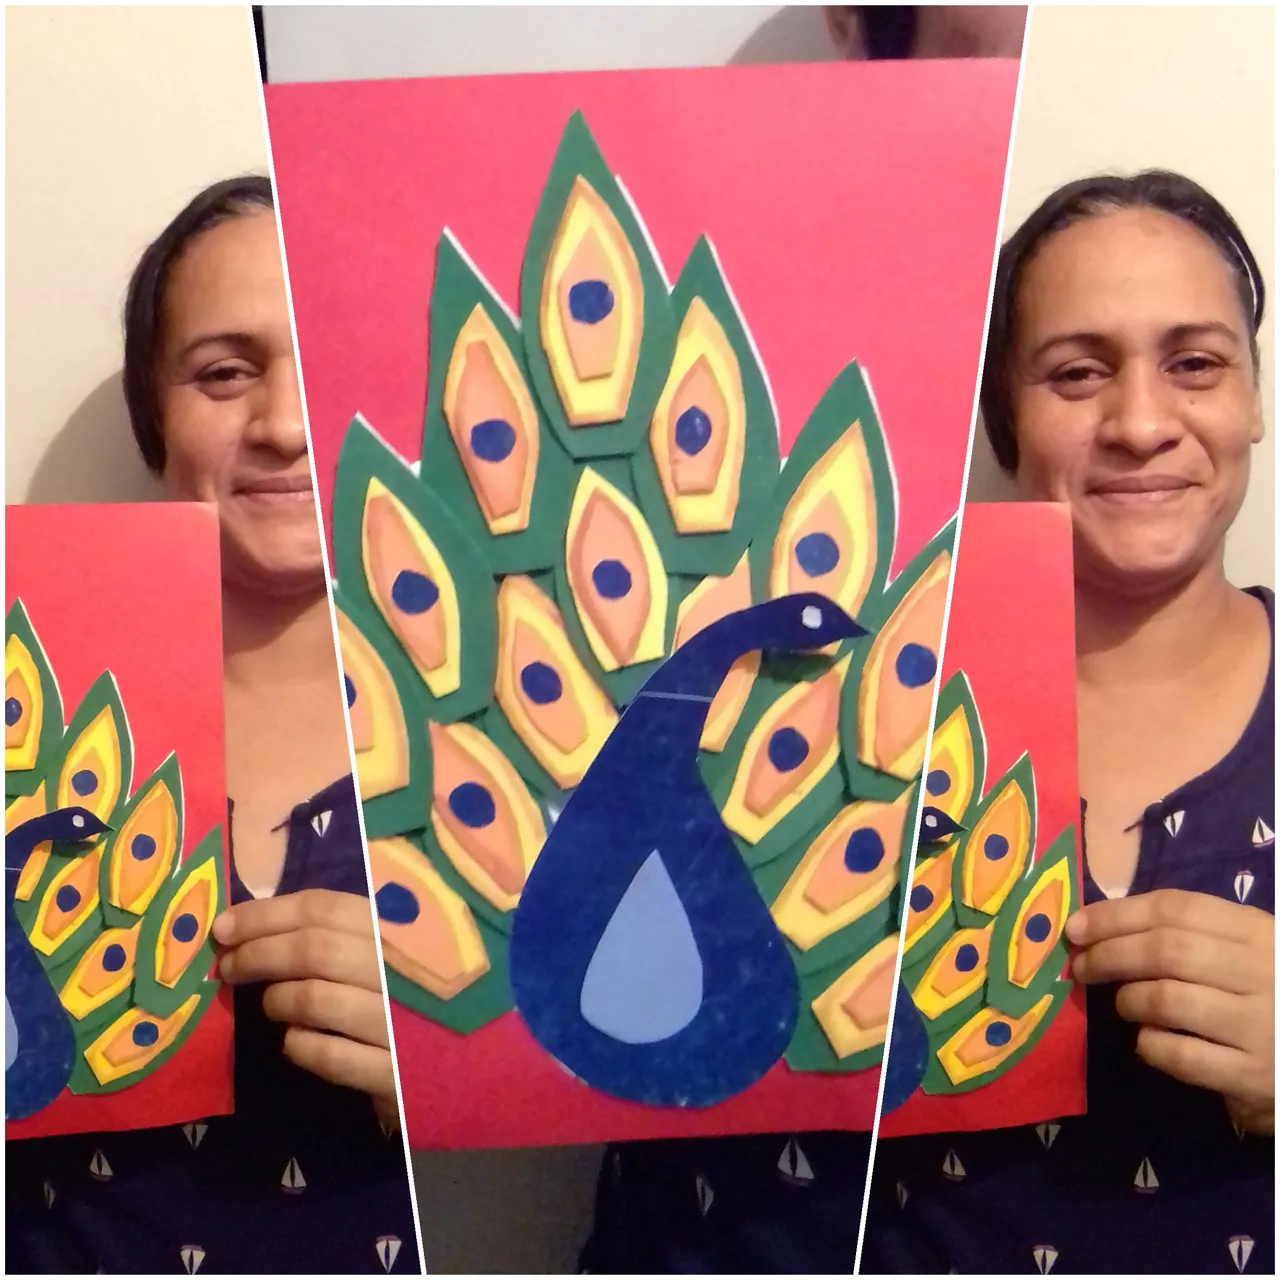
Resultado / Result
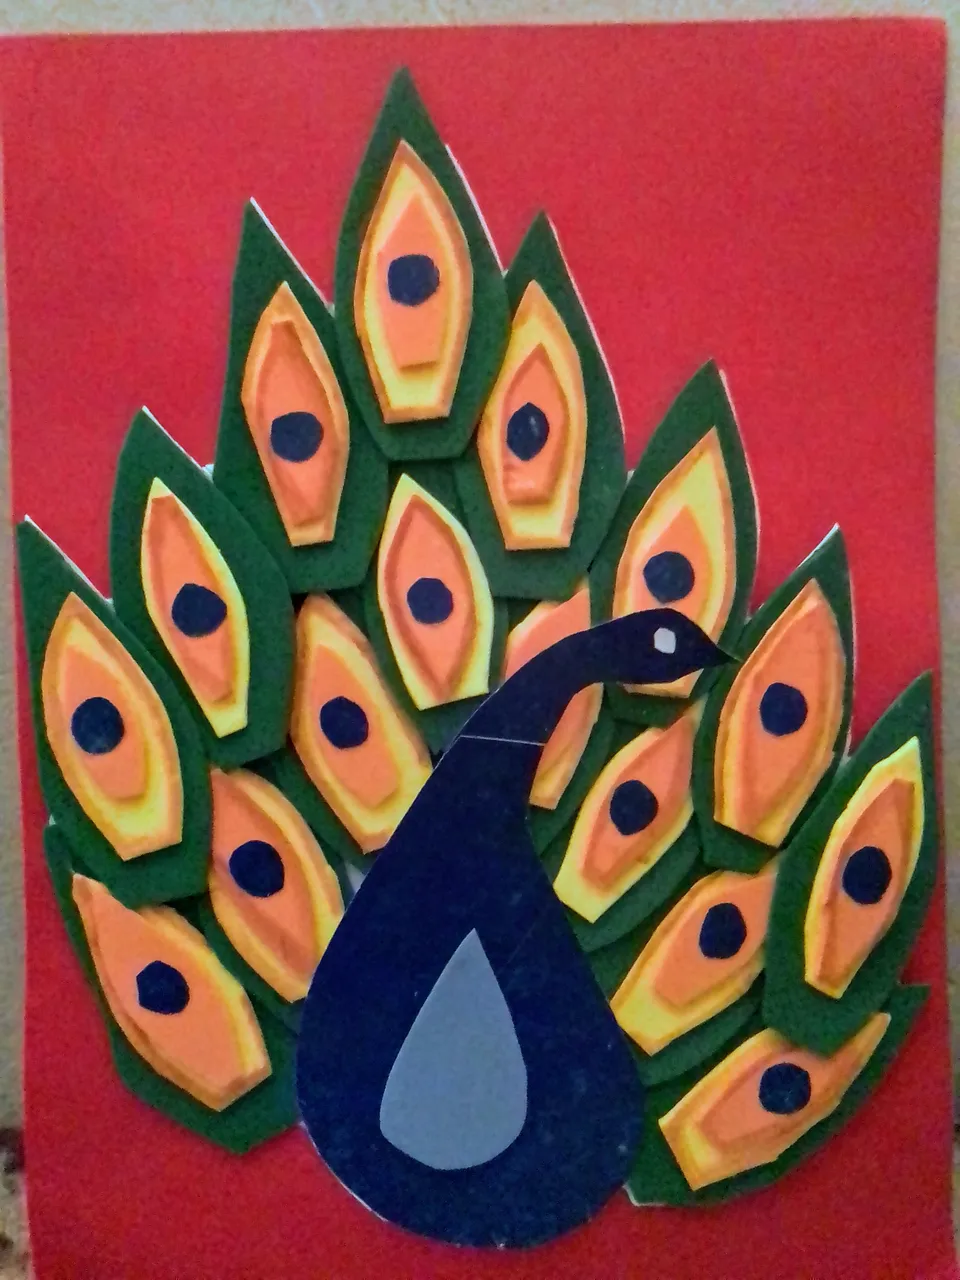
Acá el resultado final de mi proyecto, un lindo cuadro decorativo de esta ave espectacular el pavo real.
Here is the final result of my project, a nice decorative painting of this spectacular bird, the peacock.

Este es un trabajo creativo y las fotos fueron tomadas en el proceso de elaboración
This is a creative work and the photos were taken in the process of elaboration.
Esperando que esté proyecto sea de su agrado
Hoping that this project will be to your liking.
Gracias por leer mi blog
Thanks for reading my blog