Saludos para todos los Hivers creativos de esta gran comunidad de Hive Diy, para el día de hoy les mostrare cómo realizar un divertido y la vez elegante joyero o quizá una de caja de regalo si queremos, es muy fácil y además utilizare una lata de embutidos y una combinación de colores muy alegres, te contaré que materiales son necesarios y los sencillos pasos a seguir.
Greetings to all the creative Hivers of this great community of Hive Diy, for today I will show you how to make a fun and elegant jewelry box or perhaps a gift box if we want, it is very easy and also I will use a sausage can and a combination of very cheerful colors, I will tell you what materials are needed and the simple steps to follow.
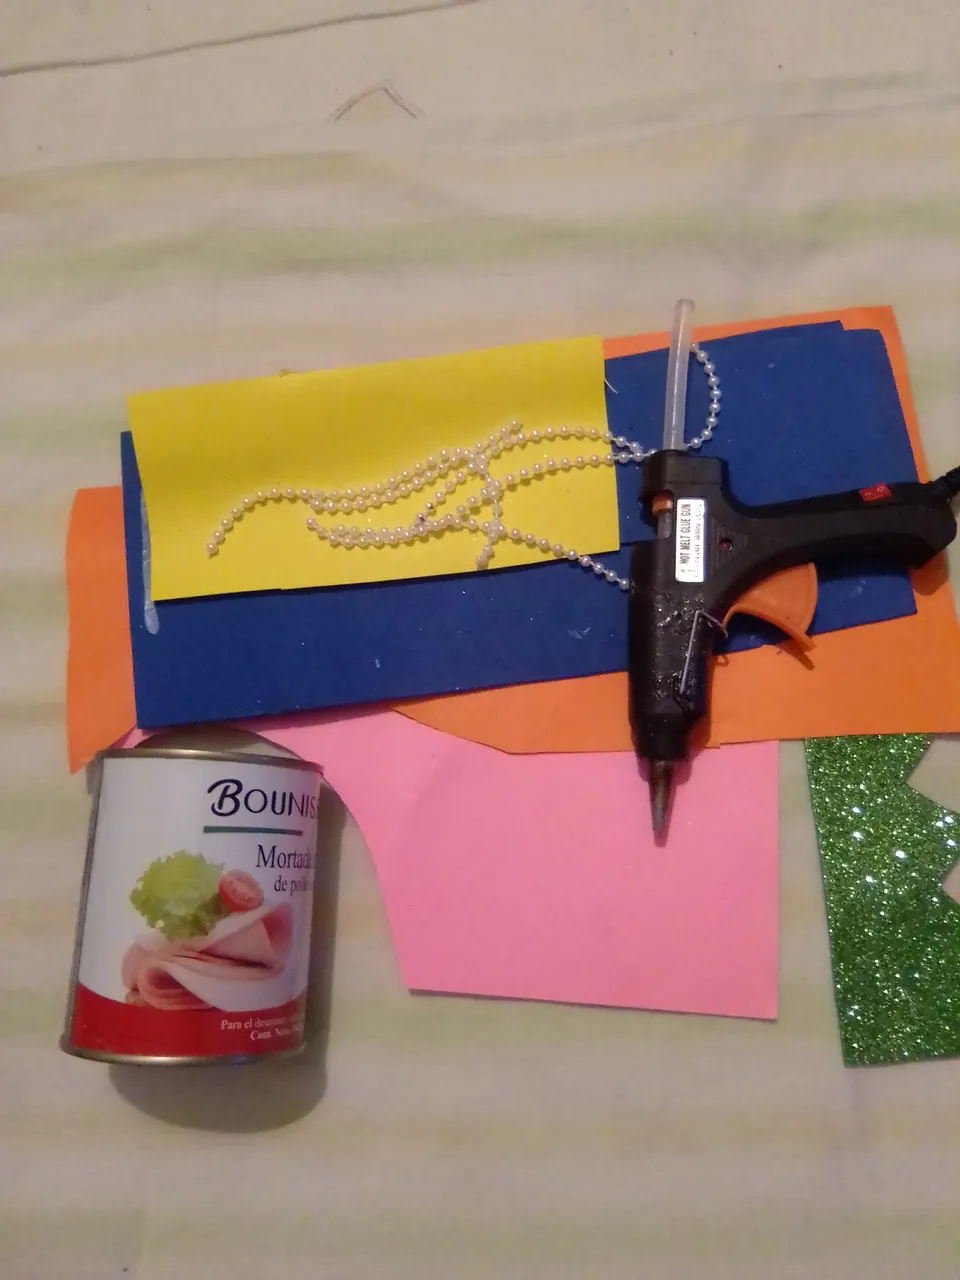
Materiales / Materials
- Foami azul, amarillo y verde escarchado.
- Cartulina de color naranja y amarillo.
- Perlas corridas blancas.
- Lata.
- Tijera, lápiz y regla.
- Pistola y barras de silicona.
- Blue, yellow and green frosted Foami.
- Orange and yellow cardboard.
- White beads.
- Can.
- Scissors, pencil and ruler.
- Silicone gun and silicone sticks.
Paso a paso / Step by Step
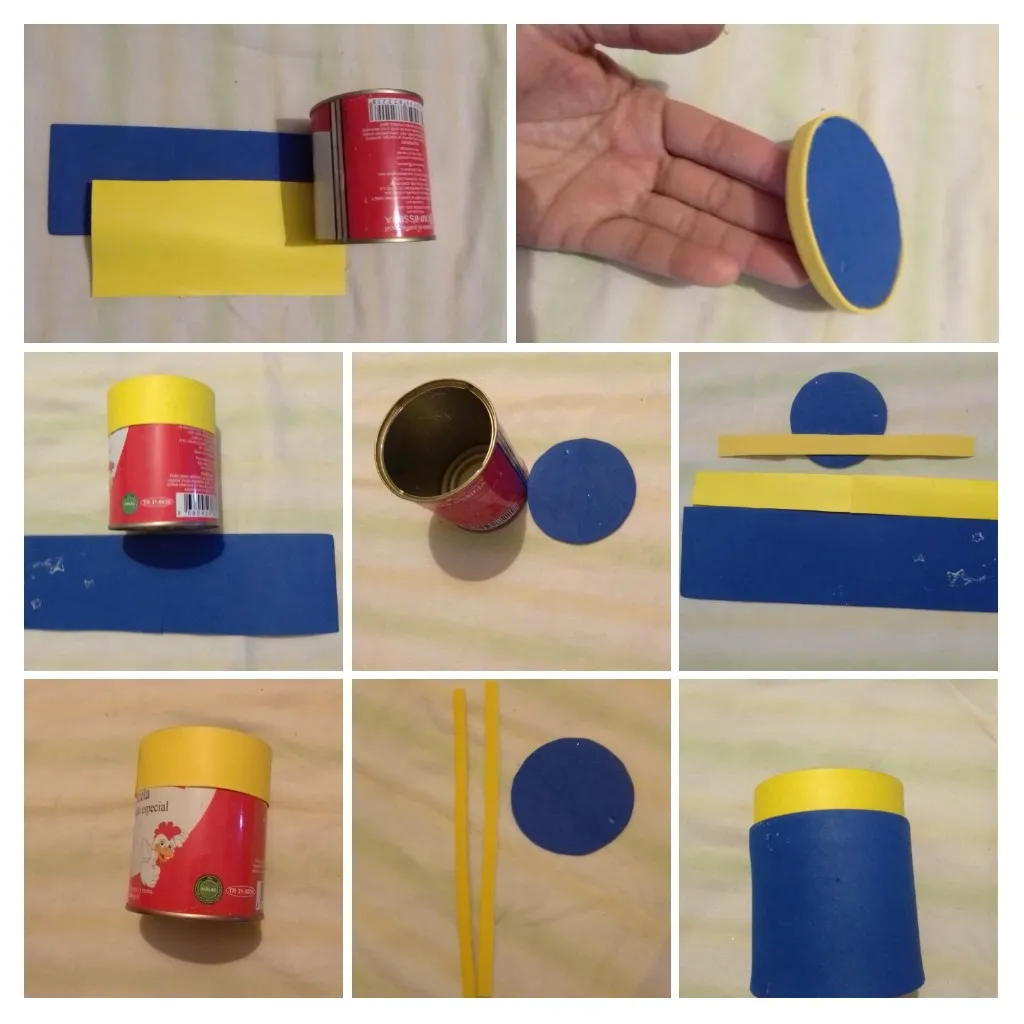
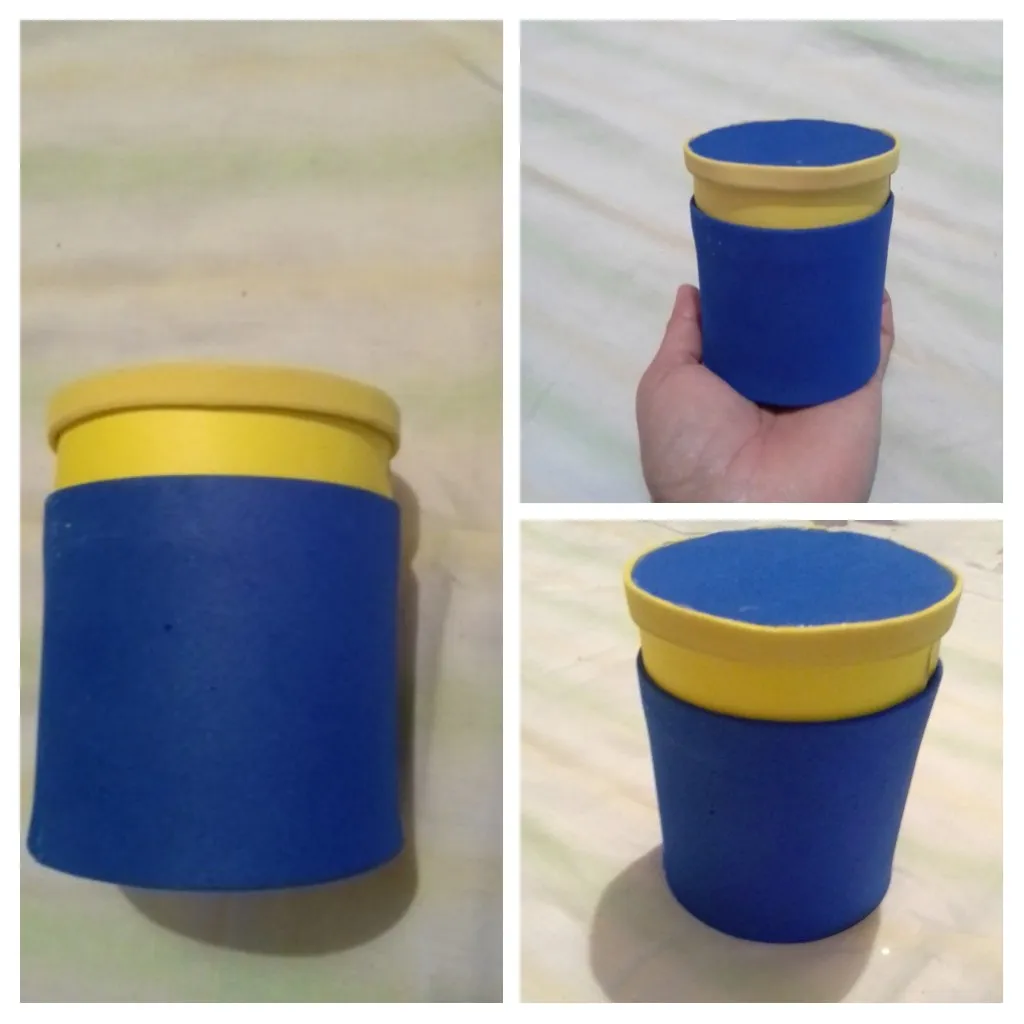
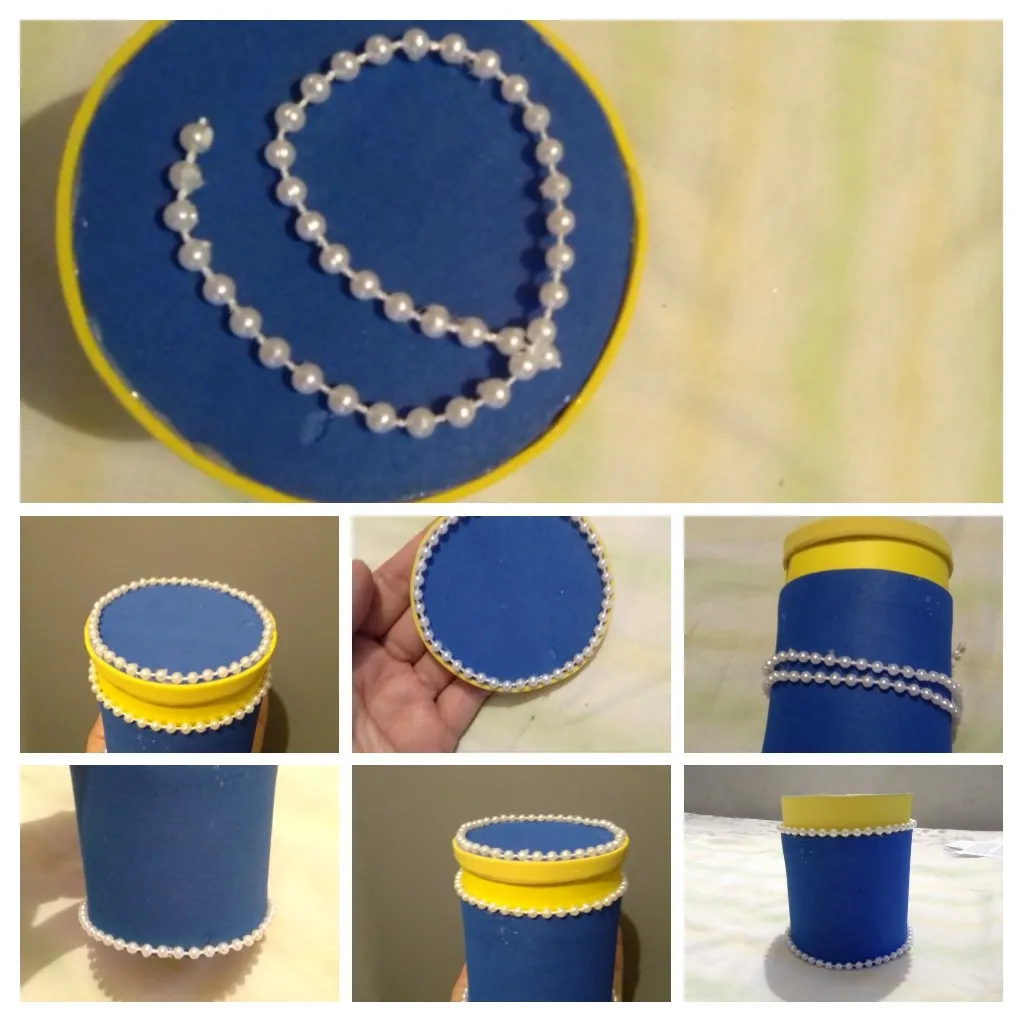
El primer paso es cubrir la lata, para ello comienzo recortando una pieza de cartulina amarilla de 25 x 3 centímetros y una pieza de foami azul de 25 x 7,5 centímetros. La pieza amarillo la coloco en la parte superior y la azul cubriendo el resto. Luego procedo a elaborar la tapa del joyero, la medida la obtengo presionando la lata sobre el el foami azul y recorto, y así también recorte un tira de foami amarillo de
0,8 centímetros de ancho y la pego alrededor del círculo azul y ya tengo la tapa.
The first step is to cover the can, so I start by cutting out a piece of yellow cardboard 25 x 3 centimeters and a piece of blue foami 25 x 7.5 centimeters. I place the yellow piece on top and the blue one covering the rest. Then I proceed to make the lid of the jewelry box, the measure is obtained by pressing the can on the blue foami and cut, and so I also cut a strip of yellow foami of
0.8 centimeters wide and glue it around the blue circle and I have the lid.
El siguiente paso es dar un toque de elegancia al joyero y siempre son muy útiles las perlas, en este caso use perlas corridas blancas y las coloque en la parte inferior y en la unión del foami azul y la cartulina amarilla. En la tapa las perlas las fijé alrededor de la unión de los foamis. El joyero ya tiene muy buen aspecto las perlas realmente cumplieron su objetivo, aportaron ese toque elegante que buscaba.
The next step is to give a touch of elegance to the jewelry box and pearls are always very useful, in this case I used white running pearls and placed them at the bottom and at the junction of the blue foami and yellow cardboard. In the lid, I fixed the pearls around the union of the foamis. The jewelry box already looks very good, the pearls really fulfilled their purpose, they brought that elegant touch I was looking for.
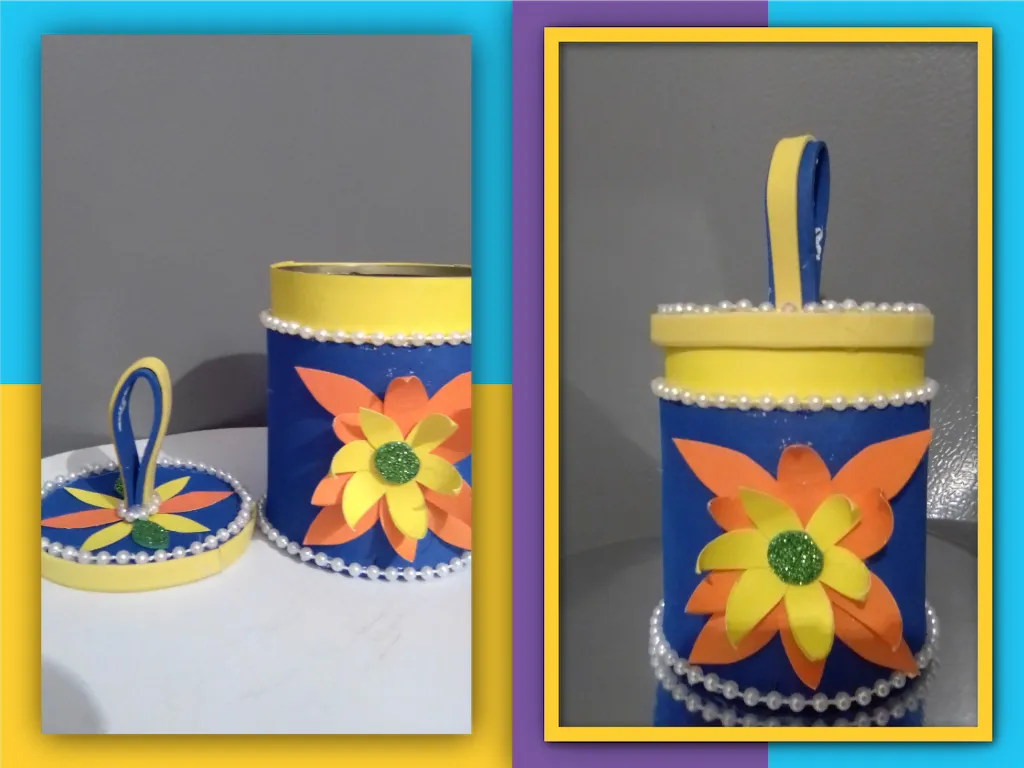
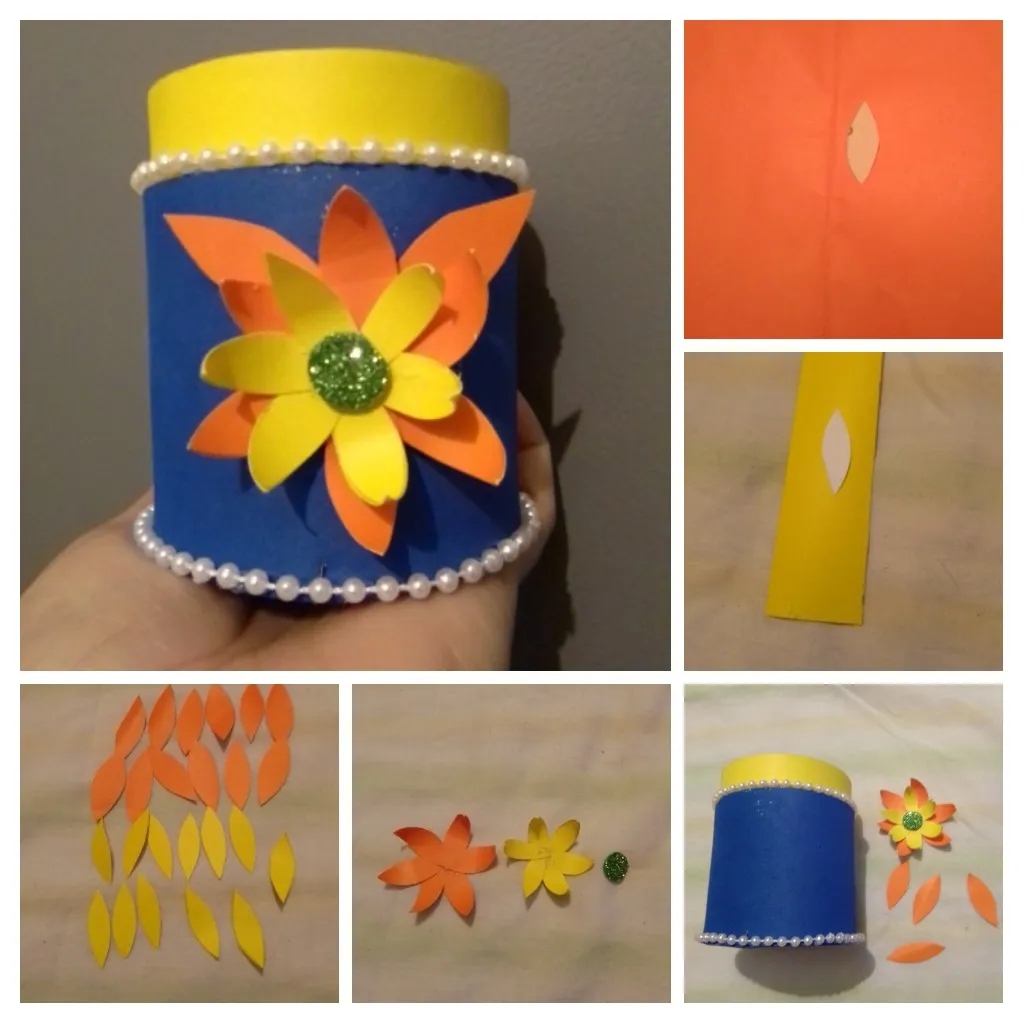
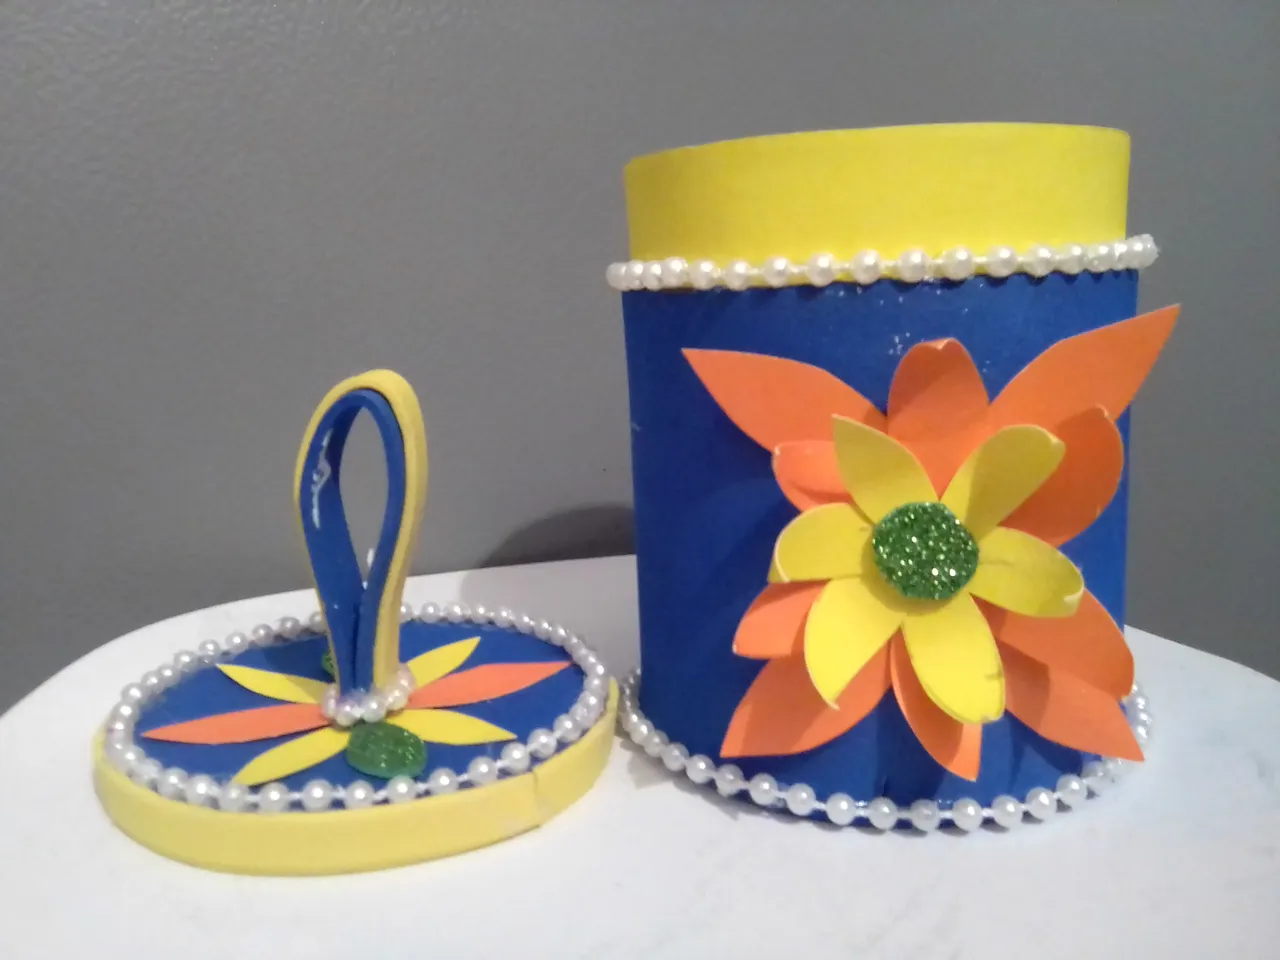
Para culminar la decoración del joyero voy a colocar una flor en el centro para ello realizo petalos de color naranja de 3 centímetros de largo y los amarillos de 2 centímetros, doy forma a las puntas con ayuda de borde de la tijera y llega el momento de ensamblar una flor de los dos colores, pego los pétalos naranja sobre un círculo del mismo color, y luego hago lo mismo con los amarillos, y pego está última sobre la flor naranja y para dar realce en el centro un círculo de color verde escarchado, y finalizó ubicándolo en el joyero.
To finish the decoration of the jewelry box I will place a flower in the center for it made orange petals of 3 centimeters long and the yellow ones of 2 centimeters, I shape the tips with the help of the edge of the scissors and it is time to assemble a flower of the two colors, I glue the orange petals on a circle of the same color, and then I do the same with the yellow ones, and I glue the latter on the orange flower and to enhance in the center a circle of frosted green color, and finished placing it in the jewelry box.
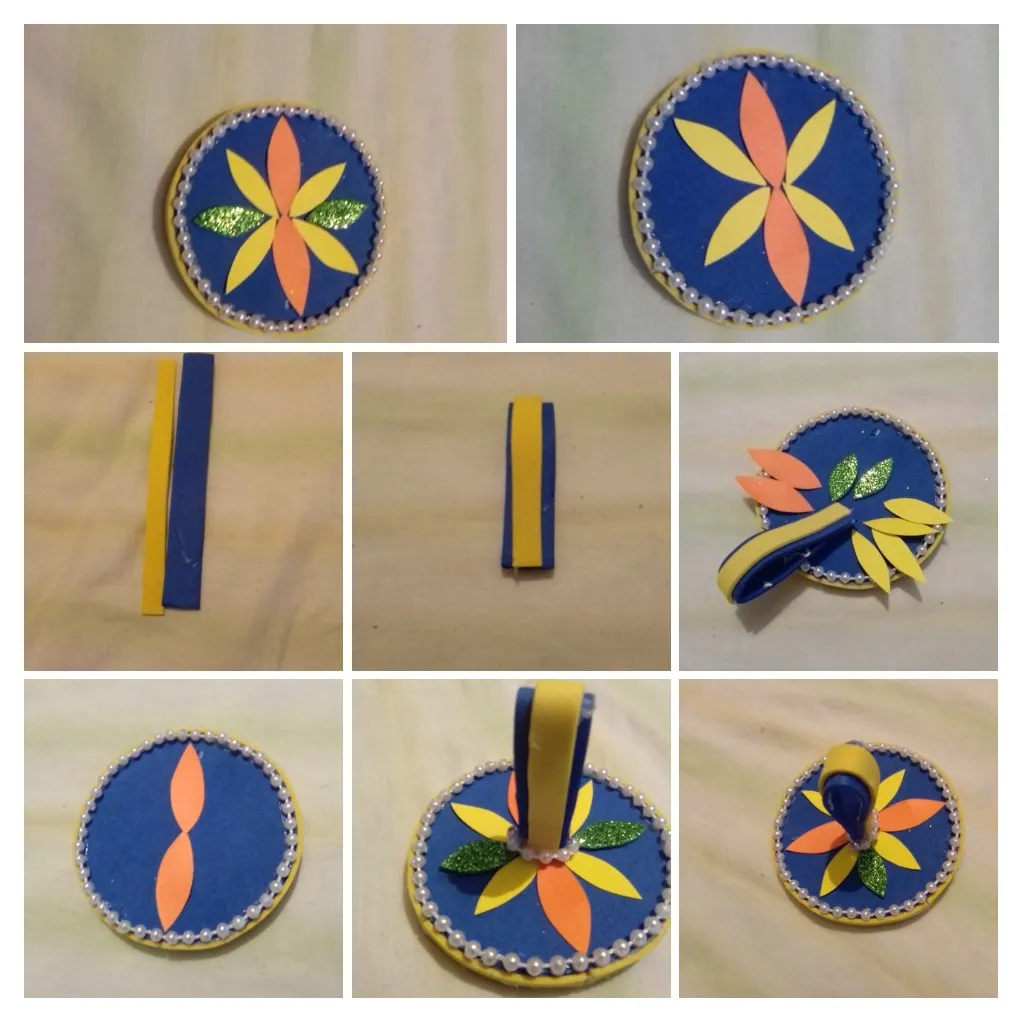
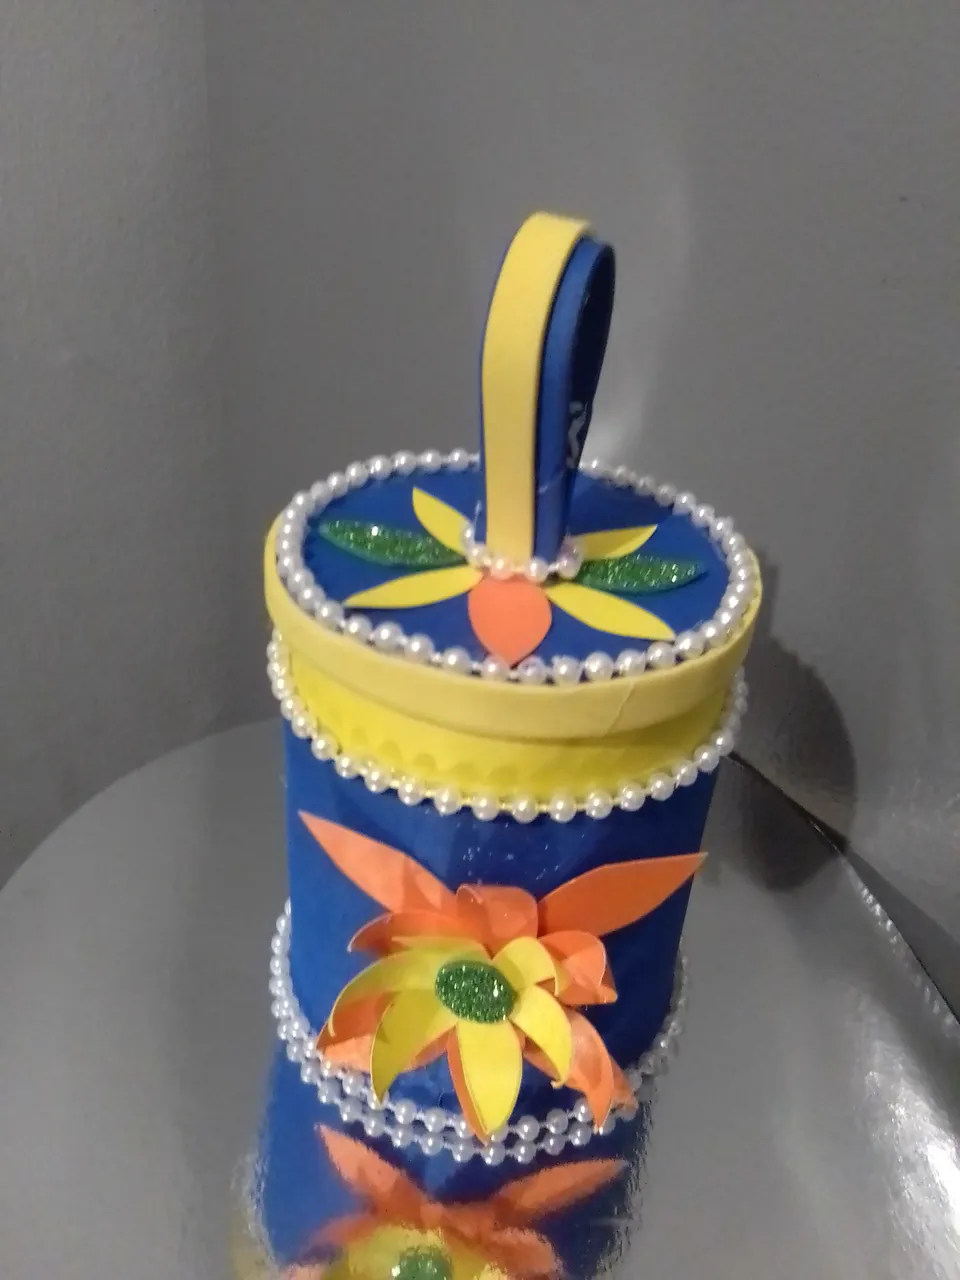
Culminó realizando una cinta bicolor a la cual le coloque perlas en la base, y coloque unos petalos de los colores ya utilizados, agregando dos de color verde y finalizo ubicando la cinta bicolor de foami en el centro de los pétalos. Y así quedó terminado en tan pocos y sencillos pasos este lindo joyero que también puede ser utilizado para dar un lindo obsequio.
I finished by making a two-color ribbon to which I placed pearls at the base, and placed some petals of the colors already used, adding two green ones and I finished by placing the two-color foami ribbon in the center of the petals. And so it was finished in so few and simple steps this nice jewelry box that can also be used to give a nice gift.
Resultado/ Result
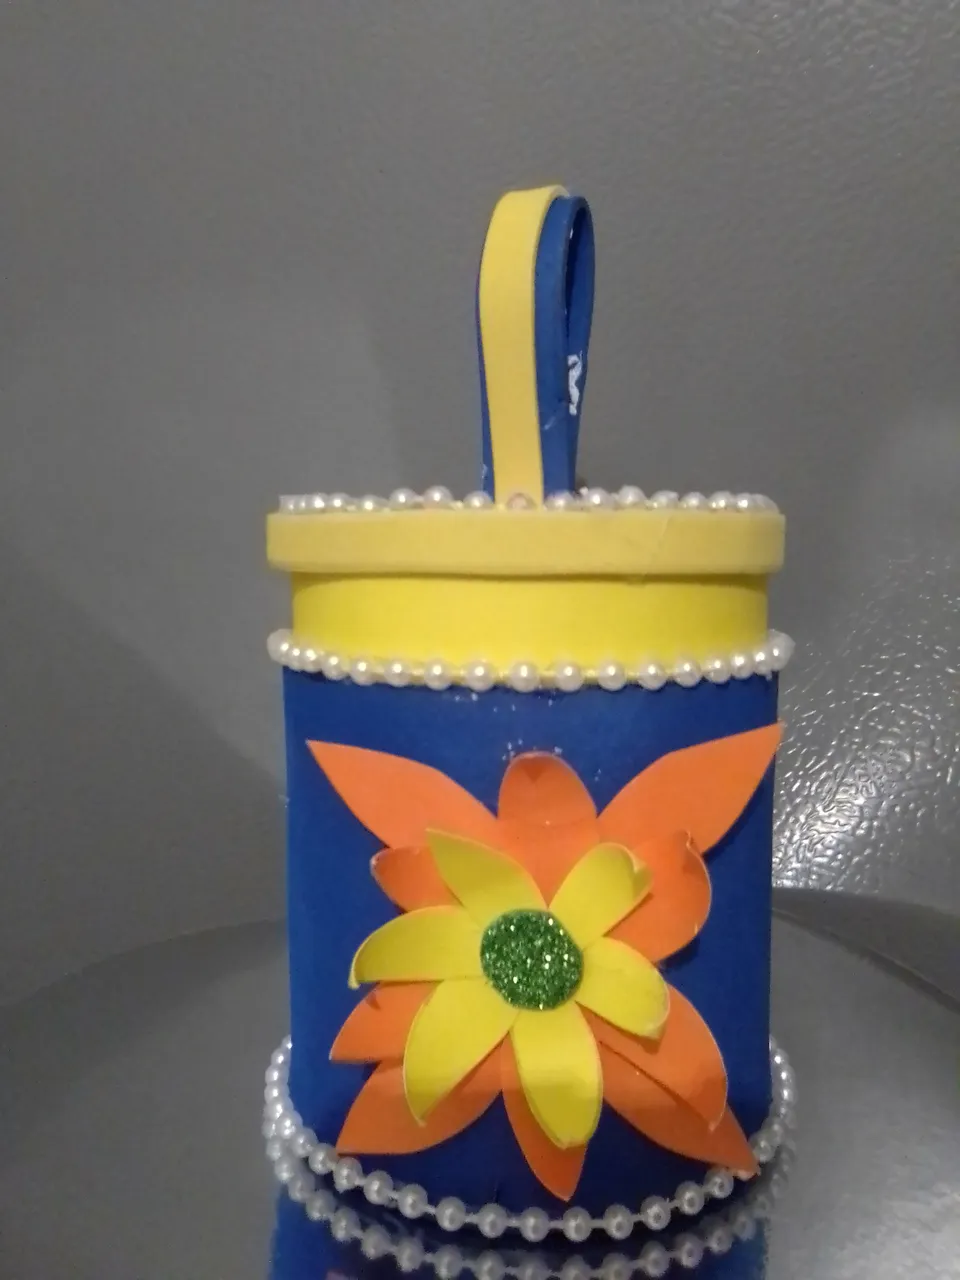
Este es un trabajo manual realizado para esta ocasión y espero sea de su agrado.
This is a manual work done for this occasion and I hope you like it.
Las fotos son de mi propiedad tomadas exclusivamente en este proyecto.
The photos are my property taken exclusively for this project.
Los collages del procedimiento los hice con la herramienta de mi Blue C6 y el principal en Picsart .
I made the collages of the procedure with my Blue C6 tool and the main one in Picsart .
Traductor usado
Translator used
DeepL Traductor
Gracias por leer y apoyar mi blog
Thank you for reading and supporting my blog