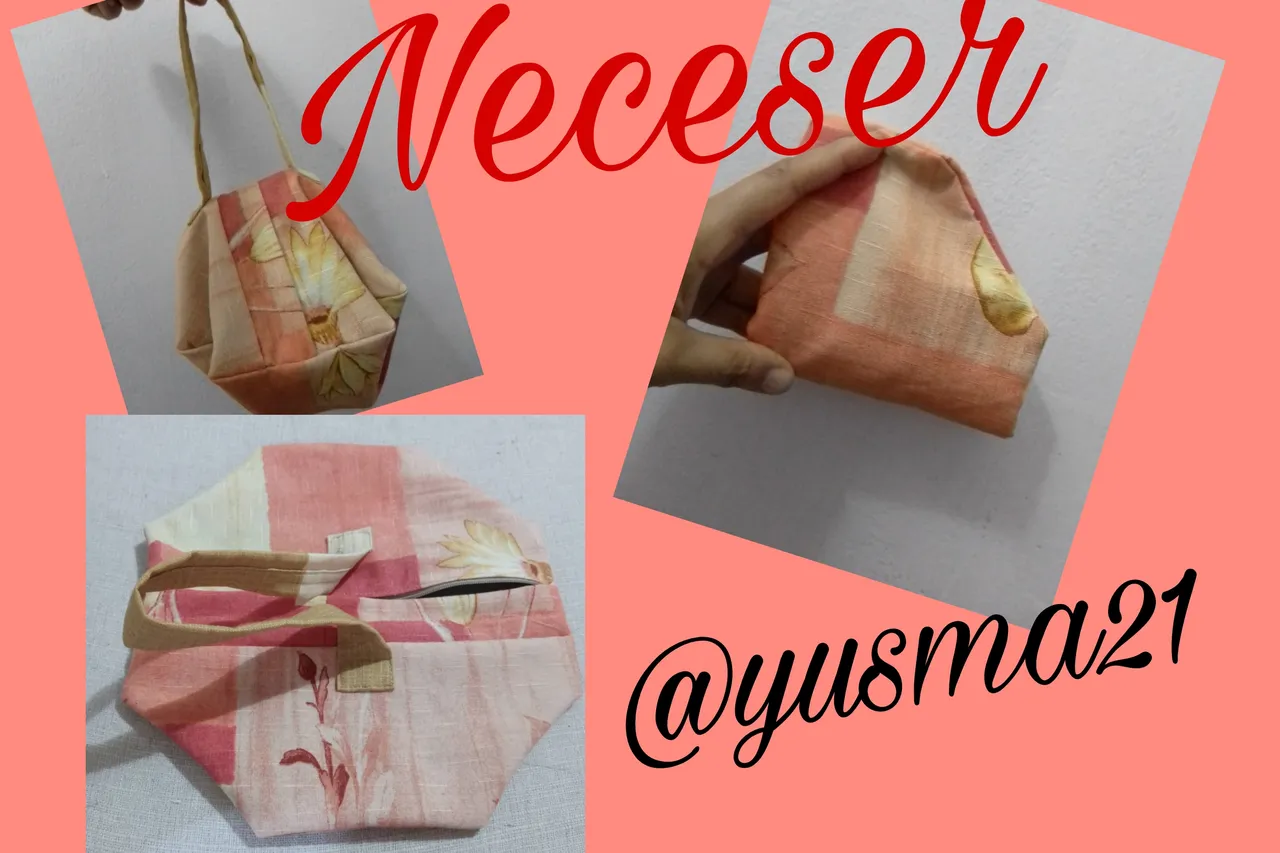
Saludos para todos los Hivers creativos de esta gran comunidad, el día de hoy les presento un bolso tipo neceser que vi desde hace varios días en Youtube y que me llamo mucho la atención, por su forma tan genial y porque quería hacerlo como un reto para mi, les dejo el enlace y juzguen si mi trabajo quedo parecido al original. 🧐. Link
Greetings to all the creative Hivers of this great community, today I present a toiletry bag that I saw several days ago on Youtube and that caught my attention, because of its cool shape and because I wanted to do it as a challenge for me, I leave the link and judge if my work is similar to the original. 🧐. Link
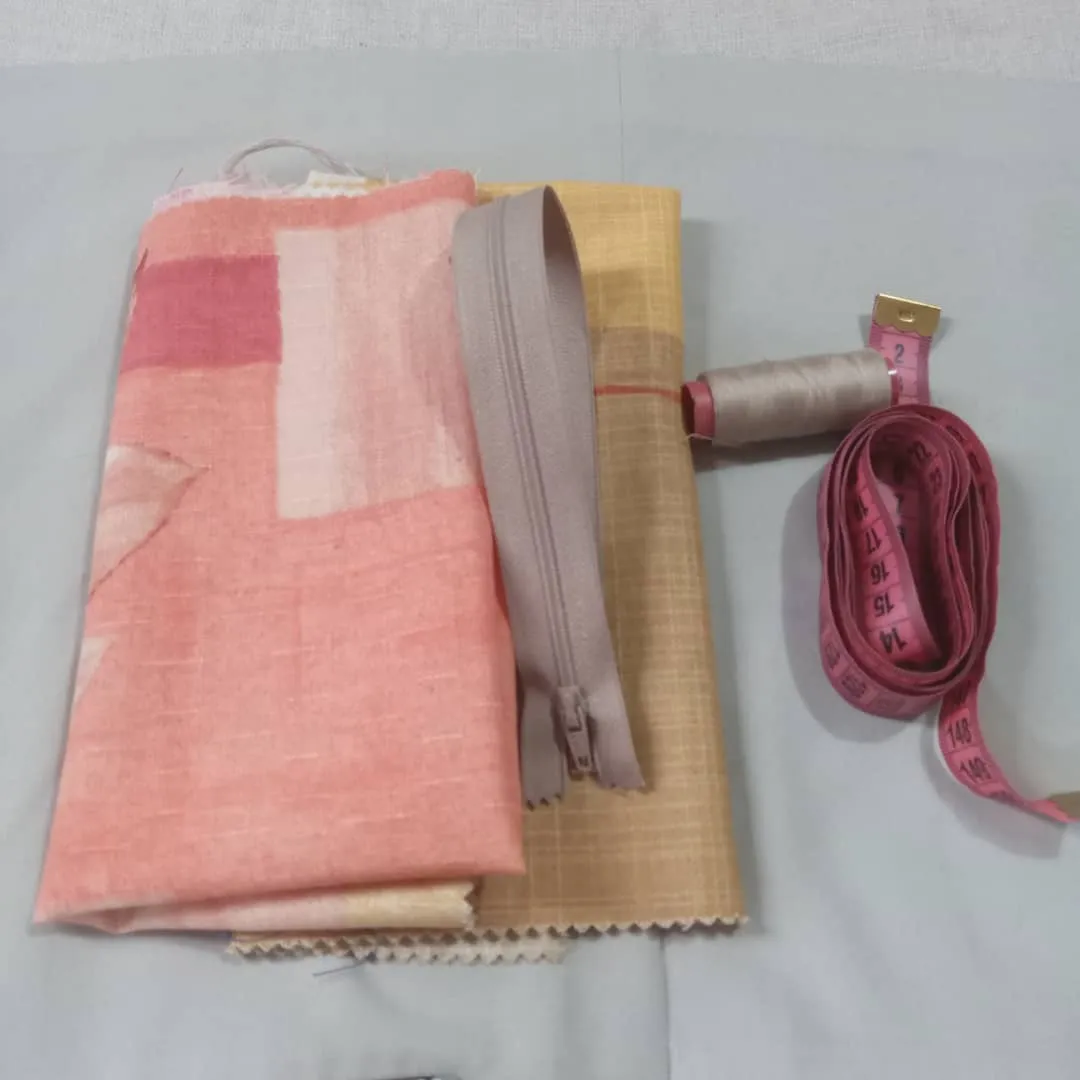
Materiales / Materials
- Pieza de tela estampada.
- Pieza de tela unicolor
- Cierre
- Hilo
- Tijera
- Centímetro.
- Maquina de coser.
- Alfileres
- Piece of printed fabric.
- Piece of unicolor fabric
- Zipper
- Thread
- Scissors
- Centimeter.
- Sewing machine.
- Pins
Paso a paso / Step by Step
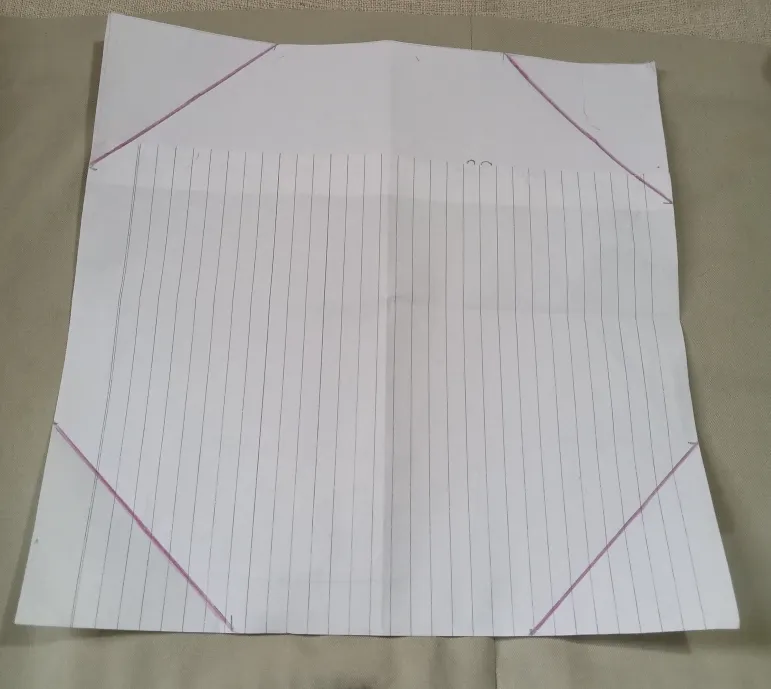
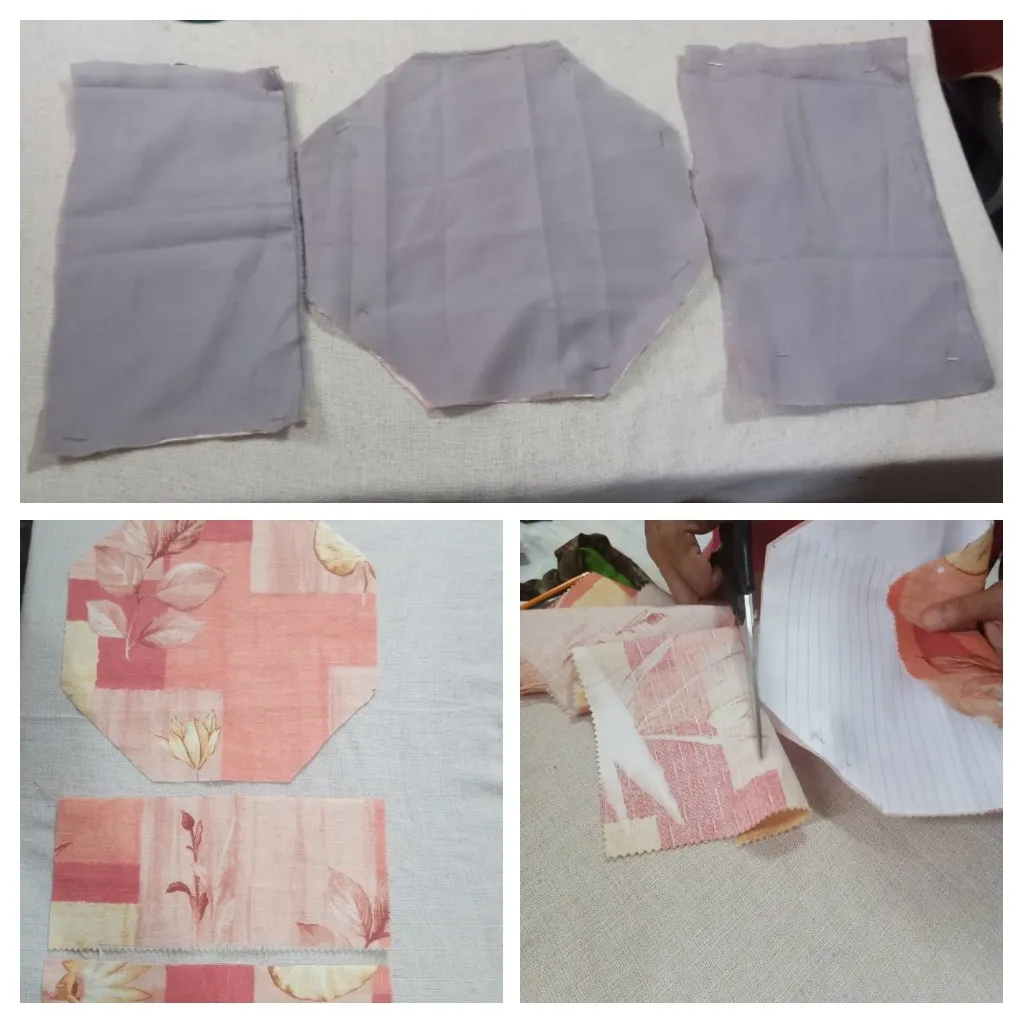
El primer paso es realizar el molde principal, que es un cuadro de 27 x 27 centímetros , el cual doble en cuatro y a cada lado del doblez medí 5,75 centímetros en los cuatro lados, para luego unir los puntos y tener así, una forma de hexágono. Los otros moldes tienen medidas de 27x14 y 27x17 centímetros.
The first step is to make the main mold which is a square of 27 x 27 centimeters, which I folded in four and on each side of the fold I measured 5.75 centimeters on the four sides, to then join the points and thus have a hexagon shape. The other molds measure 27x14 and 27x17 centimeters.
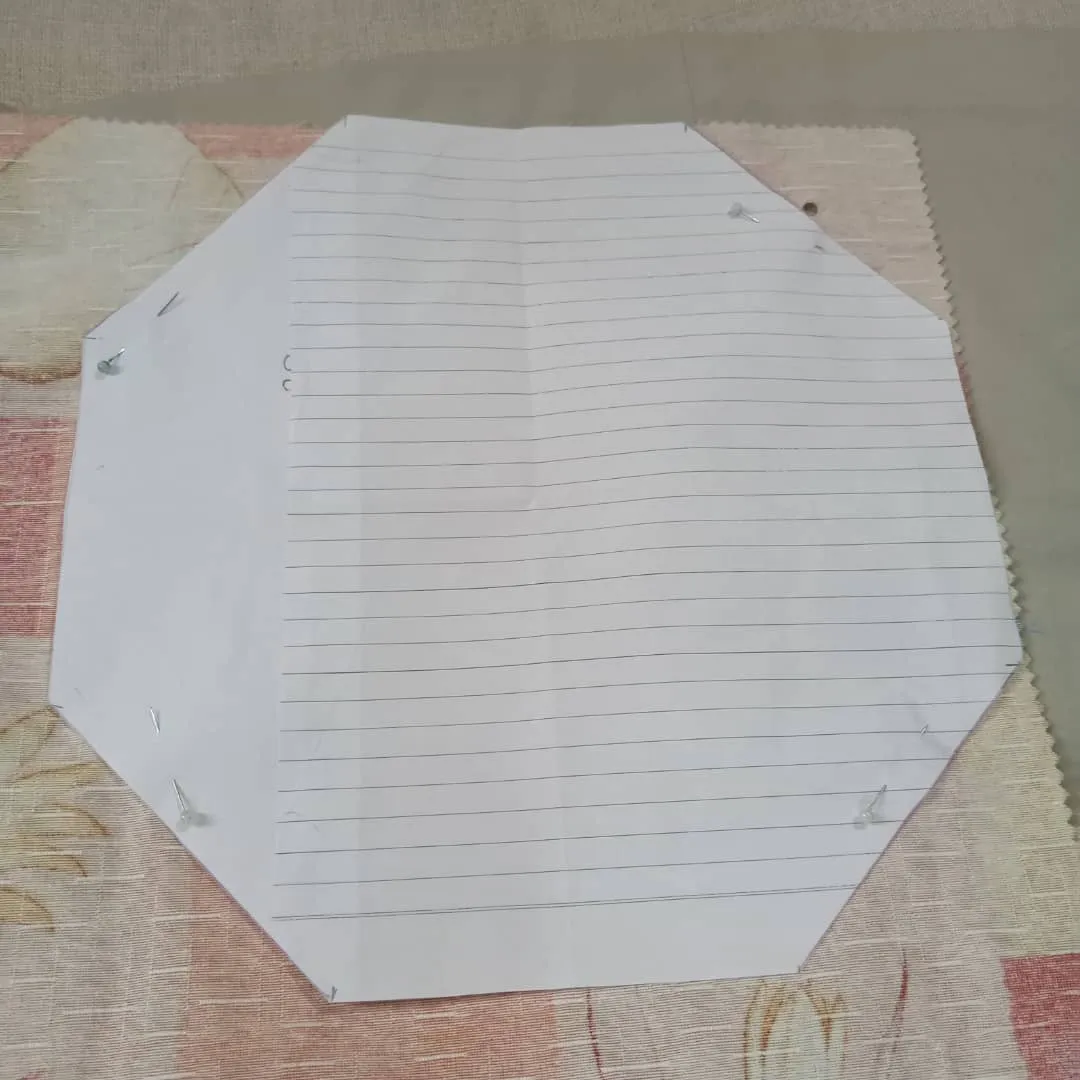
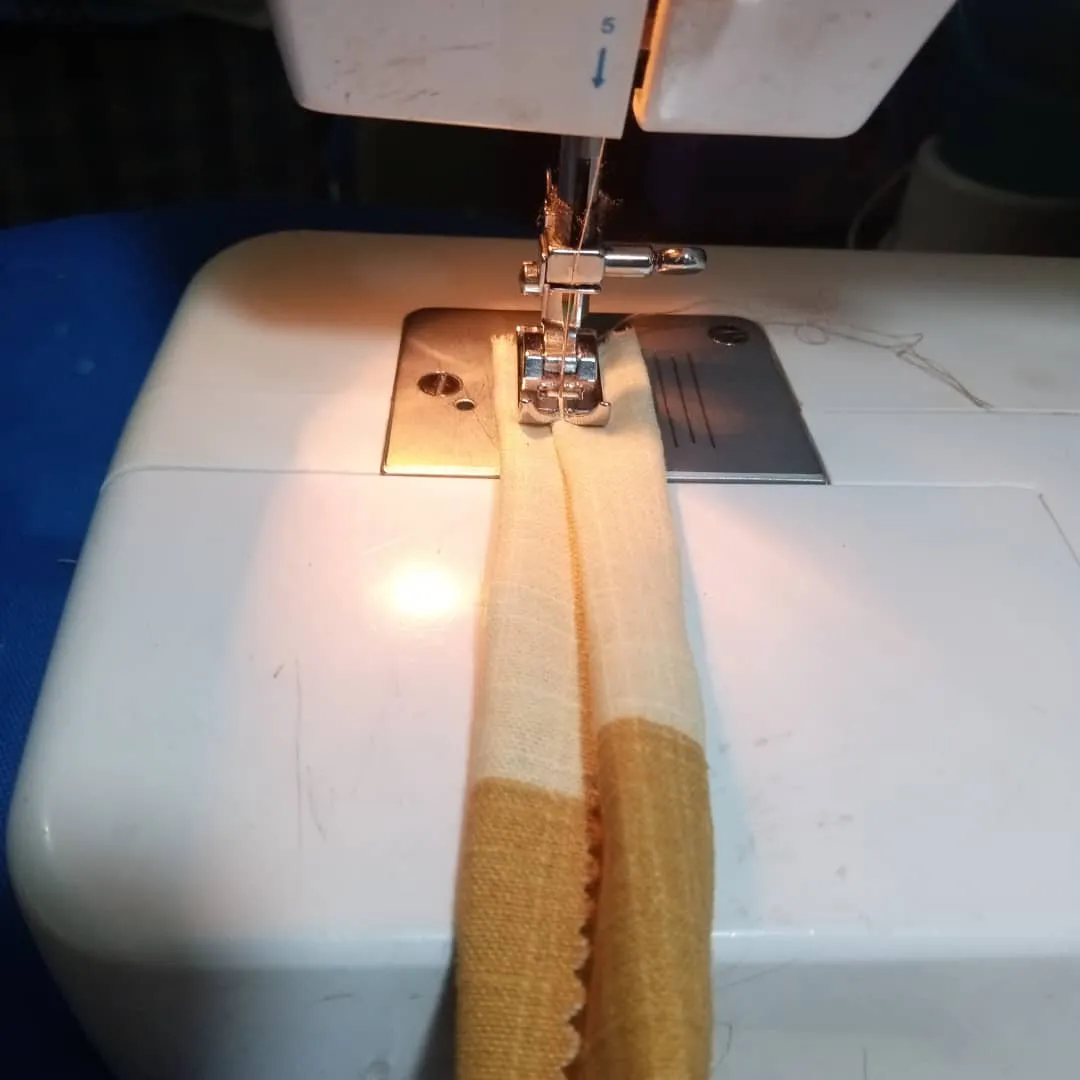
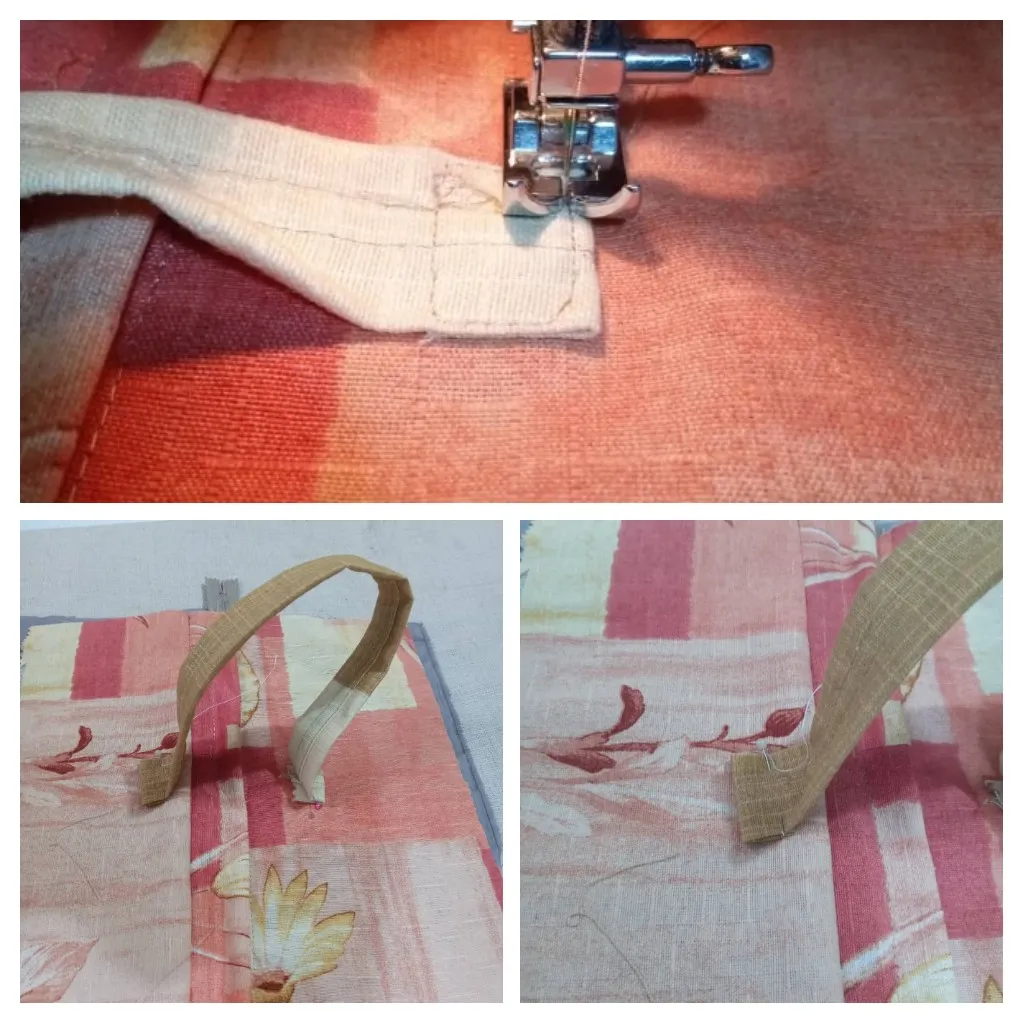
Con mis patrones listo, recorte la tela de estampada y cada pieza con su respectivo forro de una vez para tener todo organizado al momento de unir las partes del neceser . Así mismo realice el asa del bolso para ello recorte una pieza de tela estampada de 40 x 8 centímetros, hice dos dobleces hacia adentro y luego otro dobles a la mitad y pase la costura.
With my patterns ready, I cut the printed fabric and each piece with its respective lining at once to have everything organized at the time of joining the parts of the toiletry bag. I also made the handle of the bag by cutting a piece of printed fabric of 40 x 8 centimeters, I made two folds inwards and then folded it in half and sewed the seam.
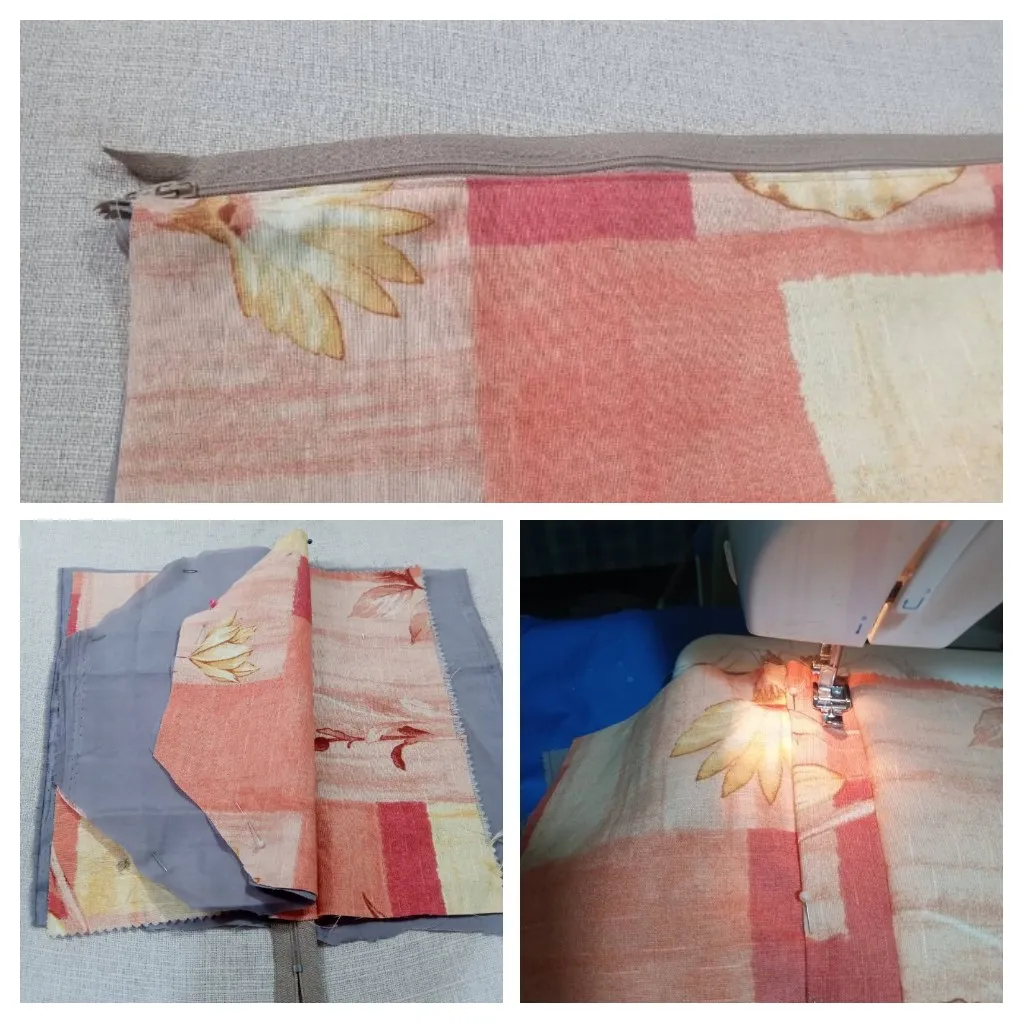
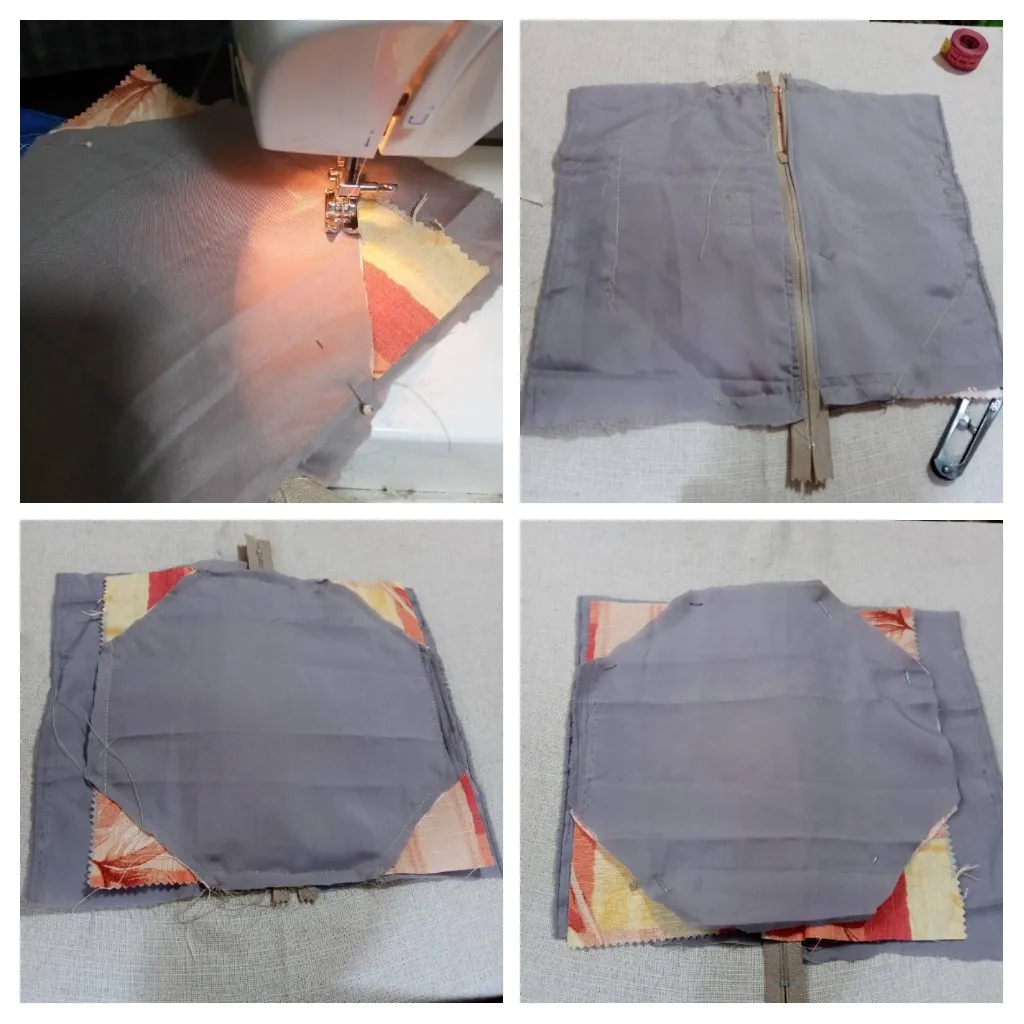
El paso siguiente es coser el cierre, entonces procedo a colocar el cierre sobre la tela estampada, cuyas medidas son 27x14 centímetros, y sobre el cierre la tela de forro correspondiente, fijo con alfileres y coso a máquina, doy vuelta paso la sobre costura al cierre, la siguiente pieza de tela de 27x17 la coloco de igual manera a la anterior, pero al pasar la sobre costura hago un doblez sobre el cierre de 2 centímetros para que el cierre quede cubierto.
The next step is to sew the zipper, then I proceed to place the zipper on the printed fabric, whose measures are 27x14 centimeters, and on the zipper the corresponding lining fabric, I fix with pins and sew by machine, I turn the over stitching to the zipper, the next piece of fabric of 27x17 I place it in the same way as the previous one, but when passing the over stitching I make a fold over the zipper of 2 centimeters so that the zipper is covered.
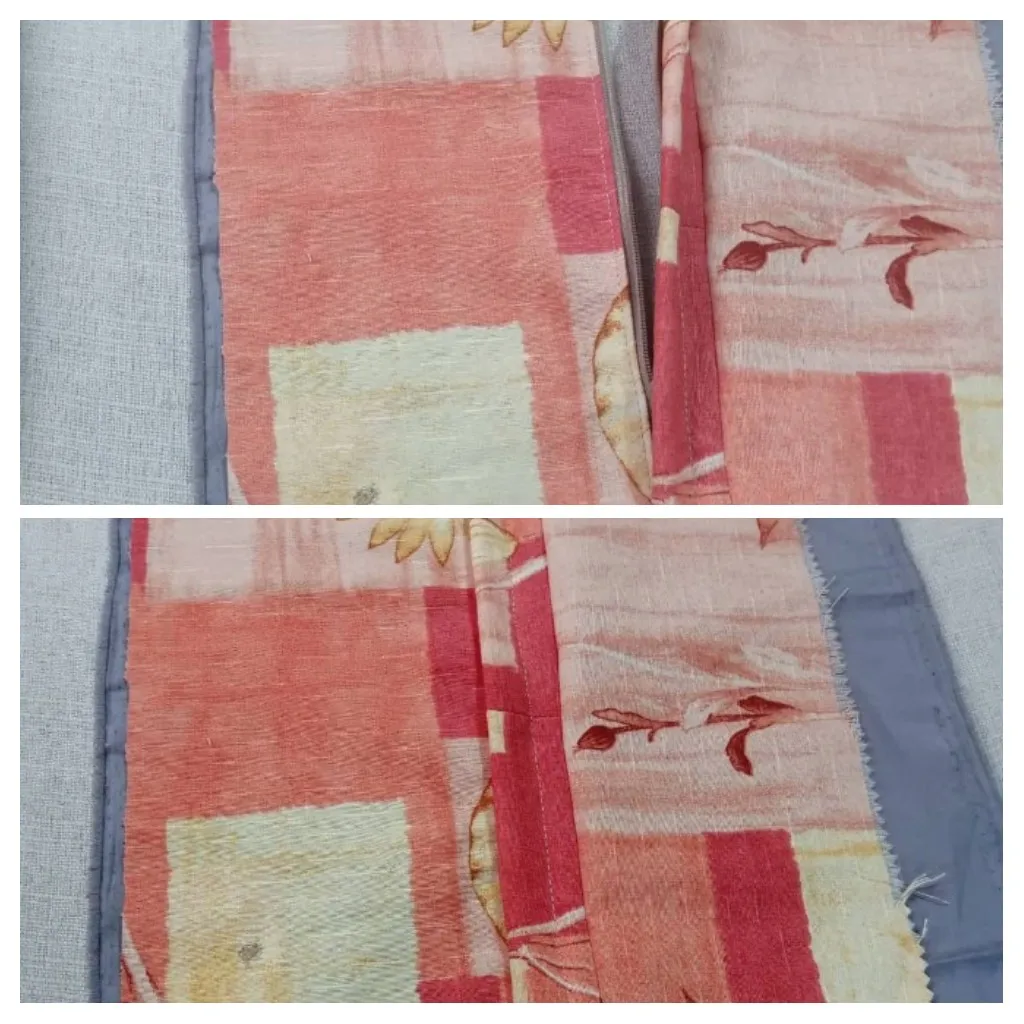
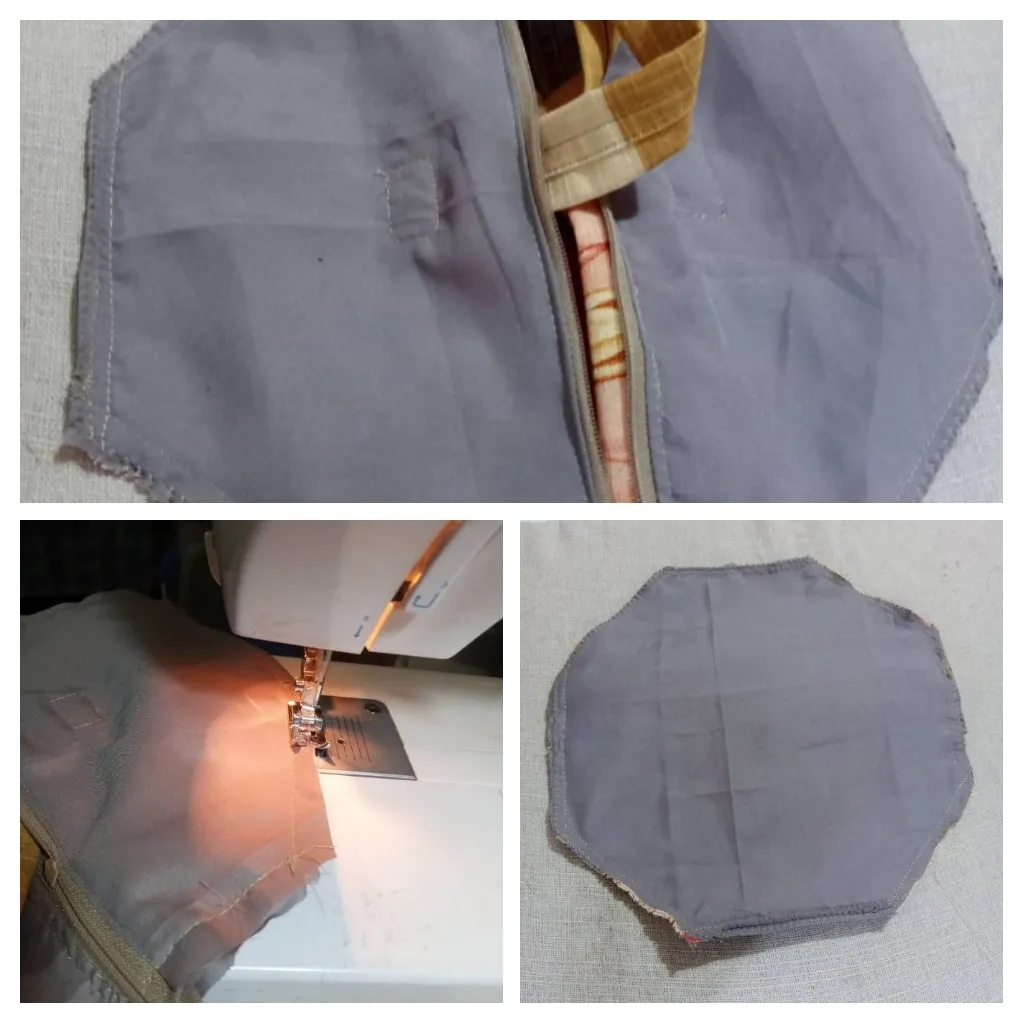
Seguidamente procedo a fijar el asa que ya había realizado, en la pieza de tela dónde está el cierre en dirección contraria a su sentido y ubicando el centro de la tela. Entonces llega el momento de ensamblar el bolso para ello fijo con un alfiler el asa doblada para evitar coser al momento de unir las piezas, y coloque en contraposición mi tela con forma de hexano y las unidas con el cierre, fijo muy bien con alfileres y abro un poco el cierre, para así comenzar a pasar la máquina en líneas rectas en todos los lados del hexágono, lista las costuras corto los excedentes de telas y paso el zigzag para evitar que la tela se deshilache en el futuro. Damos vuelta y listo como magia, este bolso hexagonal. Un neceser muy útil, además de su forma tan particular y lo sencillo de almacenar.
Then I proceed to fix the handle that I had already made, on the piece of fabric where the zipper is in the opposite direction to its direction and locating the center of the fabric. Then comes the time to assemble the bag for it fixed with a pin the folded handle to avoid sewing when joining the pieces, and place in contrast my hexagon-shaped fabric and the units with the closure, fixed very well with pins and open the closure a little, so begin to pass the machine in straight lines on all sides of the hexagon, ready the seams cut the excess fabric and pass the zigzag to prevent the fabric from fraying in the future. We turn and ready as magic, this hexagonal bag. A very useful toiletry bag, in addition to its particular shape and easy storage.
Espero esté proyecto les guste y les pueda ser de utilidad, muchas gracias por tomarse el tiempo de leer mi blog.
I hope you like this project and I hope you find it useful, thank you very much for taking the time to read my blog.
Resultado / Result
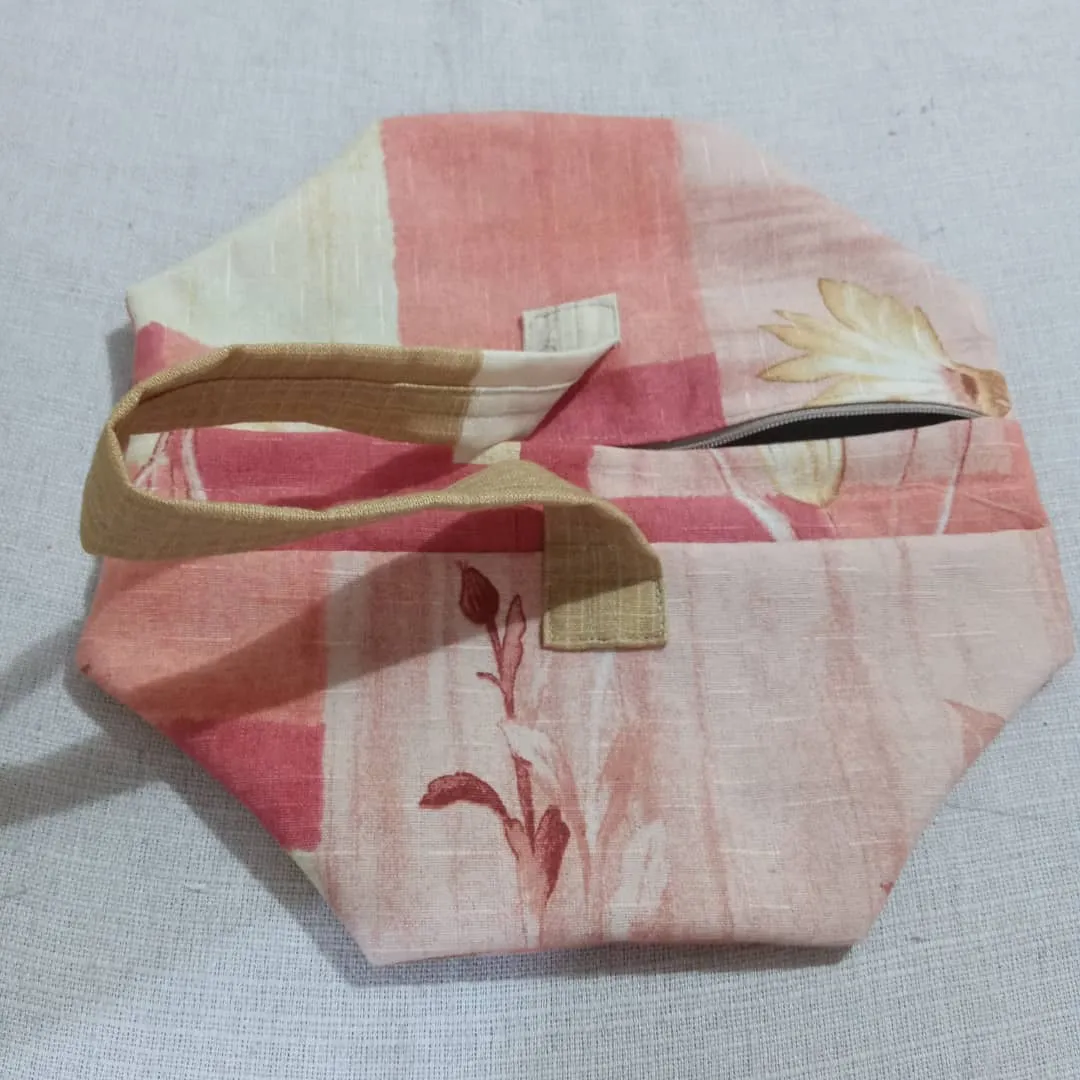
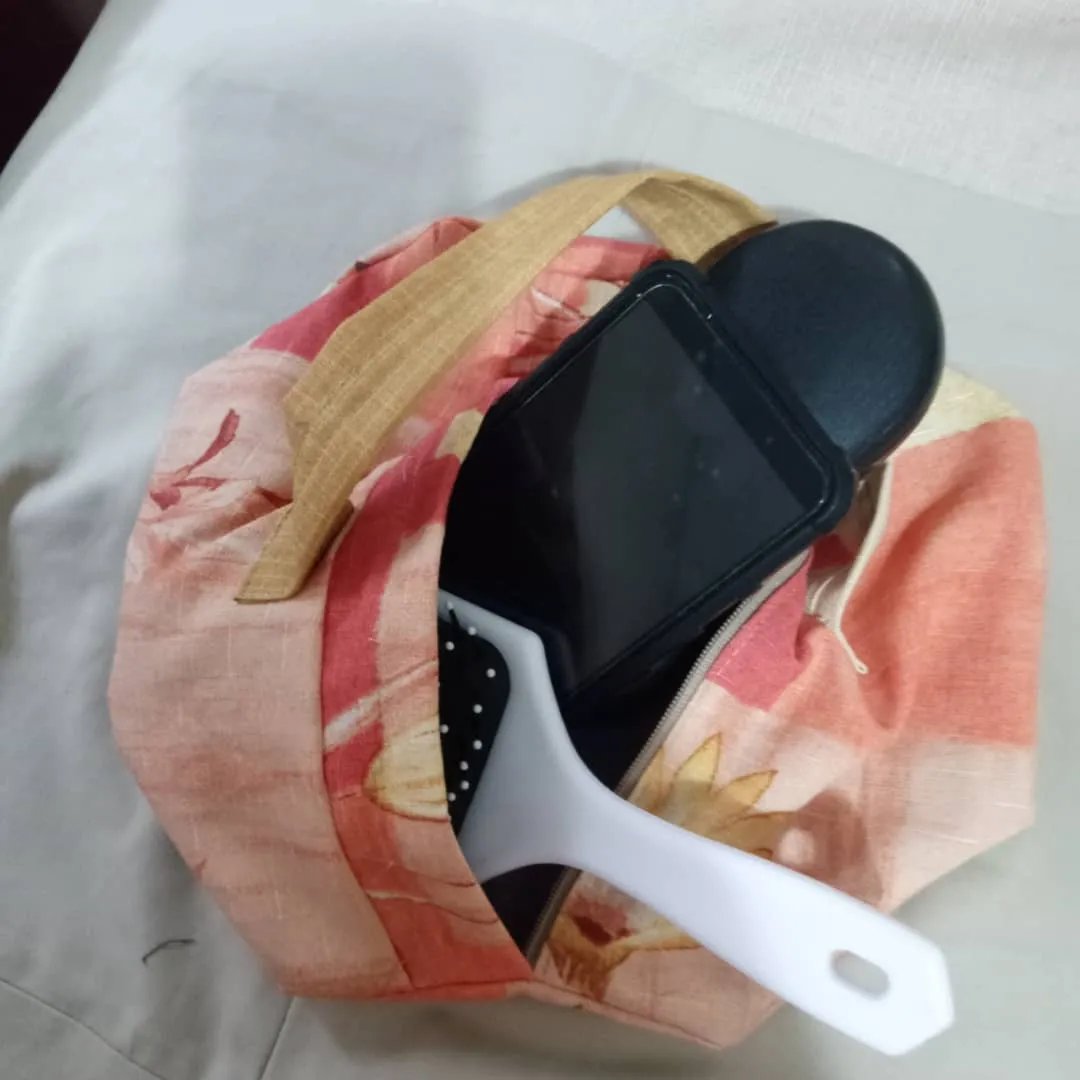
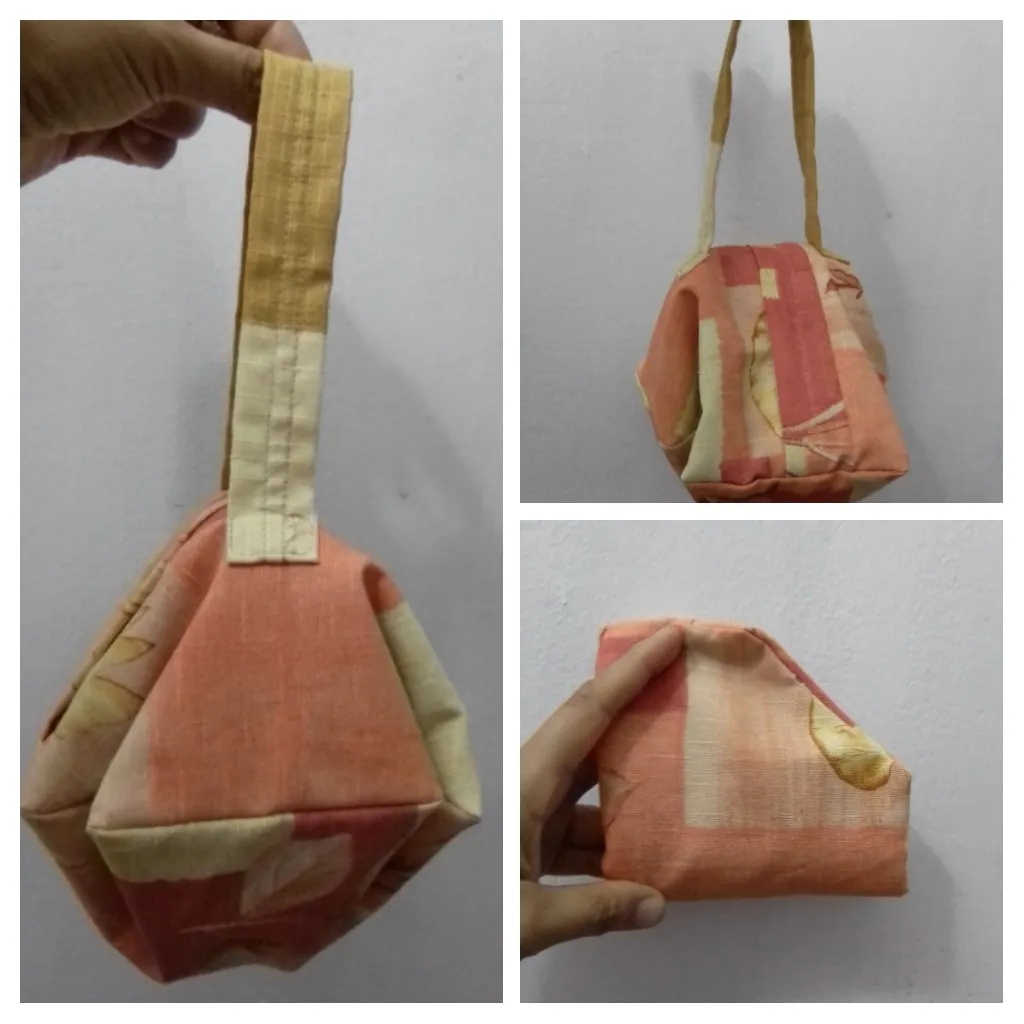
Este es un trabajo manual realizado para esta ocasión y espero sea de su agrado.
This is a manual work done for this occasion and I hope you like it.
Las fotos son de mi propiedad tomadas exclusivamente en este proyecto.
The photos are my property taken exclusively for this project.
Los collages del procedimiento los hice con la herramienta de mi Blue C6 y el principal en Picsart .
I made the collages of the procedure with my Blue C6 tool and the main one in Picsart .
Traductor usado
Translator used
DeepL Traductor
Gracias por leer y apoyar mi blog
Thank you for reading and supporting my blog