Saludos para todos los Hivers creativos de esta gran comunidad, para este día quiero compartir cómo hice un lindo ramo de flores de cartulina con uno retazos que tenía por allí olvidados y me decidí para colocarlos en un como hecho con foami estampado y que se ideal para obsequiar acompañado con unos dulces para esa persona tan especial en nuestras vidas, a continuación les cuento los materiales a utilizar y como elaborar unas flores de un estilo muy particular.
Greetings to all the creative Hivers of this great community, for this day I want to share how I made a nice bouquet of cardboard flowers with some scraps that I had forgotten and I decided to place them in a as made with foami stamped and that is ideal to give away along with some candy for that special person in our lives, then I tell you the materials to use and how to make flowers in a very particular style.
Materiales / Materials
- Cartulina de colores varios.
- Foami lila con estampado de corazones
- Tijera
- Pistola y barra de silicon
- Foami verde y dorado escarchado
- Lápiz de color rojo.
- Círculos.
- Cardboard of various colors.
- Lilac Foami with hearts print.
- Scissors
- Silicone gun and silicone stick
- Green and gold frosted Foami
- Red colored pencil.
- Circles.

Paso a paso / Step by Step
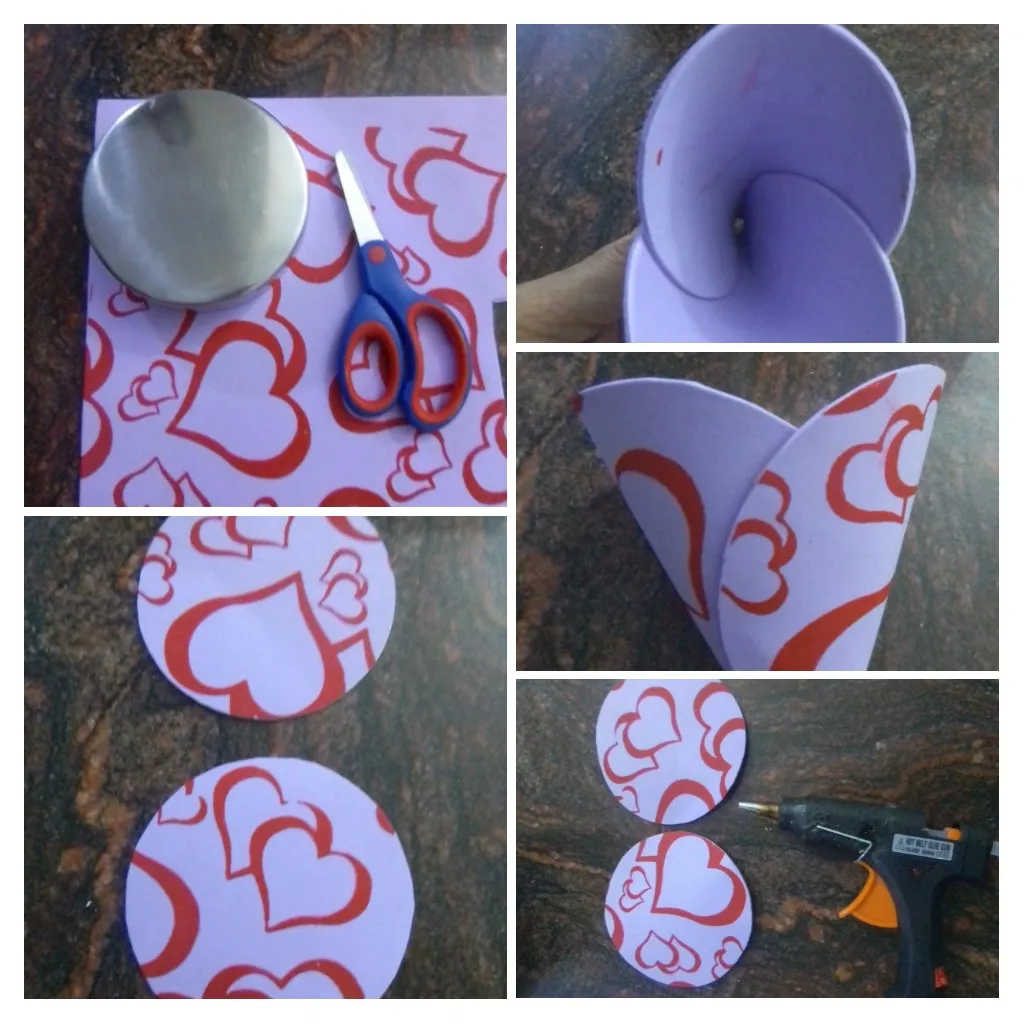
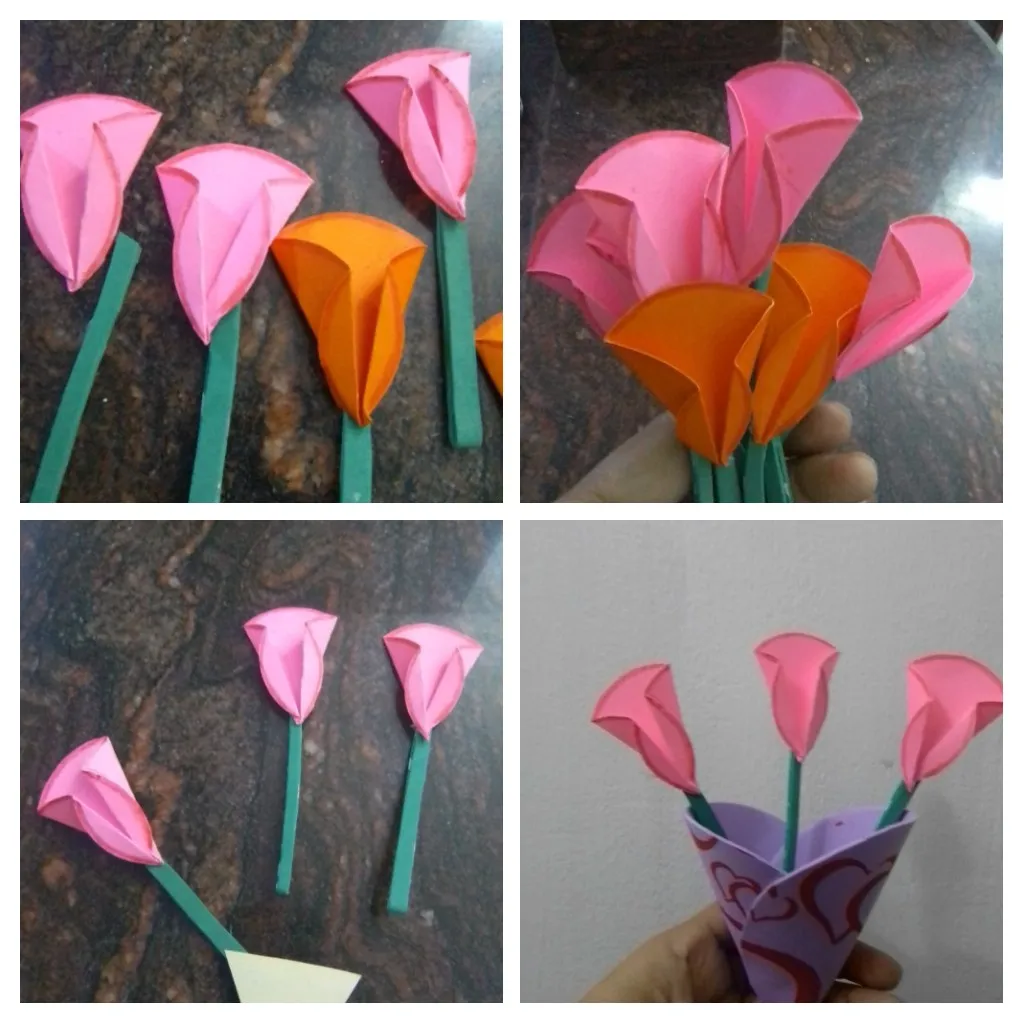
El primer paso es realizar el cono que servirá de base para las flores, para ello realice dos círculos con el foami lila, con ayuda de una tapa, luego uni y pegue los círculos, doblando a la mitad, pues de esta manera se obtiene una linda forma de corazón en el cono.
The first step is to make the cone that will serve as a base for the flowers, to do this make two circles with the lilac foami, with the help of a lid, then join and glue the circles, folding them in half, because this way you get a nice heart shape in the cone.
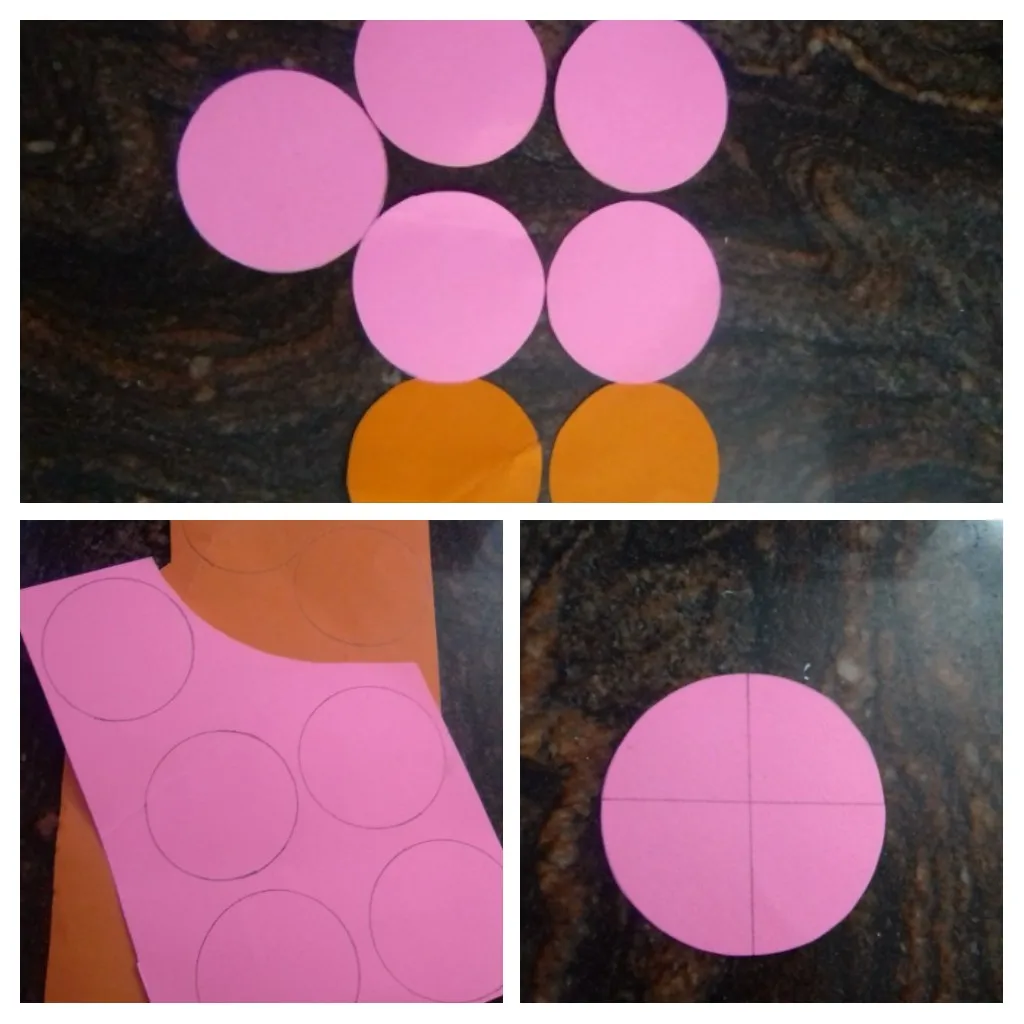
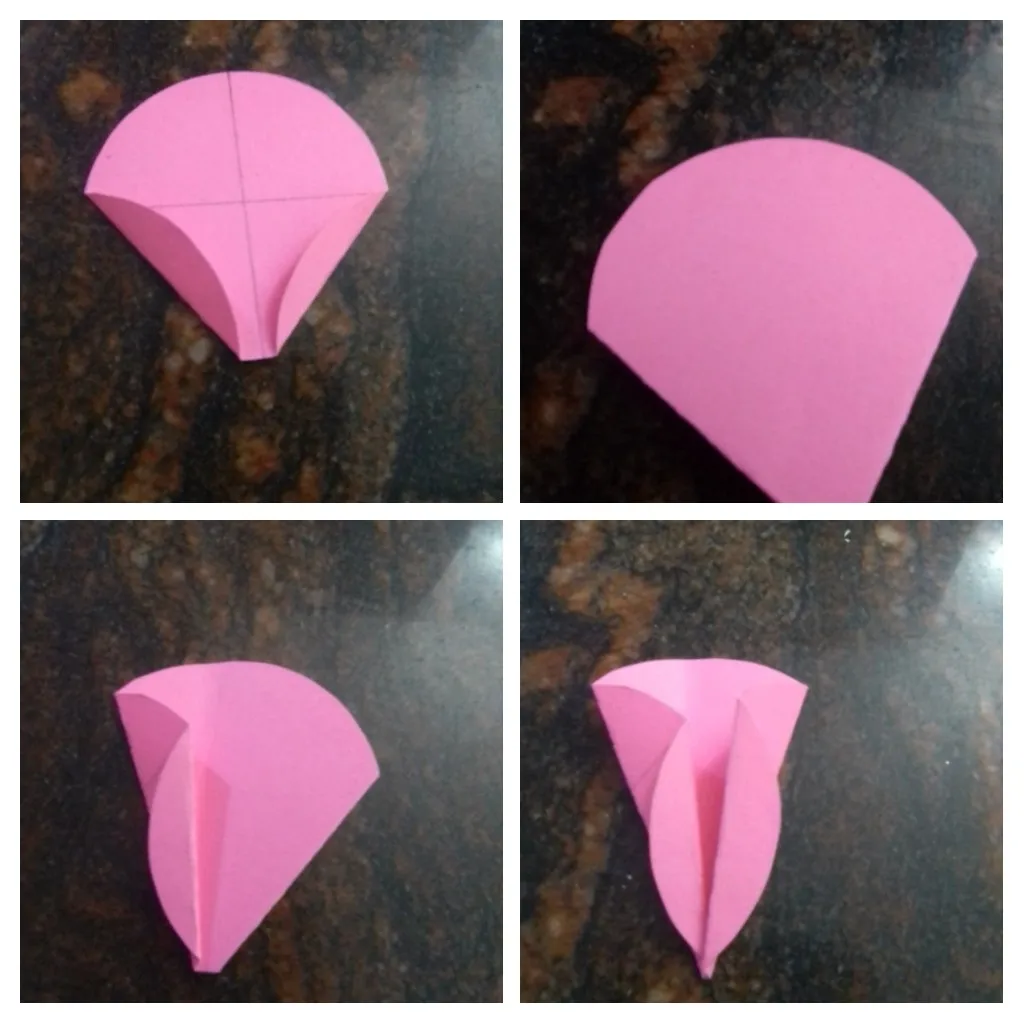
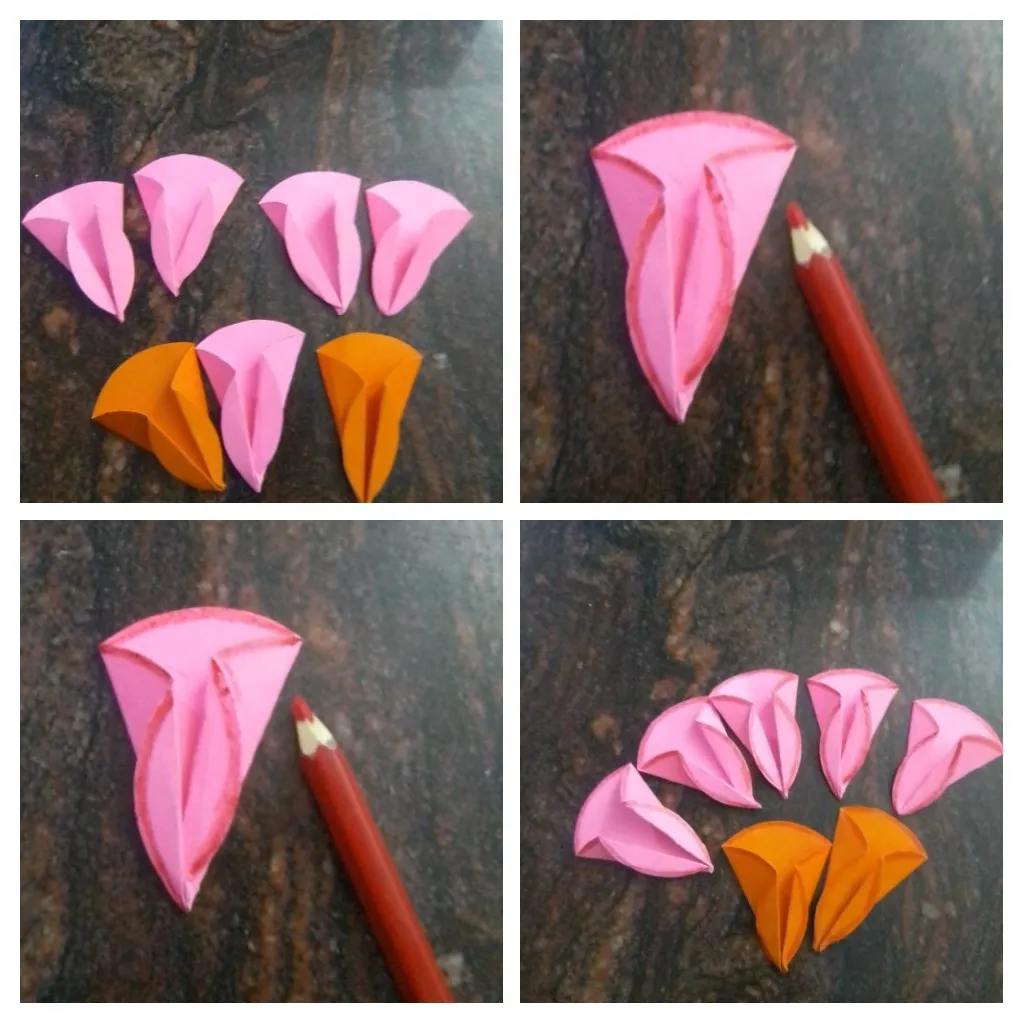
Seguidamente realice unos círculos pequeños sobre las piezas de cartulina, cinco en cartulina rosado y dos en la anaranjada, recorte y luego comencé a elaborar estas flores a las cuales le daremos forma solo realizando algunos dobleces, y comenzamos tomando un círculo y doblando un poco las puntas, en solo dos extremos, luego damos vuelta y doblamos nuevamente, y los pétalos coincidirán en el centro, no debemos preocuparnos pues no todas quedan tan perfectas, pero es válido en la naturaleza esas imperfecciones le dan distinción a cada elemento, de esta manera tan sencilla se tiene ya unas hermosas flores.
Then I made some small circles on the pieces of cardboard, five in pink cardboard and two in orange, cut and then began to develop these flowers to which we will give shape only by making some folds, and we start by taking a circle and bending the tips a little, in only two ends, then we turn and bend again, and the petals will coincide in the center, we should not worry because not all are so perfect, but it is valid in nature those imperfections give distinction to each element, in this simple way we already have beautiful flowers.
Es el momento de colocar color rojo y difuminar alrededor de la flor para resaltar los dobleces que le dan forma. Luego recorte unos tiras de foami verde para los tallos y ensamble las flores. También realice unas hojas delgadas y largas con cartulina verde claro.
It is time to put red color and blur around the flower to highlight the folds that give it shape. Then cut some green foami strips for the stems and assemble the flowers. Also make long, thin leaves out of light green cardstock.

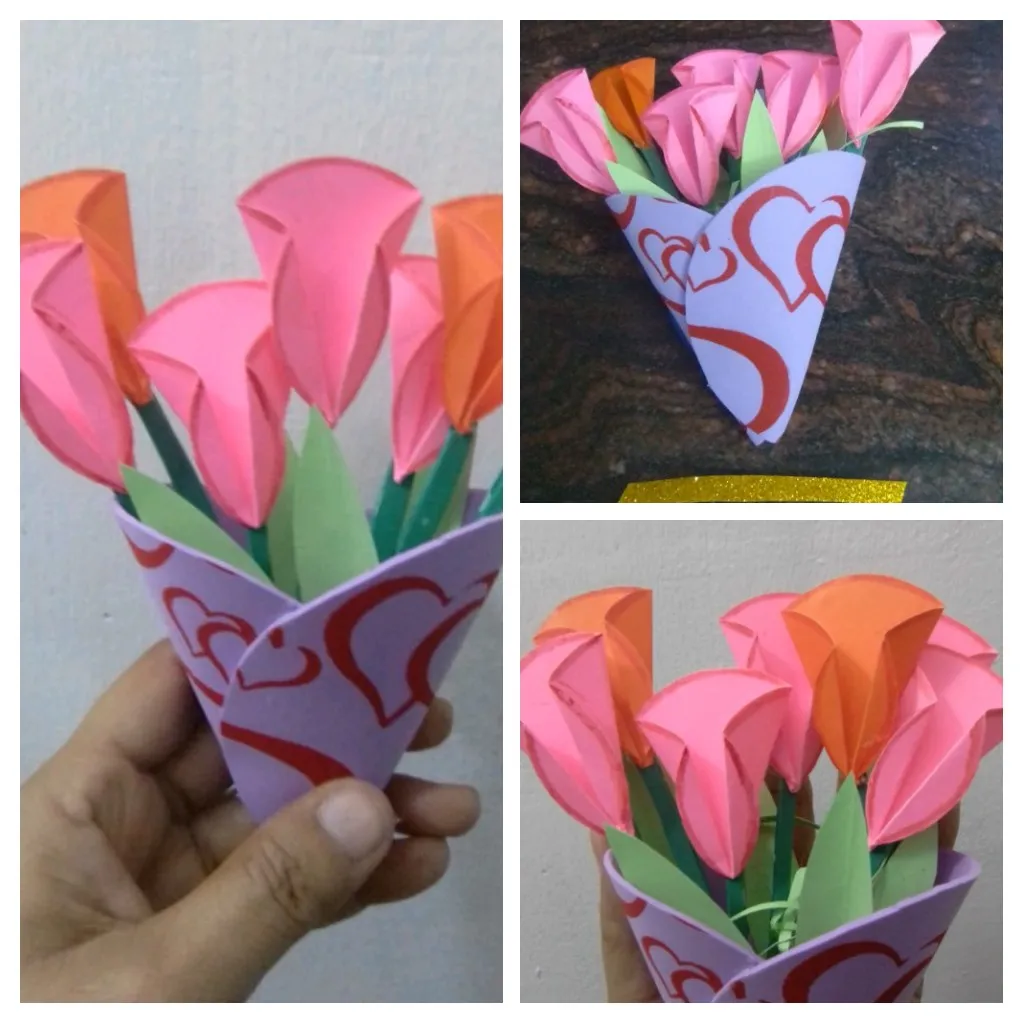
Para facilitar armar el ramo, decidí recortar un triángulo de cartulina y allí fijar los tallos e ir dando forma, de manera que se viese tupido el ramo, procedo entonces a fijar con silicona el triángulo dentro del cono y continuó incorporando las hojas que aportan naturalidad y además sirven de relleno, por último se me ocurrió colocar una cinta de color dorado.en la base del cono para decorar.
To make it easier to assemble the bouquet, I decided to cut out a triangle of cardboard and there fix the stems and give shape, so that the bouquet looked dense, then proceed to fix the triangle with silicone inside the cone and continued incorporating the leaves that provide naturalness and also serve as filling, finally it occurred to me to place a gold ribbon at the base of the cone to decorate.
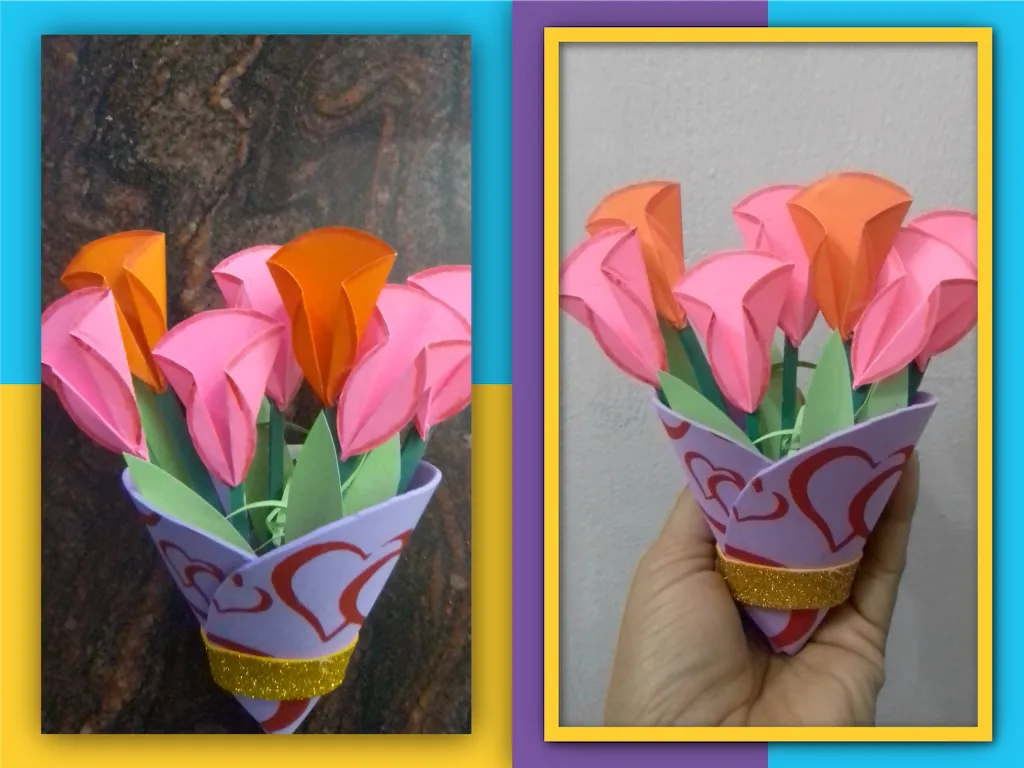
Resultado/ Result
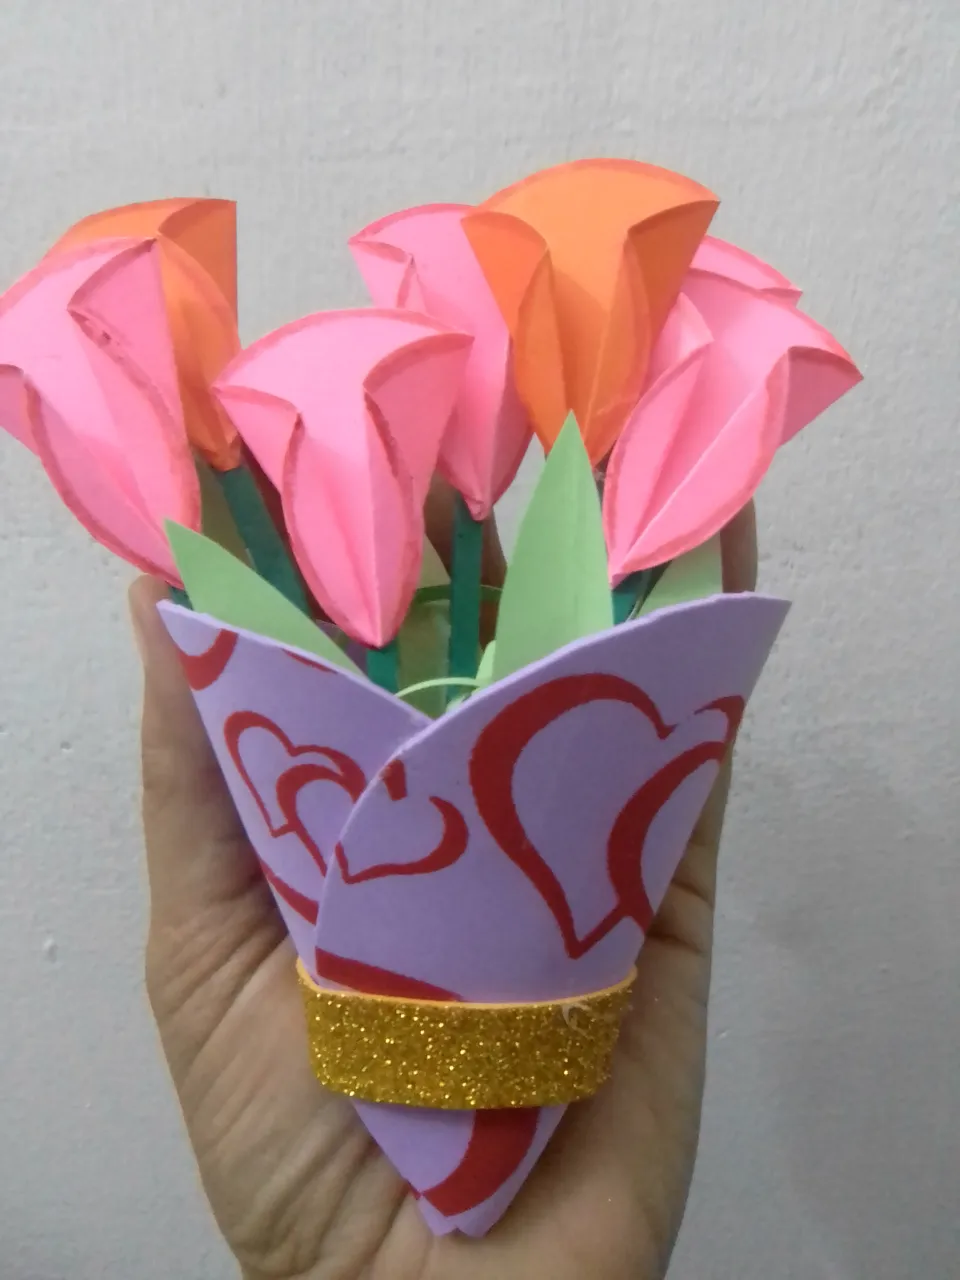

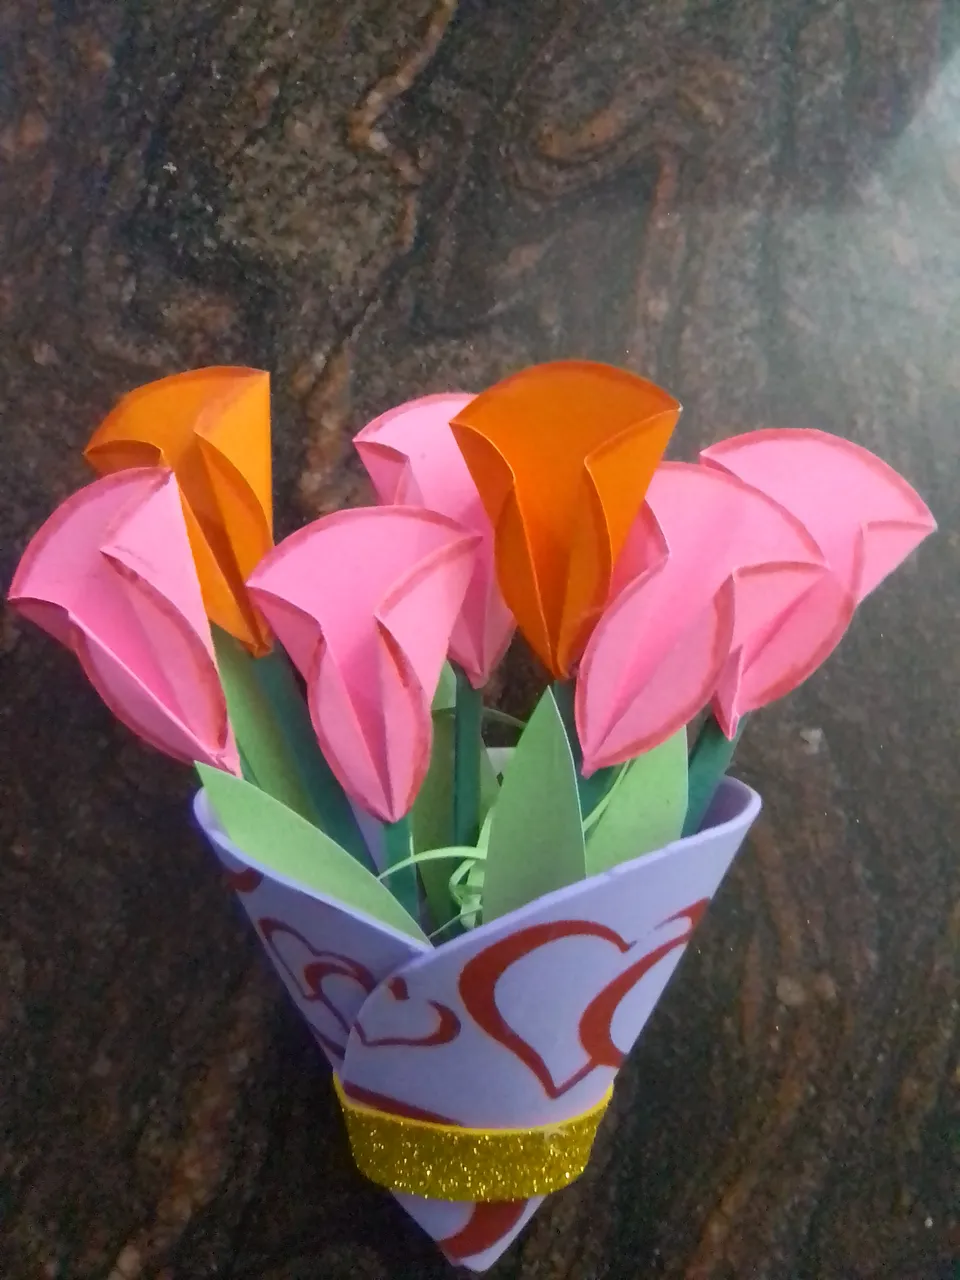
Este es un trabajo manual realizado para esta ocasión y espero sea de su agrado.
This is a manual work done for this occasion and I hope you like it.
Las fotos son de mi propiedad tomadas exclusivamente en este proyecto.
The photos are my property taken exclusively for this project.
Los collages del procedimiento los hice con la herramienta de mi Blue C6 y el principal en Picsart .
I made the collages of the procedure with my Blue C6 tool and the main one in Picsart .
Traductor usado
Translator used
DeepL Traductor
Gracias por leer y apoyar mi blog
Thank you for reading and supporting my blog