ENGLISH
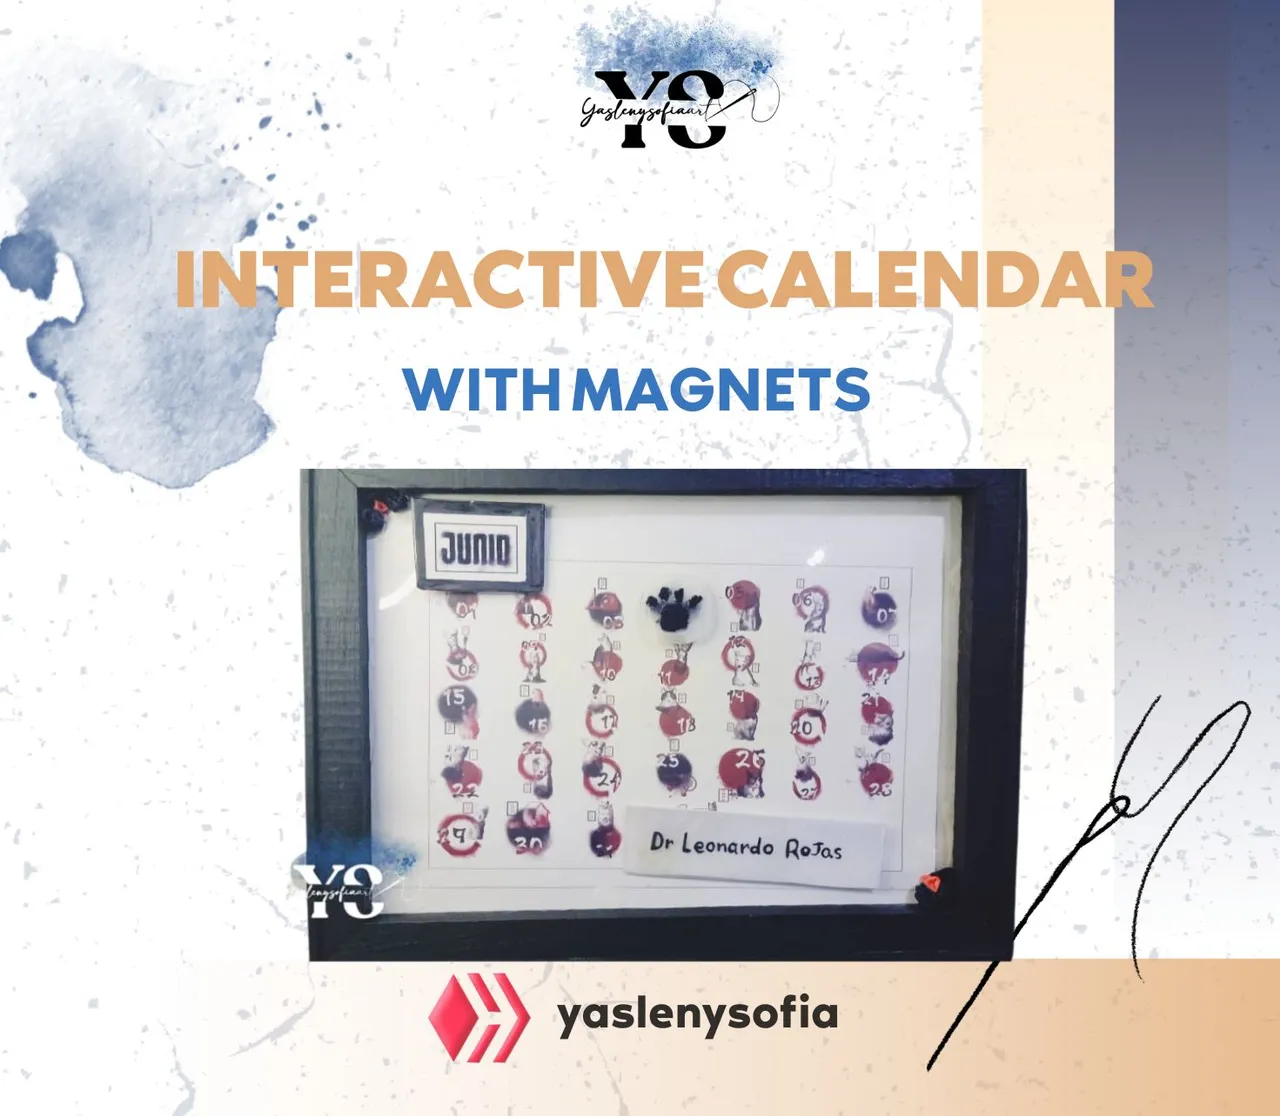
Greetings @hivediy community a while back I was posting on my blog the process of a series of illustrations that, for the most part, was dogs and cats and also, an embroidery to elaborate at the end an interactive calendar with magnets.
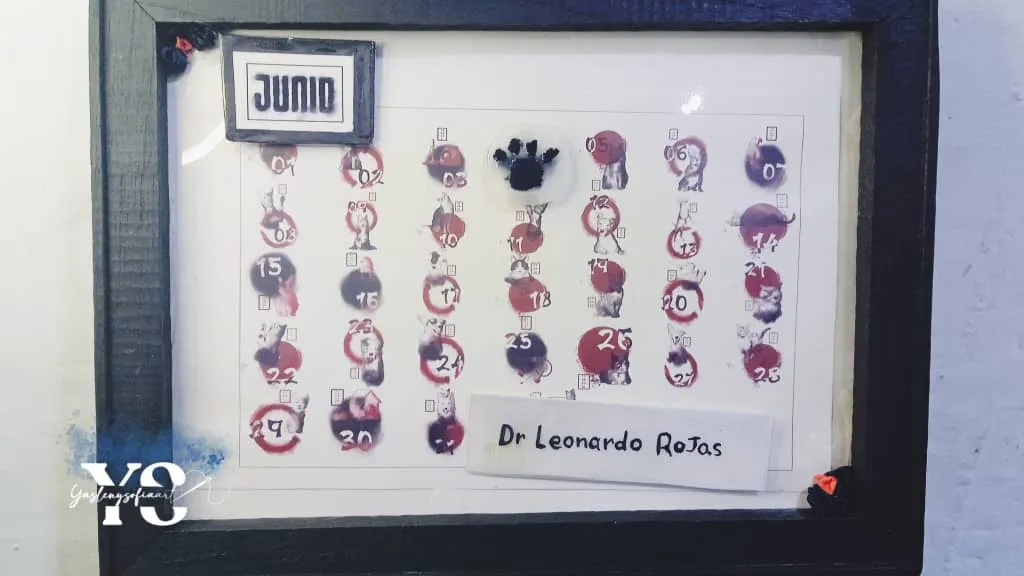
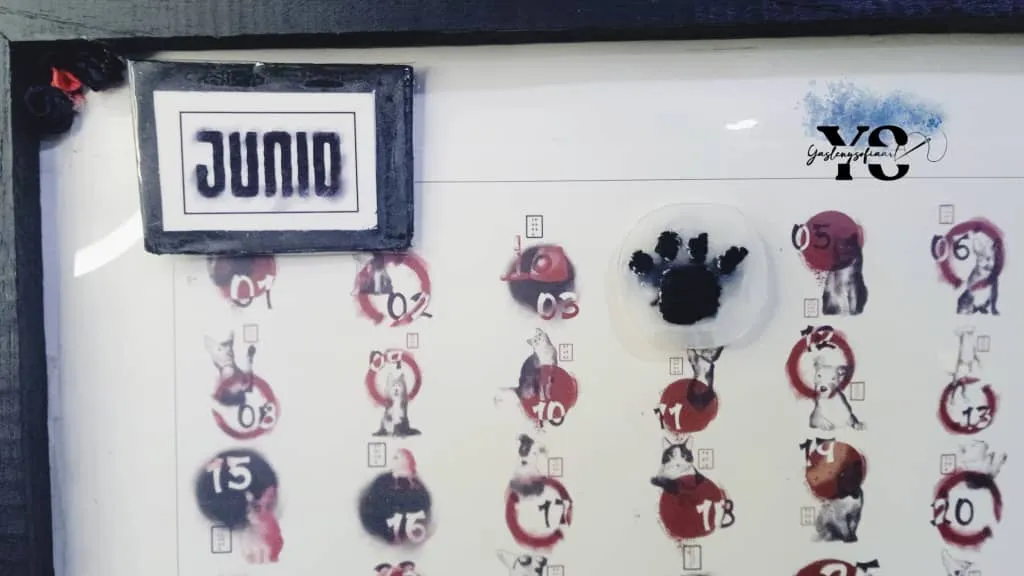
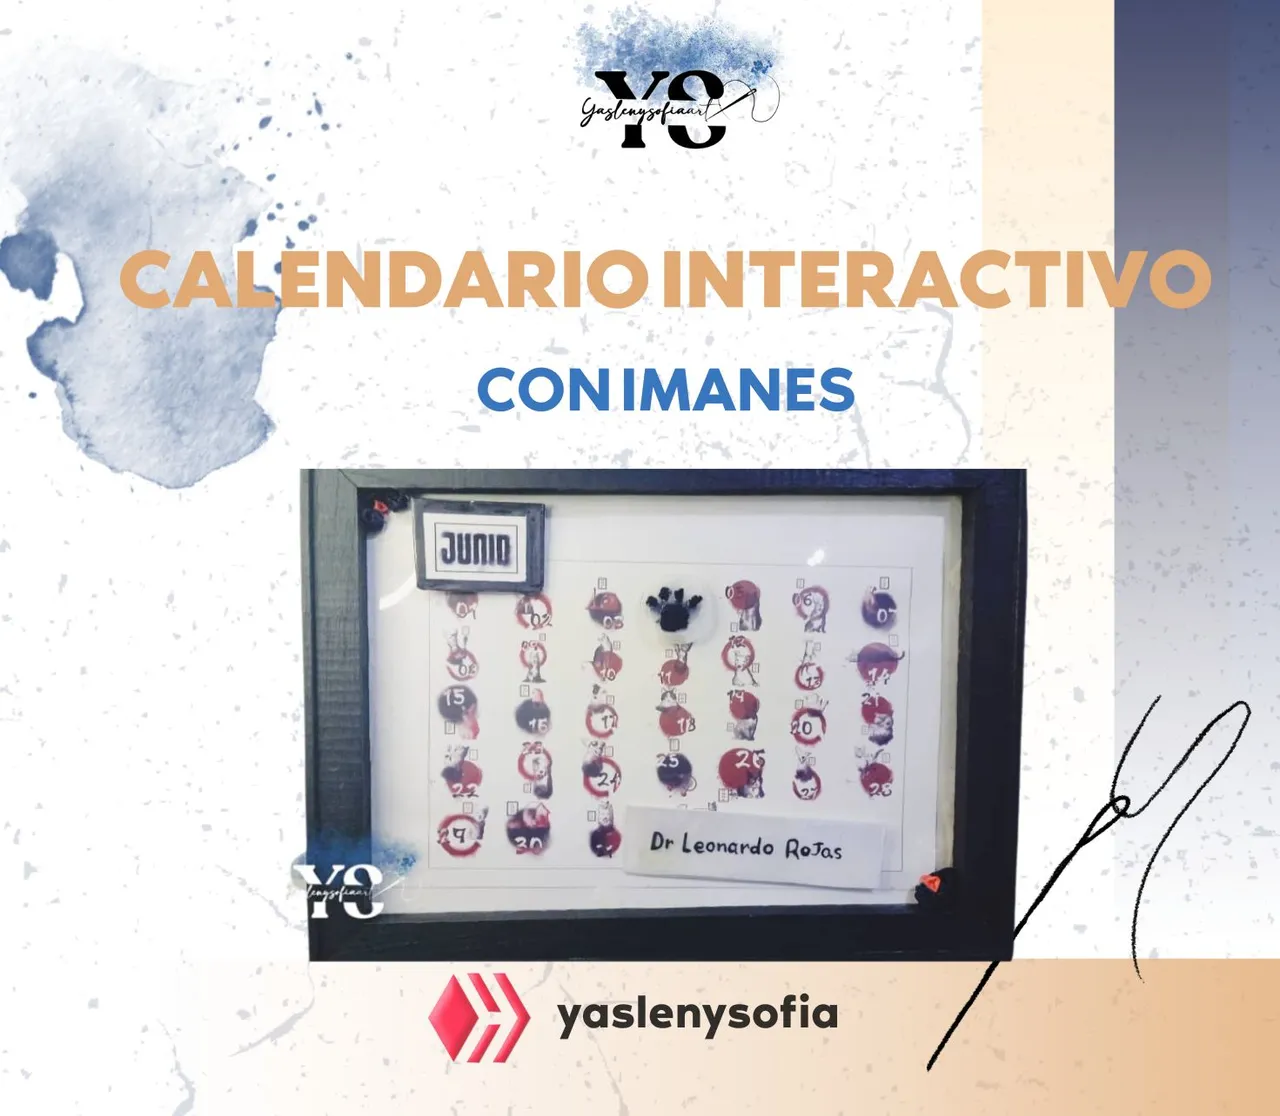
That is to say, the illustrations would carry the days from 01 to 31, the months I would take it out separately so that it would be placed with a magnet, as well as the piece that would mark the corresponding day. Finally, I managed to finish it and give it to my dogs' doctor, to whom, in a first step, I leave you the whole process that it took me to put it together.

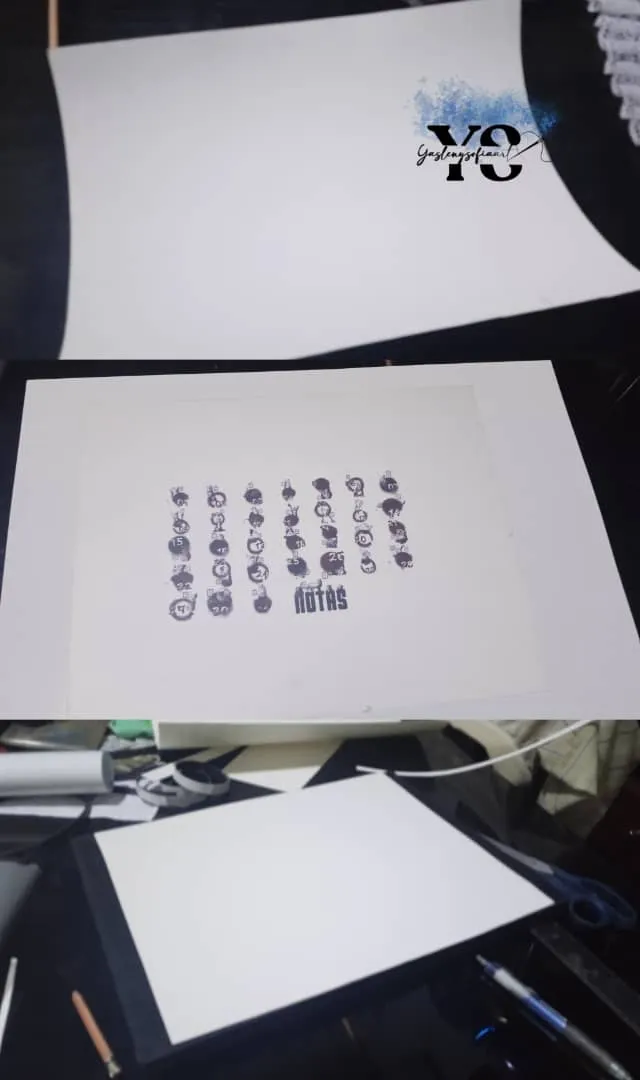
-An illustration printed on glasse paper 350 GRMS, where it would contain the days of a month and another print on glasse paper of the same grammage, which would carry the months to be cut out.
-Magnets in strip and if possible and much better, a complete magnet board.
-Black cold paint.
-Stone cardboard and cardboard 1 in kilo.
-Acetate sheet, large enough to cover the front of the frame.
-White cardboard.
-Black embroidery thread and needle.
-Scissors.
-White glue and hot silicon.

In the photo of the materials, you will see some that I used, however, there were inconveniences and changes in the process.

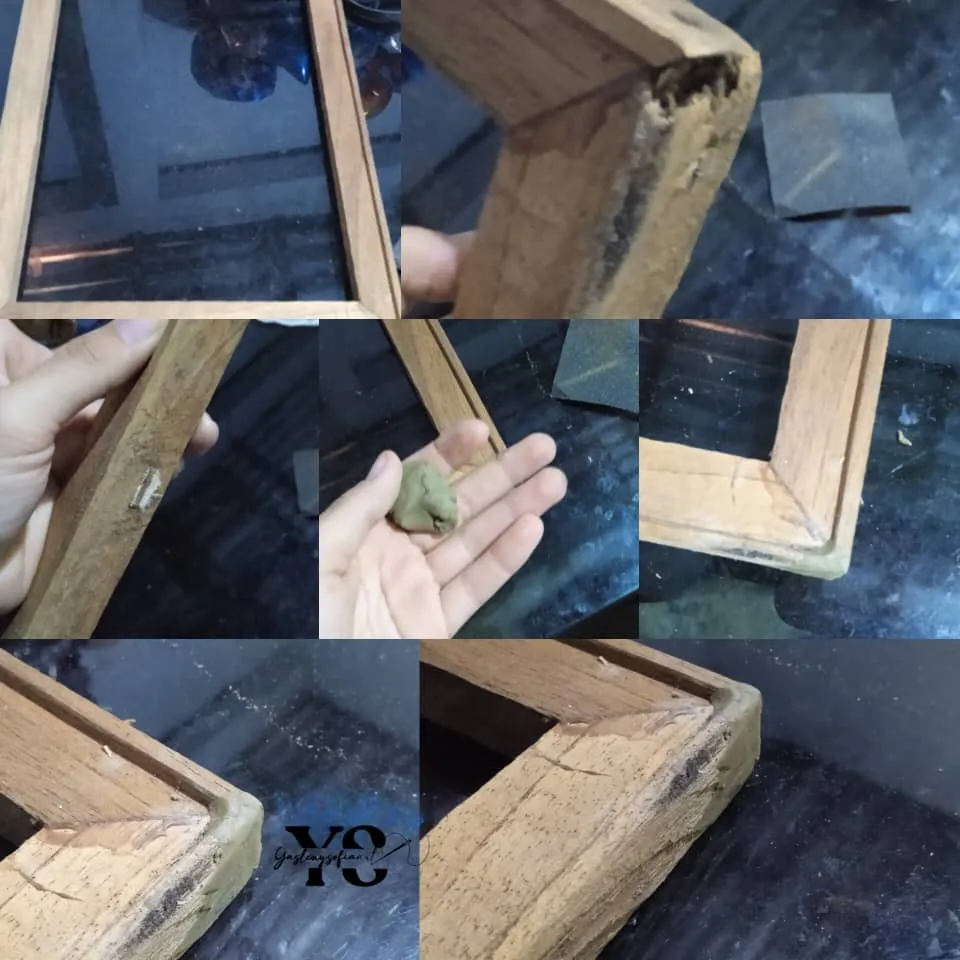
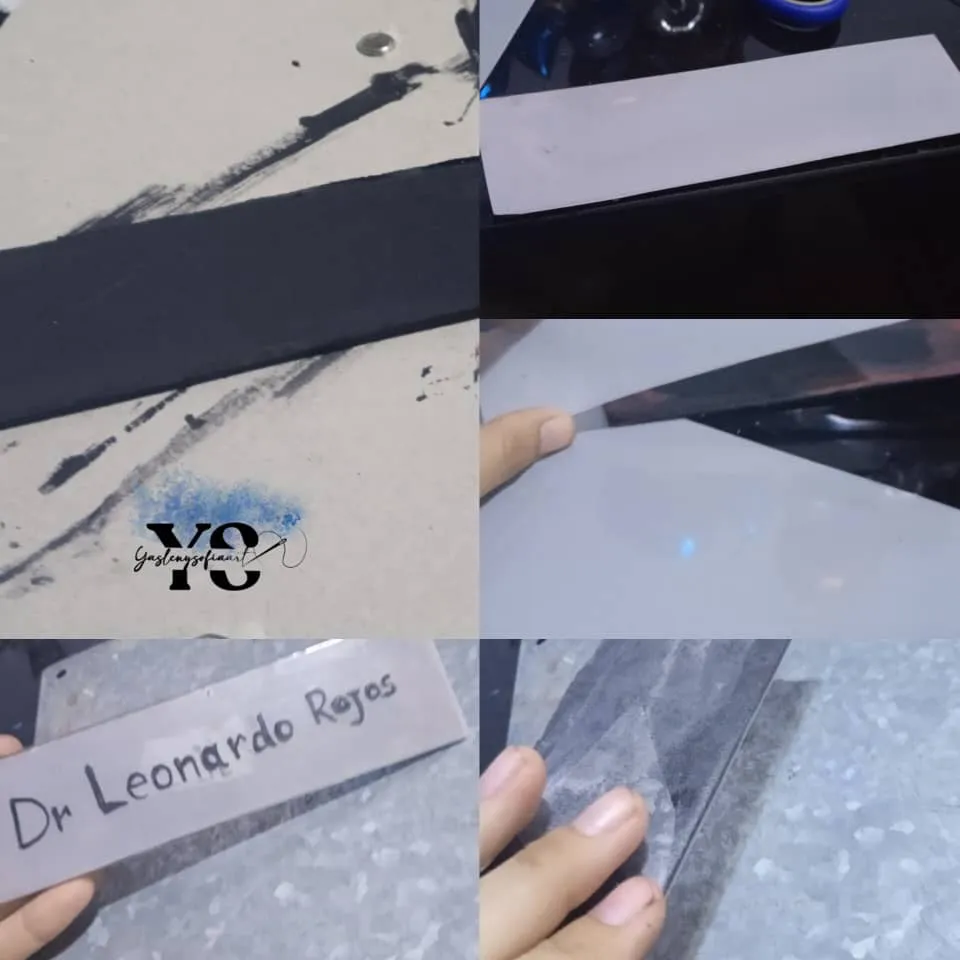
The first thing I did was to fix the frame, which was missing a small part in one of its corners, solving it with a little clay, I know it is not done that way, but it was what I had at the time and I wanted to take advantage that I would be given the transport to take it, so it was time. What I did was to fill the missing part and, after drying I sanded it and proceeded to paint the frame completely black, and so, nothing happened.
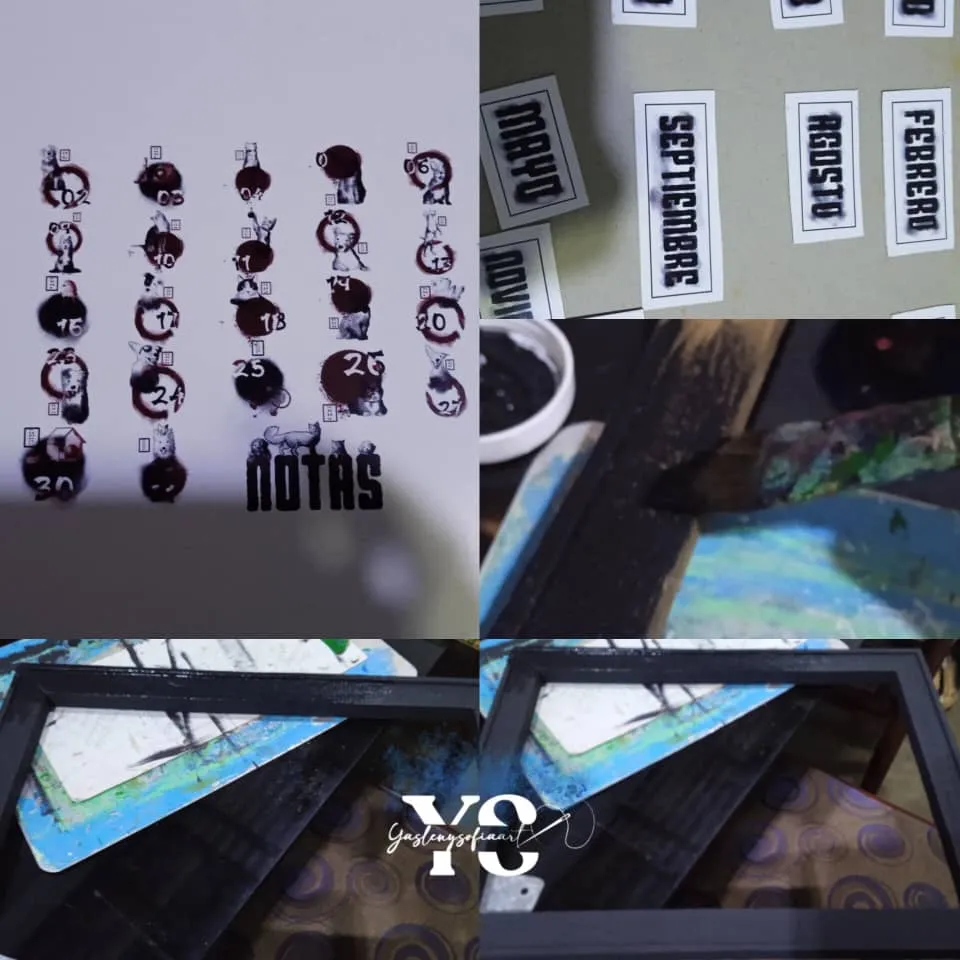
After painting and drying, I applied two coats of white glue to seal it well and give more shine to the black paint. Continuing, I cut the months, glued them on a cardboard stone, previously painted in black also, leaving them a frame of approximately 0.5 cm; once cut, I lined each one with transparent contact paper, so that they would resist in time.

Next, I cut a small cardboard 15 cm wide by 4 cm long and painted it black, since it would hold the sheets for the notes, I glued a white acetate that I had on hand and wrote the name of the doctor, to be lined with contact paper. I took advantage of the first calendar illustration that I printed, which was wrong, because I did not adjust it to the correct measurements, but, the material is used.
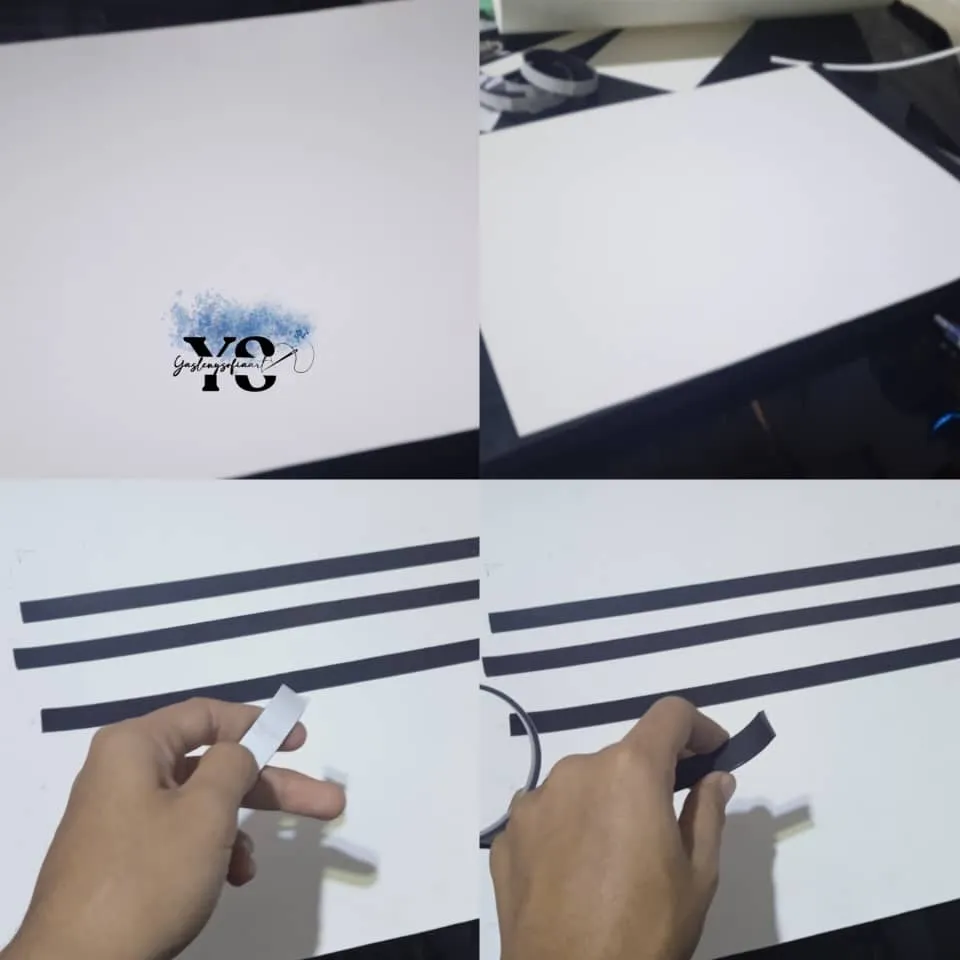
On a thicker, white cardboard, I glued the strips of magnets, measuring them according to where the days, months and note would be. At first, I wanted to use a metal board, which was large and the pieces could be put anywhere, but I didn't know how to glue it, so I had to buy more magnet strips.
With this ready, I assembled the complete picture, putting it in the following way: first layer, the transparent acetate; second layer, the illustration in glasse paper; third layer, the one that came out wrong in glasse paper, because I cut the illustrations box and I was left with a white background and, last layer, the cardboard with the magnets.
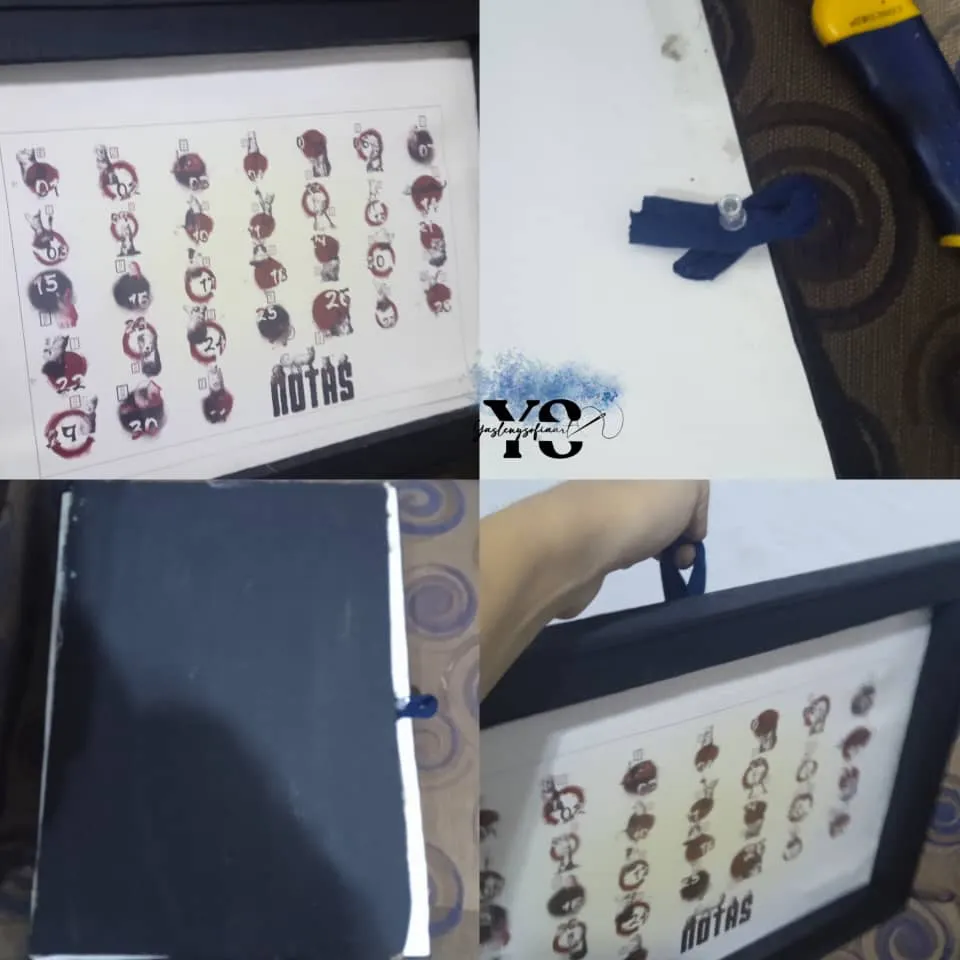
In the end, I had to glue a piece of cardboard on the back, to make it fit better and to keep the laminate with the magnets from moving. But, here I had a problem, the piece that I had embroidered at the beginning, was very big and it fell with the weight, the same with the piece that I had made for the notes.
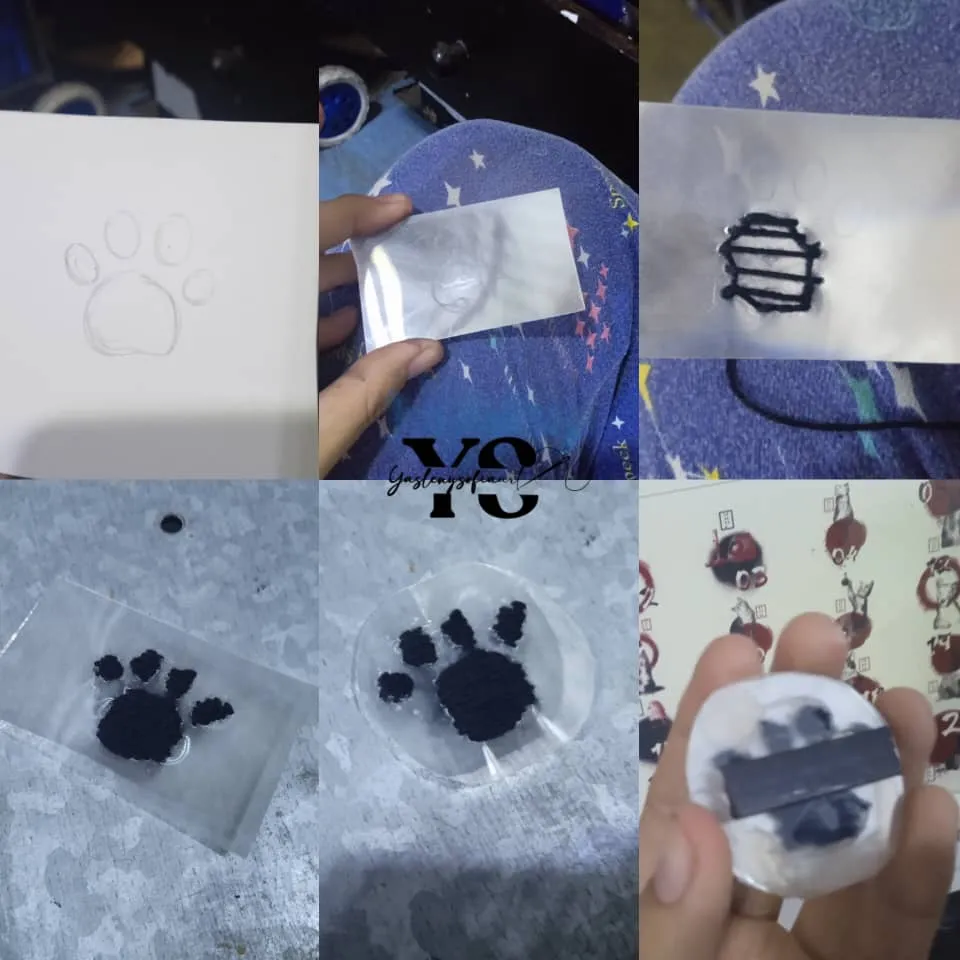
So, I had to make a smaller and super simple embroidery, a little dog's paw, but, embroidering it on a holographic acetate that I had at hand. I thought it would not look good and to my surprise the result was good, it was hard, I cut it in a circular shape surrounding the paw and glued it behind another piece of holographic acetate and thus adjust the threads.
I also made the one with the notes again, but with a thinner cardboard, gluing a piece of magnet to the back and also to the one with the duck. I tried the months, to see if they also adhered, because each month had a piece of magnet and yes, they all fit very well.
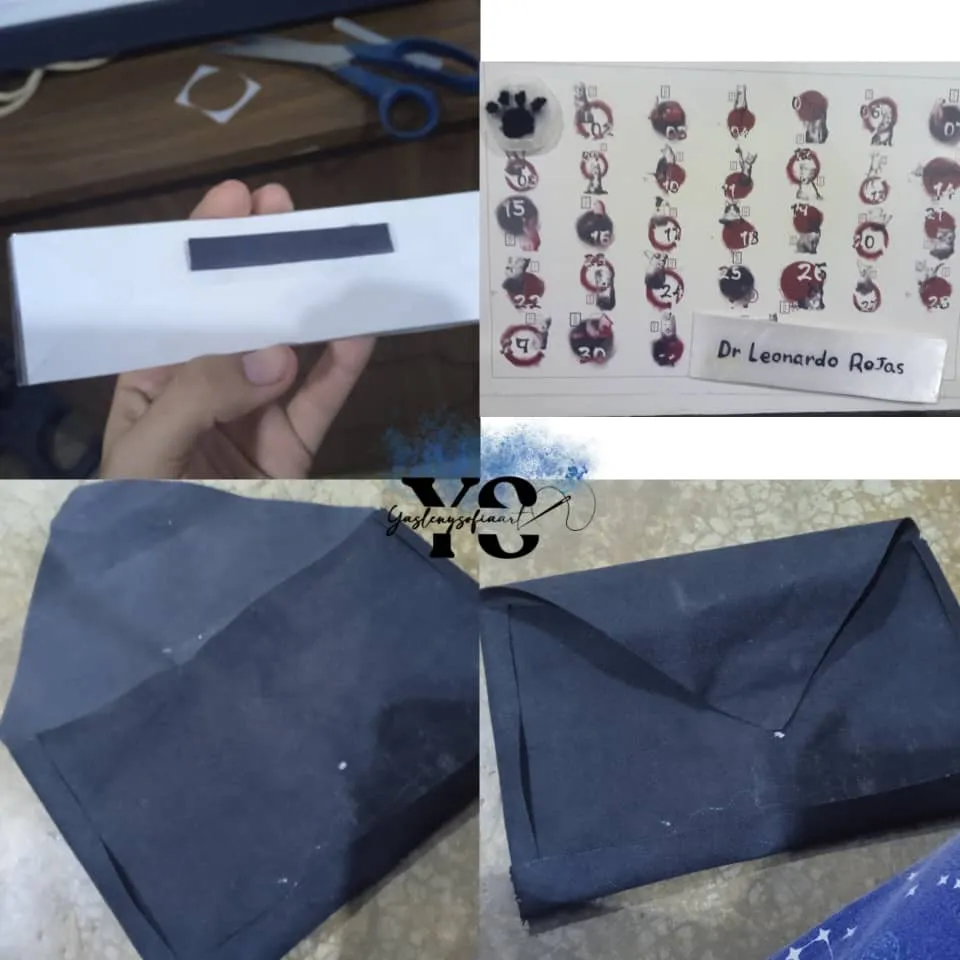
I made a small envelope made in black canvas, so that the pieces could be kept there, the final result of this envelope I don't have it, because I forgot it, what I can tell you is that it looked good and I glued a red button and a black magic clasp.
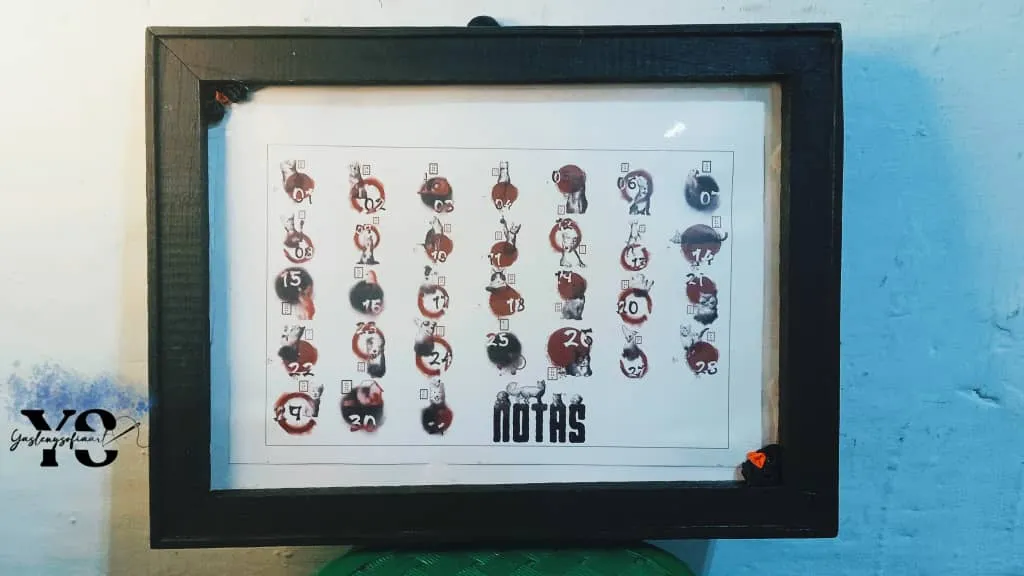
When I visualized better the final result, I realized that the acetate that covers the illustration moved and it looked a little bit bad in the corners, so I resorted to make some small black roses and a red one, and glued it in two of the corners. This is the final result.
I missed a lot in the finish and I really wanted the magnet sheet, although I have been told where I can get it, I hope to make a better woman one soon. Even so, I did not dislike the result and what do you think?

Thank you for reading my post. I hope you liked it. I will be attentive to answer your comments. You can visit my blog, follow my content and social networks.
FACEBOOK / INSTAGRAM / TWITTER
ESPAÑOL
Saludos comunidad de @hivediy hace un tiempo estuve publicando en mi blog el proceso de una serie de ilustraciones que, en su mayoría, era perros y gatos y asimismo, un bordado para elaborar al final un calendario interactivo con imanes.
Es decir, las ilustraciones llevarían los días de 01 al 31, los meses lo sacaría aparte para que se ponga con imán, al igual que la pieza que marcaria el día correspondiente. Al fin, lo logré terminar y entregárselo al doctor de mis perros, a quien, en un inicio destinado, les dejo todo el proceso que me llevo armarlo.
-Una ilustración impresa en papel glasse 350 GRMS, donde contendría los días de un mes y otra impresión en papel glasse del mismo gramaje, que llevaría los meses a recortar.
-Imanes en tira y si es posible y mucho mejor, una tabla completa de imán.
-Pintura al frío negra.
-Cartón piedra y cartón 1 en kilo.
-Lámina de acetato, lo suficientemente grande para que cubra el frente del marco.
-Cartulina blanca.
-Hilo de bordar negro y aguja.
-Tijeras.
-Pega blanca y silicón caliente.
En la foto de los materiales, apreciaran unos que use, no obstante, hubo inconvenientes y cambios en el proceso.
Lo primero que hice fue arreglar el marco, el cual le faltaba una pequeña parte en una de sus esquinas, solventándolo con un poco de arcilla, sé que no se hace así, pero era lo que tenia en el momento y quería aprovechar que me darían el transporte para llevarlo, pues tocaba. Lo que hice fue rellenar la parte faltante y, luego de secado lo lijé y procedí a pintarlo de negro por completo el marco, y así, no sucedió nada.
Luego de pintarlo y, que se secara, le pase dos capas de cola blanca para que sellara bien y le diera como más brillo a la pintura negra. Continuando, corté los meses, los pegué en un cartón piedra, previamente pintado en negro también, dejándoles un marco de aproximadamente de 0.5 cm; ya cortados, los forré a cada uno, con papel contact transparente, para que resistieran en el tiempo.
Seguidamente, corté un pequeño cartón de 15 cm de ancho por 4 cm de largo y lo pinté de negro, ya que en él se sujetarían las hojas para la parte de las notas, le pegué un acetato blanco que tenia a la mano y le escribí el nombre del doctor, para ser forrados en papel contact. Aproveché la primera ilustración de calendario que imprimí, el cual quedó mal, porque no lo ajusté a las medidas correctas, pero, el material se aprovecha.
En una cartulina más gruesa, blanca, fui pegando las tiras de imanes, midiéndolas de acuerdo donde tocaría los días, los meses y la nota. Al principio, quería usar una tabla de metal, que era mucho y las piezas se podrían poner el cualquier parte, pero no sabía cómo pegarla, así que me tocó comprar más tiras de imán.
Ya con esto listo, armé el cuadro completo, poniéndolo de la siguiente manera: primera capa, el acetato transparente; segunda capa, la ilustración en papel glasse; tercera capa la que me salió mal en papel glasse, porque corté el recuadro de las ilustraciones y que quedé en fondo blanco y, ultima capa, la cartulina con los imanes.
Al final, tuve que recurrir a pegarle un cartón en la parte de atrás, para ajustarlo mucho mejor y la lamina con los imanes, no se moviera. Pero, aquí tuve un inconveniente, la pieza que hice bordada en un inicio, era muy grande y se caía con el peso, igualmente con la pieza que había hecho para la parte de las notas.
Así que, tuve que hacer un bordado más pequeño y super sencillo, una patita de perrito, pero, bordándolo en un acetato holográfico que tenia a la mano. Pensé que no quedaría bien y para mi sorpresa si estuvo bueno el resultado, costó eso sí, lo corté en forma circular rodeando la patita y pegándolo detrás otro pedazo del acetato holográfico y así ajustar los hilos.
Asimismo, hice nuevamente el de la parte de las notas, pero con un cartón más finito, pegándolo en la parte de atrás un trozo de imán y también al de la patita. Probé los meses, a ver si también se adherían, porque cada mes tenia un pedazo de imán y si, se ajustaban todos muy bien.
Realice un pequeño sobre hecho en loneta negra, para que las piezas fuesen guardadas ahí, el resultado final de este sobre no lo tengo, porque se me olvidó, lo que les puedo decir es que quedó bien y le pegué un botón rojo y cierre mágico negro.
Al visualizar mejor el resultado final, me di cuenta que el acetato que cubre la ilustración se movió y se veía un poco mal la parte de las esquinas, recurriendo hacer unas pequeñas rosas negras y una roja, y pegándolo en dos de las esquinas. Este es el resultado final.
Me faltó mucho en el acabado y realmente deseaba la lámina de imán, aunque ya me dijeron donde puedo conseguirla, espero pronto hacerle uno mujer mejor. Aun así, no me desagradó el resultado y, ¿ustedes que opinan?
Gracias por leer mi post. Espero que les haya gustado. Estaré atenta a responder sus comentarios. Pueden visitar mi blog, seguir mis contenidos y redes sociales
FACEBOOK / INSTAGRAM / TWITTER