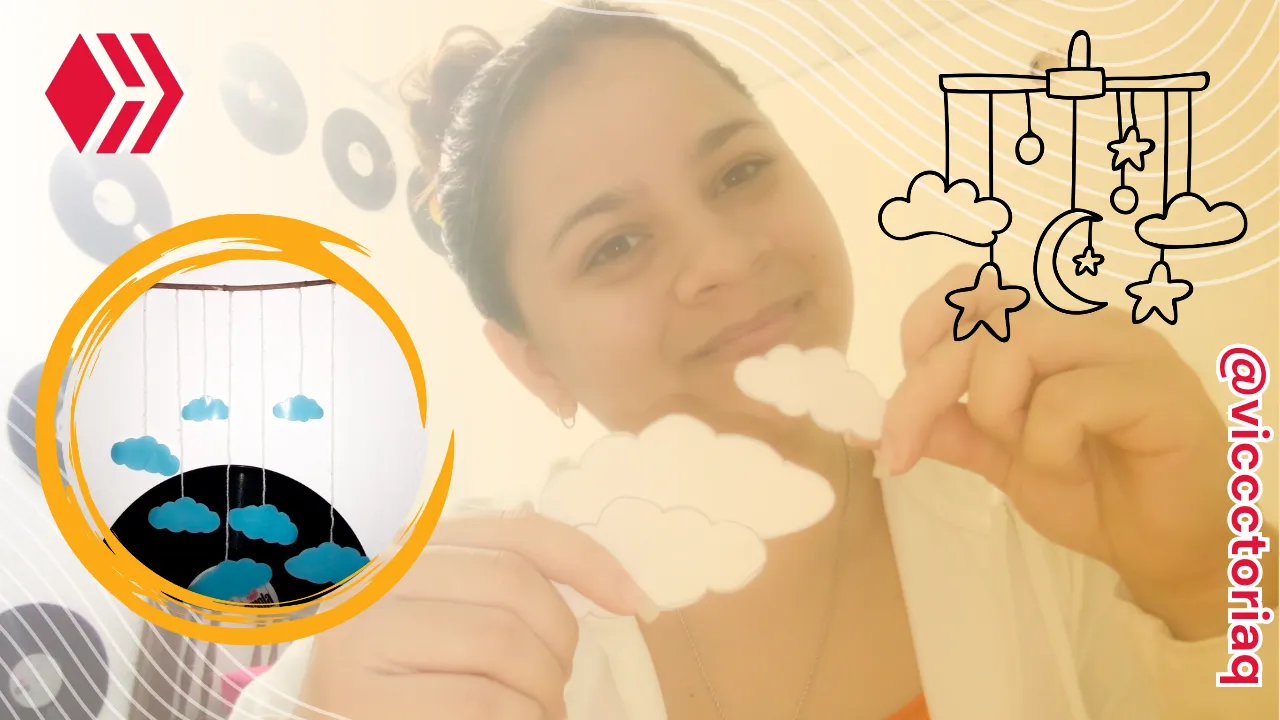
Hola queridos amigos de #hive, es un placer para mí compartir con ustedes mi primer tutorial para la comunidad #hivediy. Hace algunos días estaba un poco aburrida y decidí buscar algunas ideas para redecorar mi habitación, me topé con hermosas manualidades para colgar en las paredes y elegí una fácil para ver que tal me iba.
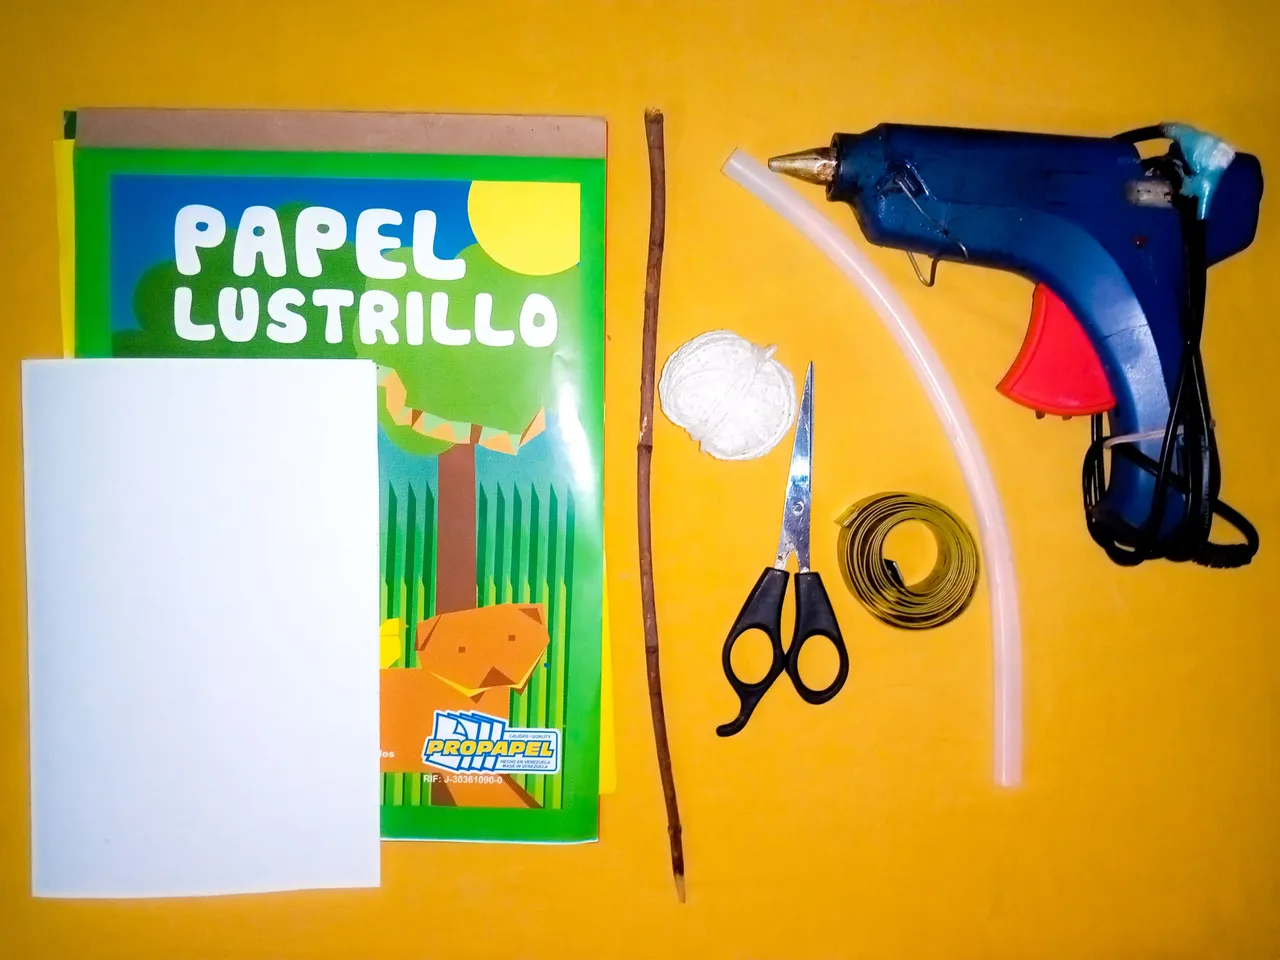
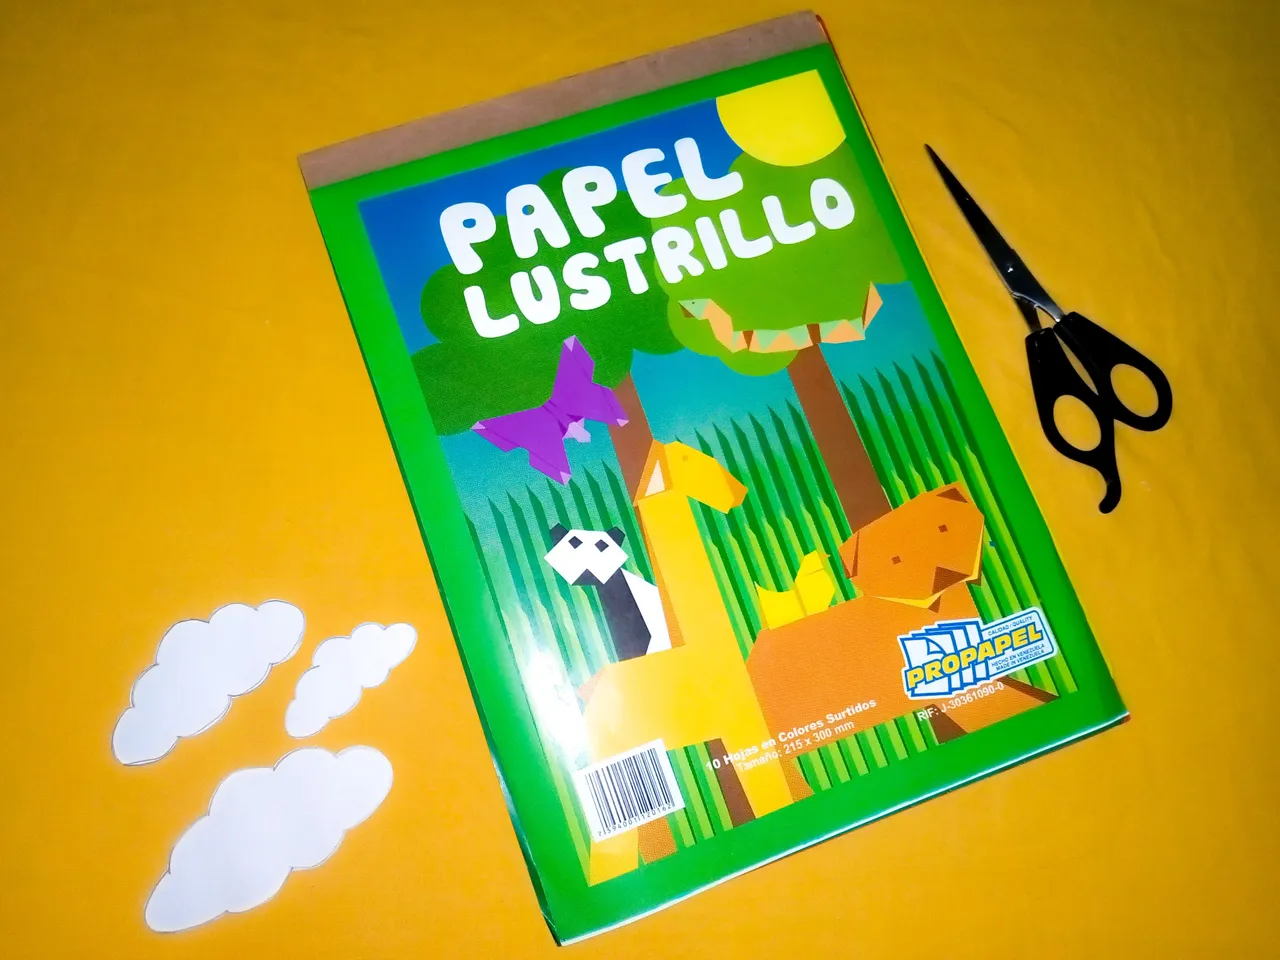
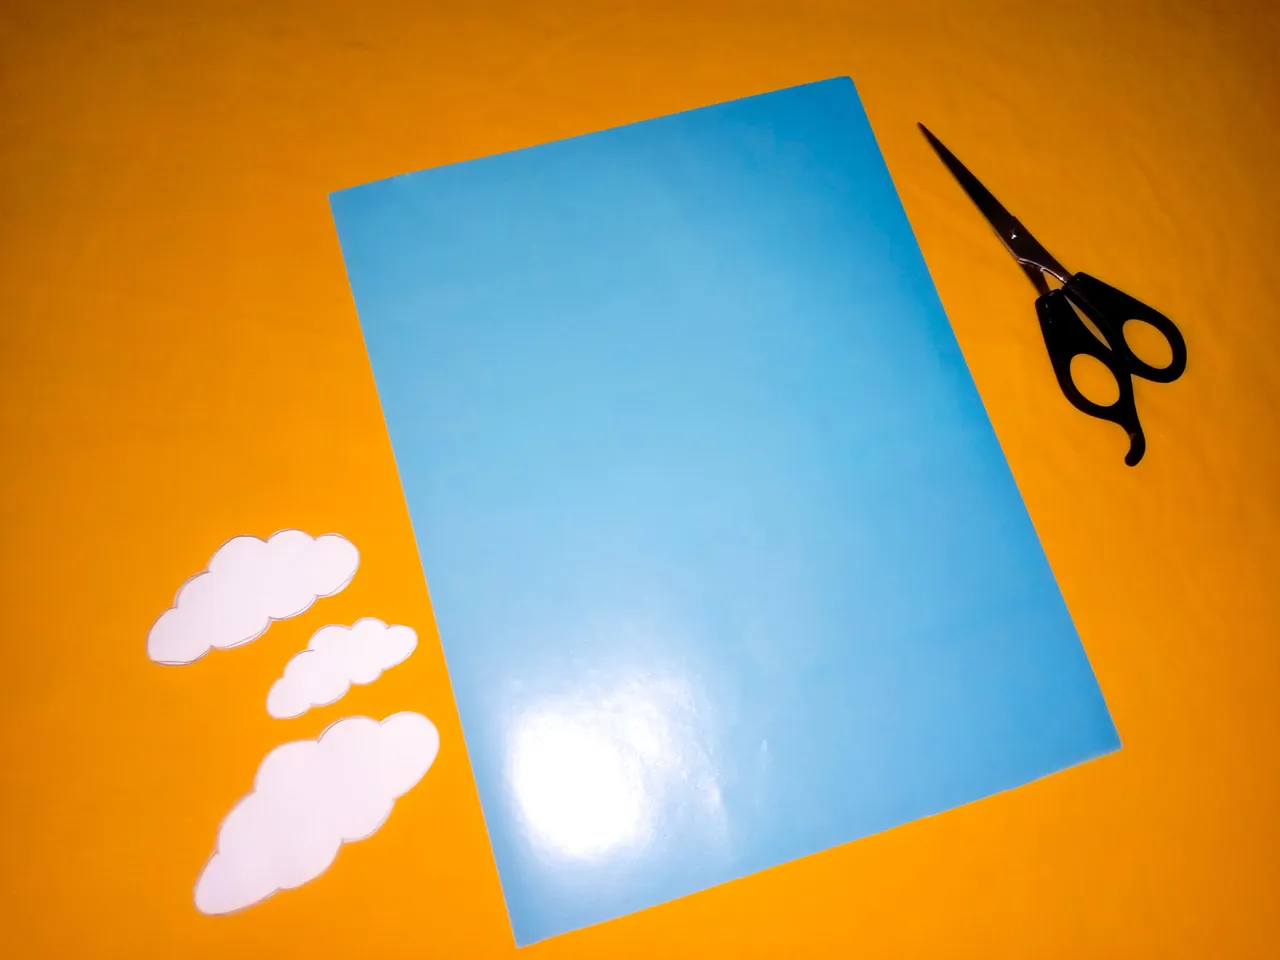
Con materiales muy comunes y fáciles de obtener, obtuve un lindo resultado que me gustó muchísimo. Entre los materiales utilicé una pequeña ramita, hilo pabilo, hoja blanca, papel lustrillo, pistola de silicón, tijera y cinta métrica.
Hello dear #hive friends, it's a pleasure for me to share with you my first tutorial for the #hivediy community. A few days ago I was a bit bored and decided to look for some ideas to redecorate my room, I came across beautiful crafts to hang on the walls and I chose an easy one to see how I was doing.
With very common and easy to obtain materials, I got a nice result that I really liked. Among the materials I used, I used a small twig, wick twine, white paper, lustrillo paper, silicone gun, scissors and tape measure.
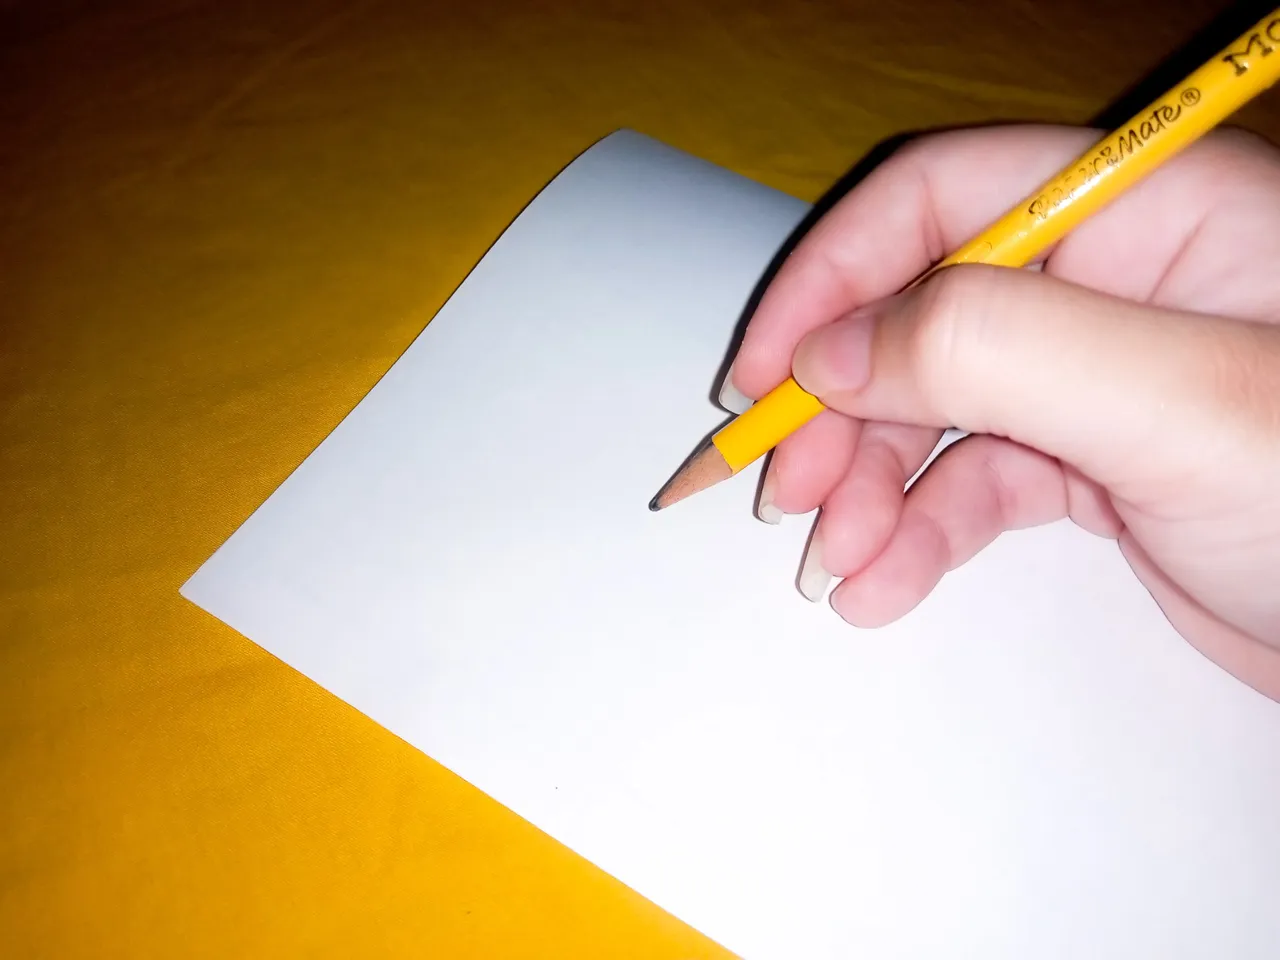
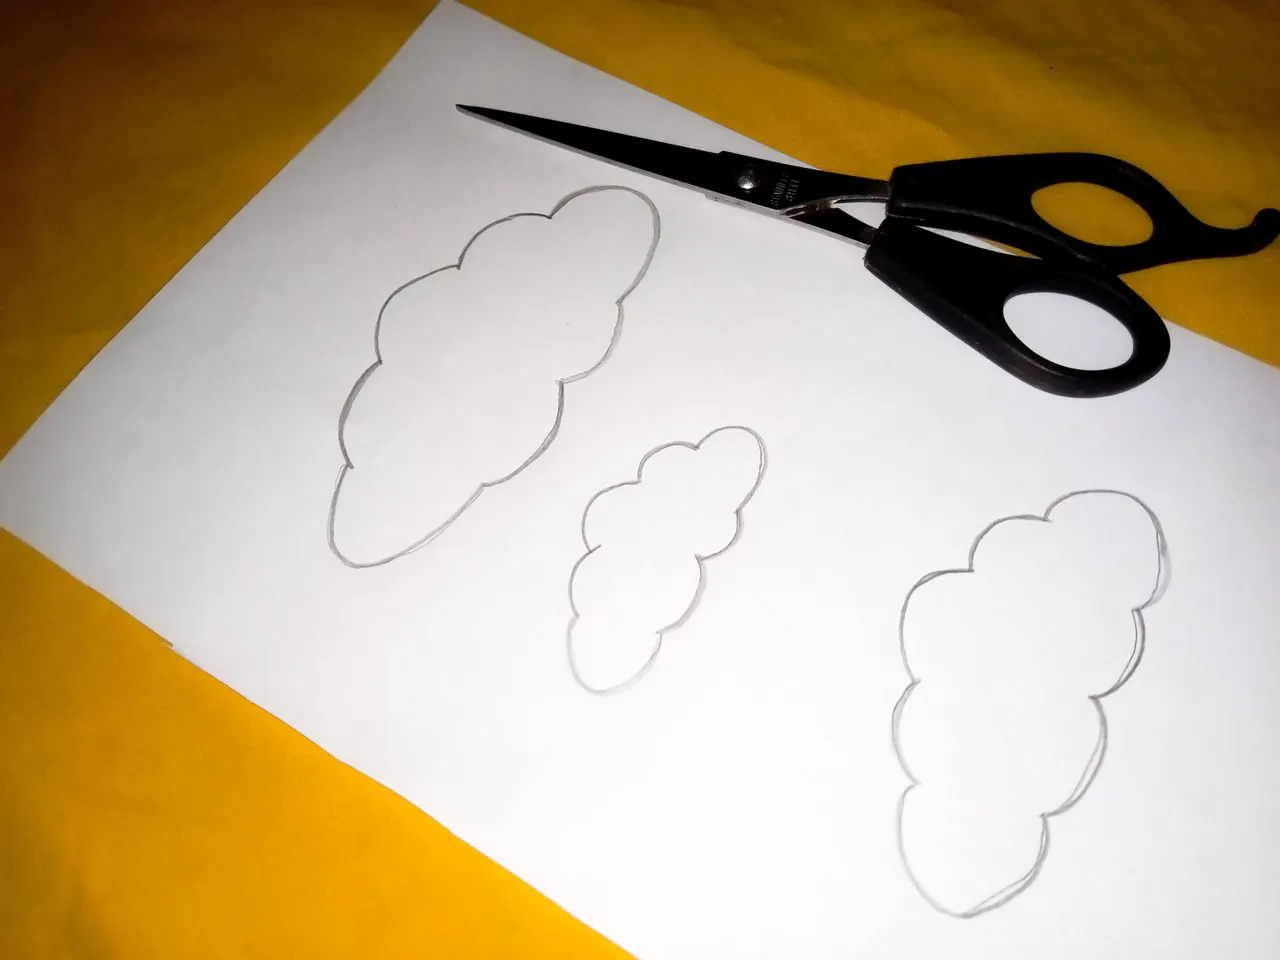
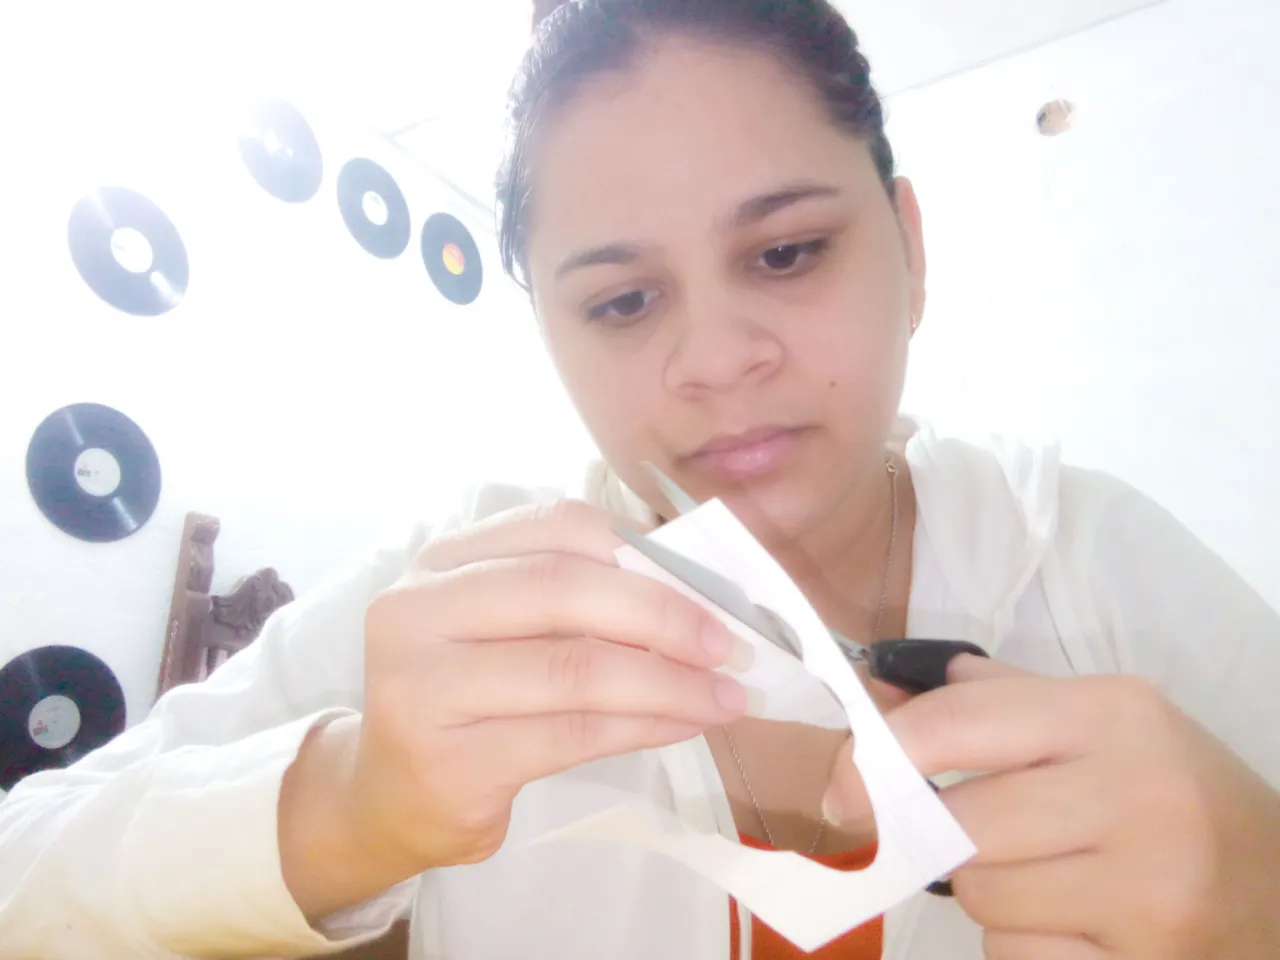
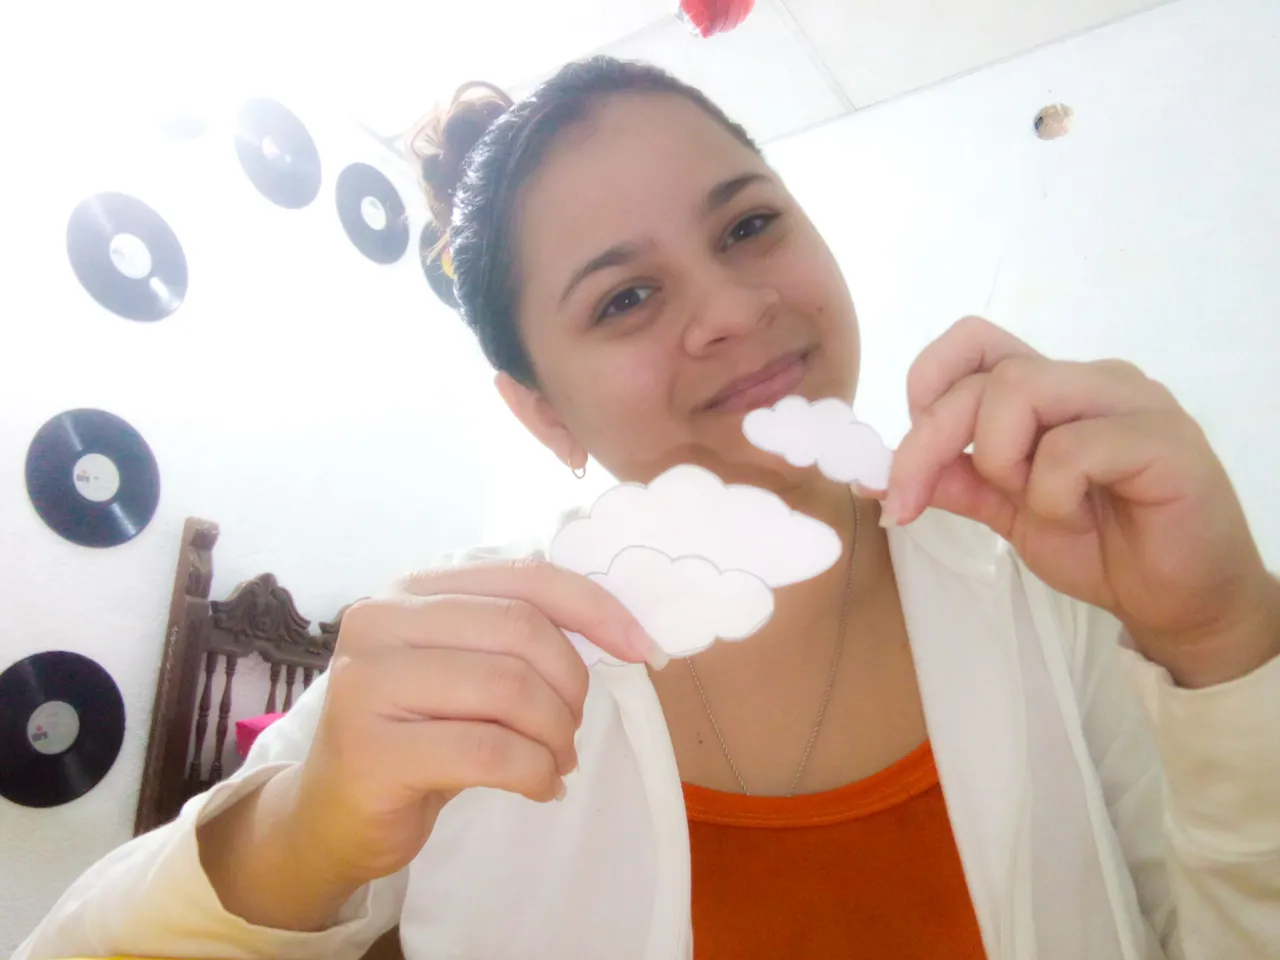
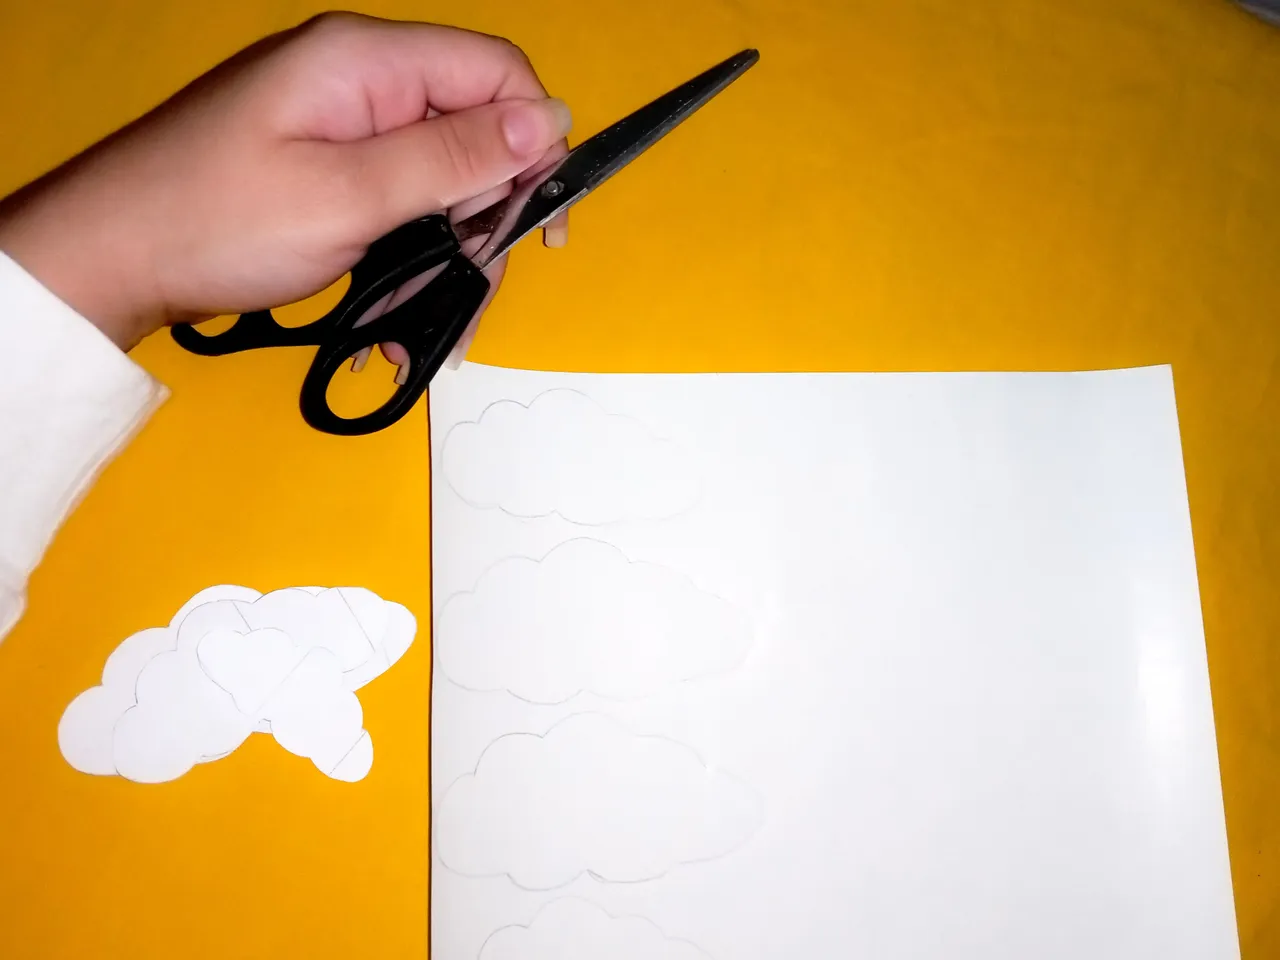
Para comenzar vamos a utilizar la hoja blanca dibujando la forma de nuestra preferencia, en este caso yo elegí unas nubes. Haremos tres formas de nubes con un tamaño diferente cada una (grande, mediana, pequeña) y procederemos a recortarlas, esto es para utilizar como plantillas más adelante.
To start we are going to use the white sheet drawing the shape of our preference, in this case I chose some clouds. We will make three cloud shapes with a different size each (large, medium, small) and proceed to cut them out, this is to use as templates later on.
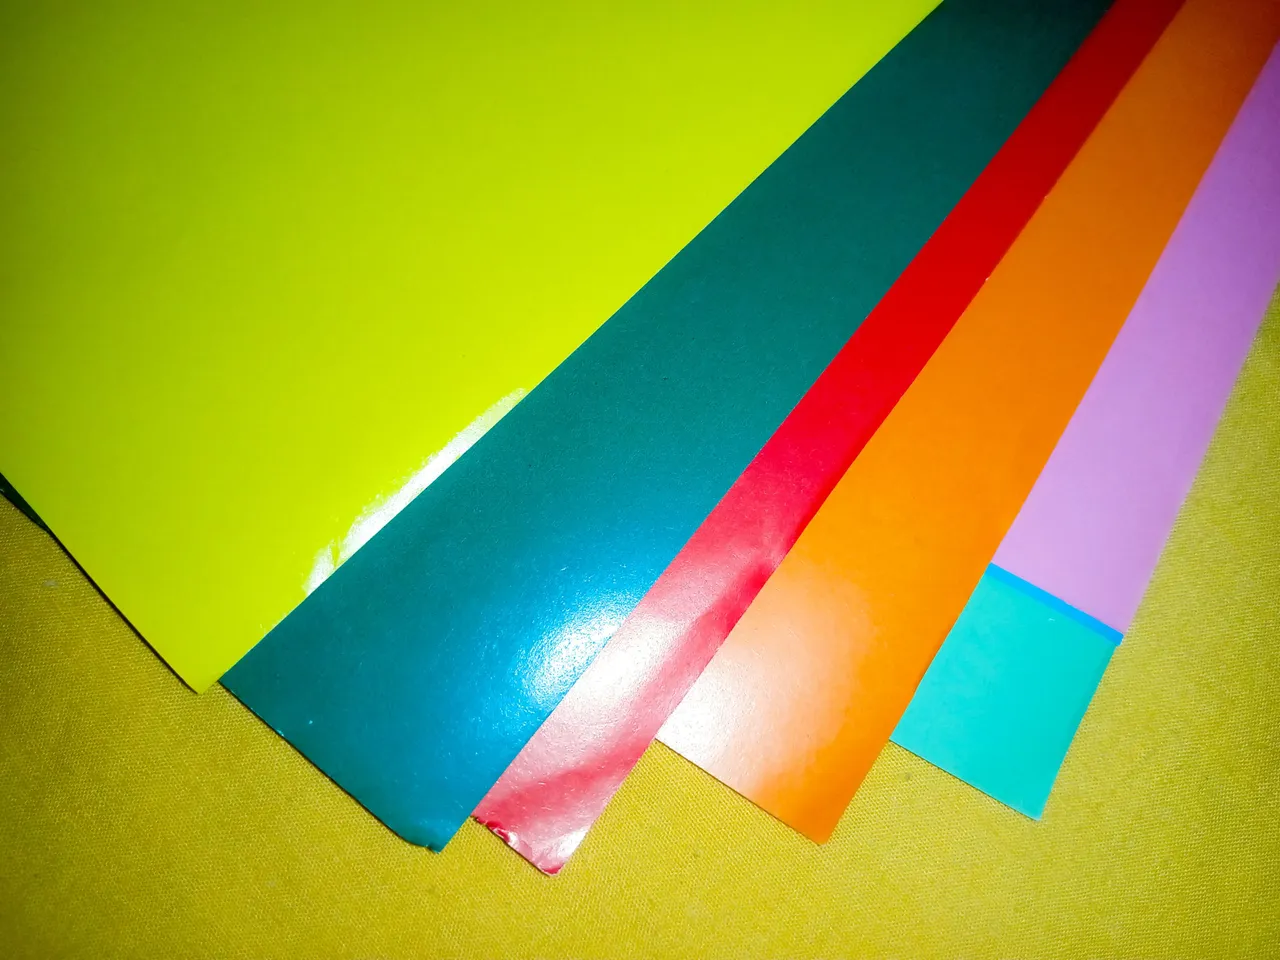
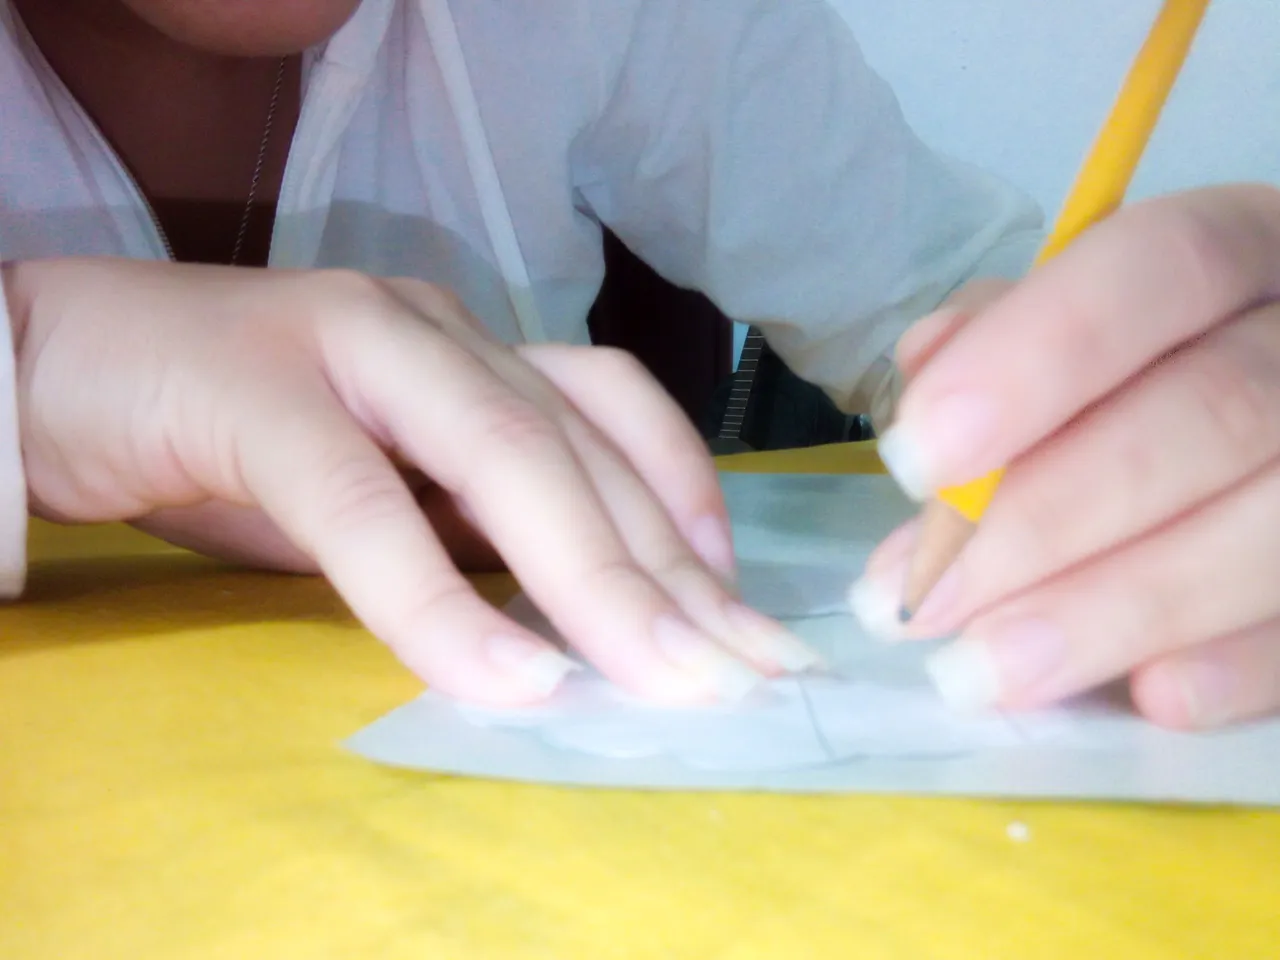
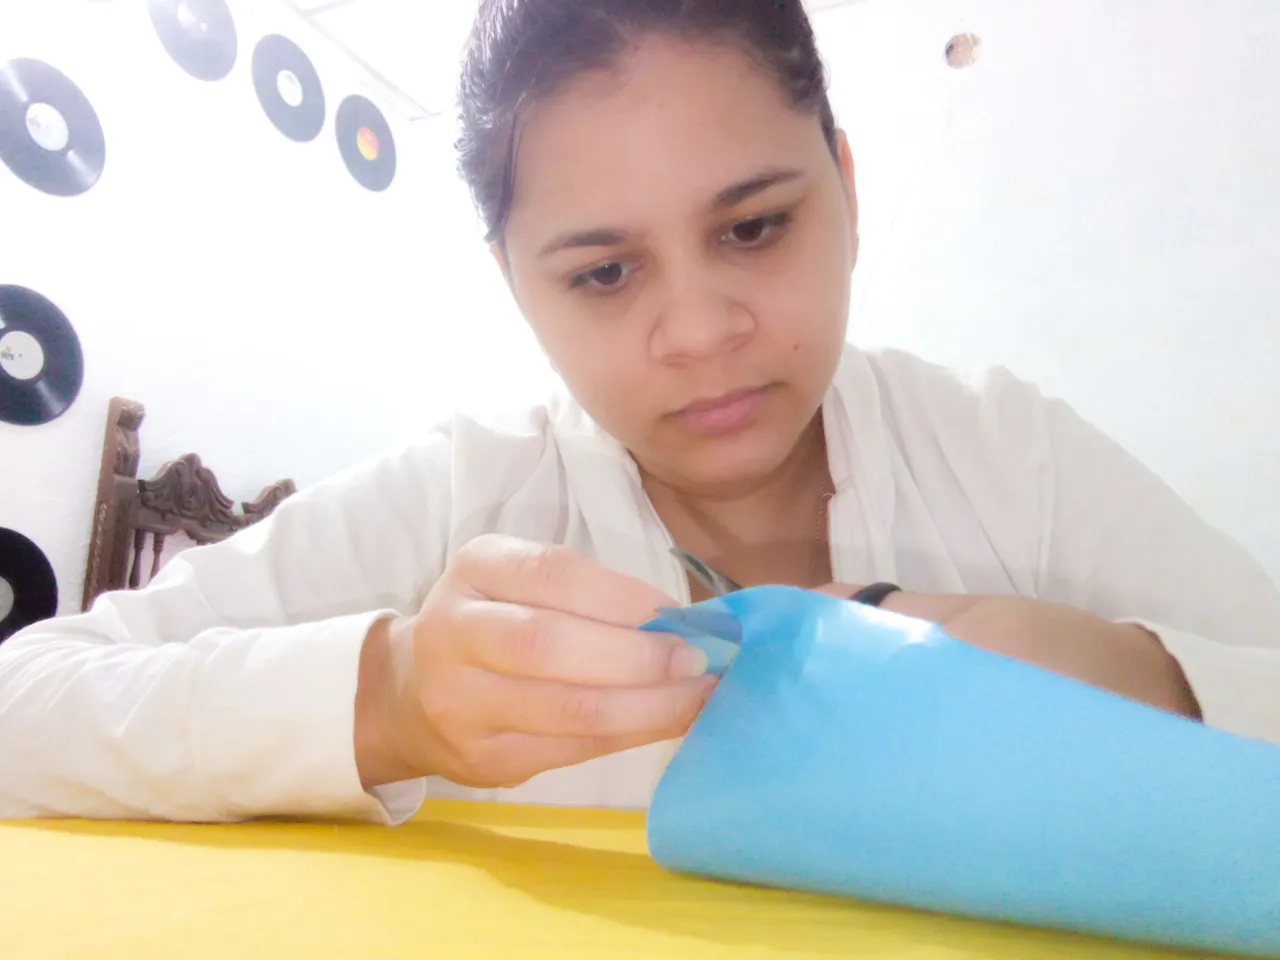
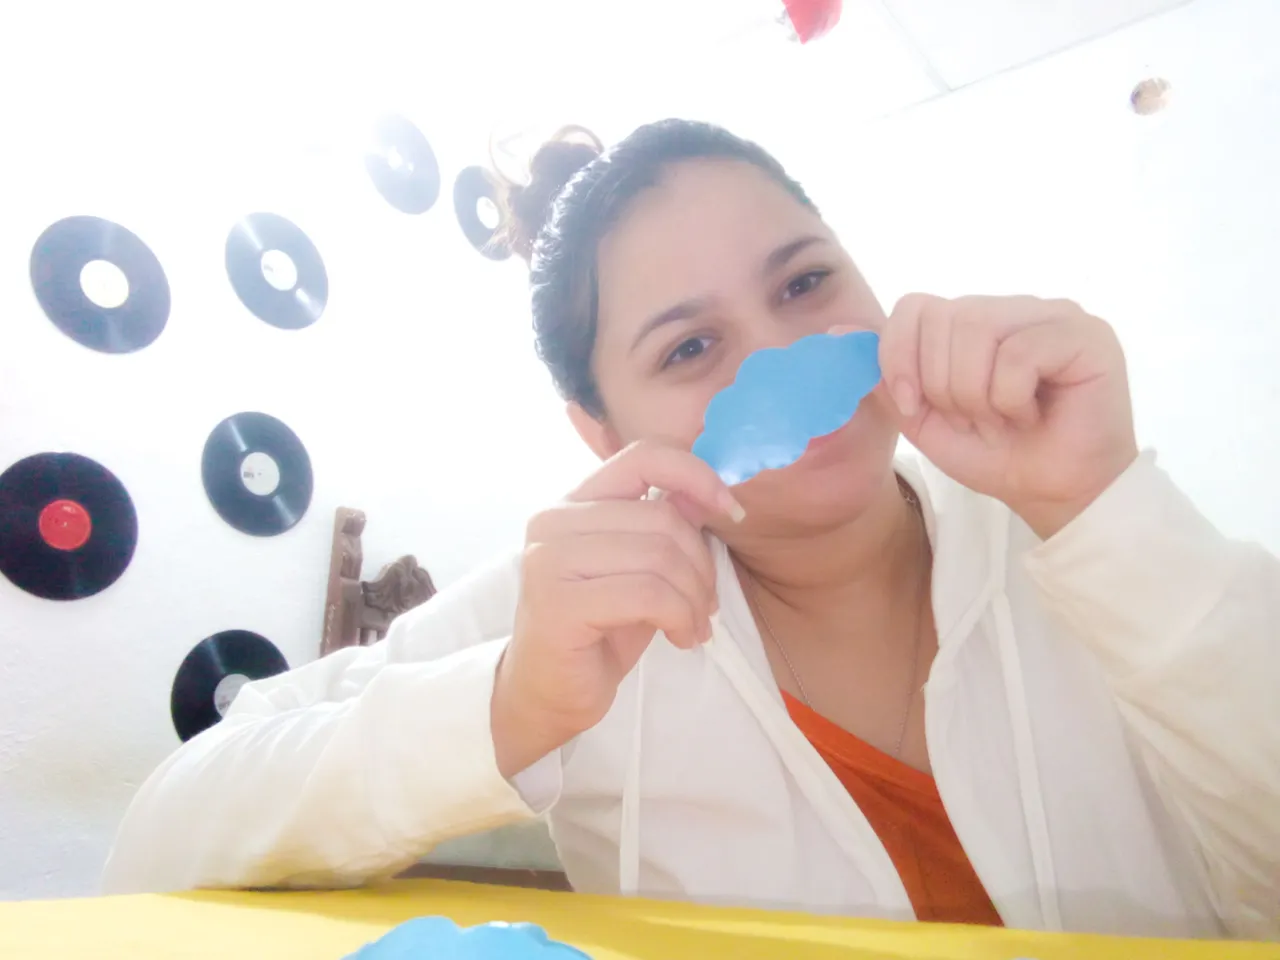
Al tener las plantillas de las nubes utilizaremos el papel lustrillo (pueden utilizar el material de su preferencia) para darle vida a las nubes. Yo quería las nubes de color blanco, pero elegí el azul para que resaltara debido a que la pared de mi habitación es blanca. Procedemos a remarcar siete nubes por la parte tracera del papel; dos grandes, tres medianas y dos pequeñas. Al terminar de remarcar continuamos recortando cada nube con mucho cuidado para que su forma quede muy bien marcada.
Once we have the templates of the clouds we will use the lustrillo paper (you can use the material of your choice) to give life to the clouds. I wanted the clouds to be white, but I chose blue to make them stand out because my bedroom wall is white. We proceed to outline seven clouds on the back side of the paper; two large, three medium and two small. When we finish outlining, we continue cutting out each cloud very carefully so that its shape is very well marked.

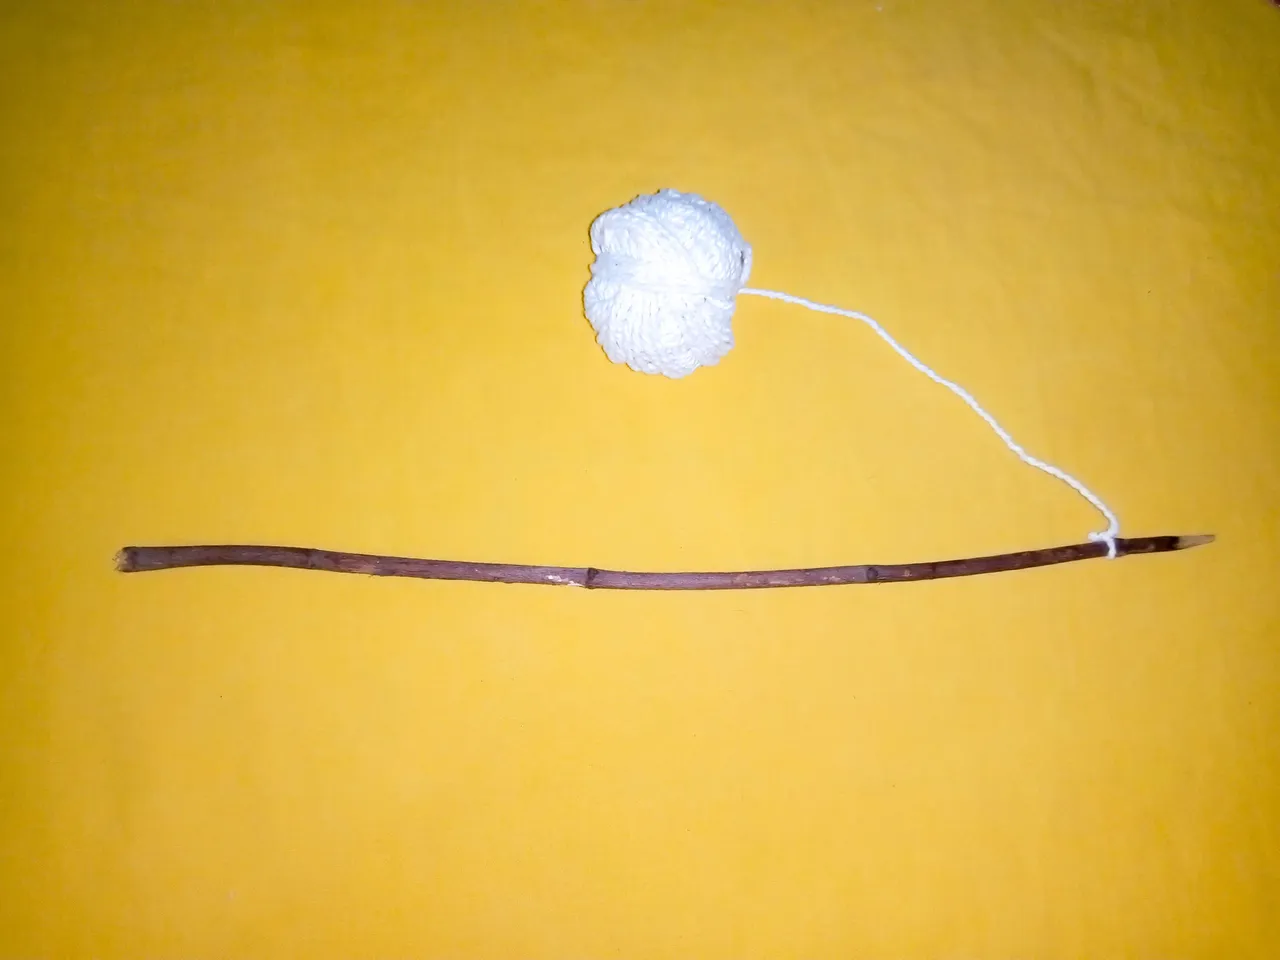
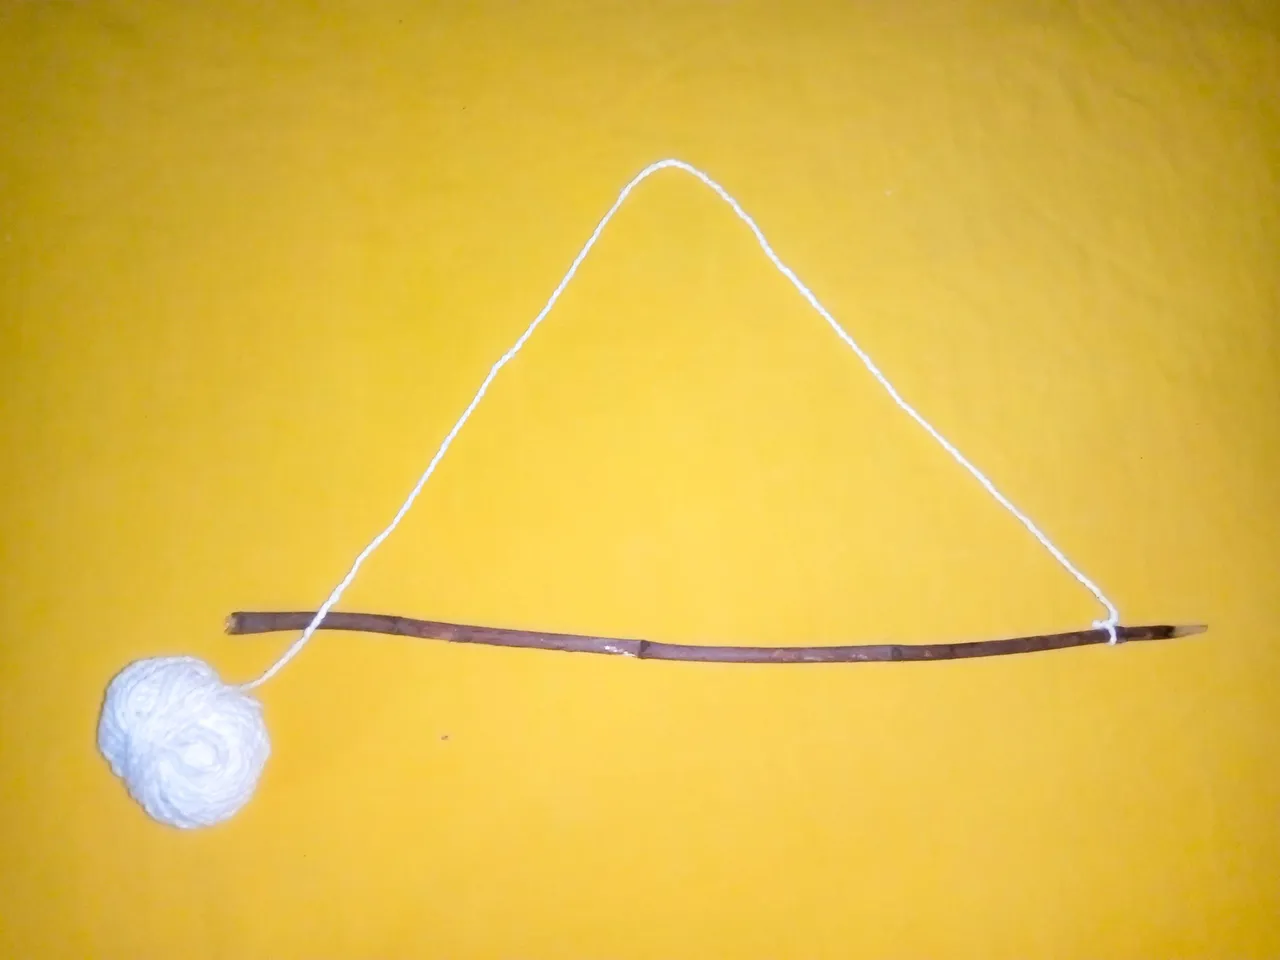
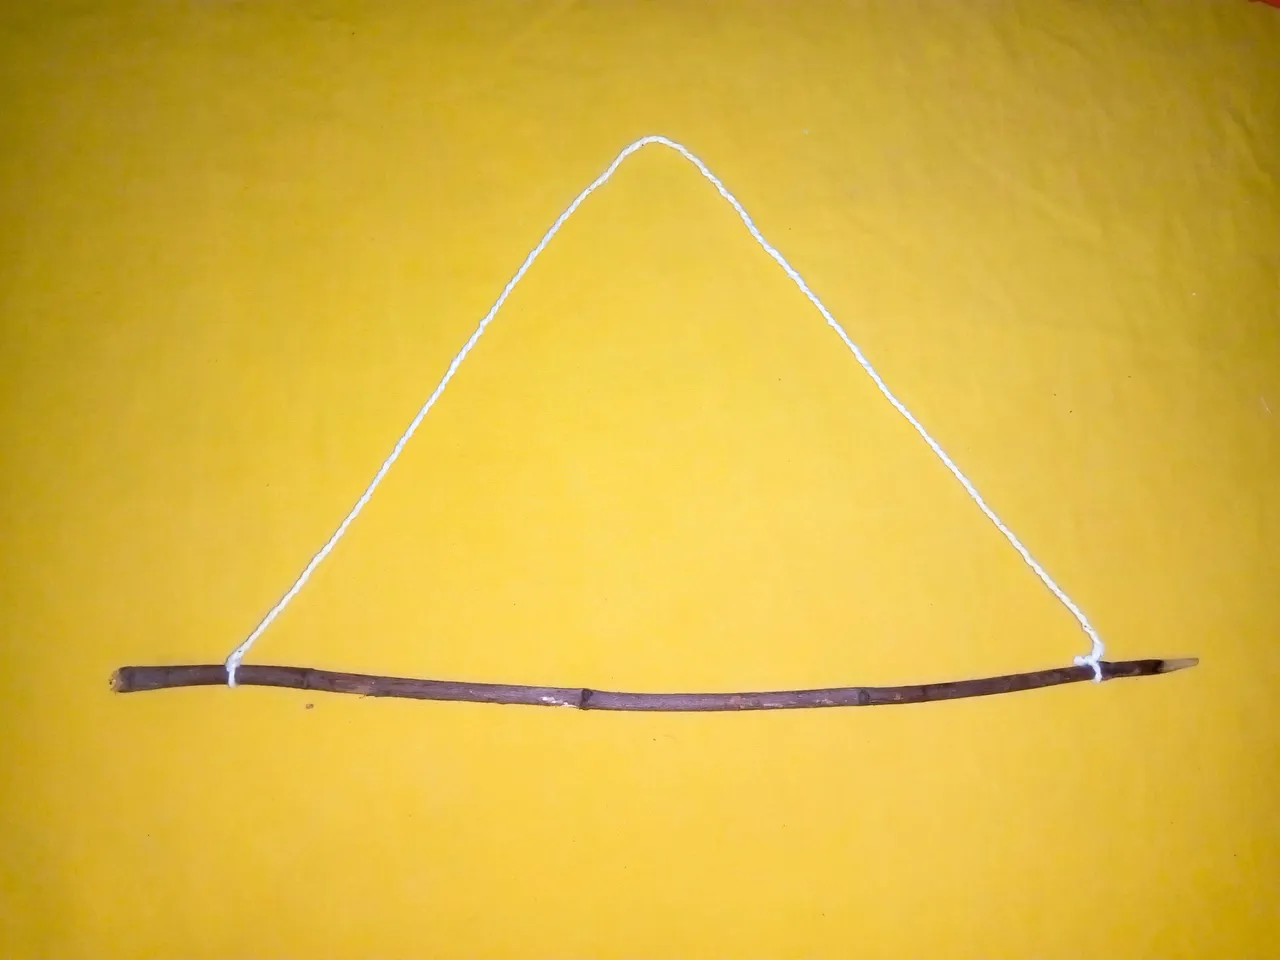
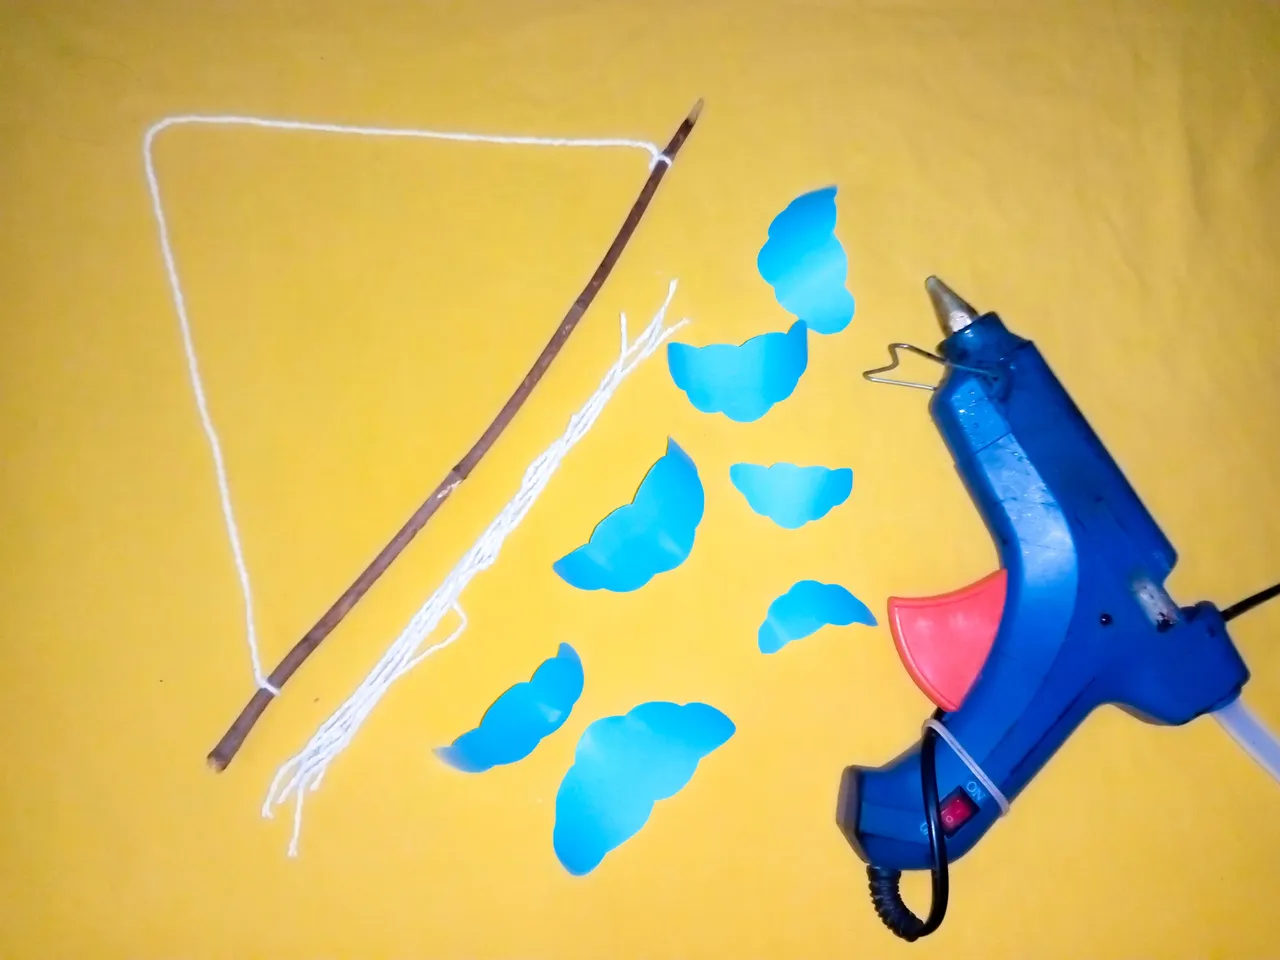
Terminando de hacer nuestras nubes las apartamos un momento para realizar la base donde irán colgadas. Utilizando la ramita ataremos el hilo de un extremo y midiendo el largo de nuestra preferencia ataremos al otro extremo.
When we finish making our clouds, we put them aside for a moment to make the base where they will hang. Using the twig we will tie the thread at one end and measuring the length of our preference we will tie the other end.
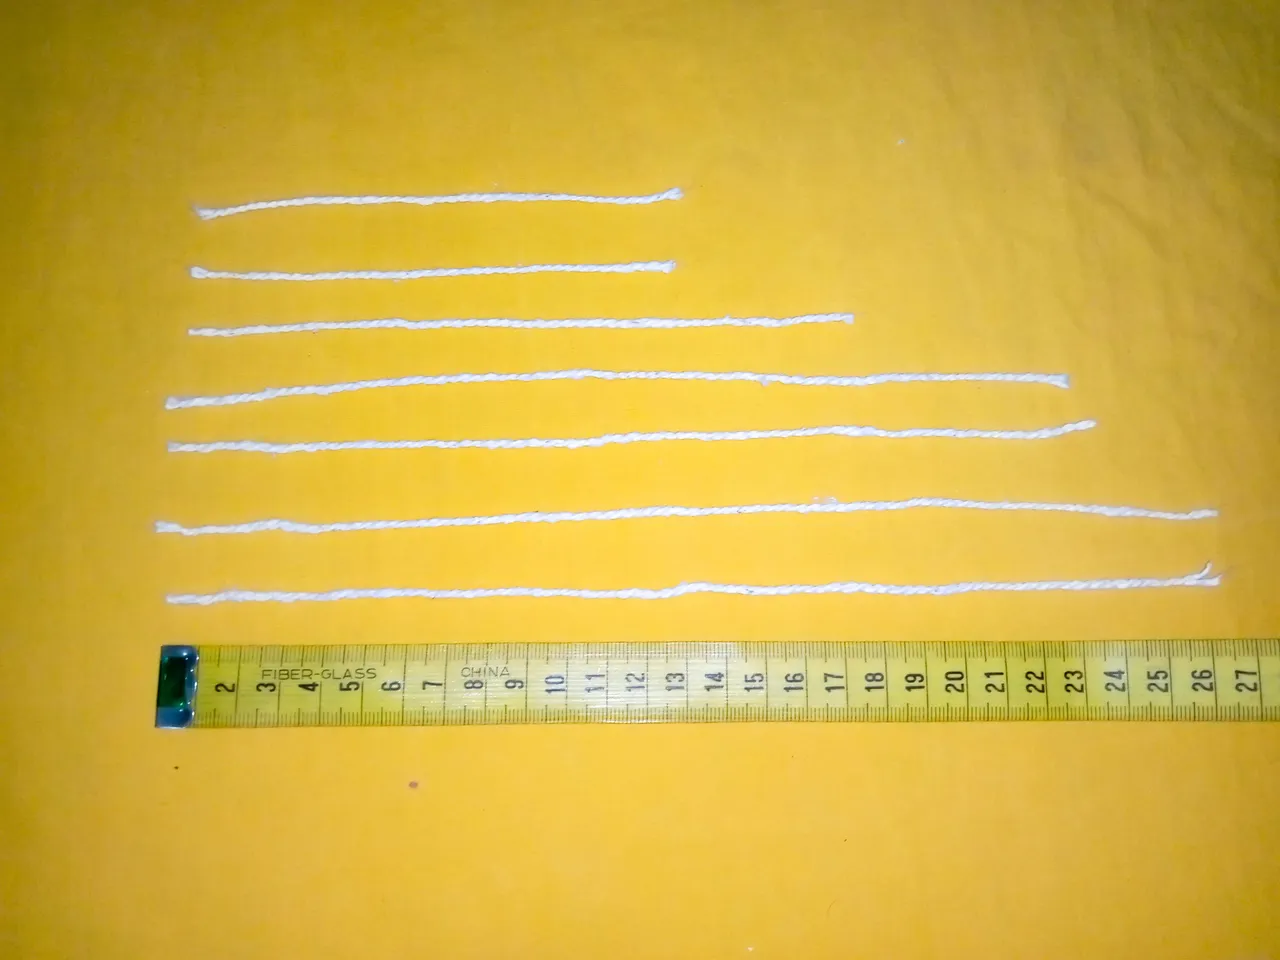
Al finalizar la base principal, cortaremos siete hilos de diferentes tamaños, uno para cada nube.
When the main base is finished, we will cut seven threads of different sizes, one for each cloud.
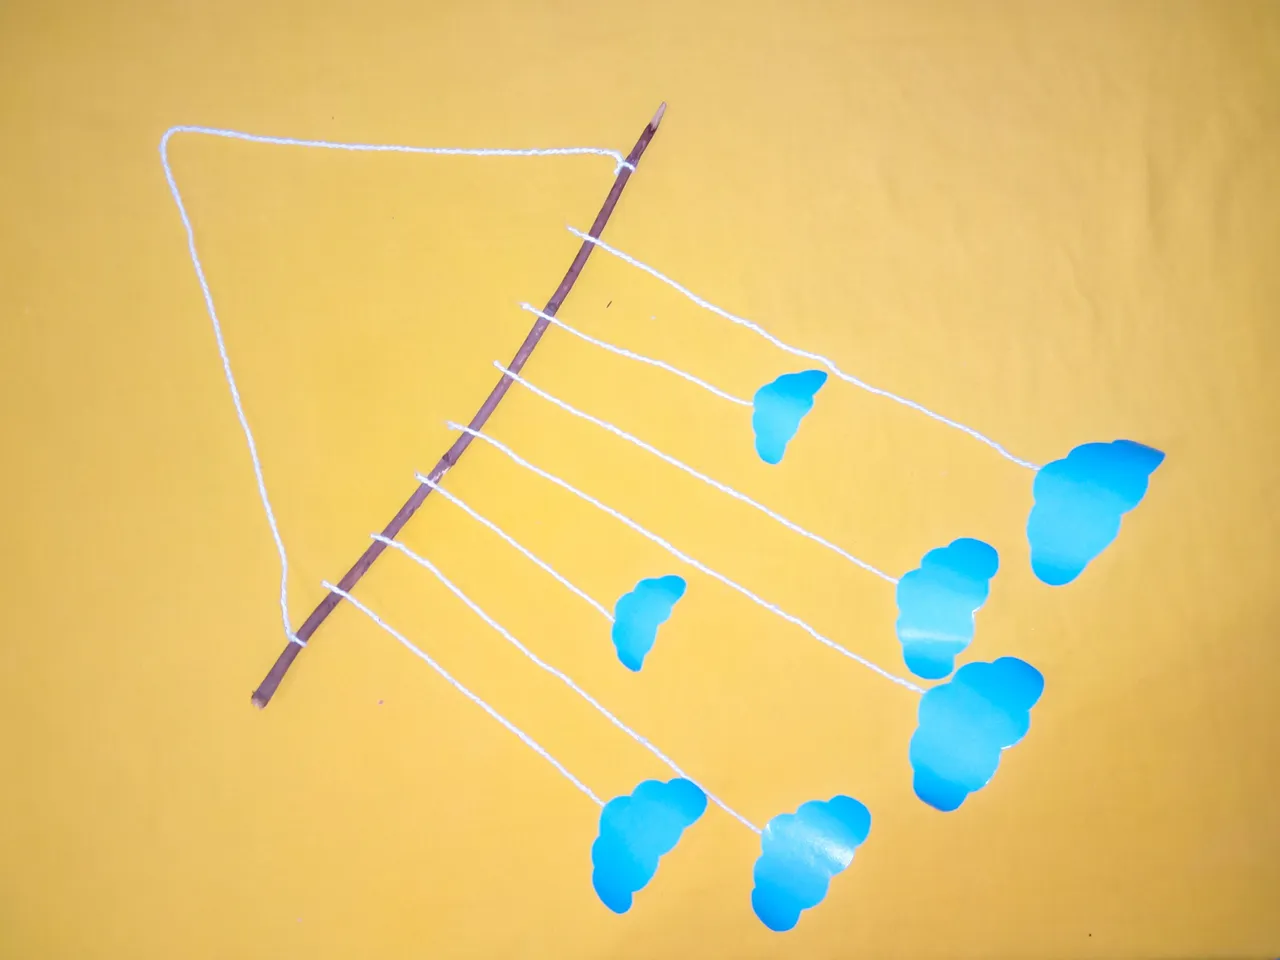
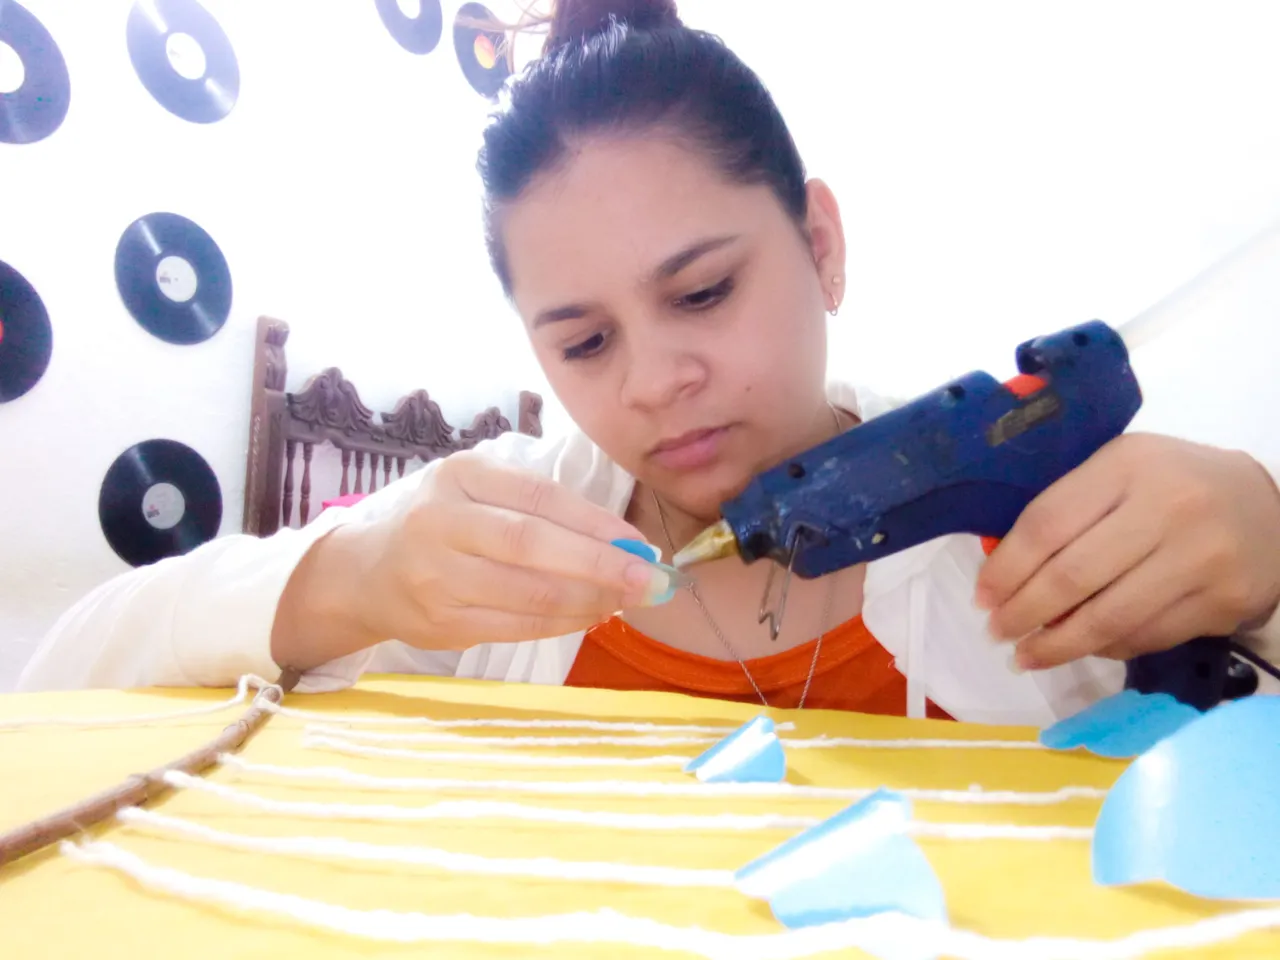
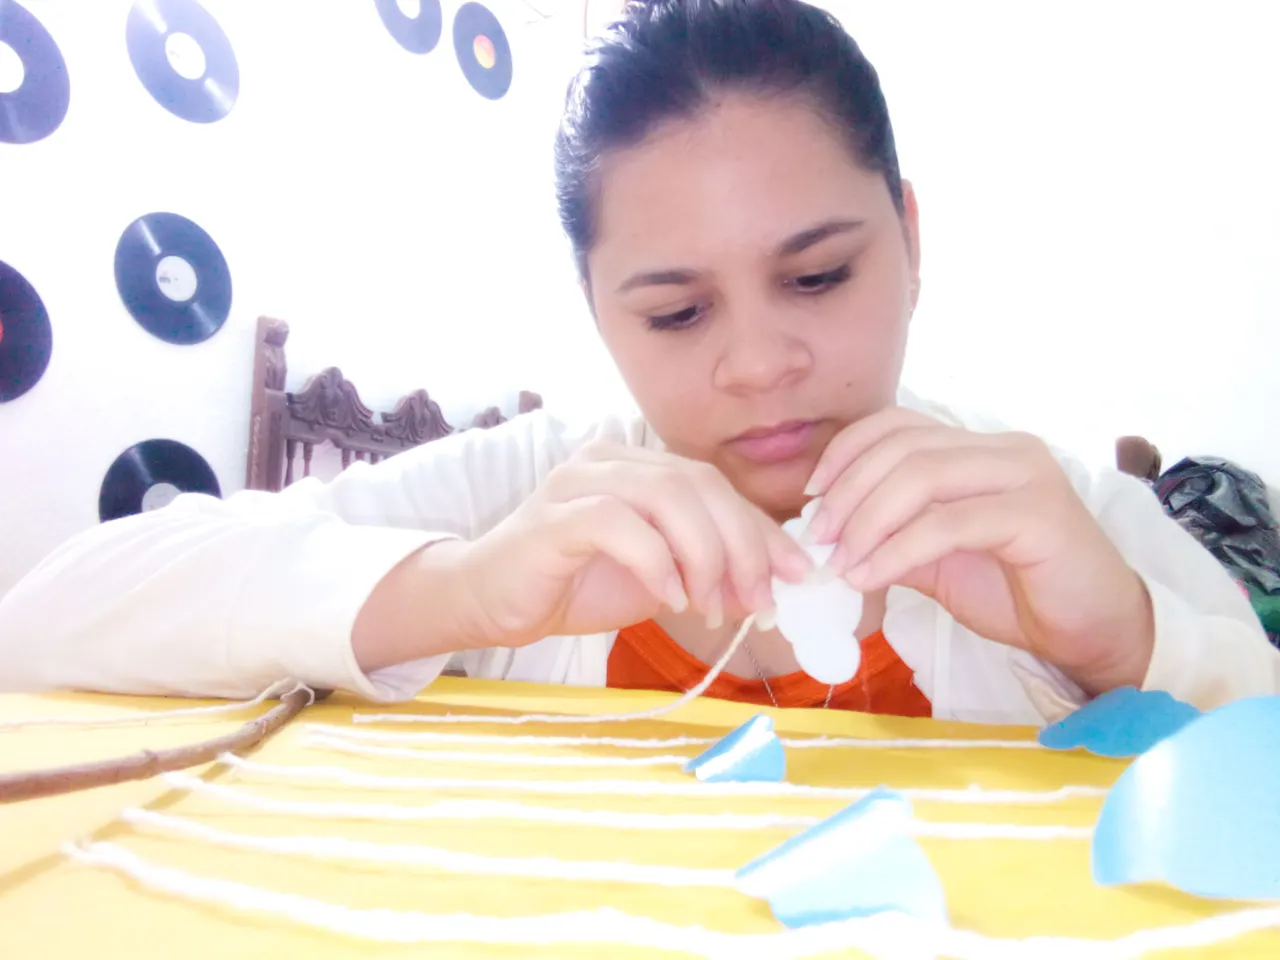
Una vez al tener todas las piezas, procederemos a ordenar y pegar todos nuestro elementos para obtener el resultado final.
Once we have all the pieces, we will proceed to order and glue all our elements to obtain the final result.
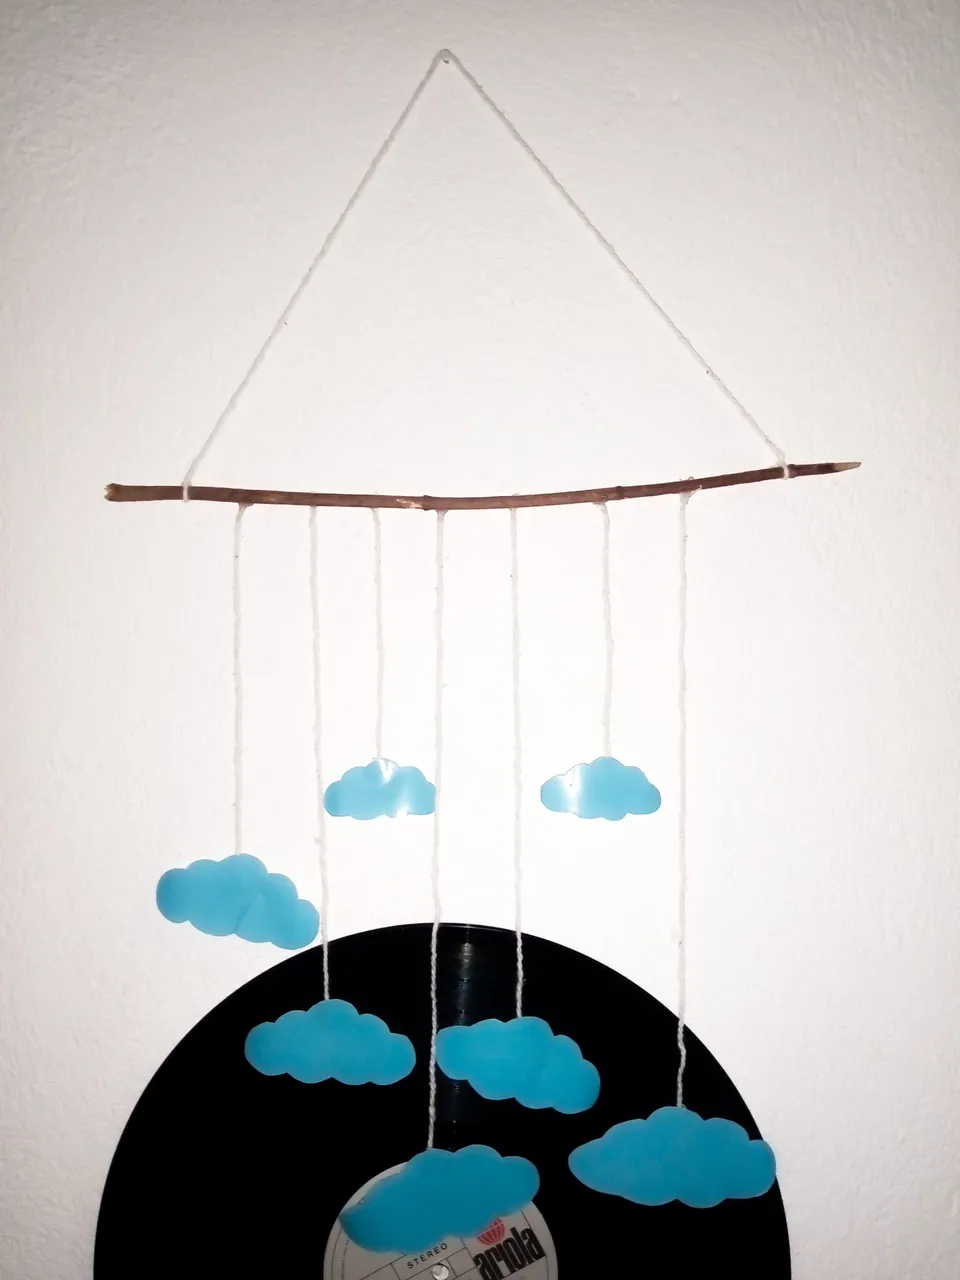
De esta manera terminamos nuestro lindo colgante decorativo para la pared. Un colgante de nubes fácil de hacer con materiales fáciles de obtener.
This is how we finished our cute decorative wall hanging. An easy to make cloud pendant with easy to obtain materials.
Es importante resaltar que todas las medidas pueden ser a su gusto, por esa razón no quise colocar ninguna.
Es lindo compartir por acá cada detallito que podamos realizar. Espero sea de ayuda y se animen a hacer un hermoso colgante para ustedes.
It is important to emphasize that all the measures can be to your liking, for that reason I did not want to put any.
It is nice to share here every little detail that we can make. I hope it will be helpful and encourage you to make a beautiful pendant for you.

Fotos de mi autoría tomadas con mi teléfono Infinix Hot 11 Play.
Edición: Lightroom y Canva
Traducción: Deepl.com
Logo: #hive
Photos of my authorship taken with my Infinix Hot 11 Play phone.
Editing: Lightroom and Canva
Translation: Deepl.com
Logo: #hive
THANKS FOR VISITING MY BLOG