✨🦋¡Hola amigos amantes de la creatividad! Espero que hayan pasado un muy buen comienzo de semana.🦋✨
Espero se encuentren de lo mejor y que su semana continúe de la mejor manera. Este día les comparto algo totalmente diferente a lo que suelo compartir con ustedes y es que todo resultó muy rápido e inesperado para mí, pues no tenía absolutamente nada planeado, ni pensaba que iba a terminar compartiendo esto, pero como quedé enamorada del resultado final quería compartirlo y demostrarte que aunque no seas un experto puedes hacerlo. Así que en esta oportunidad les comparto la restauración que le hice a un viejo mueble de dormitorio.
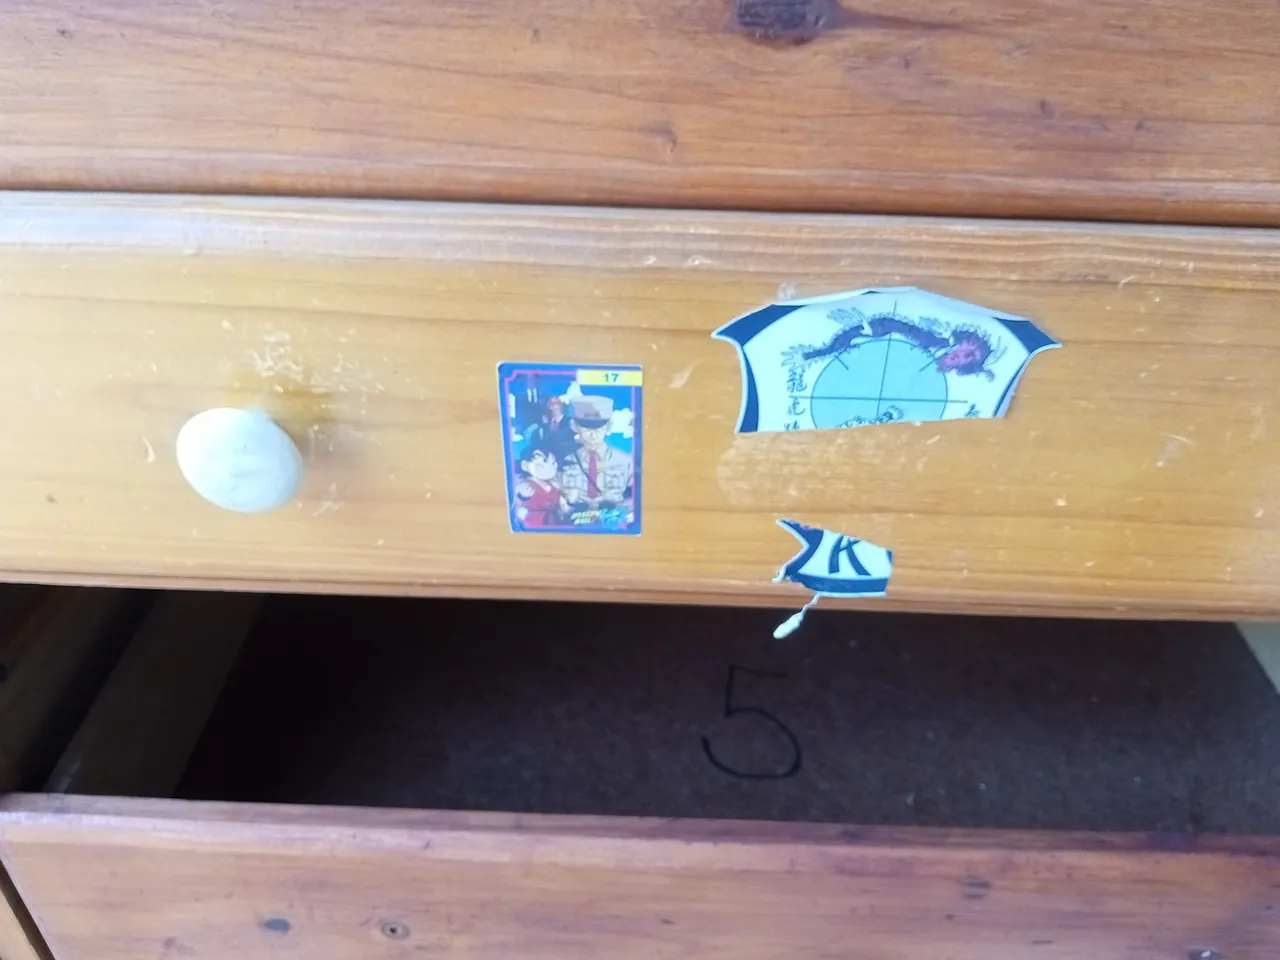
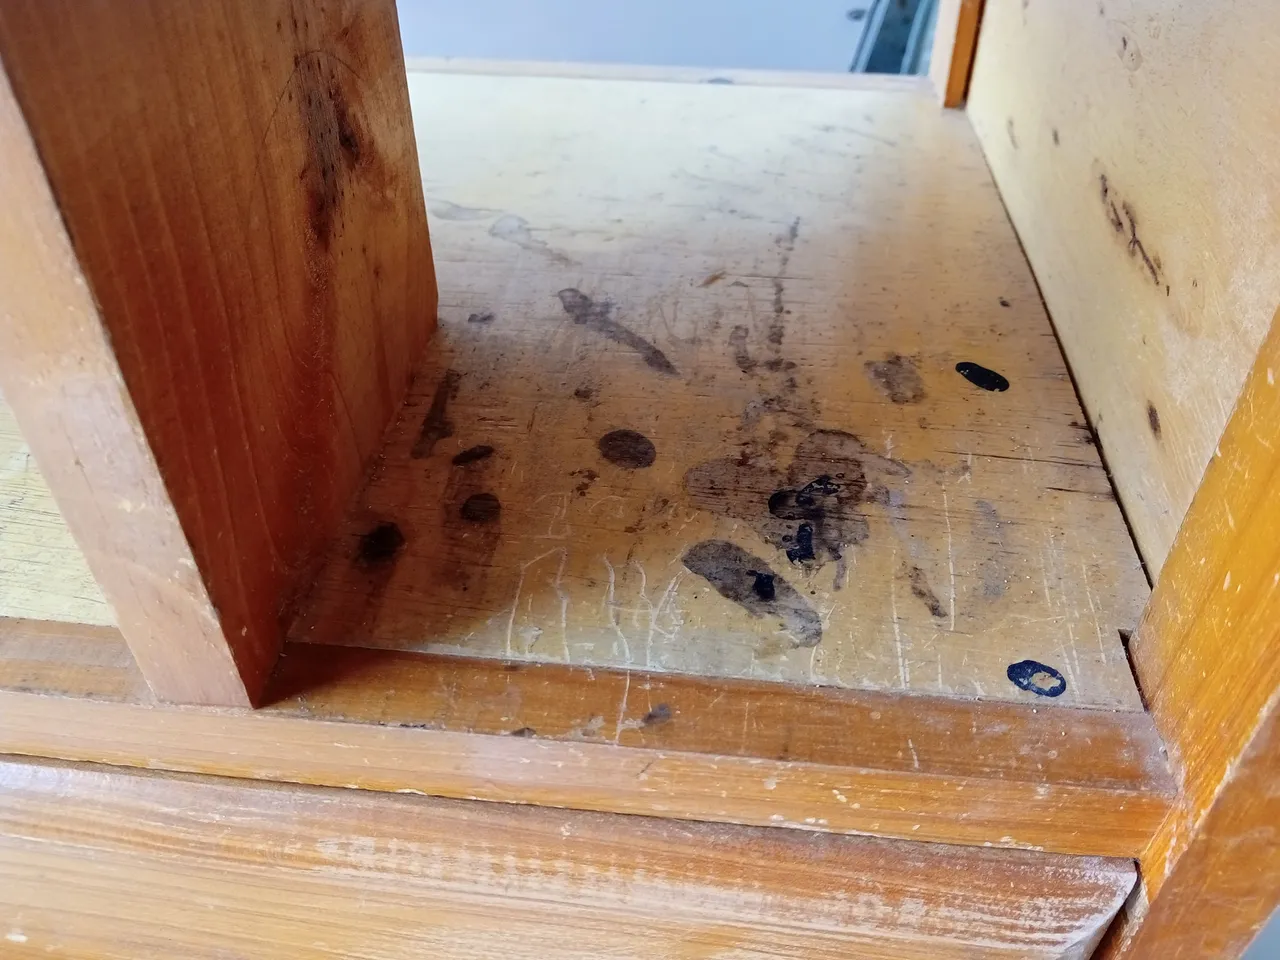
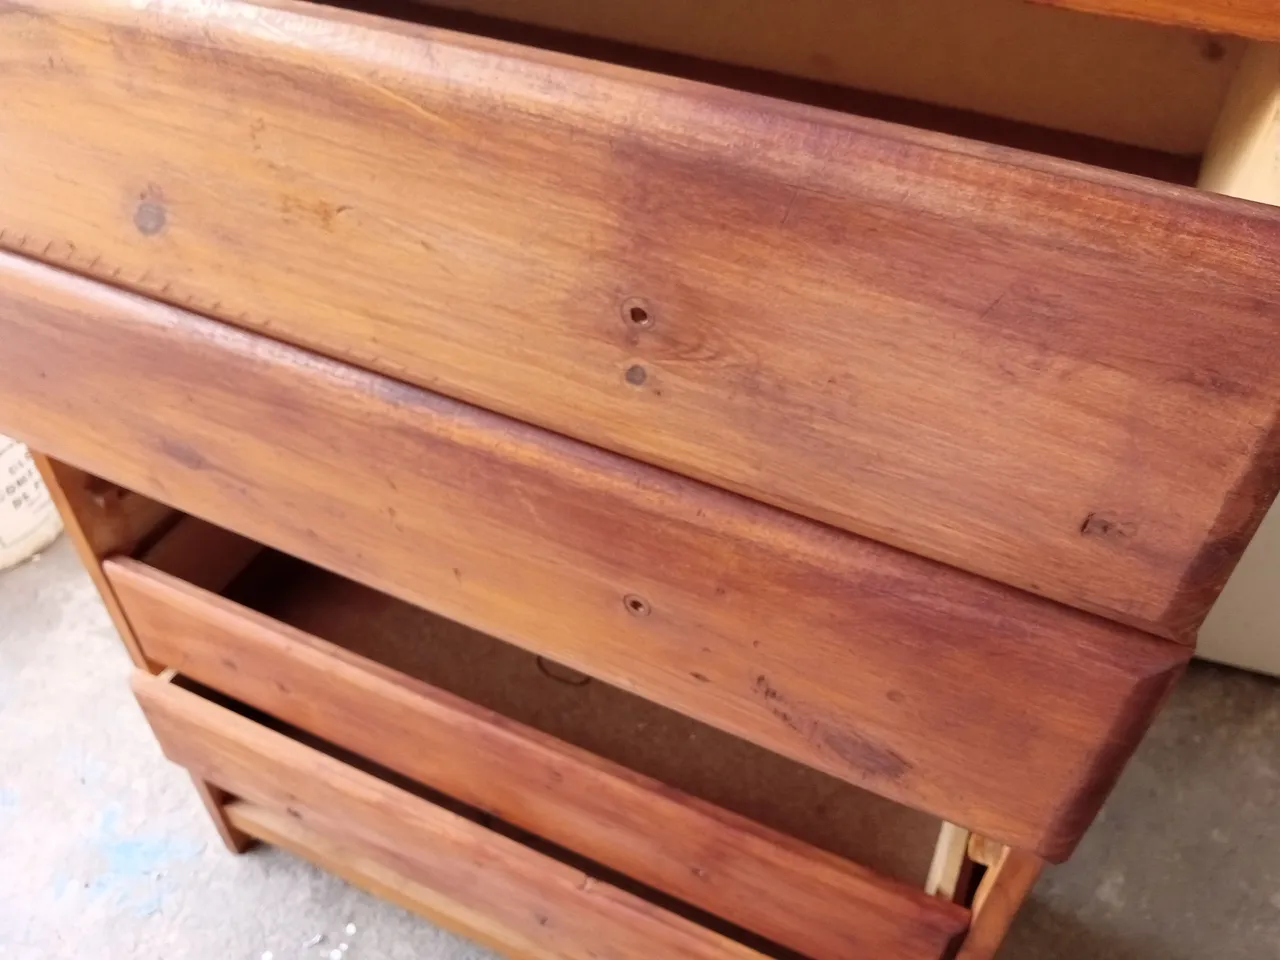
Todo comenzó hace unas semanas cuando un familiar le dio este mueble a mi padre, el cual no estaba en mal estado del todo. Se puede decir que le faltaba una u otra madera en los cajones, tenía algunos rayones, manchas de marcador y, por lo que sé, estaba en una habitación de niños, pues tenía stickers.
Aunque no estaba nada mal, la verdad es que al principio no lo quería para mí, pero luego mi padre me convenció de que podíamos restaurarlo; lijándolo, limpiándolo y agregando tinta para madera, la verdad es que me convenció de al menos darle una oportunidad y ver cómo quedaba este proyecto, podría ser un desastre o una obra maestra completa jaja.
🔸Sin más que añadir, a continuación los dejo con el paso a paso:
✨🦋¡Hello friends who love creativity! I hope you had a very good start to the week.🦋✨
This day I am sharing something totally different from what I am used to sharing with you and that is that everything turned out to be very fast and unexpected for me, because I had absolutely nothing planned, nor did I think I was going to end up sharing this, but since I fell in love with the I wanted to share the result and show you that even if you are not an expert you can do it. So, this time I'm sharing the remodeling I did of an old drawer or bedroom furniture.
It all started a few weeks ago when a relative gave this drawer to my father, which was not bad at all. It can be said that it was missing a few pieces of wood in the drawers, it had some scratches, marker stains and as far as I know, it was in a children's room, because it had stickers.
Although it wasn't bad at all, the truth is that at first I didn't want it for myself, but later my father convinced me that we could restore it; sanding it, cleaning it and adding wood stain, the truth is that he convinced me to at least give it a try and see how this project turned out, it could be a disaster or a complete masterpiece haha
🔸Without more to add, then I leave you with the step by step:
♥️ESPERO QUE TE GUSTE,
¡Empecemos!
♥️I HOPE YOU LIKE IT,
Let's start!

🦋 PROCEDIMIENTO | 🦋 PROCESS
Before we start, I'd like to point out that we're not professionals, so maybe we did things we shouldn't have done in the process, but we still got what we wanted haha.
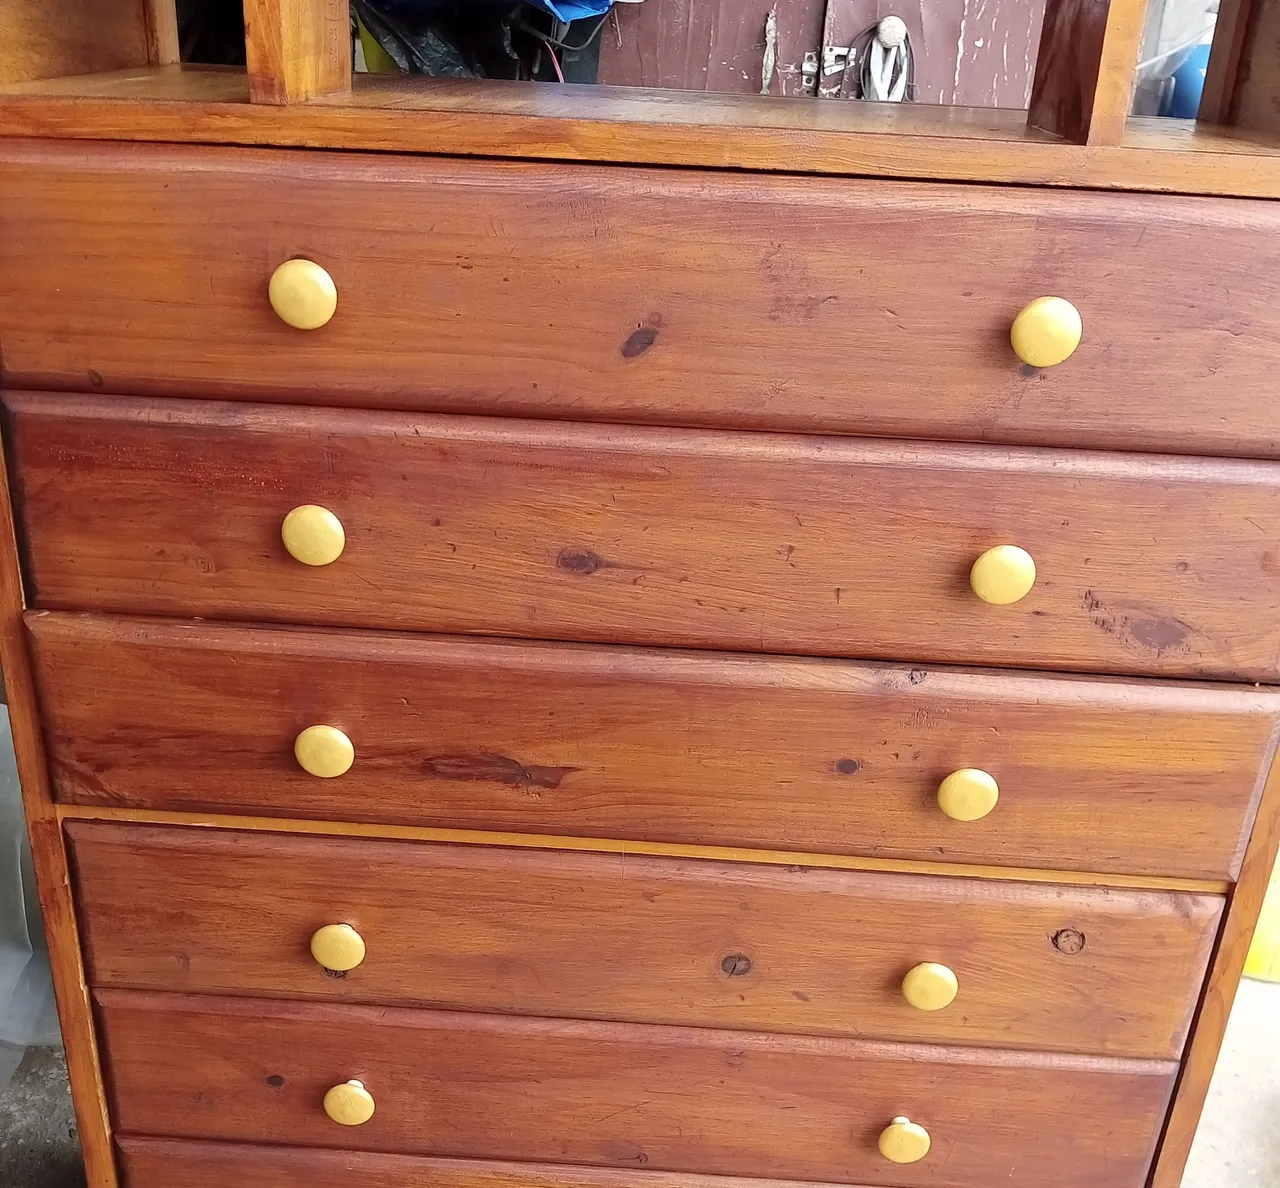
Since I had no idea that I would end up posting the process with you, the first day some drawers were missing, that's why in the first photo it doesn't have all the drawers, but it still looks more or less as it was.
I started by removing all the stickers very carefully so that there are no glue residues or layers of it. Then, for the stronger stains and some glue residue, since they couldn't be removed with soap or water, my dad suggested that I put some gloves on, add a little bit of gasoline to a small cloth and I wiped it over all the stains, really which worked perfectly. In some parts I had to use a lot of force, so my dad helped me with that.
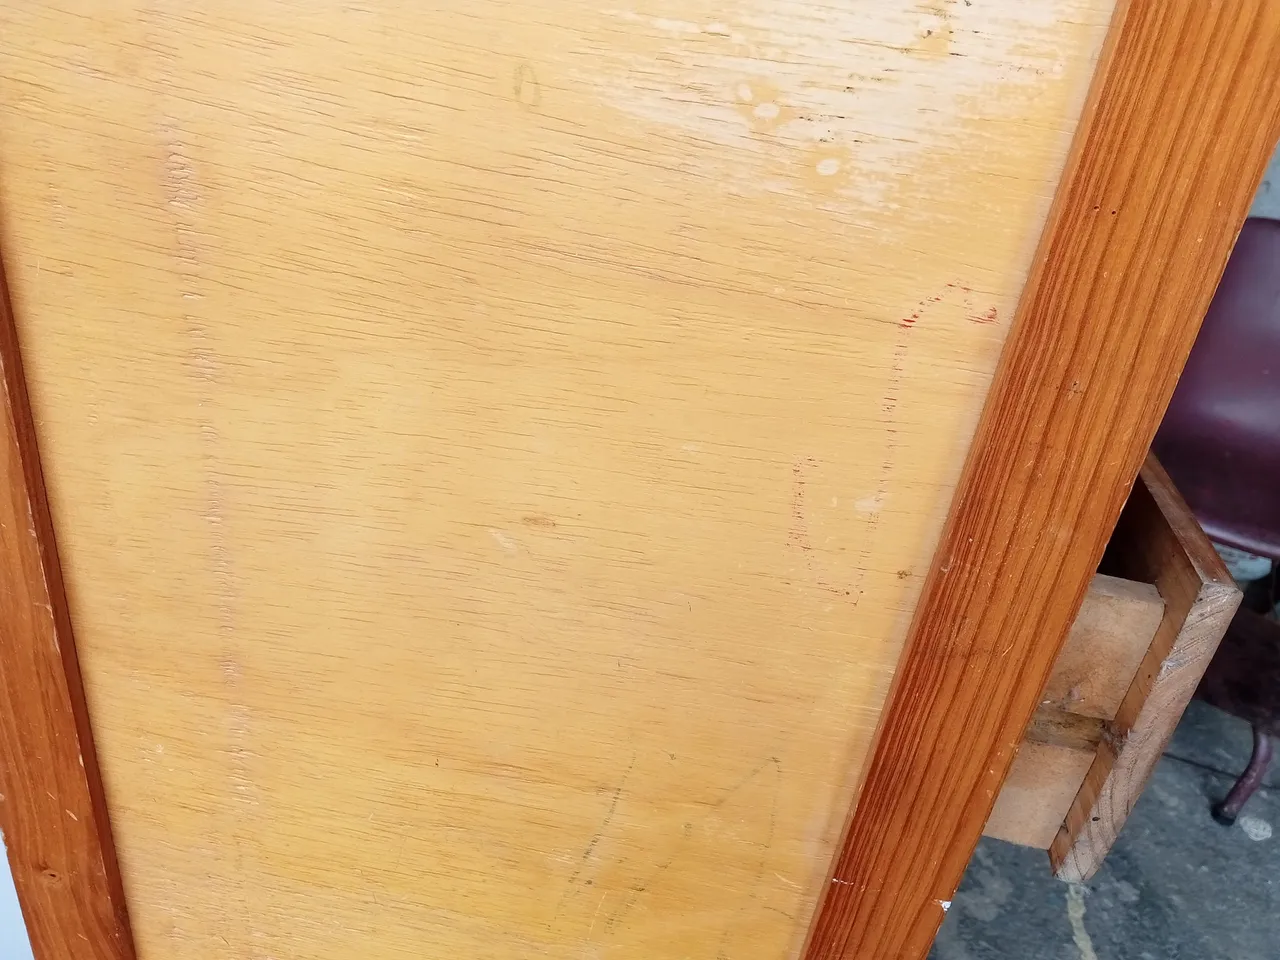
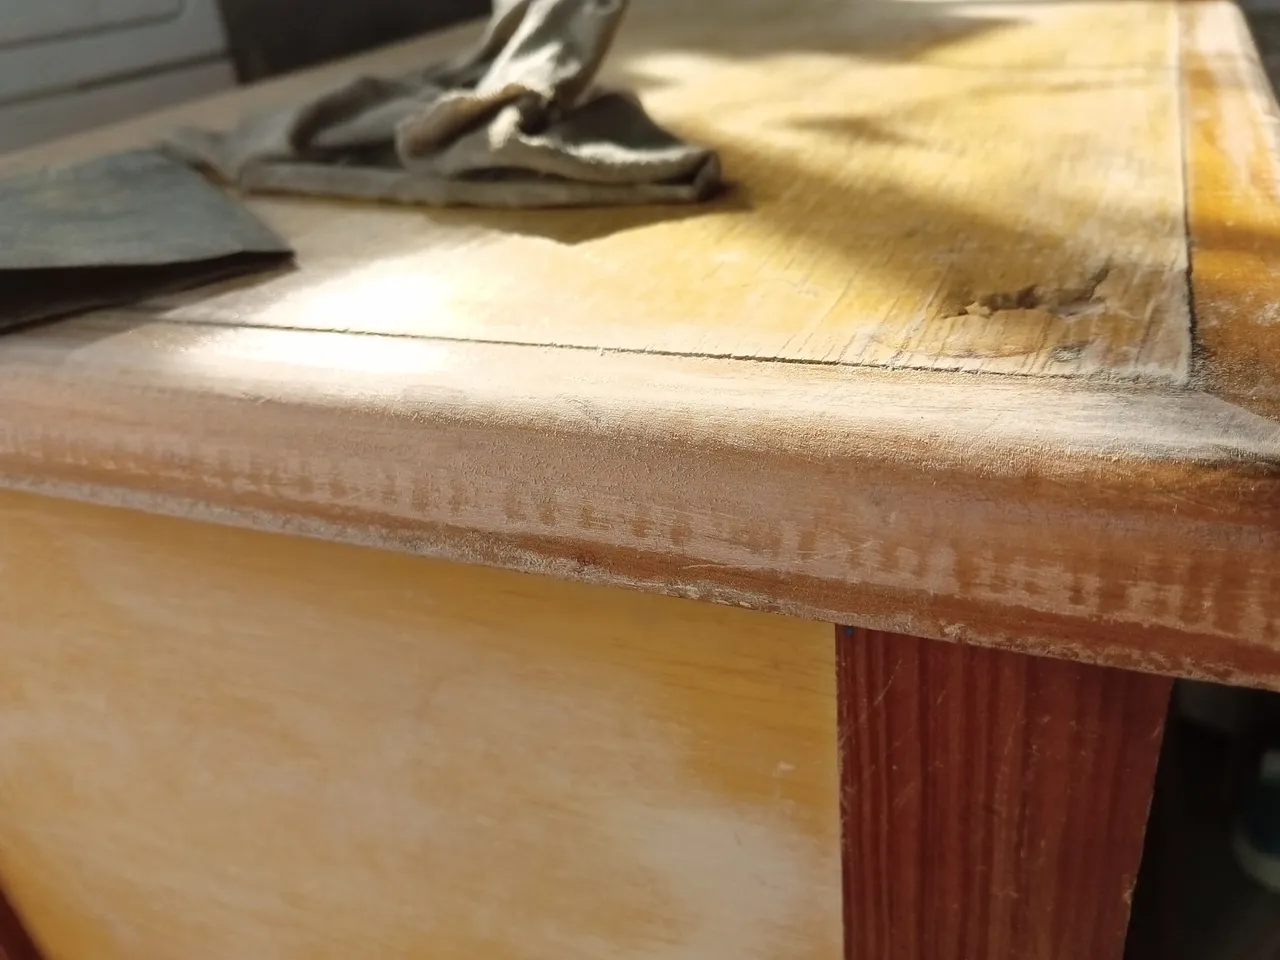
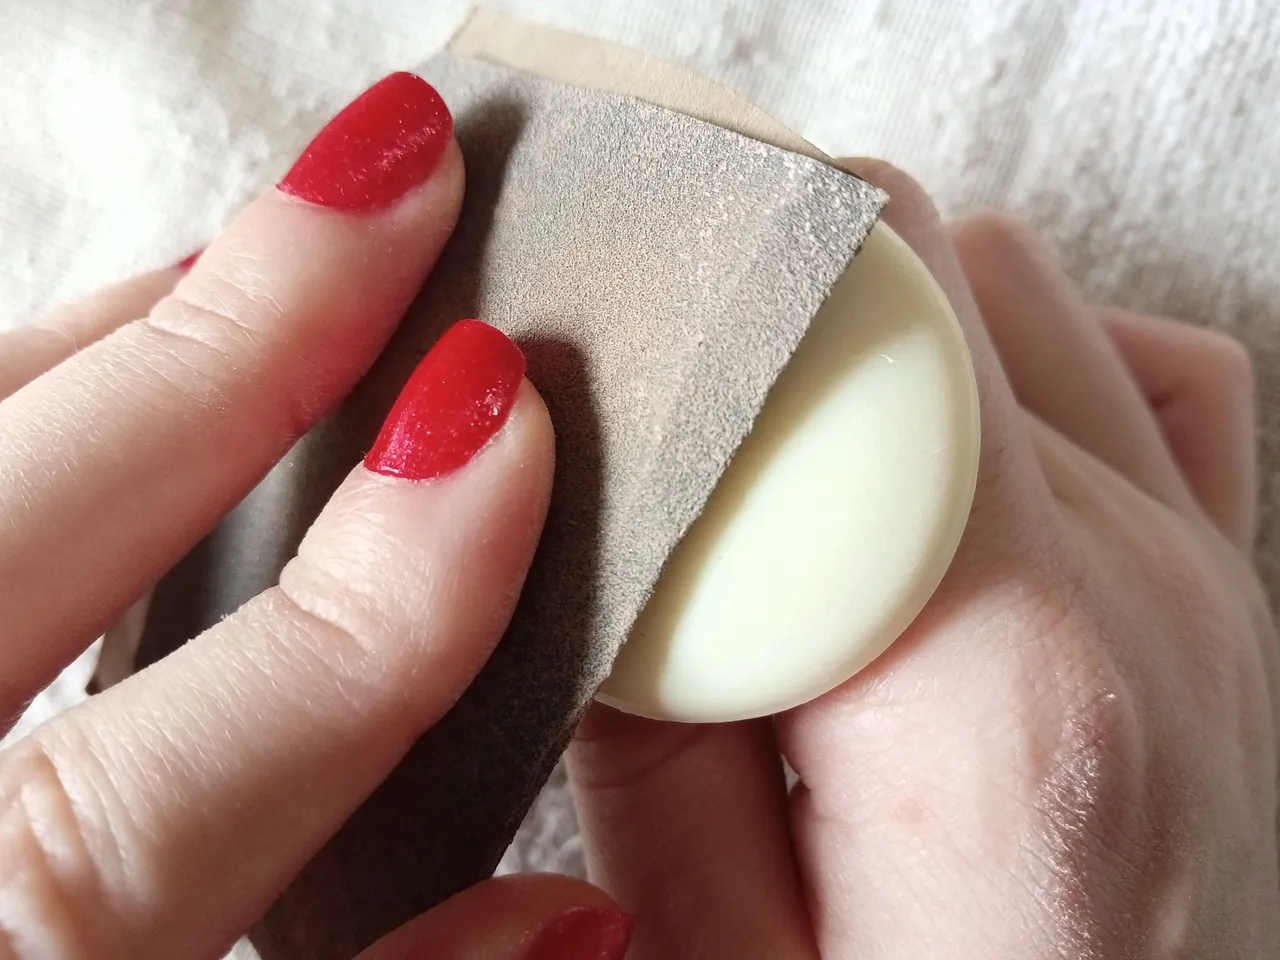
For marker or pencil scratches, simply lightly sand down applying some pressure to just those stained spots, then sand down the entire furniture simply removing a bit of the shine.
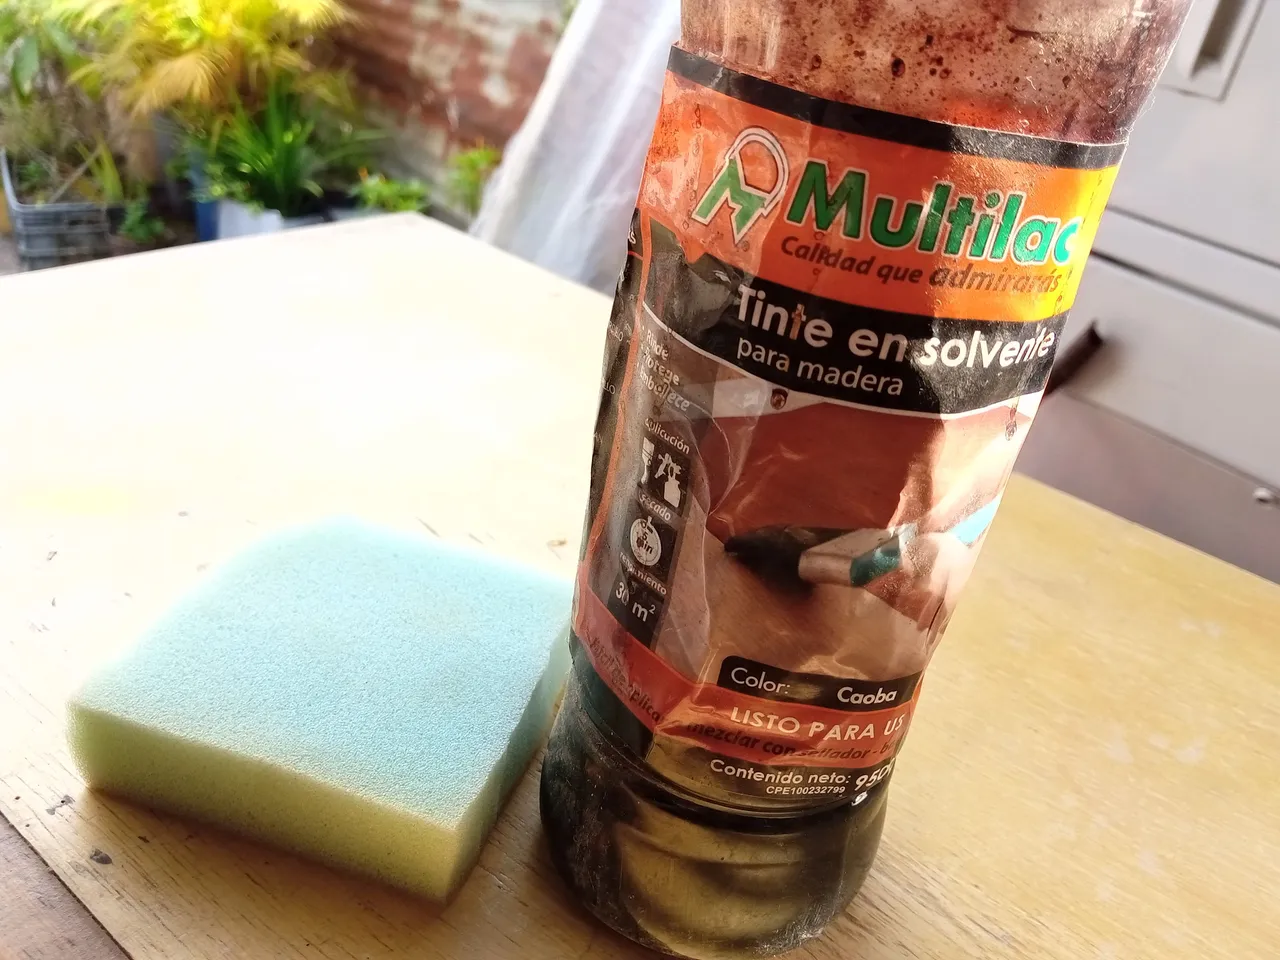
After sanding all the furniture, I began to stain some corners with a sponge and my dad would fix all the drawers, then we would put them in order and he was in charge of passing the first coat of wood stain with a brush, through all the drawers and spaces more spacious.
The next day, we gave it a second coat all over. This wood stain is mahogany in color and did not have a lot of shine, it has a semi-matt finish, which I really like because it gives it a rustic look, but at the same time it looks quite elegant.
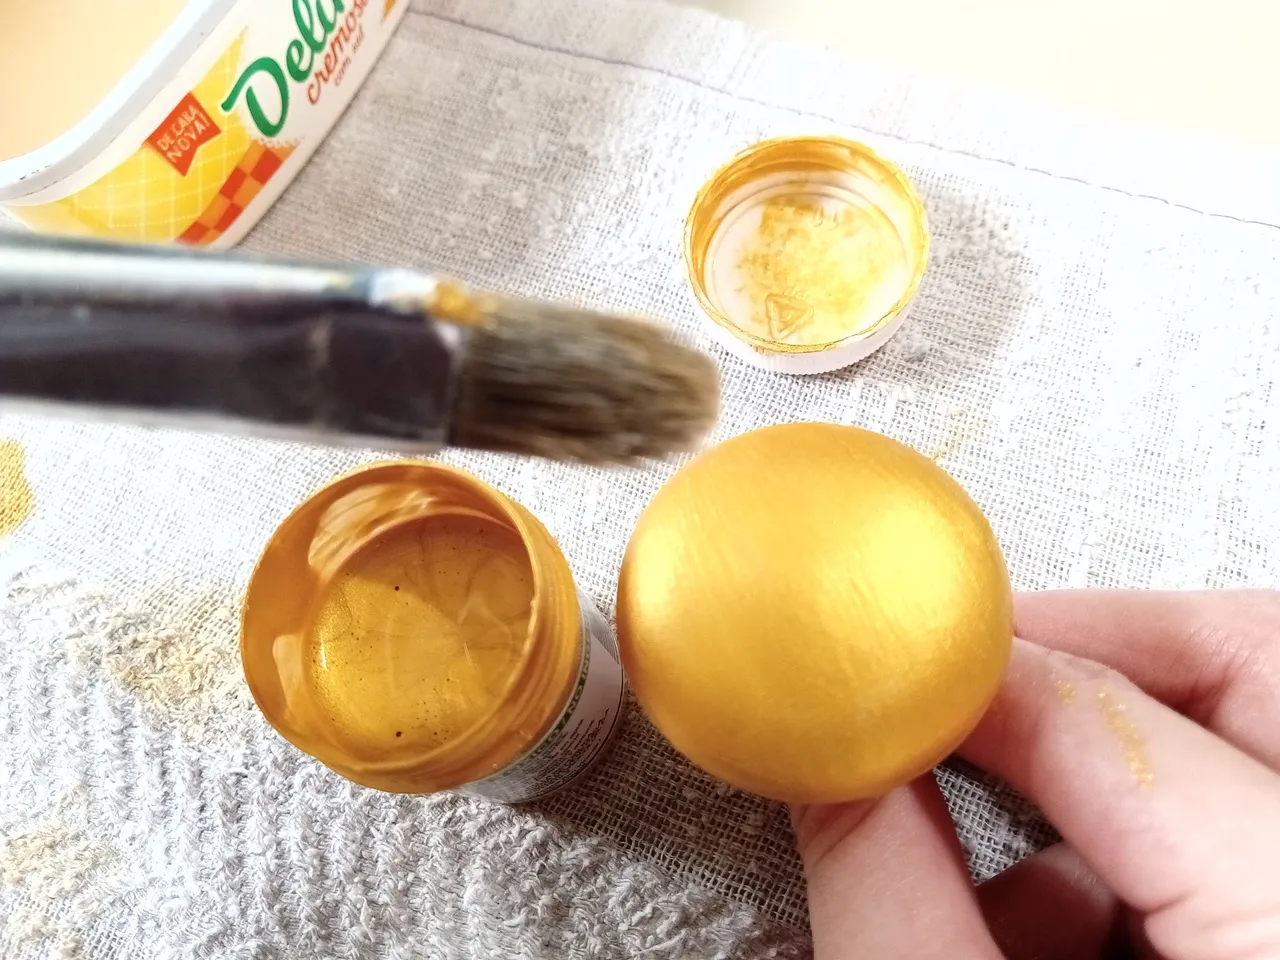
As I am a lover of gold details and the handles were white and some were even stained, I decided to buy a gold paint. I washed and sanded all the handles very well, I gave them two coats of gold paint and once dry I screwed them to the drawers.
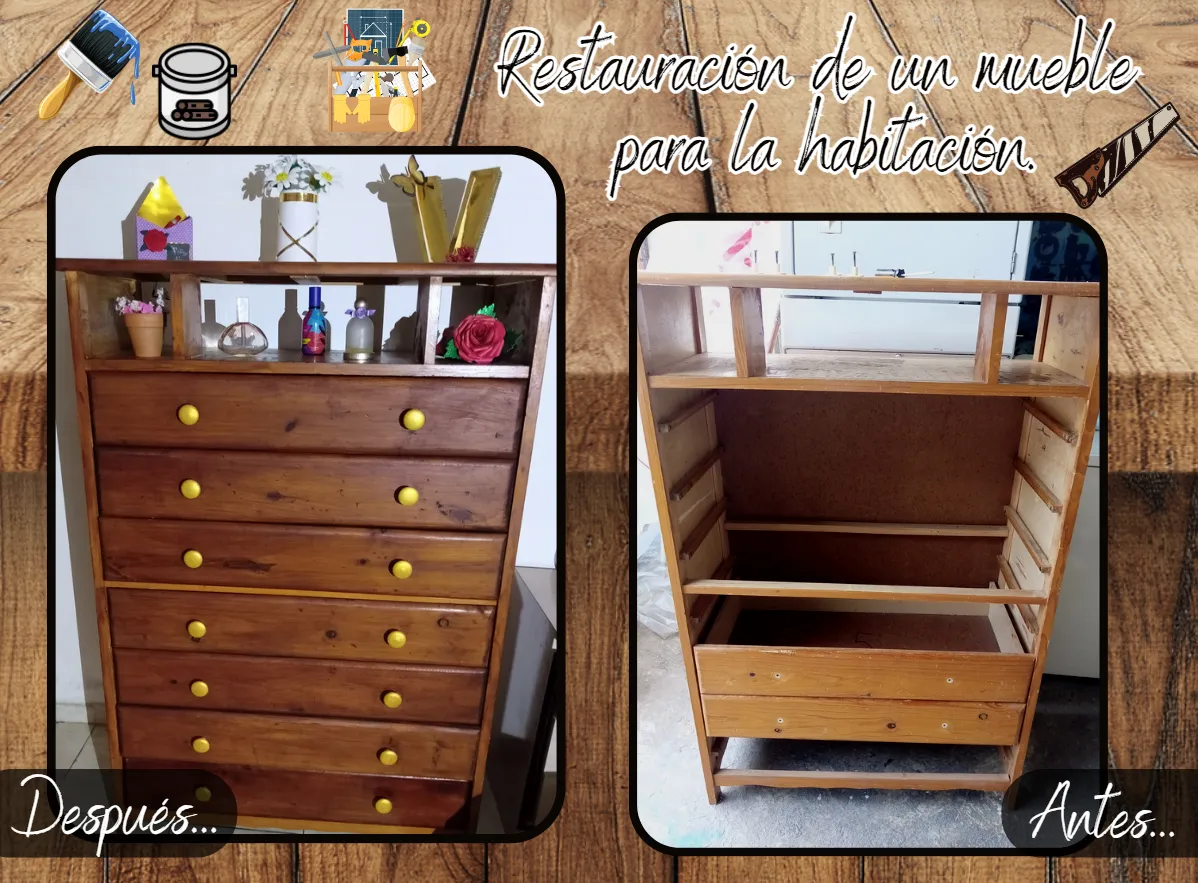
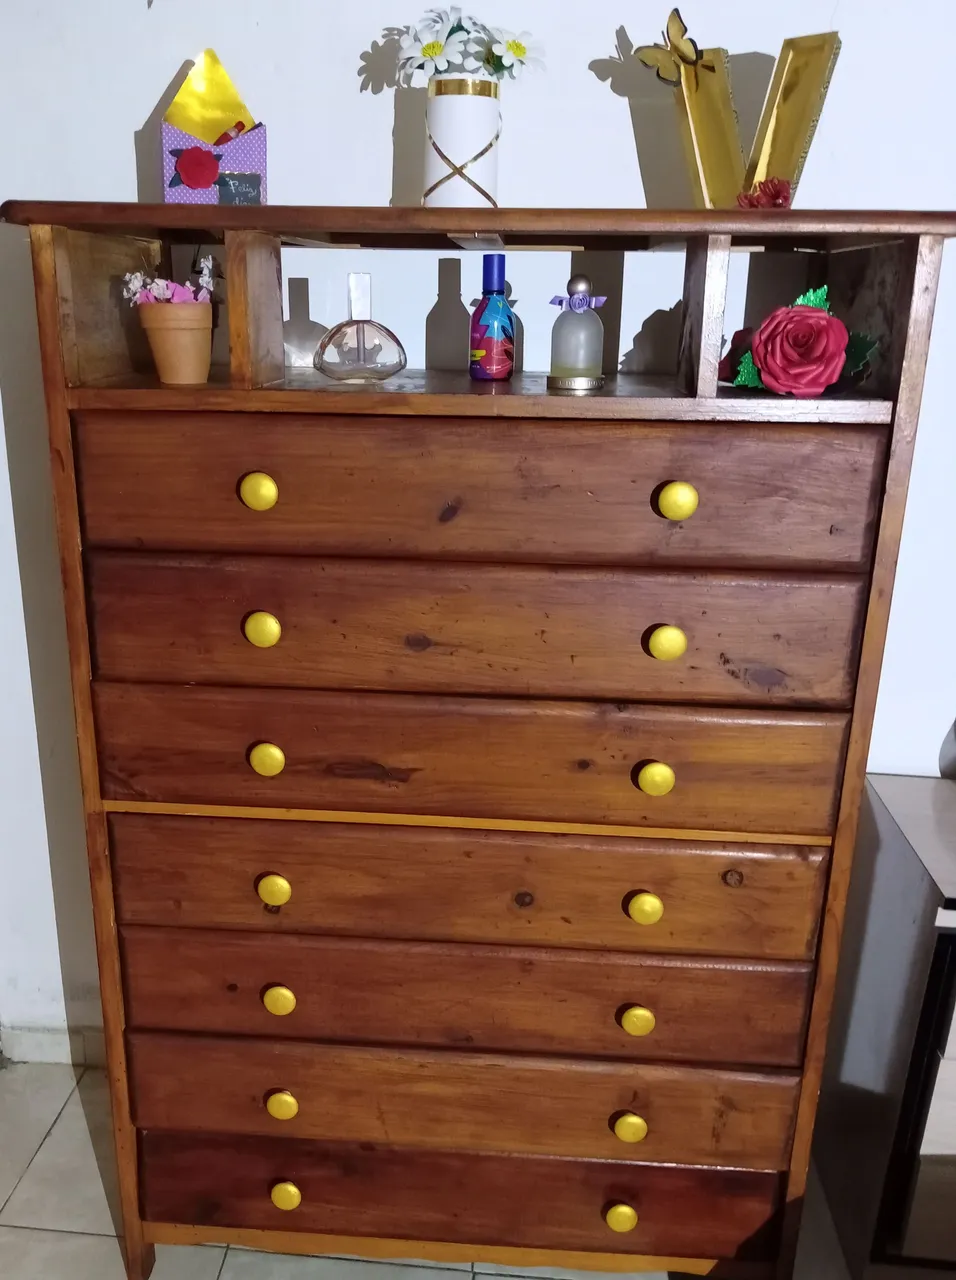
✨🦋¡Y listo!🦋✨ Debo decir que quedé absolutamente sorprendida con el resultado final, el mueble se ven totalmente diferentes, no se parece en nada a como era antes, incluso parece recién comprado. El tono, el acabado final y el toque dorado que lo hace resaltar, todo en conjunto me encantó y obviamente me lo quedé, hasta mi papá me lo quiso quitar cuando lo vio terminado, jaja. Así acaba el post de hoy, espero que se animen a renovar algún mueble antiguo que tengan por casa.
❤️Hasta la próxima publicación.
✨🦋¡And ready!🦋✨ I must say that I was absolutely surprised with the final result, the furniture looks totally different, it doesn't look like it was before, it even looks like it was recently bought. The tone, the final finish and the golden touch that makes it stand out, overall I loved it and obviously I kept it, even my dad wanted to take it off when he saw it finished, haha. This is how today's post ends, I hope you are encouraged to renovate some old furniture that you have at home.
❤️Until the next post.
✨RESULTADO: | ✨RESULT:


Todas las fotografías son de mi propiedad.
Separador y Fotos editadas en Canva
All photographs are my property.
Photos edited in Canva