✨¡Hola amigos amantes de la creatividad! Espero que estén todos bien✨
🔸Sin más que añadir, a continuación los dejo con el paso a paso:
✨¡Hello friends who love creativity! ✨
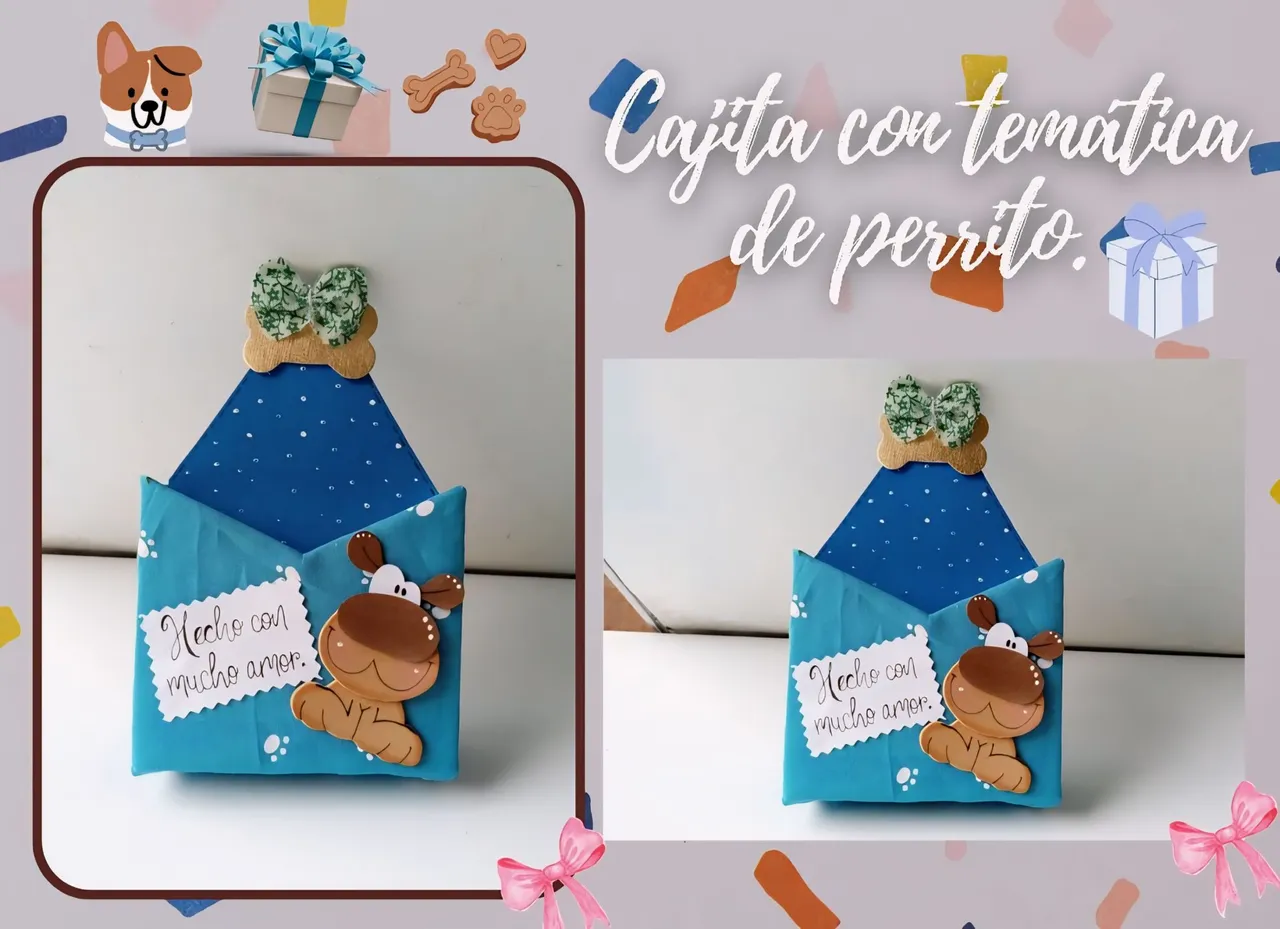
Good afternoon, friends. I hope you are having a great week. For my part, I am happy to stop by here to share a new creation with you. On this occasion I am sharing with you the step-by-step instructions for making an envelope-shaped box with a dog theme. I had never made a foam dog before (or so I think), so I have been thinking about the idea for a while, but I didn't know what I was going to put it in and I remembered these pretty little boxes that are easy to make and are perfect for giving a gift to a loved one with the theme and colors of your choice.
🔸Without more to add, then I leave you with the step by step:
♥️ESPERO QUE TE GUSTE,
¡Empecemos!
♥️I HOPE YOU LIKE IT,
Let's start!

✂️ MATERIALES | ✂️ MATERIALS
- Caja de cartón.
- Foami azul.
- Foami marrón claro.
- Foami marrón oscuro.
- Foami metalizado dorado.
- Pinturas y marcadores.
- Pegamento.
- Tela.
- Lazo.
- Hoja.
- Regla.
- Lápiz.
- Cardboard box.
- Blue foam.
- Light brown foam.
- Dark brown foam.
- Gold metallic foam.
- Paints and markers.
- Glue.
- Fabric.
- Bow.
- Sheet.
- Ruler.
- Pencil.
🌟 PROCEDIMIENTO | 🌟 PROCESS
- PASO 1:
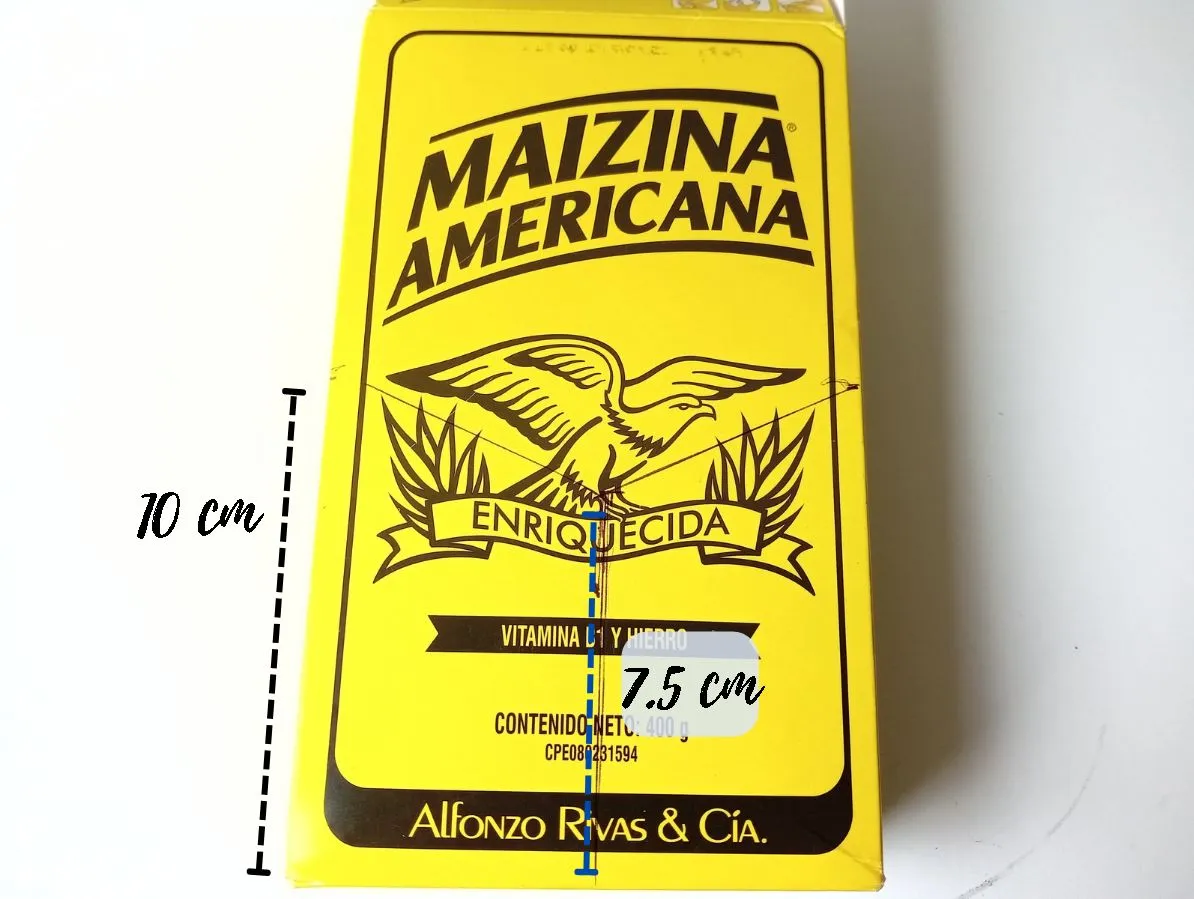
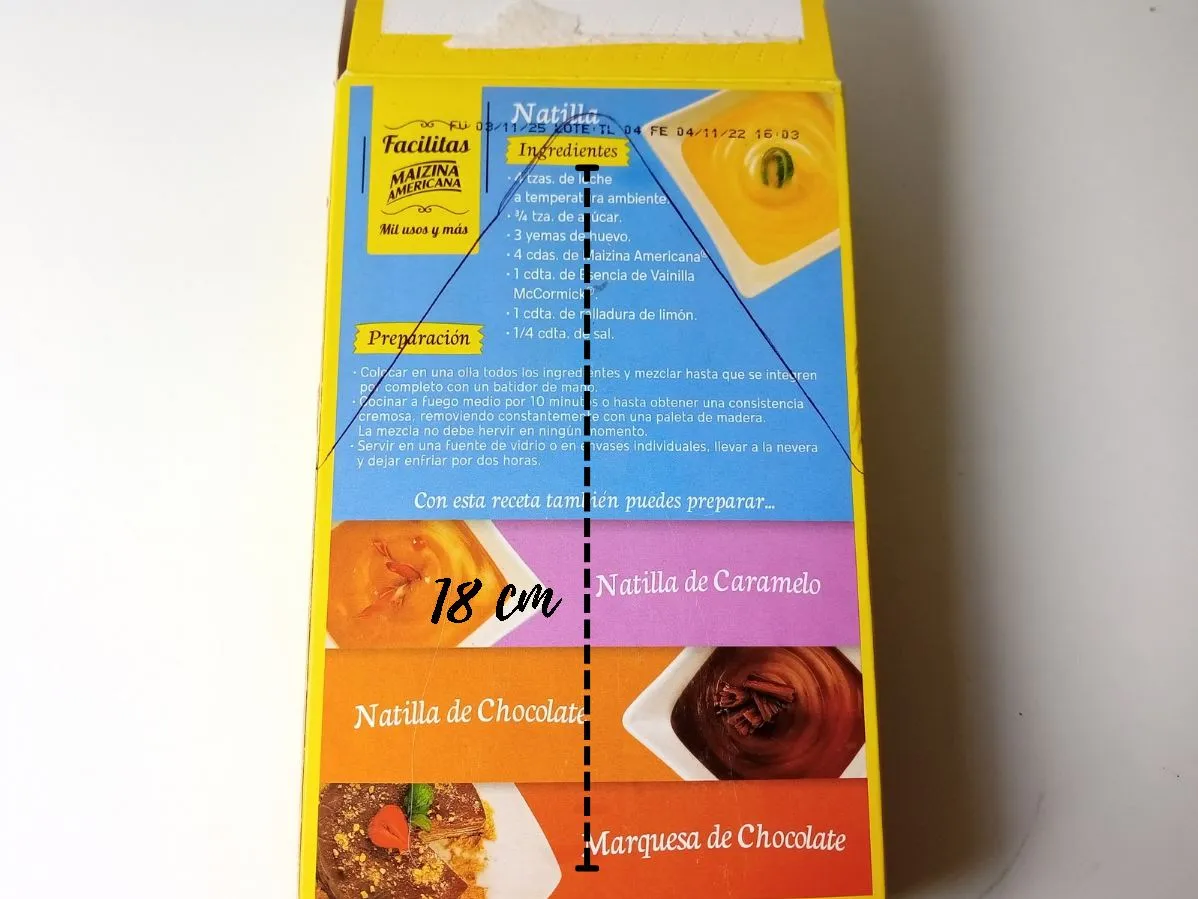
Lo primero que hice fue trazar las medidas de la caja para darle forma de sobre. Las medidas que tomé fueron las siguientes: para la parte de enfrente dibujé un triángulo invertido a la altura de los 10 cm de la caja y para la punta una distancia de 7.5 cm; para los laterales también a los 10 cm de altura; para la parte trasera, dibujé un triángulo a los 18 cm uniendo junto con los laterales y a la punta le di forma redondeada. Una vez trazadas las medidas, recorté el sobrante de la caja.
- STEP 1:
The first thing I did was trace the measurements of the box to give it an envelope shape. The measurements I took were the following: for the front part I drew an inverted triangle at the height of 10 cm from the box and for the tip a distance of 7.5 cm; for the sides also at 10 cm height; for the back part, I drew a triangle at 18 cm joining together with the sides and I gave the tip a rounded shape. Once the measurements were drawn, I cut off the excess of the box.
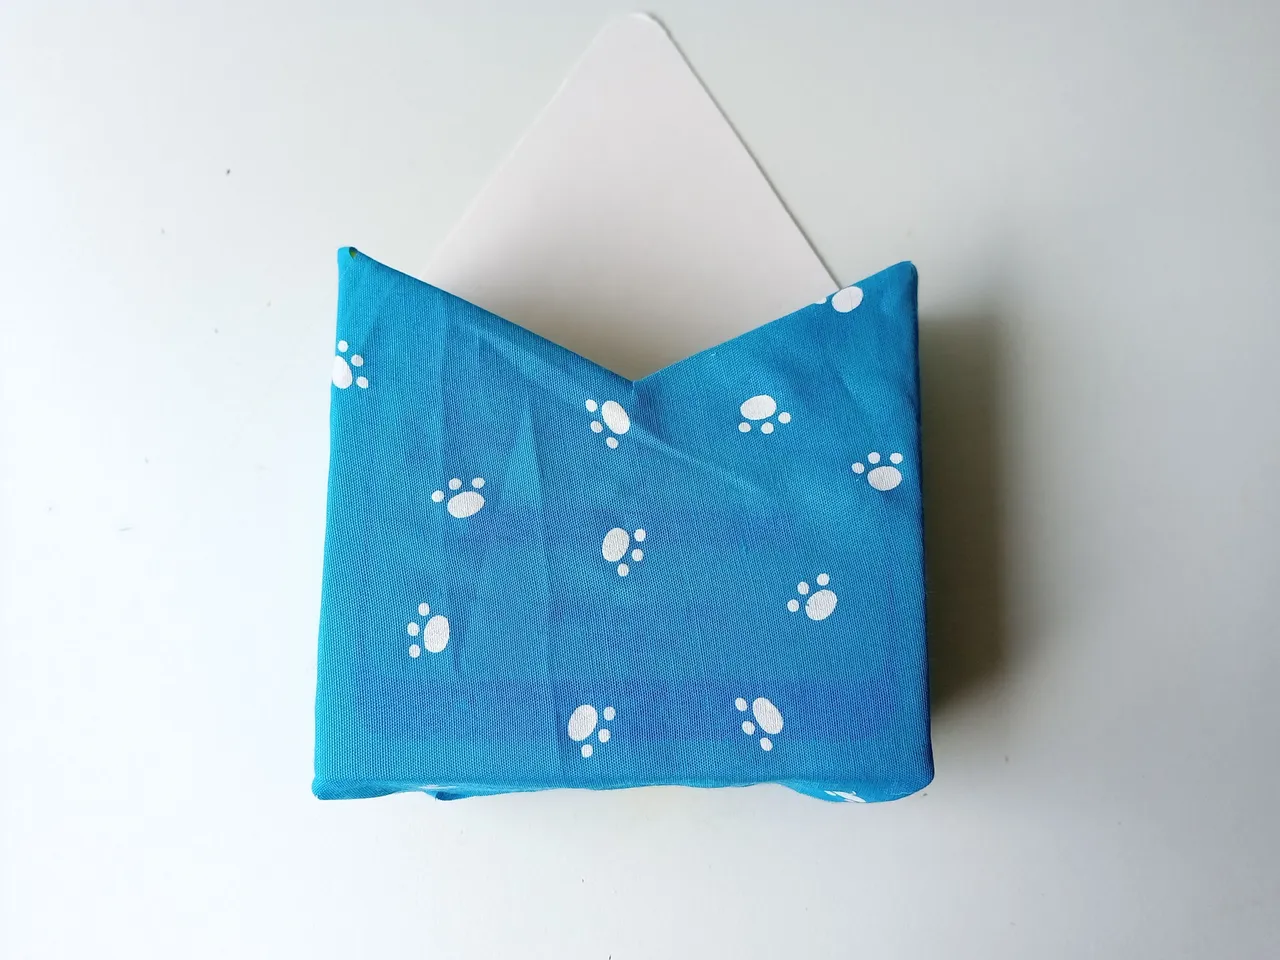
- PASO 2:
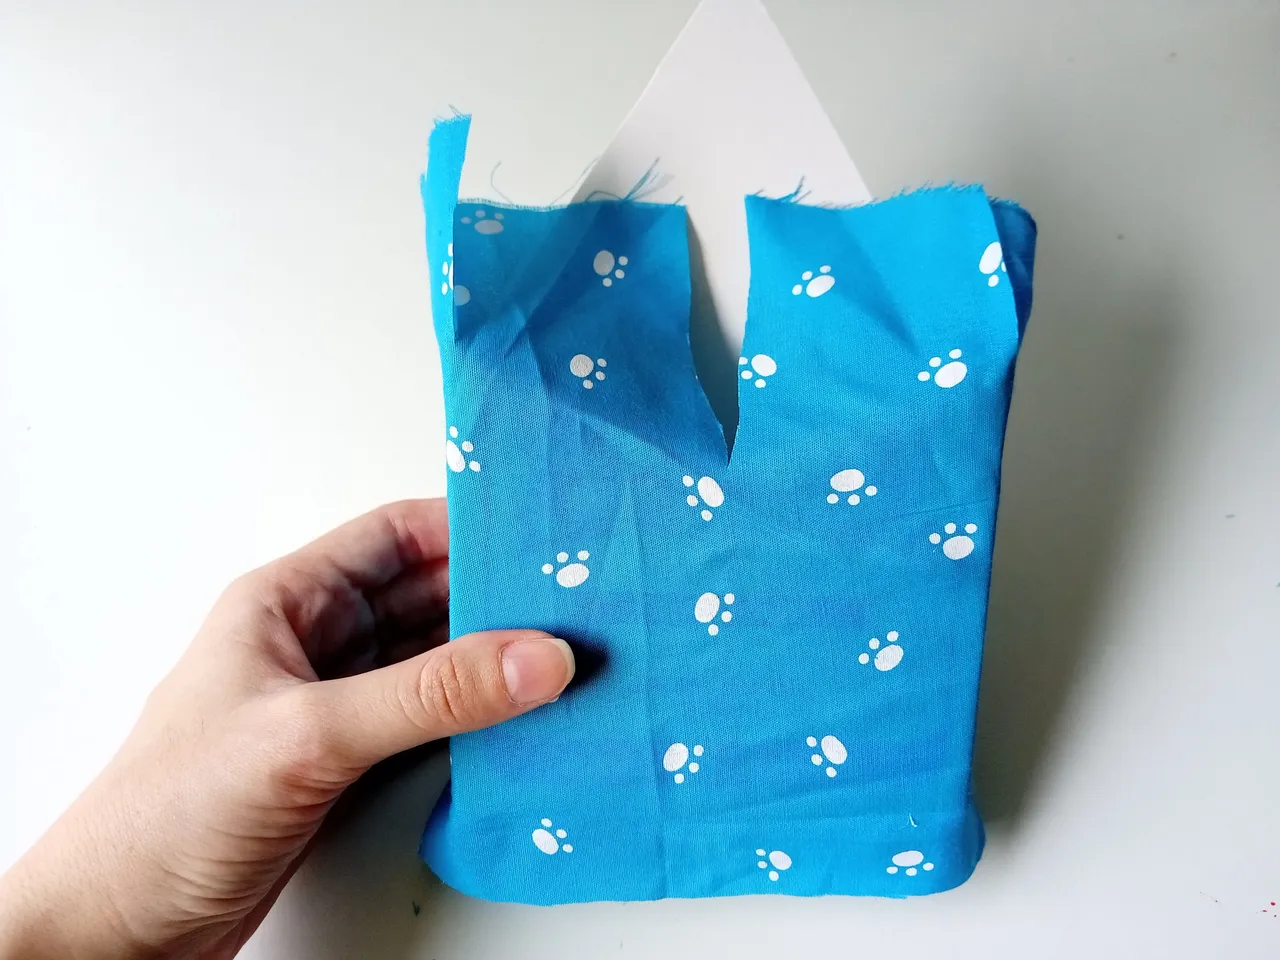
Seguidamente, comencé a forrar la parte de adelante con la tela, pegando los bordes a la parte trasera y dejando excedente de tela tanto para arriba como para abajo. Luego, recorté el excedente, pegué a la parte interna de la caja y en la parte de abajo doblé los excedentes y pegué para terminar de forrar esa parte. Para que quede prolija la pared trasera, simplemente pegamos más tela para forrar, cartulina o foami.
- STEP 2:
Next, I began to cover the front part with the fabric, gluing the edges to the back part and leaving excess fabric both at the top and bottom. Then, I cut off the excess, glued it to the inside of the box and at the bottom I folded the excess and glued it to finish lining that part. To make the back wall neat, we simply glue more fabric to cover, cardboard or foam.
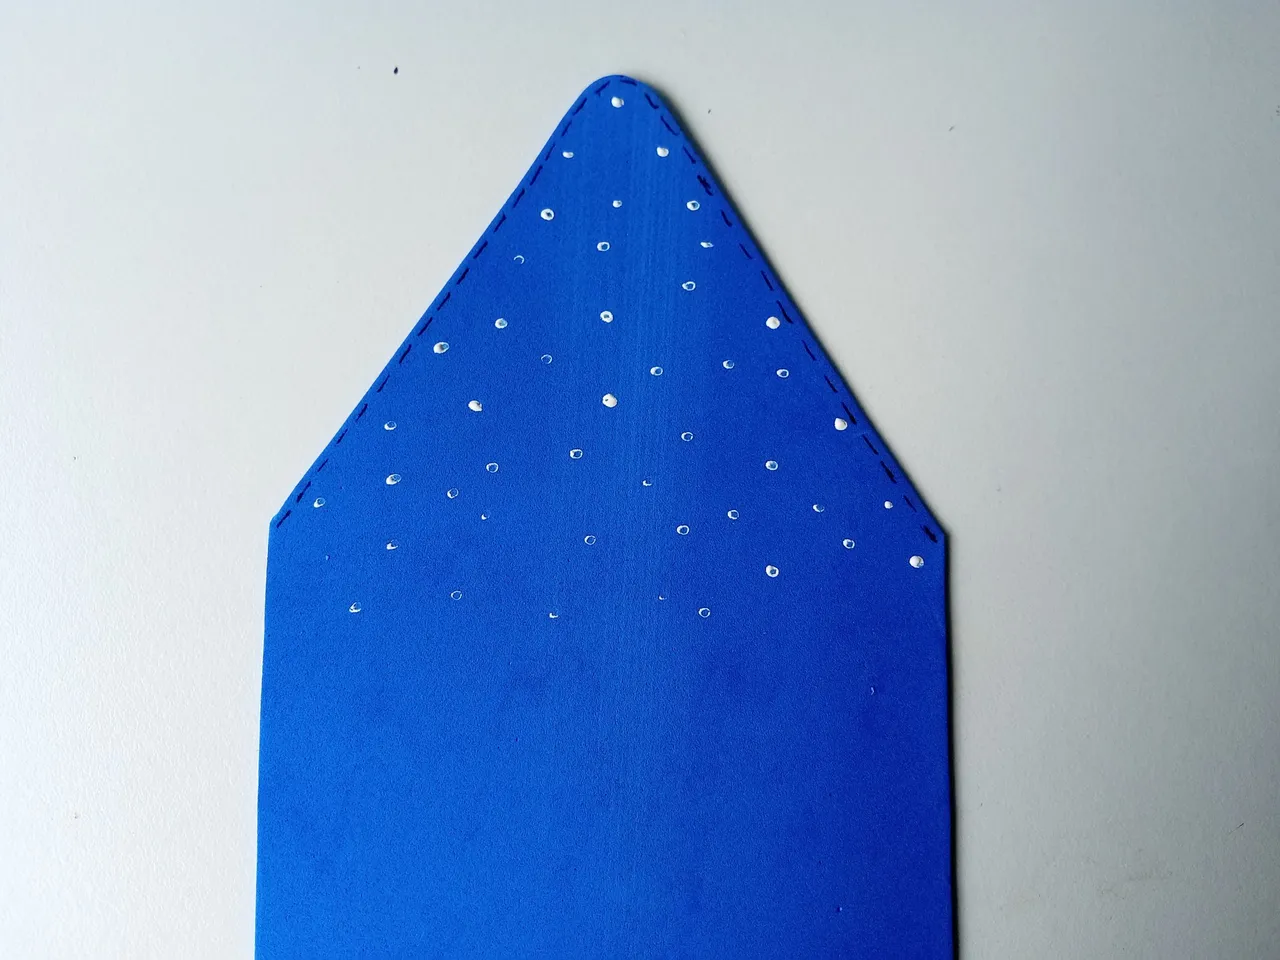
- PASO 3:
Para la parte visible de la pared trasera, tomé las medidas de la pared trasera de la caja las tracé en foami azul y la pegué en la pared más visible, pintando algunos puntos con pintura blanca y detalles de costura con marcador a los bordes.
- STEP 3:
For the visible part of the back wall, I took the measurements of the back wall of the box, traced them on blue foam and stuck it on the most visible wall, painting painting some dots with white paint and stitching details with a marker on the edges.
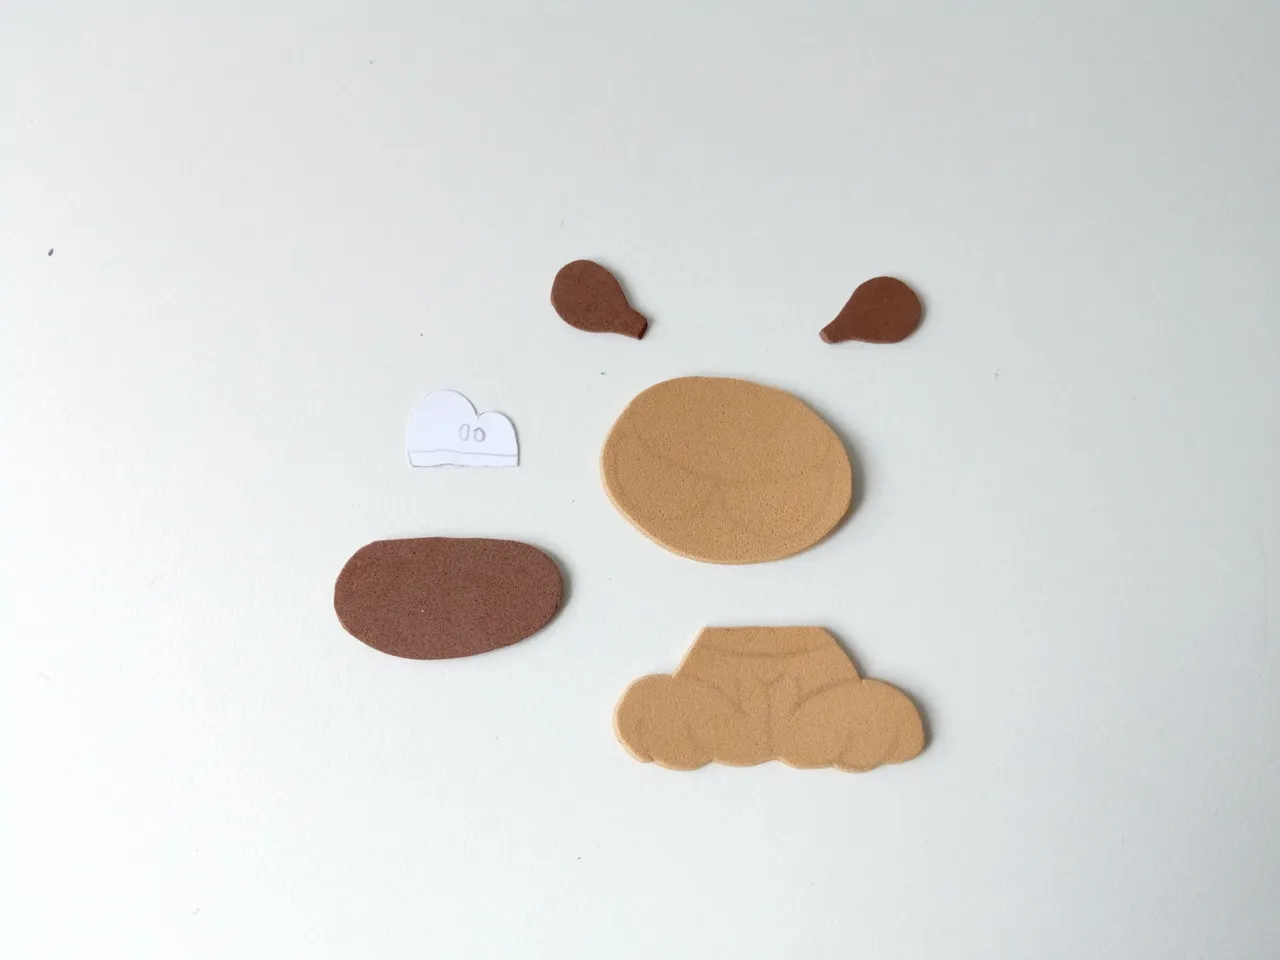
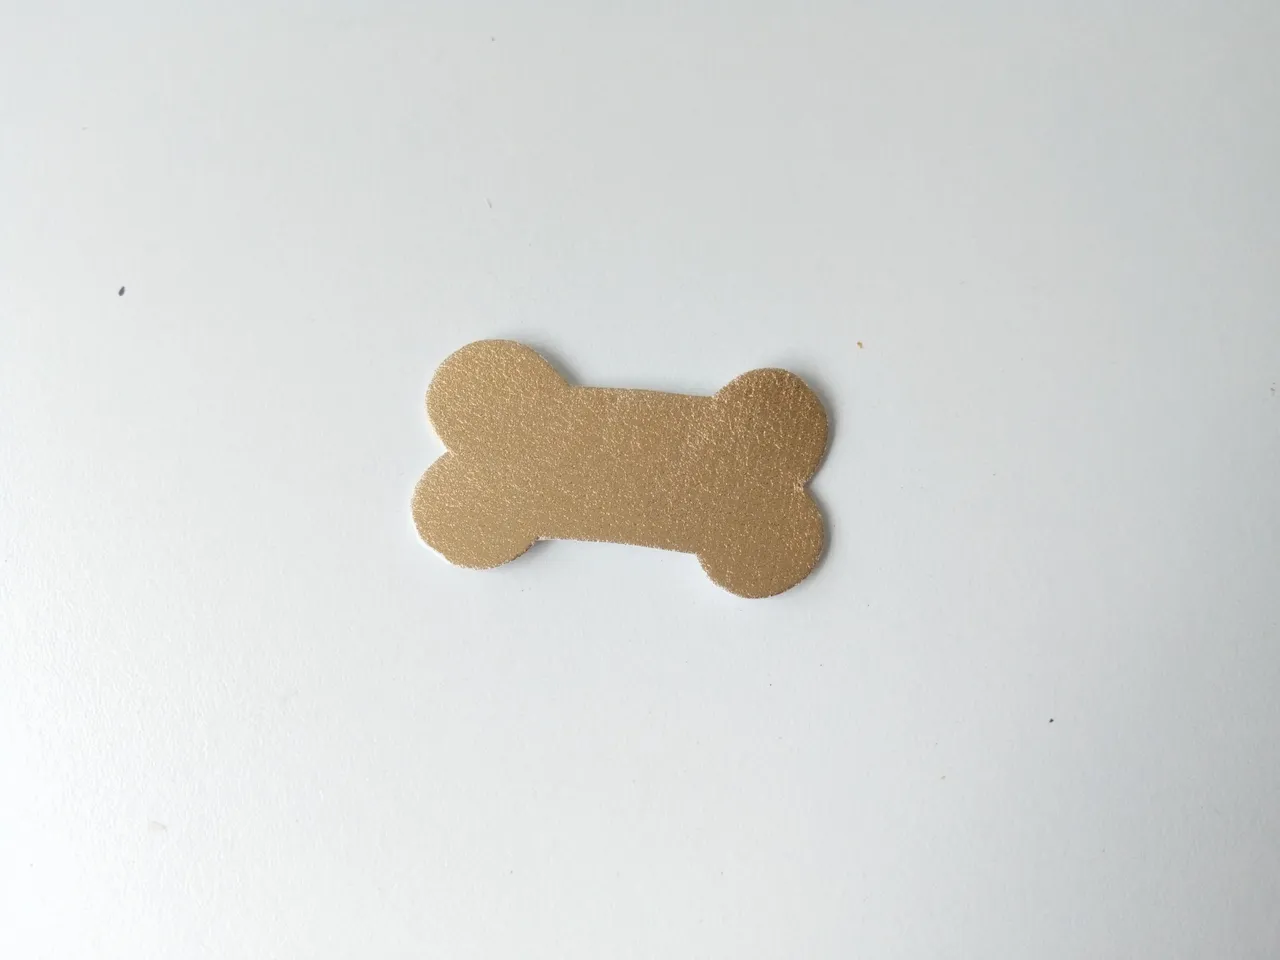
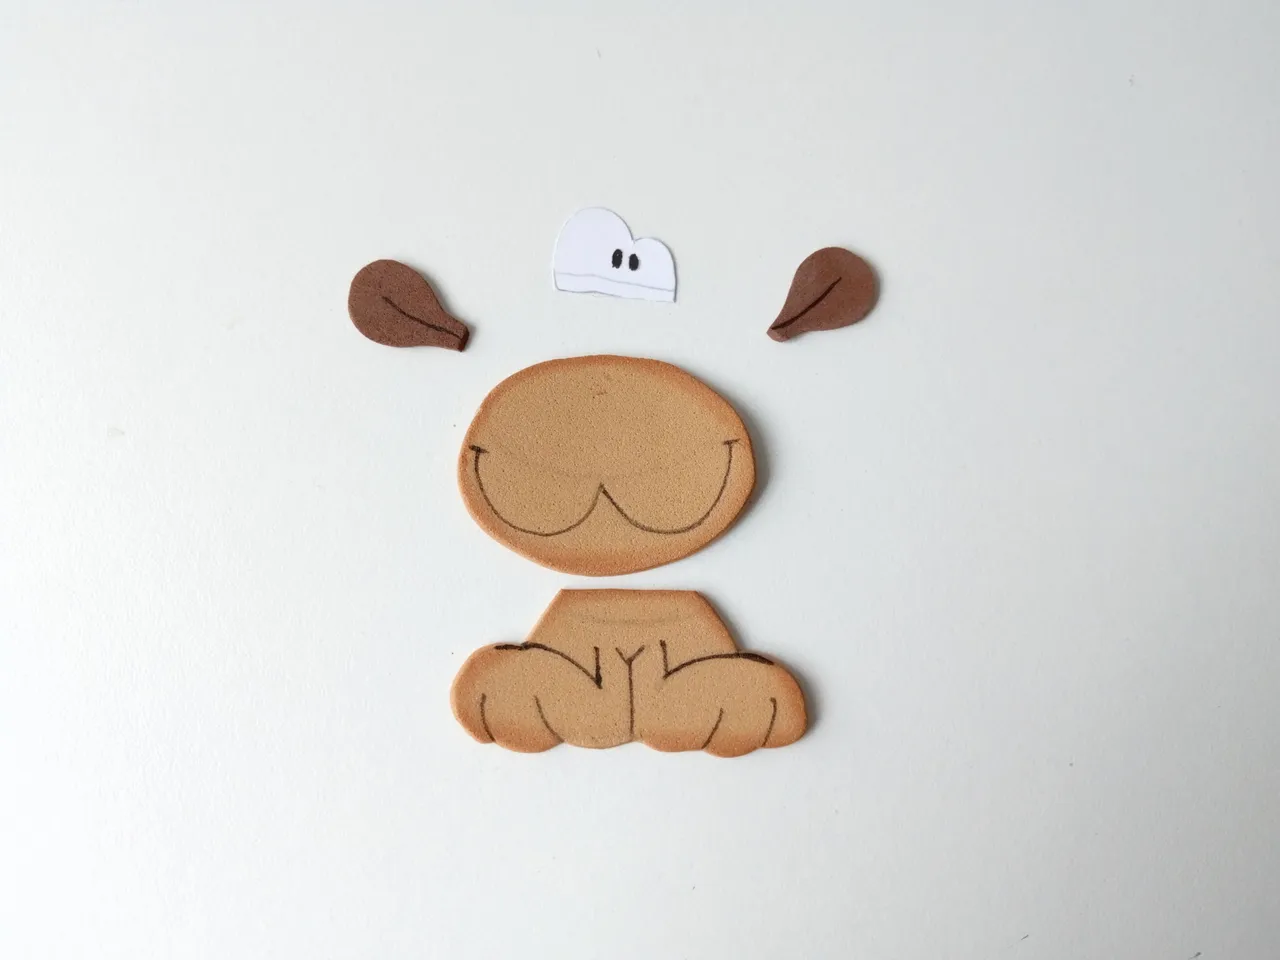
- PASO 4:
Luego, dibujé los patrones de la decoración en una hoja blanca y los transferí a los colores correspondientes de foami, como explico a continuación: el cuerpo del perro en foami marrón claro; orejas y nariz en foami marrón oscuro; el hueso en foami metalizado dorado. En cuanto a los ojos, los recorté de la misma hoja blanca.
- STEP 4:
Then, I drew the decoration patterns on a white sheet and transferred them to the corresponding colors of foam, as explained below: the dog's body in light brown foam; ears and nose in dark brown foam; the bone in gold metallic foam. As for the eyes, I cut them out of the same white sheet.
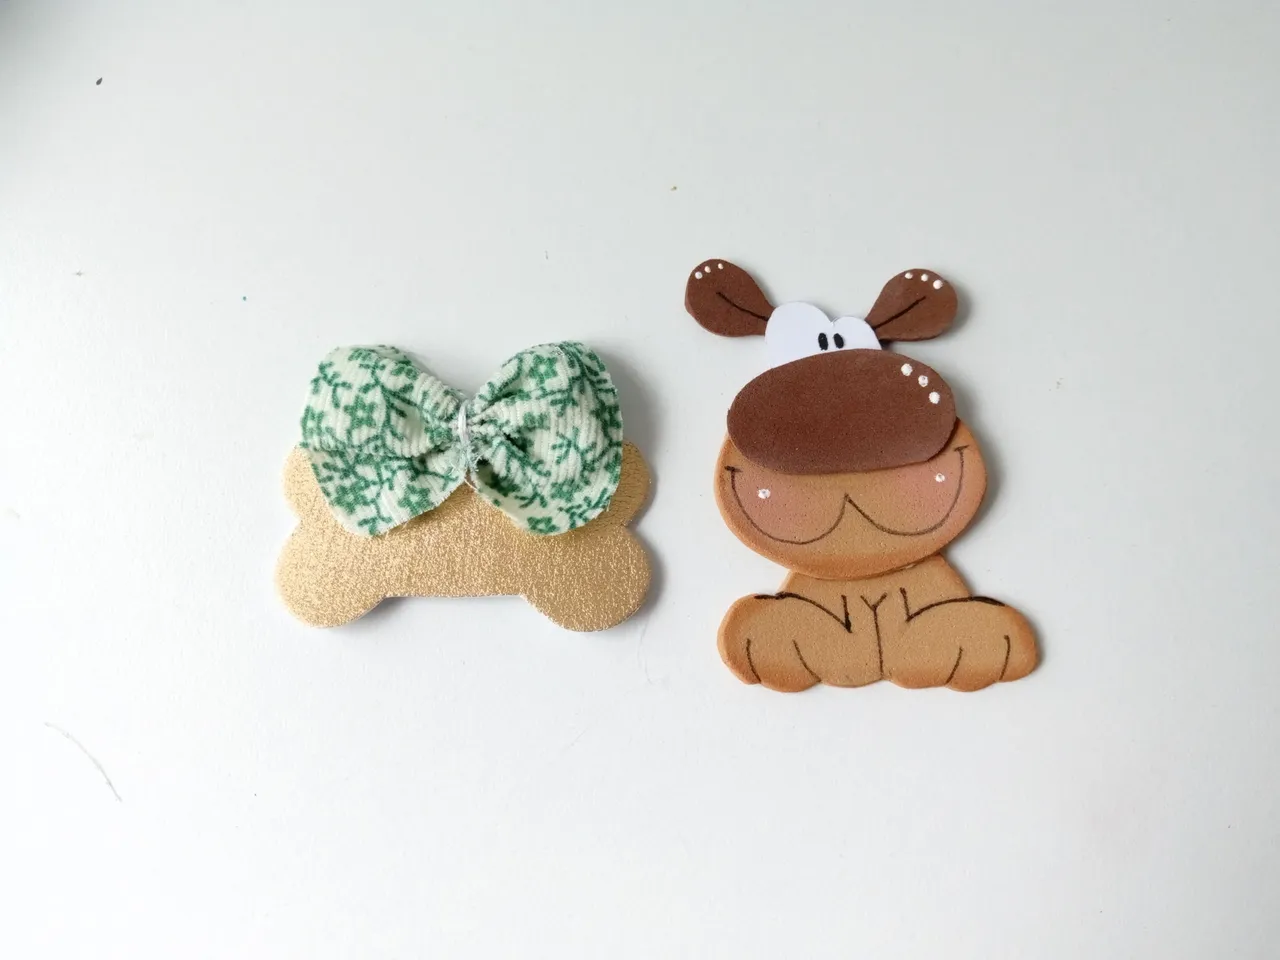
- PASO 5:
Seguidamente, comencé a dar color con pintura a los bordes de las piezas en color marrón claro. Para definir más los detalles utilicé un marcador negro, di puntos de luz con pintura blanca y pegué hasta formar la pieza. También, pegué el lazo a la parte superior del hueso.
- STEP 5:
Next, I began to color the edges of the pieces with light brown paint. To further define the details, I used a black marker, made light dots with white paint and glued until the piece was formed. I also glued the bow to the top of the bone.
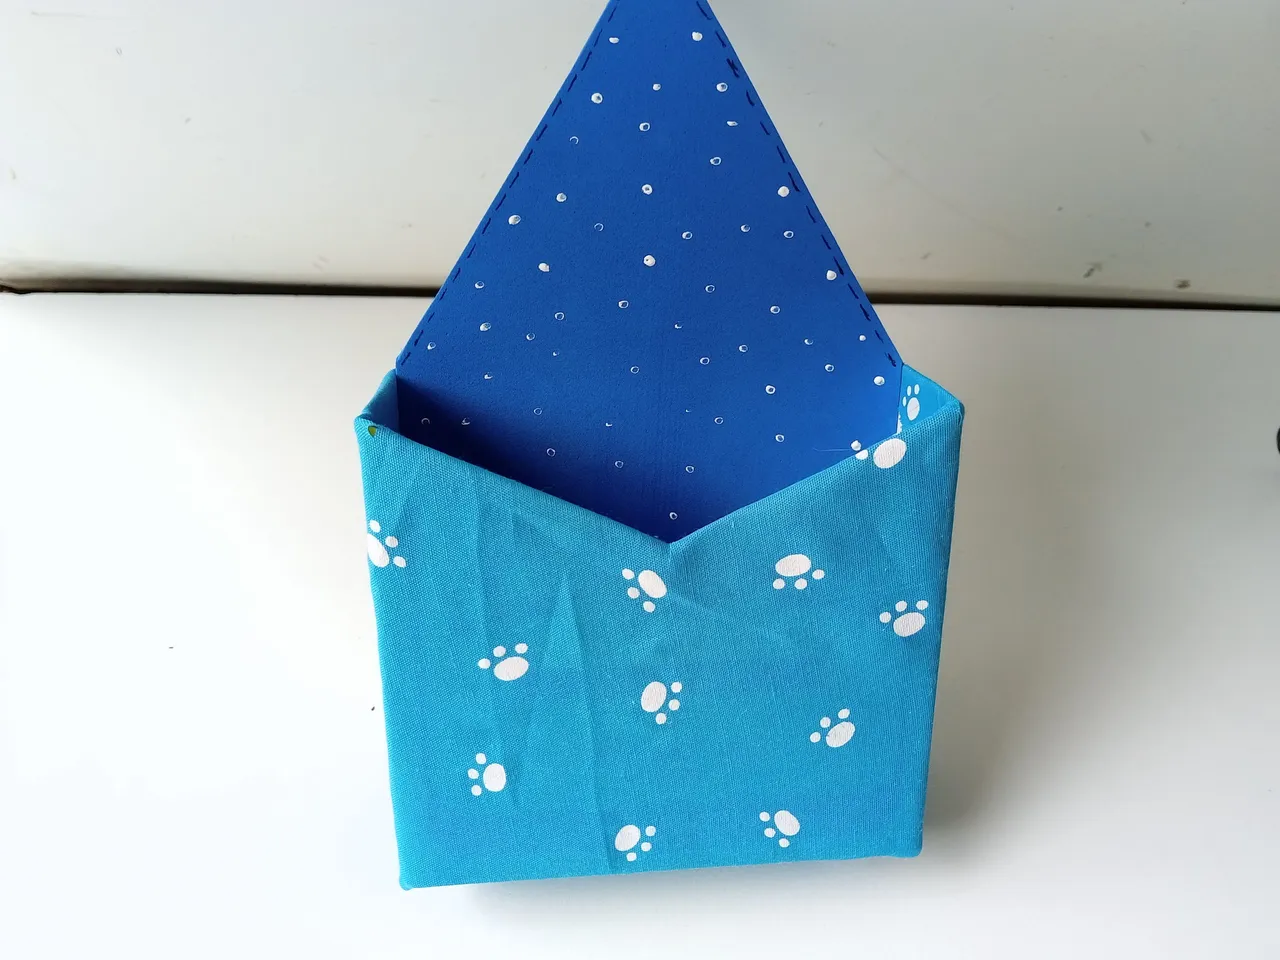
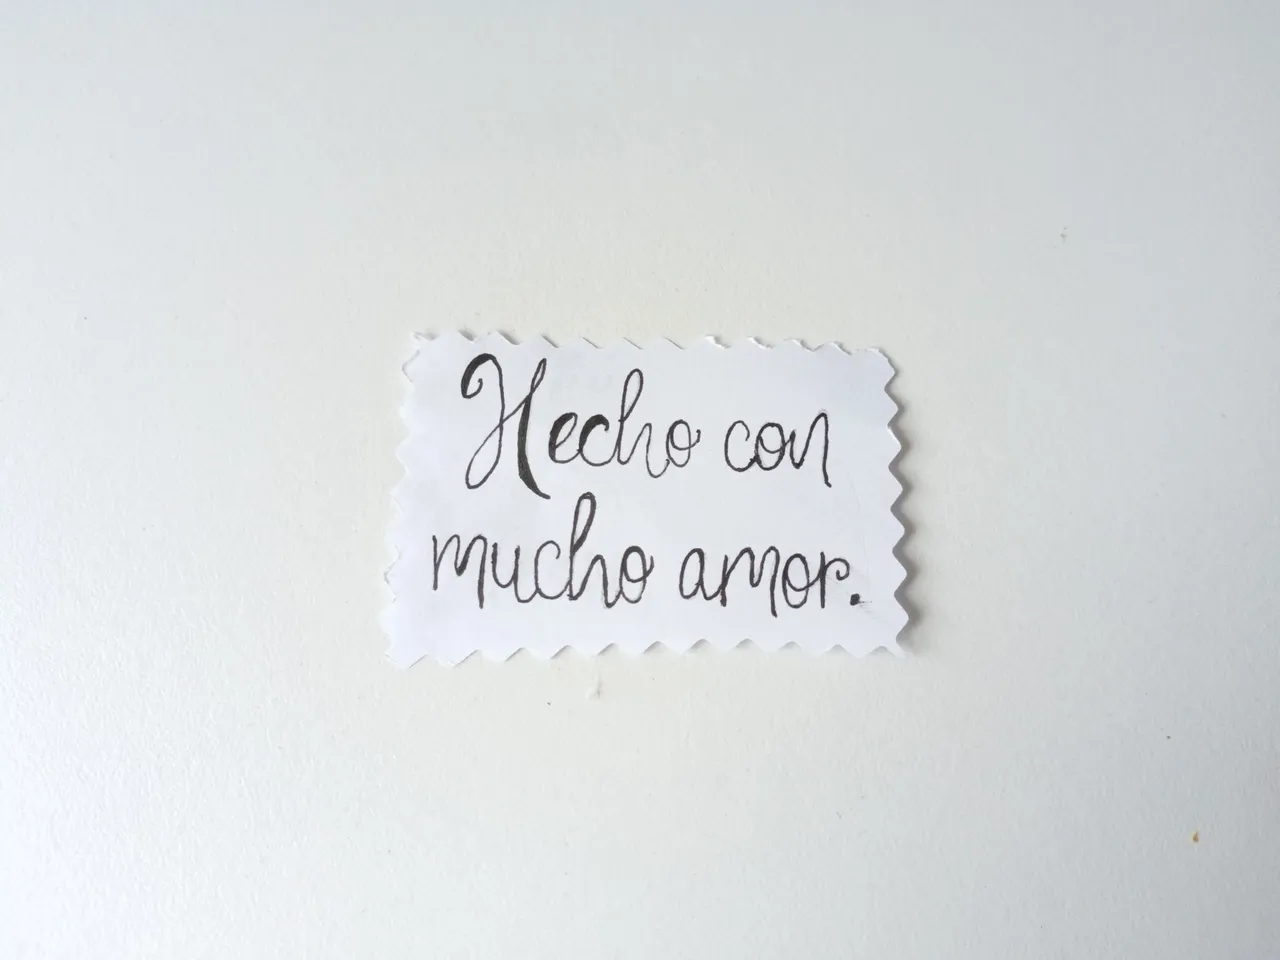
- PASO 6:
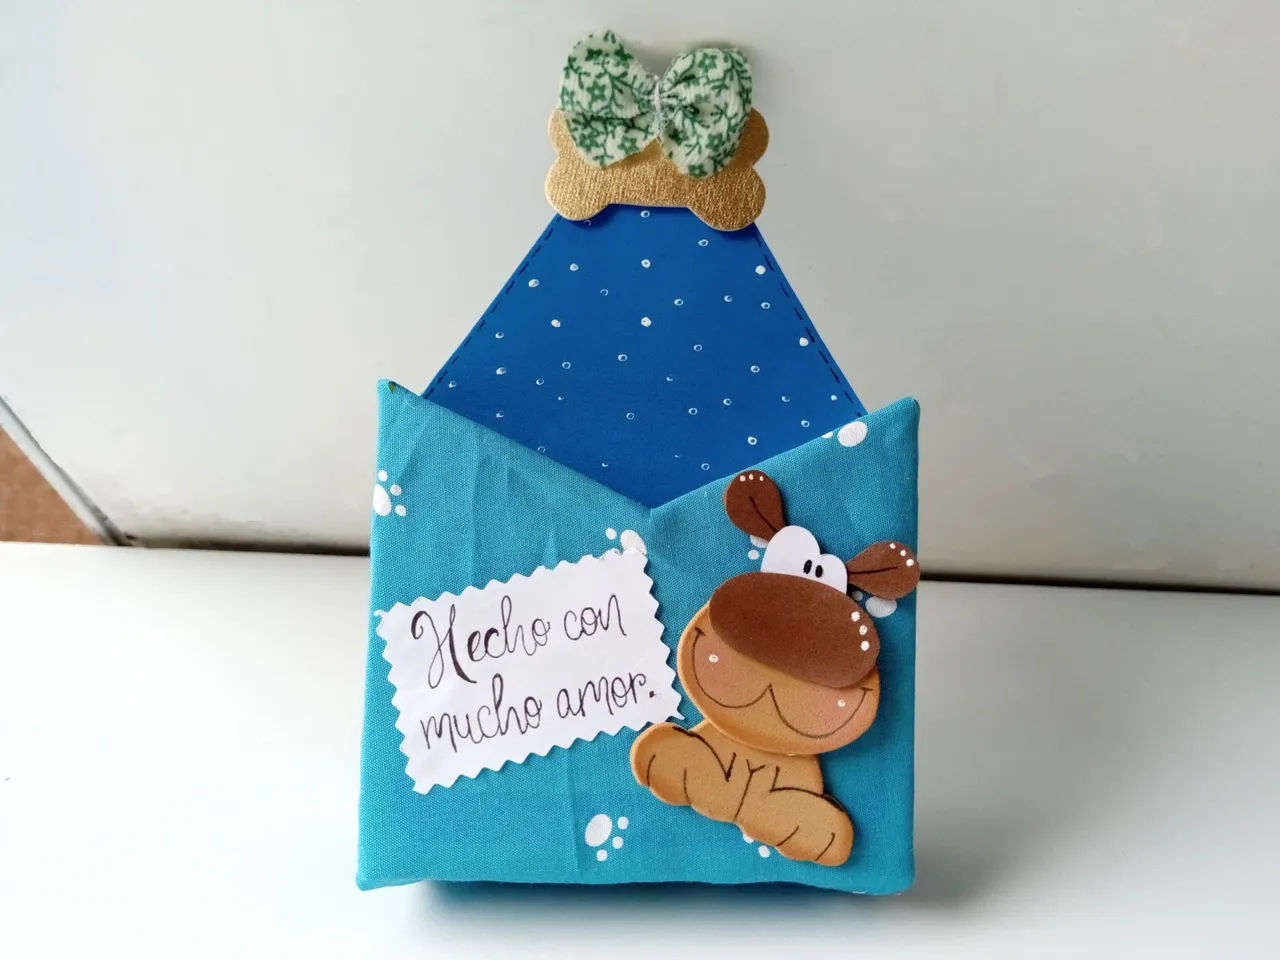
Para finalizar, escribí un mensaje en una hoja blanca de 6 cm x 4 cm, recorté con tijeras decorativas y pegué toda la decoración en el orden deseado, pegando el hueso en la parte superior de la pared trasera, mientras que el mensaje y el perrito en la pared delantera.
- STEP 6:
To finish, I wrote a message on a 6cm x 4cm white sheet, cut it out with decorative scissors and glued all the decorations in the desired order, gluing the bone on the top of the back wall, while the message and the dog on the front wall.
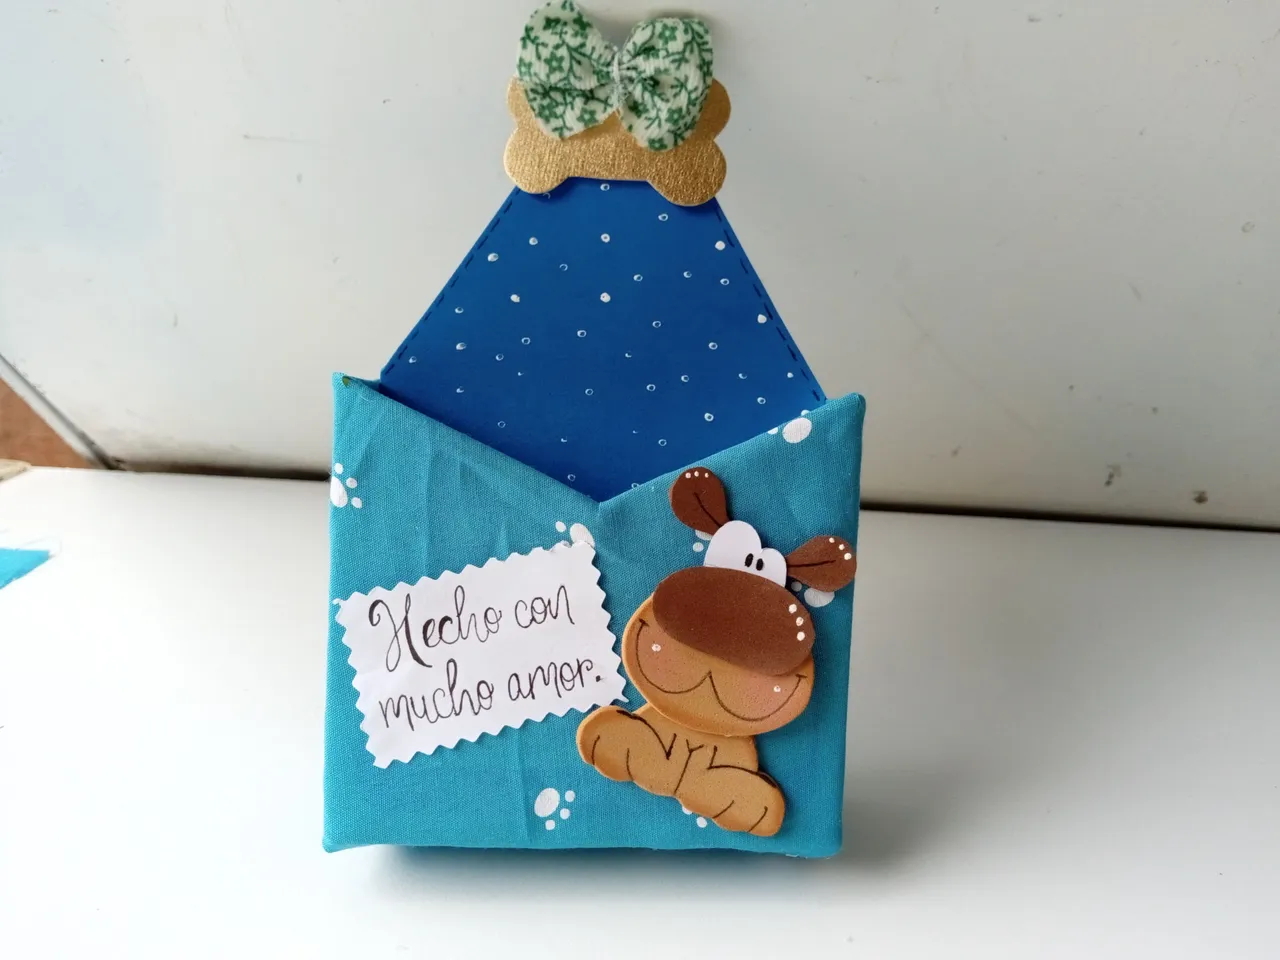
This is how you can make a box in the shape of an envelope. This is a decoration that is a little more elaborate to give a special gift, but you can make it with some other theme and it doesn't require so many materials. I hope you liked the step by step and are encouraged to make it.
❤️Until the next post.
✨RESULTADO: | ✨RESULT:

Todas las fotografías son de mi propiedad.
Separador y Fotos editadas en Canva
All photographs are my property.
Photos edited in Canva