✨🌼🌵¡Hola amigos amantes de la creatividad! Espero que hayan pasado un muy buen comienzo de semana.🌼🌵✨
🔸Sin más que añadir, a continuación los dejo con el paso a paso:
✨🌵🌼¡Hello friends who love creativity! I hope you had a very good start to the week.🌼🌵✨
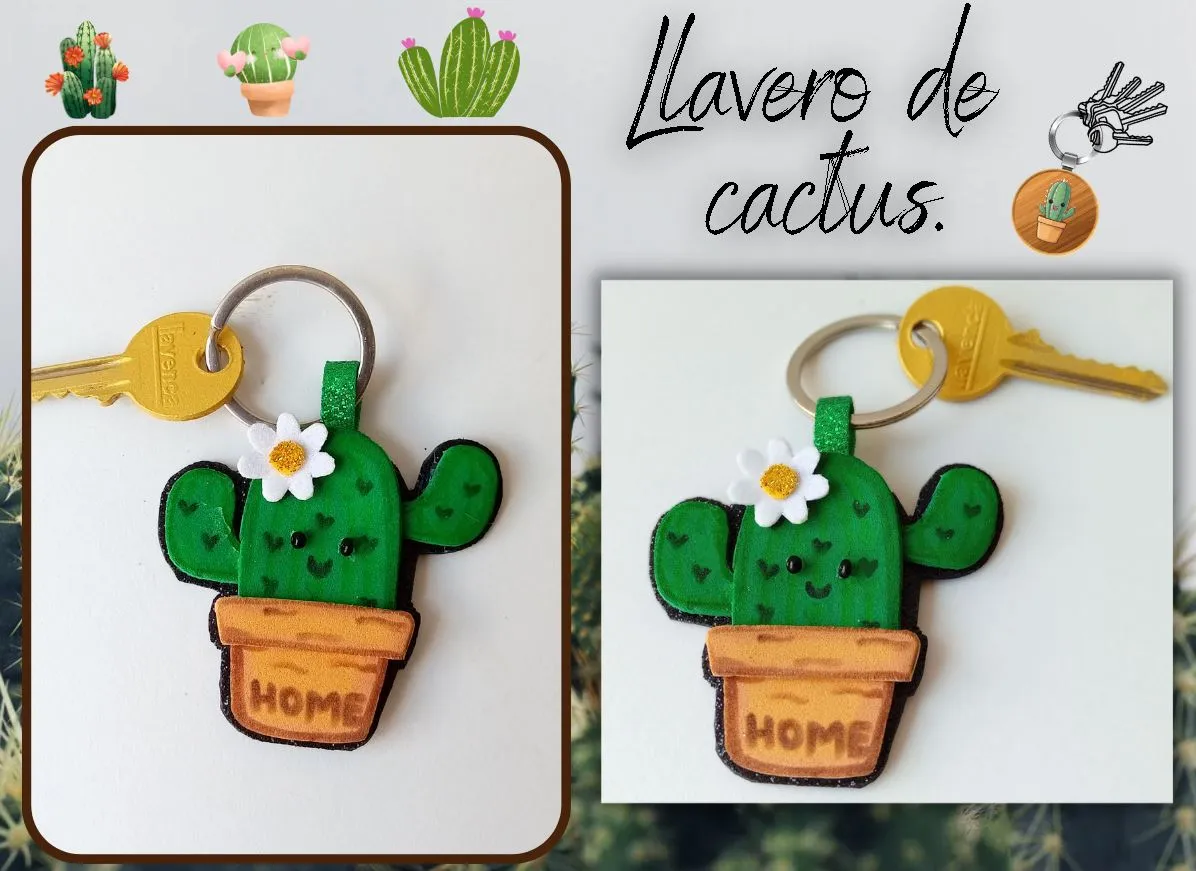
I hope you are well and have had a nice Monday. This time I share the step by step to make a beautiful cactus keychain. A few weeks ago I lost my house key, so I decided to take another one and give it a nice appearance, and also decorate it with a key ring that identifies me or do it with a theme that I like. That's why I chose to make a small and tender cactus, you will find some details that I really like like the daisies, and of course, the golden color. Although it is elaborated to my liking, I wanted to share it with you so that you can take this idea if you like it or simply, get a little inspired and make a nice keychain.
🔸Without more to add, then I leave you with the step by step:
♥️ESPERO QUE TE GUSTE,
¡Empecemos!
♥️I HOPE YOU LIKE IT,
Let's start!

🌼 MATERIALES | 🌼 MATERIALS
- Círculo metálico para llaveros.
- Foami verde.
- Foami marrón claro.
- Foami blanco escarchado.
- Foami dorado escarchado.
- Foami negro escarchado.
- 2 mini perlas negras.
- Pintura dorada.
- Llaves.
- Hoja blanca.
- Pegamento.
- Abre huecos.
- Marcadores.
- Tijera.
- Lápiz.
- Metallic circle for keyrings.
- Green foam.
- Light brown foam.
- Ice white foami.
- Frozen golden foami.
- Frosted black foam.
- 2 mini black pearls.
- gold paint.
- Keys.
- White sheet.
- Glue.
- Open holes.
- Markers.
- Scissors.
- Pencil.
🌵 PROCEDIMIENTO | 🌵 PROCESS
- PASO 1:
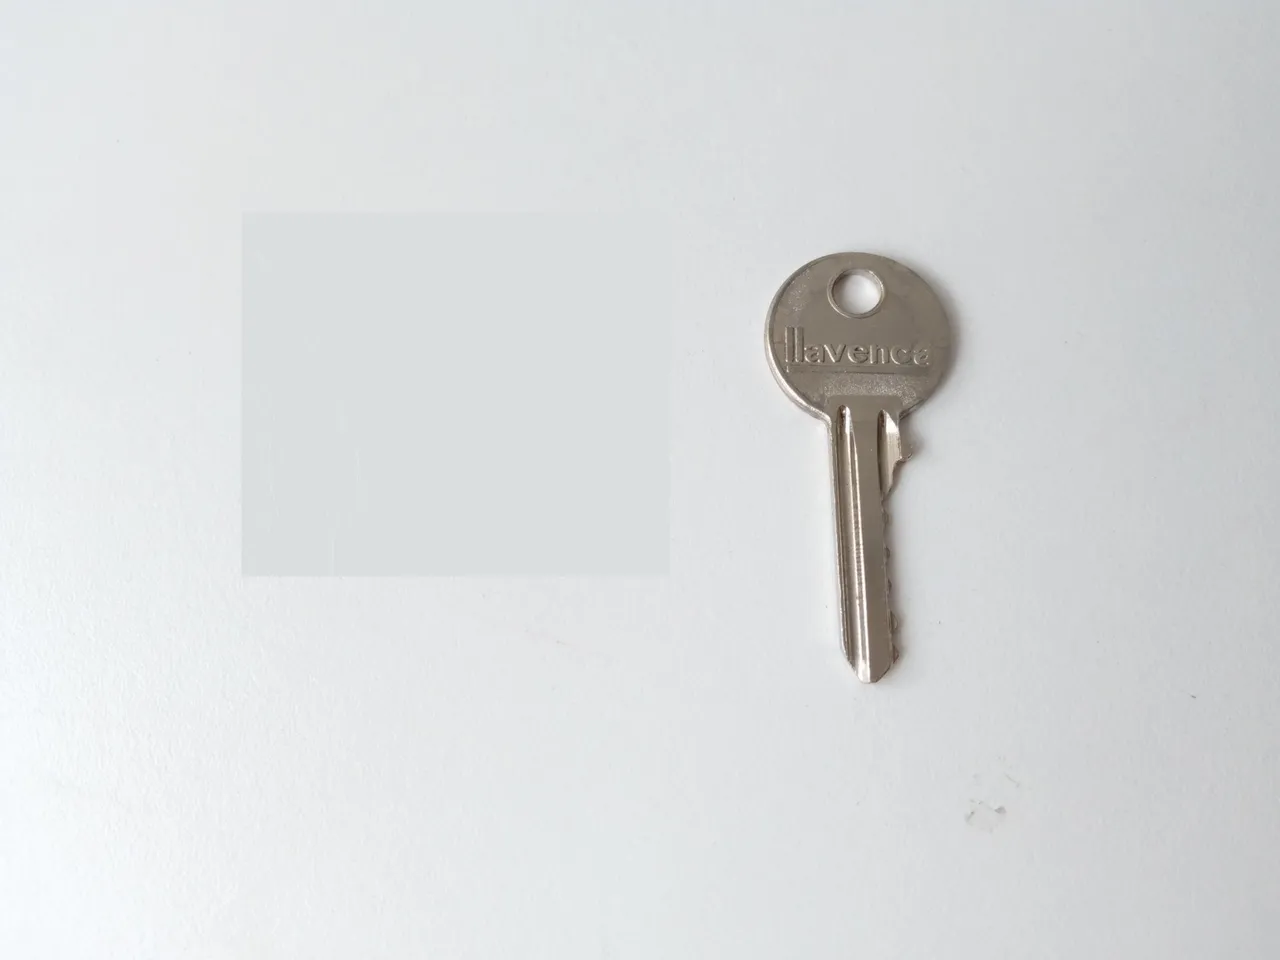
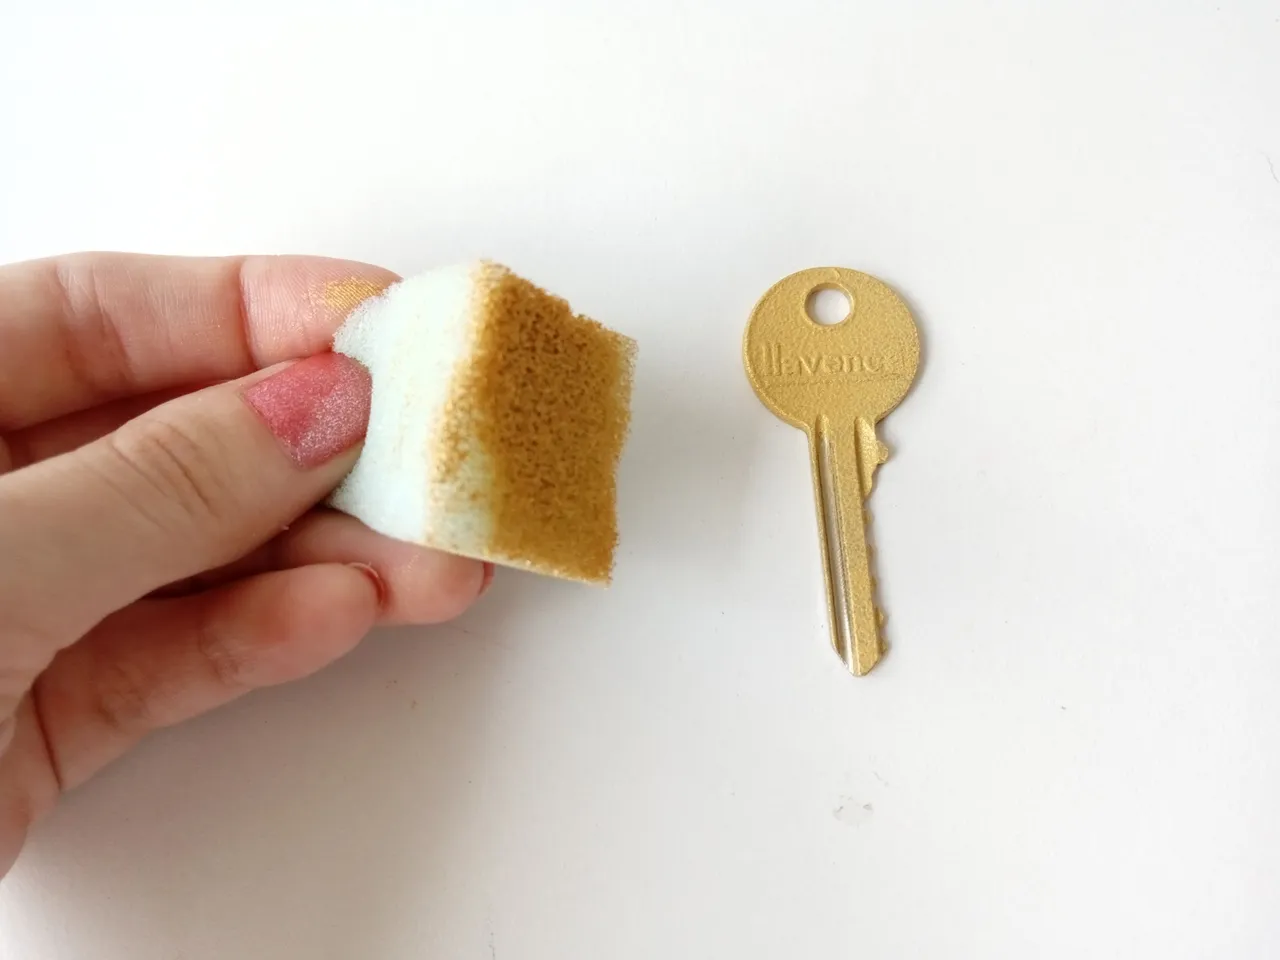
Para el diseño del cactus quise pintar la llave de otro color, por eso tomé una esponja, la llené con un poco de pintura dorada y dando toques pinté toda la llave. Para que quedara bien cubierta, pasé dos capas. En la parte de abajo solo haz una capa porque supongo que se va a pelar, pero para que dure más, si quieres, aplica un poco de brillo de uñas, al menos en la parte de arriba.
- STEP 1:
For the cactus design I wanted to paint the key in a different color, so I took a sponge, filled it with a little bit of gold paint and dabbing painted the entire key. To make it well covered, I passed two coats. On the bottom just do one coat because I guess it's going to peel but to make it last longer, if you want, apply some nail glitter, at least on the top.
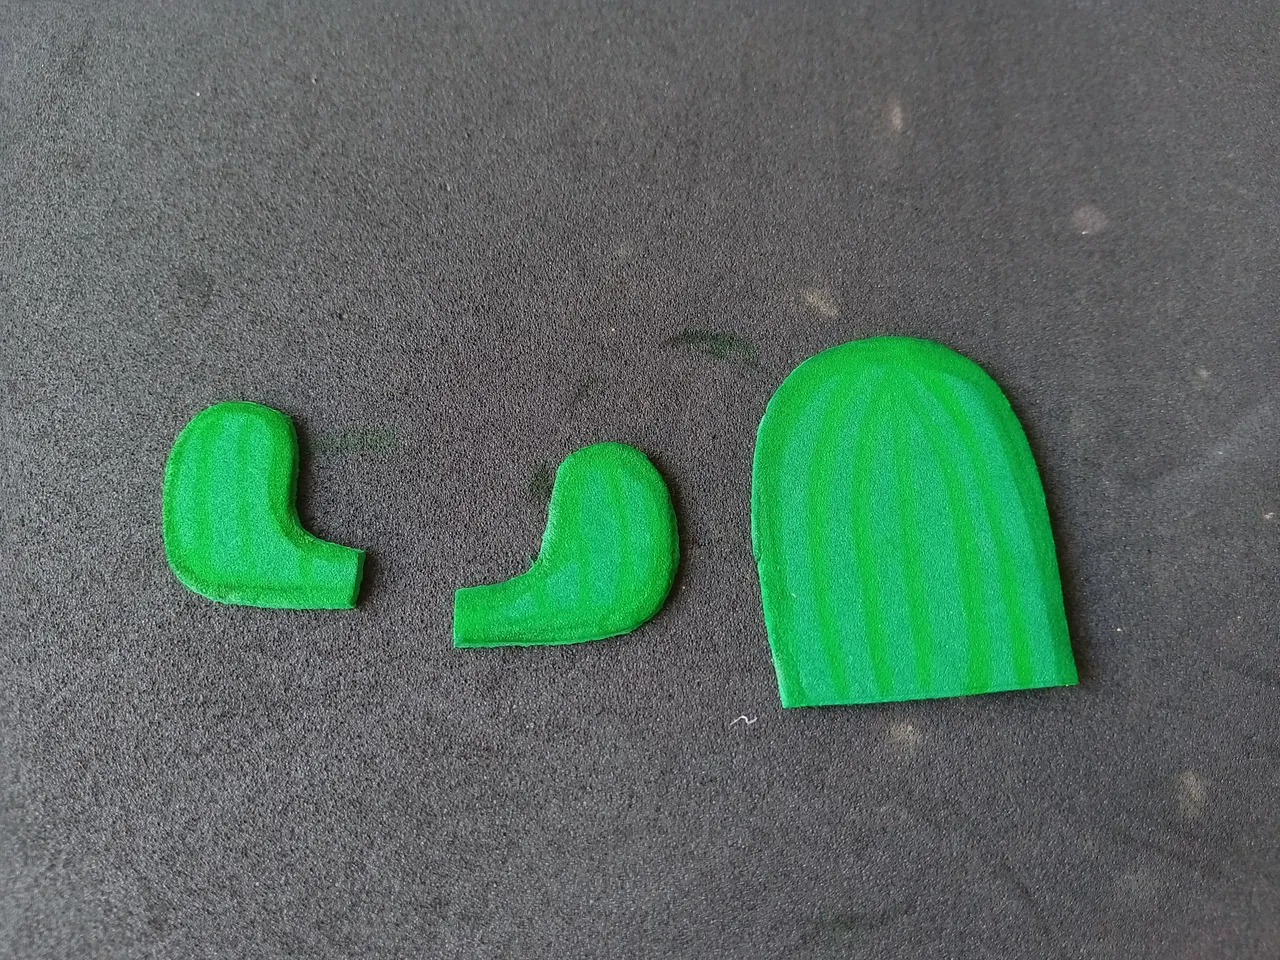
- PASO 2:
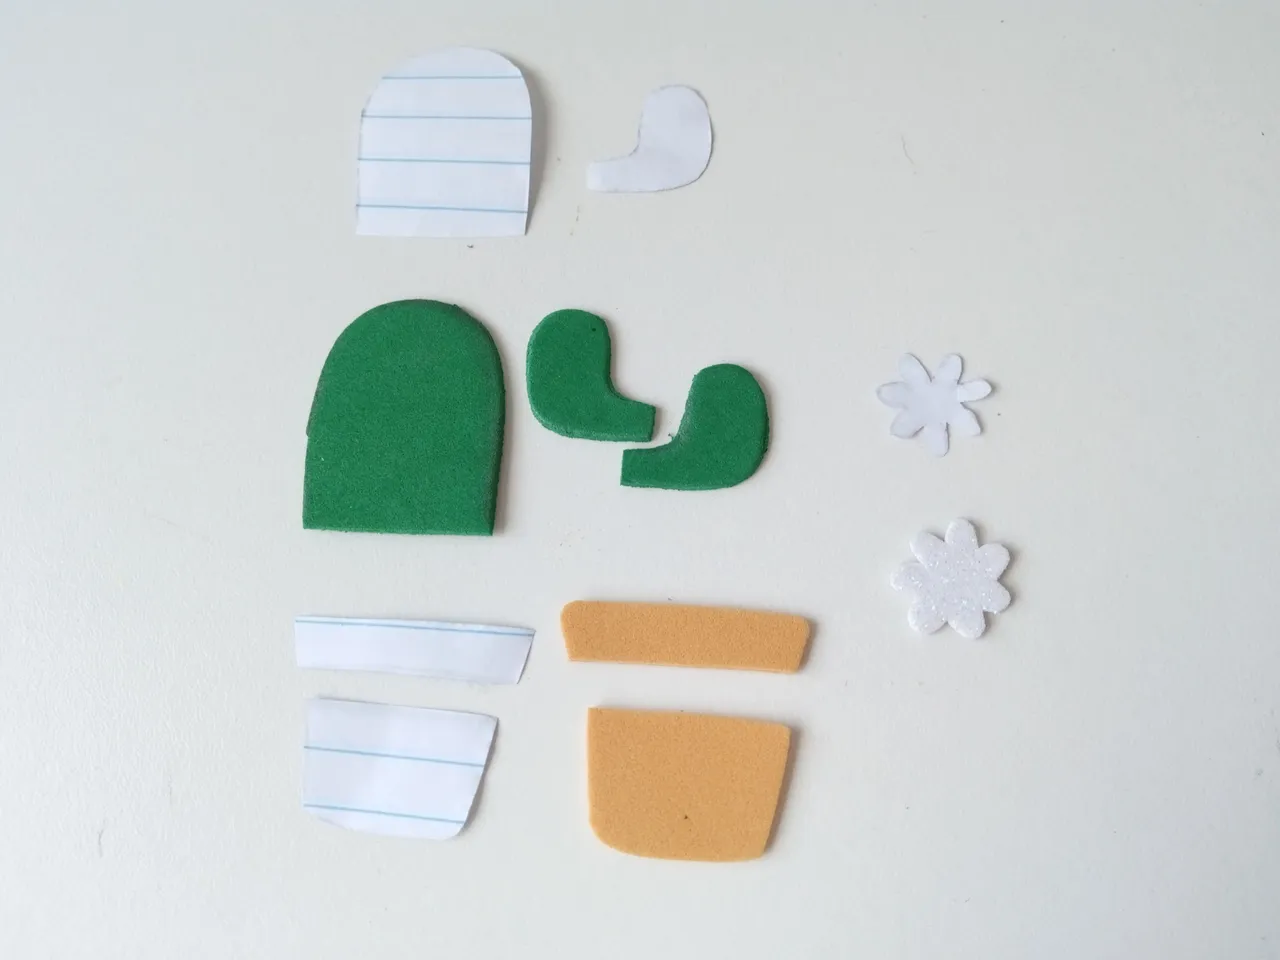
Luego, dibujé el patrón del cactus en una hoja blanca, lo recorté y lo pasé al color correspondiente de foami, en este caso: el cactus en foami verde, la maceta en marrón claro y la flor en blanco escarchado.
- STEP 2:
Then, I drew the pattern of the cactus on a white sheet, cut it out and transferred it to the corresponding color of foami, in this case: the cactus in green foami, the pot in light brown and the flower in frosty white.
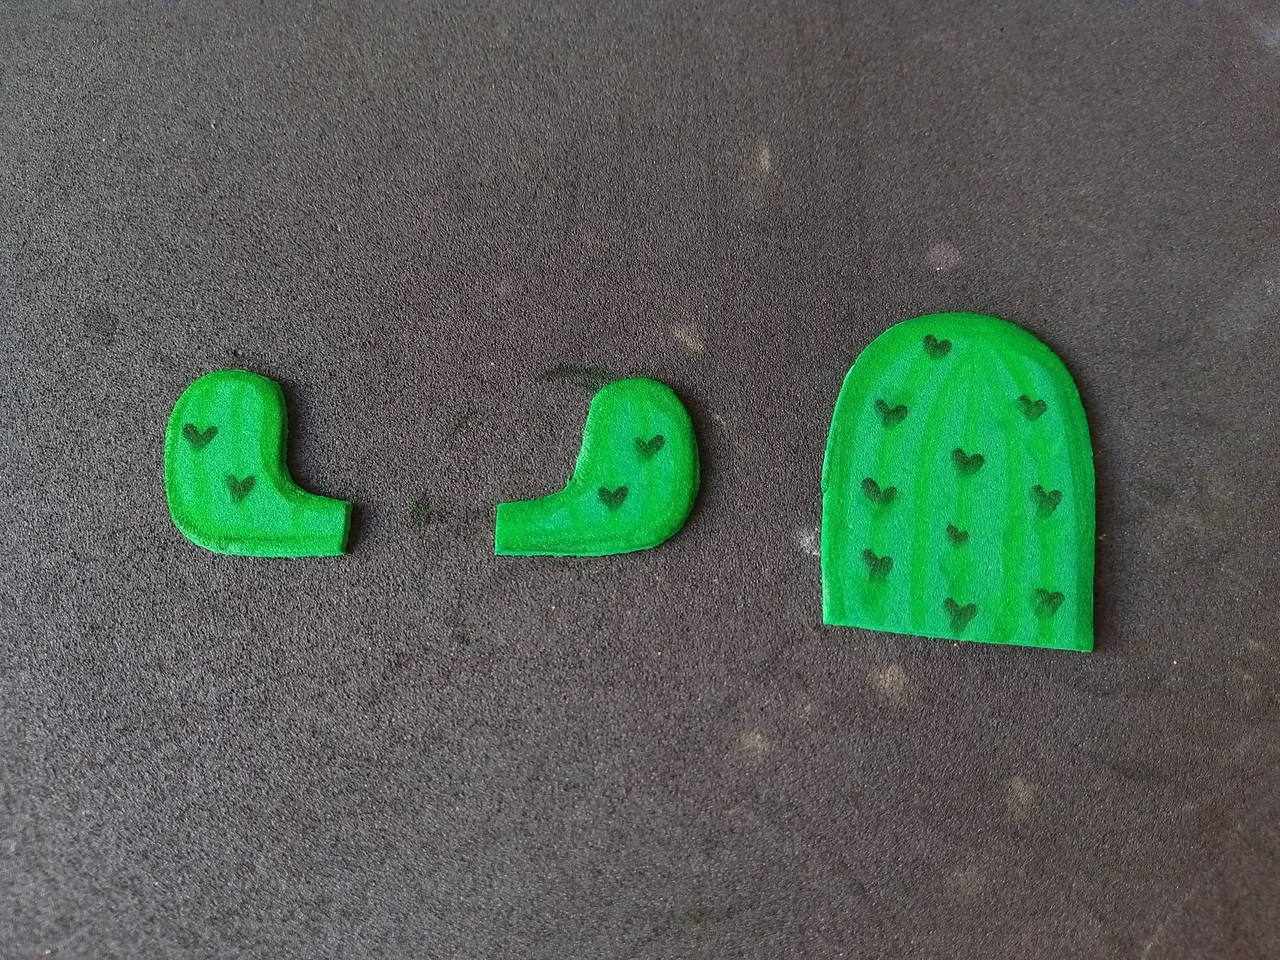
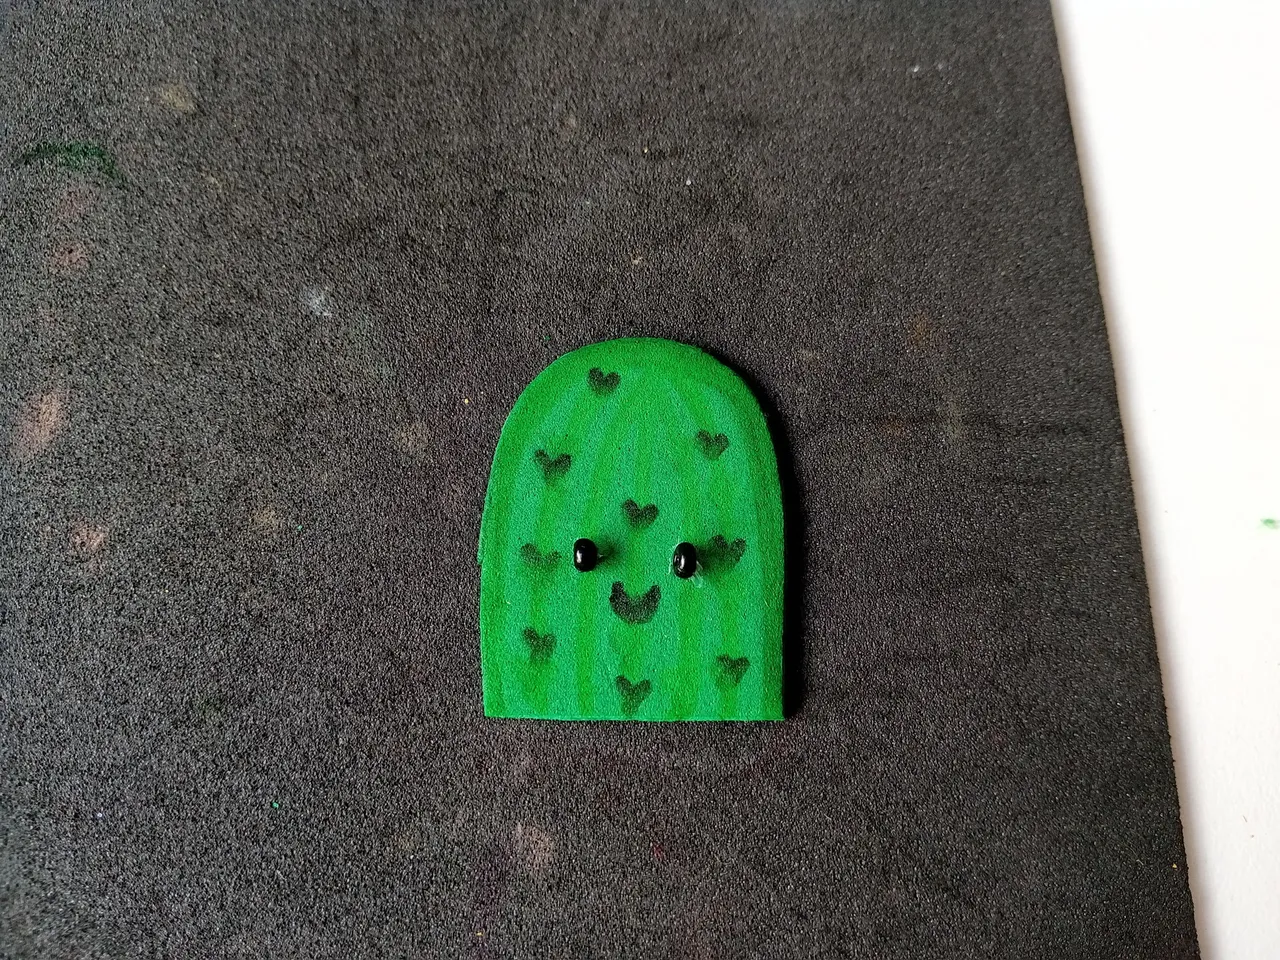
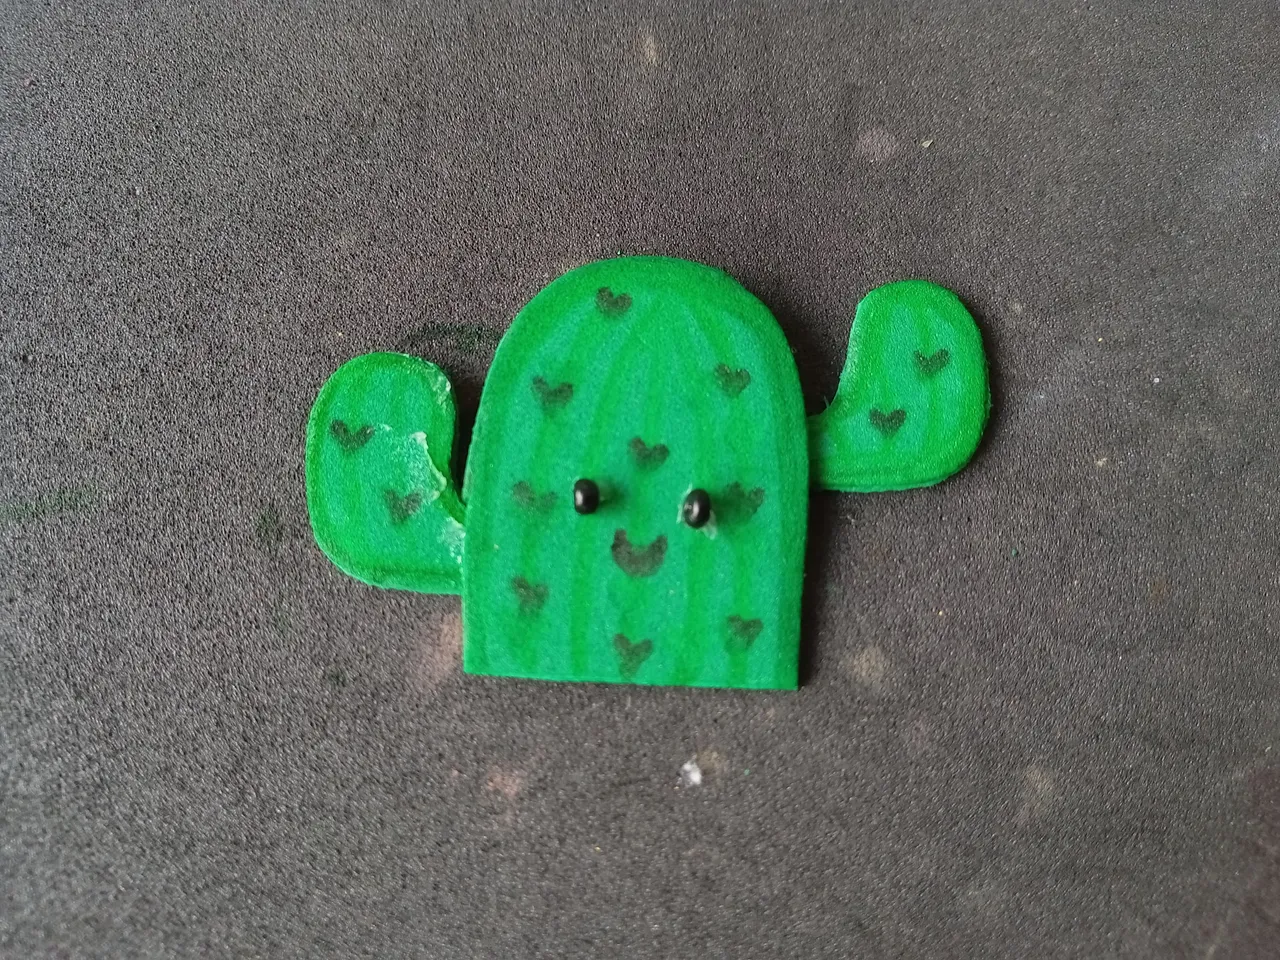
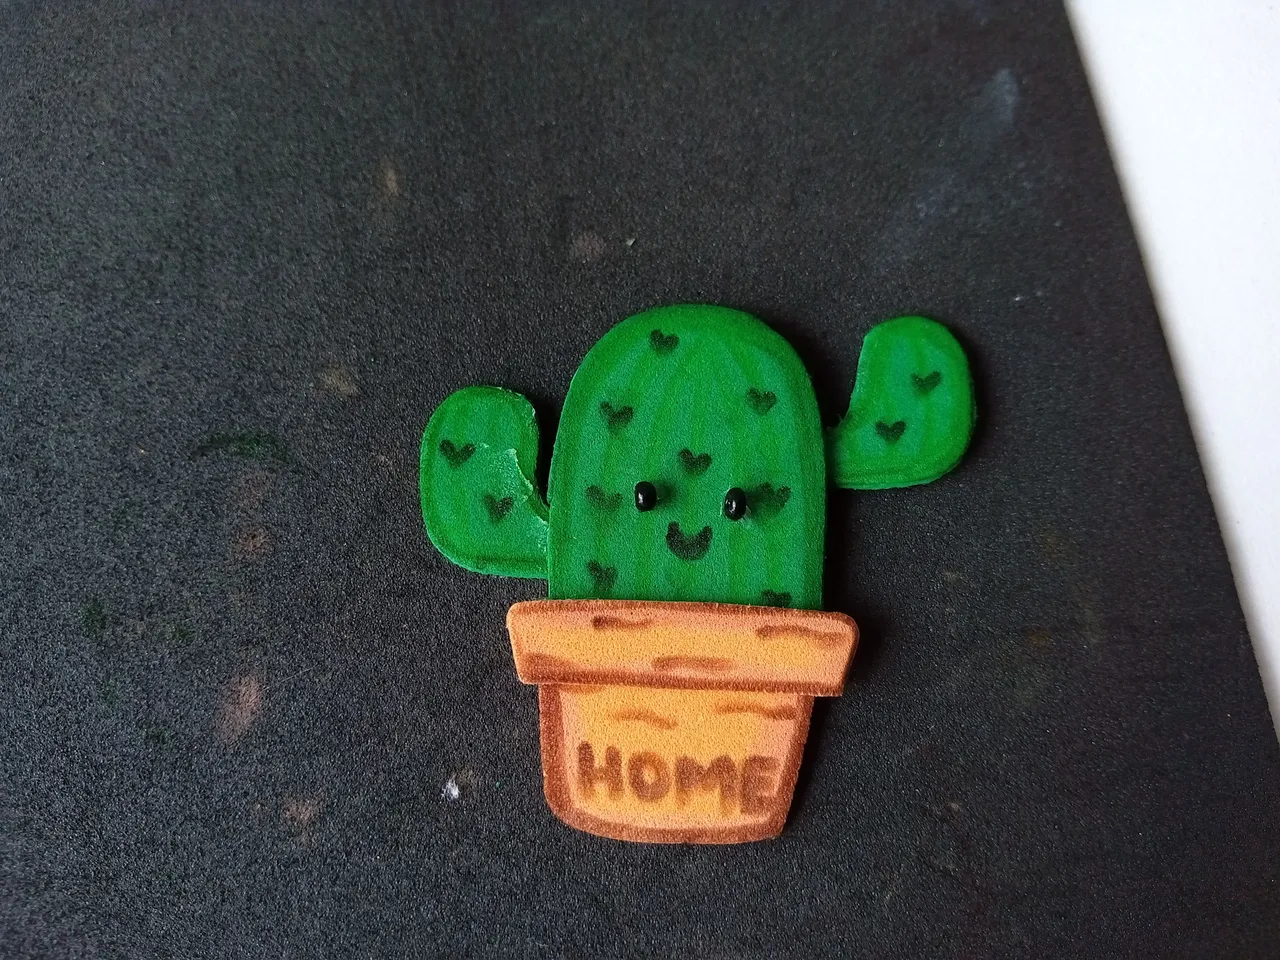
- PASO 3:
Por otro lado, comencé a darle detalles trazando con marcador verde alrededor del borde del cactus, luego hice un par de líneas curvas para darle más forma y para las espinas, dibujé mini corazones con marcador negro. Luego pegué los ojos con las perlas negras y medio dibujé una boca. Y uní todas las partes del cactus.
- STEP 3:
On the other hand, I started to give details by tracing with a green marker around the edge of the cactus, then I made a couple of curved lines to give it more shape and for the thorns, I drew mini hearts with a black marker. Then I glued the eyes with the black pearls and half drew a mouth. And I joined all the parts of the cactus.
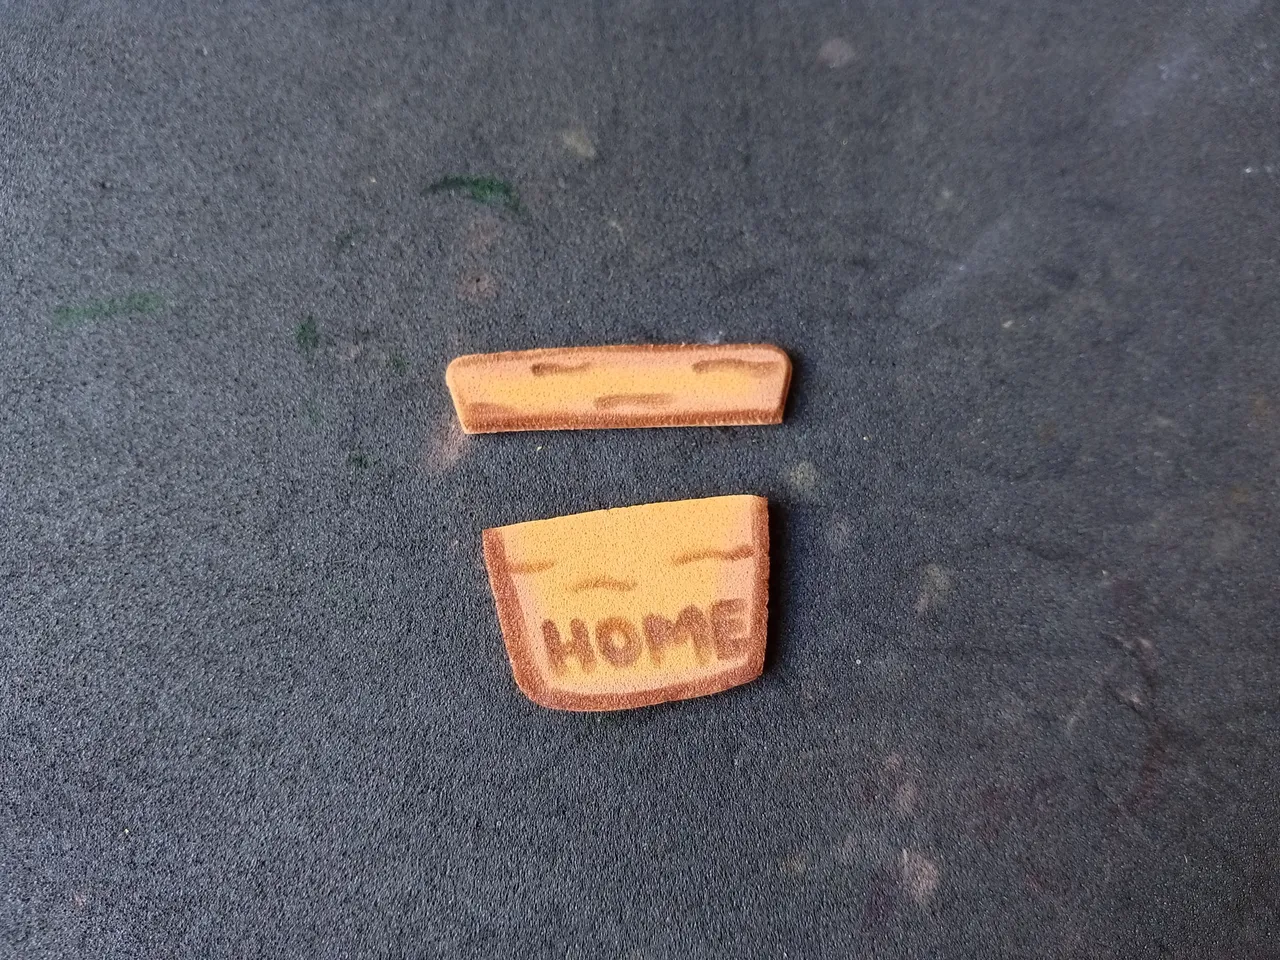
- PASO 4:
Para la maceta hice más o menos lo mismo, solo marqué el borde con un marcador marrón, escribí la palabra ''HOME'', uní las partes y pegué al resto del cactus.
- STEP 4:
For the pot I did more or less the same, I just marked the edge with a brown marker, wrote the word ''HOME'', joined the parts and glued to the rest of the cactus.
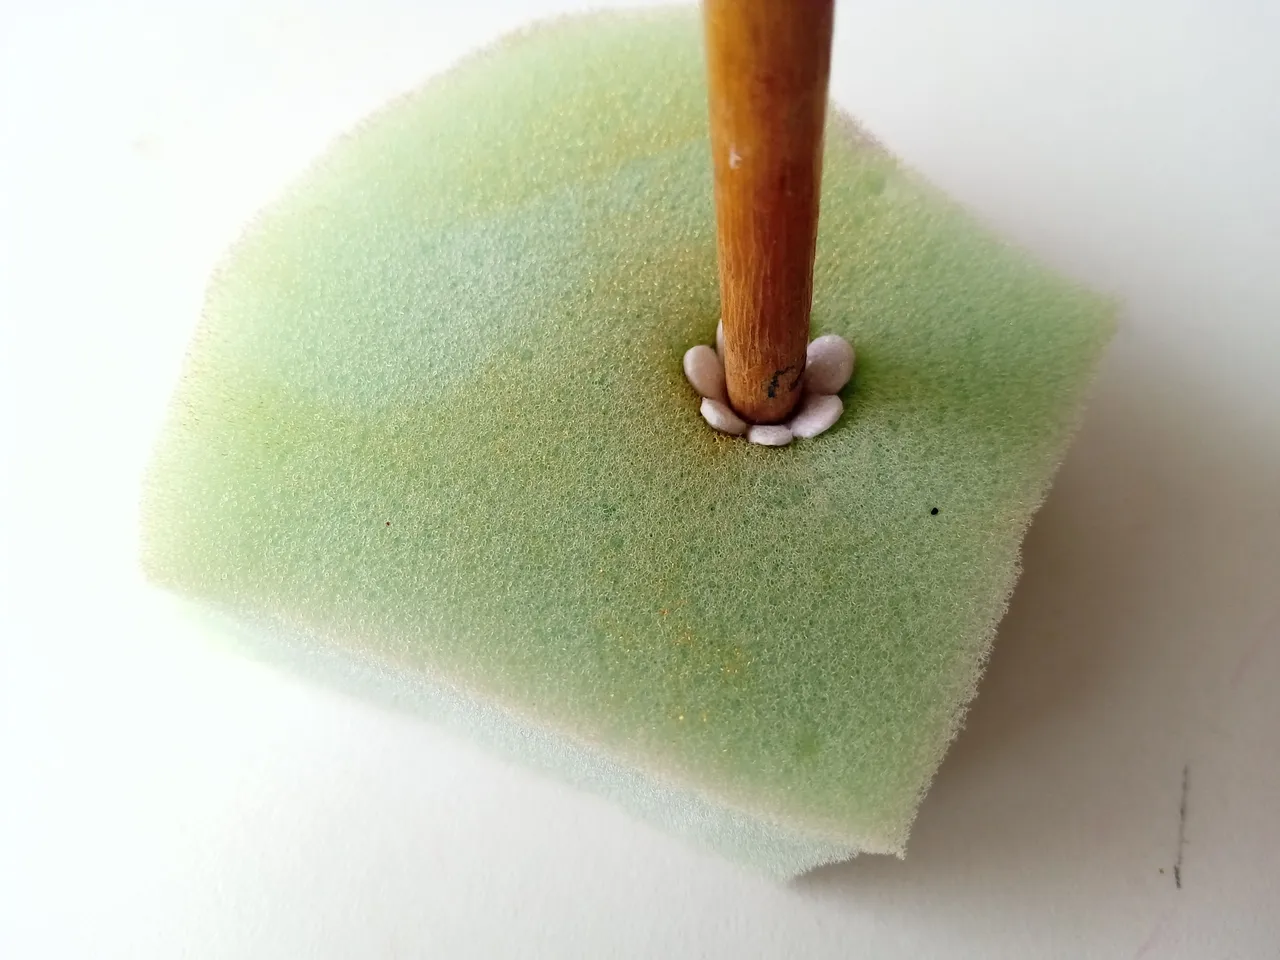
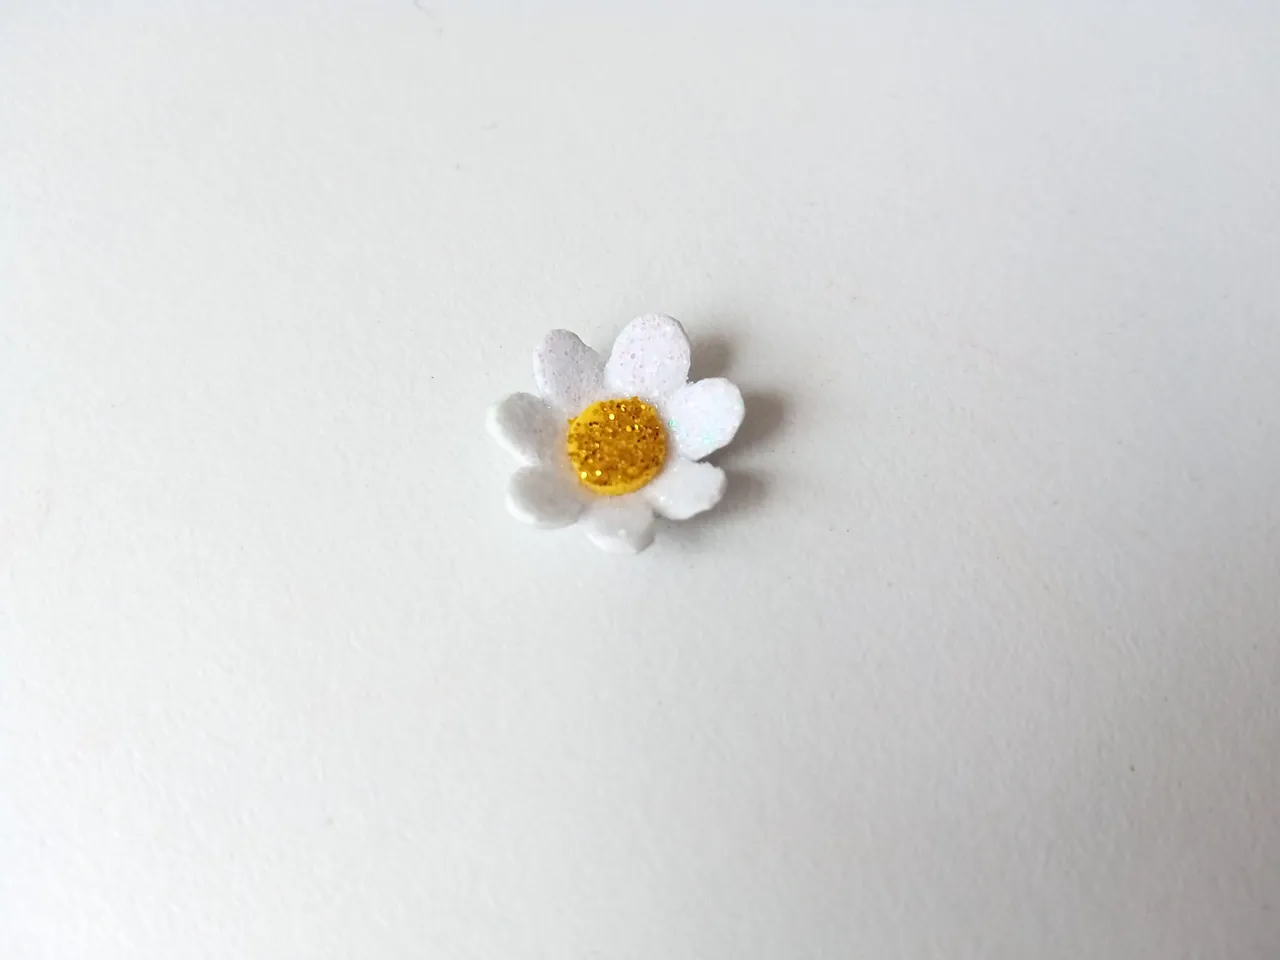
- PASO 5:
Le dí forma a la flor calentandola en la plancha y luego sumergiéndola por el medio en una esponja. Pegué un círculo de foami dorado en el medio y lo pegué en la parte superior del cactus.
- STEP 5:
I shaped the flower by heating it on the griddle and then dipping it down the middle in a sponge. I glued a gold foam circle in the middle and glued it to the top of the cactus.
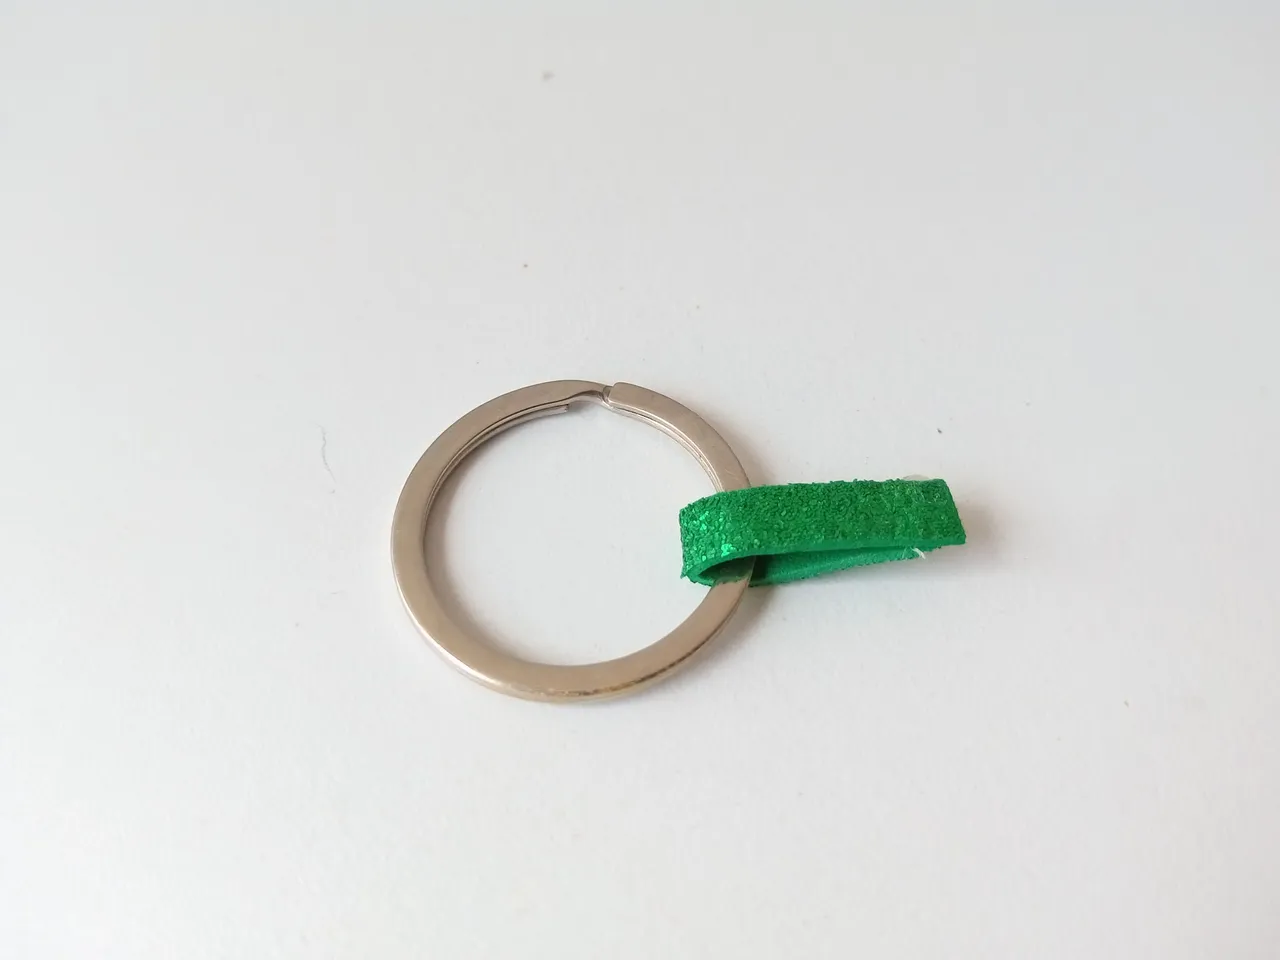
- PASO 6:
Por último, recorté una tira de foami verde escarchado, la pasé por el círculo metálico para llaveros y pegué las puntas del foami. Después, pegué las puntas por detrás del cactus, en la parte superior y luego, pegué toda la figura al foami negro escarchado, recorté dejando un borde de foami y metí la llave al círculo metálico.
- STEP 6:
Lastly, I cut a strip of frosted green foam, threaded it through the metal keyring circle, and glued the ends of the foam together. Then I glued the tips behind the cactus, at the top and then I glued the whole figure to the frosted black foam, I cut leaving an edge of the foam and inserted the key into the metal circle.
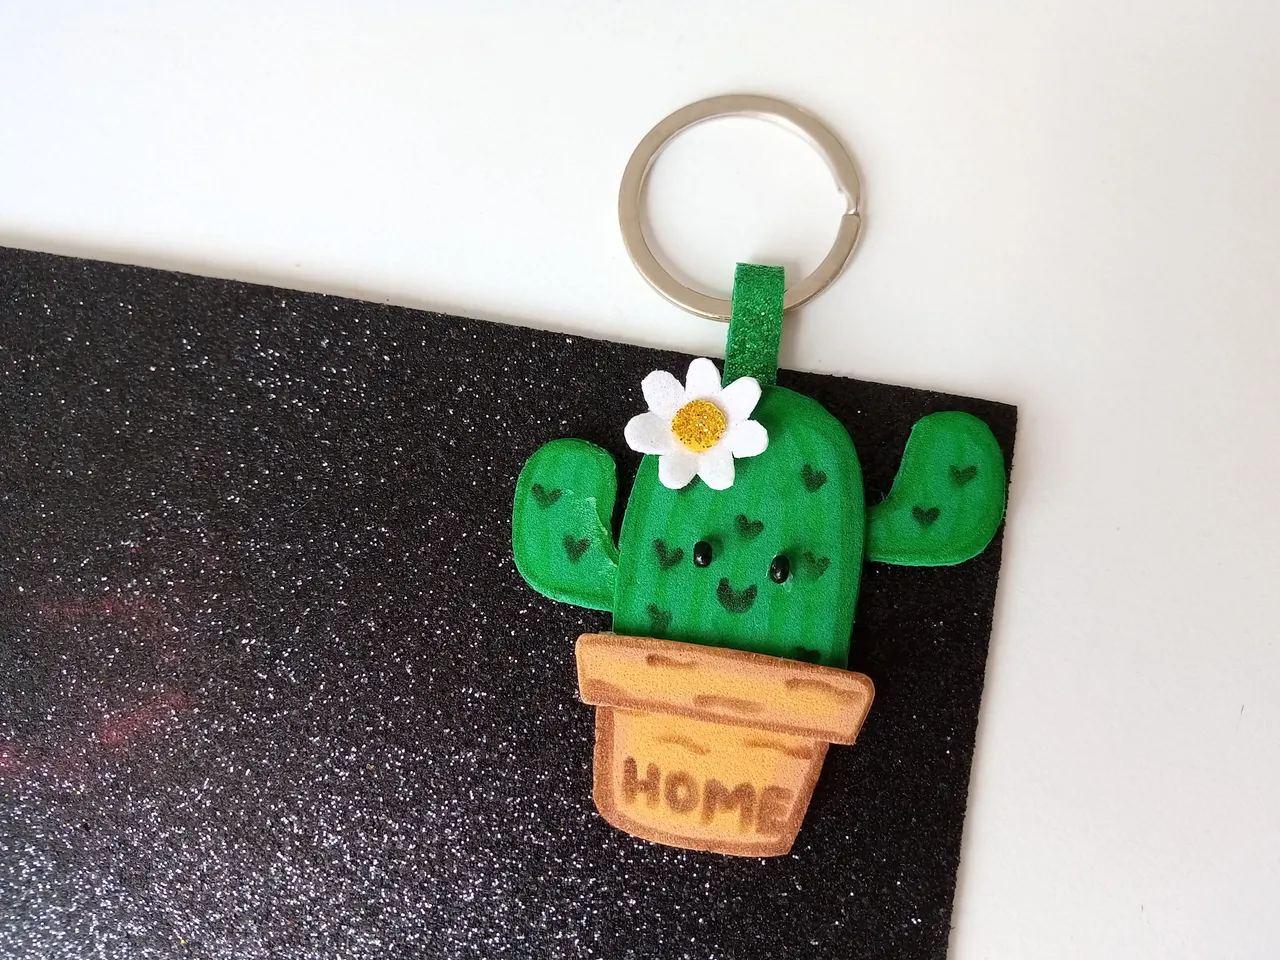
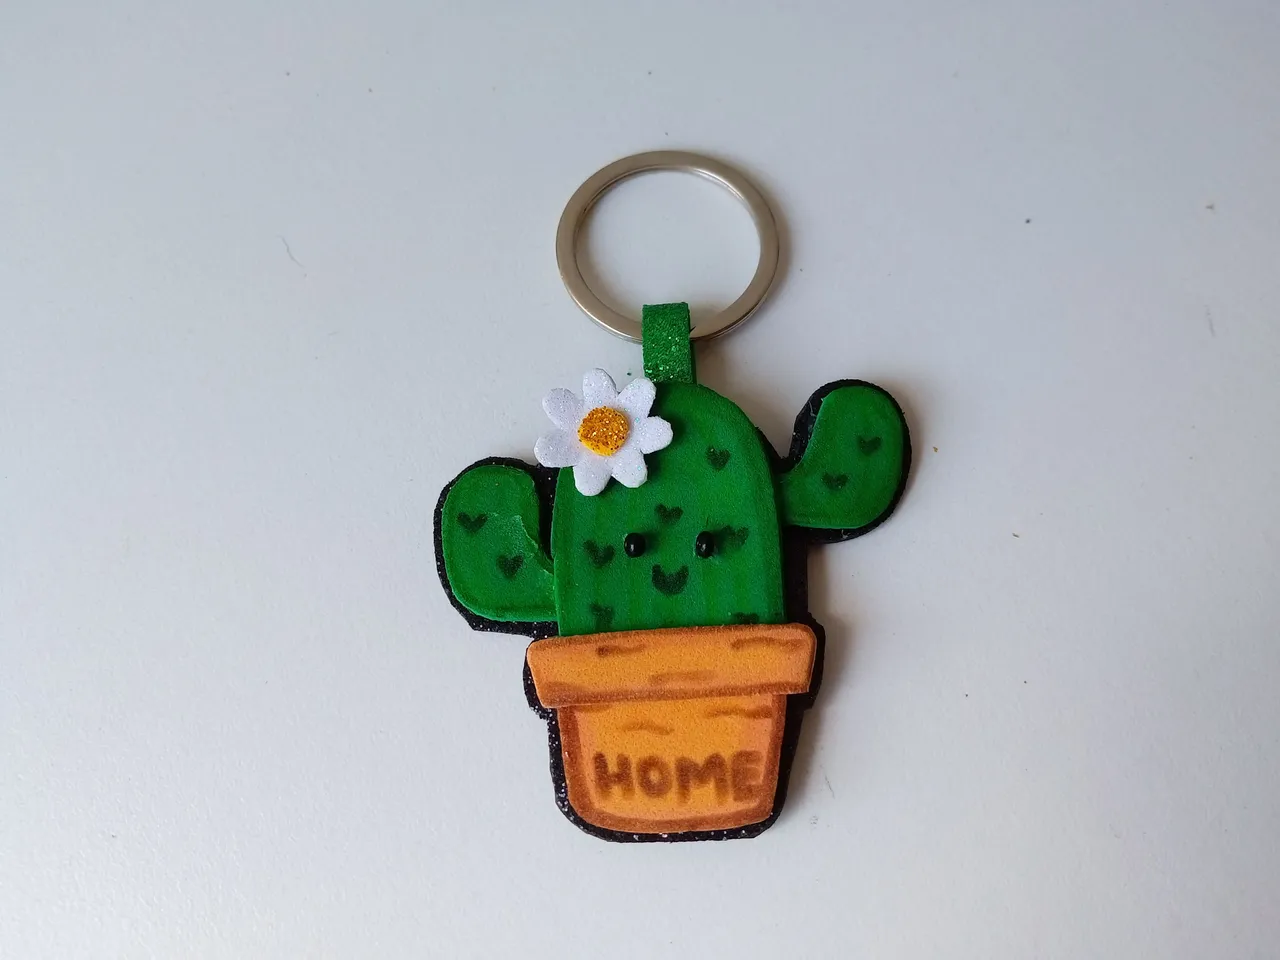
✨🌵🌼¡And ready!🌼🌵✨ I hope you liked this idea very much and you are encouraged or inspired to make your own. For my part, I was delighted with the result, it's quite cute and even, it's a bit funny haha, it also has some details that I love a lot. I hope you liked the step by step and are encouraged to elaborate it.
❤️Until the next post.
✨RESULTADO: | ✨RESULT:


Todas las fotografías son de mi propiedad.
Separador y Fotos editadas en Canva
All photographs are my property.
Photos edited in Canva