Un saludo amigos de la comunidad de hive diy, espero que estén muy creativos y los que yacen en mi país, sigamos en marcha y haciéndole frente a la adversidad por la que pasamos desde hace mucho tiempo; sin embargo, nos mantenemos siempre en pro al crecimiento, crear es una muestra de la noble intención de los artistas; transformar y dar forma ya sea con fines ornamentales, utilitarios o de contemplación, en esto se mantiene la expresión y la idea de que estemos donde estemos y en la situación del momento estaremos creando, una forma de registrar la memoria del contexto.
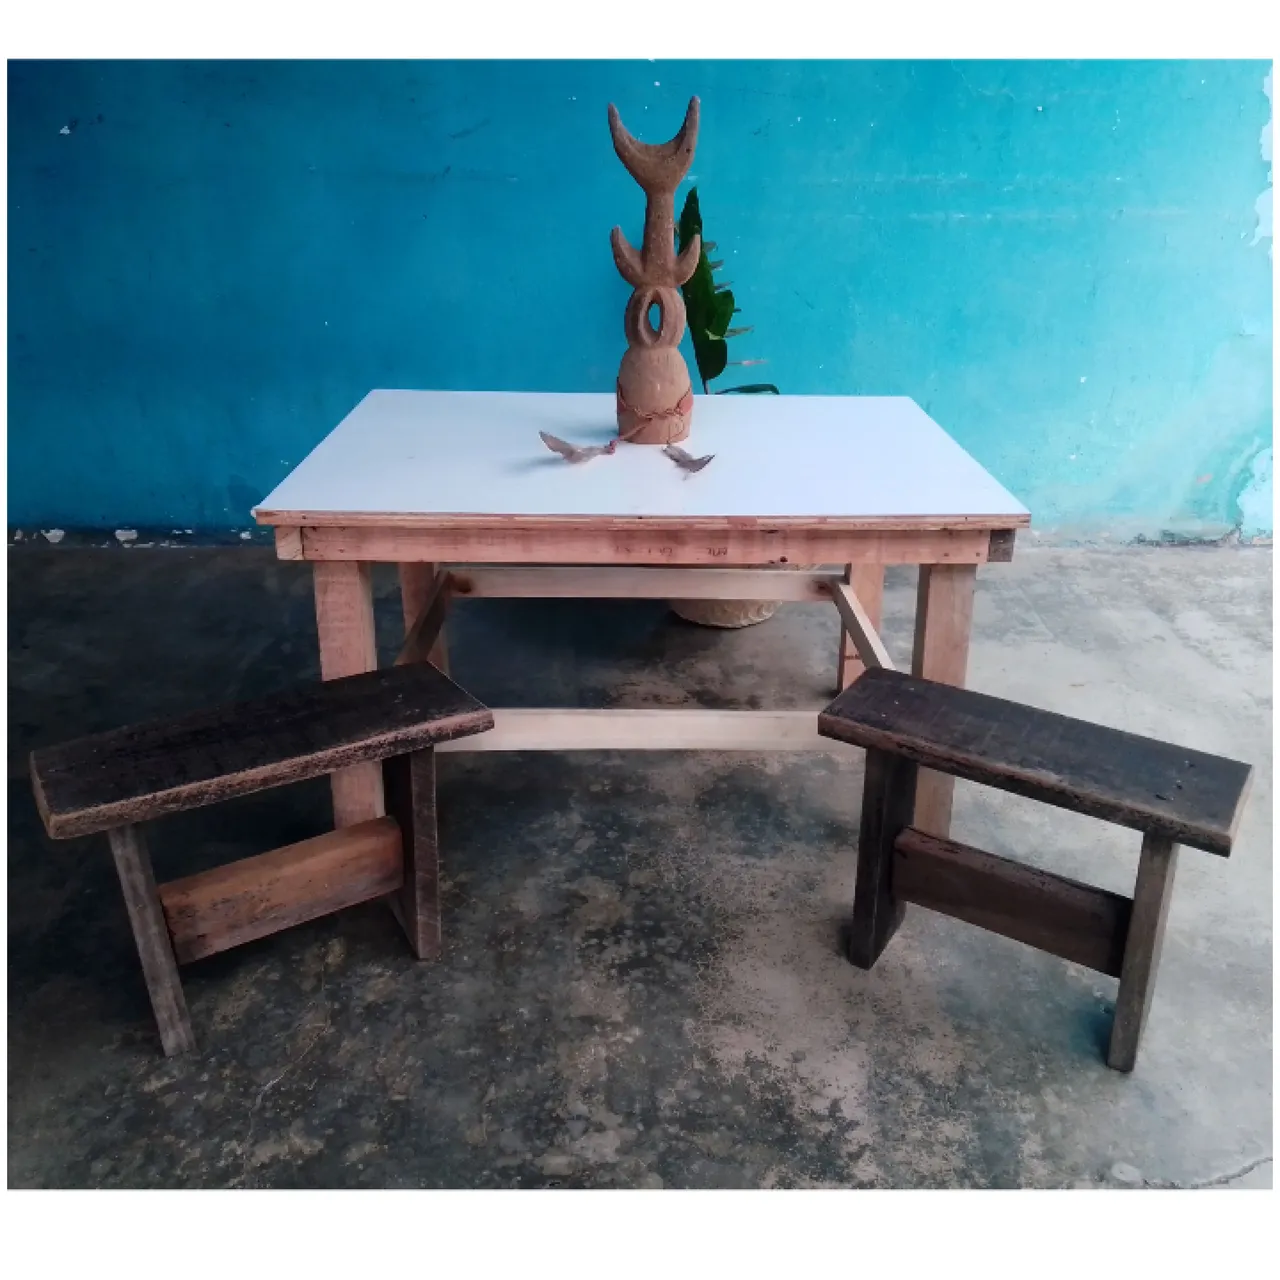
En esta segunda parte vengo a compartirles la creación de los taburetes, como bien les comentaba en la primera parte del proyecto, que no me encuentro en mi atelier sino en casa materna de mi compañera @verdeayer, pero como siempre estamos haciendo algo con nuestras manos, es el momento de aprovechar el tiempo y de hacer unos pequeños taburetes para acompañar la mesa ya fabricada, esta vez estaremos usando madera de saman de una paleta, está la tenía guardada por aquí para usarla en el momento debido, así que a cortar y clavar hivers.

- Madera
- Clavos de 2 y 1 ½ pulgada
- Martillo
- Escuadra y cinta métrica
- Cola de carpintero
- lijas 40, 60, 80, 120.
- Lápiz
- Serrucho

paso 1
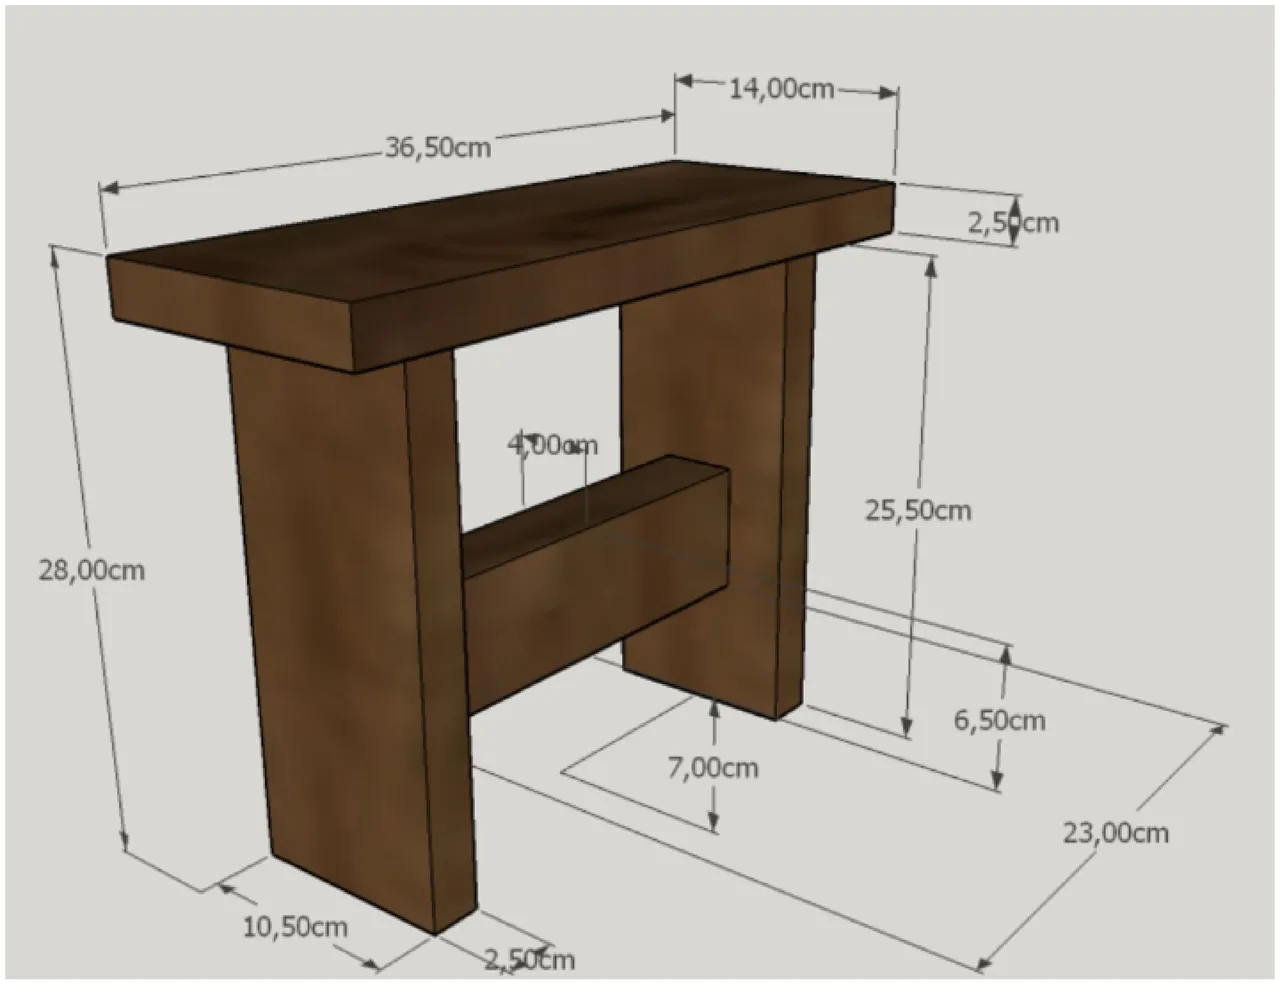
Comenzamos por guiarnos por el plano, este taburete lo diseñé de acuerdo a la altura que tiene la mesa, es un taburete pequeño y cómodo, pero esto es de acuerdo al tamaño de las personas, como por aquí somos de mediana estatura la medida nos quedó cómoda a pesar de ser unos centímetros menos de lo ideal, ¿Cuál es el ideal? El que nos permita que nuestras piernas tenga 90.
Paso 2
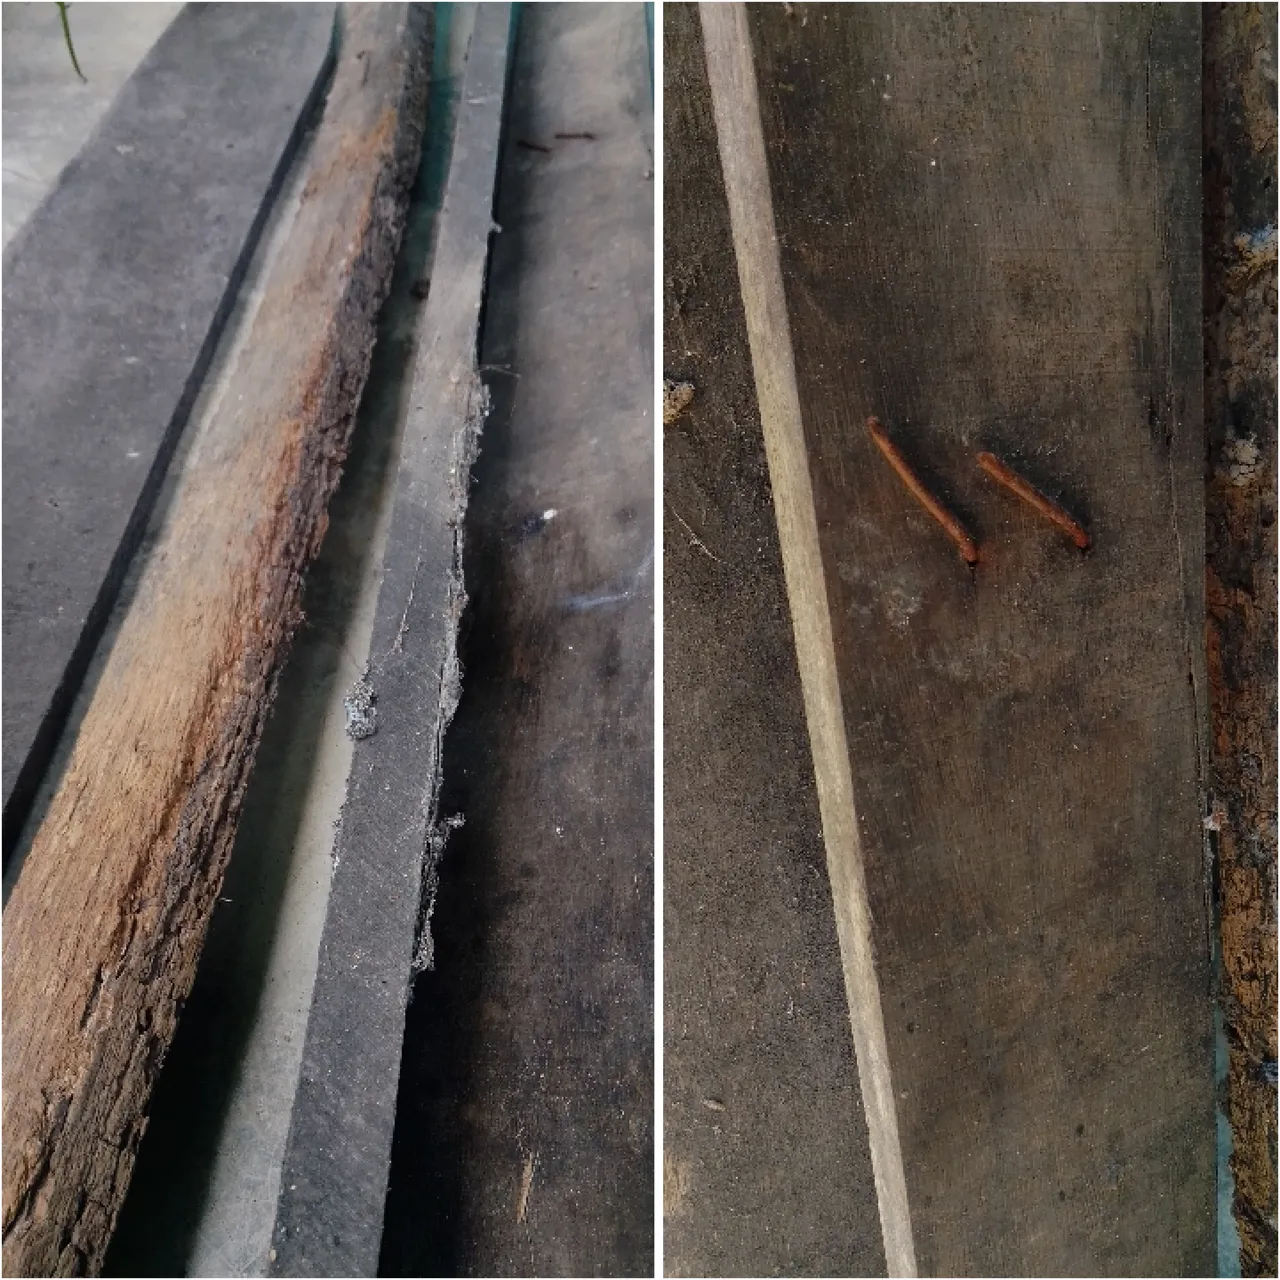
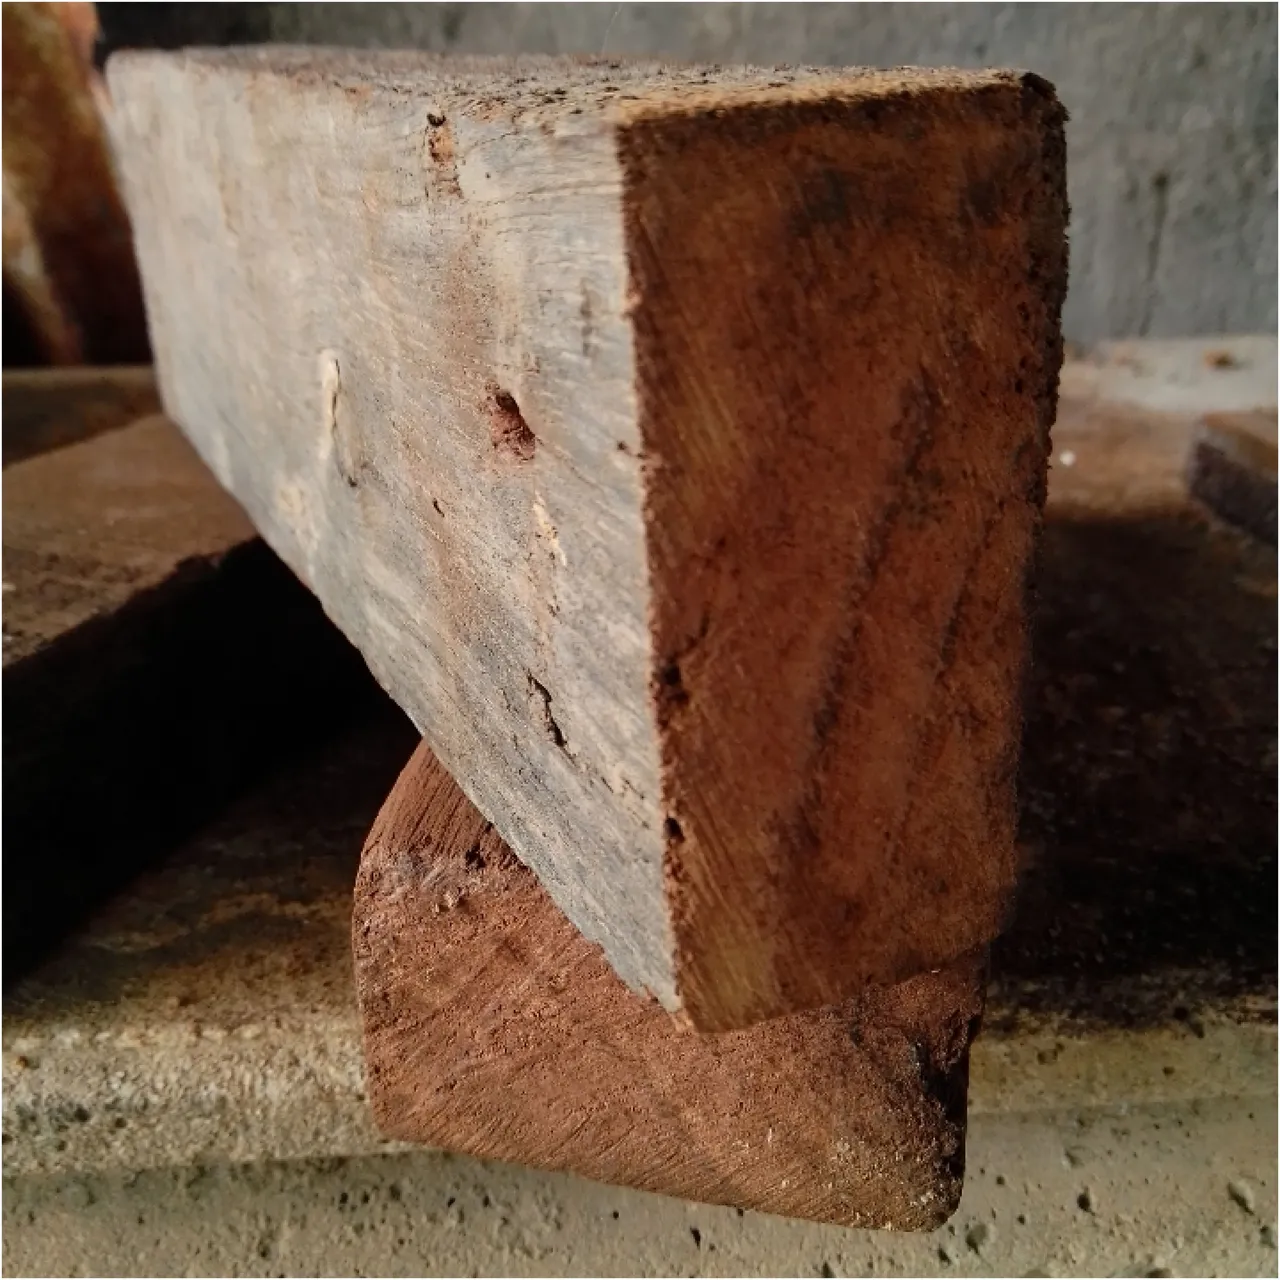
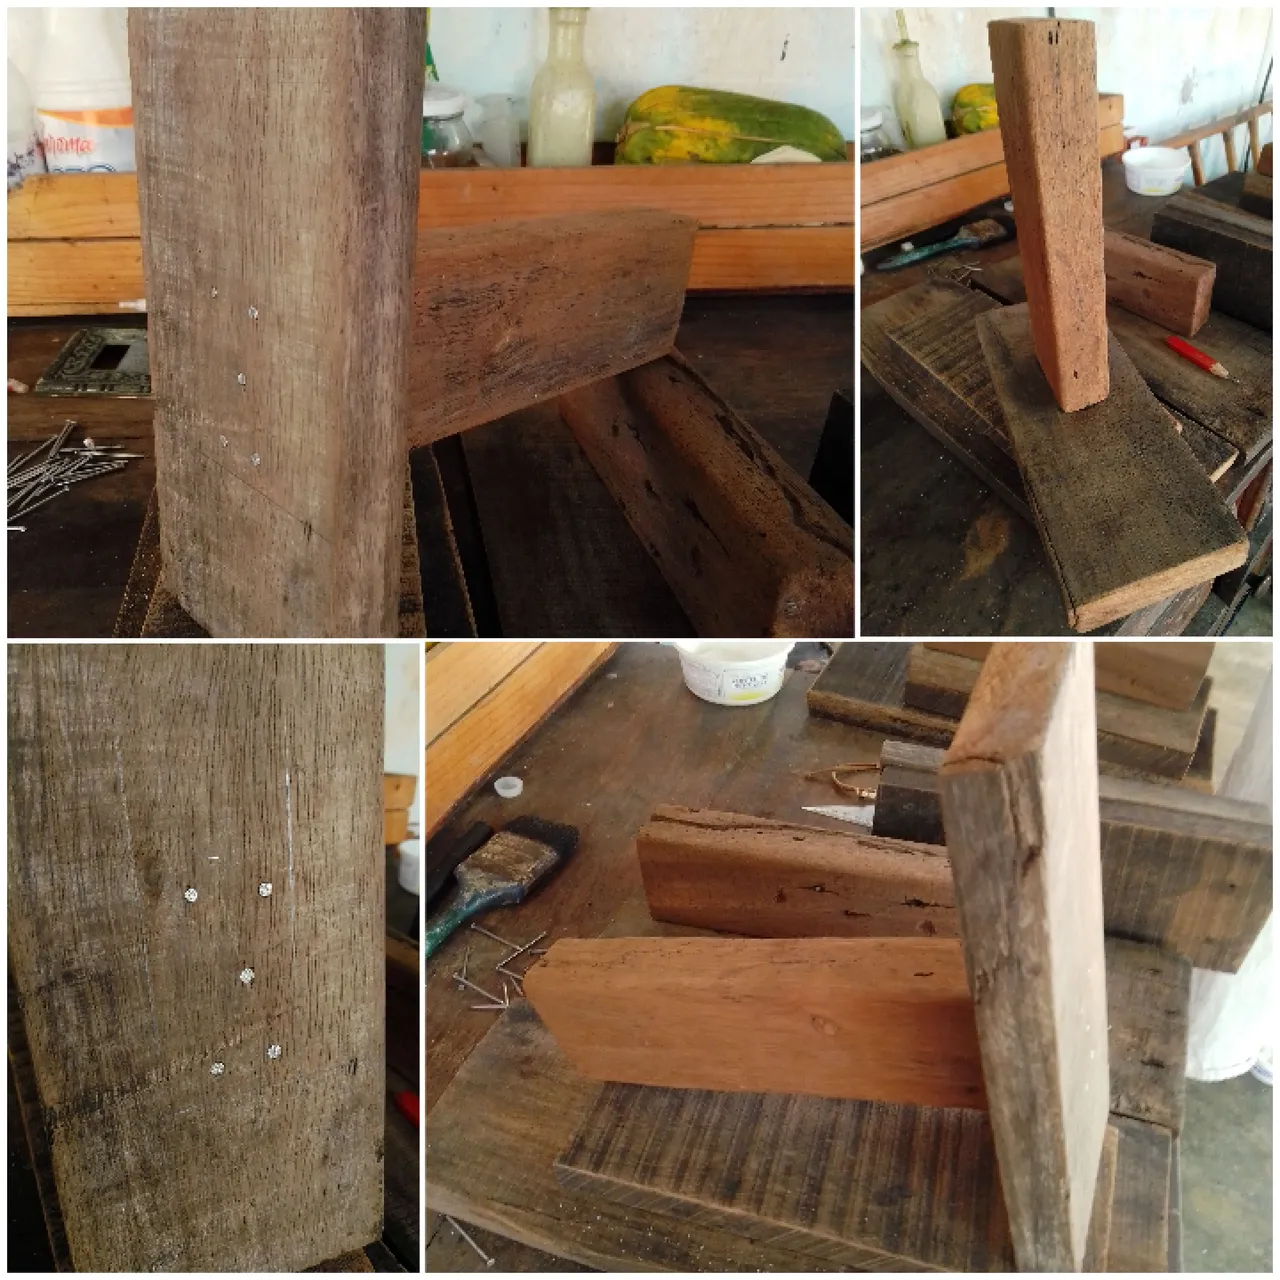
Estas son las piezas de madera que recupere, justas para lo que necesitaba, podemos ver que están un poco con polvo y con algunos clavos, porque puede ocurrir un accidente, no los podemos clavar en un pie como me sucedió una vez, mientras cortamos o medimos alguna madera, así que retiramos los clavos y limpiamos un poco el polvo pegado en la madera, esta especie de madera es nativa de los llanos venezolanos, es una madera semidura llamada samán (samanea saman), una especie protegida y por supuesto que no estoy de acuerdo con la tala clandestina, trato de lo posible usar madera recuperada de puertas y muebles antiguos.
Paso 3
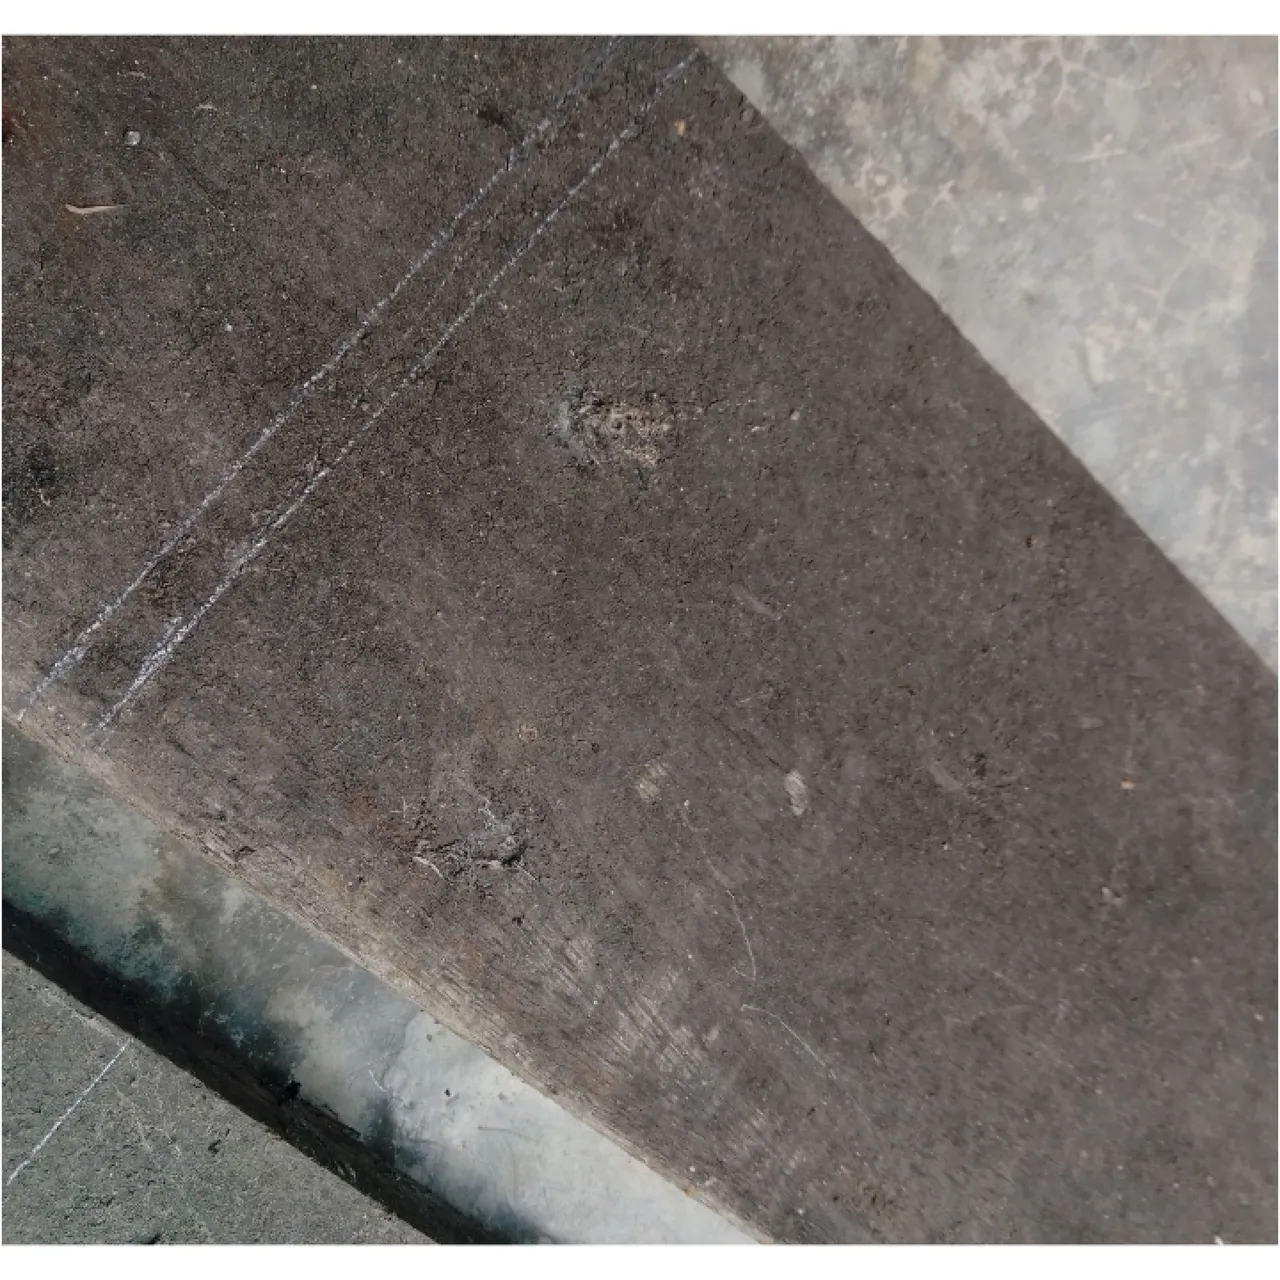
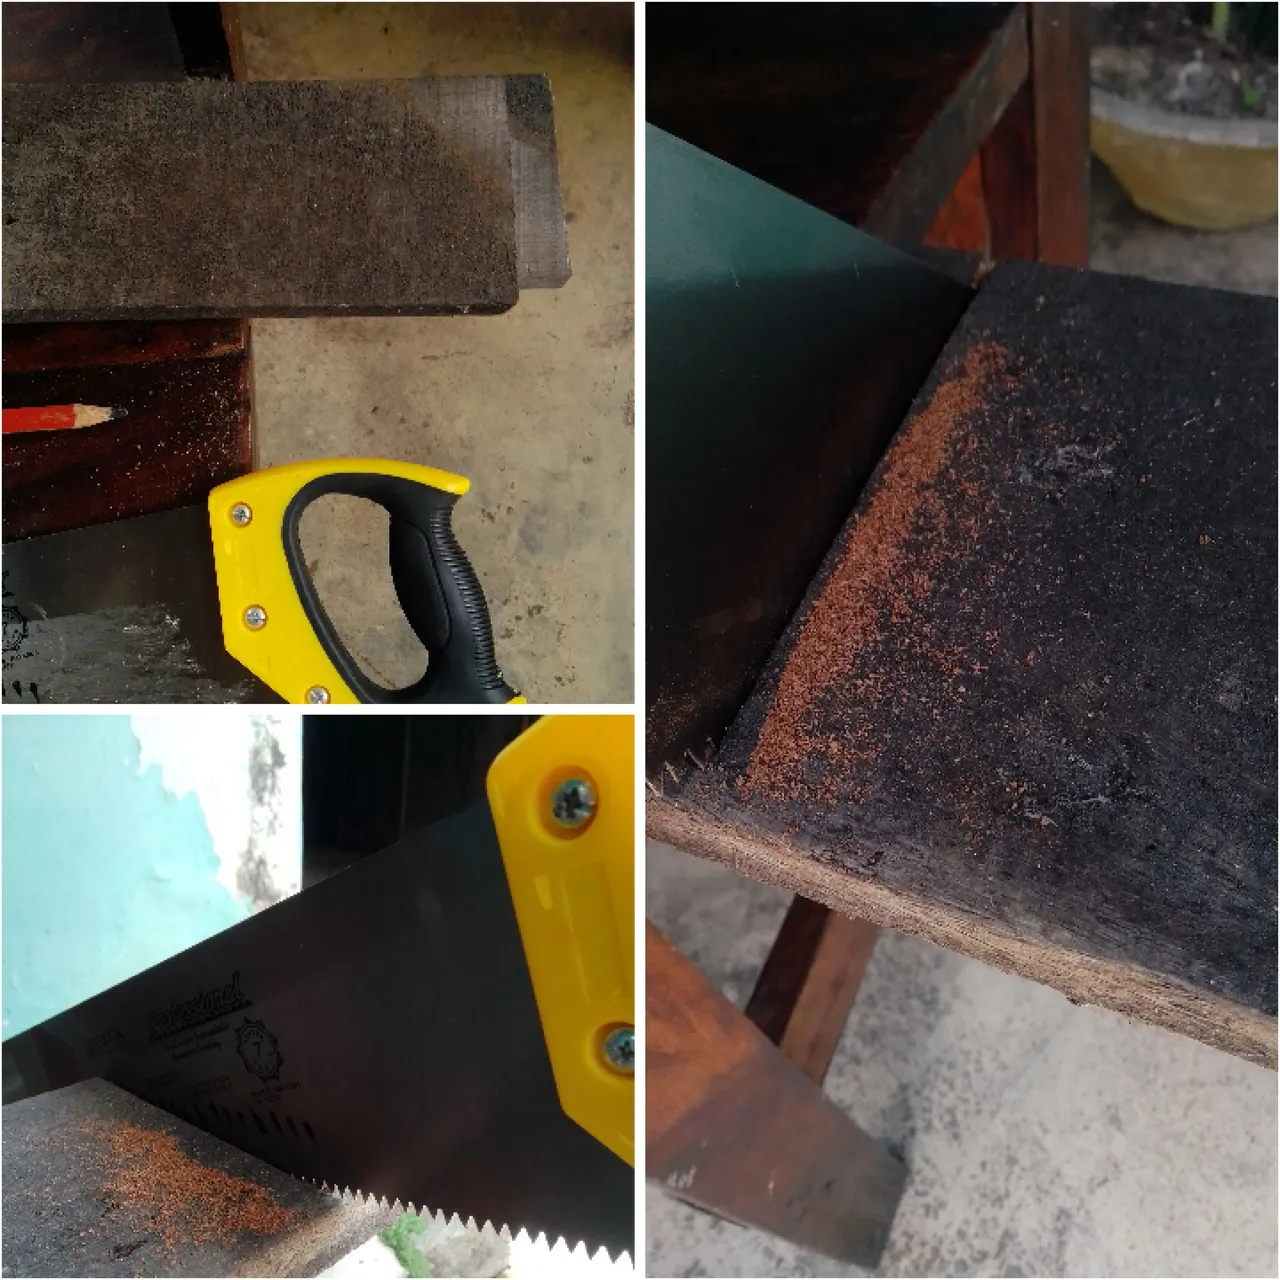
Ahora a usar el serrucho, primero marcamos la dimensión y concentrados, vamos marcando y cortando sin estar apresurado, ya que el corte nos quedara torcido, en esta etapa cortamos lo que será la pata y el soporte superior que será el asiento.
Paso 4
Al igual que el paso anterior, cortamos lo que será el travesaño, en este paso debemos de cuidar la escuadra, para que tenga mejor apoyo, lo que hago para mantener mi pulso derecho es marcar tos las caras de la madera para así ir observando.
Paso 5
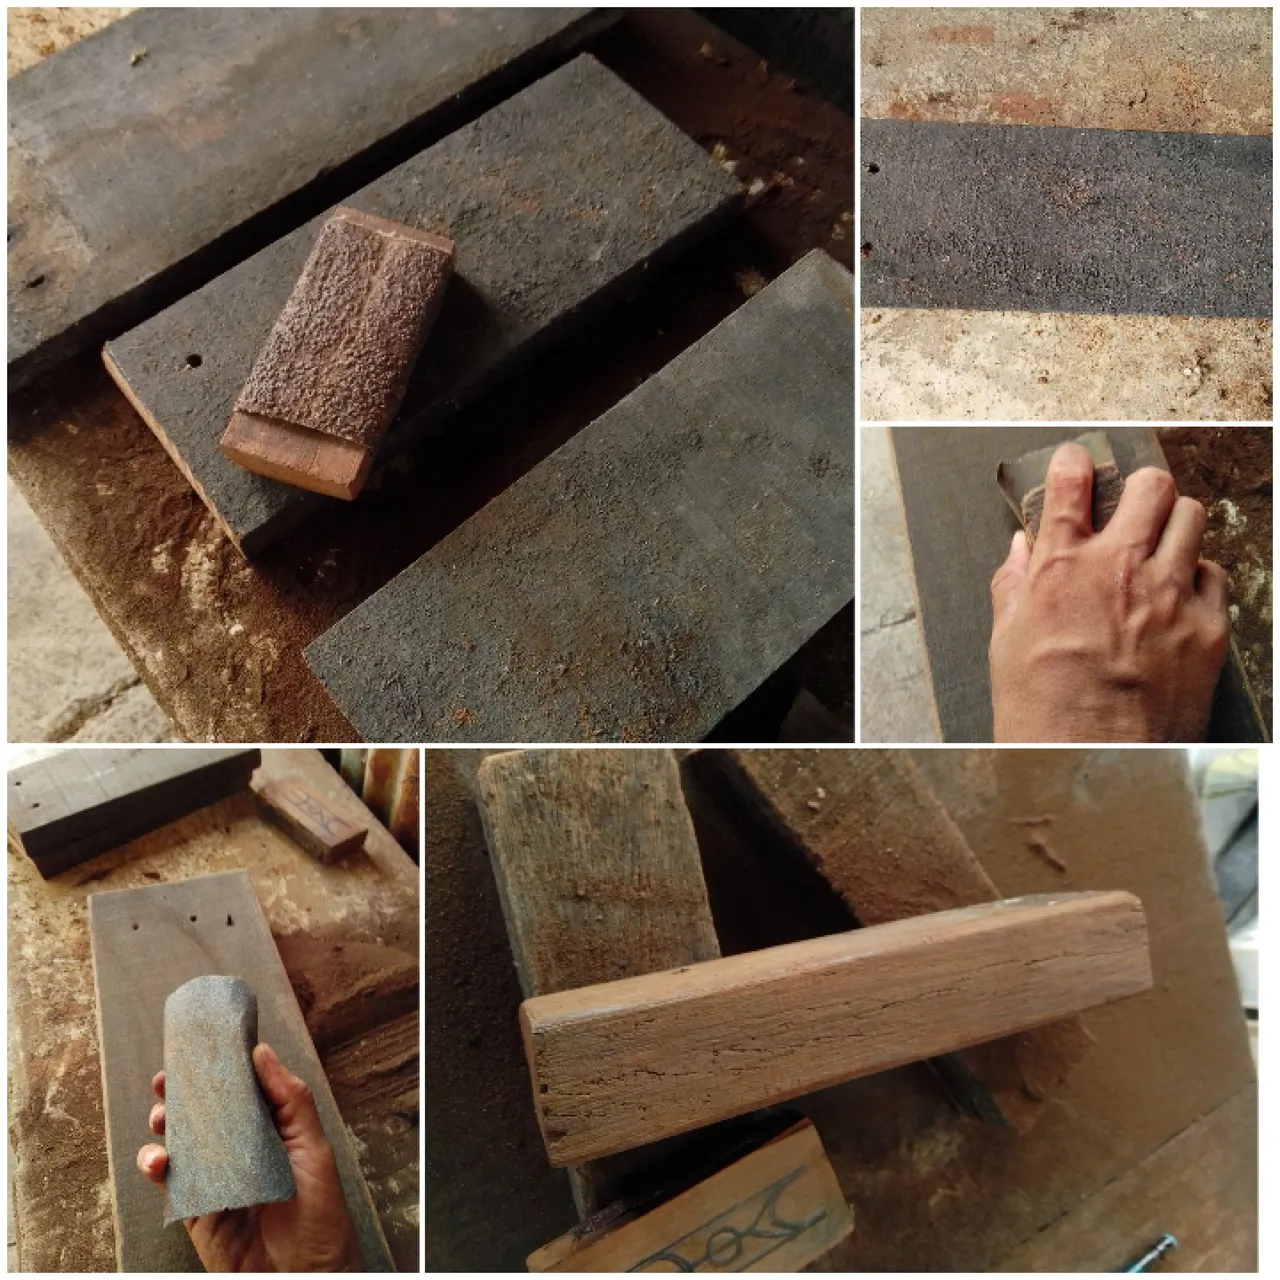
Comencé a lijar con una lija de 40, ya que de esta madera quitaba mucho más rápido el sucio, esto porque les recuerdo que era un reto de trabajar a lo clásico y de crear todo a mano, al parecer las tablas o la paleta fue manchada con petróleo, así que hubo algunas parte que quedaron oscura que a su vez no daba desde ya una pátina, luego de haber lijado y llegado hasta la 120, le pase un paño húmedo y al final uno seco y la deje al sol, esta madera tiene la particularidad de soltar mucho polvillo, así que sí usamos una máquina usar tapabocas.
Paso 6
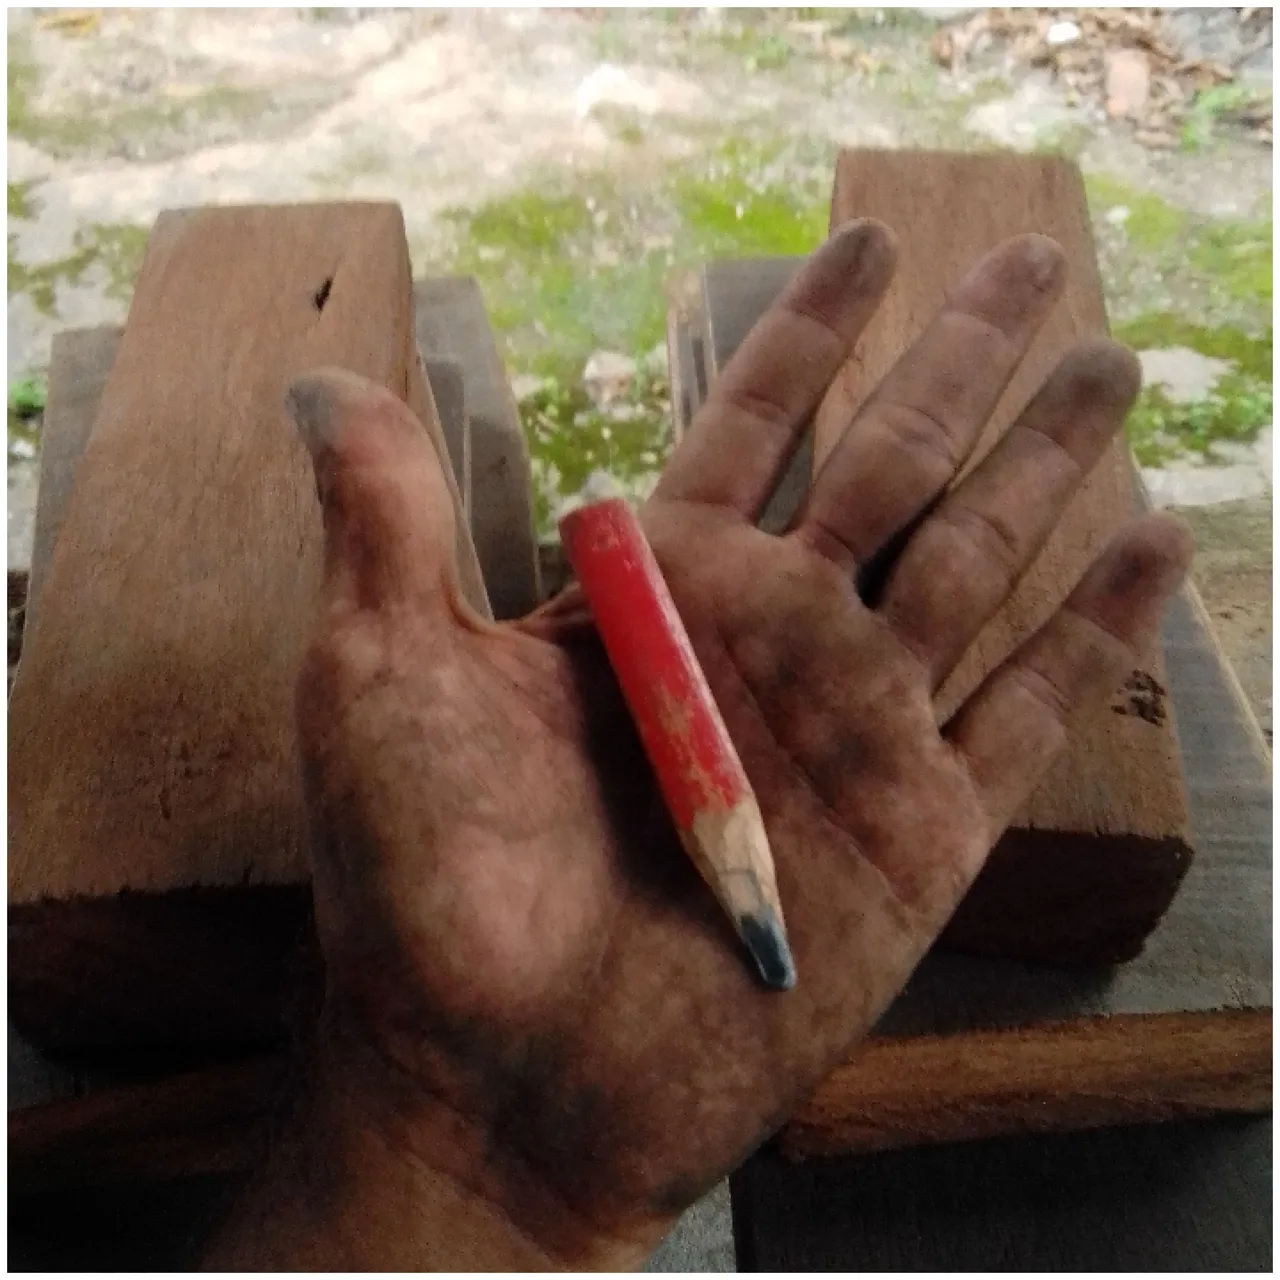
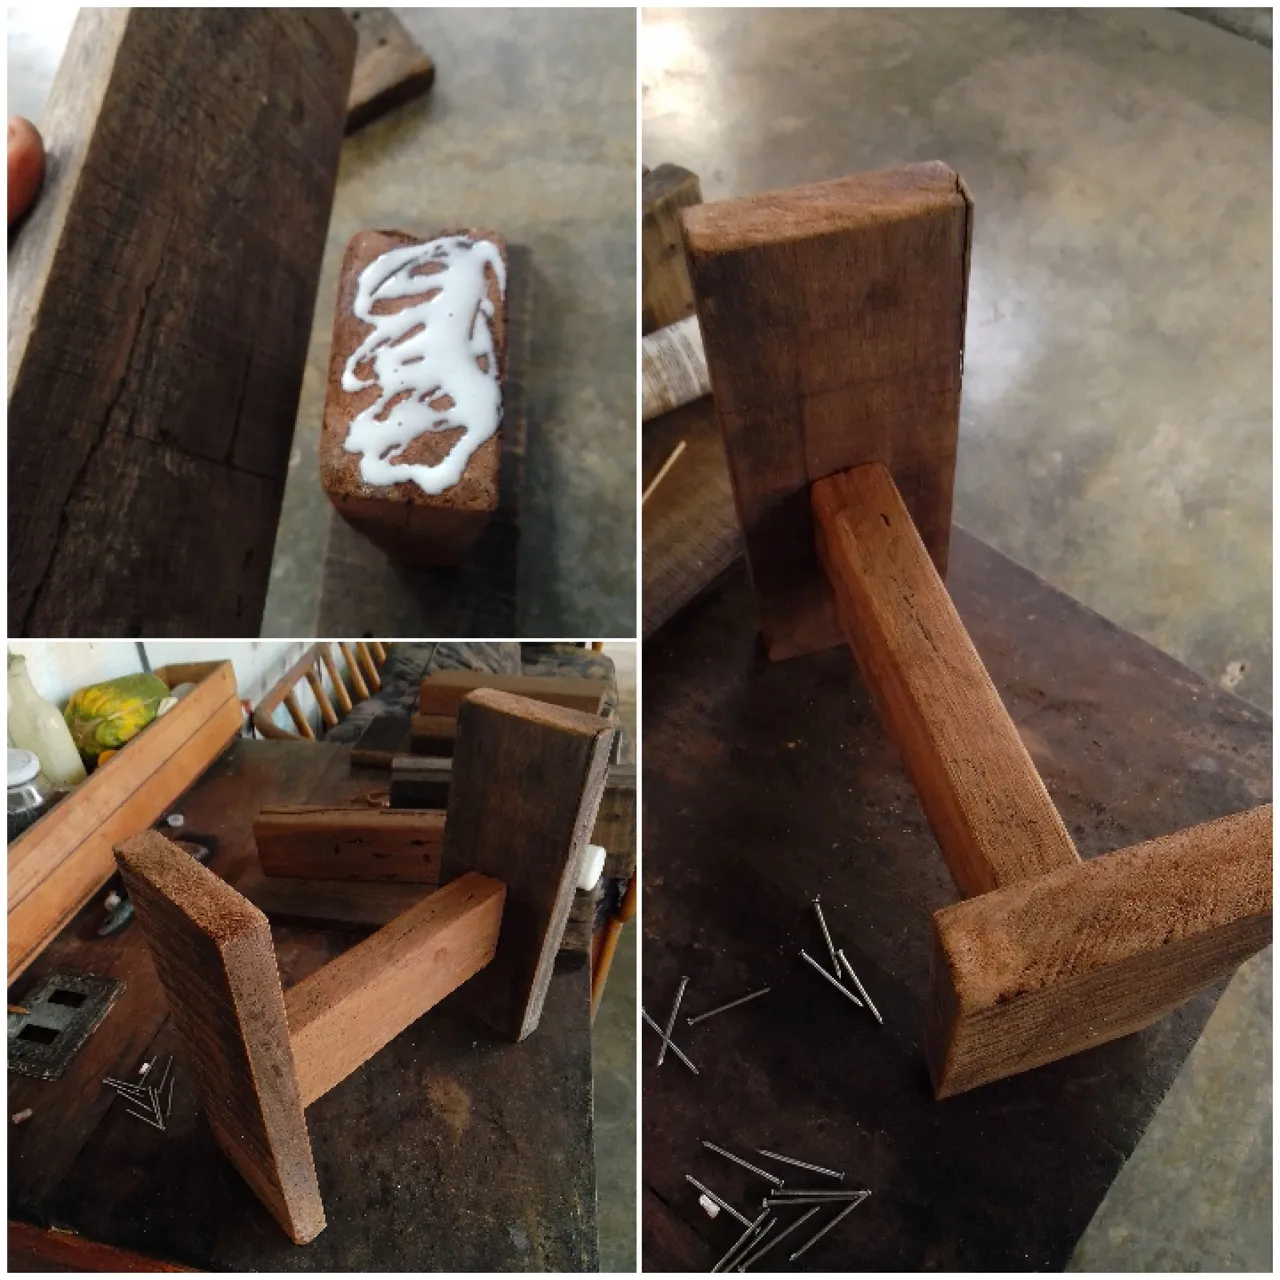
Llegamos al paso más divertido y a veces con sus mañas, el clavado, mañas porque a veces cuando estamos apurados terminamos durando más, ya que si golpeamos mal torcemos el clavo, así que el martillo también debe de estar bastante recto y nuestro golpe debe ser preciso, es conveniente comenzar por el travesaño para dar de una vez estructura al taburete acá le coloque cola y clavos de 2 pulgadas.
Paso 7
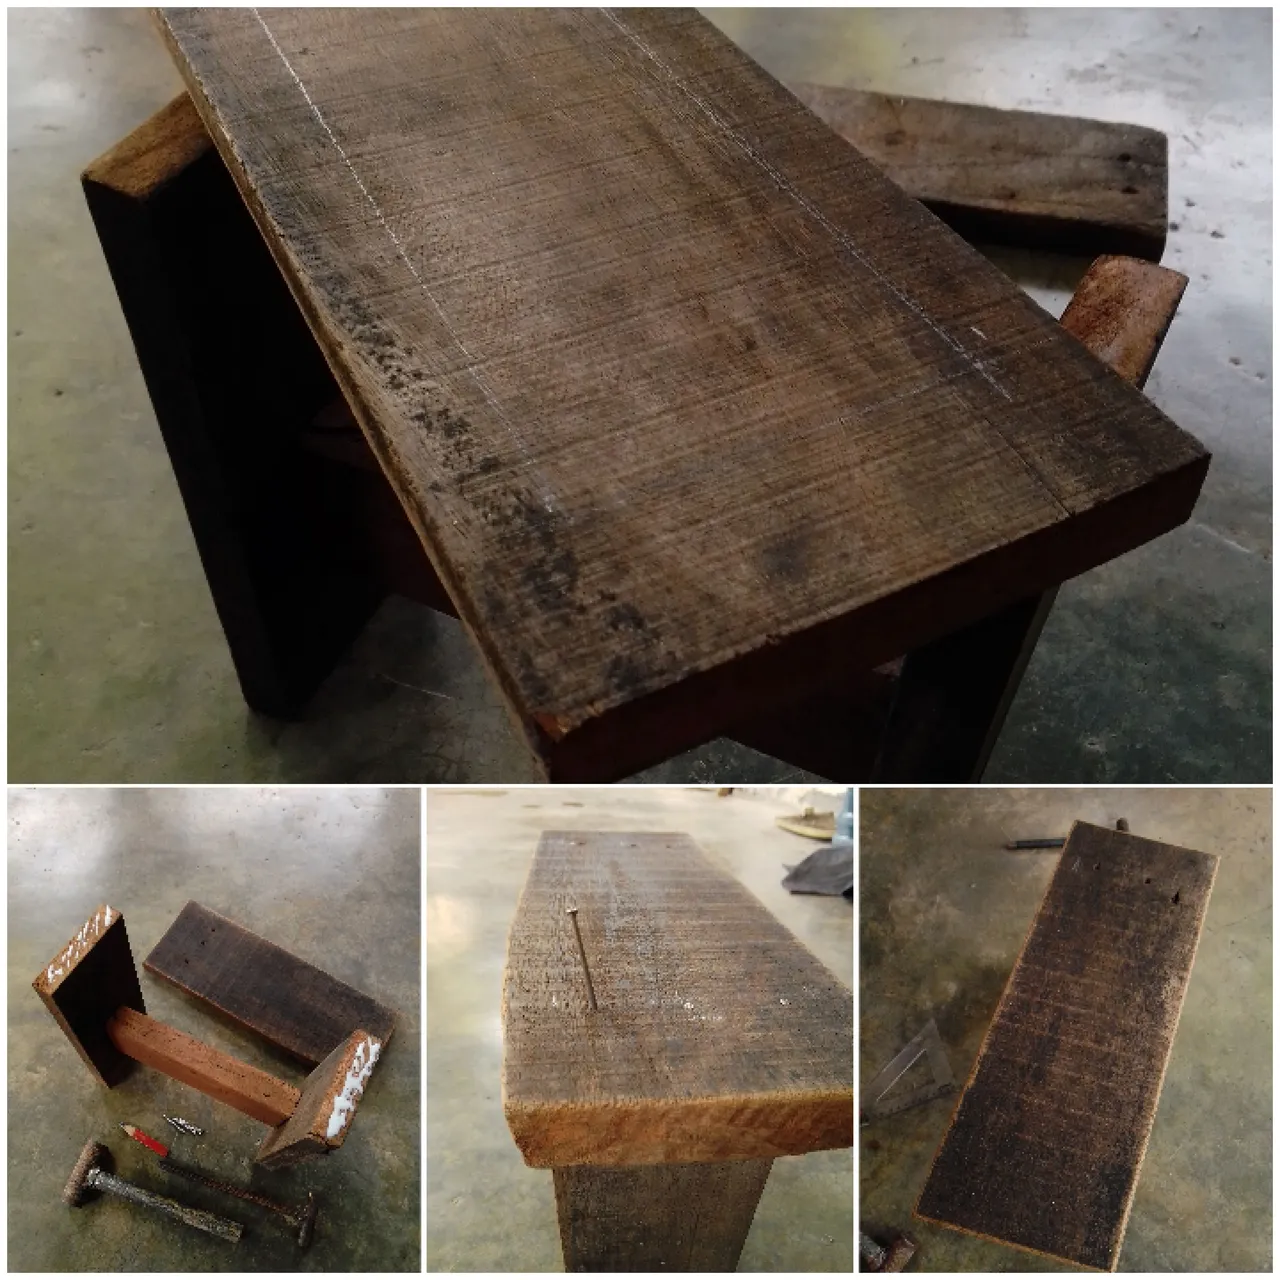
Ahora finalizamos con él asiento, colocamos cola y clavamos con los de 1 ½ pulgadas, ya con esto finalizamos el proceso de fabricación, lo dejamos en reposo por unas horas mientras seca la cola.
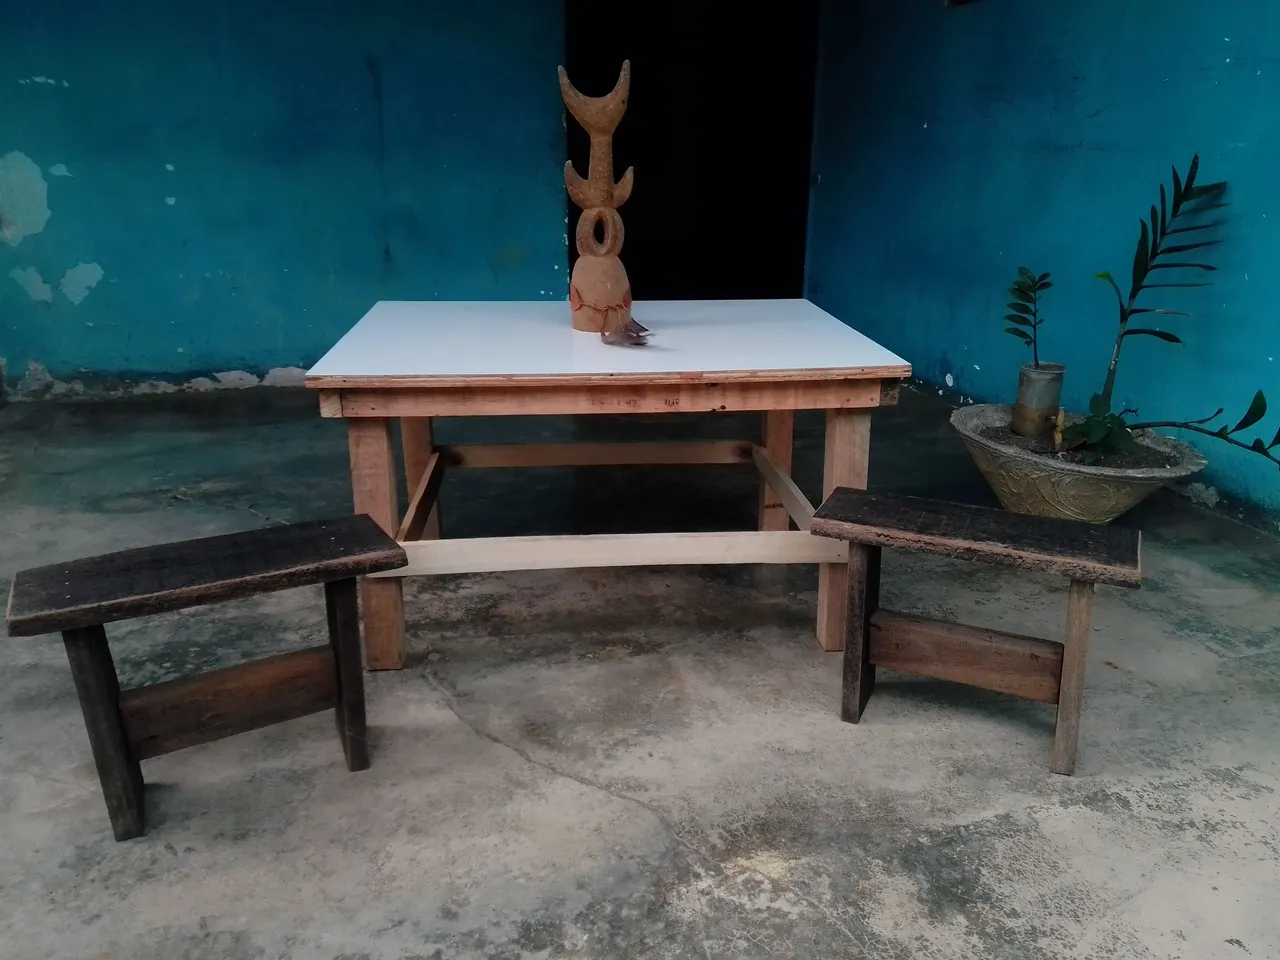
Un pequeño proyecto realizado alejado de mi atelier, aunque surge una buena reflexión sobre esta idea de espacio físico, lo físico es materia, el atelier como siempre menciono esta inherente en nuestra mente es algo como el mundo de las ideas de platón, es decir que adonde estemos llevamos a nuestro espacio creativo, solo que quien termina de dar forma son las herramientas de labrar estás estando en todos lados o con la posible opción de fabricarnos algunas como estos martillo que me fabrique para hacer todo esto y más que les estaré compartiendo en los próximos post, es obvio que si tienes los recursos para comprar herramientas, maravilloso, depende de dónde te encuentres en mi país los artesanos nos valemos de nuestra astucia porque debemos de seguir adelante con lo que nos planteemos y por supuesto cuando se tiene la oportunidad nos compramos una herramienta para ir avanzando en técnica y tiempo, en mi caso me gusta mucho fabricar mis útiles es una cosa particular y de gusto.
Aunque pensaba en cerrar con ambos mueble barnizado por los momentos no obtuve el barniz, aunque ya pronto lo estaré laqueando para cuidarlo de algún agente externo y dar el toque final de estética y ornato, mi estadía en los llanos occidentales son un retiro para mí además de compartir con mis suegros y familiares de mi compañera aprovecho para crear y ayudar en los arreglos de la casa, esto es algo que me satisface y me divierte, estos muebles son un obsequio para mi amada @verdeayer, ahora hivers a recolectar madera, comprar clavos y hacernos unos muebles para él te, escribir o pasar un rato con la familia y jugar algún juego de mesa.

Me despido y espero que sea de provecho este contenido, muchas gracias por leer, si tienen alguna sugerencia o duda estoy atento a los comentarios y si desean hacer algún pedido o adquirir algún trabajo de los que hago pueden contactarme, hasta una próxima publicación.

- Fotografías tomadas desde mi celular
- texto traducido en deelp
- Edición de imágenes en canva
English version
Greetings friends of the hive diy community, I hope you are very creative and those who lie in my country, we keep on going and facing the adversity we have been going through for a long time; however, we always keep on growing, creating is a sample of the noble intention of the artists; transforming and shaping either for ornamental, utilitarian or contemplation purposes, in this we keep the expression and the idea that wherever we are and in the situation of the moment we will be creating, a way to record the memory of the context.

In this second part I come to share with you the creation of the stools, as I mentioned in the first part of the project, I am not in my atelier but in my partner @verdeayer's house, but as we are always doing something with our hands, it is time to take advantage of the time and make some small stools to accompany the table already made, this time we will be using saman wood from a pallet, I had it stored here to use it at the right time, so let's cut and nail hivers.

Materials and tools
- Lumber
- 2 and 1 ½ inch nails
- Hammer
- Square and tape measure
- Carpenter's glue
- Sandpaper 40, 60, 80, 120.
- Pencil
- Saw

step 1

We start by being guided by the plan, I designed this stool according to the height of the table, it is a small and comfortable stool, but this is according to the size of the people, as we are of medium height around here the measure was comfortable despite being a few inches less than ideal, what is the ideal? The one that allows our legs to be 90.
legs to be 90.
Step 2

These are the pieces of wood that I recovered, just for what I needed, we can see that they are a bit with dust and with some nails, because an accident can happen, we can't nail them in a foot as it happened to me once, while cutting or measuring some wood, so we remove the nails and clean a little bit the dust stuck on the wood, this kind of wood is native from the Venezuelan plains, it is a semi-hard wood called saman (samanea saman), a protected species and of course I don't agree with clandestine logging, I try as much as possible to use wood recovered from old doors and furniture.
Step 3


Now to use the saw, first we mark the dimension and concentrated, we are marking and cutting without being in a hurry, because the cut will be crooked, at this stage we cut what will be the leg and the upper support that will be the seat.
Step 4

As in the previous step, we cut what will be the crossbar, in this step we must take care of the square, so that it has better support, what I do to keep my right pulse is to mark cough the faces of the wood so I can observe.
Step 5

I started sanding with a 40 grit sandpaper, since this wood removed the dirt much faster, this because I remind you that it was a challenge to work in the classic way and to create everything by hand, apparently the boards or the palette was stained with oil, so there were some parts that were dark which in turn did not give a patina, after sanding and reached the 120, pass a damp cloth and finally a dry one and leave it in the sun, this wood has the peculiarity of releasing a lot of dust, so if we use a machine use a mask.
Step 6


We arrived at the most fun step and sometimes with its tricks, the nailing, tricks because sometimes when we are in a hurry we end up lasting longer, because if we hit wrong we twist the nail, so the hammer must also be quite straight and our blow must be accurate, it is convenient to start with the crossbar to give structure to the stool at once here I put glue and 2-inch nails.
Step 7

Now we finish with the seat, place glue and nail with the 1 ½ inches, and with this we finish the manufacturing process, we leave it to rest for a few hours while the glue dries.

A small project done away from my atelier, although a good reflection on this idea of physical space arises, the physical is matter, the atelier as I always mention is inherent in our mind is something like the world of ideas of Plato, that is to say that wherever we are we take our creative space, only who ends up giving shape are the tools to work you are being everywhere or with the possible option of making some as these hammer that I made to do all this and more that I will be sharing in the next post, it is obvious that if you have the resources to buy tools, wonderful, it depends on where you are in my country artisans we use our cunning because we must go ahead with what we raise and of course when we have the opportunity we buy a tool to move forward in technique and time, in my case I really like to make my tools is a particular thing and taste.
Although I thought of closing with both varnished furniture for the moment I did not get the varnish, although soon I will be lacquering it to take care of some external agent and give the final touch of aesthetics and ornament, my stay in the western plains are a retreat for me besides sharing with my in-laws and relatives of my partner I take the opportunity to create and help in the arrangements of the house, this is something that satisfies and amuses me, this furniture is a gift for my beloved @verdeayer, now hivers to collect wood, buy nails and make us some furniture for tea, write or spend some time with the family and play a board game.

I say goodbye and I hope this content is of benefit, thank you very much for reading, if you have any suggestions or questions I am attentive to the comments and if you wish to place an order or purchase any of the work I do can contact me, until a future publication.

- Photographs taken from my mobile phone
- Text translated in deelp
- Image editing in canva