Hello, welcome to a new post my creative family of Hive Diy💜. I hope you are super well, full of energy, creativity and productivity to continue making the best creations and filling the community with creativity. I also hope you have a lot of health, happiness and take advantage of every day, I wish this week to be productive for all of you ♡.
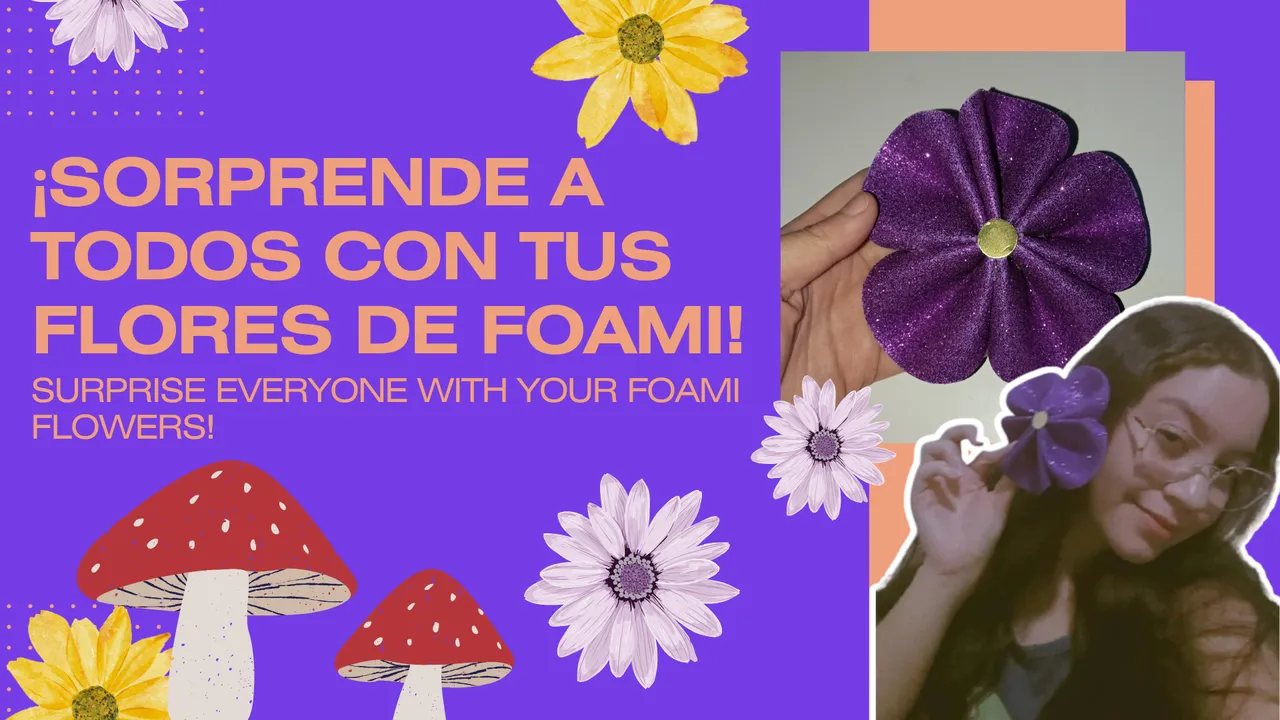
¡Felíz y bendecido día Lunes familia! Sean bienvenidos a un nuevo Diy conmigo, siempre estoy encantada de compartir con ustedes mis diferentes creaciones y poder inspirar a muchos. Está vez contaba con pocos materiales y necesitaba hacer unas flores para complementar la decoración de una cartelera para el aula de clases de mi mamá, así surgió esta idea, me inspire de una imágen que les dejó al final.
Happy and blessed day Monday family! Welcome to a new Diy with me, I am always happy to share with you my different creations and be able to inspire many. This time I had few materials and I needed to make some flowers to complement the decoration of a bulletin board for my mum's classroom, so I came up with this idea, I was inspired by an image that I left at the end.
Entonces si te interesa aprender a hacer hermosas flores de foami, con pocos materiales y de una forma fácil, en dónde el resultado sea muy bonito y eficiente, sigue leyendo el tutorial y acompáñame en el proceso paso a paso para realizarlas.
So if you are interested in learning how to make beautiful foami flowers, with few materials and in an easy way, where the result is very beautiful and efficient, keep reading the tutorial and join me in the step by step process to make them.
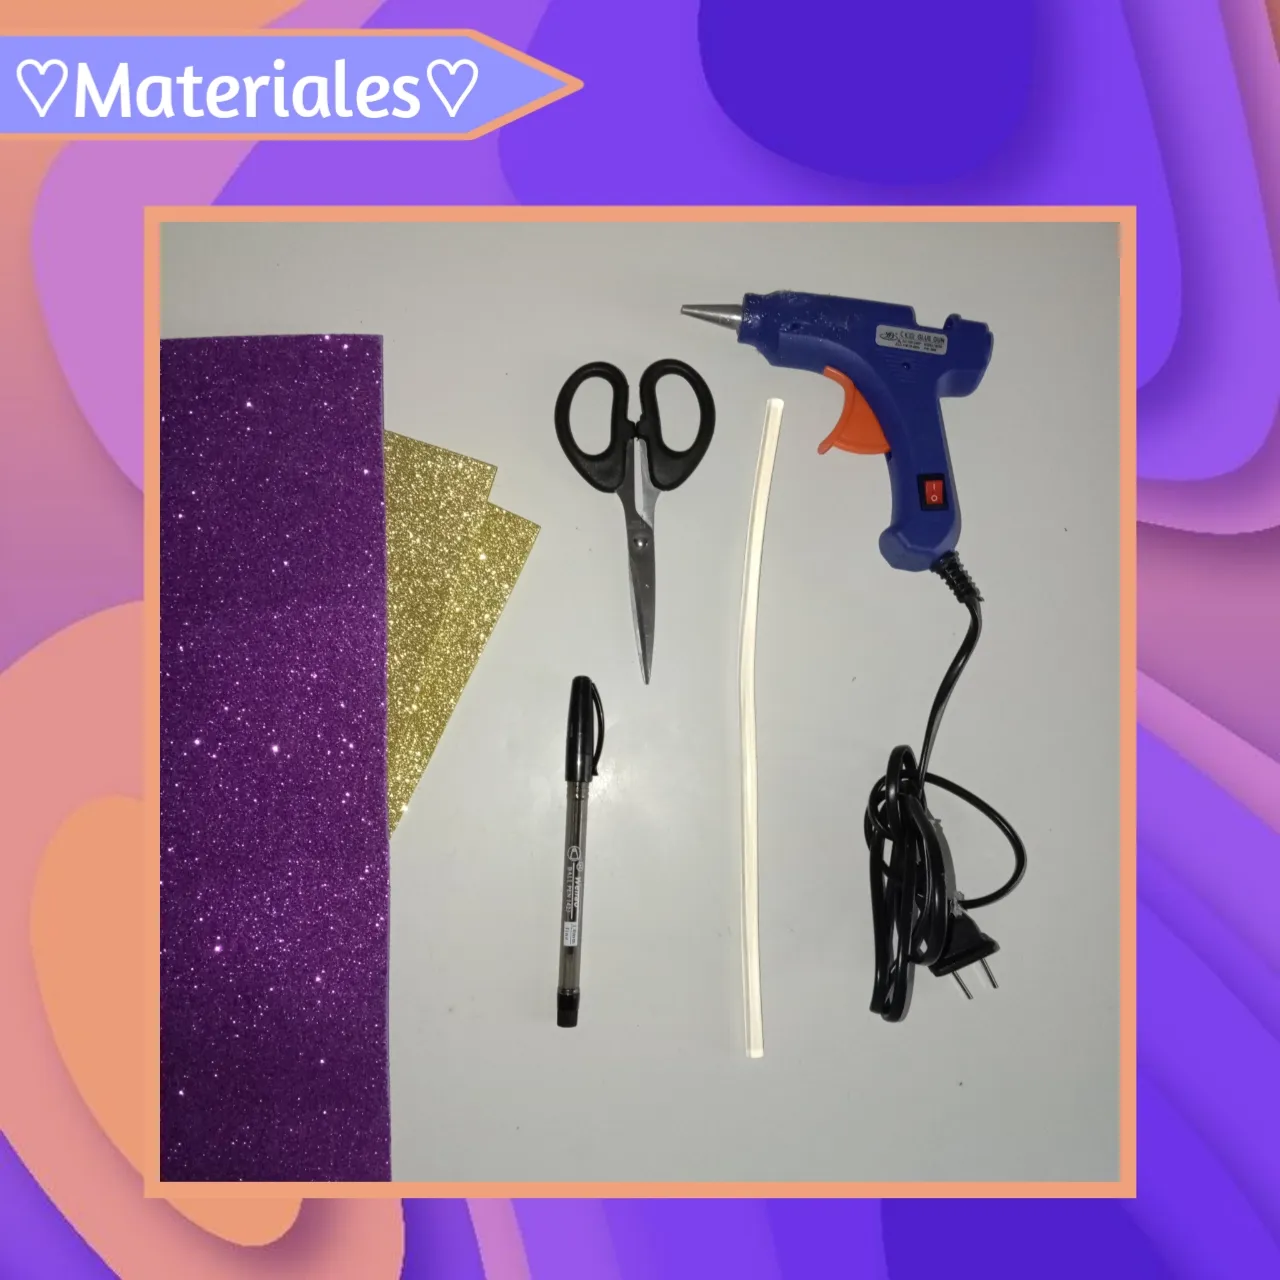
♡💜💛Materials💛💜♡
- Foami
- Silicón en barra
- Pistola de silicón
- Tijeras
- Lápiz/Lapicero
- Foami
- Silicone stick
- Silicone gun
- Scissors
- Pencil/Pencil
♡💜💛Step by Step💛💜♡
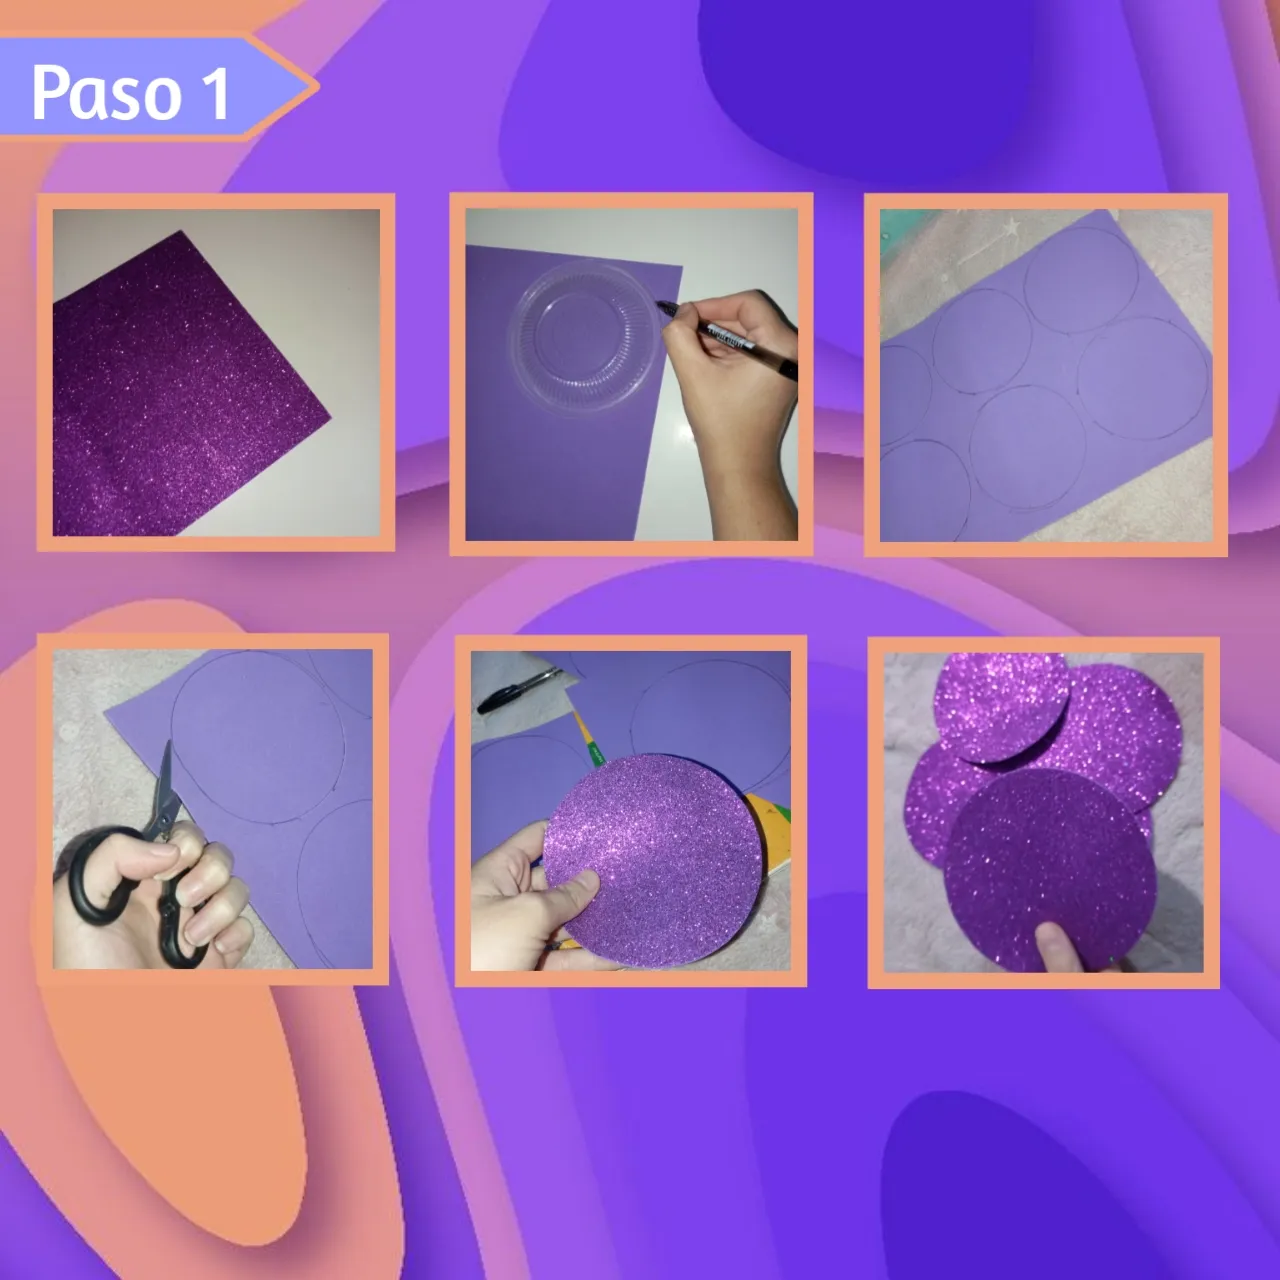
Paso 1:
Step 1:
Para empezar necesitamos un objeto redondo, el tamaño va a depender de qué tamaño quieran la flor, así tomamos nuestra hoja de foami le damos la vuelta colocamos nuestra figura circular y con un lápiz o lapicero remarcamos varios círculos, luego vamos a recortar cada uno con cuidado para que queden bien.
To begin with we need a round object, the size will depend on the size of the flower, so we take our sheet of foami, turn it over, place our circular figure and with a pencil or pen we mark out several circles, then we will cut out each one carefully so that they fit well.
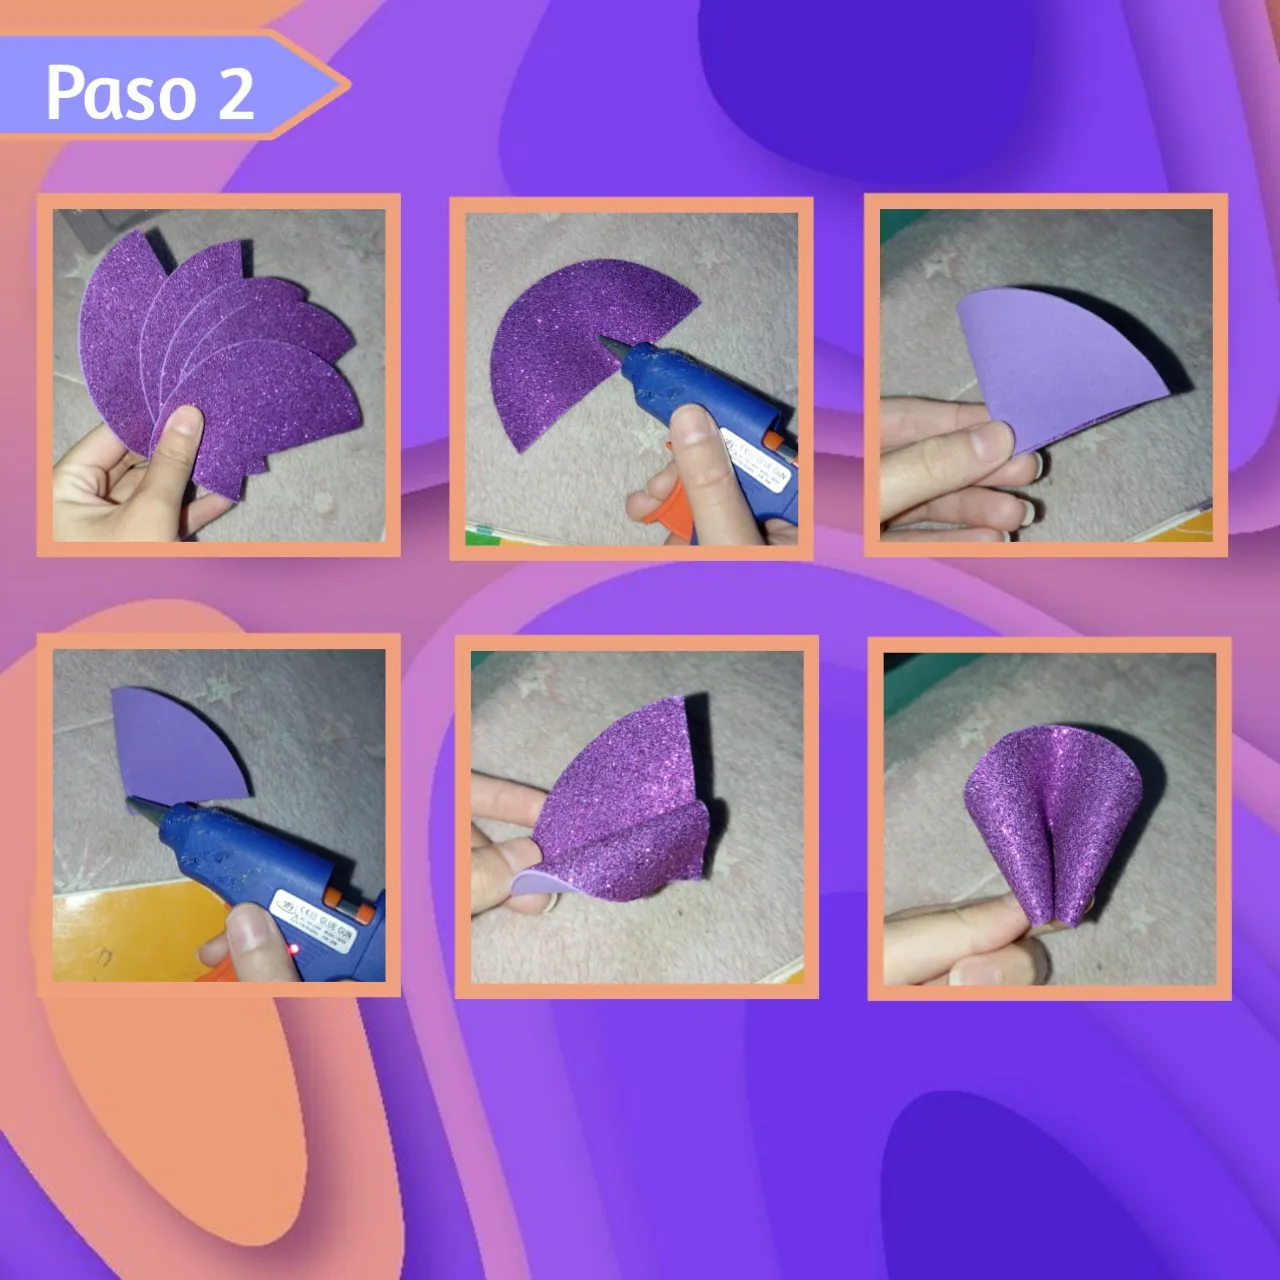
Paso 2:
Step 2:
Continuamos tomando nuestros círculos y recortando estos exactamente a la mitad con ayuda de nuestra tijera, cada una de estas mitades nos sirven para hacer un pétalo. Para cada flor, necesitamos 5 pétalos, así tomamos nuestro semi círculo y a la mitad pondremos una gota de silicón, pegado del borde, sostenemos unos segundos hasta pegar, luego de un lado ponemos una gota de silicón y llevamos la punta hasta ese extremo, pegando al ras, igualmente al otro lado, hasta formar el pétalo, como pueden ver.
We continue by taking our circles and cutting them exactly in half with the help of our scissors, each of these halves are used to make a petal. For each flower, we need 5 petals, so we take our half circle and in the middle we put a drop of silicone, glued to the edge, we hold a few seconds to glue, then on one side we put a drop of silicone and take the tip to that end, gluing flush, likewise on the other side, to form the petal, as you can see.
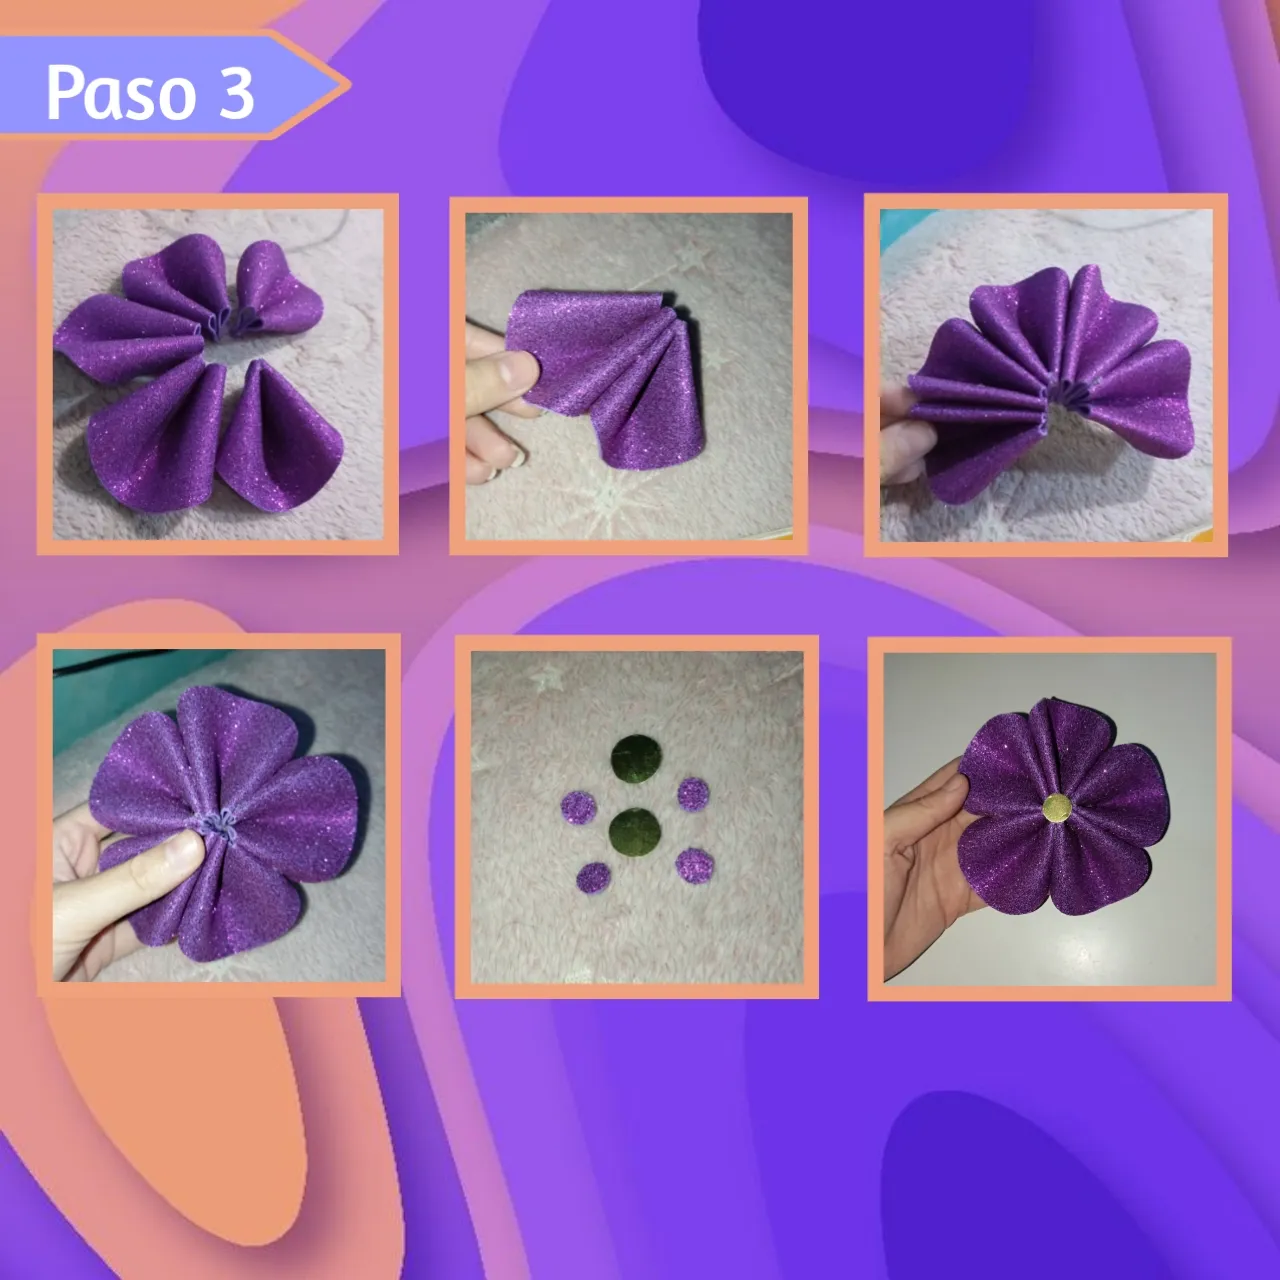
Paso 3:
Step 3:
Ahora bien, hacemos 5 pétalos, luego agregamos silicón en los laterales y pegamos uno al lado de otro, hasta tener los 5 unidos, al final, nos queda estirar un poco y formar la flor, pegando los extremos y cerrando está. Por último, para agregar el toque final, recortaremos unos pequeños círculos y pegaremos en el centro de la flor y ya estaría lista.
Now, we make 5 petals, then we add silicone on the sides and glue one next to the other, until we have all 5 together, at the end, we just have to stretch a little and form the flower, gluing the ends and closing it. Finally, to add the final touch, cut out some small circles and glue them in the centre of the flower and it is ready.
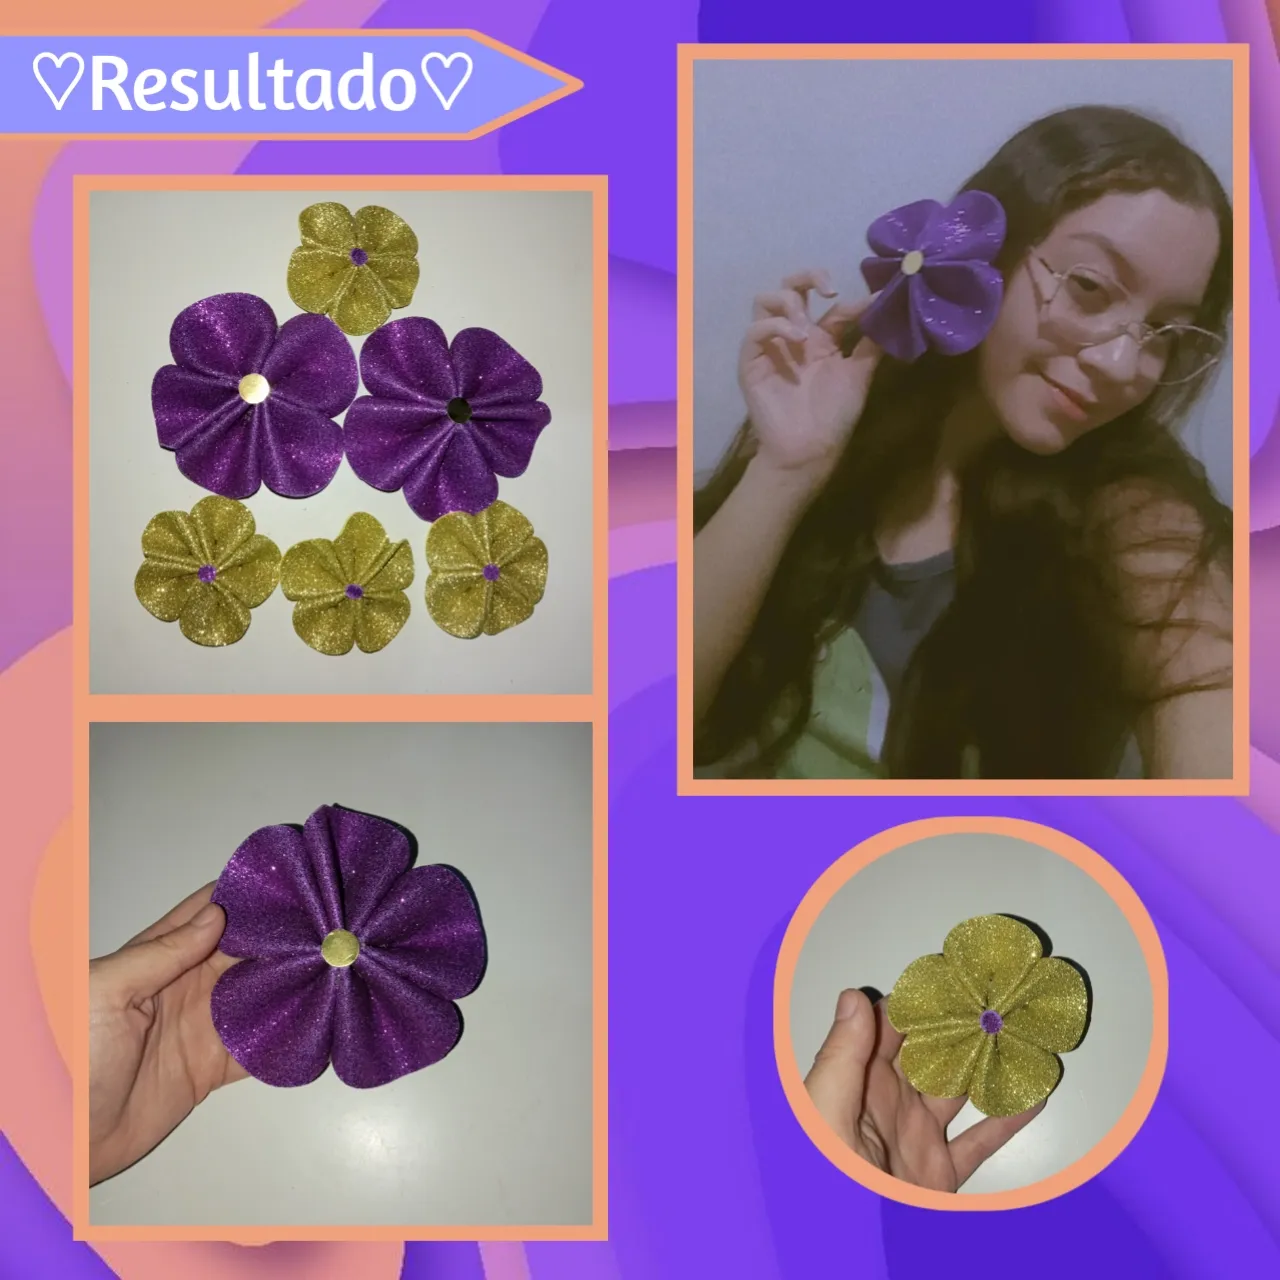
¡Y listo! Así es como en sencillos pasos y con pocos materiales podemos realizar nuestras hermosas flores, de diferentes colores, materiales y tamaños, no hay límite para nuestra creatividad, hay muchas combinaciones que podemos hacer y crear. Son muy útiles para diferentes decoraciones y ocasiones en general, yo la idea para decorar una cartelera como ya les mencioné antes, pero podrían servir para complementar diferentes decoraciones, son fáciles y el resultado es muy bonito.✨💜
And that's it! This is how in simple steps and with few materials we can make our beautiful flowers, in different colours, materials and sizes, there is no limit to our creativity, there are many combinations that we can make and create. They are very useful for different decorations and occasions in general, I the idea to decorate a billboard as I mentioned before, but they could be used to complement different decorations, they are easy and the result is very nice.✨💜
Fuente 1
Fuente 2
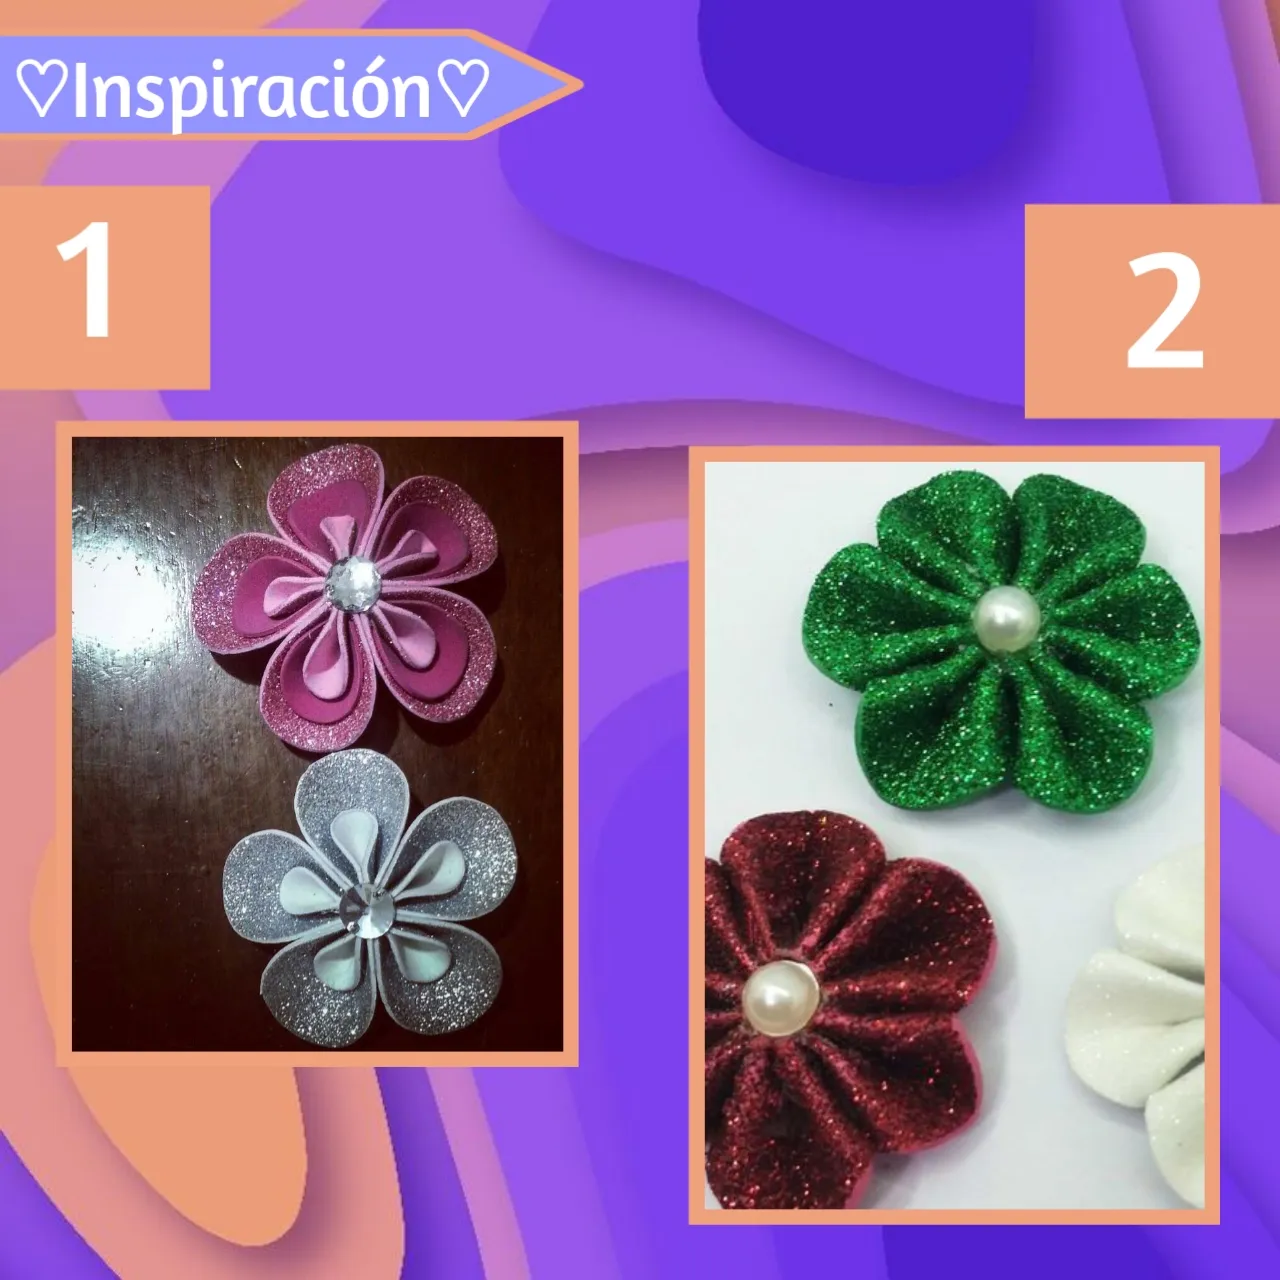
Les dejó por aquí mi inspiración y otra idea parecida, para que puedan recrearla y guiarse en este proceso.
I leave here my inspiration and another similar idea, so that you can recreate it and guide you in this process.
Así llegamos al final, esto es todo por la manualidad de hoy, me alegro de poder compartir con ustedes está idea, muy contenta me despido con un fuerte abrazo, gracias por llegar hasta el final, nos vemos en el siguiente DIY, feliz noche.✨
So we come to the end, this is all for today's craft, I'm glad to share with you this idea, very happy I say goodbye with a big hug, thanks for coming to the end, see you in the next DIY, happy night ✨.
💜✨¡Gracias por leer! Hasta la próxima✨💜
💜✨Thanks for reading! See you next time✨💜
Photos of my authorship taken from my Xiaomi Redmi 13C phone, edited in the free version of Canva