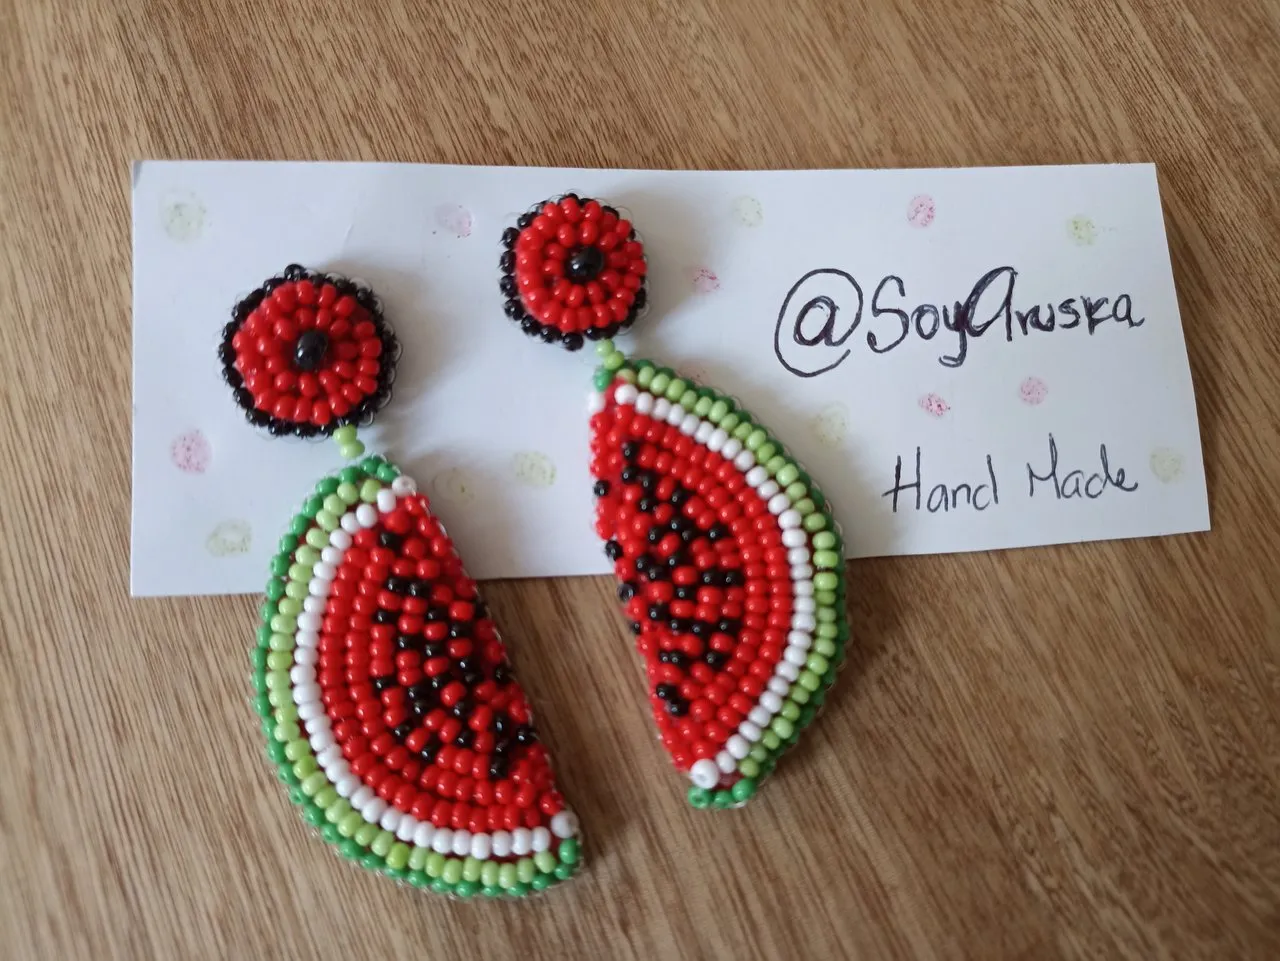
Hola mis manualistas favoritos de Hive. Volví con otro proyecto tropical y lleno de color, confieso que son mis favoritos.
Hice unas patillas o sandias bordados para usarlos como aretes.
Les cuento paso a paso!
Hello, my favorite Hive handcrafters. I'm back with another tropical and colorful project, I confess they are my favorite.
I made some embroidered sideburns or watermelons to use them as earrings.
I tell you step by step!
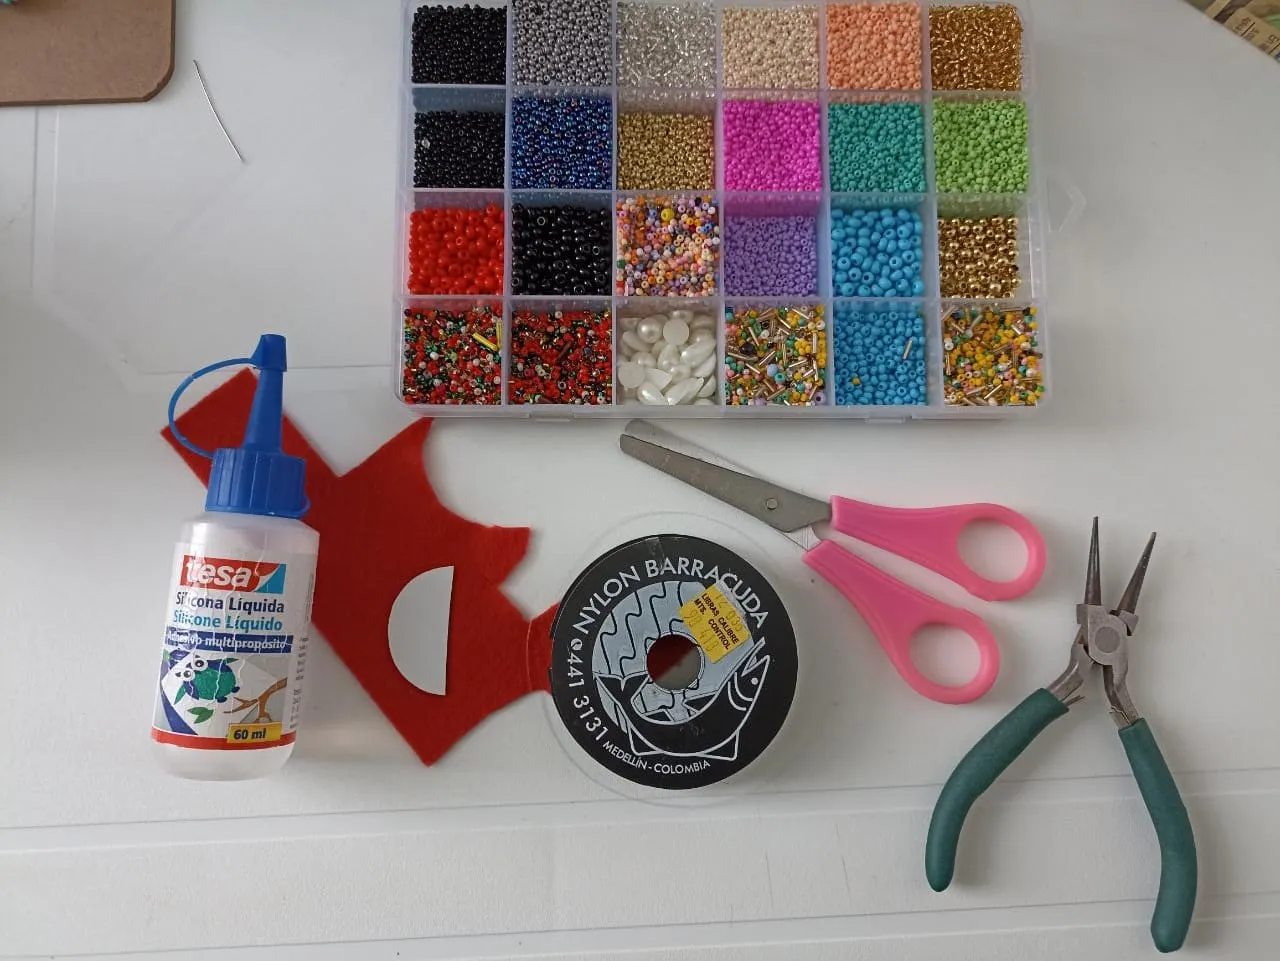
Vamos a necesitar:
- Mostacillas rojas,verdes,negras y blancas
- Hilo nylon
- Fieltro rojo
- Bipiel
- Aguja para bordar mostacillas
- Silicón frío.
We will need:
- Red, green, black, black and white beads.
- Nylon thread
- Red felt
- Bi-leather
- Needle for embroidering beads
- Cold silicone.
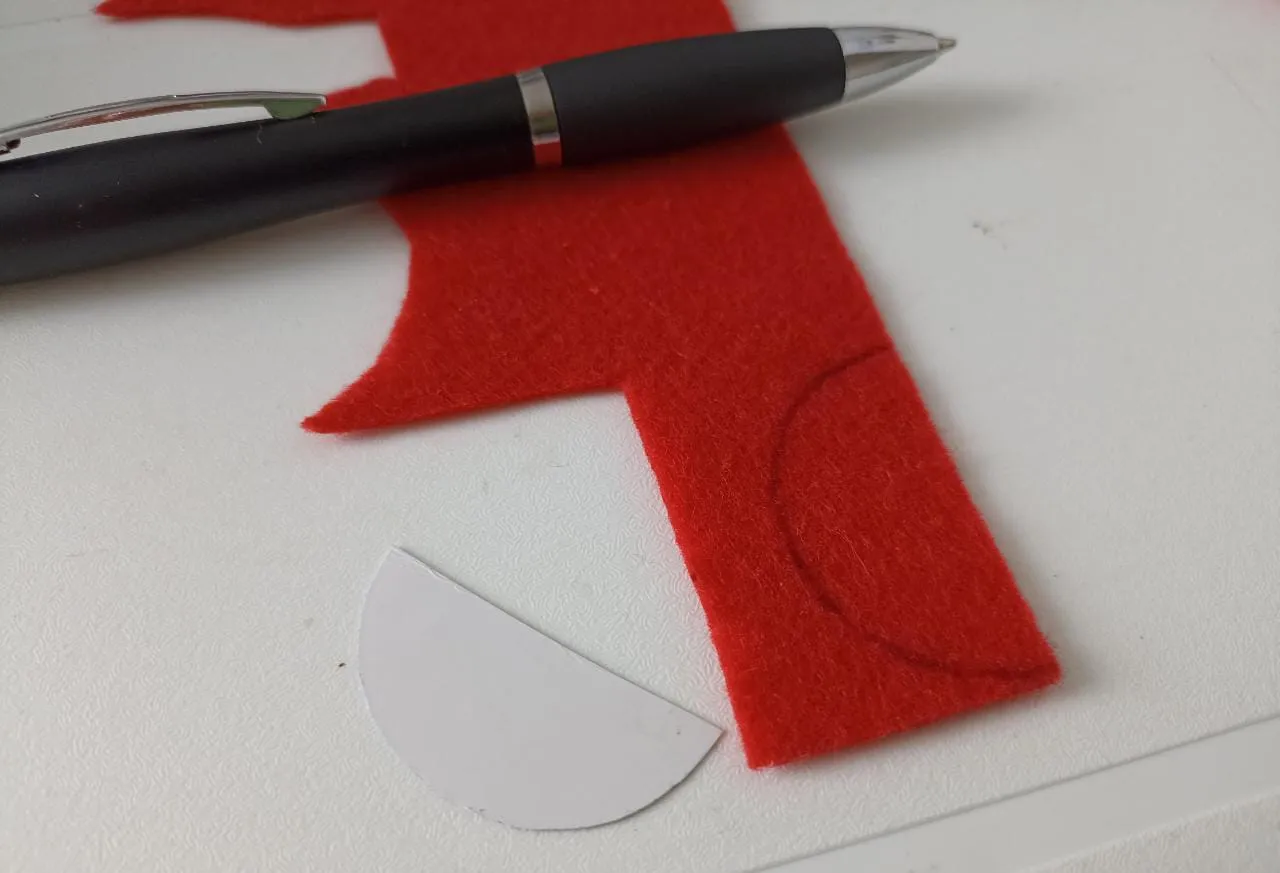
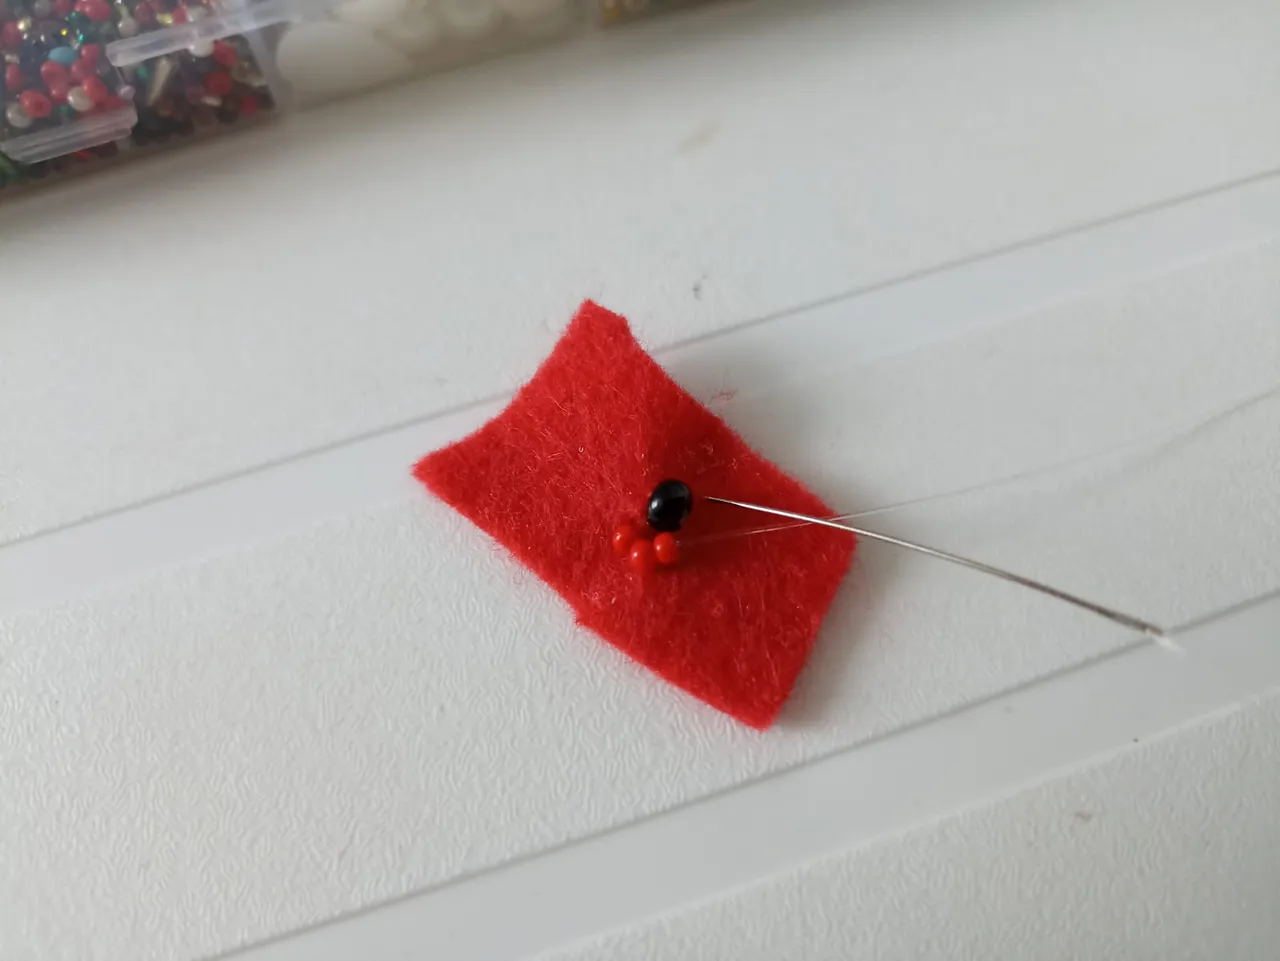
Le ponemos hilo a nuestra aguja y comenzamos.
Vamos a marcar un semi/circulo en nuestro fieltro rojo y bordaremos en la parte superior las mostacillas de color verde claro.
Vamos a bordar de 3 piedritas en 3 piedritas.
We thread our needle and begin.
We are going to mark a semi-circle on our red felt and embroider the light green beads on the top.
We are going to embroider 3 pebbles at a time.

Luego que terminamos la línea verde vamos a realizar una blanca. La idea es ir recreando nuestra patilla poco a poco.
After we finish the green line we are going to make a white one. The idea is to recreate our sideburn little by little.
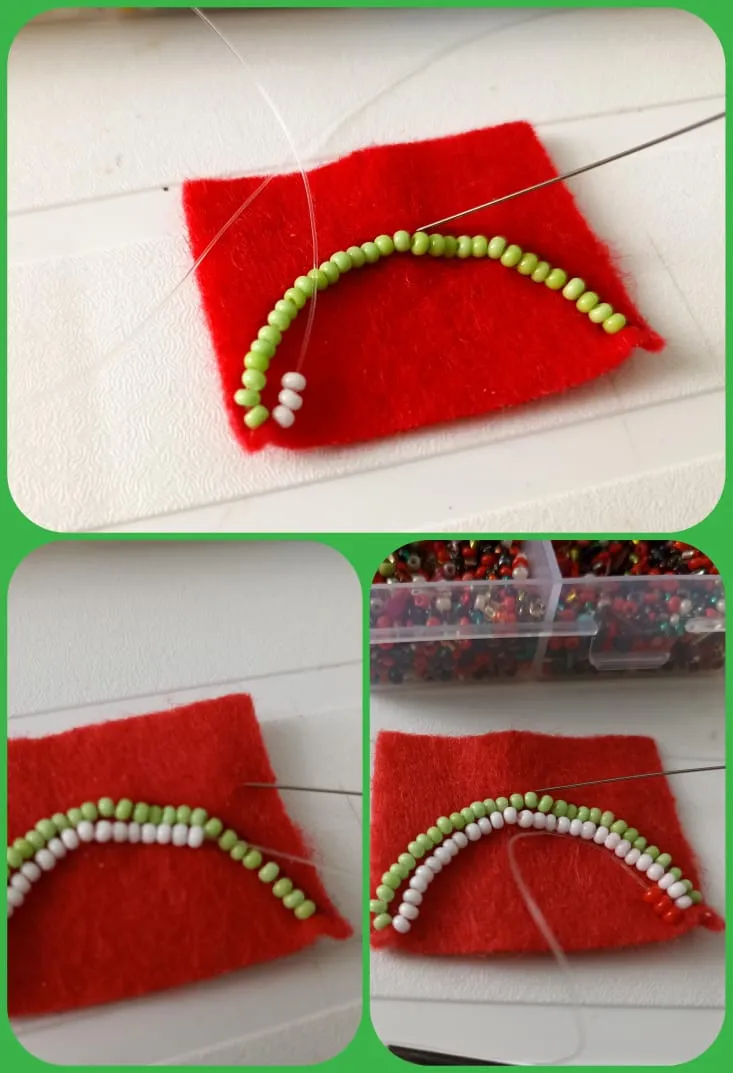
Al culminar la franja blanca, comenzamos las rojas. Haremos dos líneas, siempre bordando de tres en tres para que queden más bonitas.
At the end of the white stripe, we start the red ones. We will make two lines, always embroidering in threes to make them prettier.
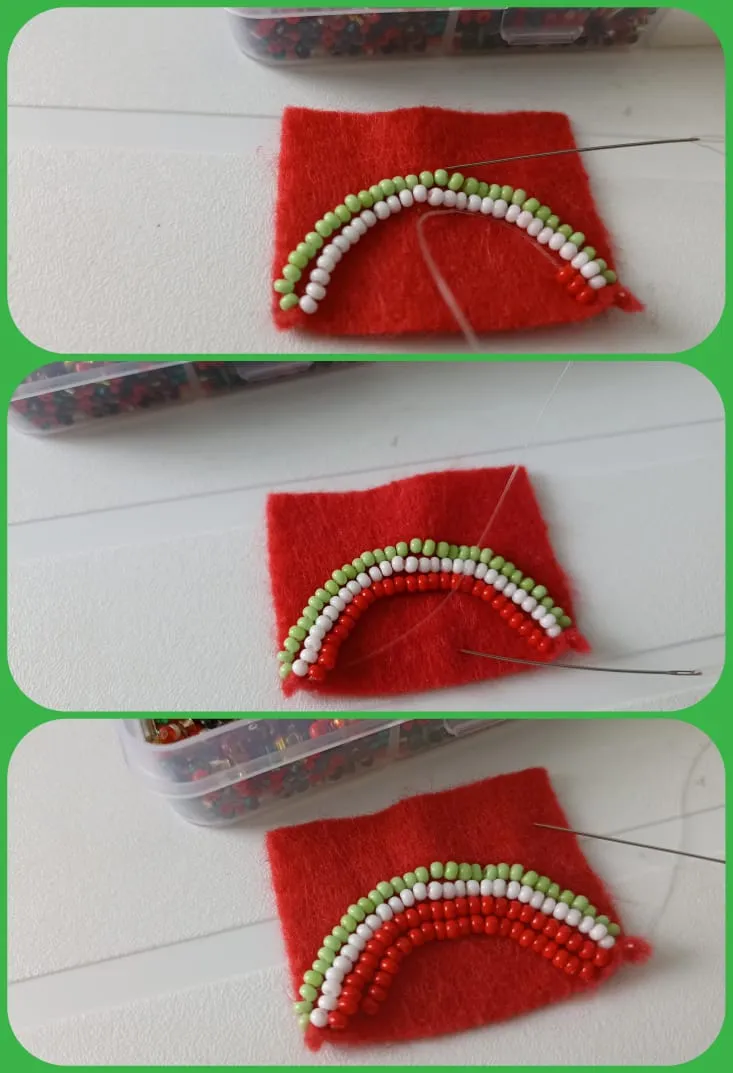
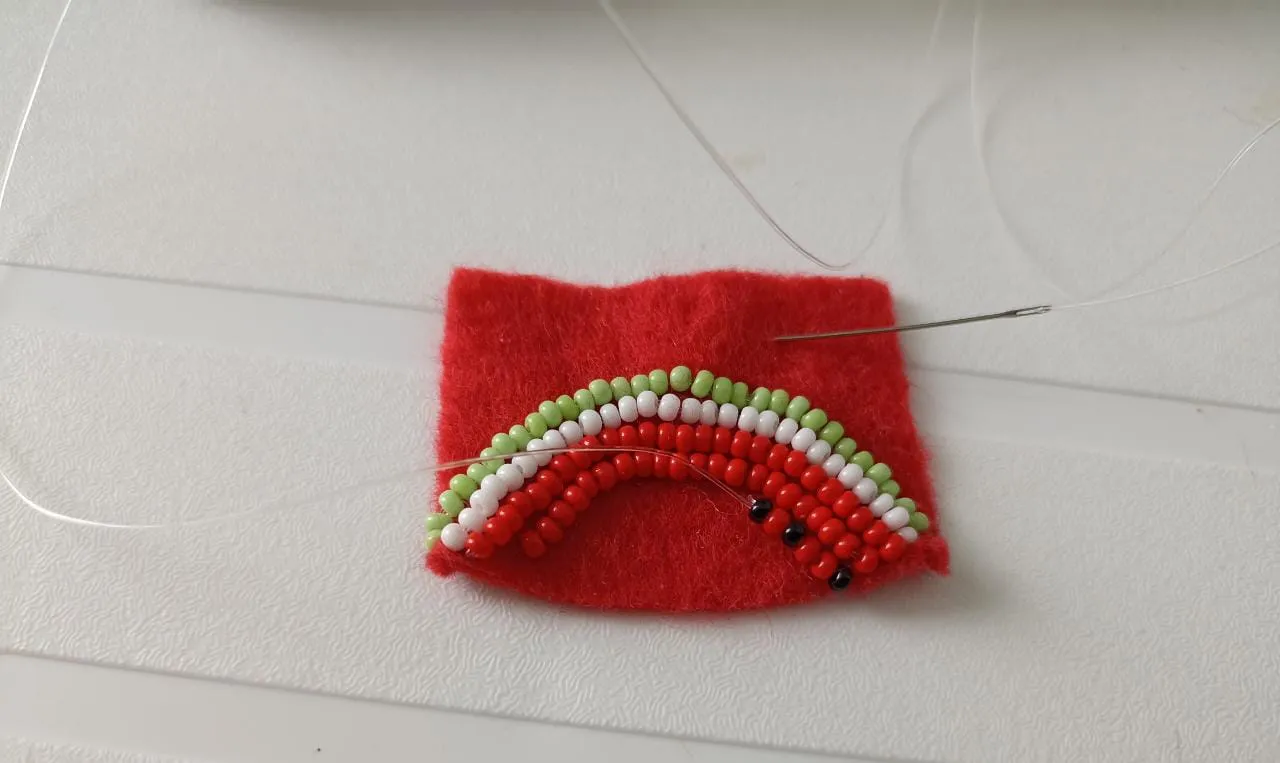
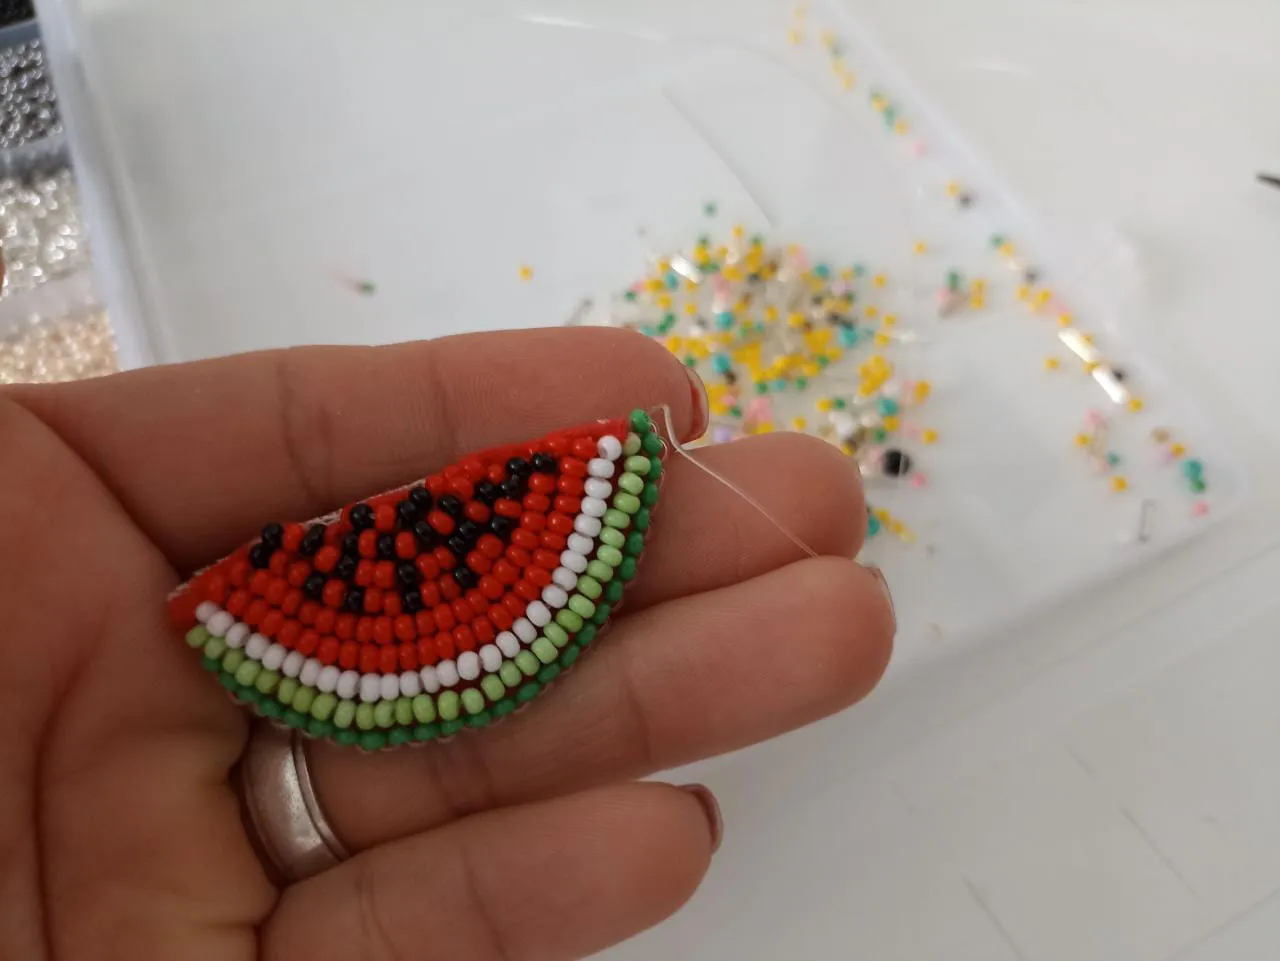
Luego haremos cuatro líneas alternando mostacillas rojas y negras.
Las vas alternando como quieras, recuerda que las patillas no tienen todas las pepitas negras en una sola forma, y así debe quedar nuestro bordado.
Then we will make four lines alternating red and black beads.
Alternate them as you wish, remember that the pins do not have all the black nuggets in a single shape, and this is how our embroidery should look like.
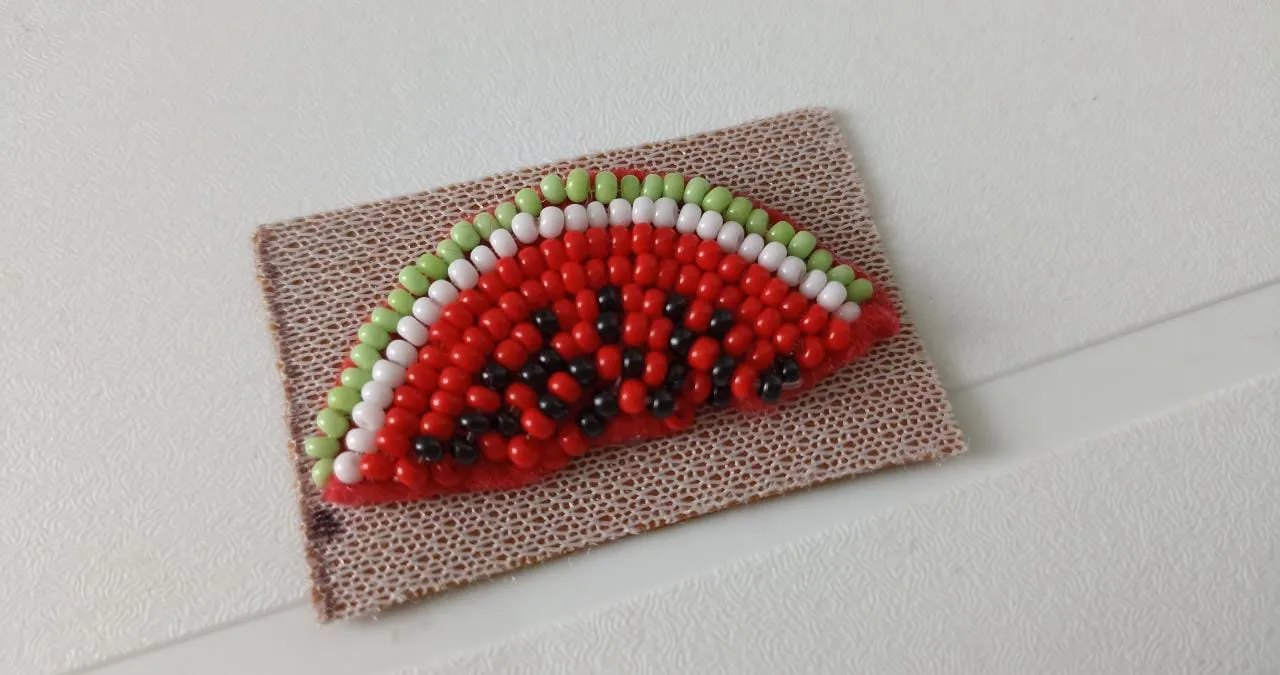
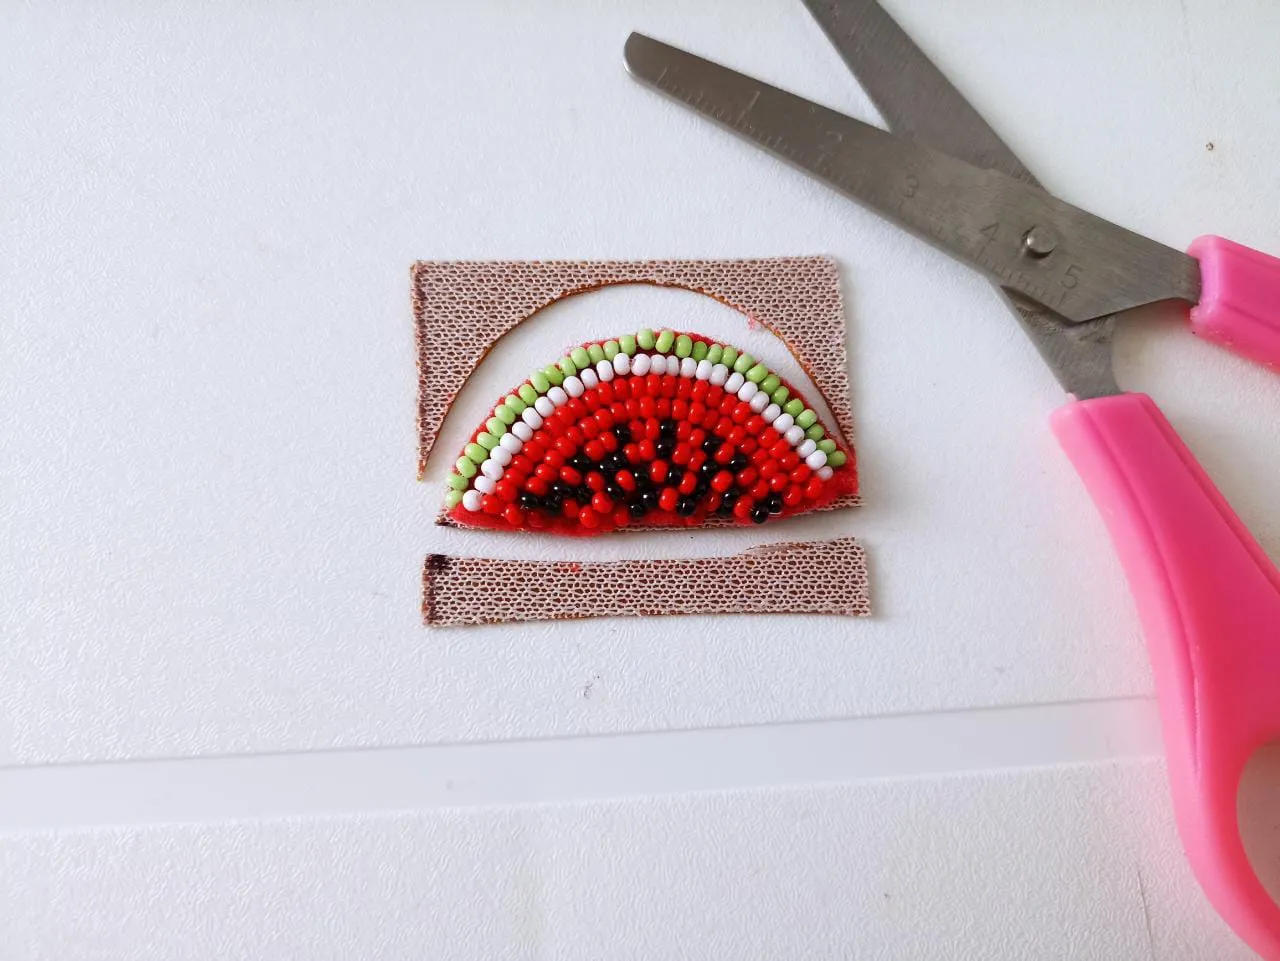
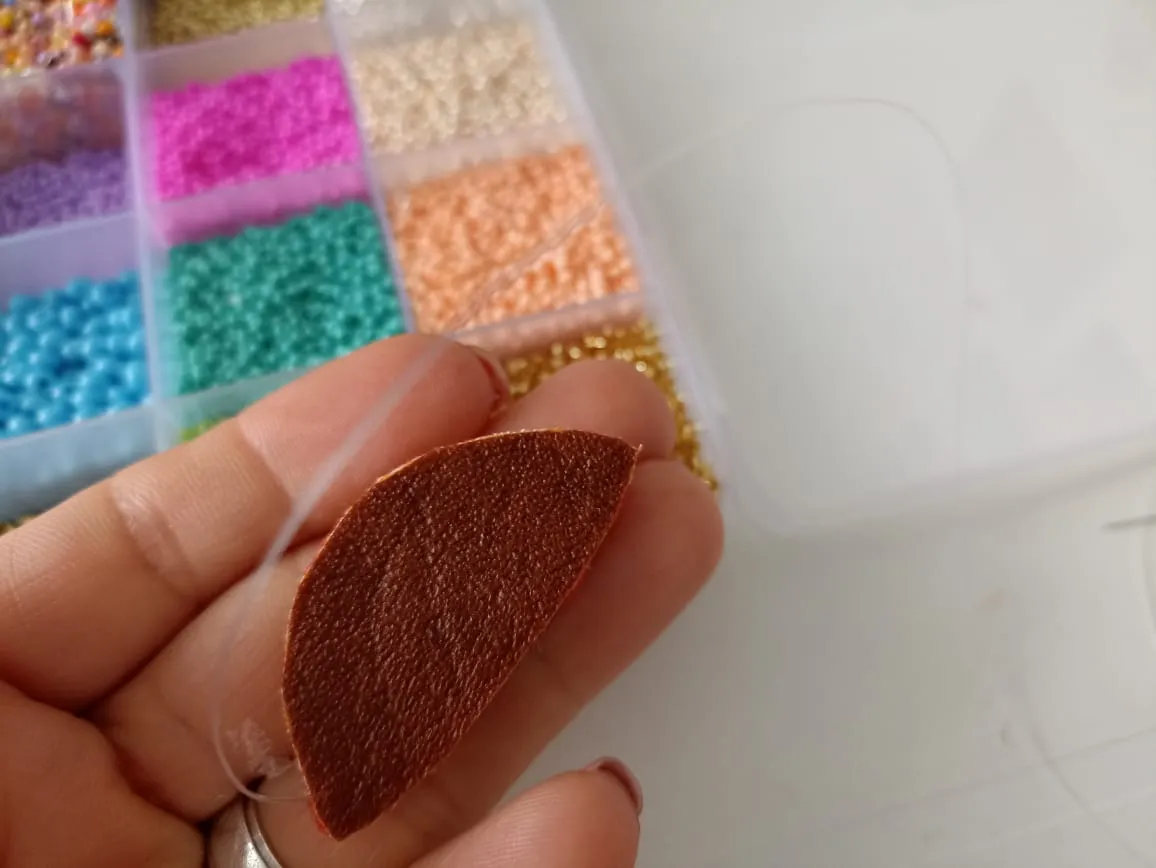
Cuando tenemos todas las filas de mostacillas listas, recortamos con mucho cuidado, le ponemos silicón en la parte posterior y lo pegamos en un trozo de bipiel.
When we have all the rows of beads ready, we cut them out very carefully, put silicone on the back and glue them on a piece of bipiel.
Cuando esta bien pegado, vamos a recortar el excedente de bipiel, nuevamente con mucho cuidado.
Como todo esta bordado a mano con nylon hay que utilizar la tijera con cuidado porque si cortamos por error el hilo tendremos que desarmar y comenzar de nuevo.
When it is well glued, we are going to trim the excess of bipiel, again very carefully.
As everything is hand embroidered with nylon, we must use the scissors carefully because if we cut the thread by mistake we will have to disassemble and start again.
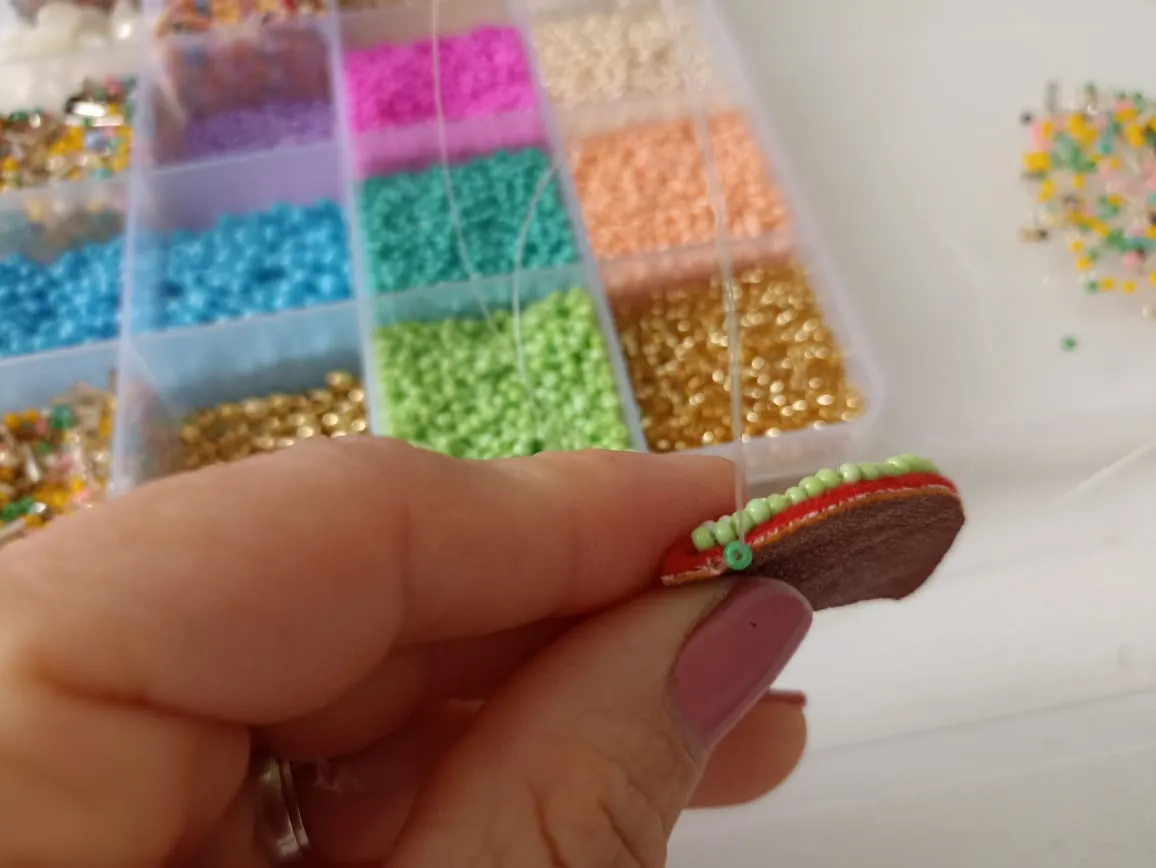
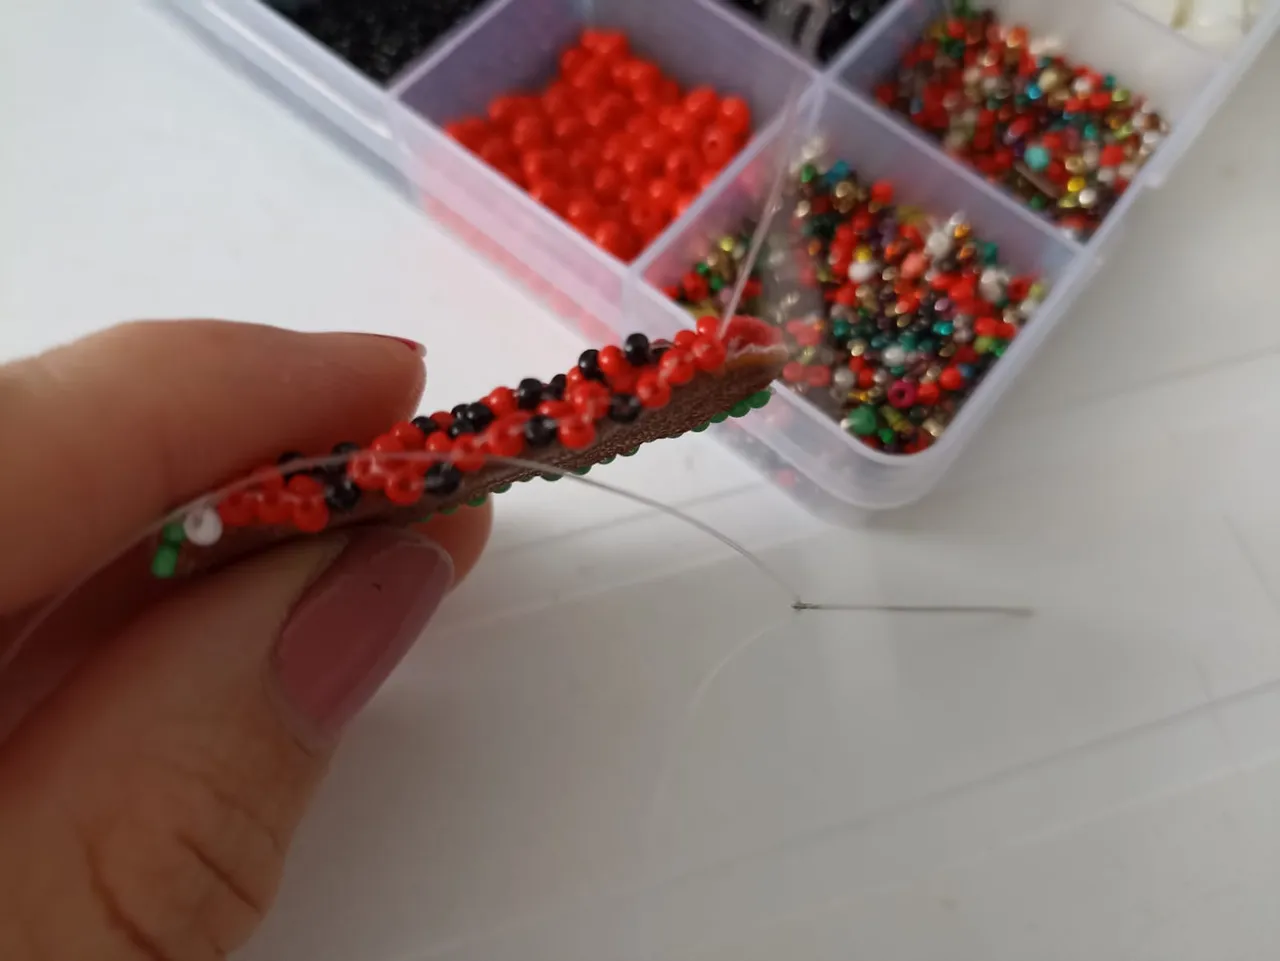
Con hilo nylón y la aguja vamos a bordar todo el exterior de nuestra pieza. Lo haré con mostacillas verdes más oscuras para que simule la concha de nuestra patilla.
Además esto le da un bonito acabado a nuestro zarcillo porque une el fieltro con la bipiel y no se ve mal terminado.
With nylon thread and the needle we are going to embroider the entire outside of our piece. I will do it with darker green beads to simulate the shell of our sideburn.
This also gives a nice finish to our tendril because it joins the felt with the bipiel and it doesn't look bad finished.

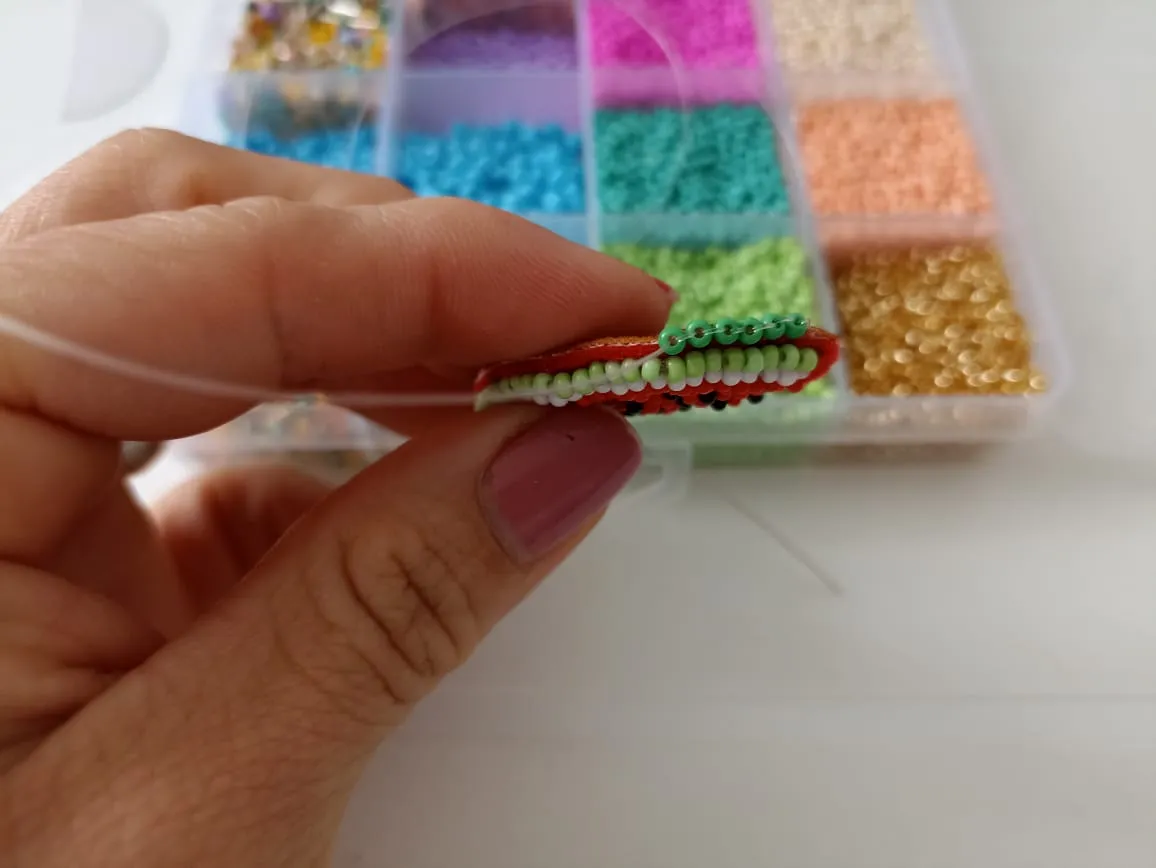
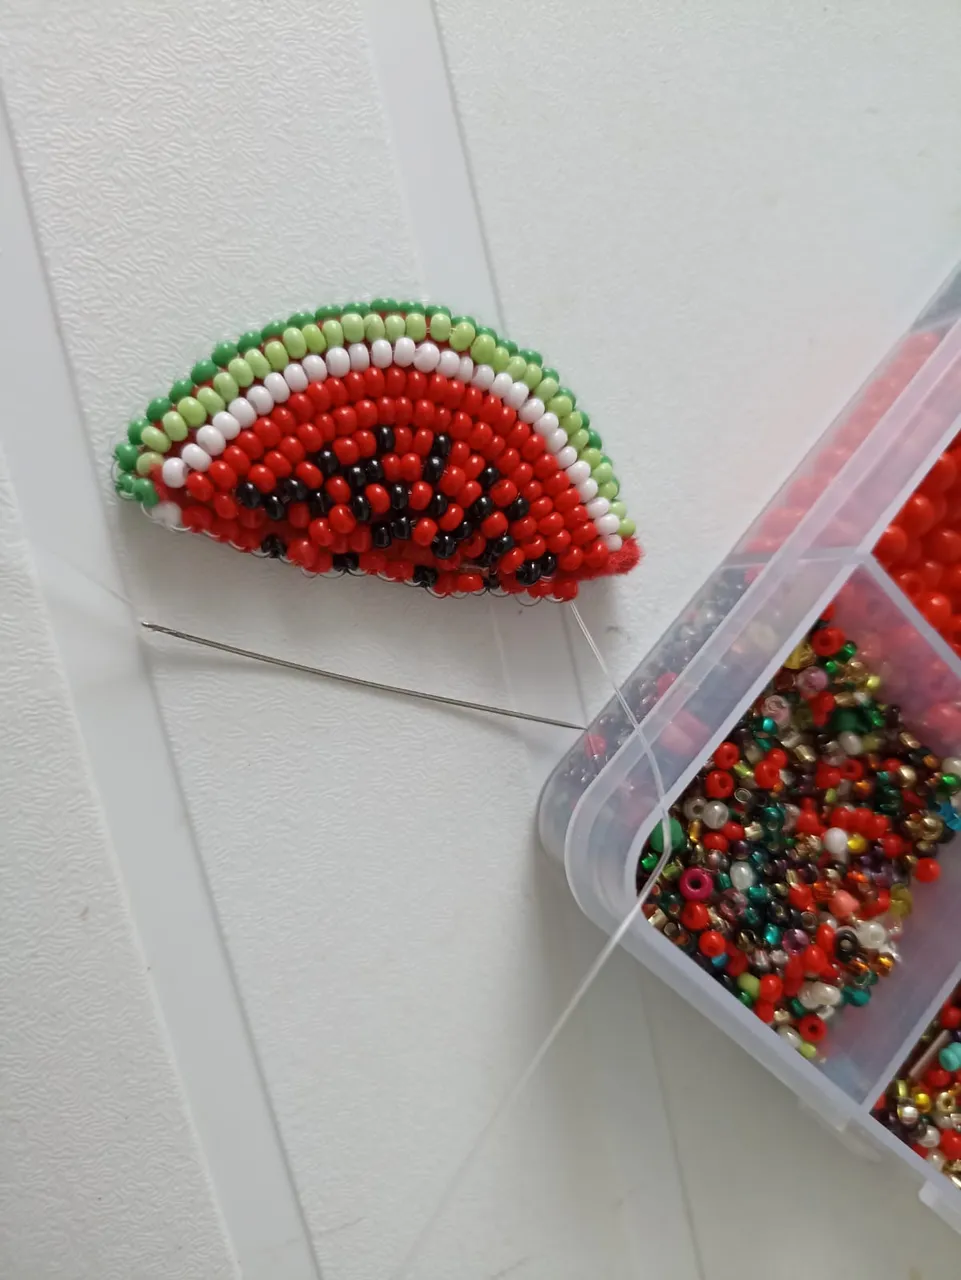
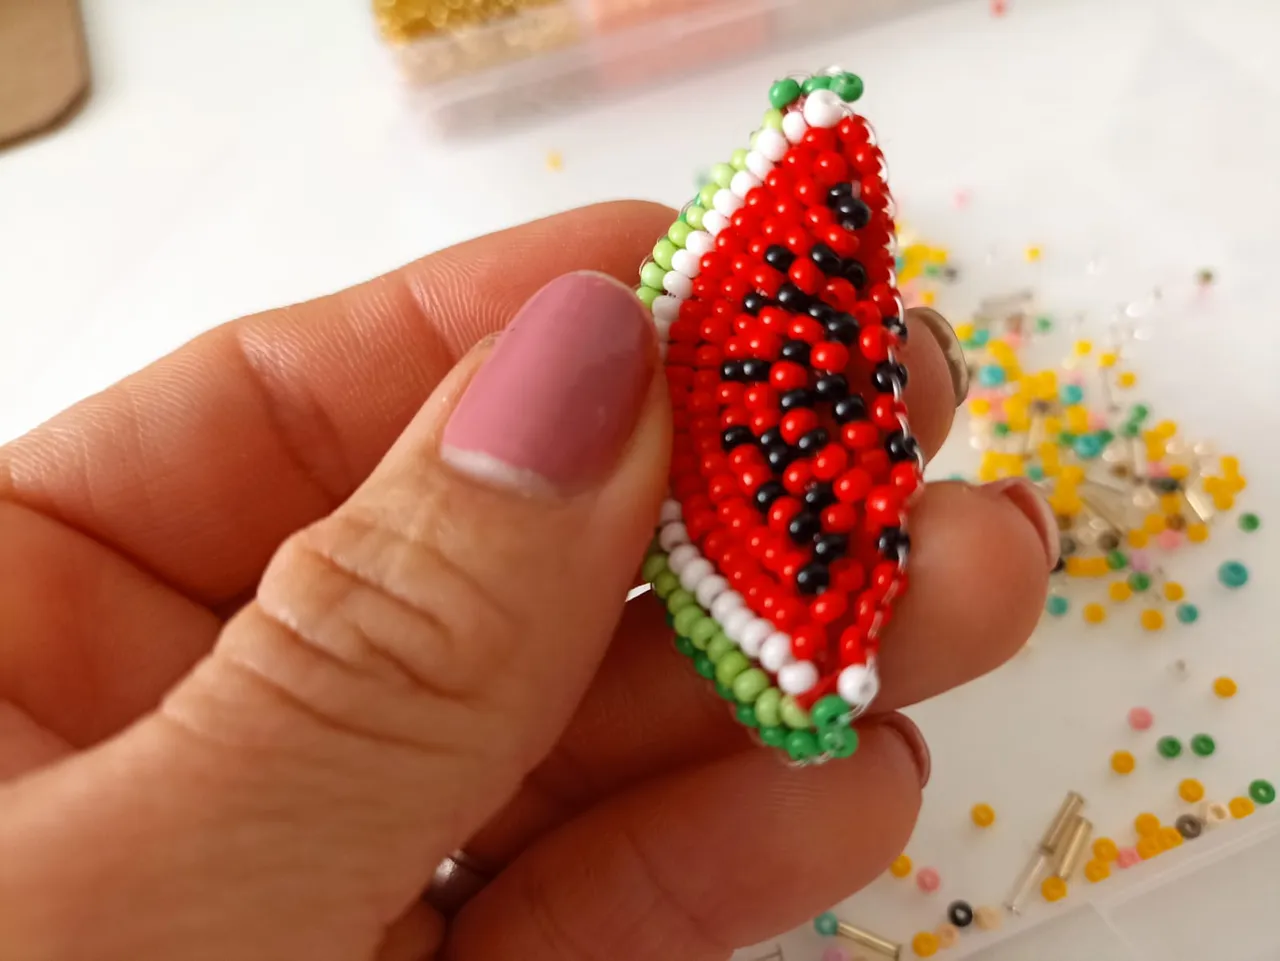
Seguimos bordando el borde con mostacillas rojas y negras. Justo donde esta la línea roja, así todo queda bien uniforme.
Cuando terminamos la línea cerramos con un nudito simple.
We continue embroidering the border with red and black beads. Just where the red line is, so that everything is uniform.
When we finish the line we close it with a simple knot.
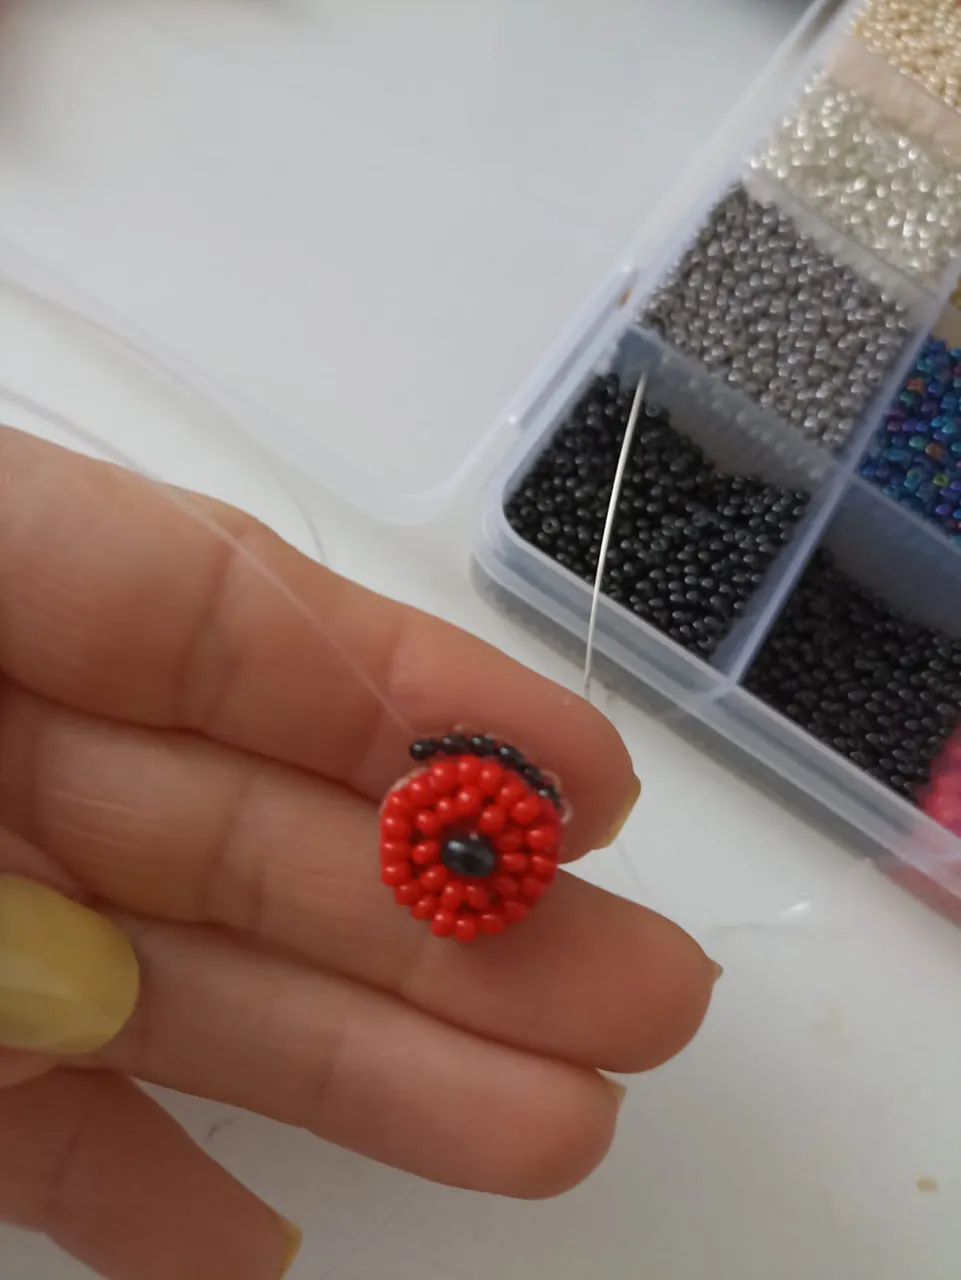
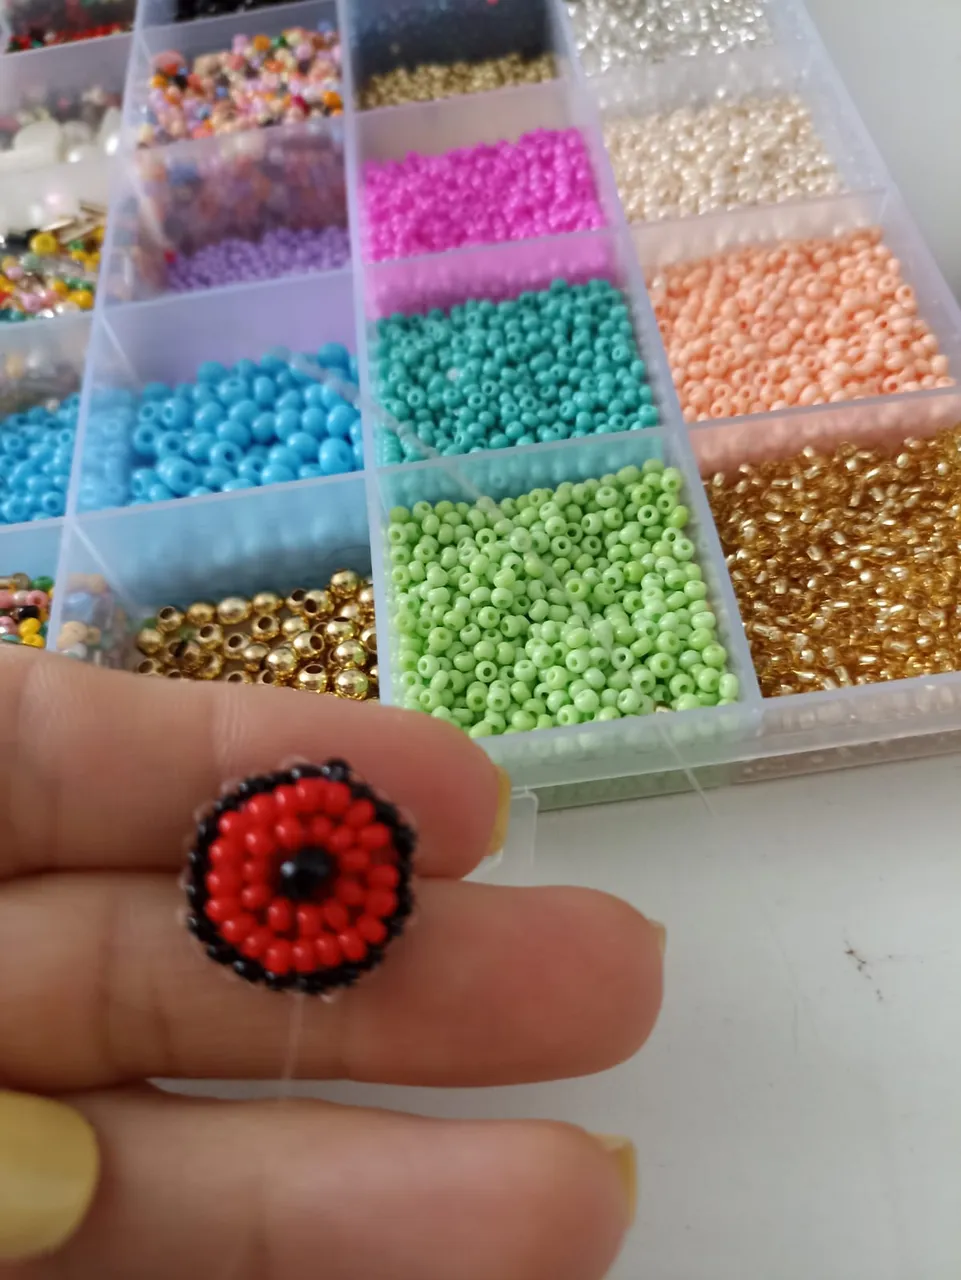
Ya tenemos nuestras patillas coloridas y adorables. Ahora haremos el topito que sostendrá nuestros aretes.
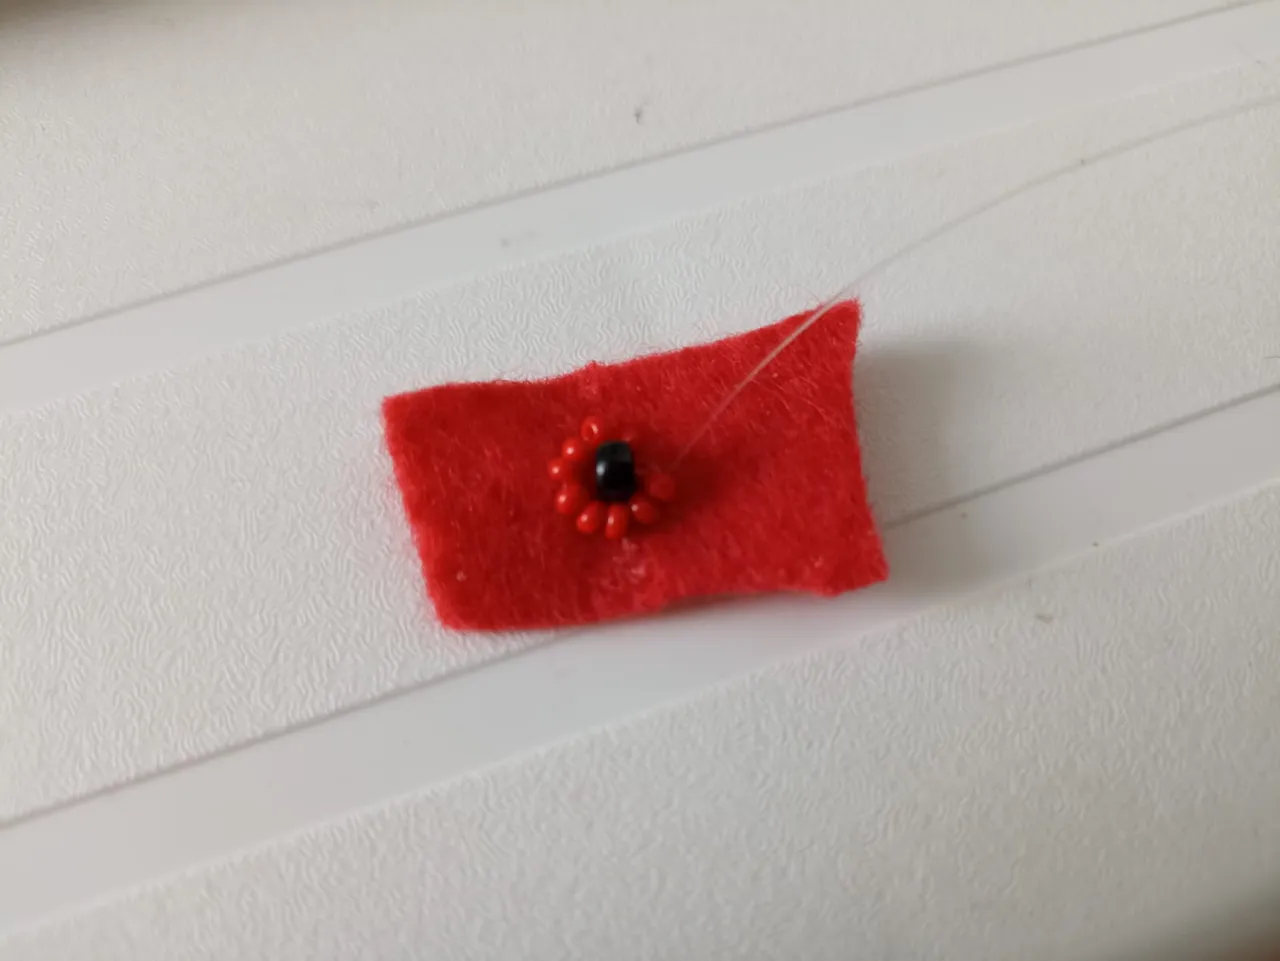
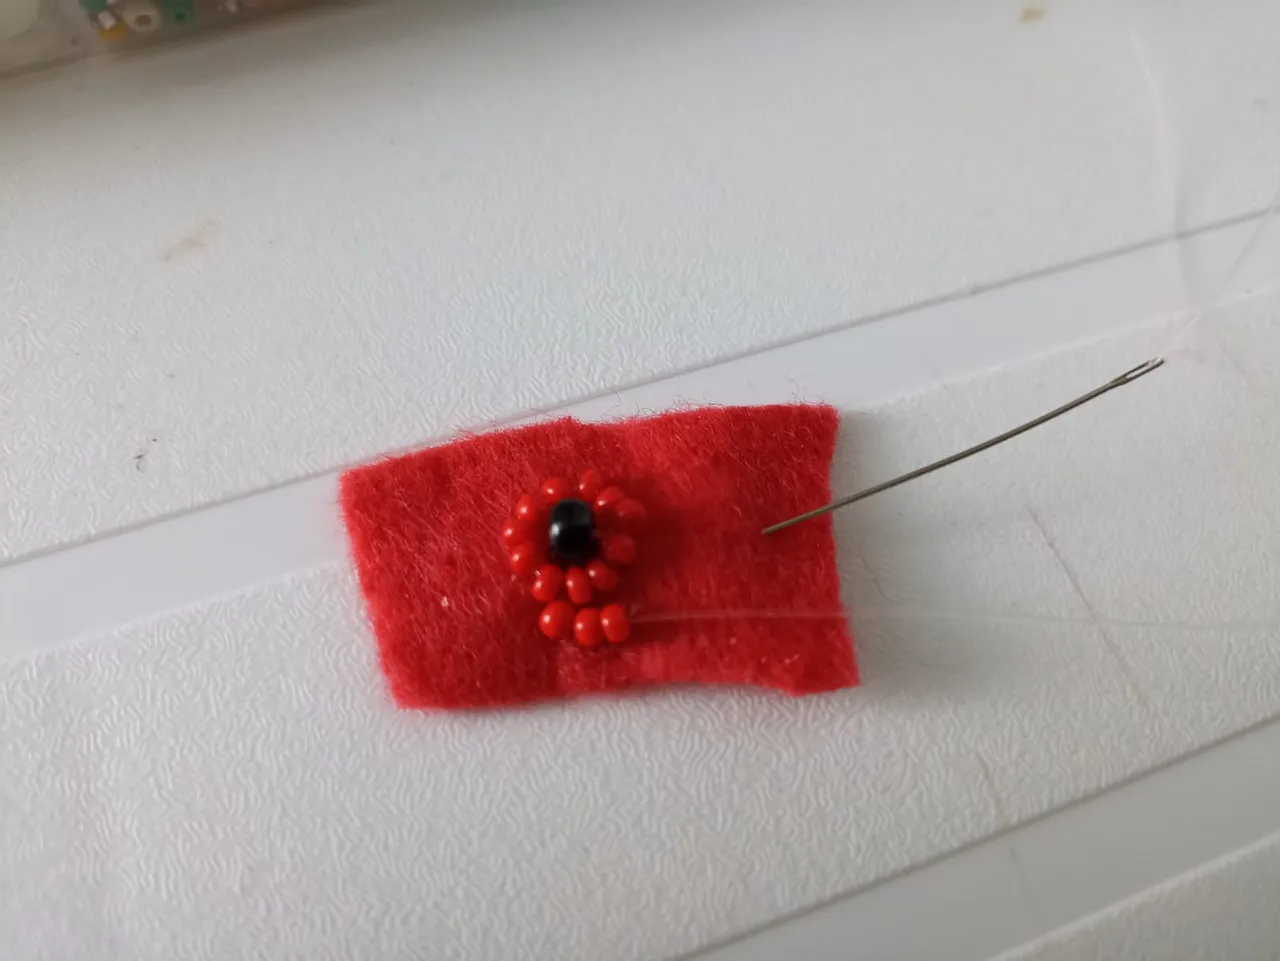
Bordaremos una mostacilla negra grande, a su alrededor dos líneas de mostacillas rojas pequeñas.
We already have our colorful and adorable sideburns. Now we will make the little top that will hold our earrings.
We will embroider a large black bead, around it two lines of small red beads.


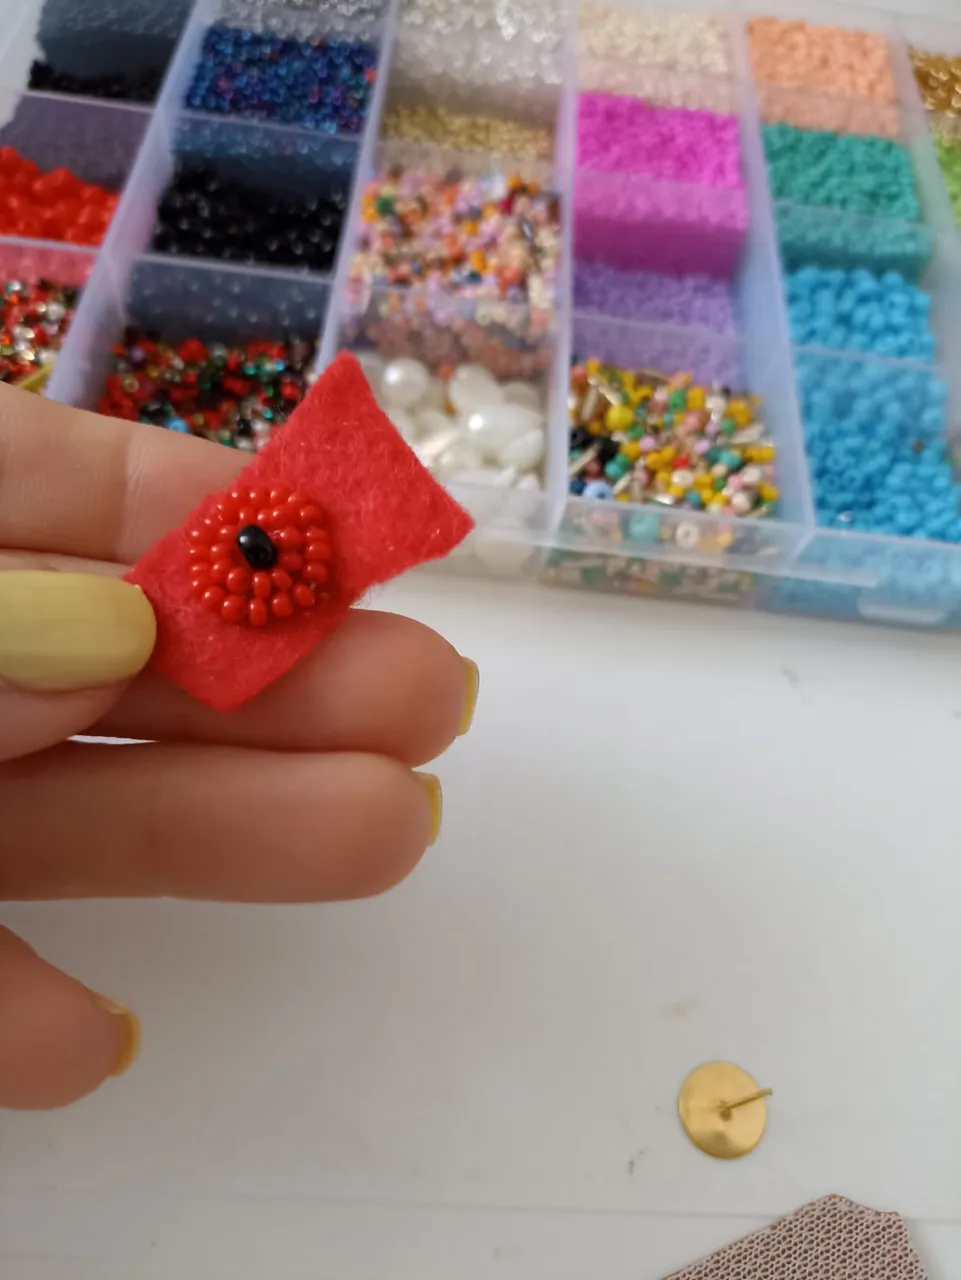
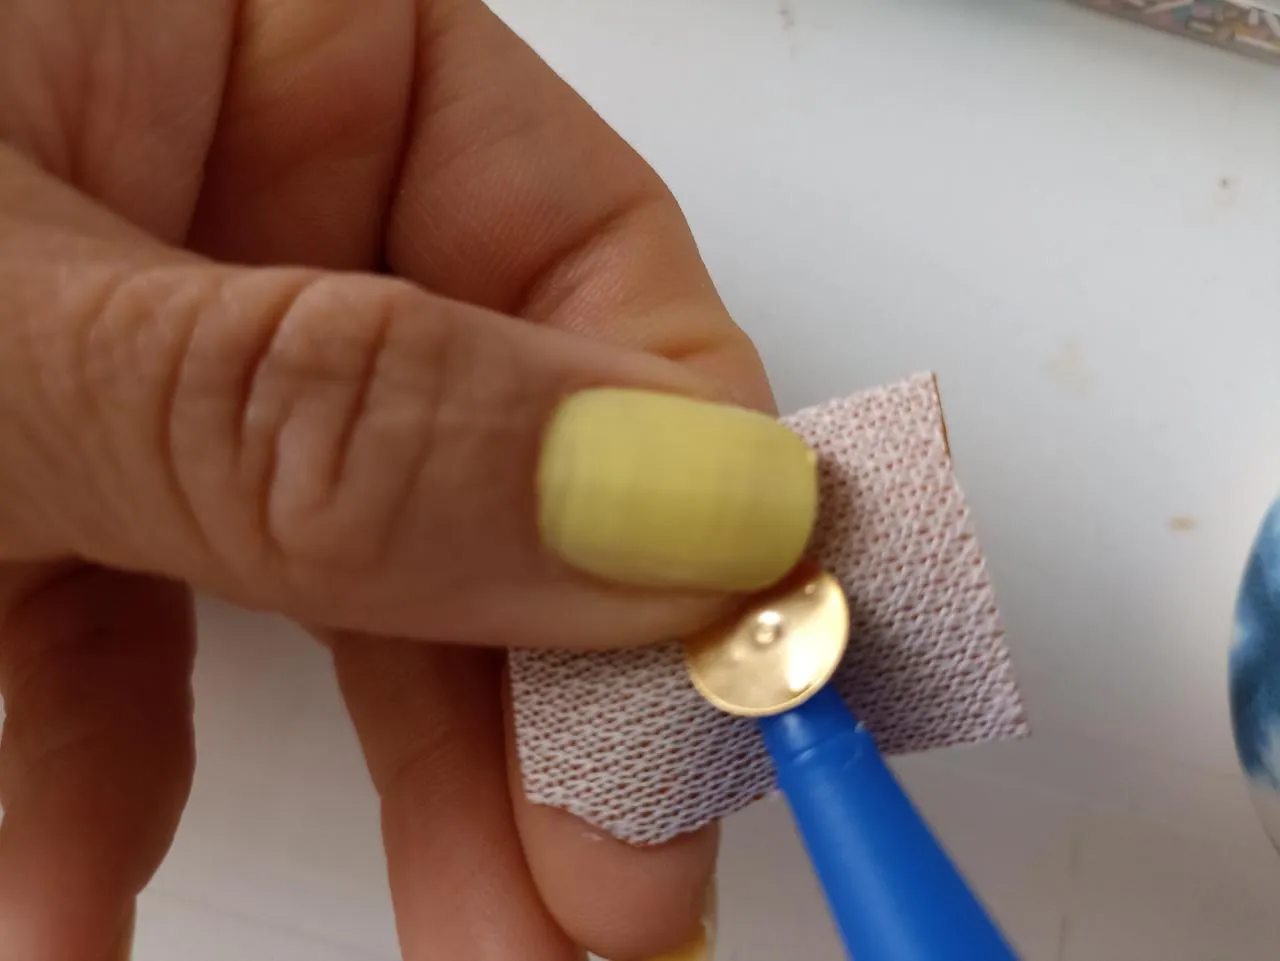
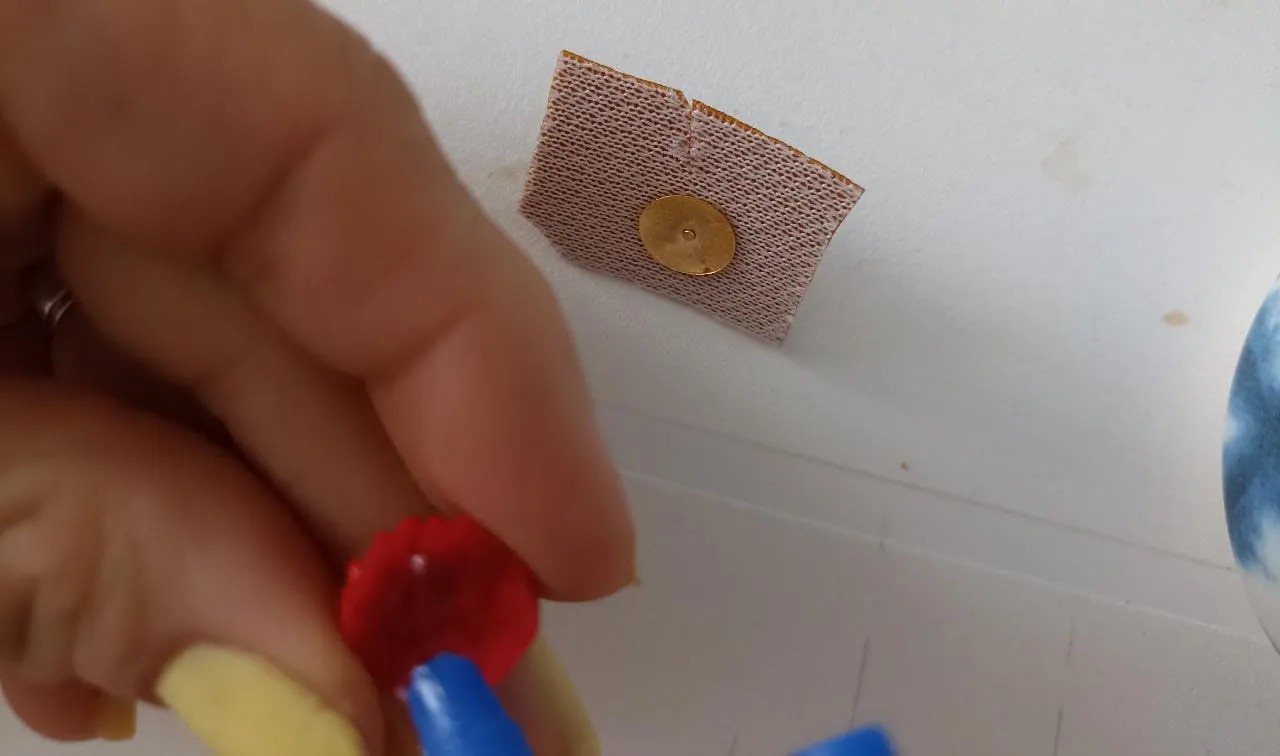
El topito base de nuestro aretes lo pegaremos de nuestra bipiel con silicón.
Recortamos el circulo y pegaremos de nuestro topito.
The topito base of our earrings we will glue it to our bipiel with silicone.
Cut out the circle and glue it to the top of the earrings.

Recortamos el exceso de bipiel y bordaremos con mostacilla negra nuestro borde.
We cut off the excess of bipiel and embroider our border with black mustard.
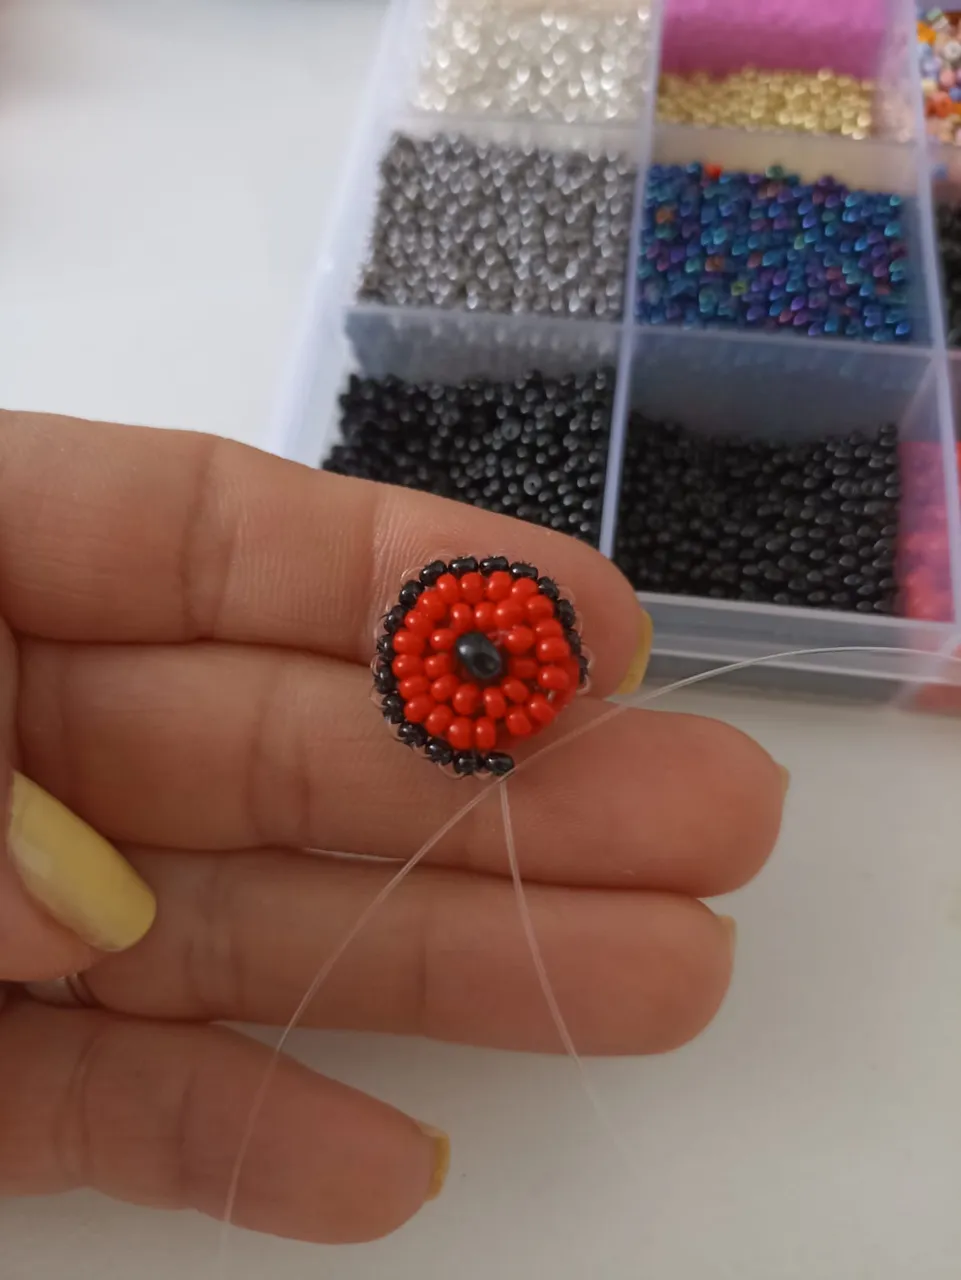
Ya casi casi tenemos listos nuestros zarcillos tropicales.
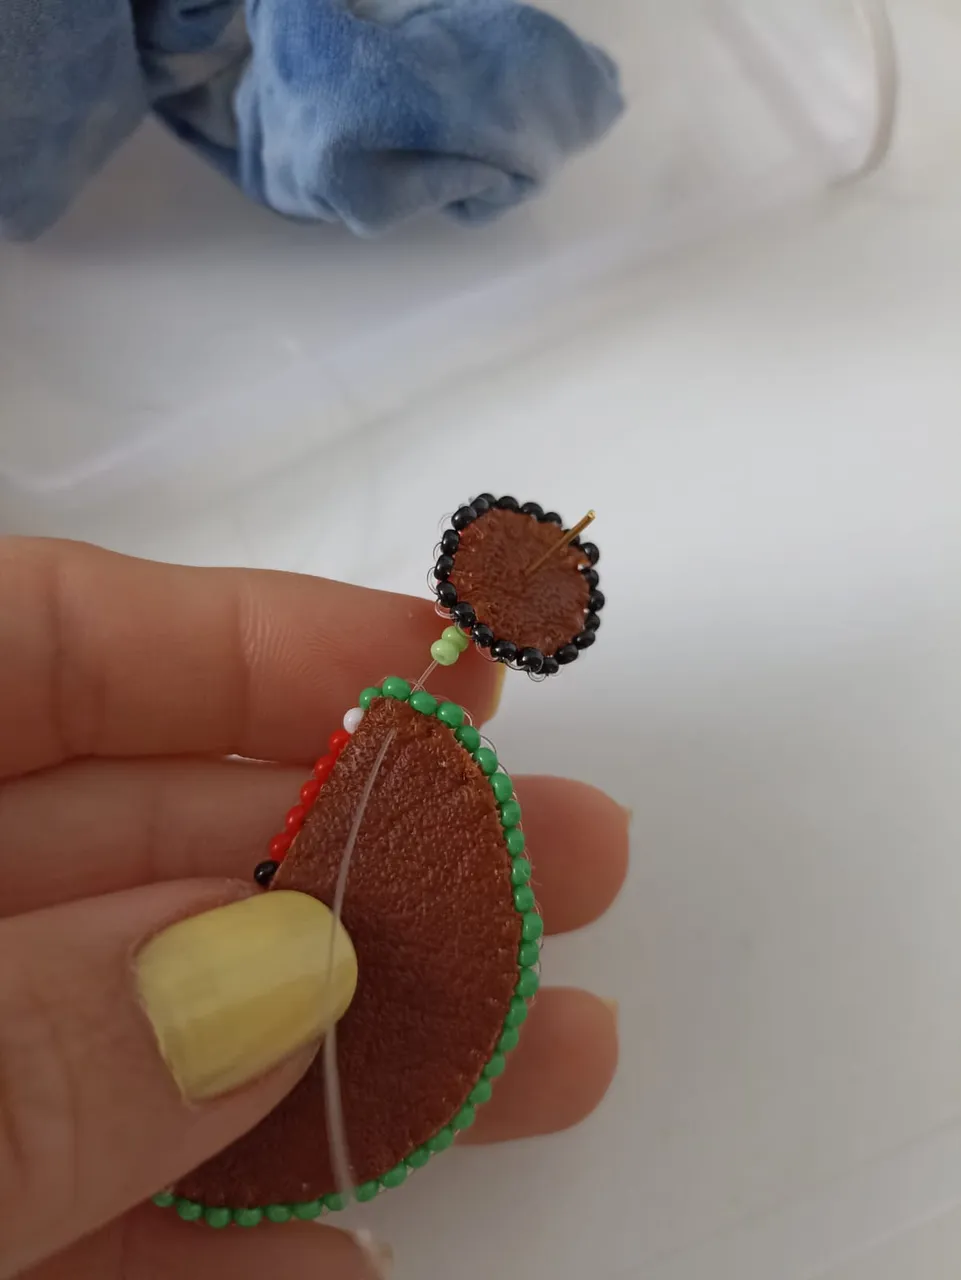
Vamos a unir nuestro topito con la patilla que hicimos antes. Utilizaremos dos mostacillas verdes y llevaremos el hilo de un lado a otro para que ambas partes queden fijas y seguras. Como siempre sellamos con un nudo simple.
Our tropical tendrils are almost ready.
We are going to join our topito with the pin we made before. We will use two green beads and we will take the thread from one side to the other so that both parts are fixed and secure. As always we seal with a simple knot.


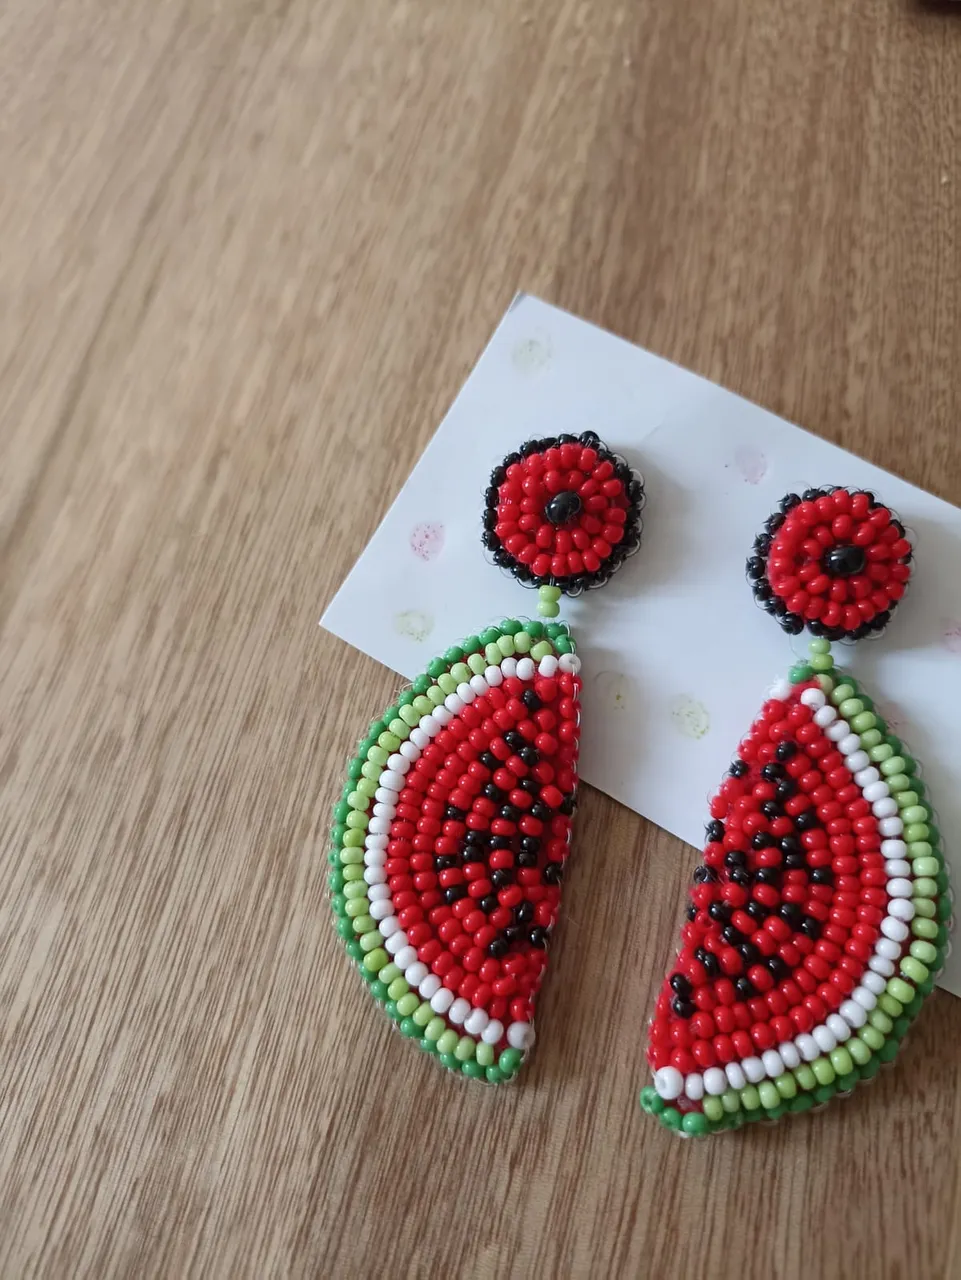
Ahora repetimos el procedimiento para hacer el segundo zarcillo.
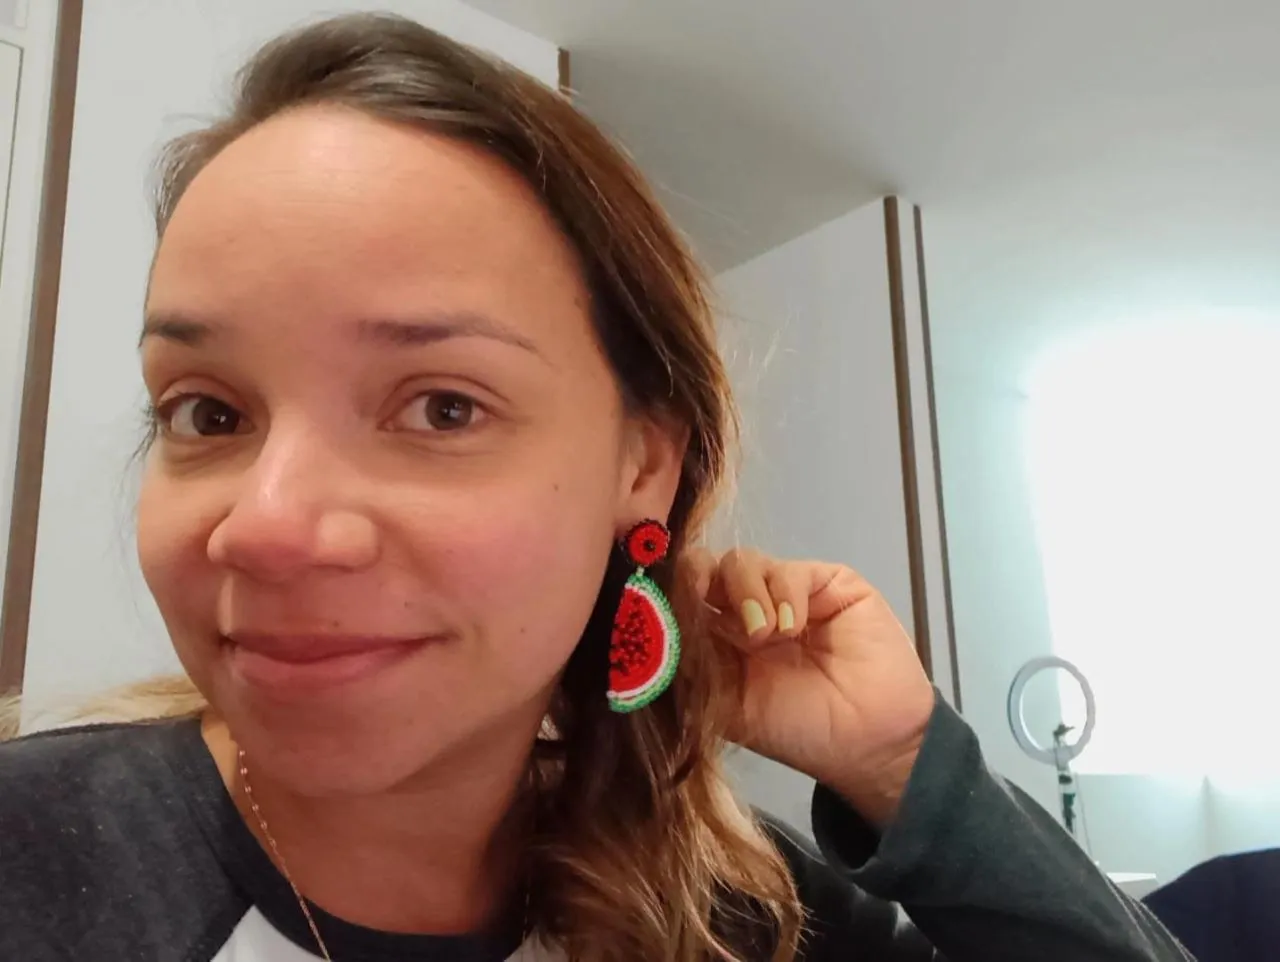
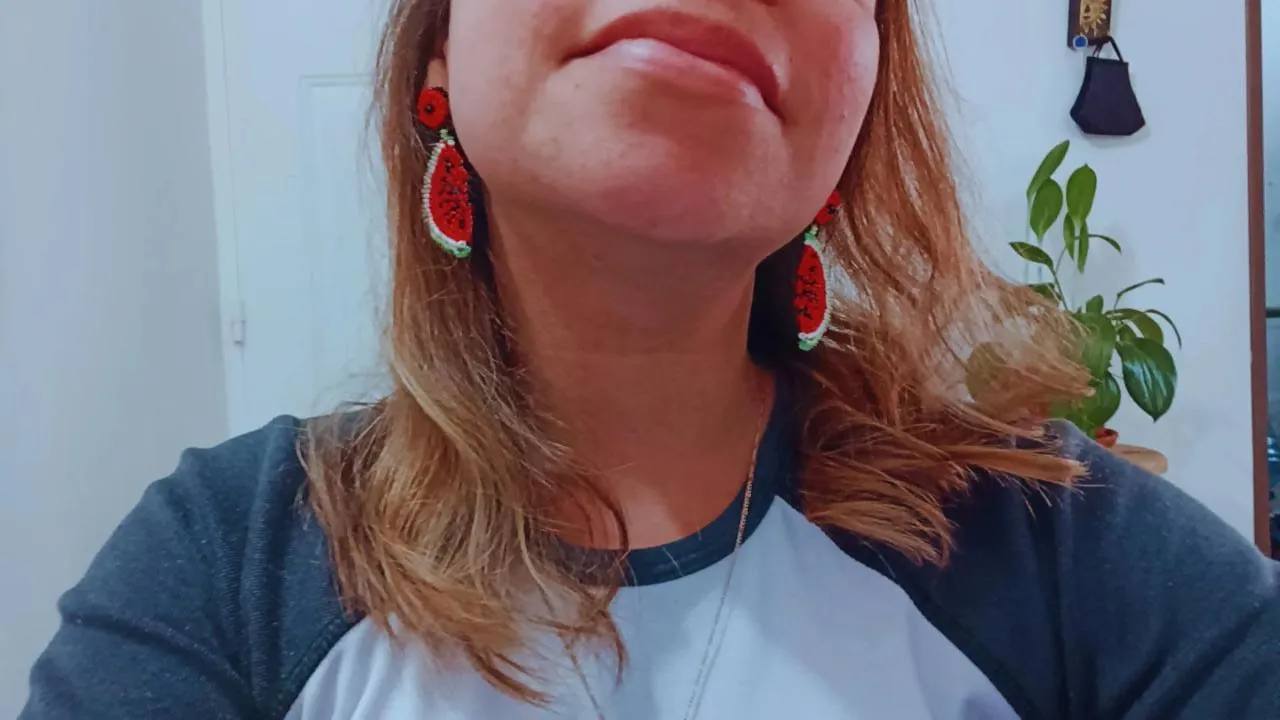
Y así tenemos un par de zarcillos coloridos y llenos de diversión para usarlo en cualquier ocasión.
Now we repeat the procedure to make the second tendril.
And so we have a pair of colorful and fun-filled tendrils to wear for any occasion.

Gracias por visitar mi contenido, lo hago con mucho amor.
Las fotografías fueron tomadas por mi con mi celular Redmi note 10, los collages los realicé en la aplicación Inshot y la traducción con la versión gratuita de Deepl.com
Thank you for visiting my content, I do it with love.
The pictures were taken by me with my Redmi note 10, the collages were made with the Inshot application and the translation with the free version of Deepl.com.