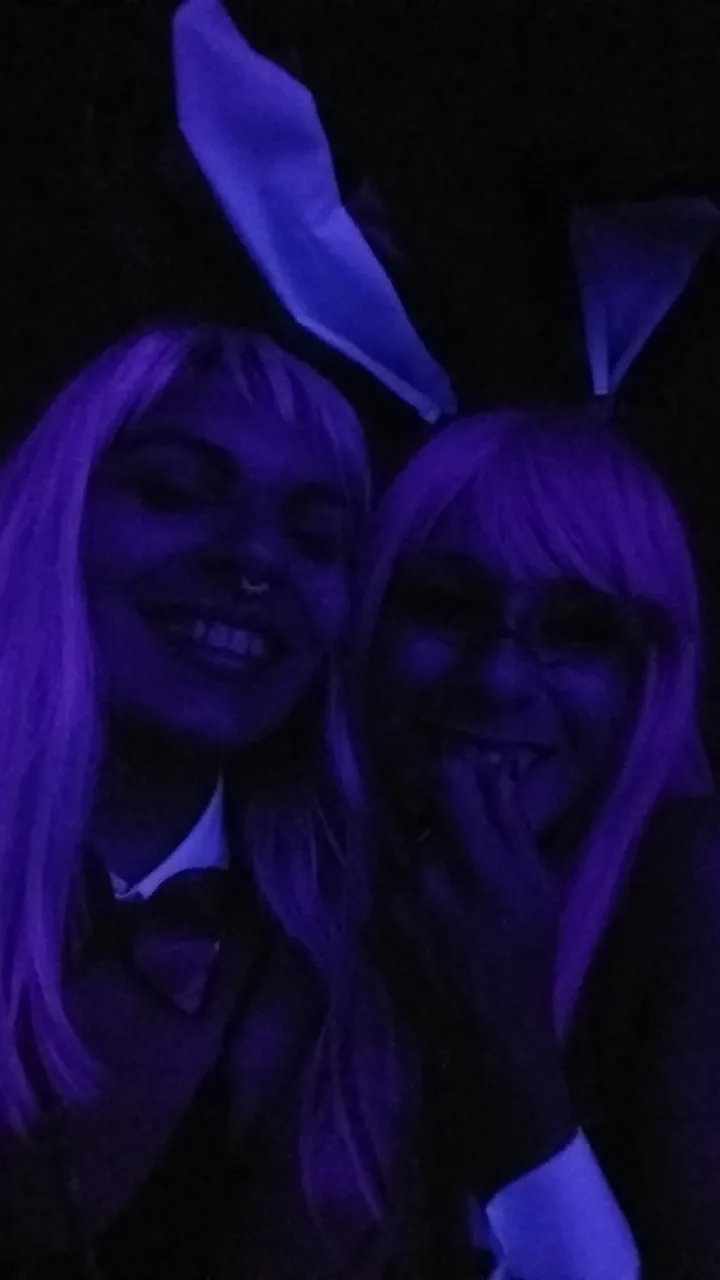
Hola colegas crafteros! Hoy les quiero compartir como hice las piezas del cosplay de Bunny Bulma. Esta idea surgió para ir a una fiesta en la que las entradas eran 2 x 1 si ibas de cosplay y como habíamos decidido festejar mi cumple y el de una amiga utilizamos esta oferta como excusa para disfrazarnos 🤭 Para esta primera parte empezamos por las orejitas 👯♀️
Hello fellow crafters! Today I want to share with you how I made the pieces for the Bunny Bulma cosplay. This idea came up to go to a party where the tickets were 2 x 1 if you went as cosplay and as we had decided to celebrate my birthday and that of a friend we used this offer as an excuse to dress up 🤭. For this first part we started with the ears 👯♀️
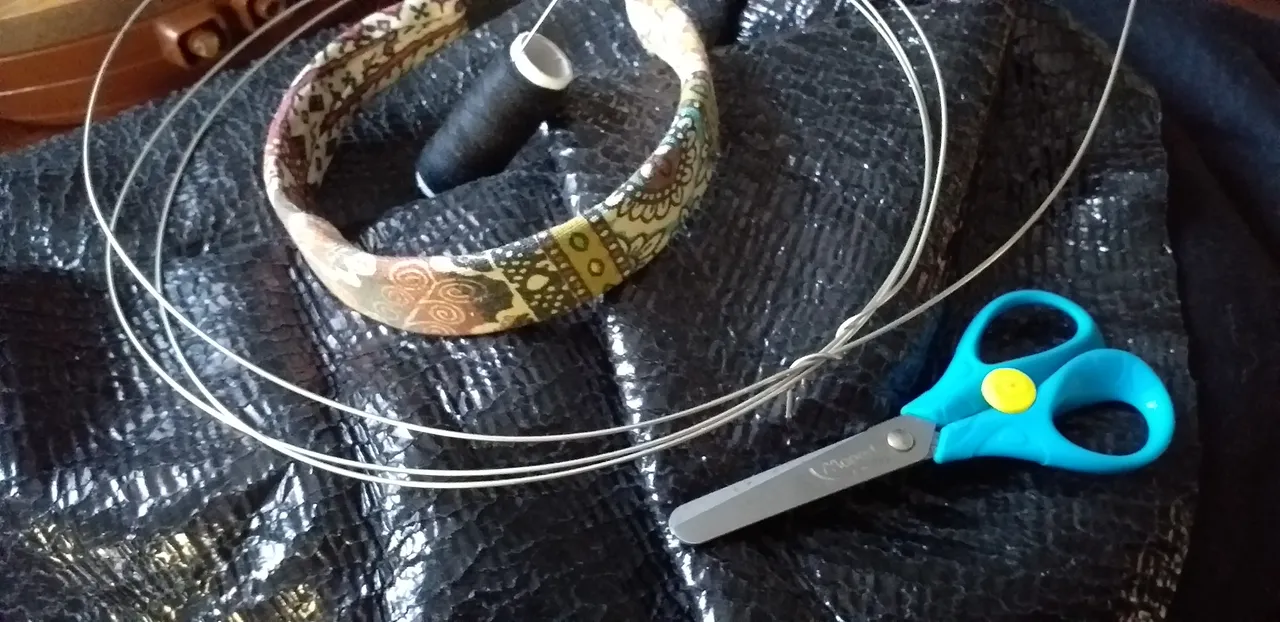
Los materiales fueron:
■ Tela elastizada
■ alambre
■ una vincha de base
■ tijera, aguja e hilo 🧵
■ elástico
Materials were:
■ stretch fabric.
■ wire
■ a headband as a base
■ scissors, needle and thread. 🧵
■ elastic
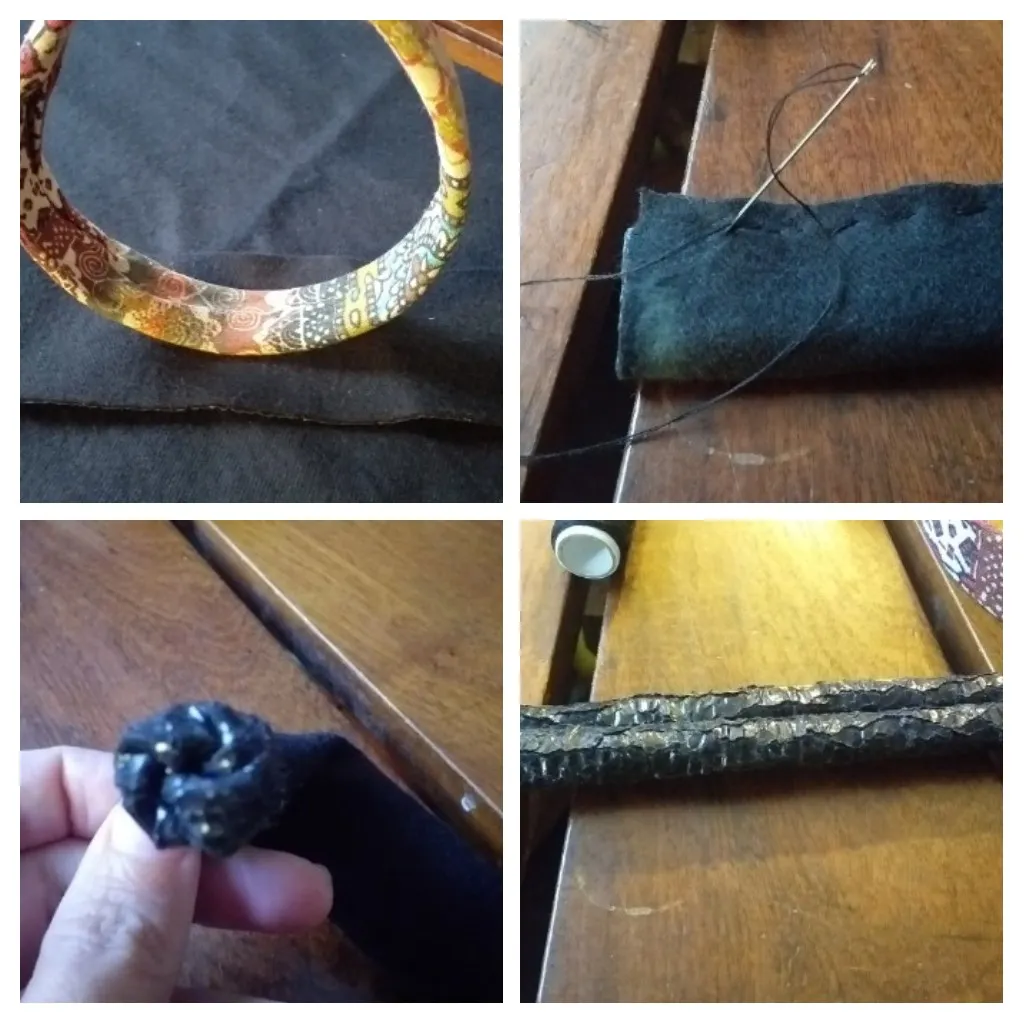
Medí el contorno con la vincha, lo corté, cosí, lo di vuelta y quedó un rollito por el que metí la vincha aprovechando que la tela es elastizada 😉
I measured the contour with the headband, cut it, sewed it, turned it around and left a little roll through which I put the headband, taking advantage of the elastic fabric 😉.
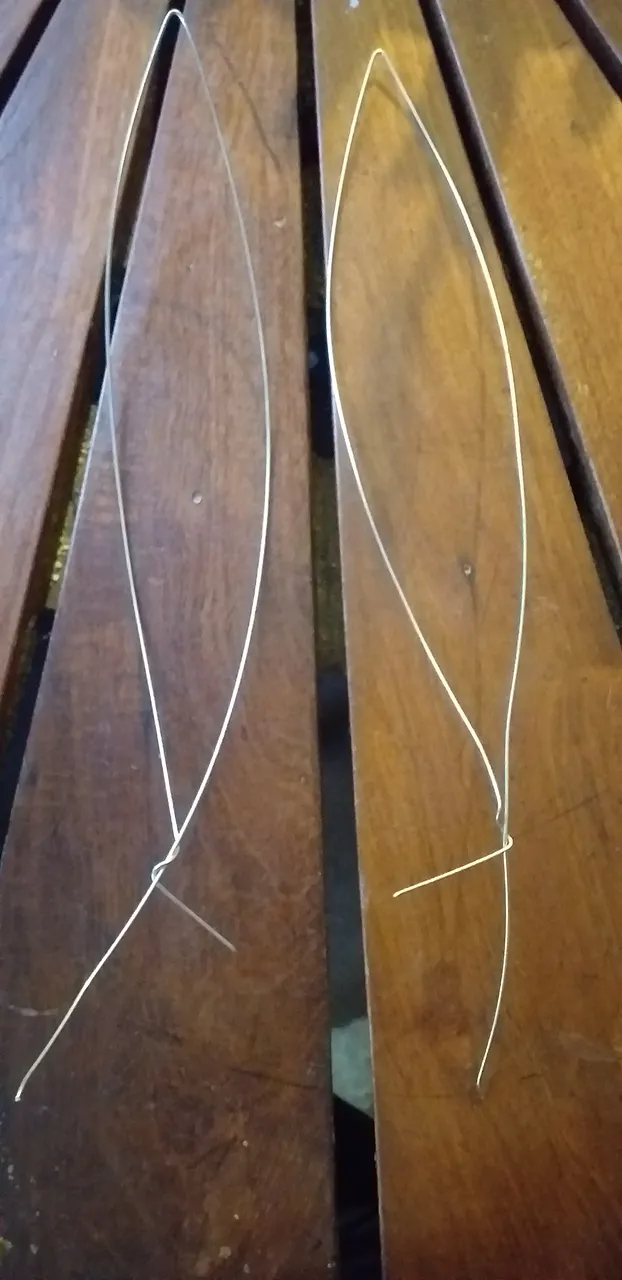
Lo siguiente fue armar las orejas con el alambre.
The next step was to assemble the ears with the wire.
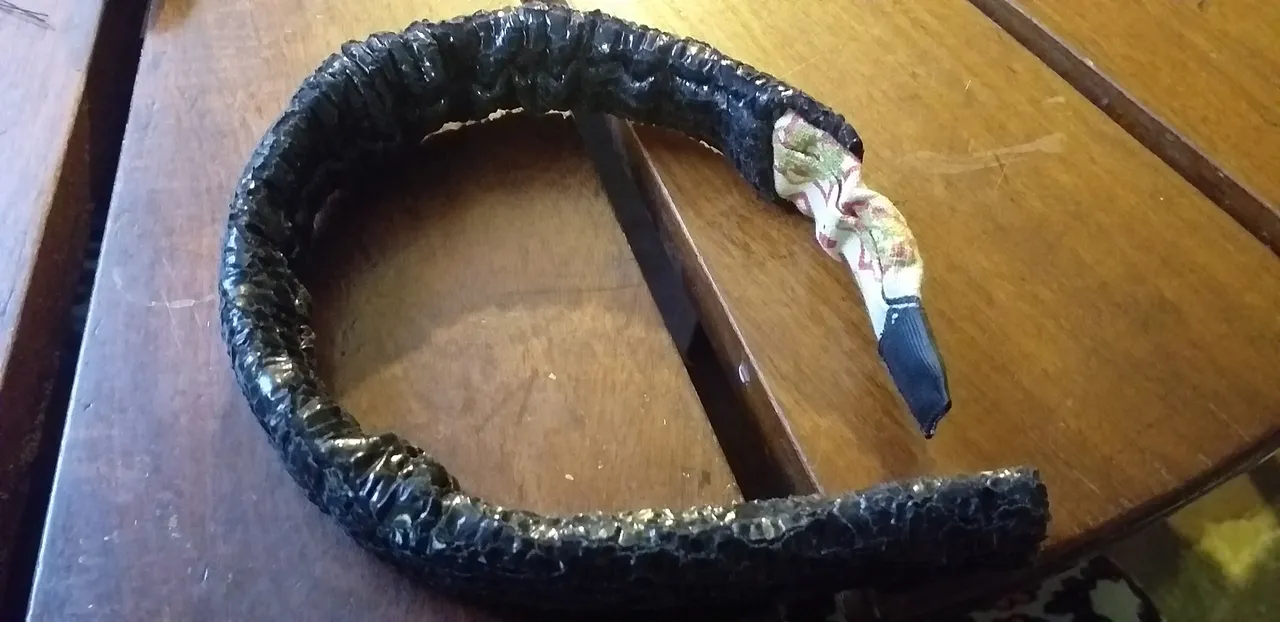
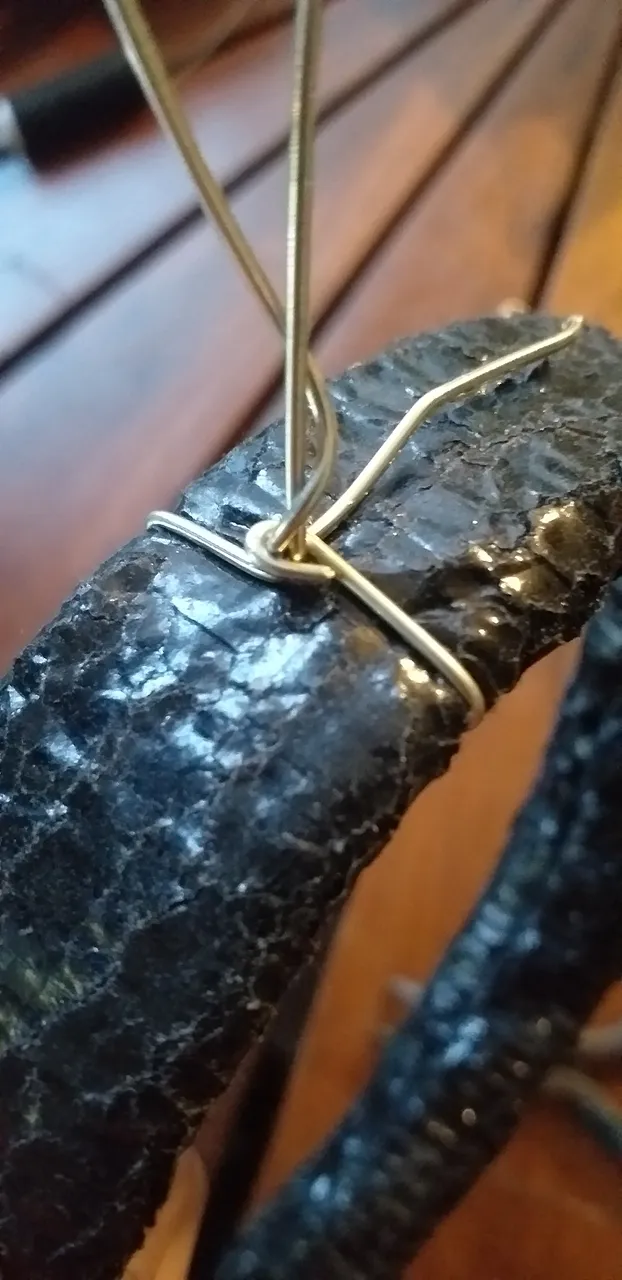
Y añadirlas a la vincha ya forrada
And add them to the already lined headband
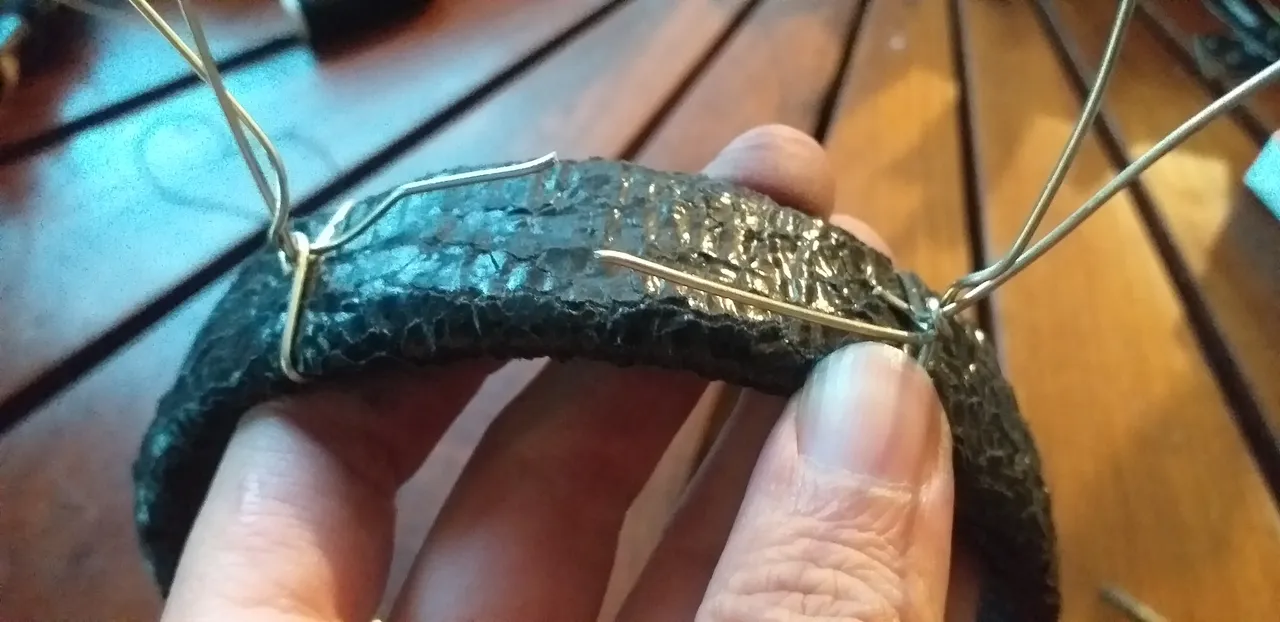
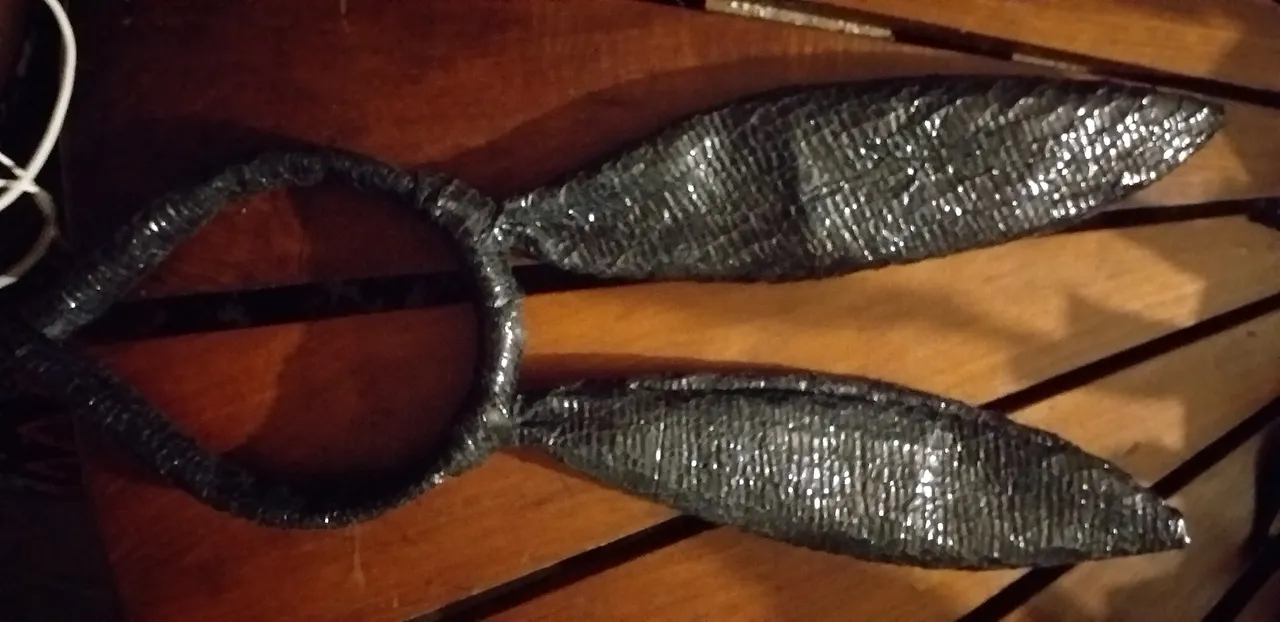
Para ajustar bien esta parte usé la pinza rosario o de dos puntas.
To tighten this part I used the rosary or two-pronged pliers.
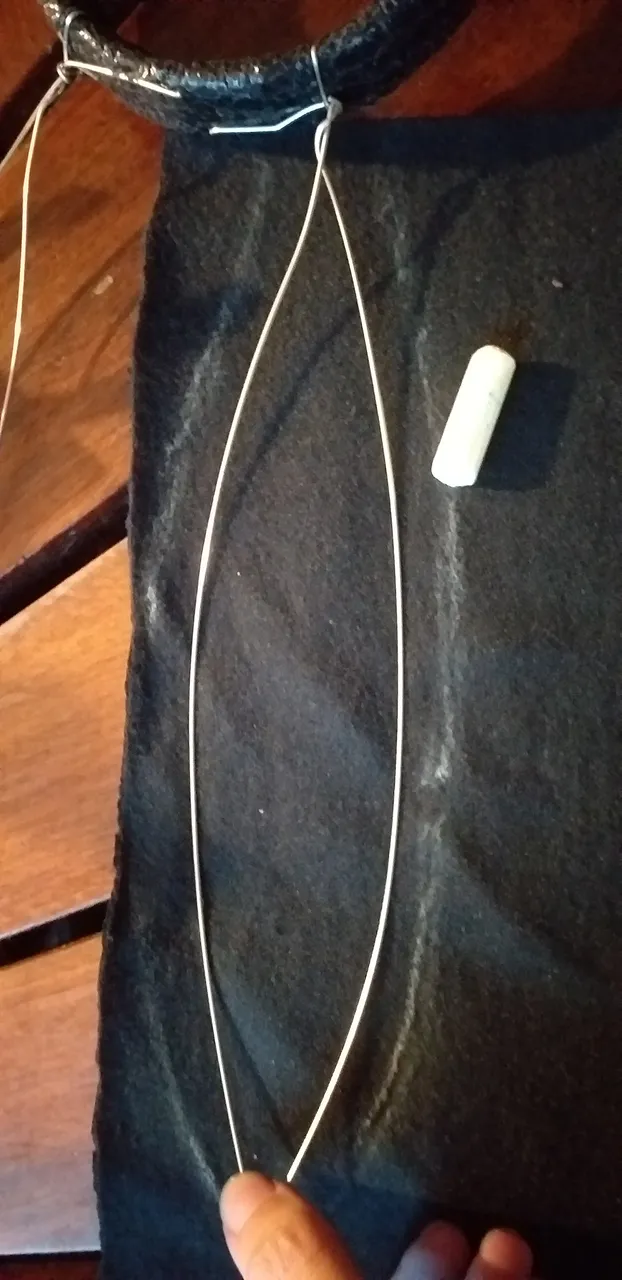
Ya teniendo fijado esto, marqué la base de las orejas en la tela para forrarlas.
Having fixed this, I marked the base of the ears on the fabric to line them.
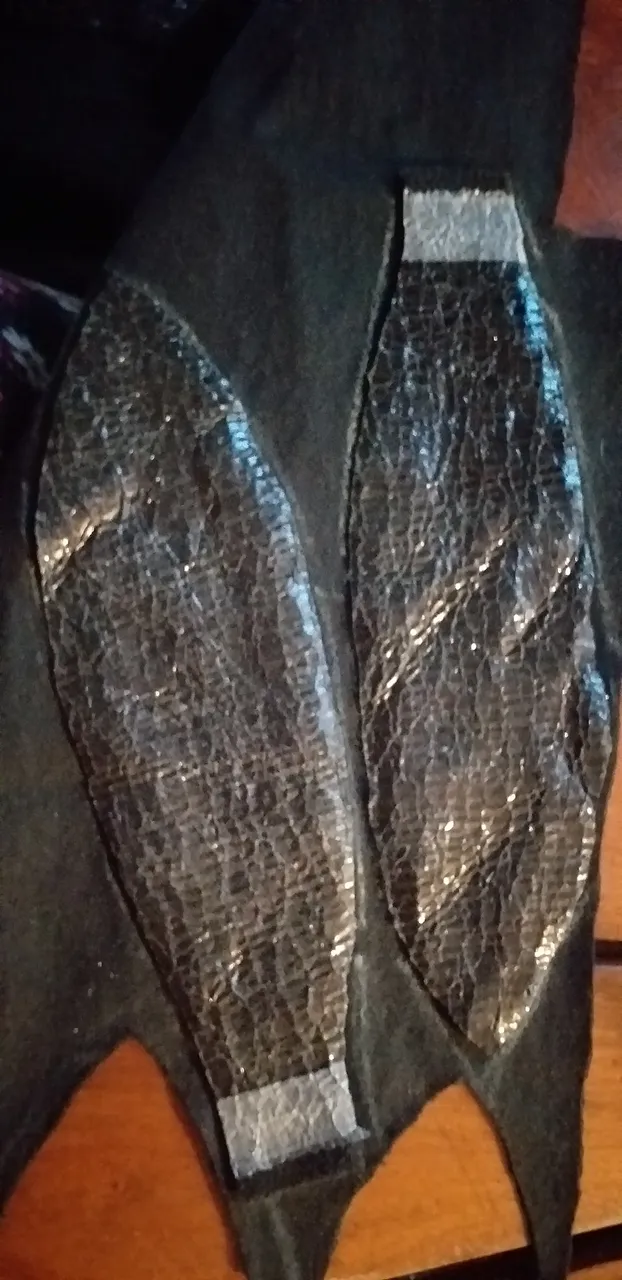
Cortadas y cosidas 👌
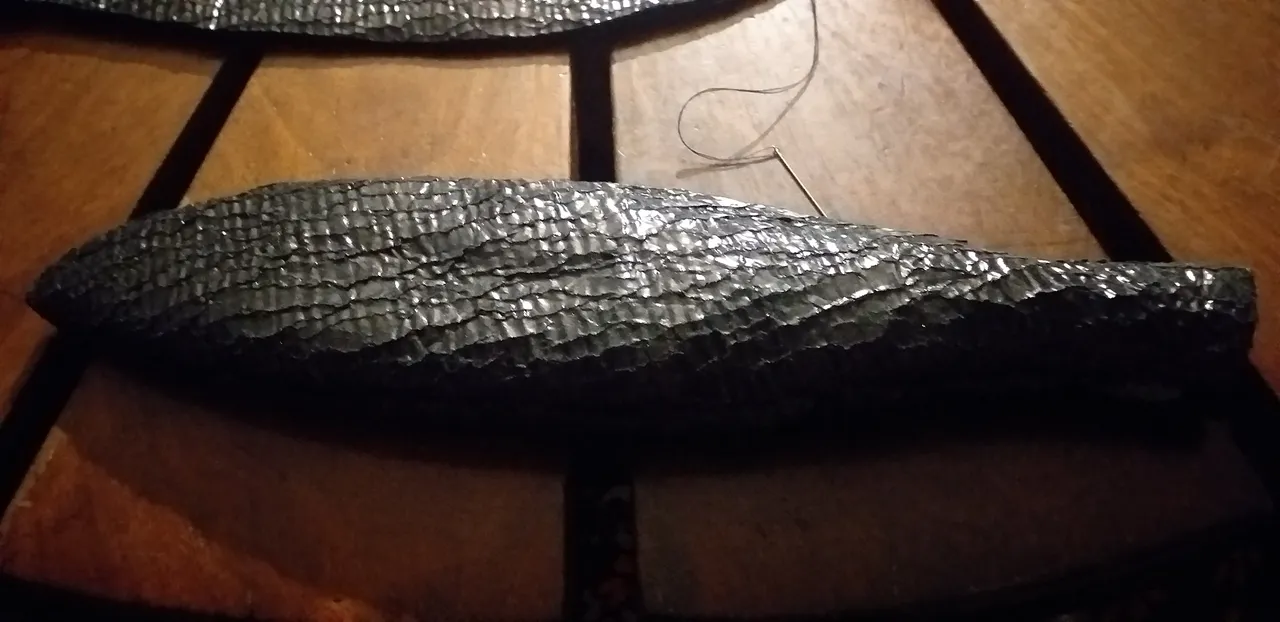
Cut and sewn 👌
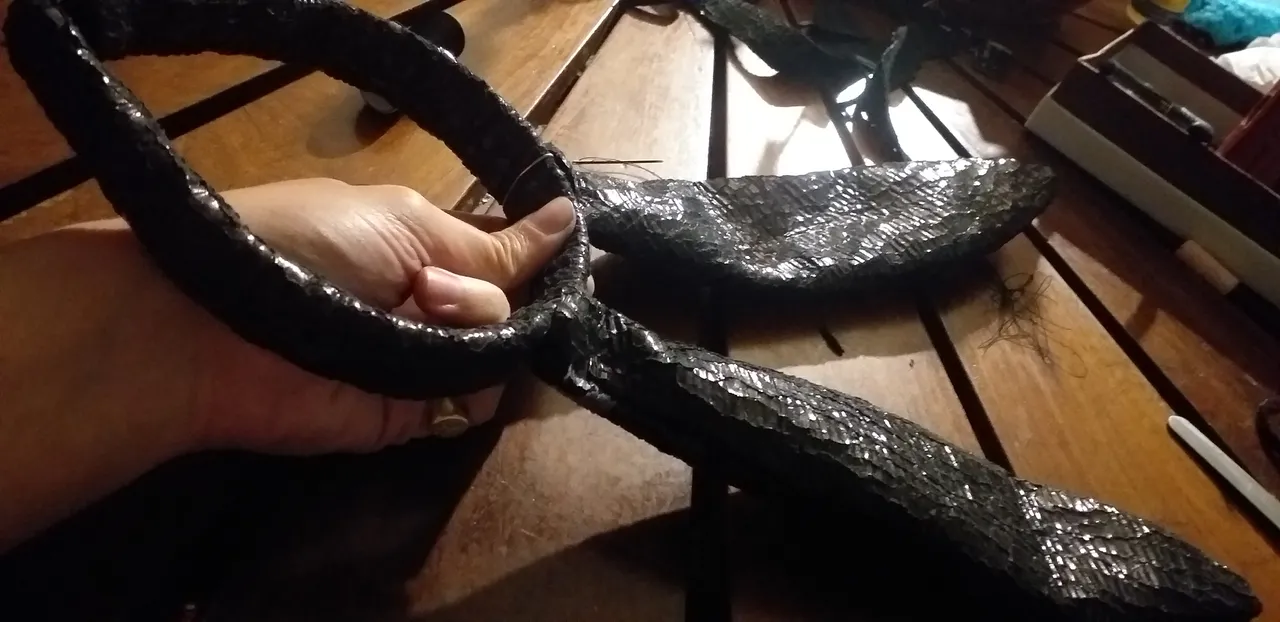
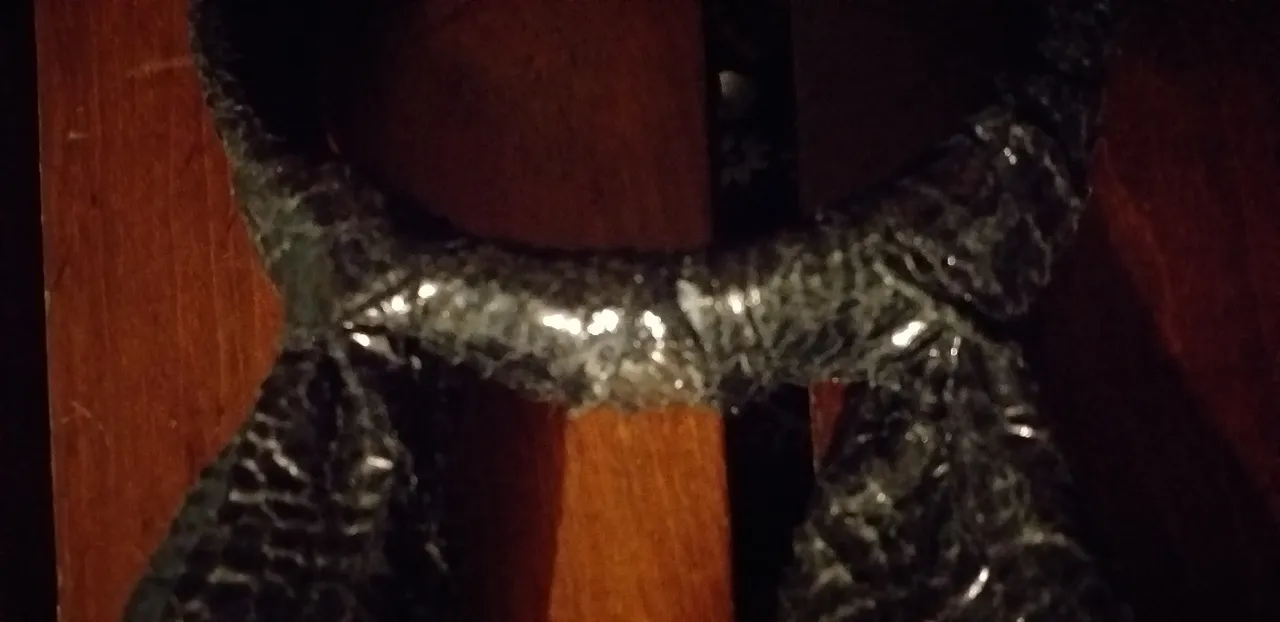
Cuando vestí la base con el molde obviamente quedaban los alambres a la vista, así que corté una tira más de la misma tela para enrollar alrededor y sujetar los alambres sobrantes a la vincha para así evitar que se movieran demasiado, al hacer esto las orejas quedaron fijas.
When I dressed the base with the mold, obviously the wires were still visible, so I cut another strip of the same fabric to wrap around it and fasten the excess wires to the headband to prevent them from moving too much, by doing this the ears were fixed.
El último detalle fue añadir un elástico al final de la vincha para evitar que se deslice sobre la peluca.
The last detail was to add an elastic at the end of the headband to prevent it from slipping on the wig.
Hasta acá la primer parte del tuto, espero que les haya sido útil, es algo muuuy fácil de hacer y lleva pocos materiales, para la siguiente parte les cuento como hice los detalles siguientes, ya que son más fáciles de agrupar, las orejas llevaron más tiempo que todo lo demás, el moño, las manguitas y el pompón quedan pendientes para el próximo post, lo demás fue comprado 🤑
So far the first part of the tuto, I hope it has been useful, it is something very easy to do and takes few materials, for the next part I will tell you how I did the following details, as they are easier to group, the ears took more time than everything else, the bow, the sleeves and the pompom are pending for the next post, the rest was bought 🤑.
Portada creada en Canva, el personaje de Bulma es de autoría de Akira Toriyama 😍 todas las fotos tomadas por mi 💖