Por este motivo de regreso a clases quise realizar algo que necesitaba, una cartuchera para guardar mis lapices y colores, ya que me gusta tener todo ordenado y no tener un desorden en mi morral, esta linda cartuchera lleva pocos materiales fácil de conseguir, la realice en forma de lápiz muy divertida, así que los invito a ver esta fácil y necesaria manualidad en este regreso a clases con la mejor de las ganas.
I give a warm greeting to this creative community for all its appreciation, the excitement of starting classes began, sharing again with my classmates is something I longed for, seeing who my new teacher will be fills me with joy, reliving fun moments in recess will be very exciting.
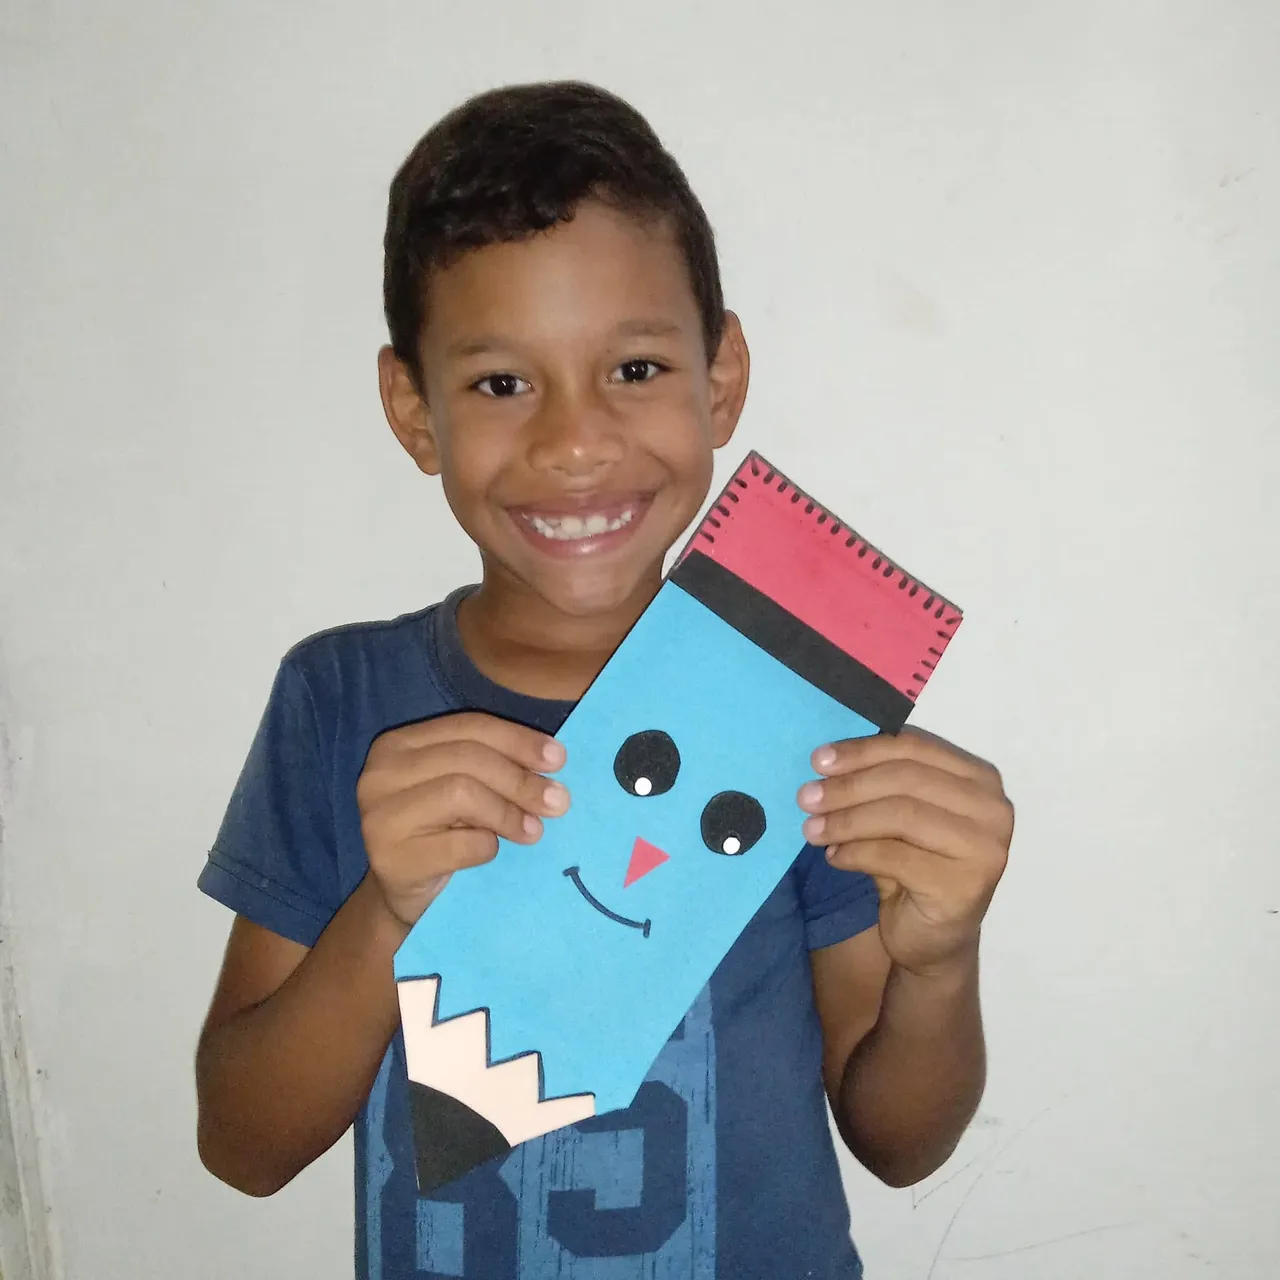
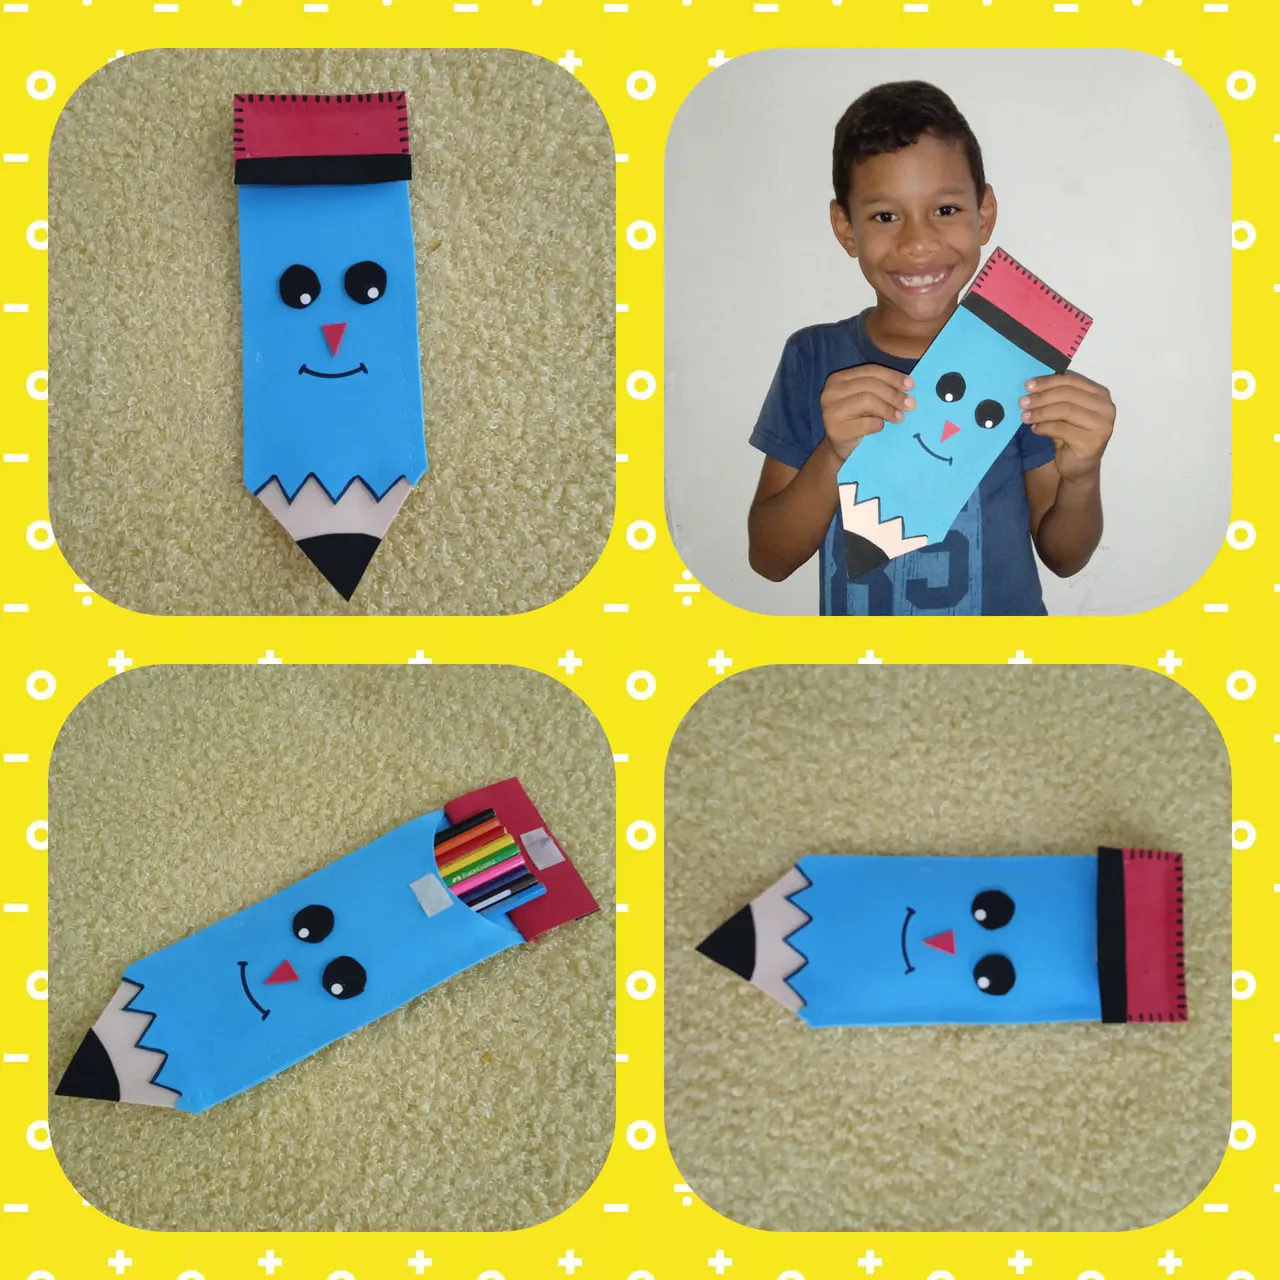
For this reason, back to school I wanted to make something I needed, a pencil case to store my pencils and colors, since I like to have everything organized and not have a mess in my backpack, this beautiful pencil case has few materials that are easy to get, I made it in the form of a very fun pencil, so I invite you to see this easy and necessary craft in this return to school with the best of desire.
Para esta creativa cartuchera necesitamos:
- Foami azul, rojo negro y color carne
- Silicon
- Tijera
- Marcador
- Regla
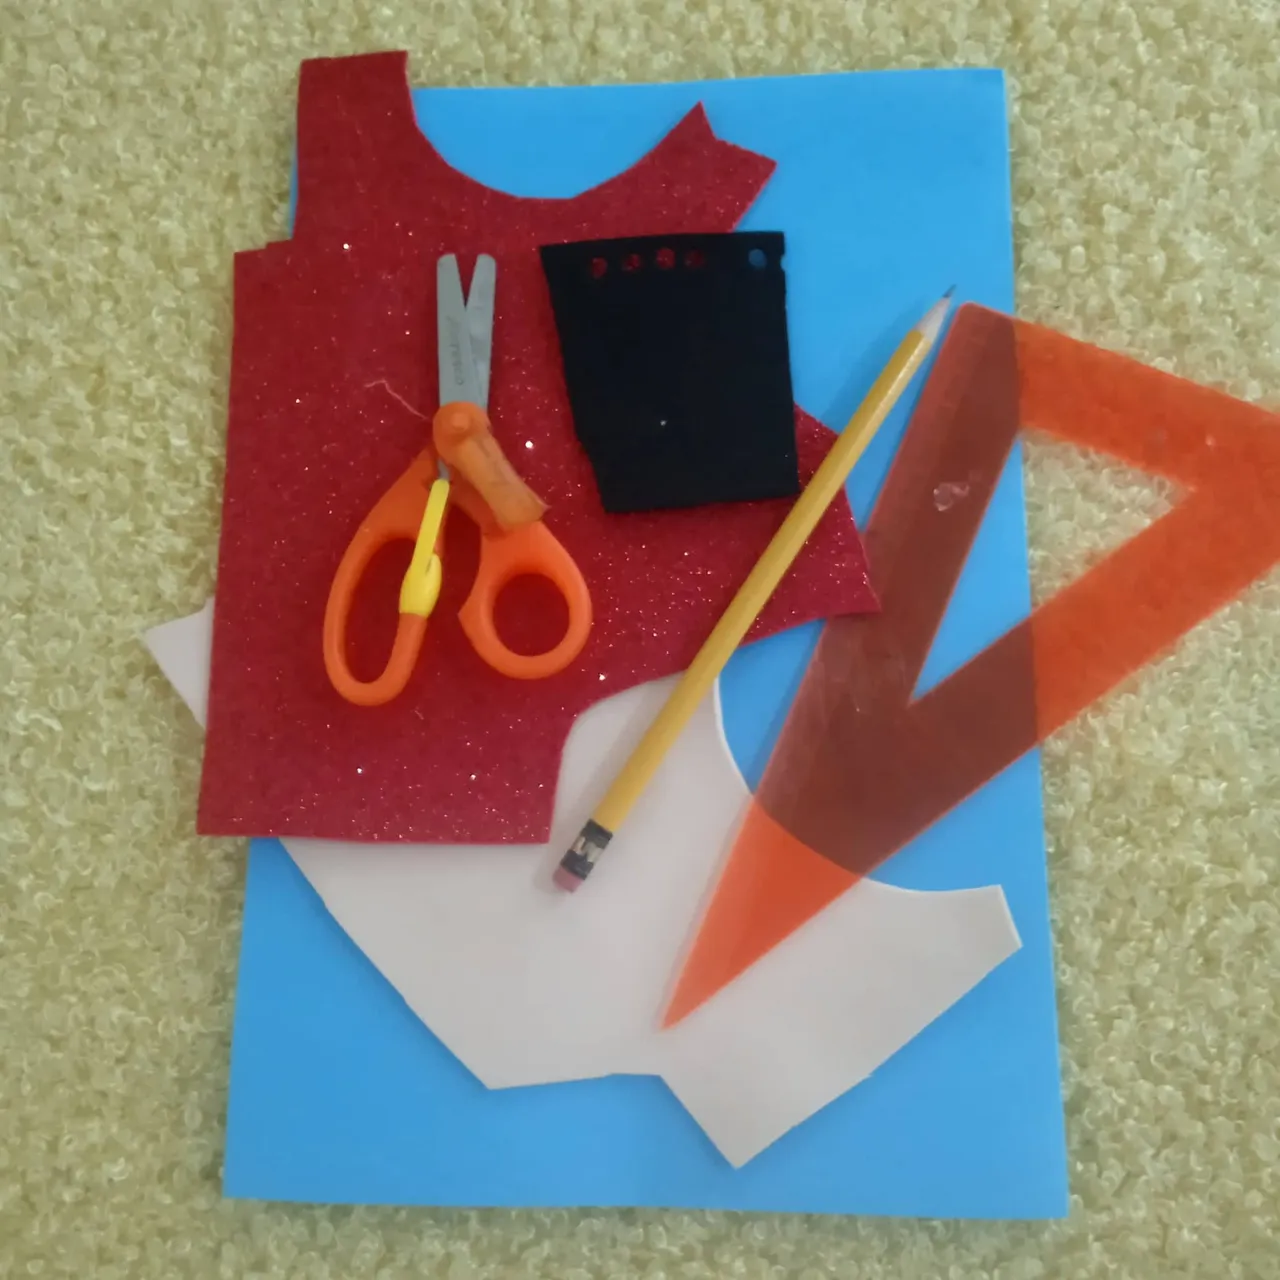
For this creative pencil case we need:
- Blue, red, black and flesh-colored foami
- Silicon
- Scissors
- Marker
- Rule
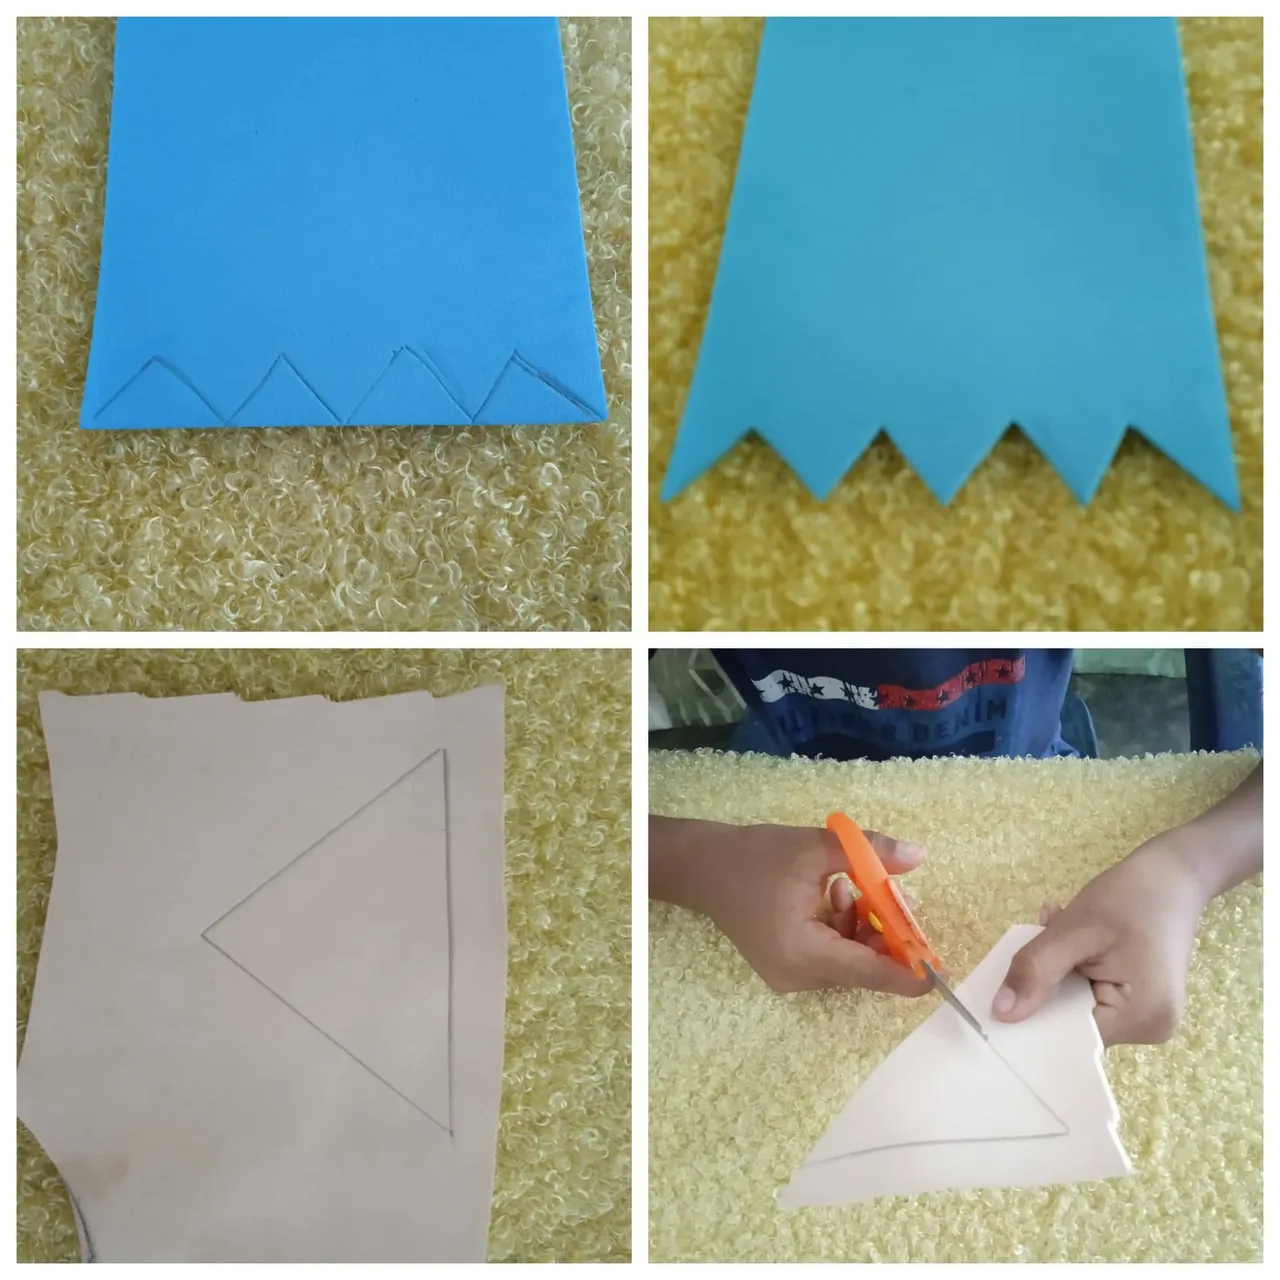
Realizar mis parte de lo que serán mis útiles escolares me llena de satisfacción, saber que tienes algo útil elaborado por ti tiene un valor insuperable, iniciamos doblando la hoja de foami color azul de forma vertical, presionamos y procedemos a cortar para asi obtener dos piezas.
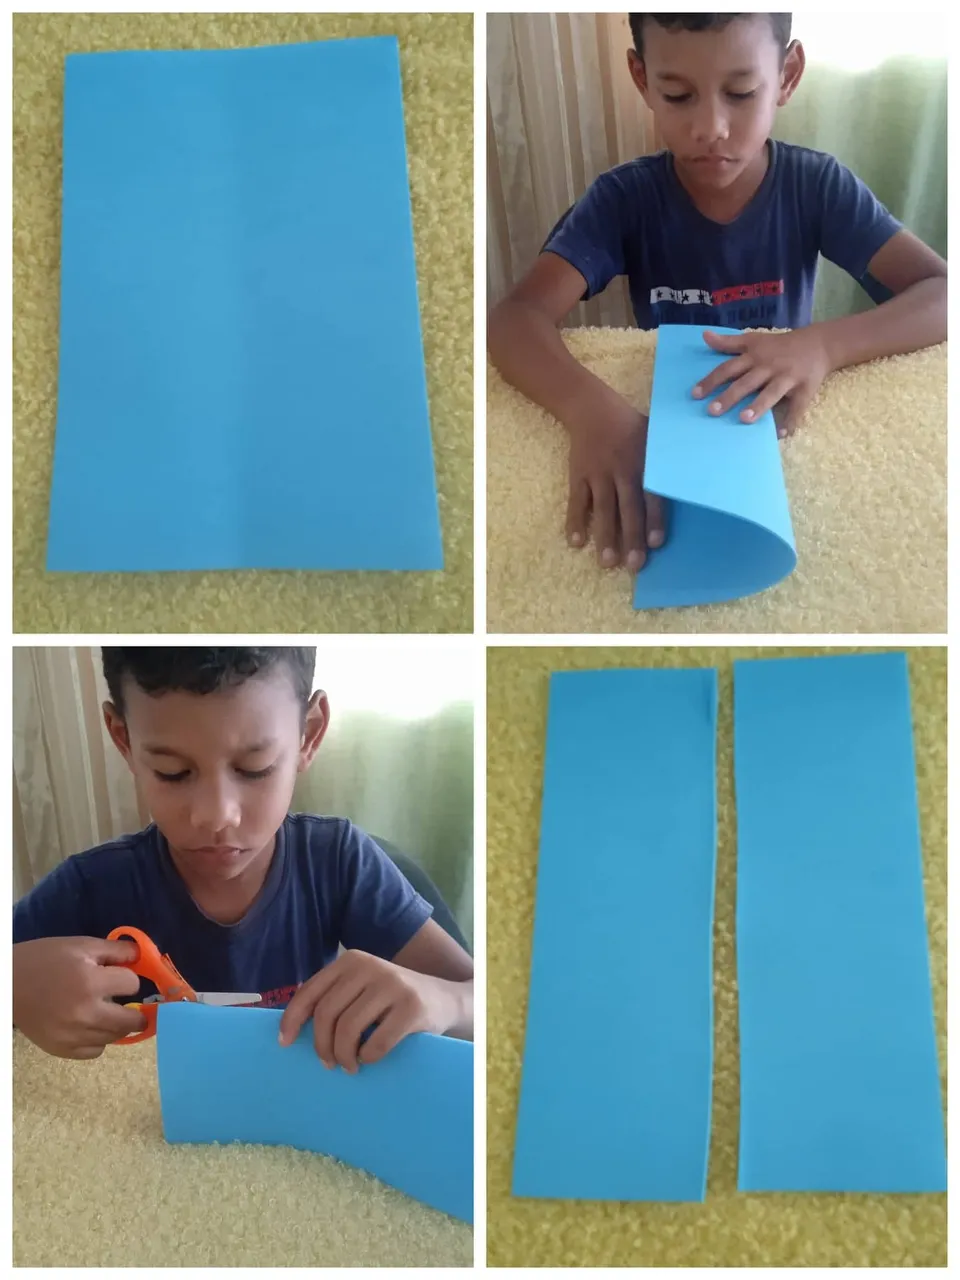
Performing my part of what will be my school supplies fills me with satisfaction, knowing that you have something useful made by you has an unbeatable value, we start by folding the blue foami sheet vertically, press and proceed to cut to obtain two pieces .
Luego por una parte del foami trazamos la forma de triángulos para simular como si le sacamos la punta y procedemos a cortar, seguidamente realizamos la forma de un triangulo y también procedemos a realizar el corte.
Then, on one part of the foami, we trace the shape of triangles to simulate as if we removed the tip and proceed to cut, then we make the shape of a triangle and also proceed to make the cut.
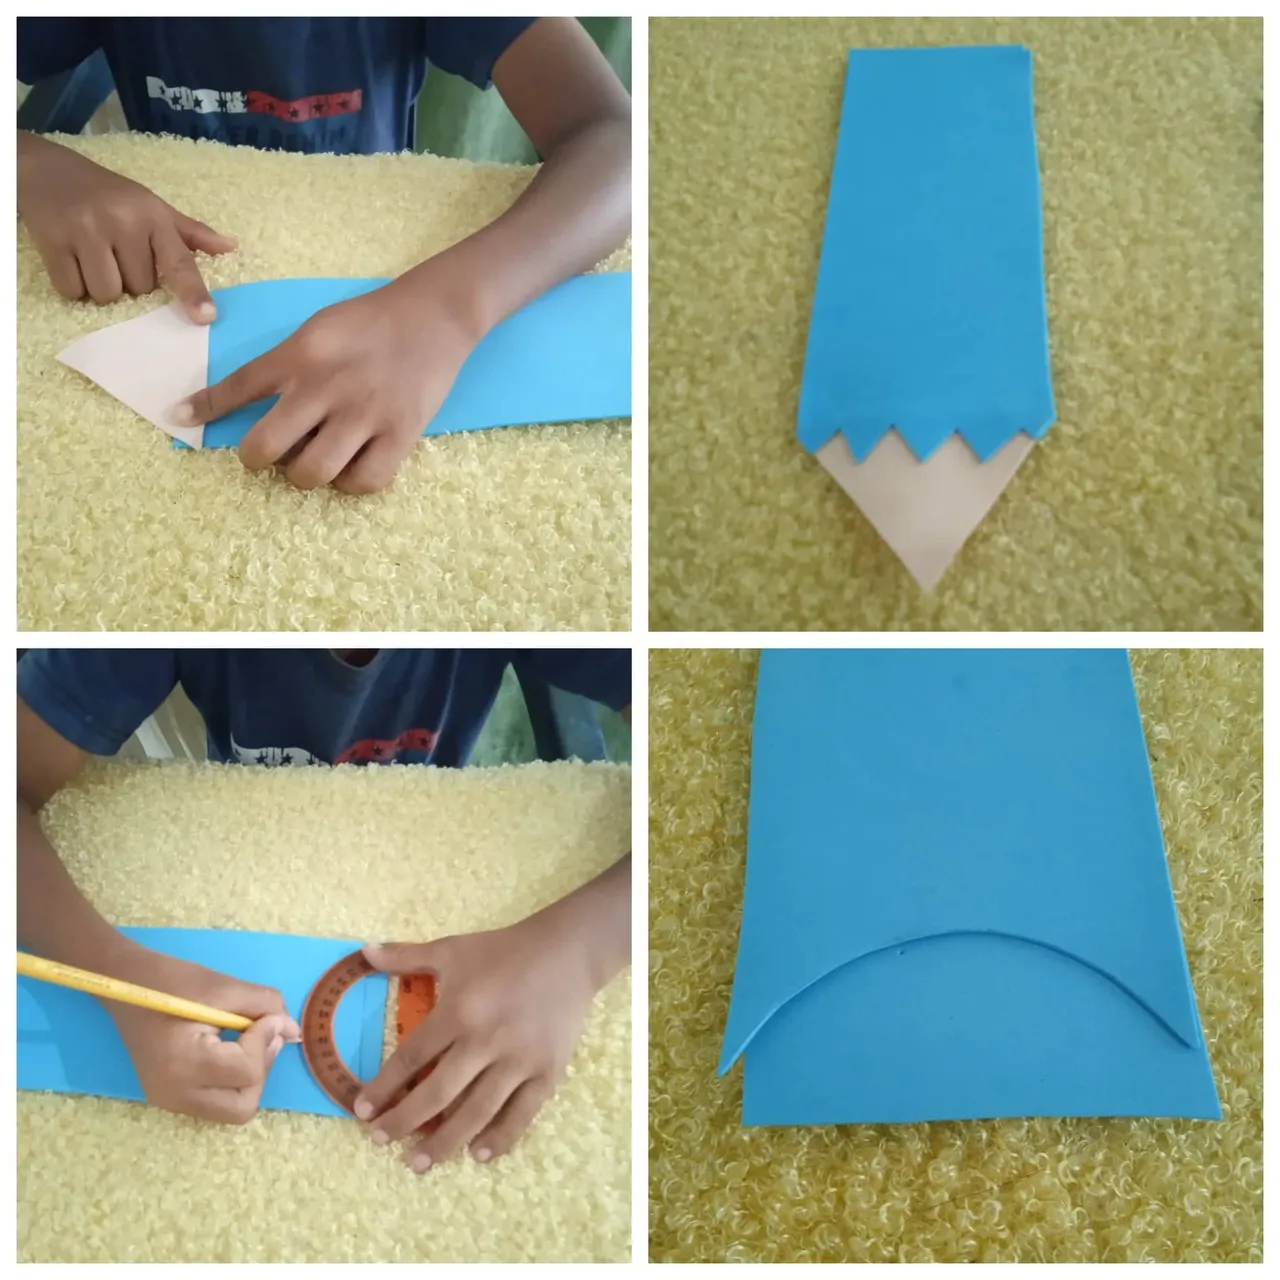
Este triangulo en foami color carne lo pegamos en una de las extremidades, luego el otro foami azul lo pegamos encima del otro, y en la parte superior realizamos un semi circulo y procedemos a cortar.
We glue this triangle in flesh-colored foami on one of the ends, then we glue the other blue foami on top of the other, and on the upper part we make a semi-circle and proceed to cut.
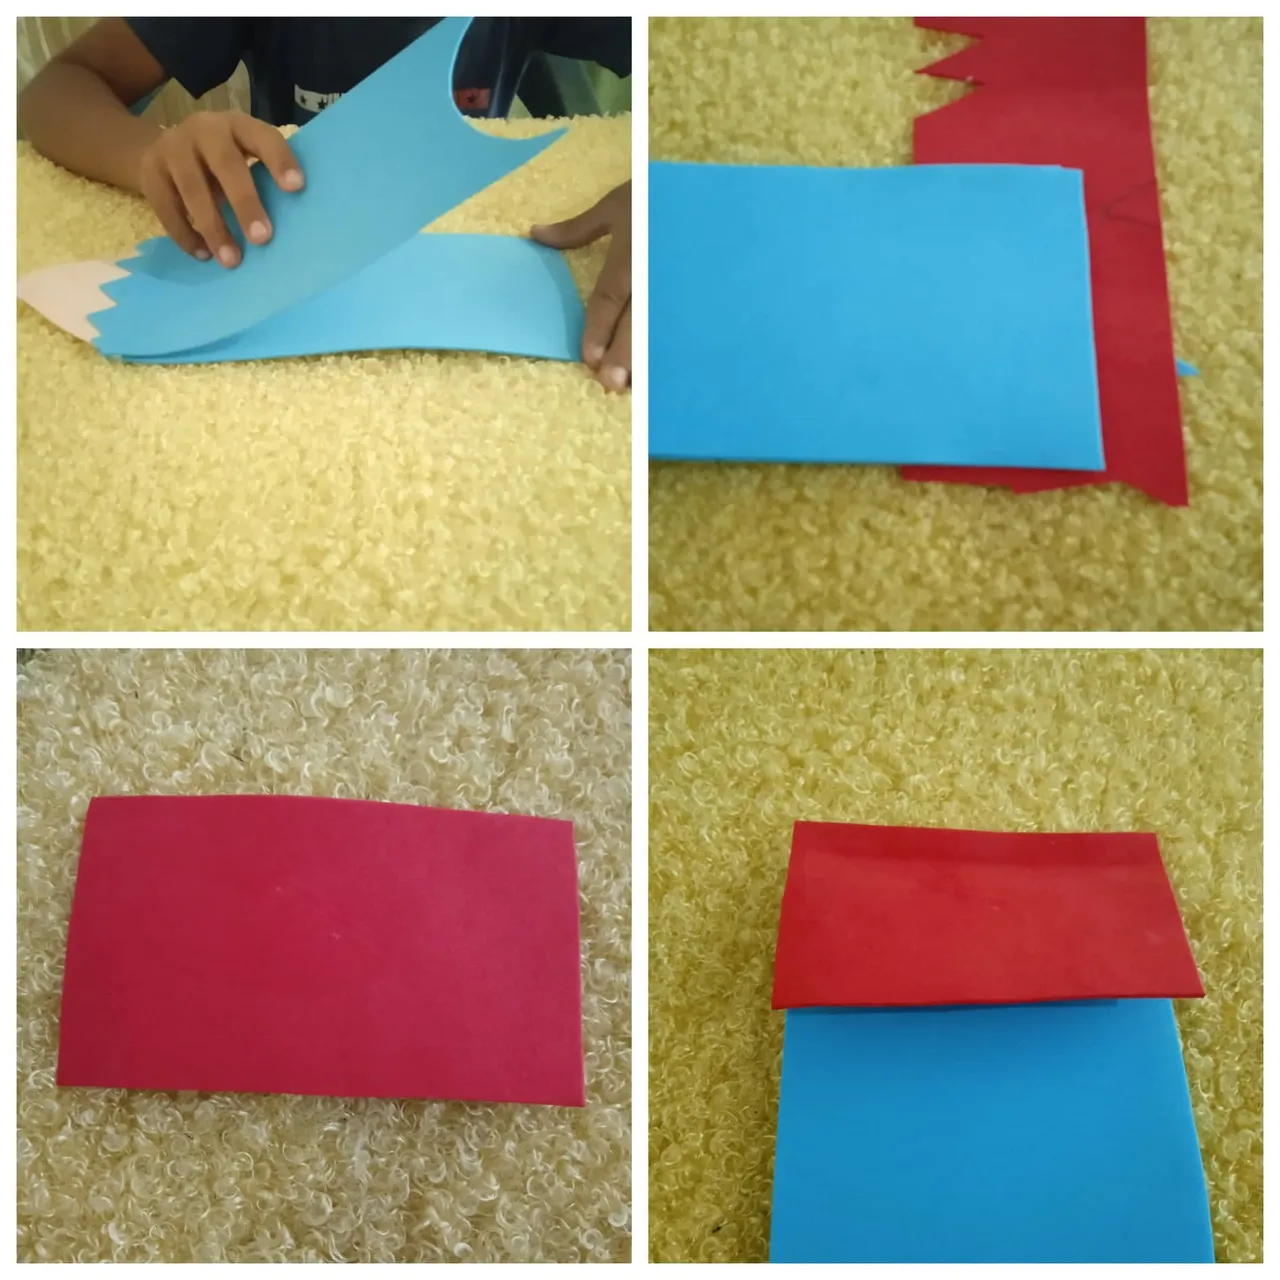
Ya tenemos nuestras piezas, luego procedemos a cortar un cuadro que va ser la tapa de esta cartuchera y a la vez simula la parte del borrador, le hacemos un pequeño dobles y pegamos.
We already have our pieces, then we proceed to cut a square that will be the cover of this pencil case and at the same time simulates the part of the eraser, we make a small double and glue.
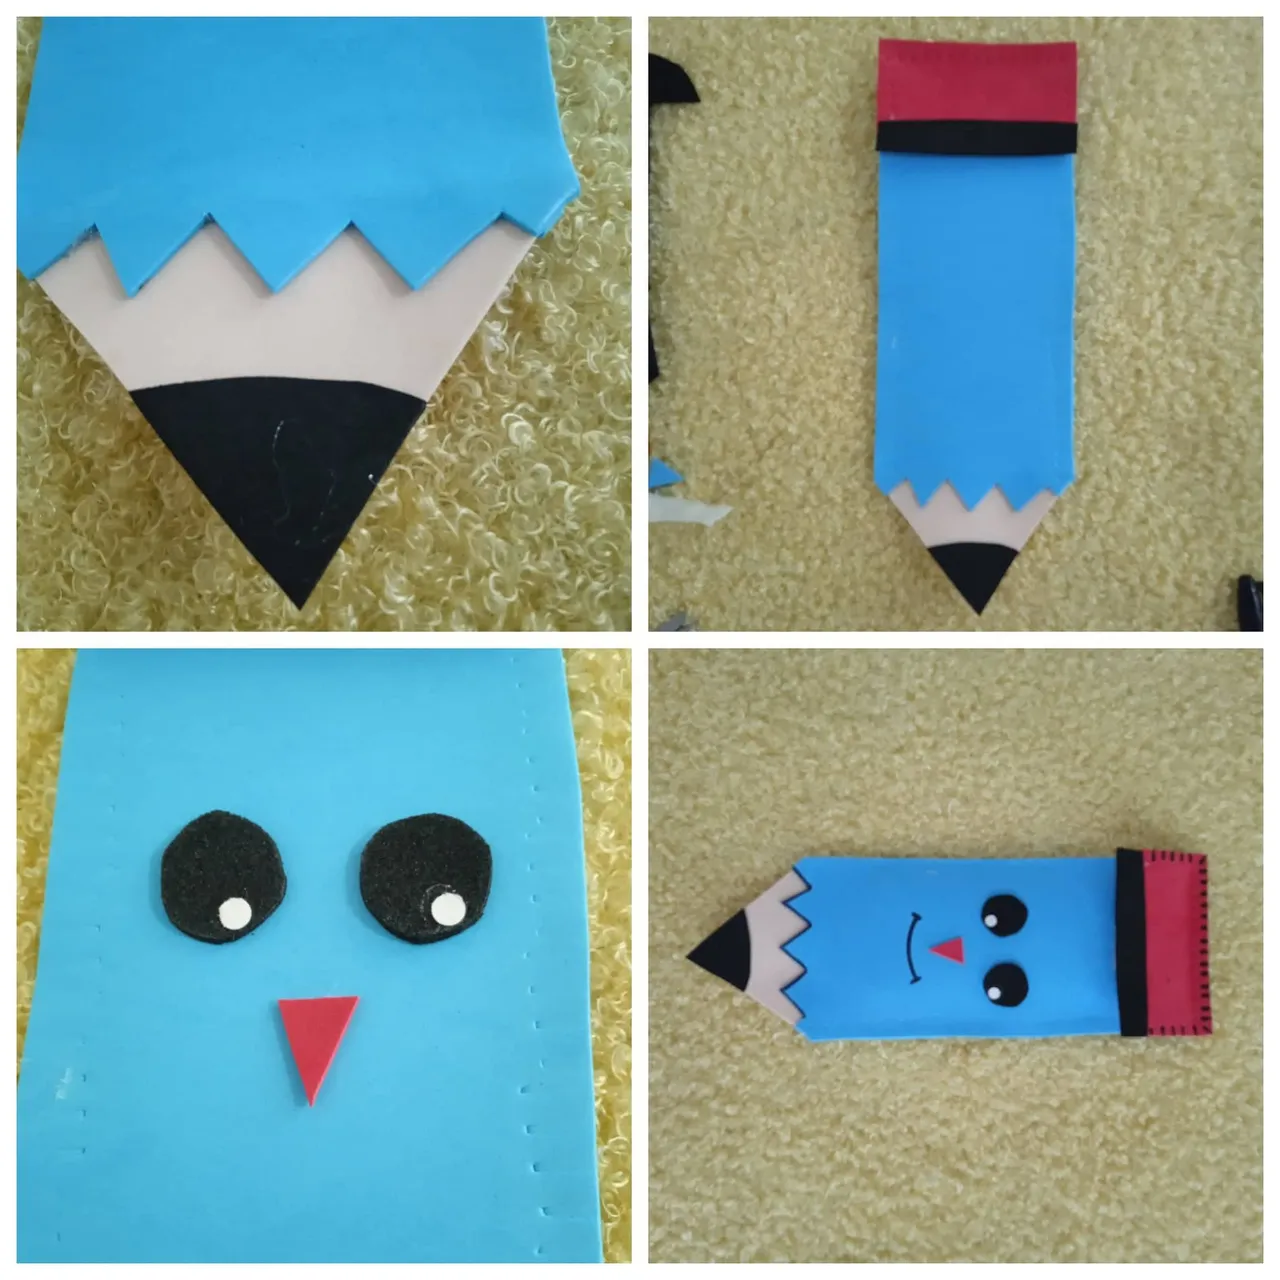
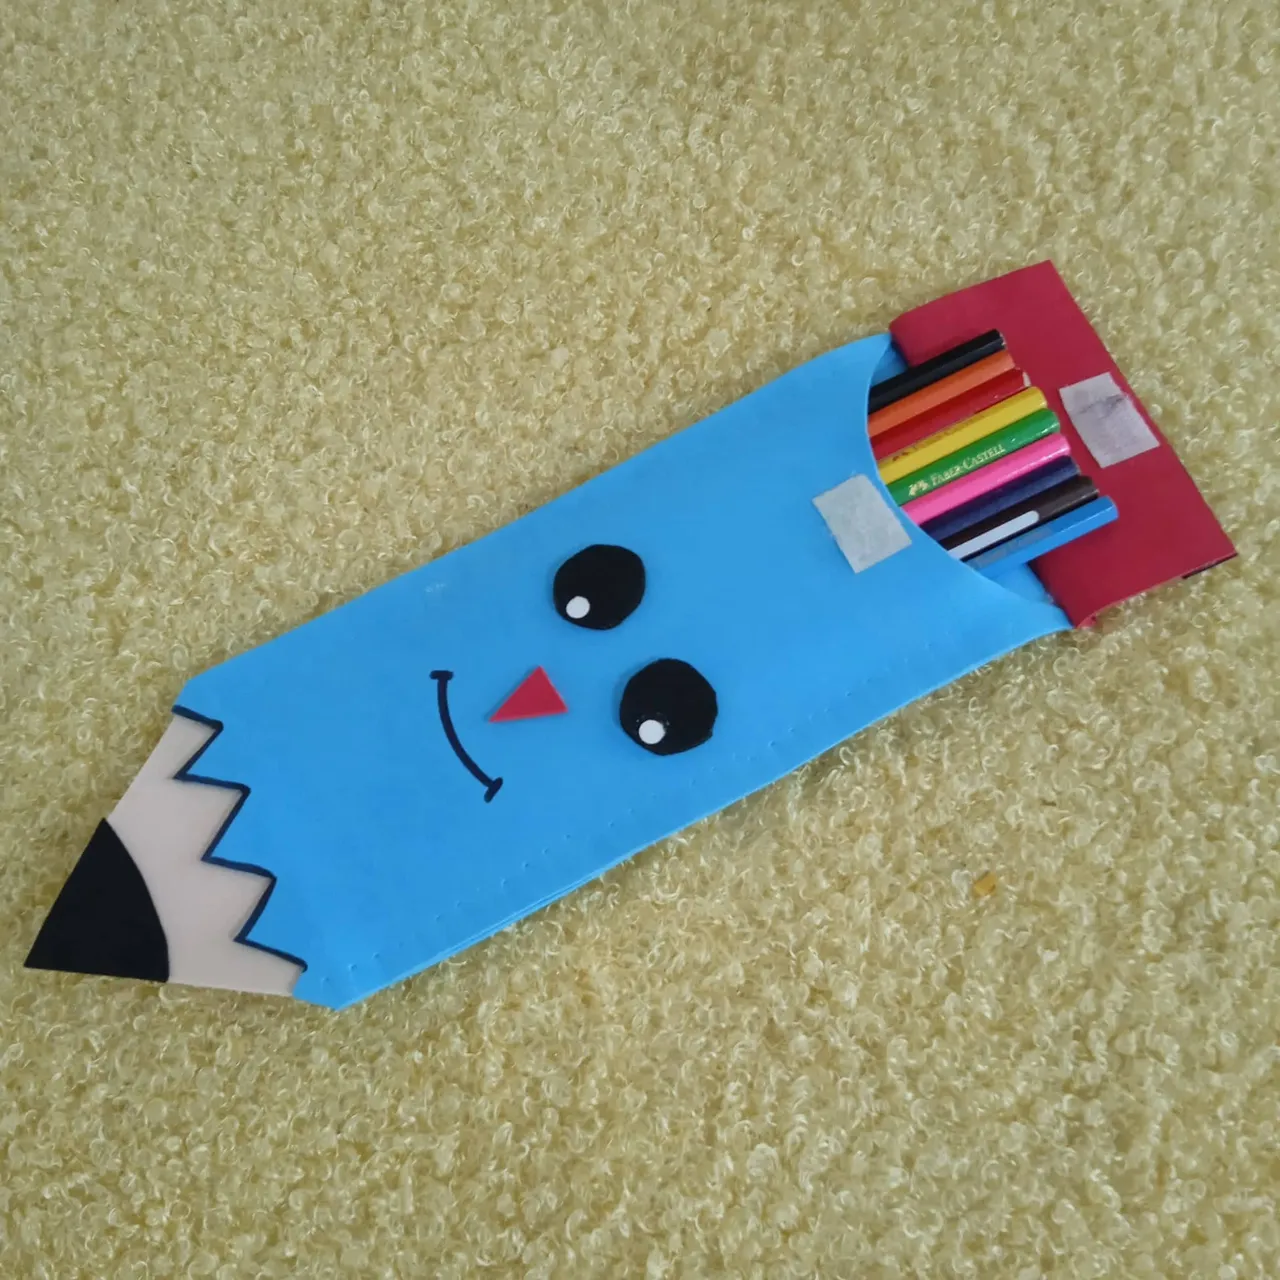
Avanzamos y cortamos esta vez un pequeño triangulo en foami color negro para pegarlo en la punta, luego animamos nuestra cartuchera con la temática de lápiz cortando dos círculos en foami negro y agregando detalles de la nariz boca y un pequeño borde en la parte de la borra. De esta manera culminamos este proyecto útil para la escuela y mantener nuestros colores lapices, sacapuntas y borrador en un solo lugar.
We go ahead and cut this time a small triangle in black foami to stick it on the tip, then we animate our pencil-themed pencil bag by cutting two circles in black foami and adding details of the nose, mouth and a small border on the eraser part . In this way we culminate this useful project for school and keep our colored pencils, pencil sharpener and eraser in one place
Este ha sido mi proyecto por este día esperando les pueda servir este tutotial.
This has been my project for this day, hoping this tutorial can be of use to you.
Me despido muy alegre y contento con mi nueva cartuchera @samuelch
I say goodbye very happy and happy with my new cartridge belt @samuelch