El día de ayer con nuestro emprendimiento Detallitos Dulces estuvimos entregando una bandeja sorpresa, esta vez a un amante de la marca de vehículos Honda, y la verdad amé el resultado, por eso una vez más comparto con ustedes un poquito de mi trabajo, dejándole algunas ideas para consentir a sus seres queridos.

Esta bandeja fue un regalo para un chico de parte de su novia (sí, súper lindo, ¿no?) y al ser un fanático de la marca Honda, quería que la bandeja fuese con esa temática y utilizando los colores rojo, negro y plateado, una elección bastante linda y sobre todo varonil.
En este caso, ella quería para Nobel (el nombre de su novio) tequeños, una baby cake, bebida y chuches, y en cuanto a la decoración de la bandeja prefirió no colocar ni el nombre ni otro mensaje especial al frente de la bandeja, sino un moño que decidí hacerlo en negro y rojo. Y sin más, les dejo la lista de materiales y el paso a paso para la elaboración de esta linda bandeja para caballeros.
Materiales
1 bandeja de pino
Cartulina metalizada roja y plateada
Impresiones acordes a la temática
Cinta de raso en colores negro y rojo
Envase plástico
Pistola de silicón
Silicón en barra
Lápiz
Tijera
Adhesivo doble faz
Paso a paso
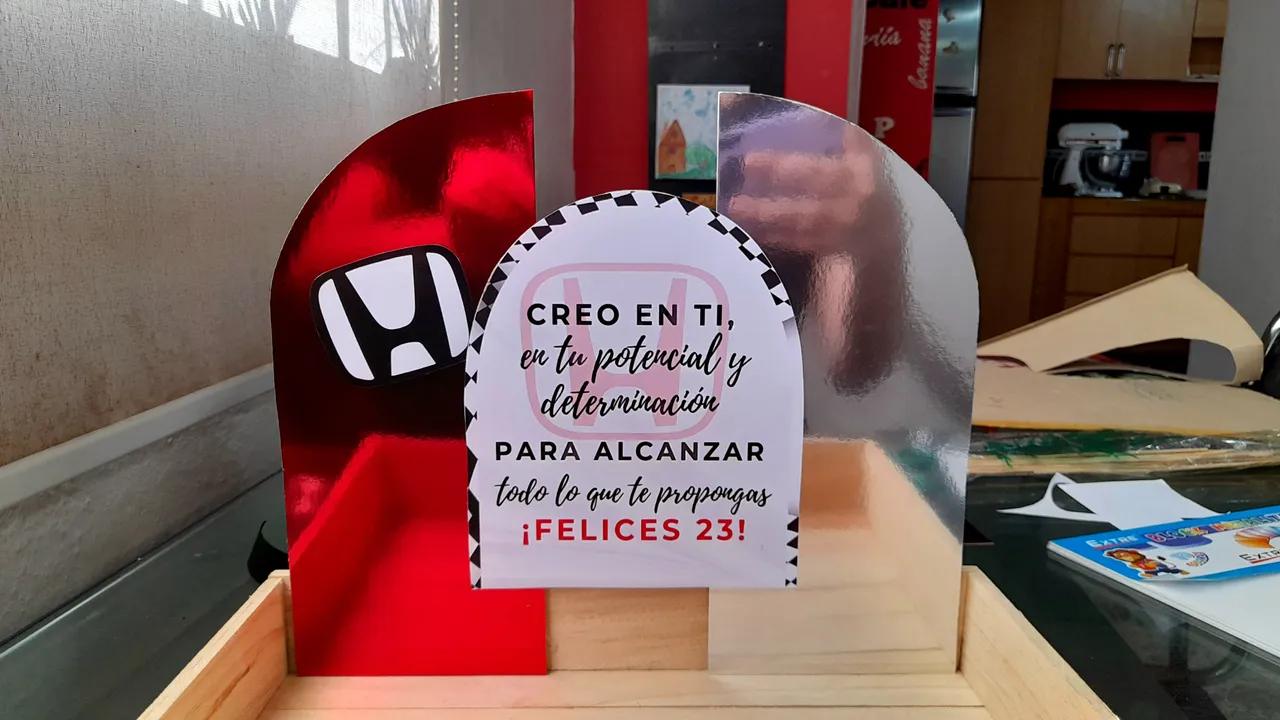
Una vez que hemos limpiado nuestra bandeja muy bien, comenzaremos a trabajar con la decoración de la misma. En este caso nos enfocamos en la parte trasera, ya que para el frente solo utilizaríamos un moño a pedido de la cliente, y para esta bandeja decidí trabajar con tres piezas en la parte trasera.
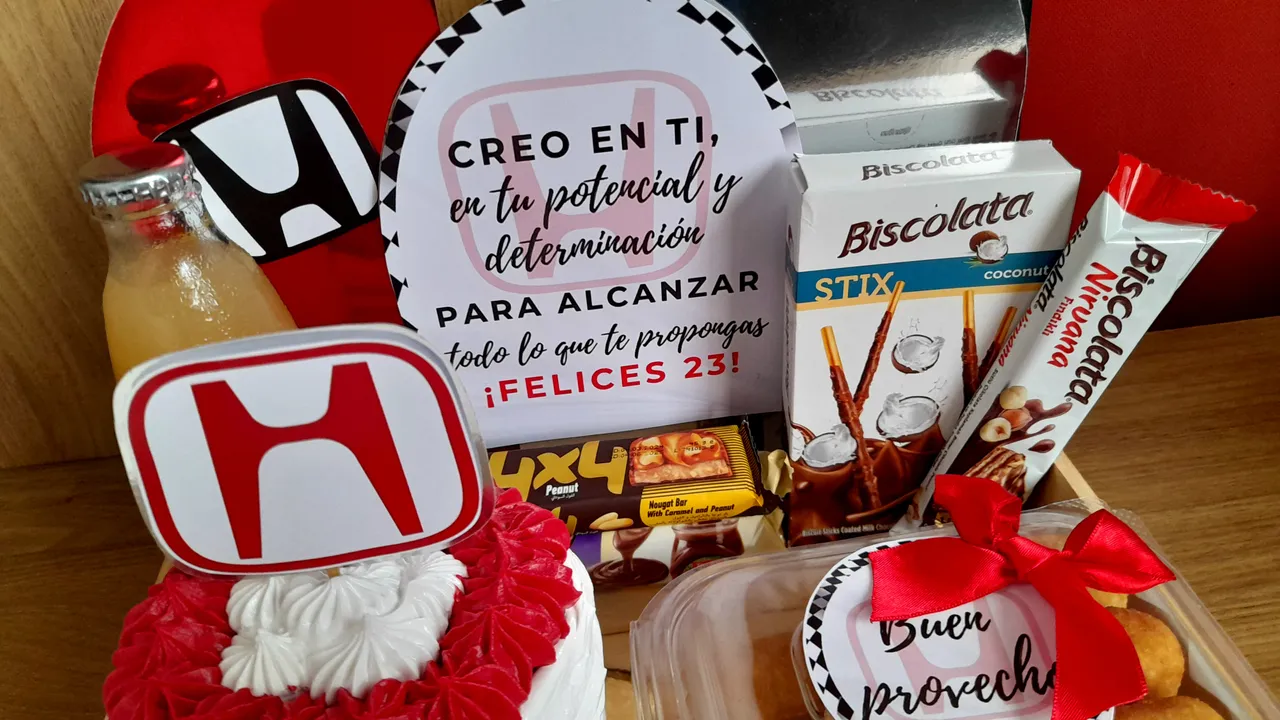
Las piezas serían, dos medios arcos, uno en color rojo, otro en plateado, y el central con el mensaje principal, que como siempre lo elaboré en Canva.
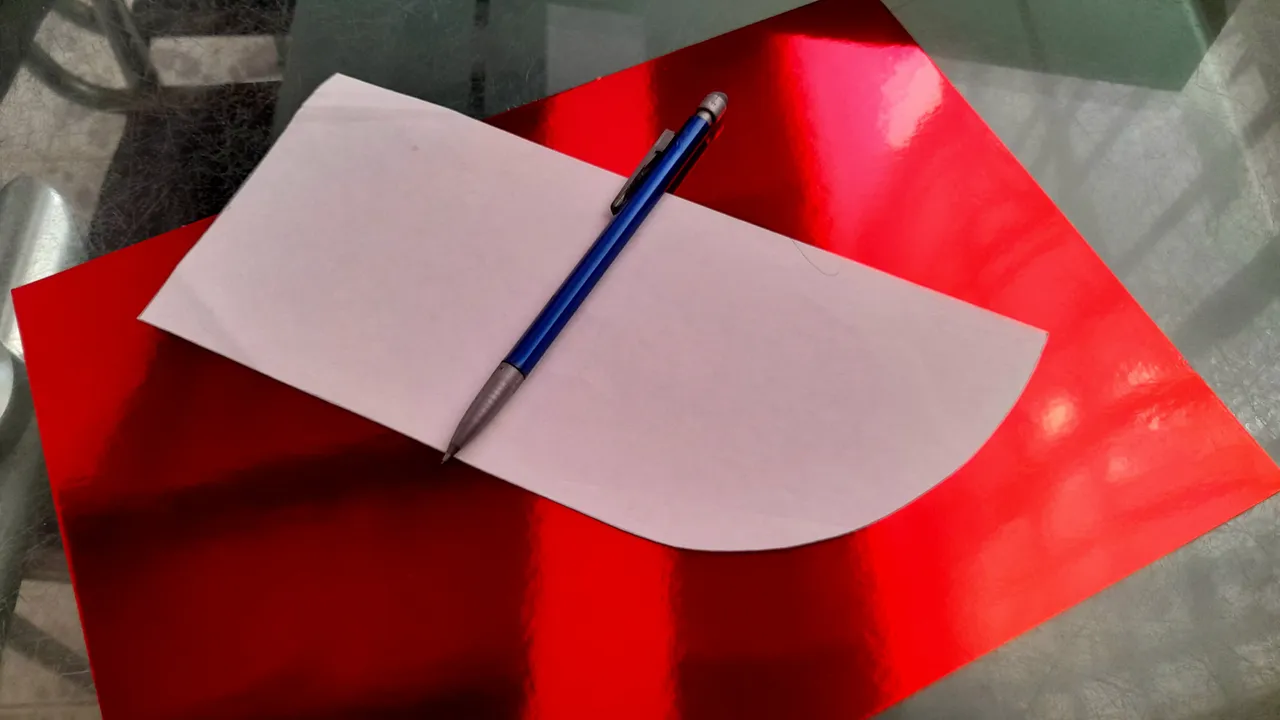
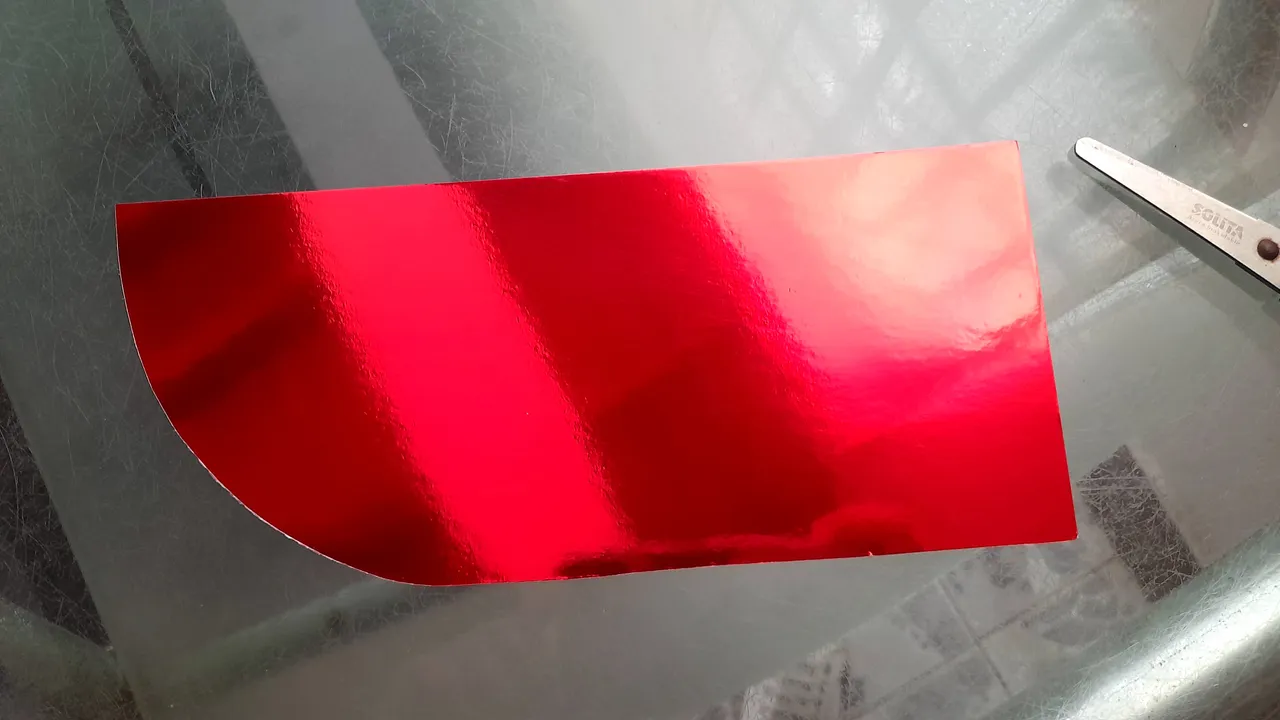
Y lo primero que vamos a hacer para el armado es recortar los dos medios arcos en las cartulinas metalizadas, y para esto yo ya tengo un molde, así que solo es cuestión de marcar y recortar las piezas, así como también su refuerzo con una cartulina firme.

Listos los cortes, con ayuda del adhesivo doble faz, pegamos todas las piezas, incluidas la central, así cada una quedará lo suficientemente firme.
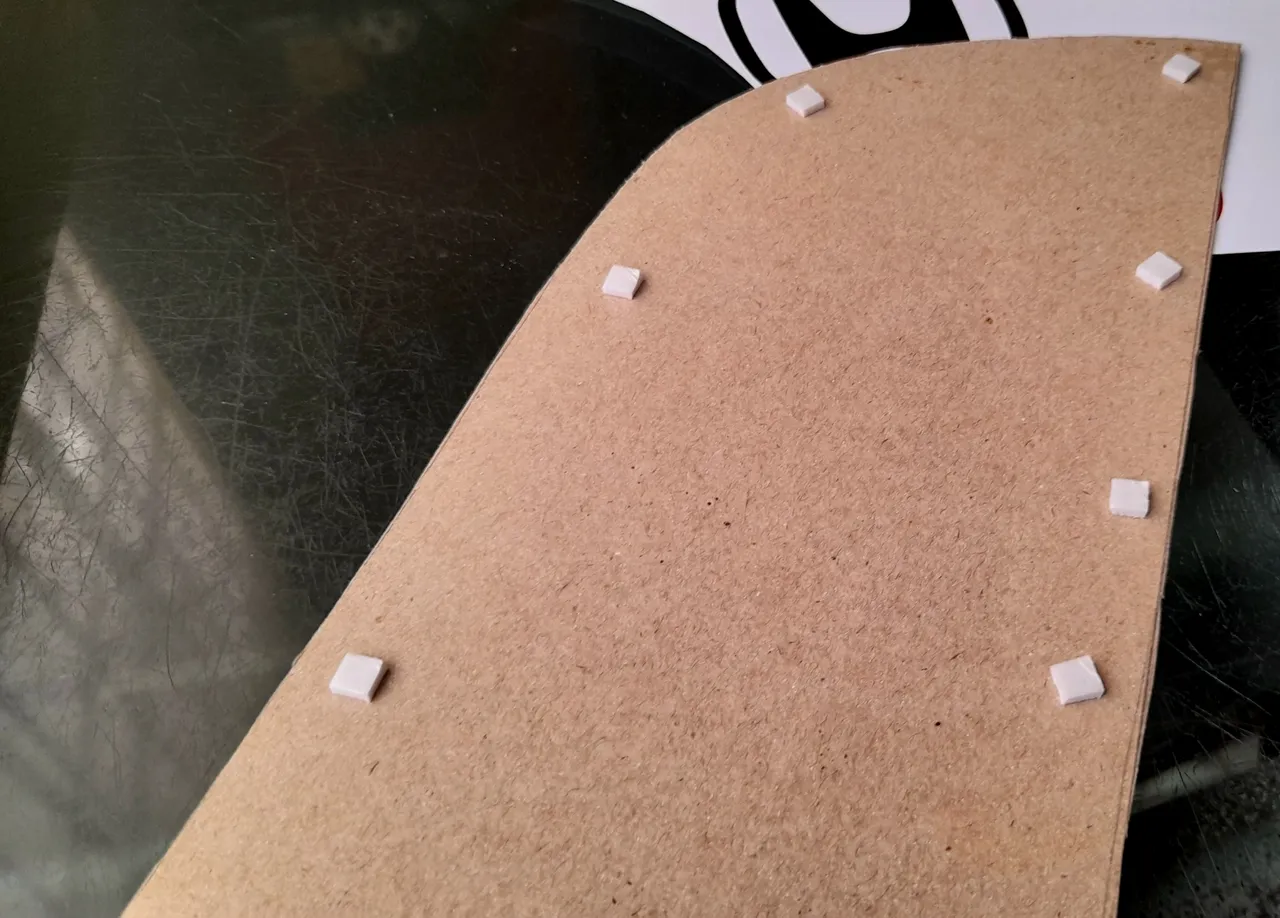
Listas las tres piezas, con la pistola de silicón pegamos las dos piezas metalizadas, una a cada extremo de la parte trasera de la cajita, y en el centro ubicaremos la pieza central, pero esta la fijaremos con el adhesivo doble faz para crear un poquito de dimensión en nuestro trabajo y que no sea todo plano.

El siguiente paso es colocar el moño en la parte delantera y el logo de nuestro emprendimiento, y con esto ya estaría decorada la bandeja.
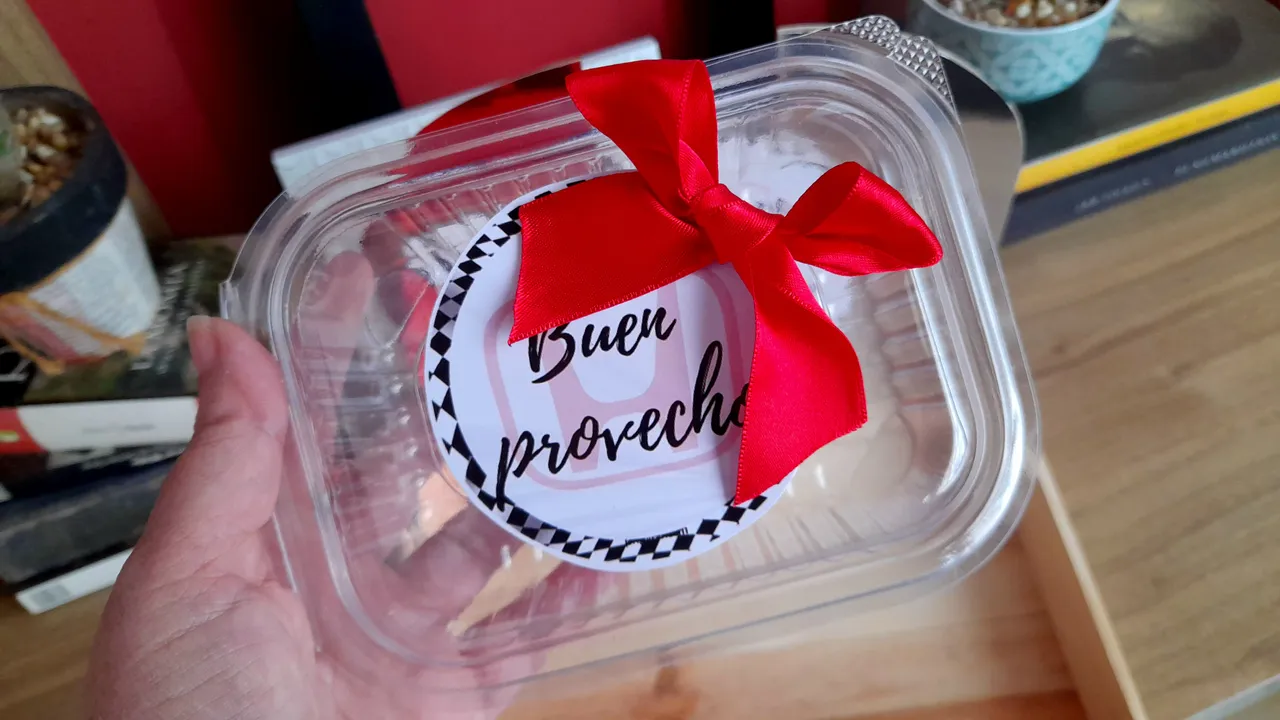
Para el contenido, en este caso, se pidieron tequeños, y para decorar la cajita donde irían, coloqué una etiqueta creada también en Canva, con un lacito rojo y la frase "Buen Provecho".
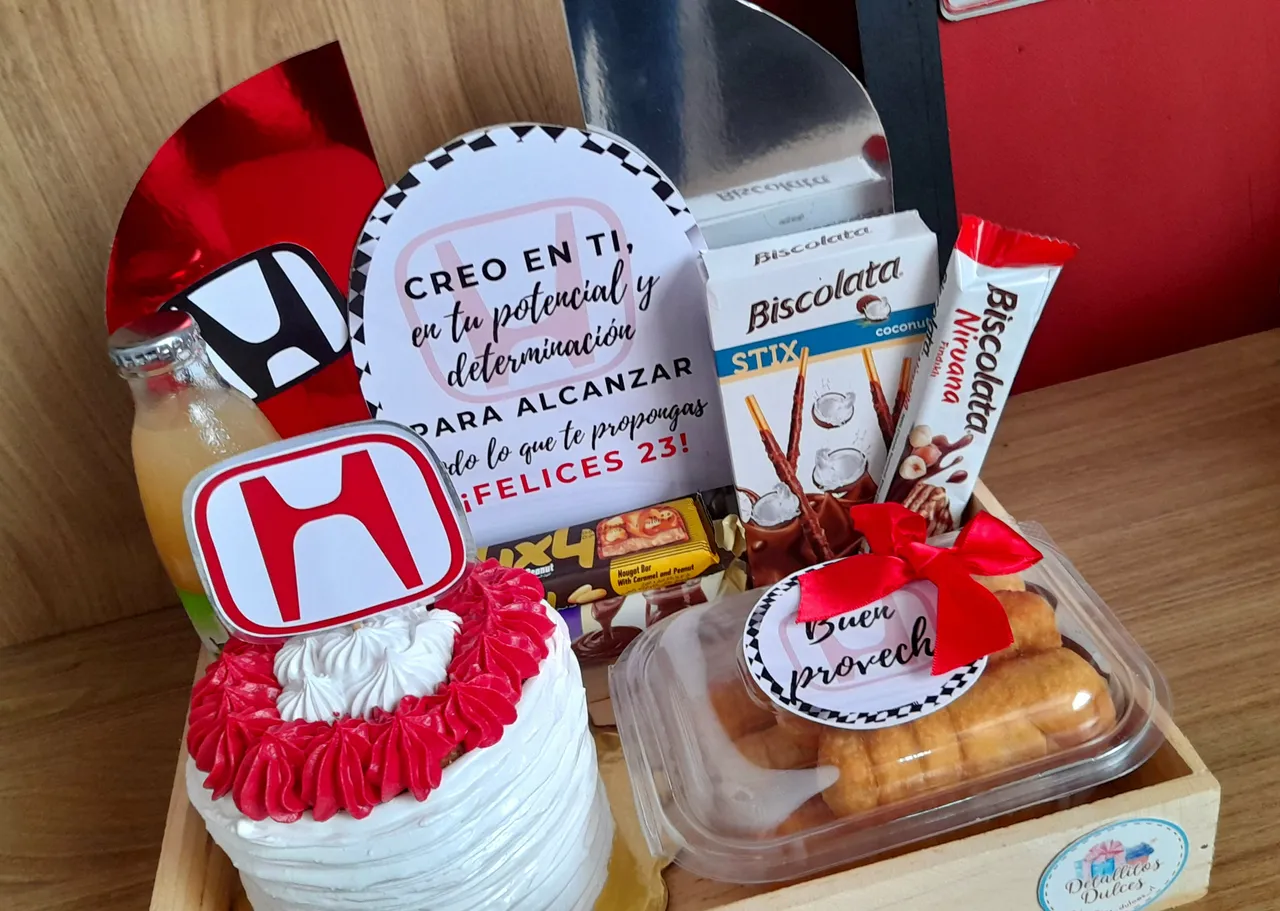
El resto del trabajo fue ubicar cada cosa en su lugar, y yo suelo fijar con silicón las chuches para que no se muevan durante el traslado, así que eso hice, además de ubicar la baby cake en su lugar, el jugo, y ya con eso estuvimos listos para llevar un poquito de amor a Nobel en su cumpleaños número 23.
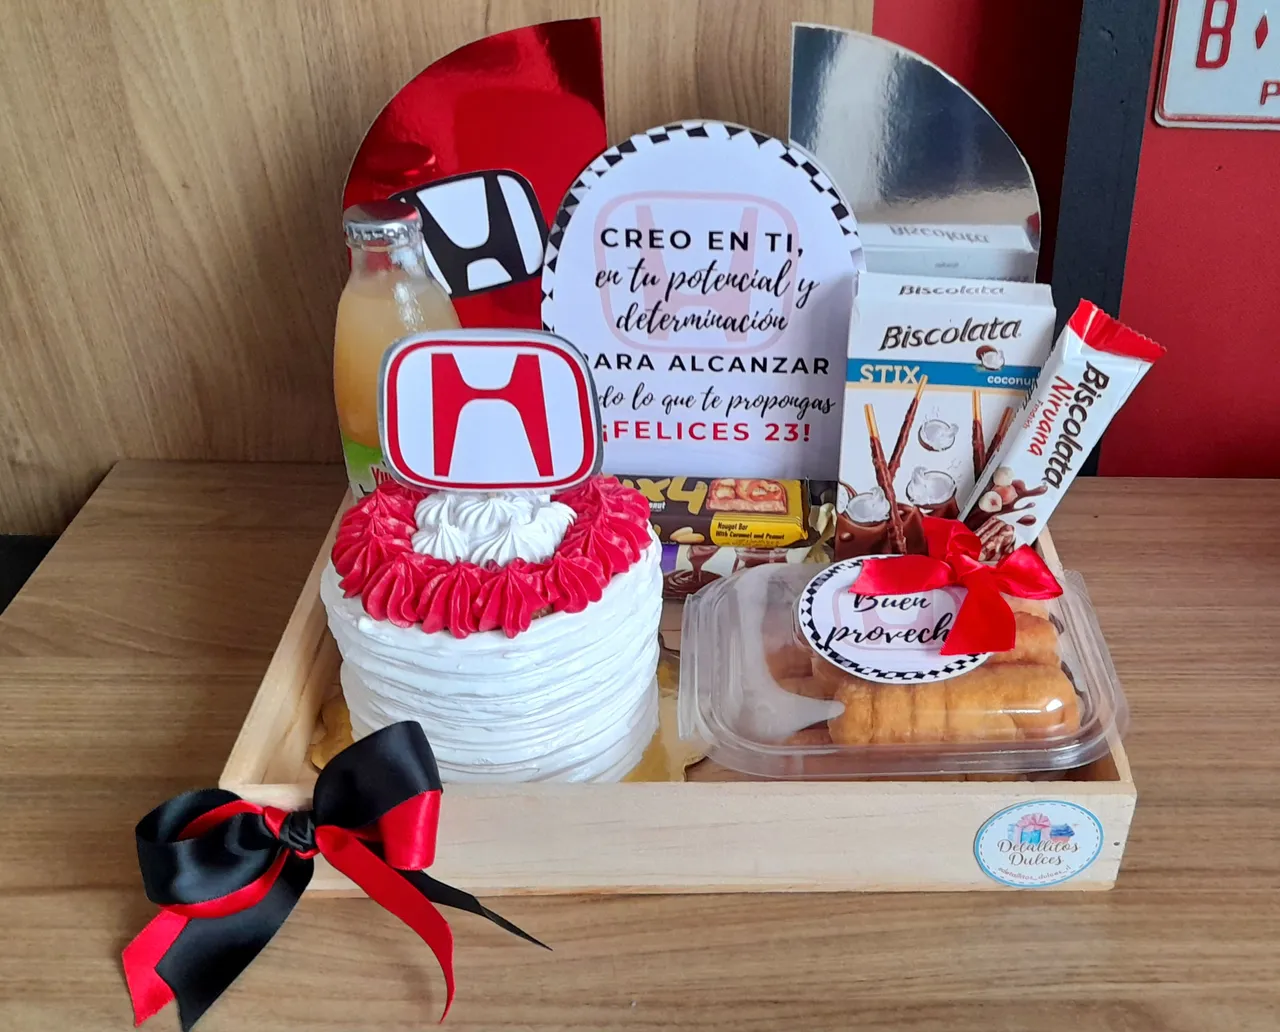
Como ven, es un trabajo bastante sencillo, y aunque pueda decirse que es lo mismo, la verdad es que cada bandeja es diferente, tanto la decoración como el contenido, ya que no solo depende del presupuesto de la persona, sino de sus gustos. En este caso la cliente quería algo bien sobrio, sin decoraciones exageradas, y quedó feliz con el trabajo, y nosotros más al ver la sonrisa del cumpleañero al recibir su sorpresa, así que anímense a sorprender a esa persona especial, con un detalle creado por ustedes mismos.

Yesterday with our enterprise Detallitos Dulces we were delivering a surprise tray, this time to a lover of Honda vehicles, and I really loved the result, so once again I share with you a little bit of my work, leaving you some ideas to pamper your loved ones.
This tray was a gift for a guy from his girlfriend (yes, super cute, isn't it?) and being a fan of the Honda brand, I wanted the tray to be with that theme and using the colors red, black and silver, a very nice choice and above all manly.
In this case, she wanted for Nobel (her boyfriend's name) tequeños, a baby cake, drink and sweets, and as for the decoration of the tray she preferred not to place neither the name nor any other special message in front of the tray, but a bow that I decided to do in black and red. And without further ado, I leave you the list of materials and the step by step for the elaboration of this cute tray for gentlemen.
Materials
1 pine tray
Red and silver metallic cardboard
Prints according to the theme
Satin ribbon in black and red colors
Plastic container
Silicone gun
Silicone stick
Pencil
Scissors
Double-sided adhesive
Step by step
Once we have cleaned our tray very well, we will start working with the decoration of the tray. In this case we focus on the back, since for the front we would only use a bow at the client's request, and for this tray I decided to work with three pieces on the back.
The pieces would be two half bows, one in red, one in silver, and the central one with the main message, which as always I made it in Canva.
And the first thing we are going to do for the assembly is to cut the two half bows in the metallic cardboard, and for this I already have a mold, so it's just a matter of marking and cutting the pieces, as well as their reinforcement with a firm cardboard.
Once the cuts are ready, with the help of the double-sided adhesive, we glue all the pieces, including the central one, so each one will be firm enough.
Once the three pieces are ready, with the silicone gun we glue the two metallic pieces, one at each end of the back of the box, and in the center we will place the central piece, but we will fix it with the double-sided adhesive to create a little bit of dimension in our work so that it is not all flat.
The next step is to place the bow on the front and the logo of our project, and with this the tray will be decorated.
For the content, in this case, they asked for tequeños, and to decorate the box where they would go, I placed a label also created in Canva, with a red bow and the phrase "Buen Provecho ".
The rest of the work was to place everything in its place, and I usually fix the sweets with silicone so they don't move during the transfer, so that's what I did, besides placing the baby cake in its place, the juice, and with that we were ready to bring a little bit of love to Nobel on his 23rd birthday.
As you can see, it's a pretty simple job, and although it can be said that it's the same, the truth is that each tray is different, both the decoration and the content, since it depends not only on the budget of the person, but also on their tastes. In this case the client wanted something very sober, without exaggerated decorations, and she was happy with the work, and we were even happier to see the birthday boy's smile when he received his surprise, so be encouraged to surprise that special person with a detail created by yourselves.
