

Hello HIVE I hope everyone is having a great time doing some creative and relaxing crafts.
Hola HIVE espero todos la estén pasando muy bien haciendo alguna manualidad creativa y relajante.
In most of my posts, I always mention that I am currently studying visual arts at the Universidad Nacional Experimental de las Artes, near Armando Reveron, I study the specialty of "Mixed Media" that has allowed me to get into several artistic investigations of different artistic disciplines, but mixed media is more focused on the use of installation, assembly and video art and performance; as I am starting the career we are working on "video art", which is basically a way of using audiovisual applied to plastic arts, for the final semester project we are addressing the topic of "EROS" (Eroticism) in the plastic arts, a topic that I found very interesting to deal with, we could choose the final format in which we would present the project, I chose to make a "video performance", but we had to do all the technical steps of producing an audiovisual, and among those steps I decided to make a stop-motion to do lighting practices for the final video (I was going to use the stop-motion as a storyboard guide to make a minimum scale construction of the scene). Later in another post I will talk about the stop-motion creation process, this time I will focus on the process of creating the 3D character and the setting that I would use to create the scene.
En la mayoría de mis publicaciones, siempre comento que actualmente me encuentro estudiando artes plásticas en la Universidad Nacional Experimental de las Artes, ceca Armando Reveron, estudio la especialidad de "Medios Mixtos" eso me ha permitido adentrarme en varias investigaciones artísticas de diferentes disciplinas artísticas, pero los medios mixtos están más enfocado en el uso de la instalación, el ensamblaje y el video arte y performance; como yo estoy comenzando la carrera estamos trabajando el "video arte", que básicamente es una manera de usar el audiovisual aplicado en la plástica, para el trabajo final de semestre estamos abordando el tema del "EROS" (Erotismo) en las artes plásticas, un tema que me pareció muy interesante tratar, podíamos elegir el formato final en el que presentaríamos el proyecto, yo elegí realizar un "video performance", pero teníamos que hacer todos los pasos técnicos de producción de un audiovisual, y entre esos pasos decidí hacer un stop-motion para hacer prácticas de iluminación para el video final (iba a utilizar el stop-motion como un storyboard de guía para hacer una construcción de la escena a escala mínima). Luego en otra publicación hablare sobre el proceso de creación del stop-motion, en esta oportunidad me enfocare en el proceso de creación del personaje en 3D y el escenario que usaría para crear la escena.
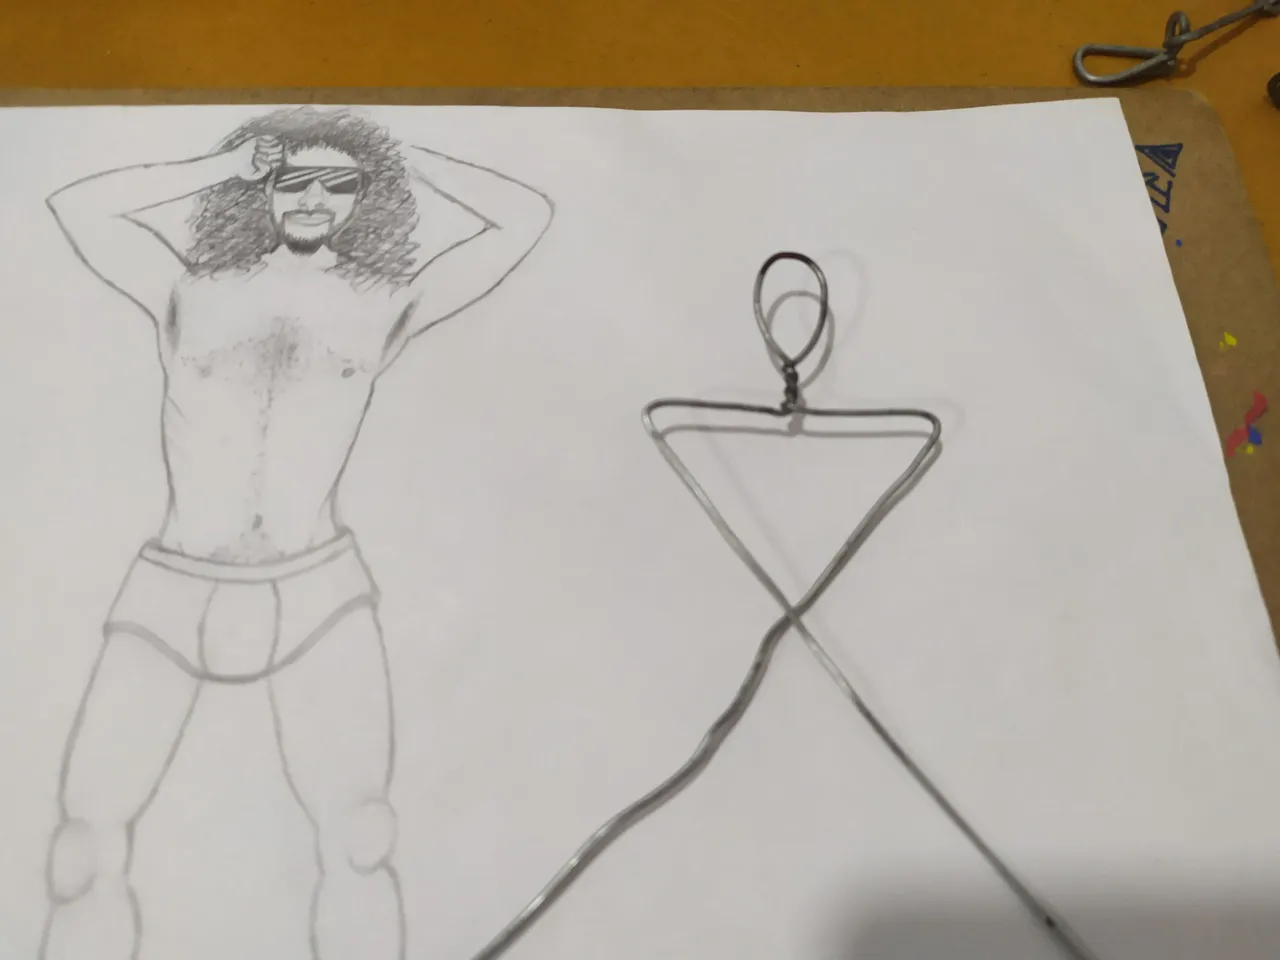
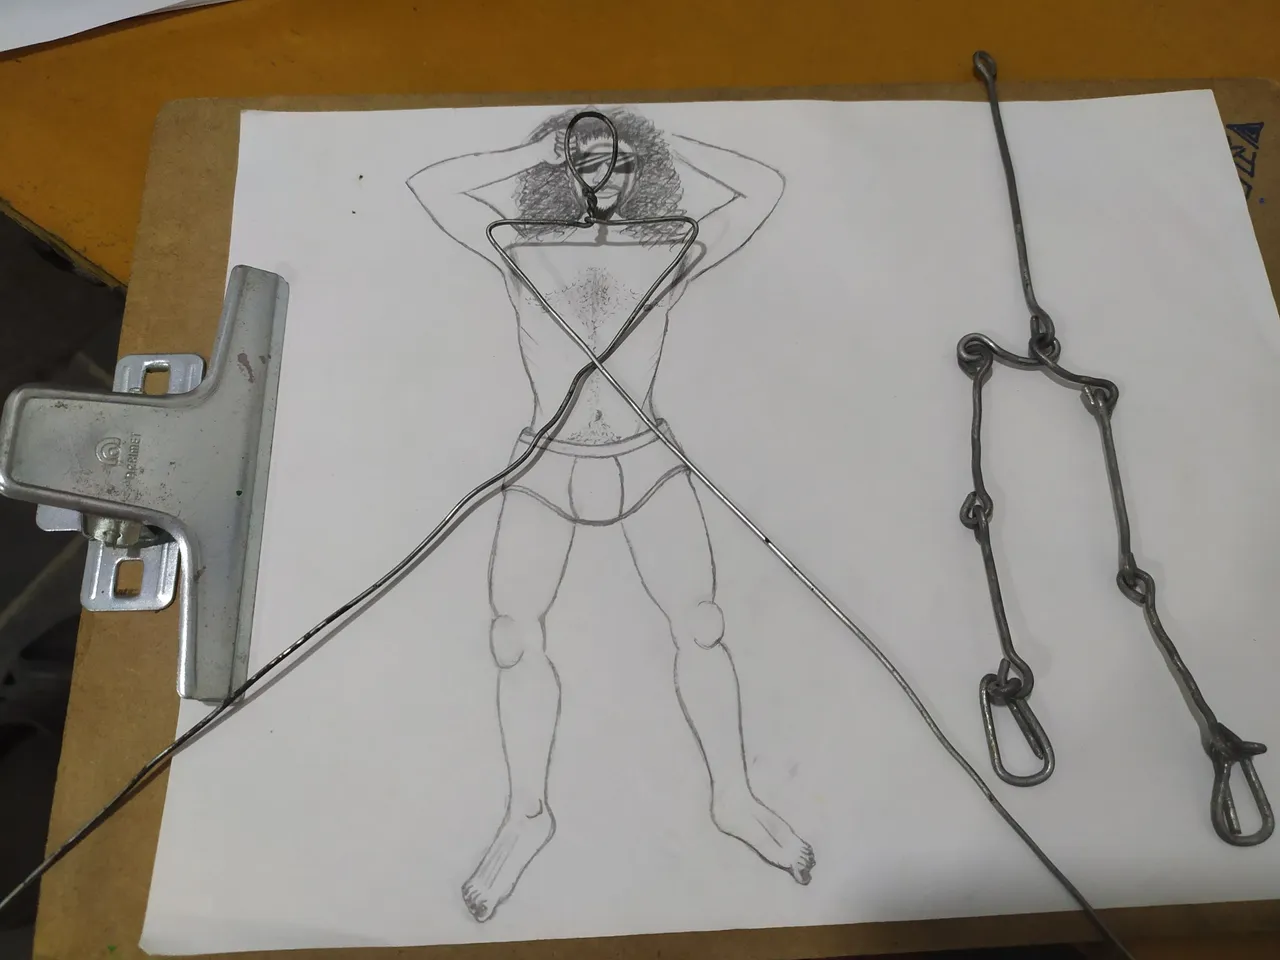

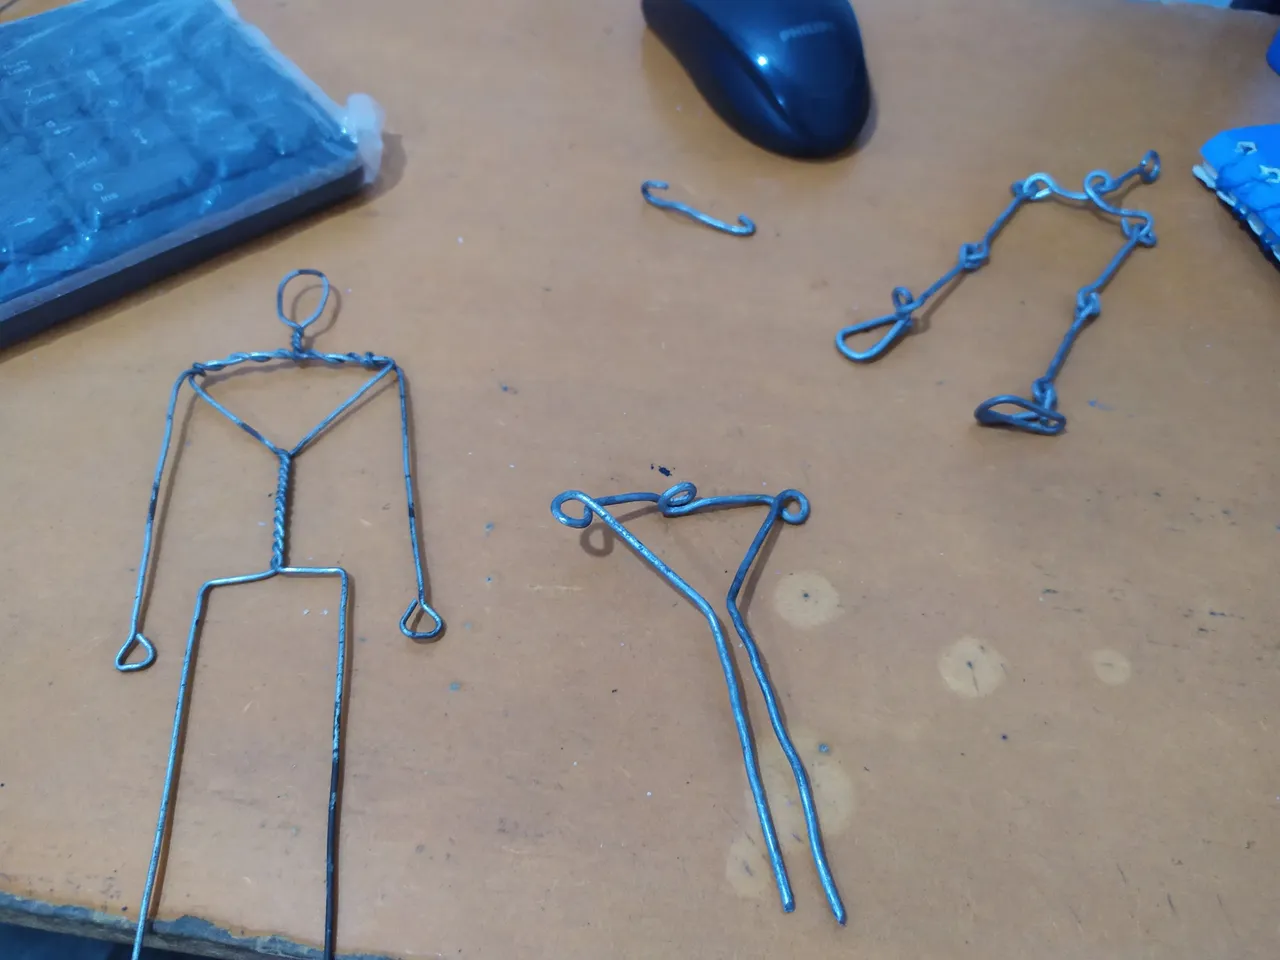
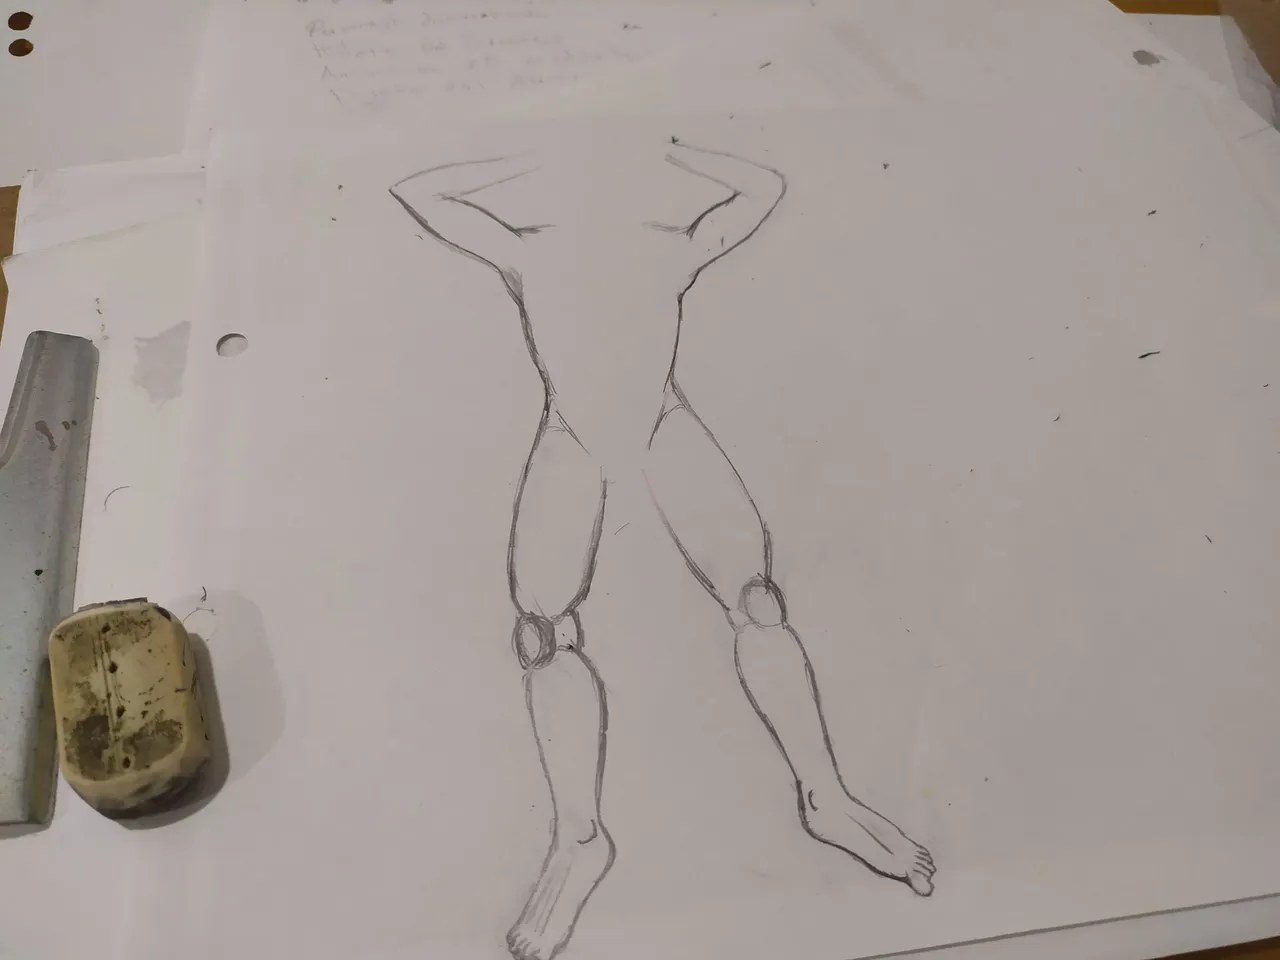
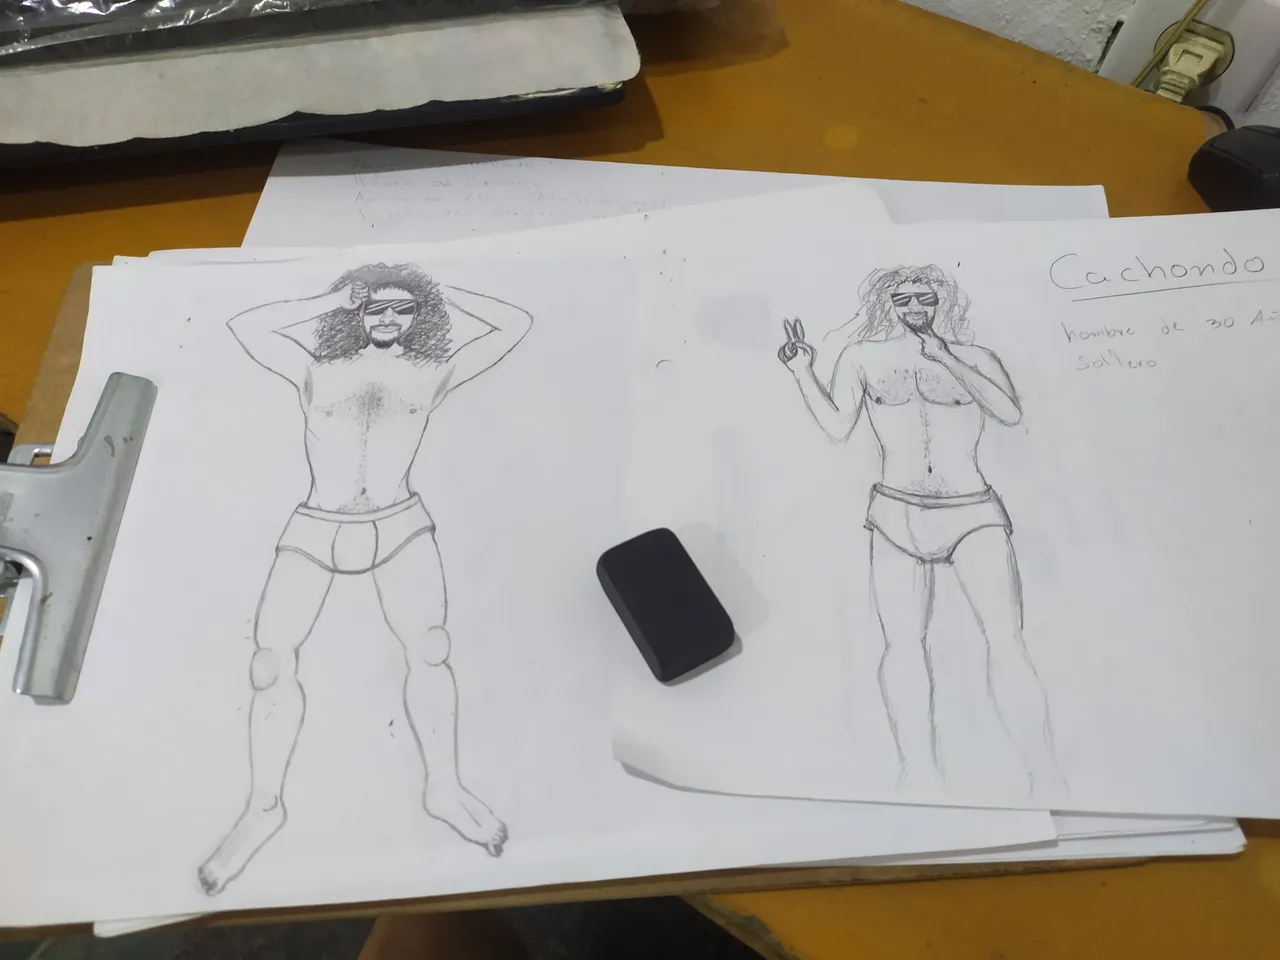
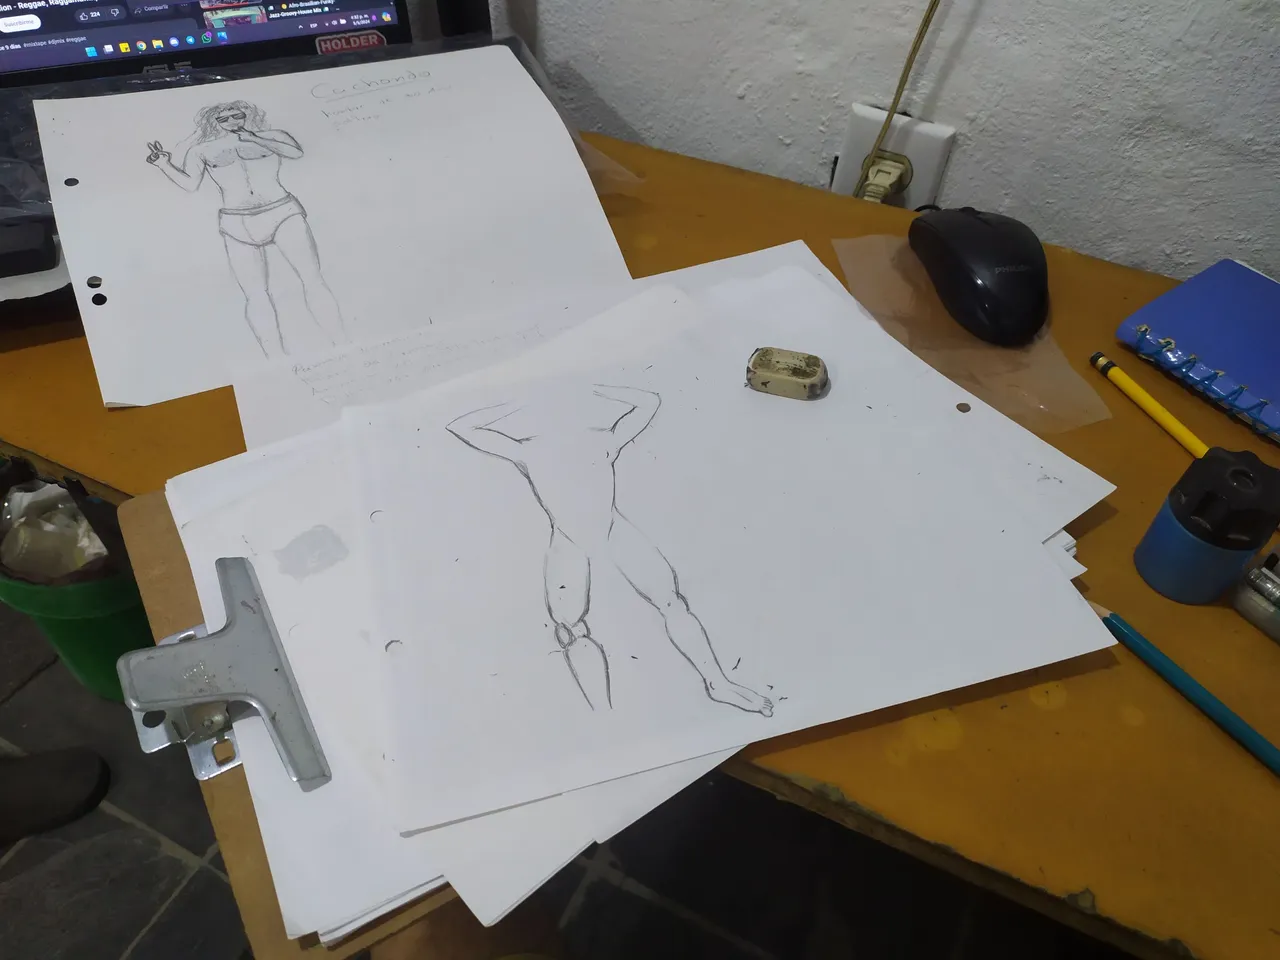
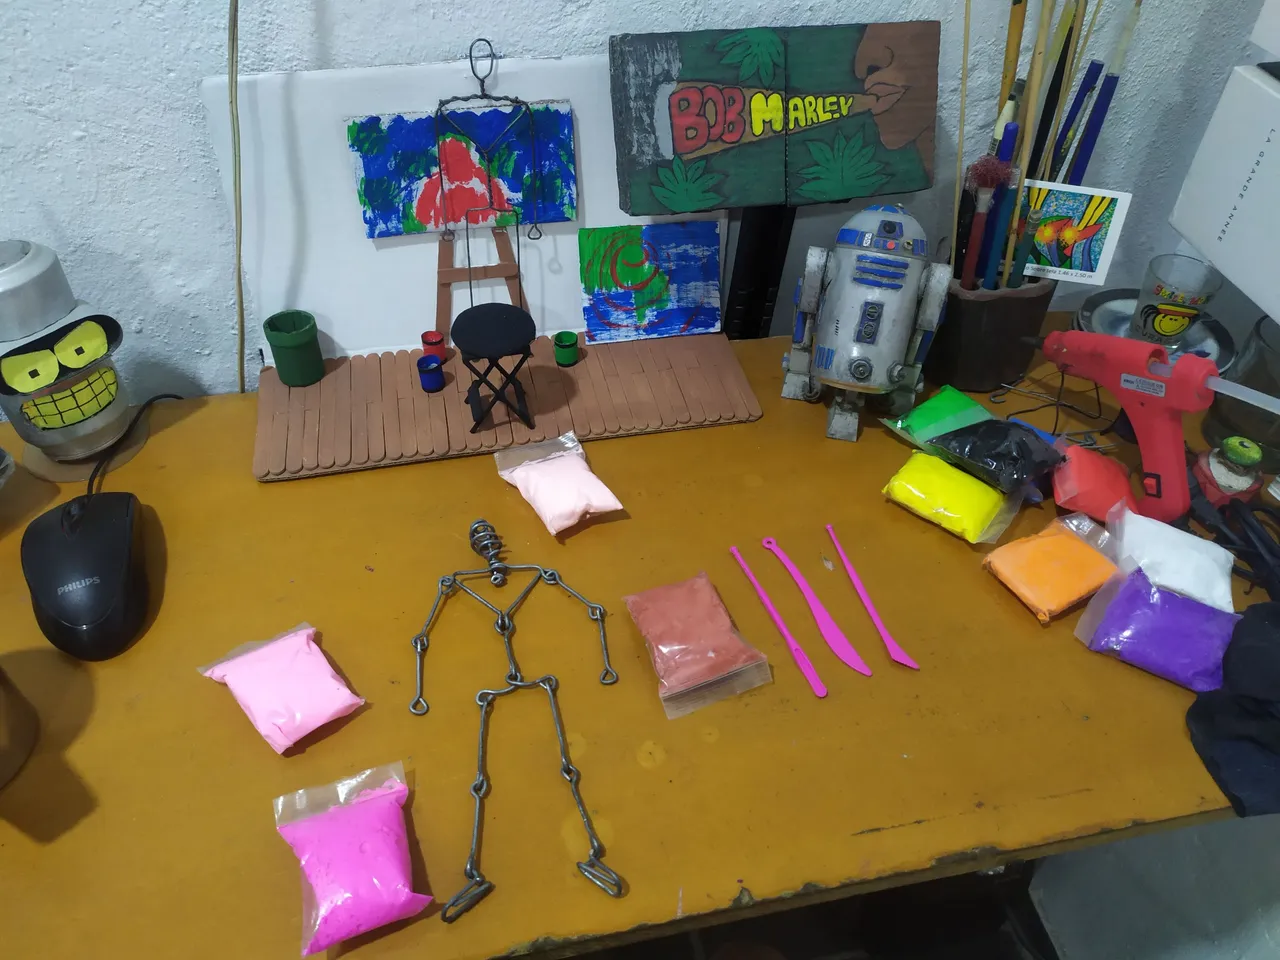
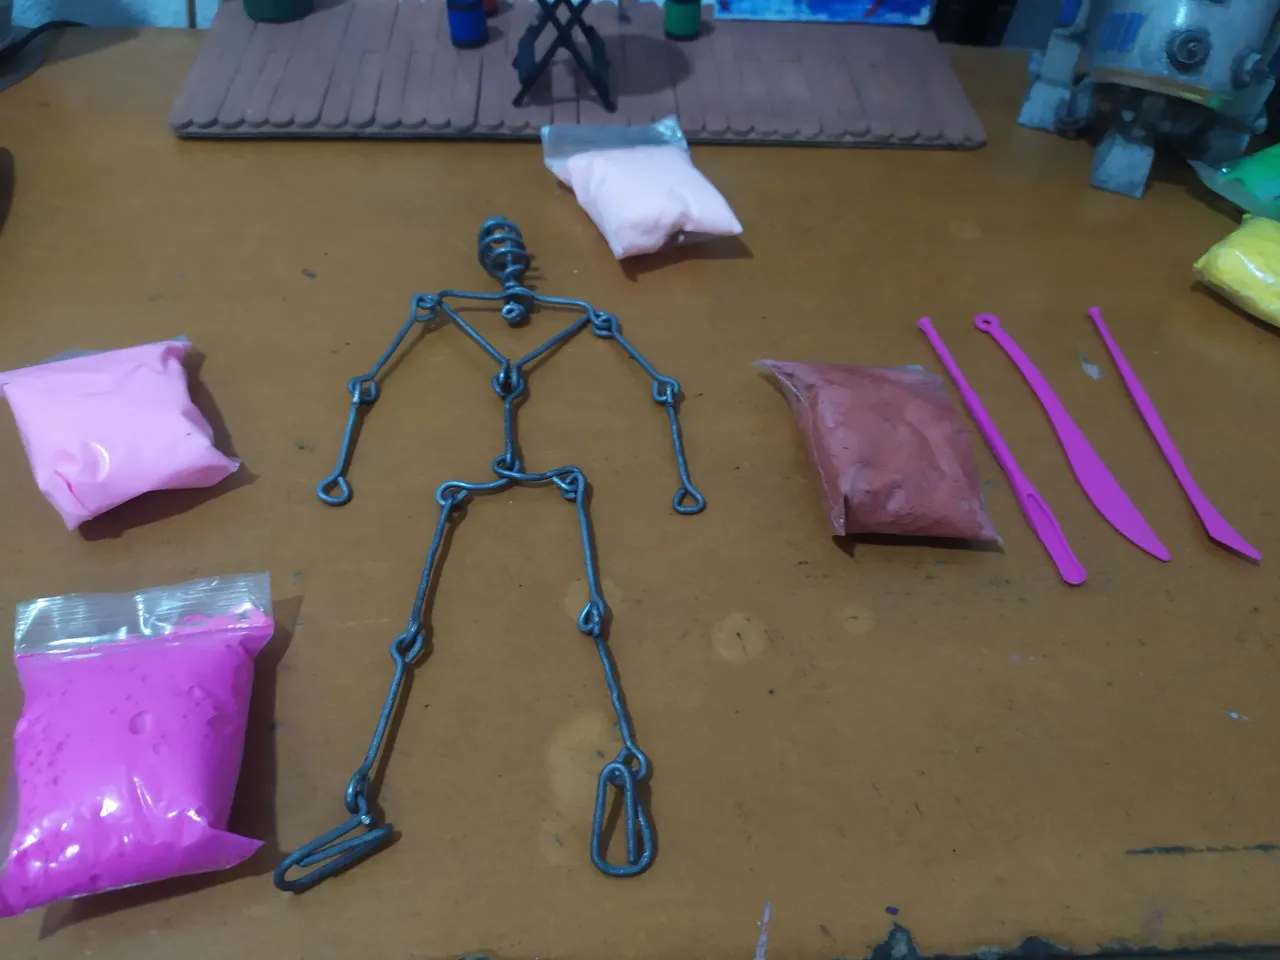
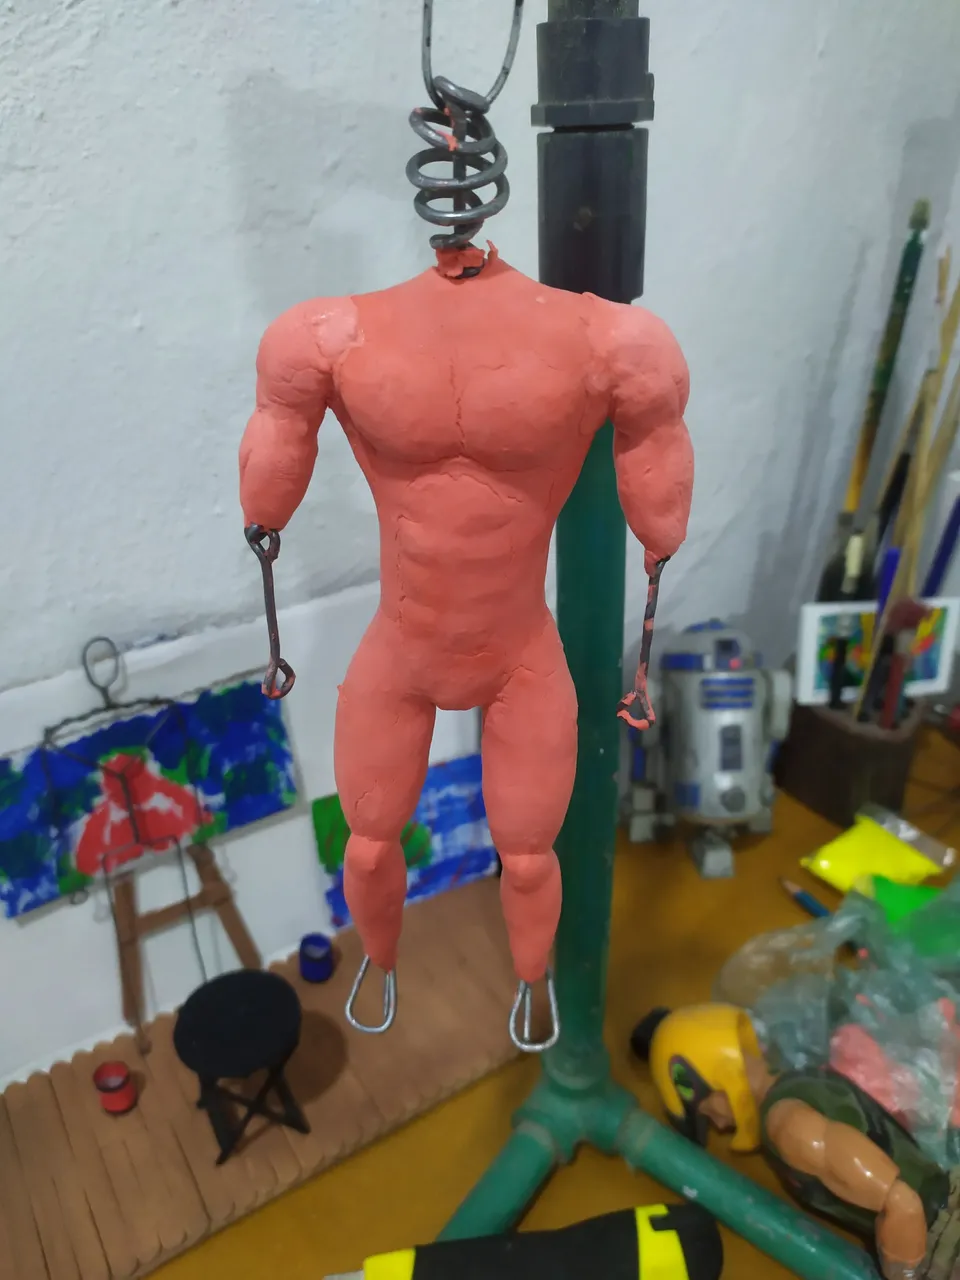
The character I designed is called "CACHONDO" and I used myself as a reference to create the look of this one, first I reviewed several videos on the internet to learn how to make 3d characters, but most of the references I found on the web were for characters with fixed poses and those were not going to make it easier for me to make the stop-motion, so I decided to raise my creativity and create my own skeleton prototype for characters that can be used in stop-motion projects. I designed it always keeping in mind that the character's joints must be mobile in order to perform the poses required by the scene I am trying to interpret; really, for being the first time I make a 3d character, I consider that it was very well designed, because I took into account many important aspects for its use that allowed me to obtain a good result in the execution, later we will continue talking about the internal skeleton.
El personaje que diseñe se llama "CACHONDO" y me use como referencia para crear el aspecto de este, primero revise varios videos en internet para aprender a realizar personajes en 3d, pero la mayoría de las referencias que encontré en la web eran para personajes de poses fijas y esos no me iban a facilitar la realización del stop-motion, por eso decidí elevar mi creatividad y crear mi propio prototipo de esqueleto para personajes que se puedan usar en proyectos de stop-motion. lo diseñe teniendo siempre presente que las articulaciones del personaje deben tener movilidad para poder realizar las poses que requiera la escena que esté intentando interpretar; de verdad que para ser la primera vez que realizo un personaje en 3d, considero que fue muy bien diseñado, porque tome en cuenta muchos aspectos importantes para su uso que me permitieron obtener un buen resultado en la ejecución, más adelante seguiremos hablando del esqueleto interno.
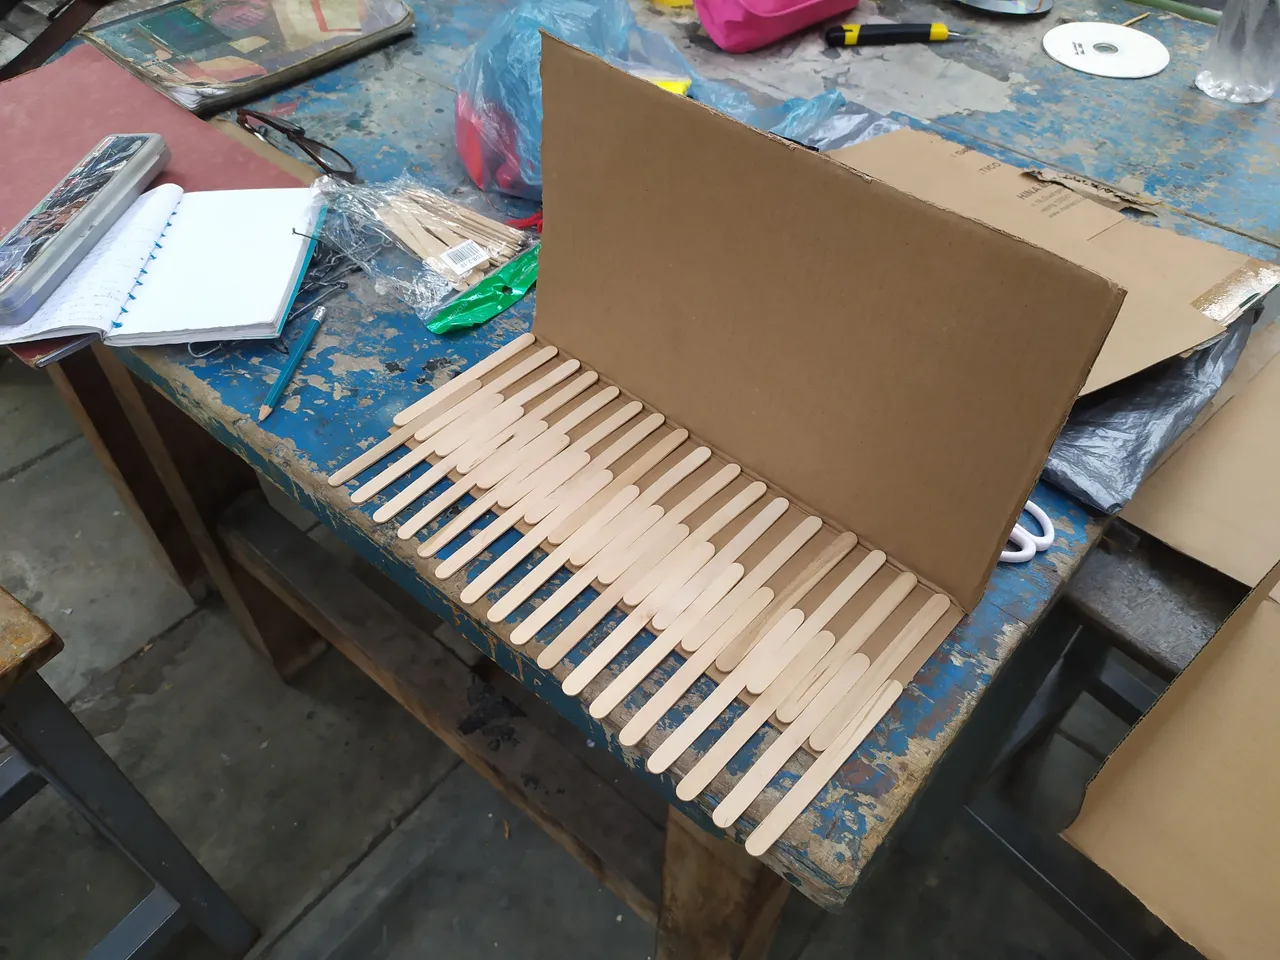
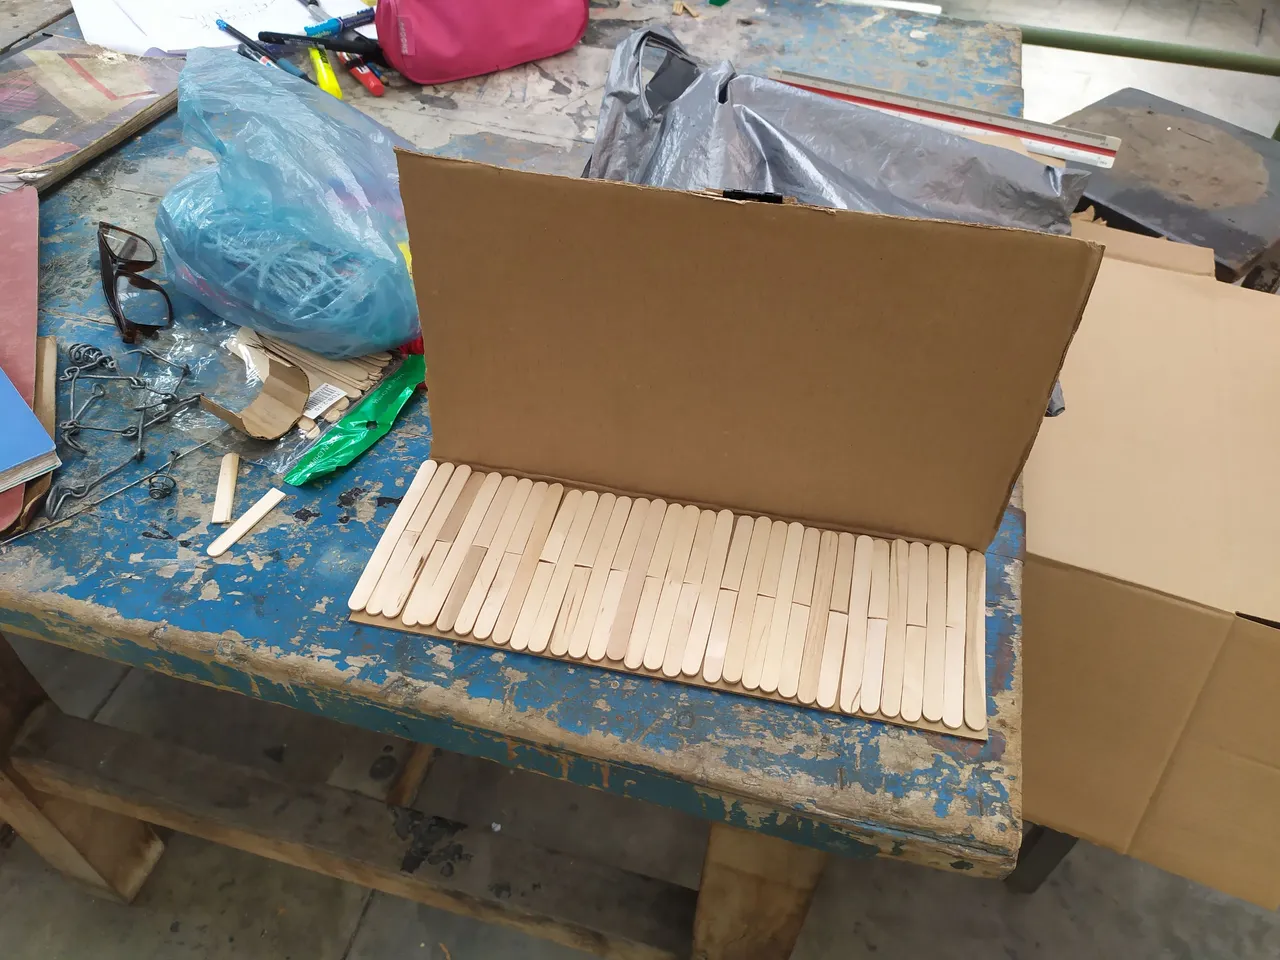
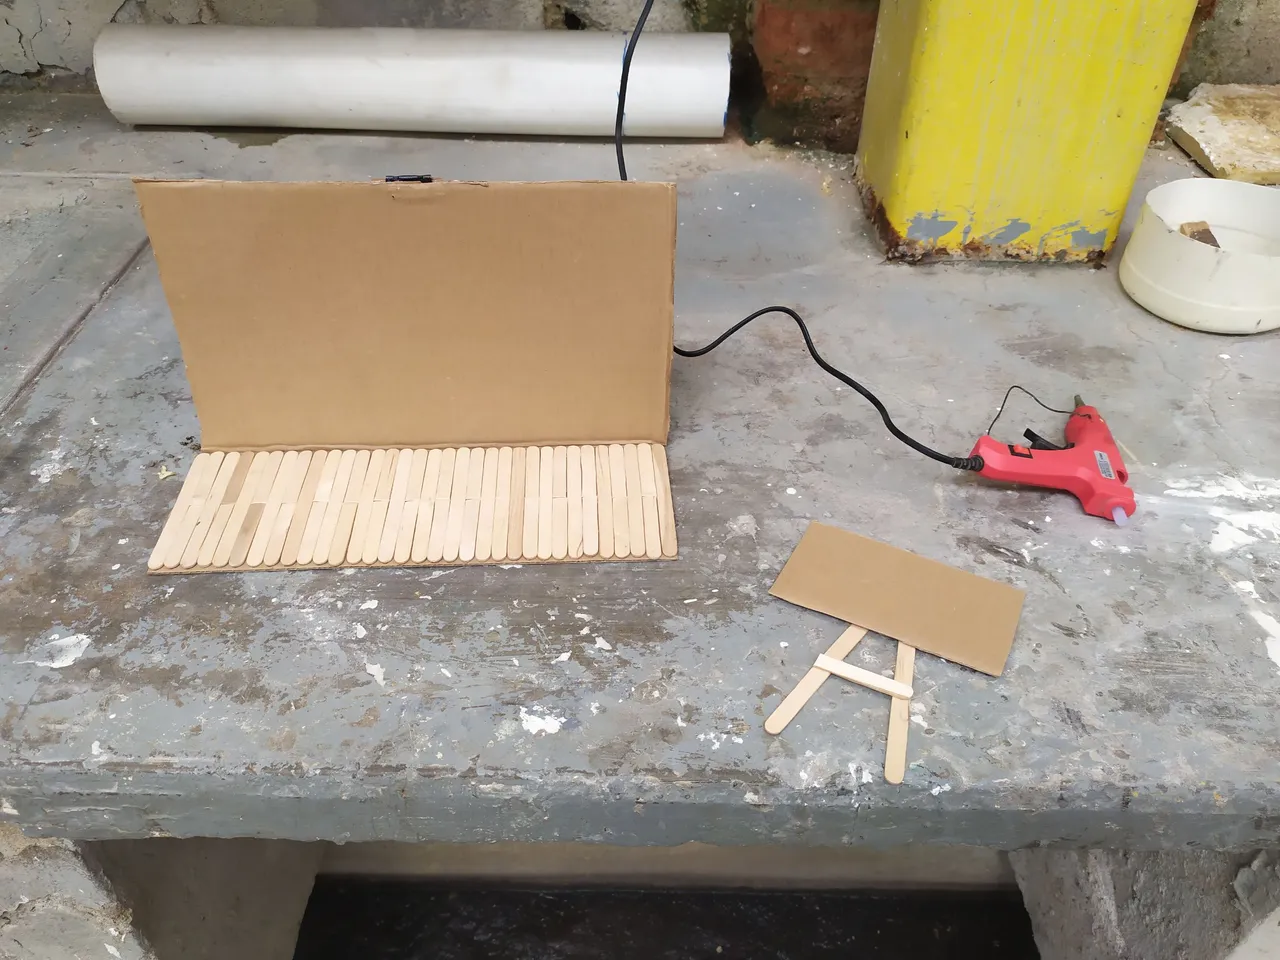
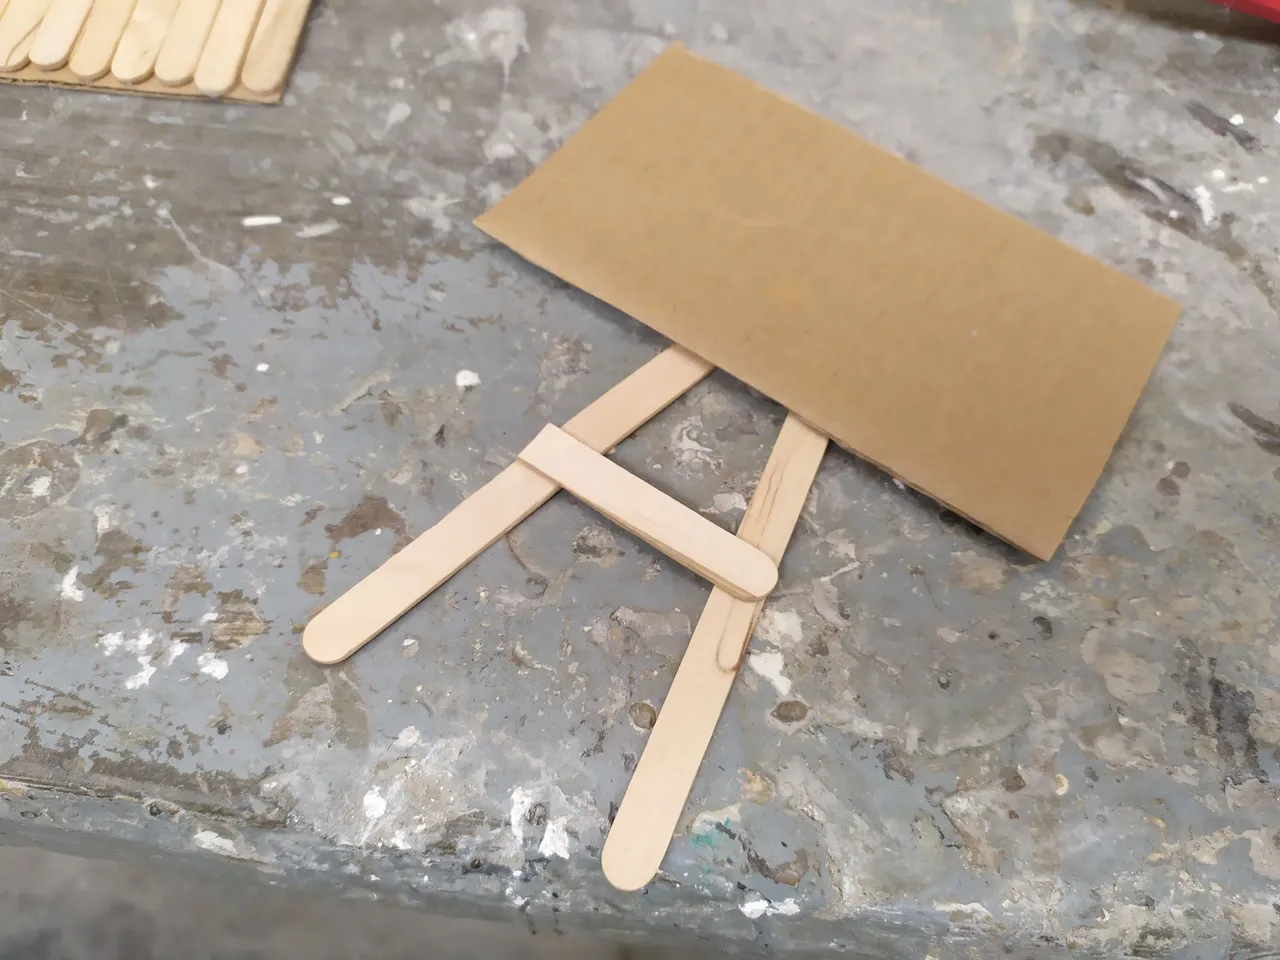
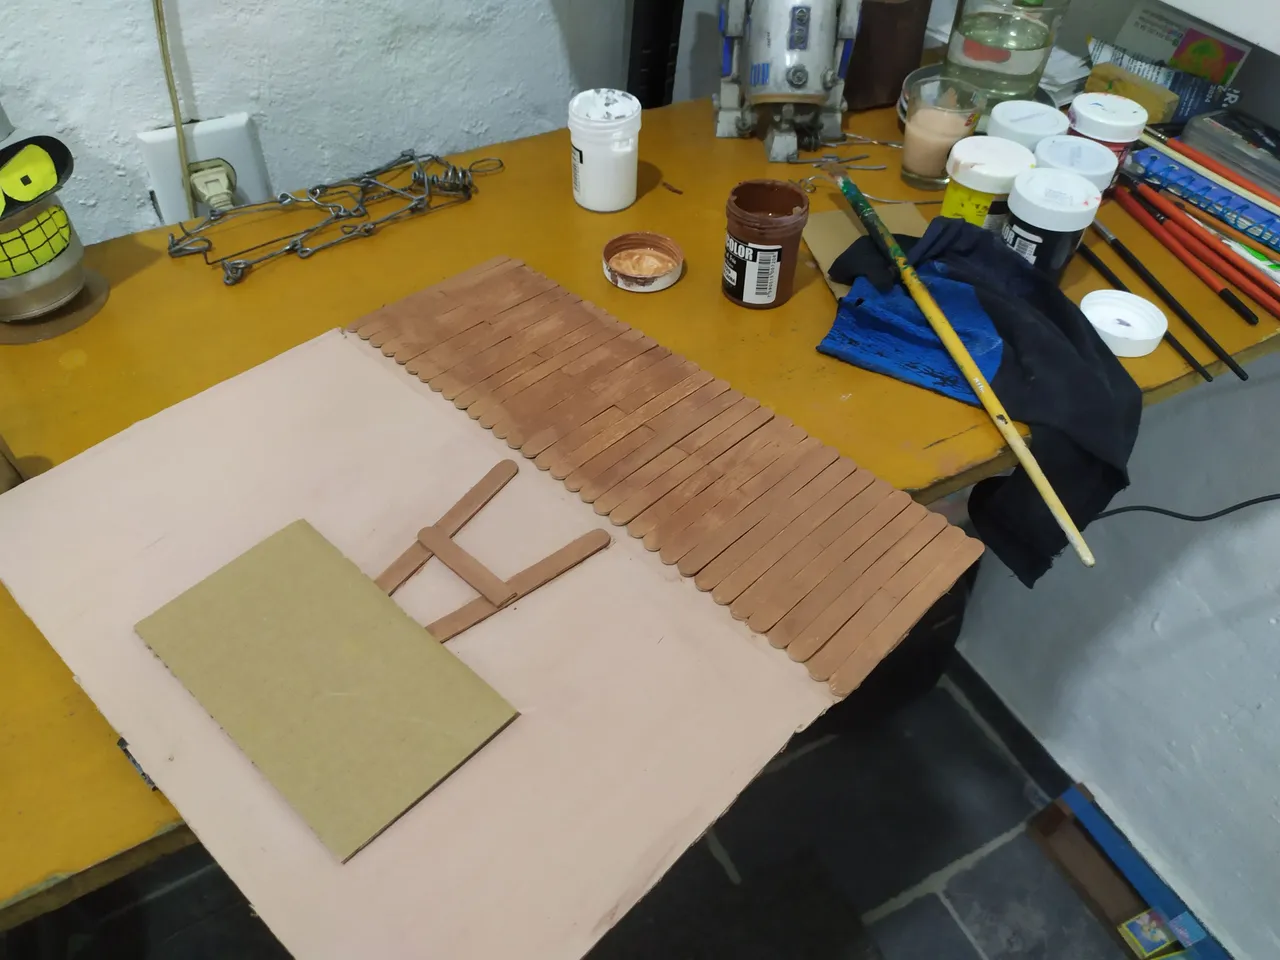
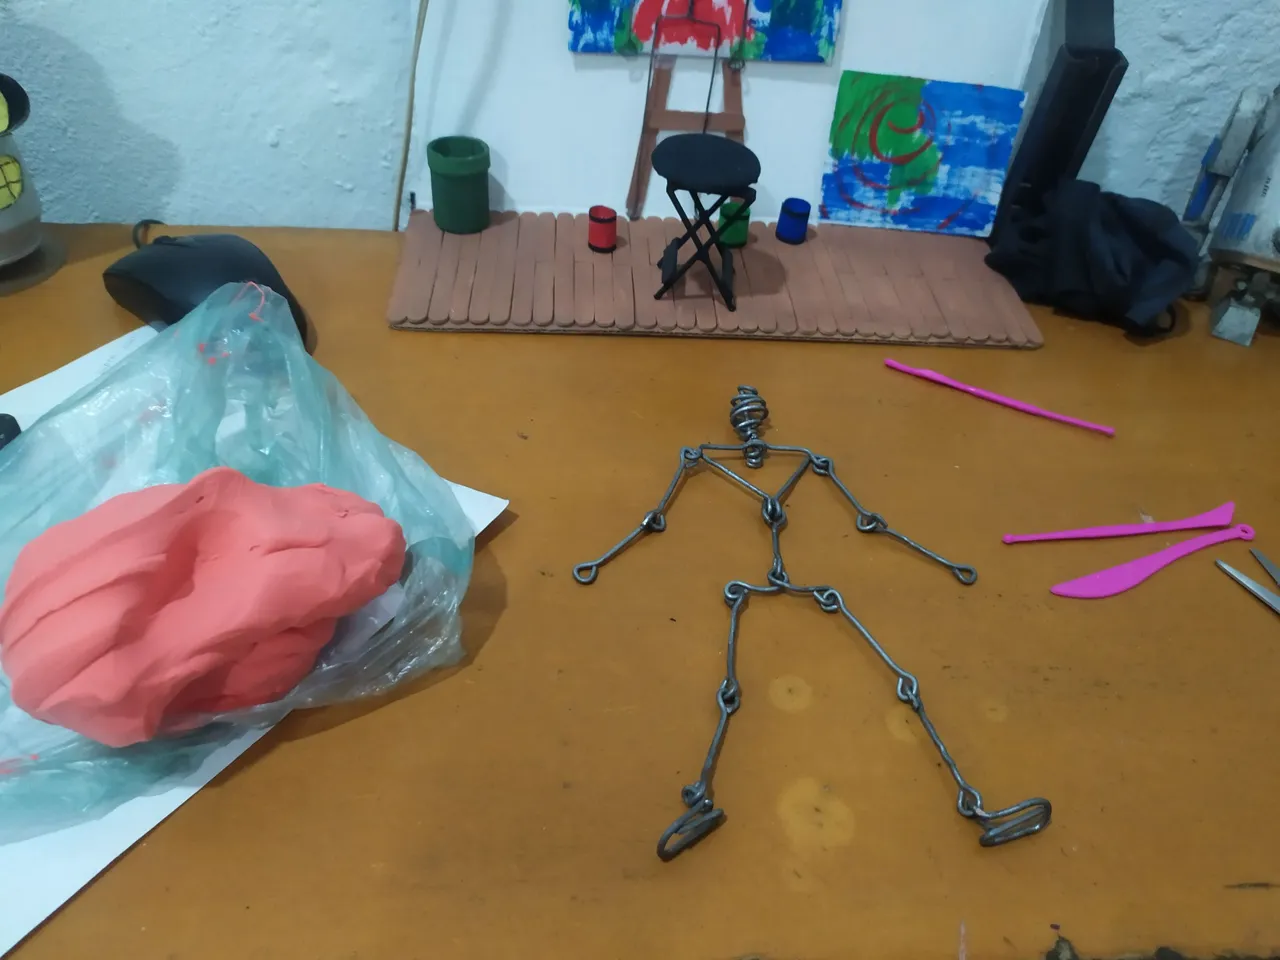
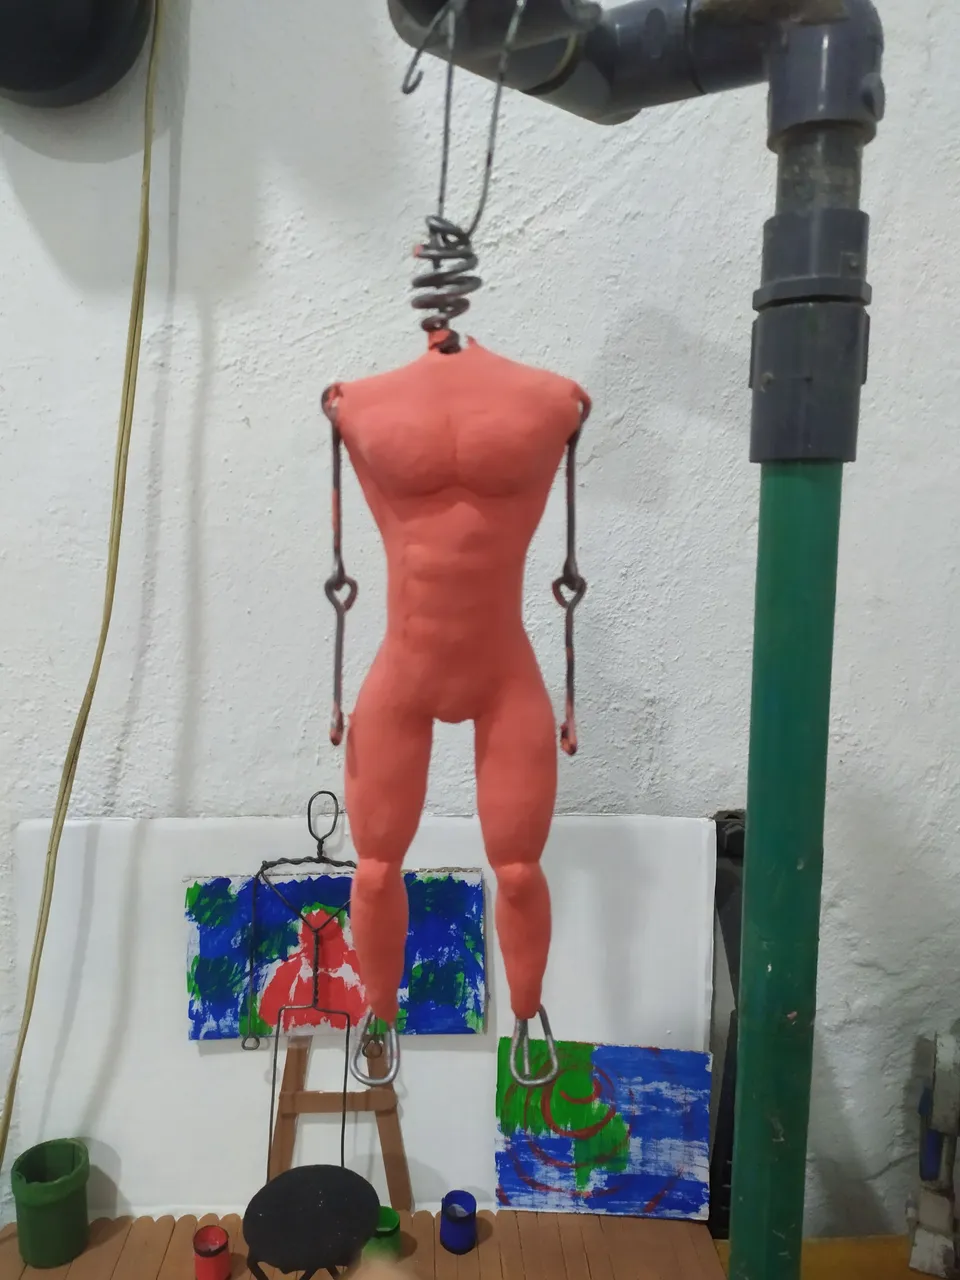
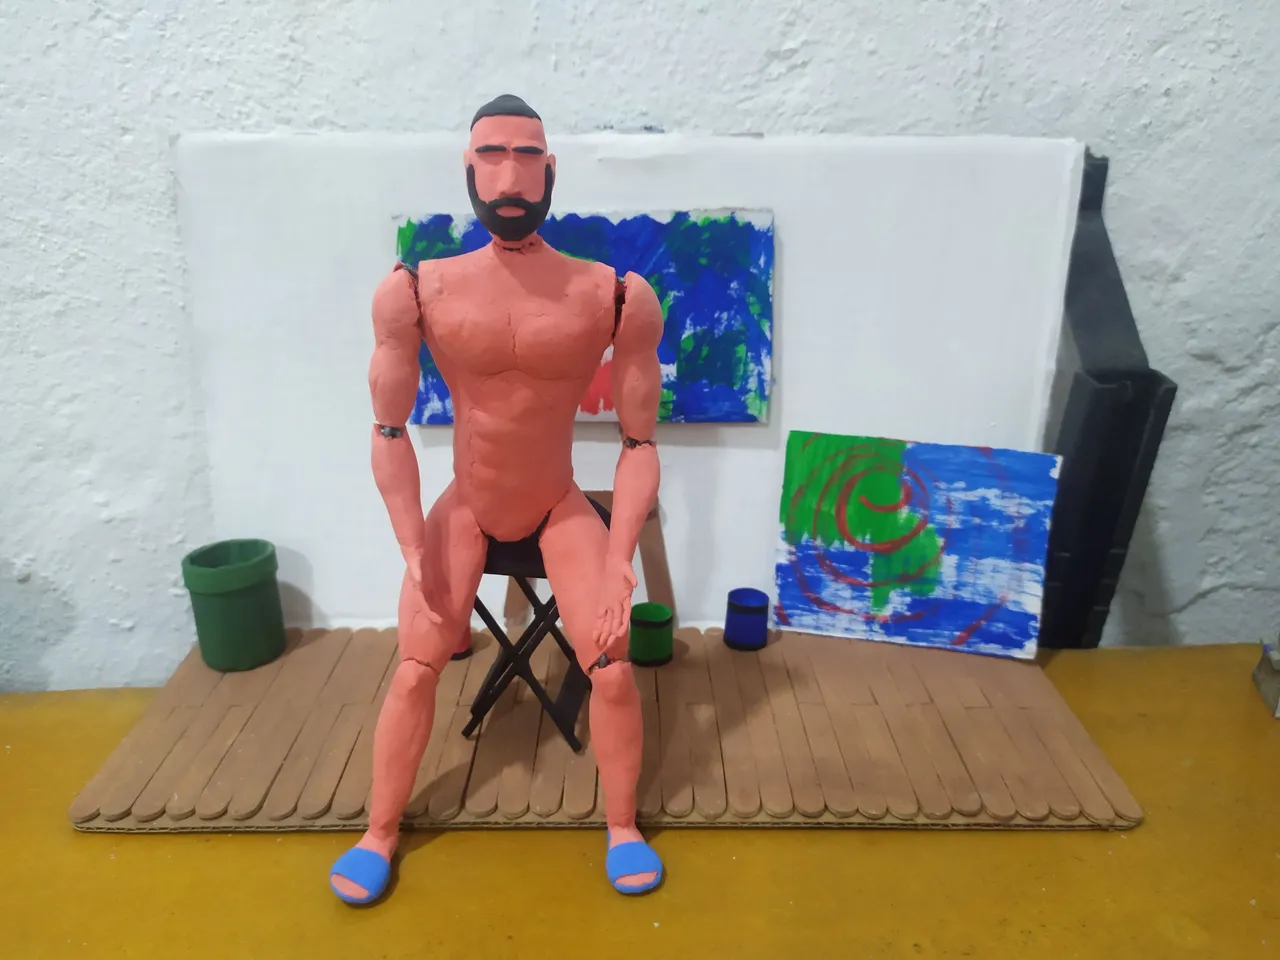
For now I'm going to show you how I made the stage that I would use to represent the scene in my video art, which is basically a room, in the background you can see an easel with a canvas that the character is going to be intervening; I made the stage using cardboard, it measures about 20cm high and 33cm wide, with wooden pallets interspersed I made a kind of floor for the stage, and with the same pallets I made the easel that goes in the background.
Por ahora les voy a mostrar como realice el escenario que usaría parta representar la escena en mi video arte, que básicamente es una habitación, se ve al fondo un caballete con un lienzo que el personaje va a estar interviniendo; El escenario lo realice usando cartón mide unos 20cm de alto y 33cm de ancho, con paletas de madera intercaladas le hice una especie de piso al escenario, y con las mismas paletas realice el caballete que va en el fondo.
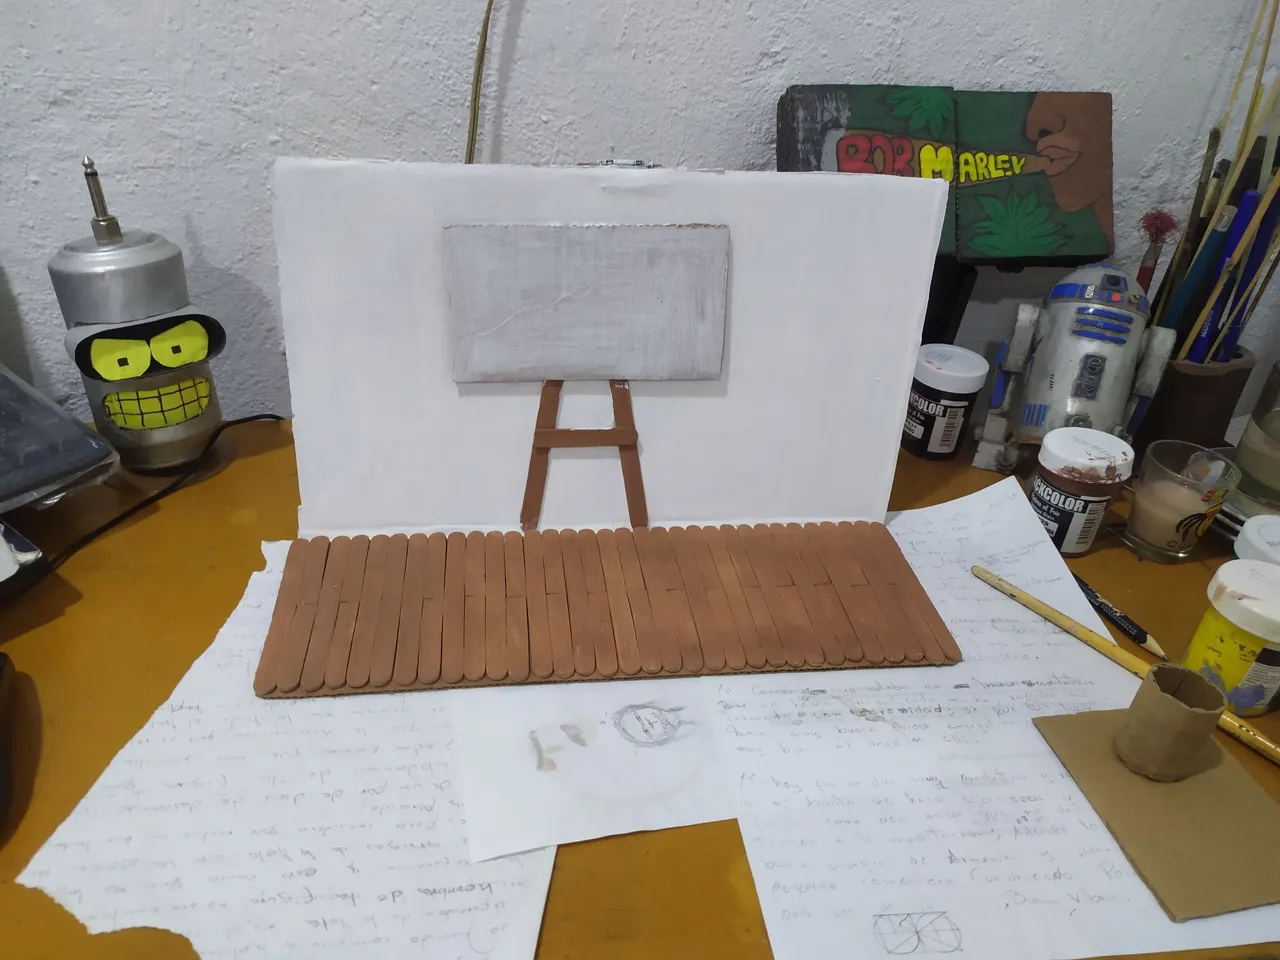
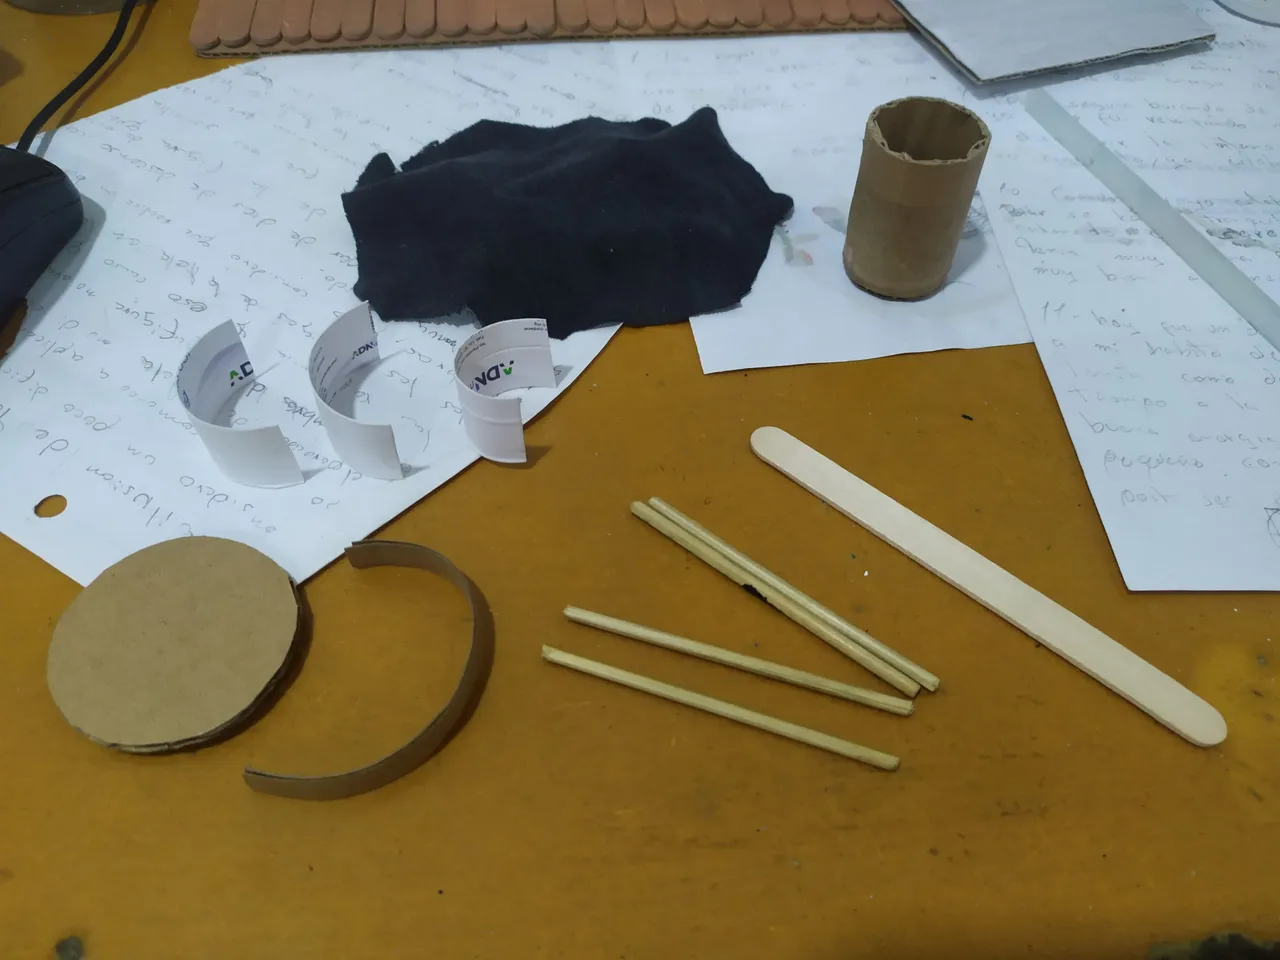
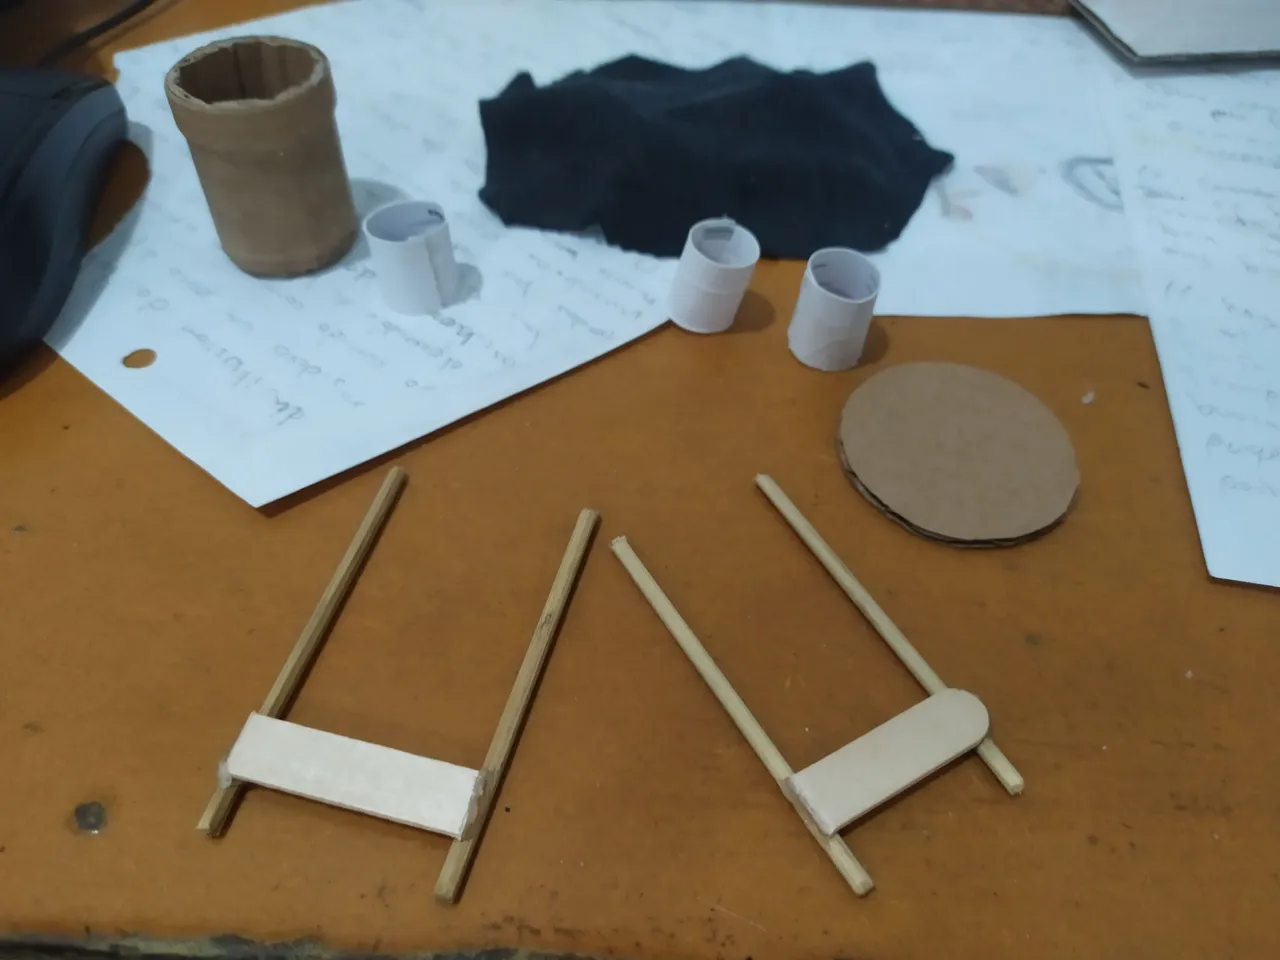
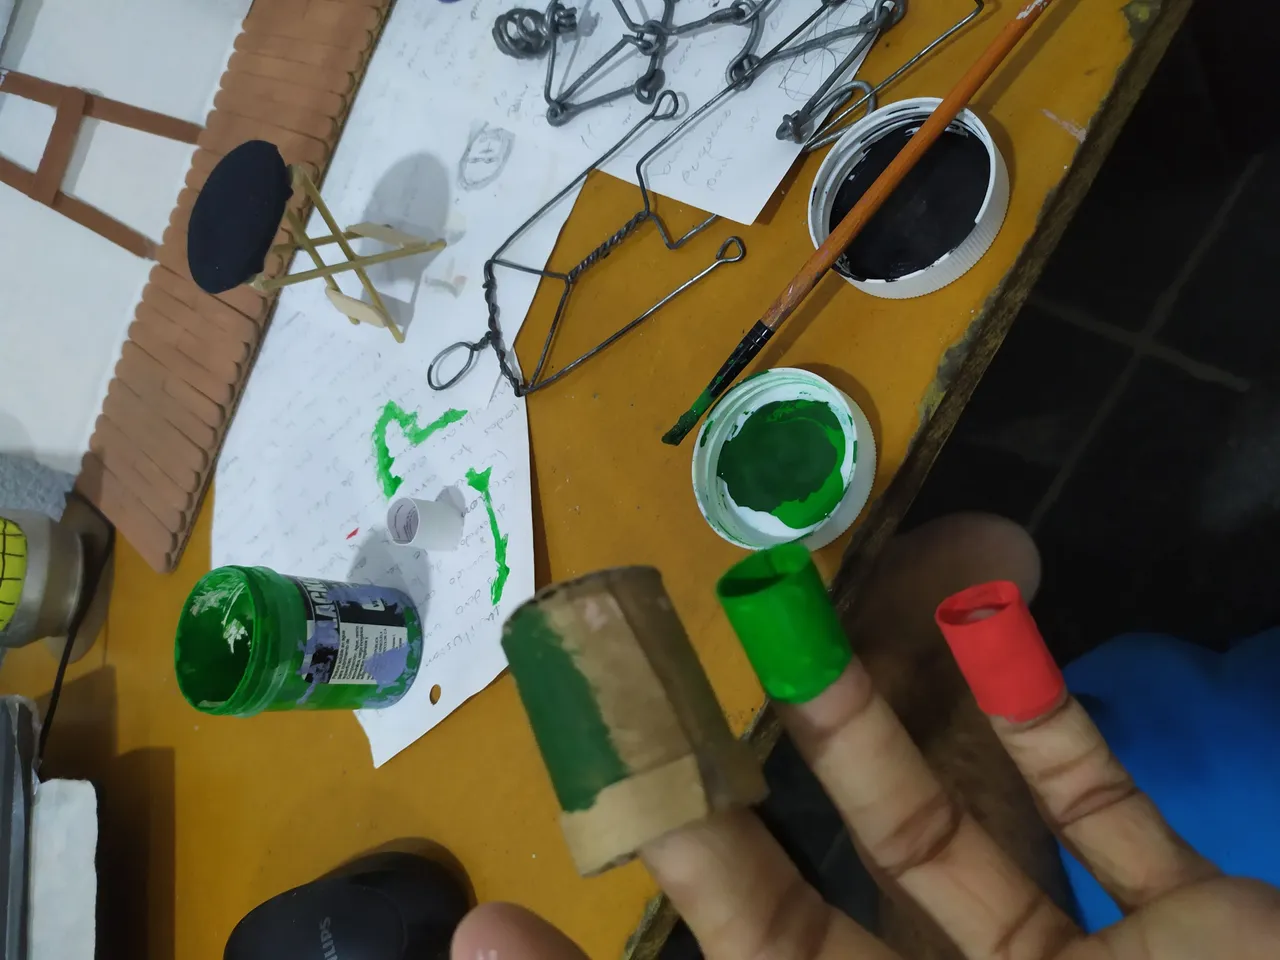
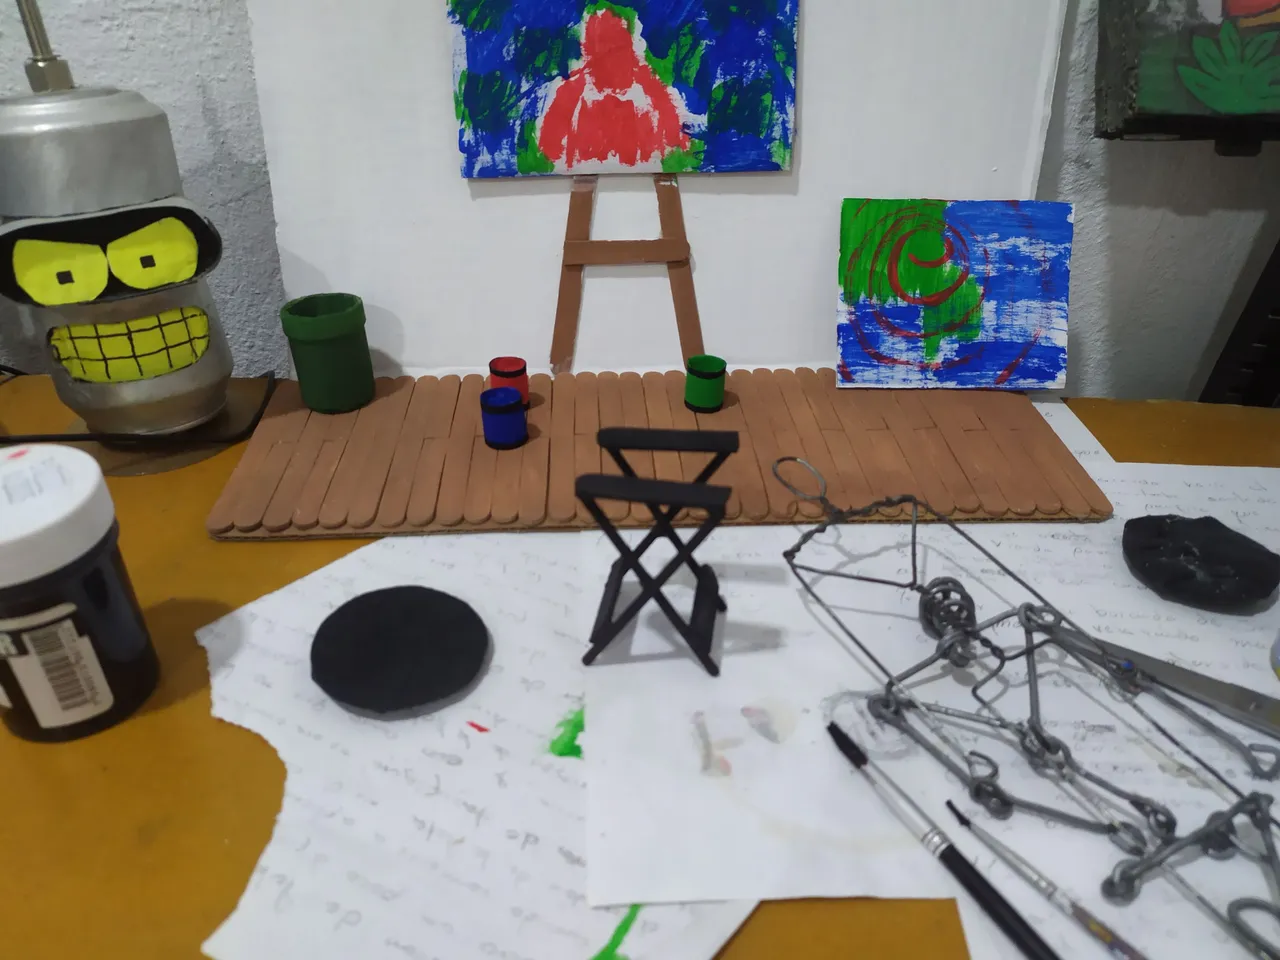
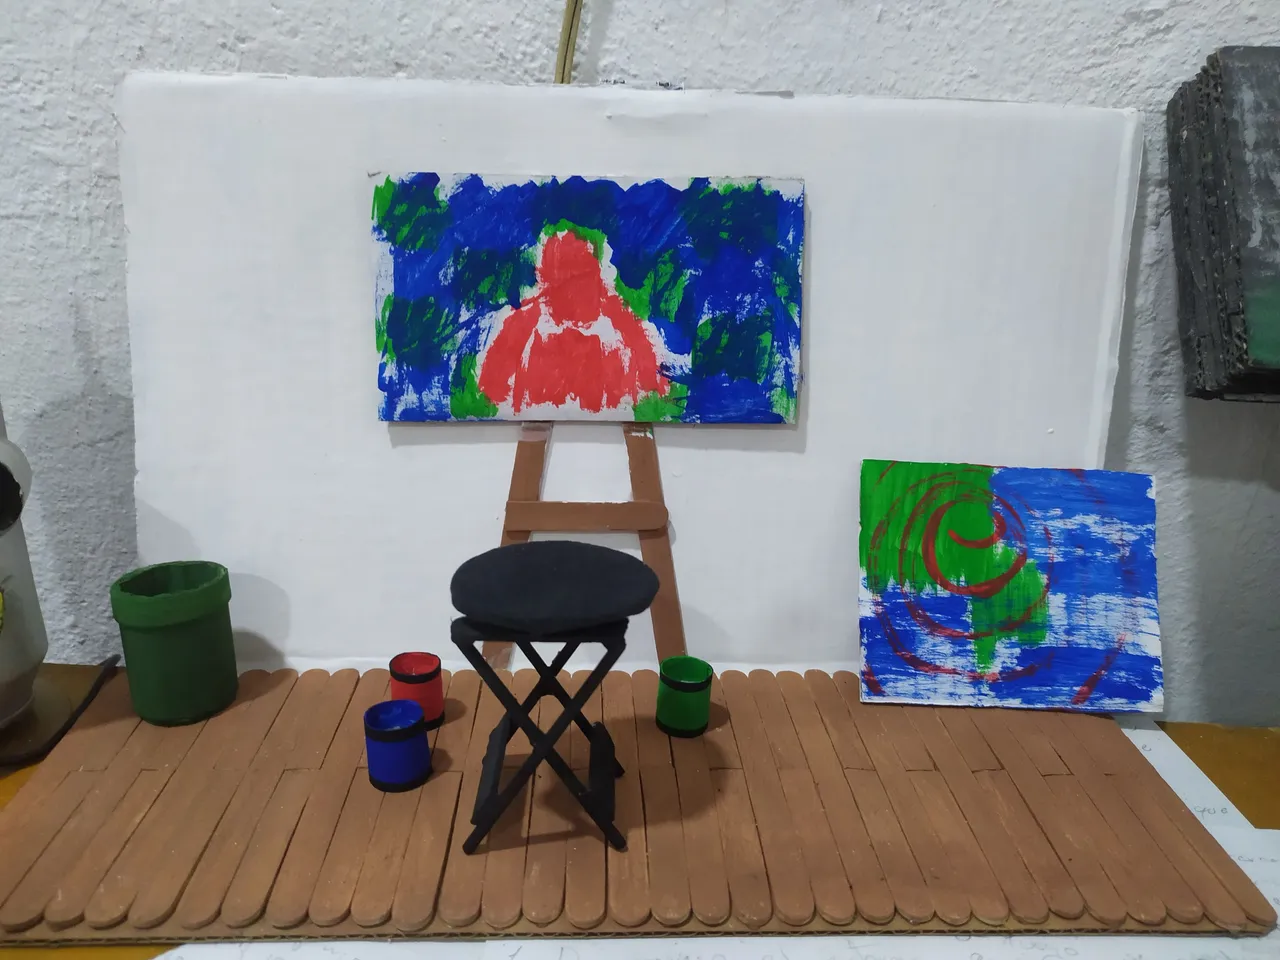
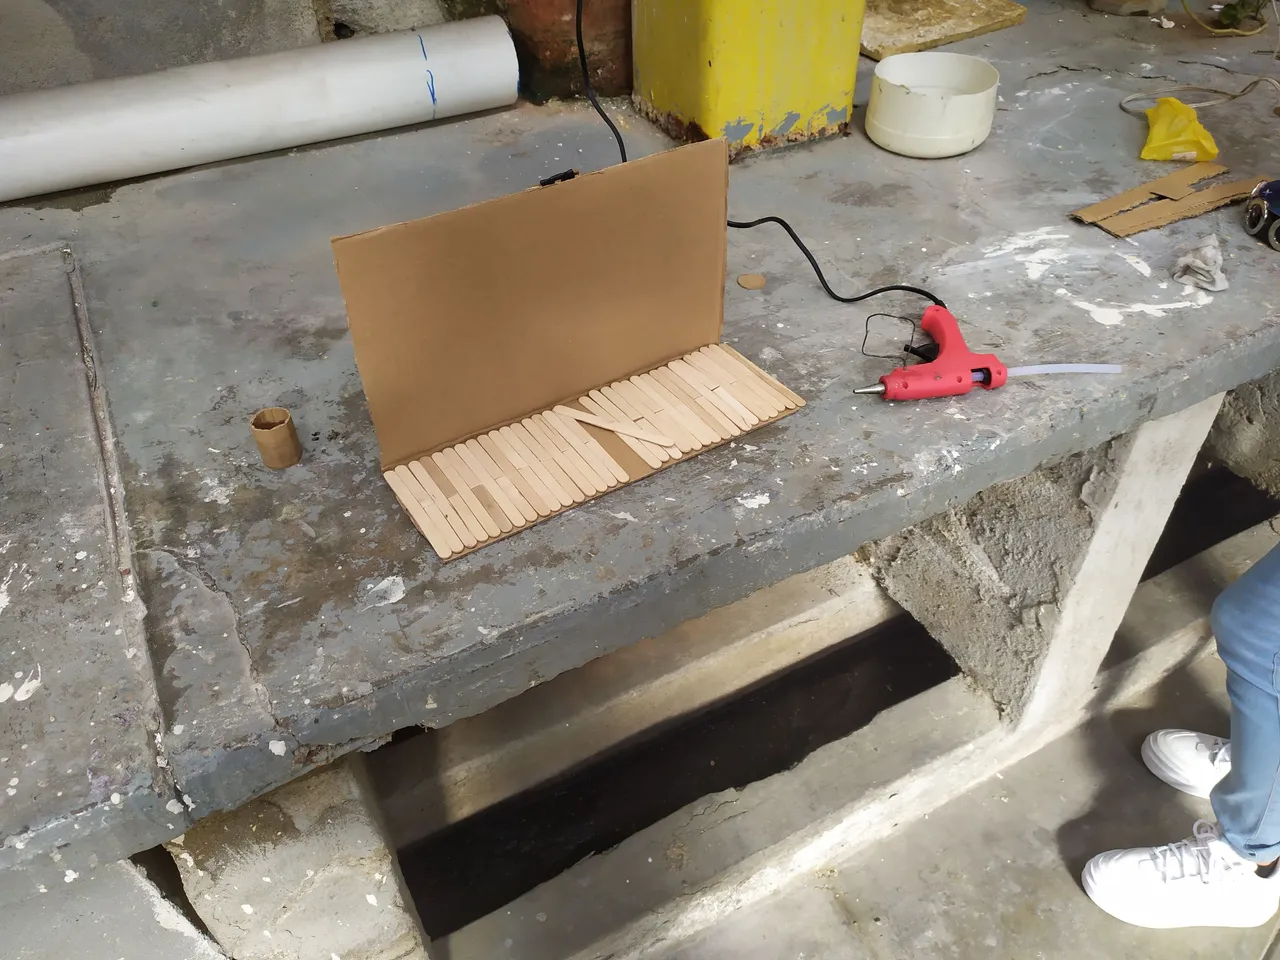
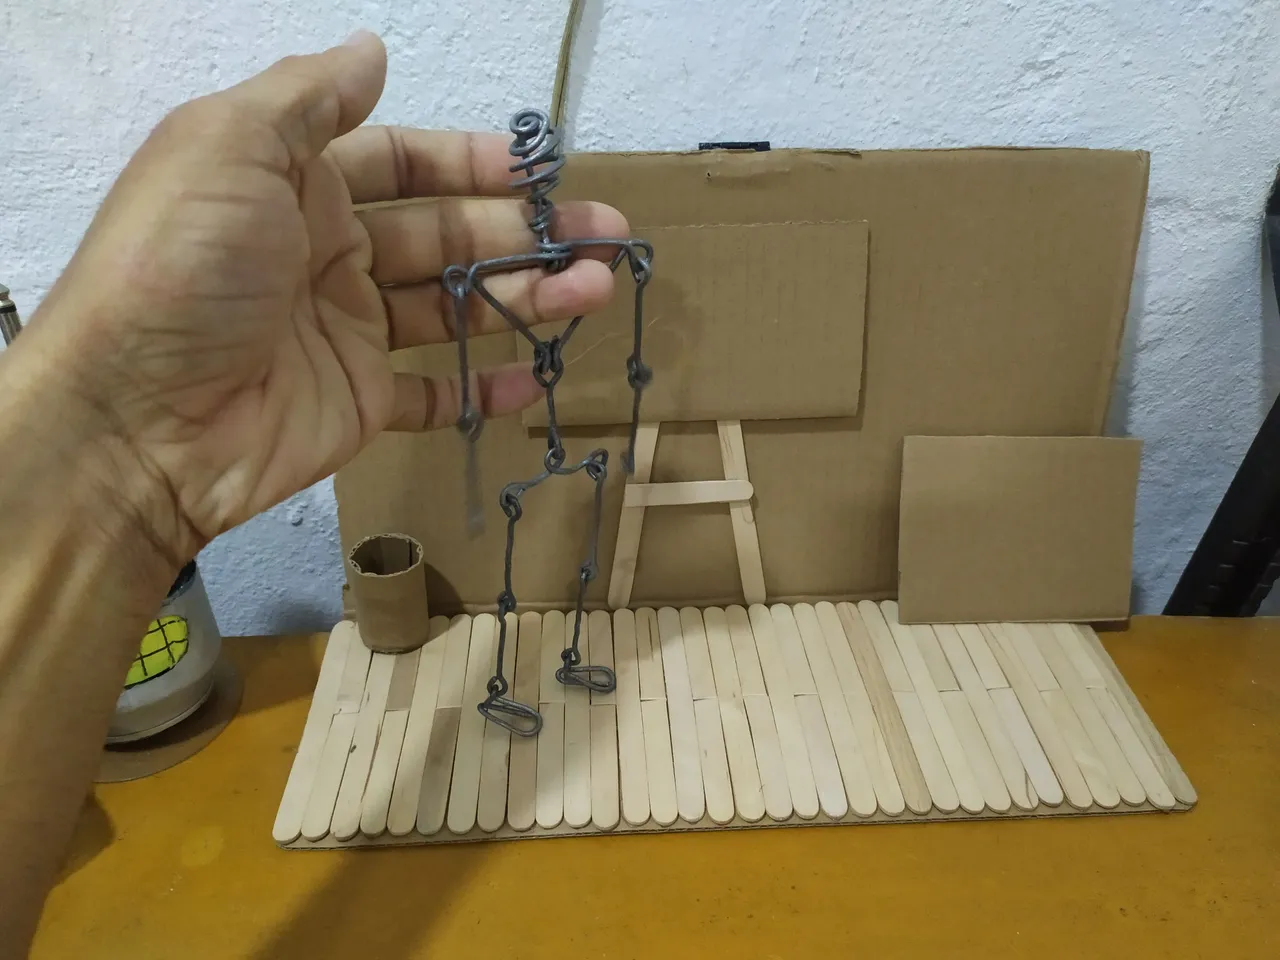
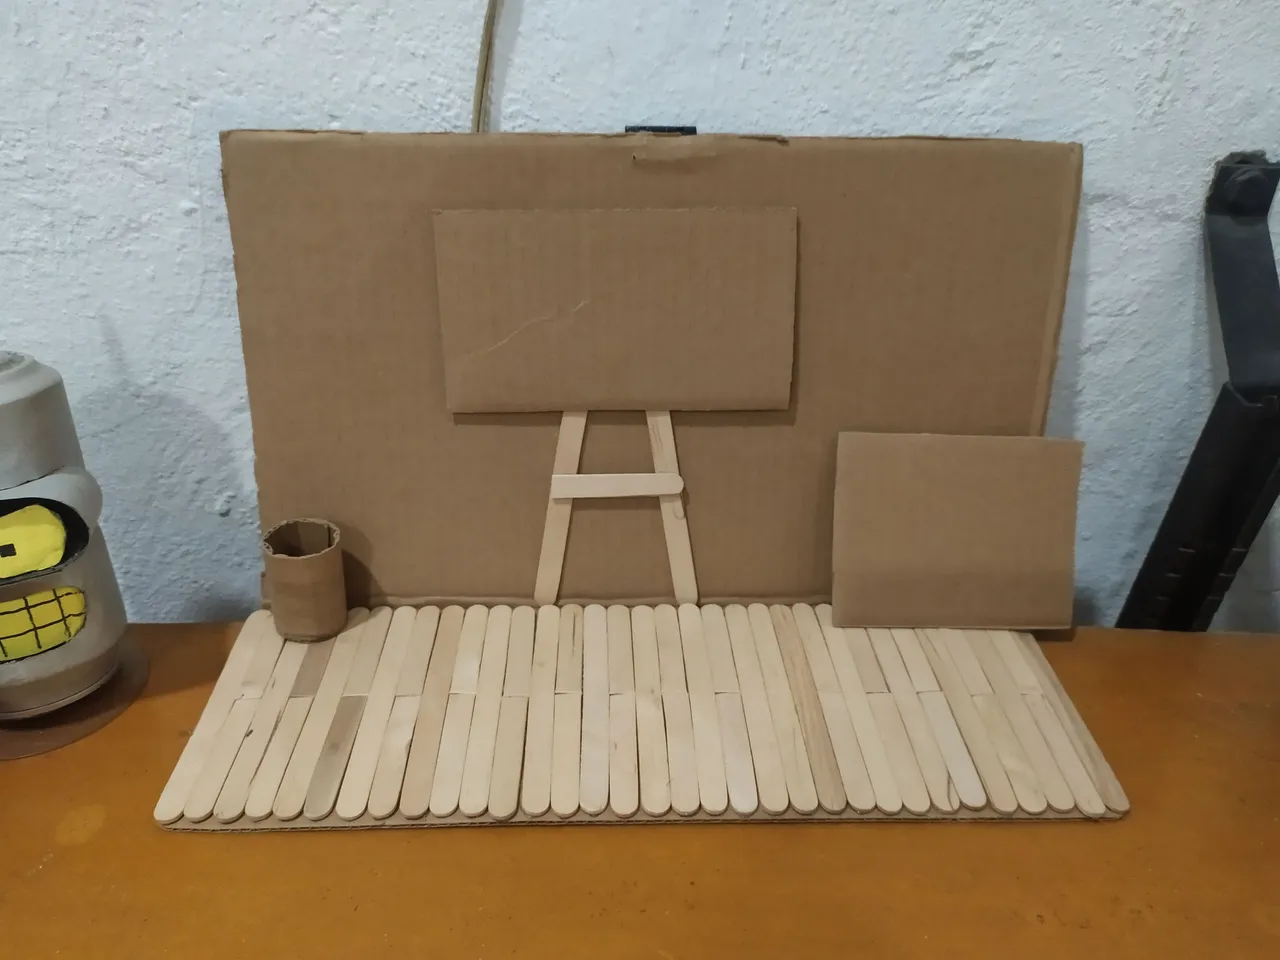
Then I began to make the paraphernalia that decorates and creates the atmosphere in this small diorama. I made a small stool where the character would sit and I also made several cylinders that I would use to represent containers full of paint that the character would be using to paint on the canvas. Finally, I added color to the entire stage, the white background wall and the brown floor. I added another canvas leaning against the background wall and a green pot where a small plant would go.
Después comencé a realizar la parafernalia que adornan y generan el ambiente en este pequeño diorama, realice un pequeño banquito en donde ira sentado el personaje y también realice varios cilindros que usaría para representar unos envases llenos de pintura que serían los que el personaje está utilizando para pintar en el lienzo; por ultimo le agregue color a todo el escenario, la pared de fondo blanca y el piso marrón, agregue otro lienzo recostado de la pared de fondo y una maseta verde en donde iría una pequeña planta.
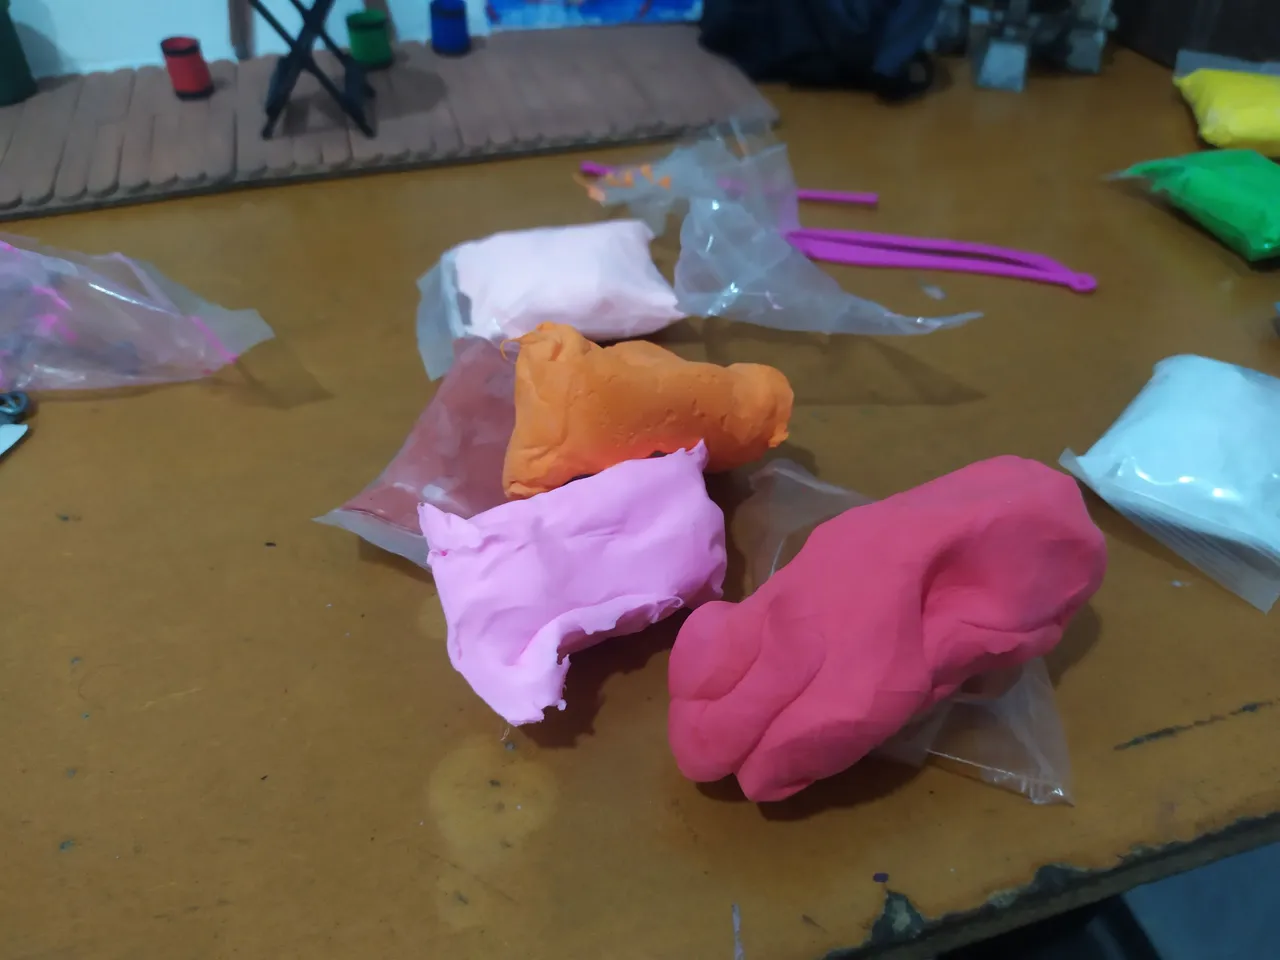
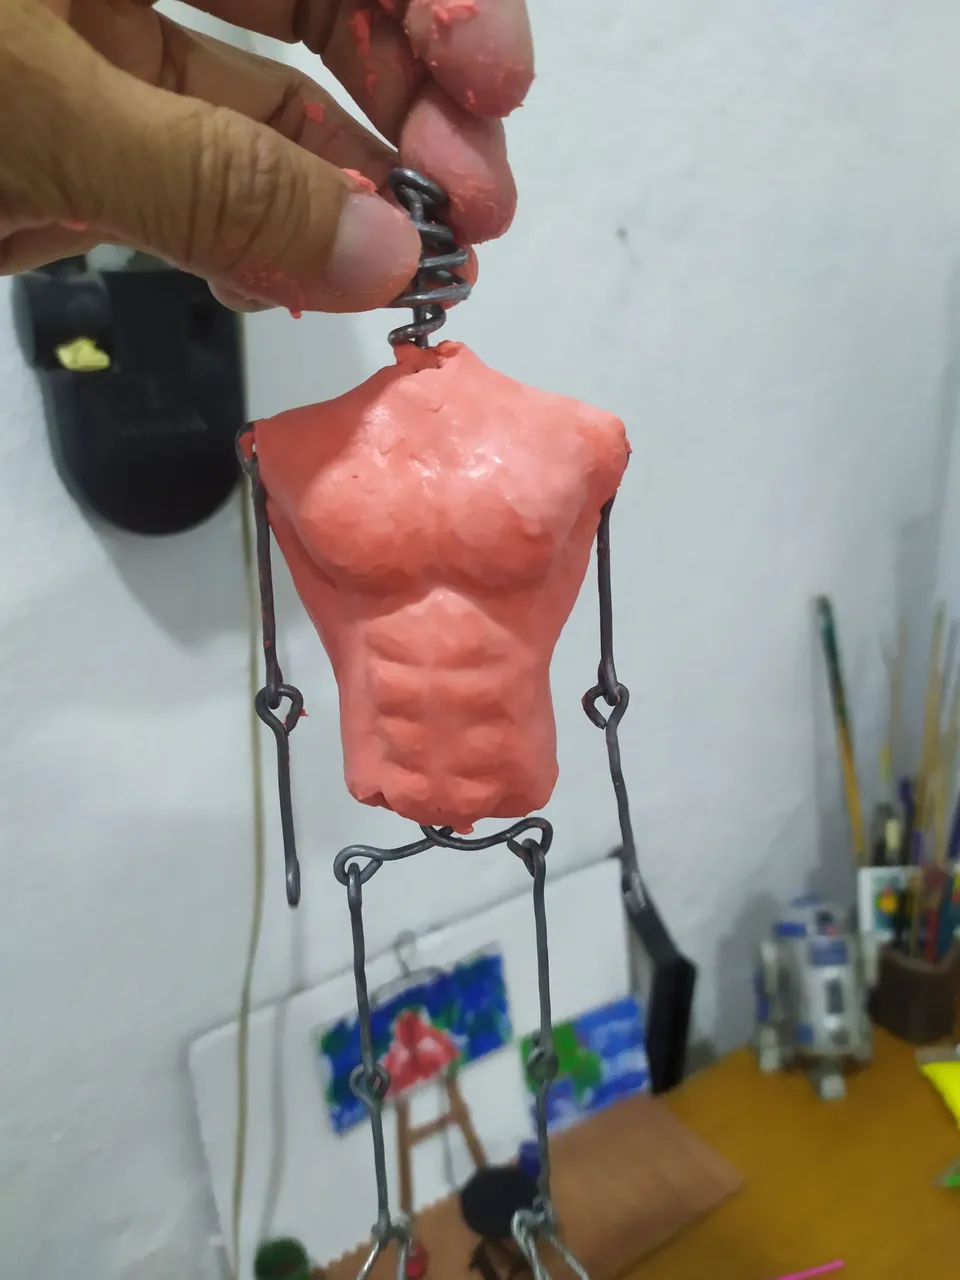
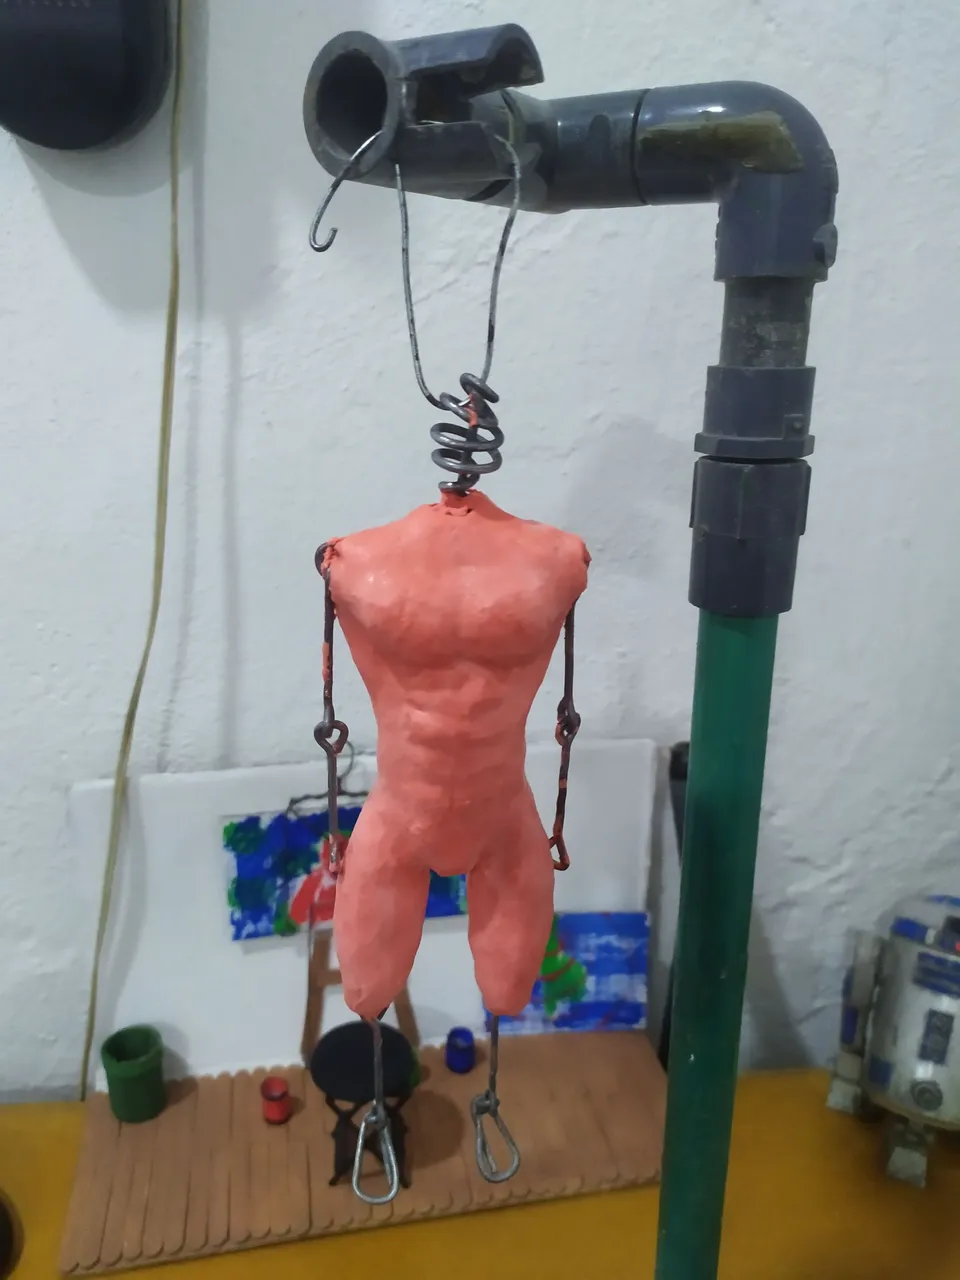

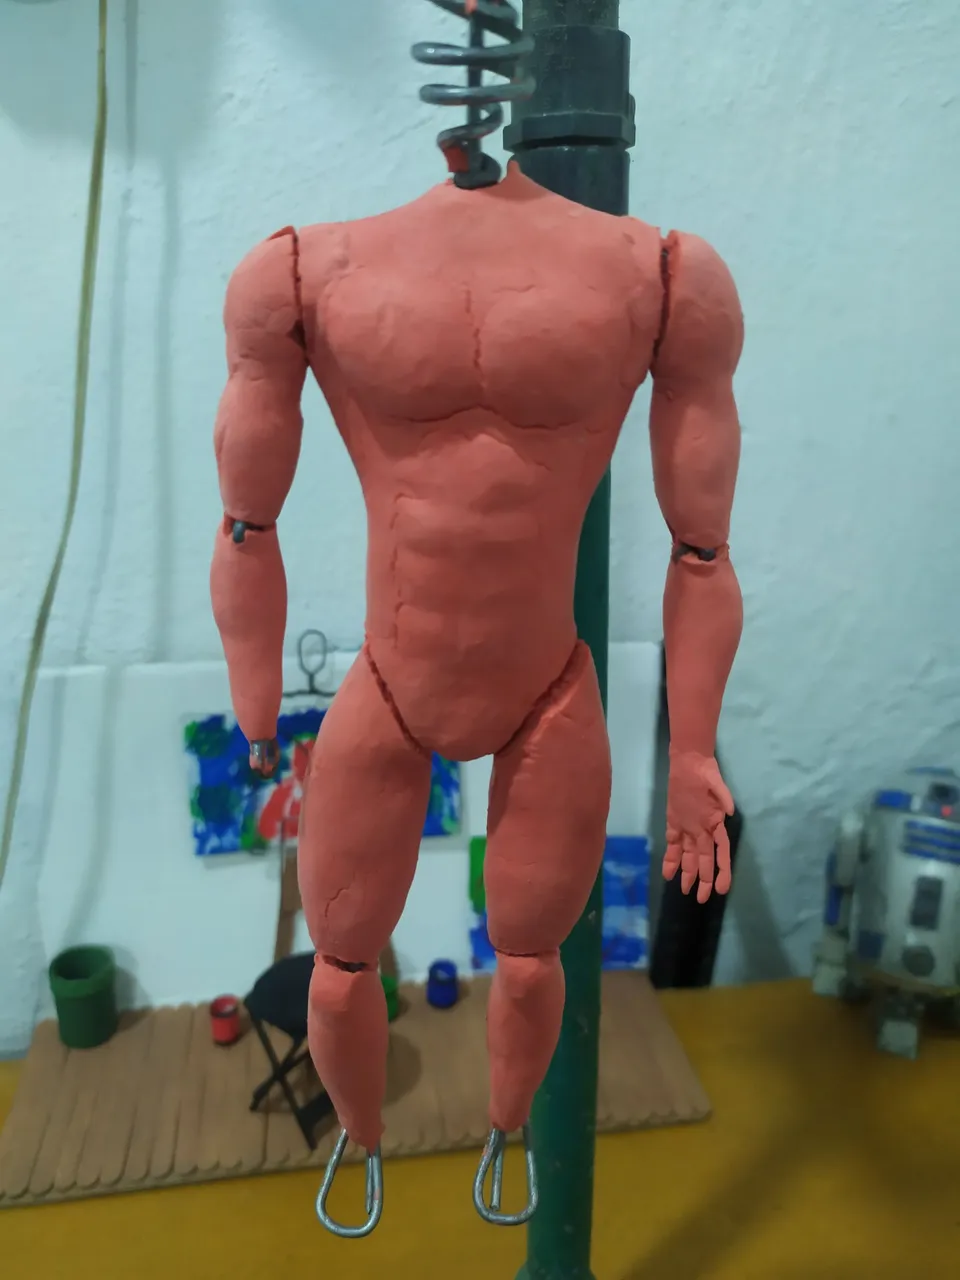
After finishing the stage, now it's time to continue with the creation of the 3D character, I had already finished the internal skeleton of the character, each joint has independent mobility, I only need to model the body, which for this occasion I used flexible foam, it was the first time I used this material, at first it was hard for me to adapt to its use, since I started using wet hands and it turns out that you shouldn't manipulate that way, but little by little as I progressed in the modeling of each part of the body, I understood how to use the material effectively and I really loved the flexible foam to do these types of projects.
Luego de culminar el escenario, ahora toca continuar con la creación del personaje 3d, ya tenía culminado el esqueleto interno del personaje, cada articulación tiene movilidad independiente, solo falta modelar el cuerpo, que para esta ocasión utilice foamy flexible, fue la primera vez que utilizo este material, al principio me costó adaptarme a su uso, ya que comencé utilizando las manos húmedas y resulta que no se debe manipular de esa manera ese material, pero poco a poco acorde iba avanzando en el modelado de cada parte del cuerpo, fui comprendiendo como usar de manera eficaz el material y de verdad me encanto el foamy flexible para realizar este tipo de proyectos.
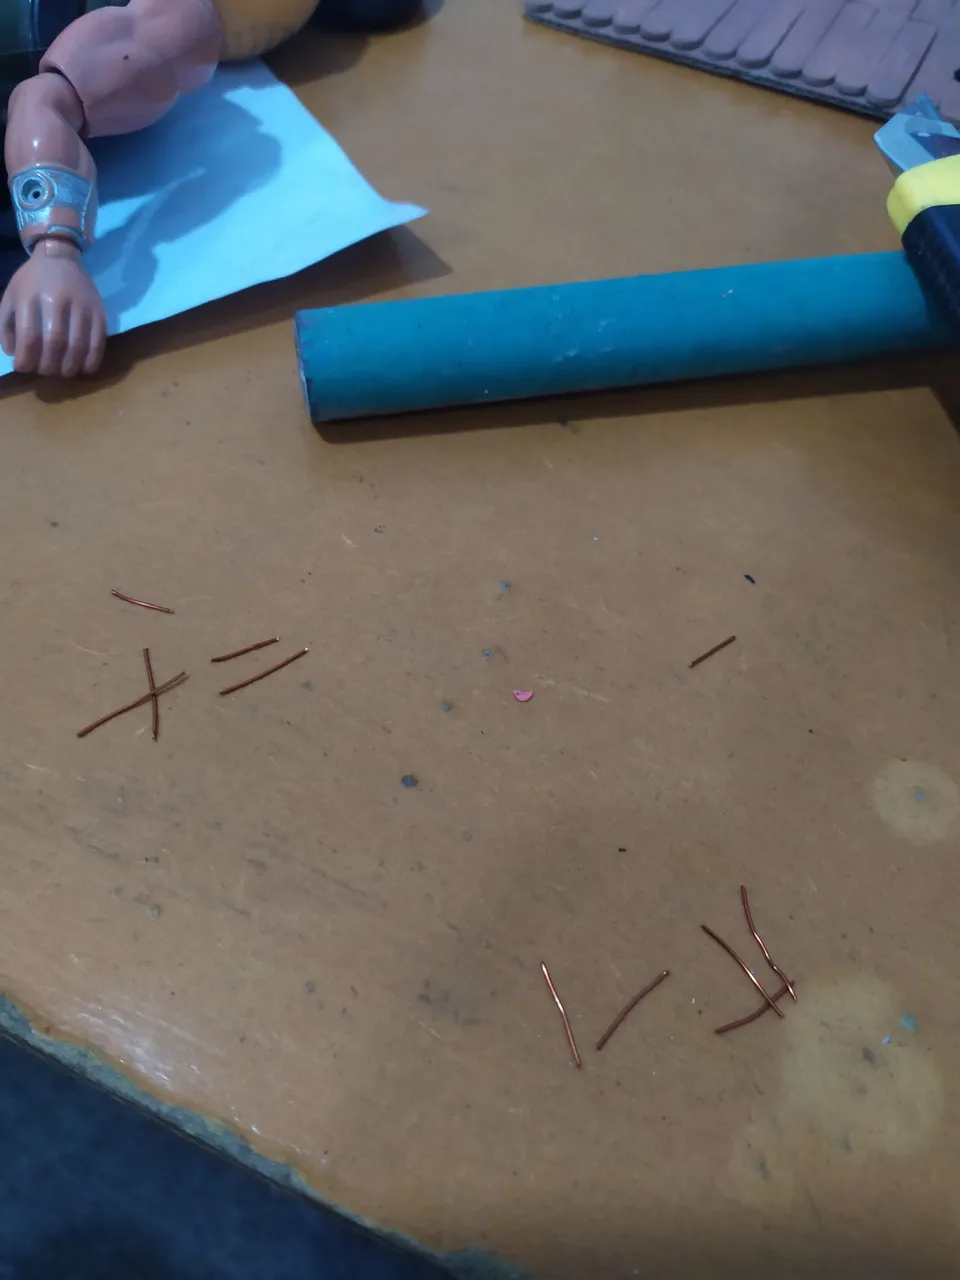
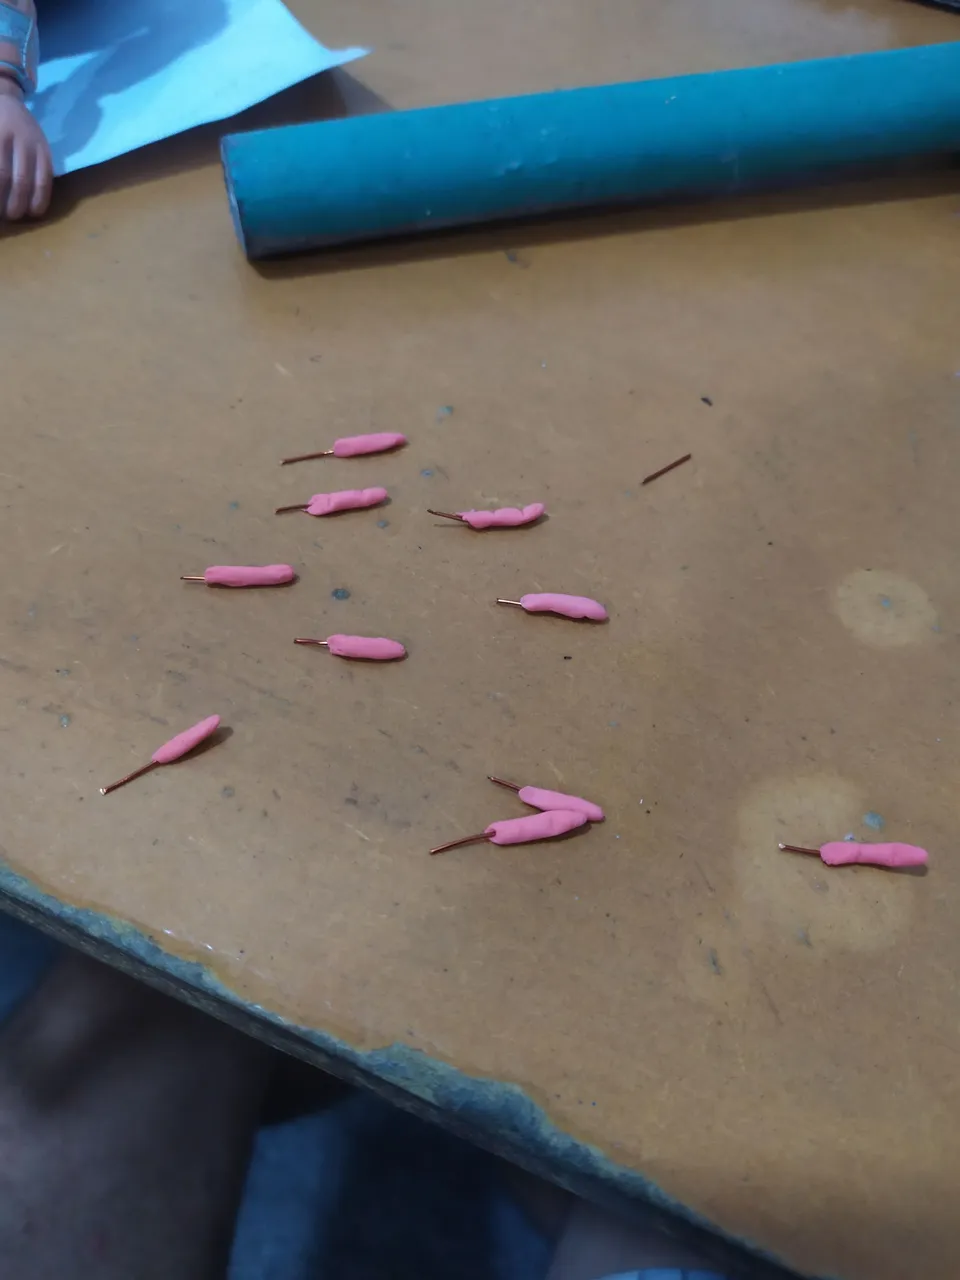
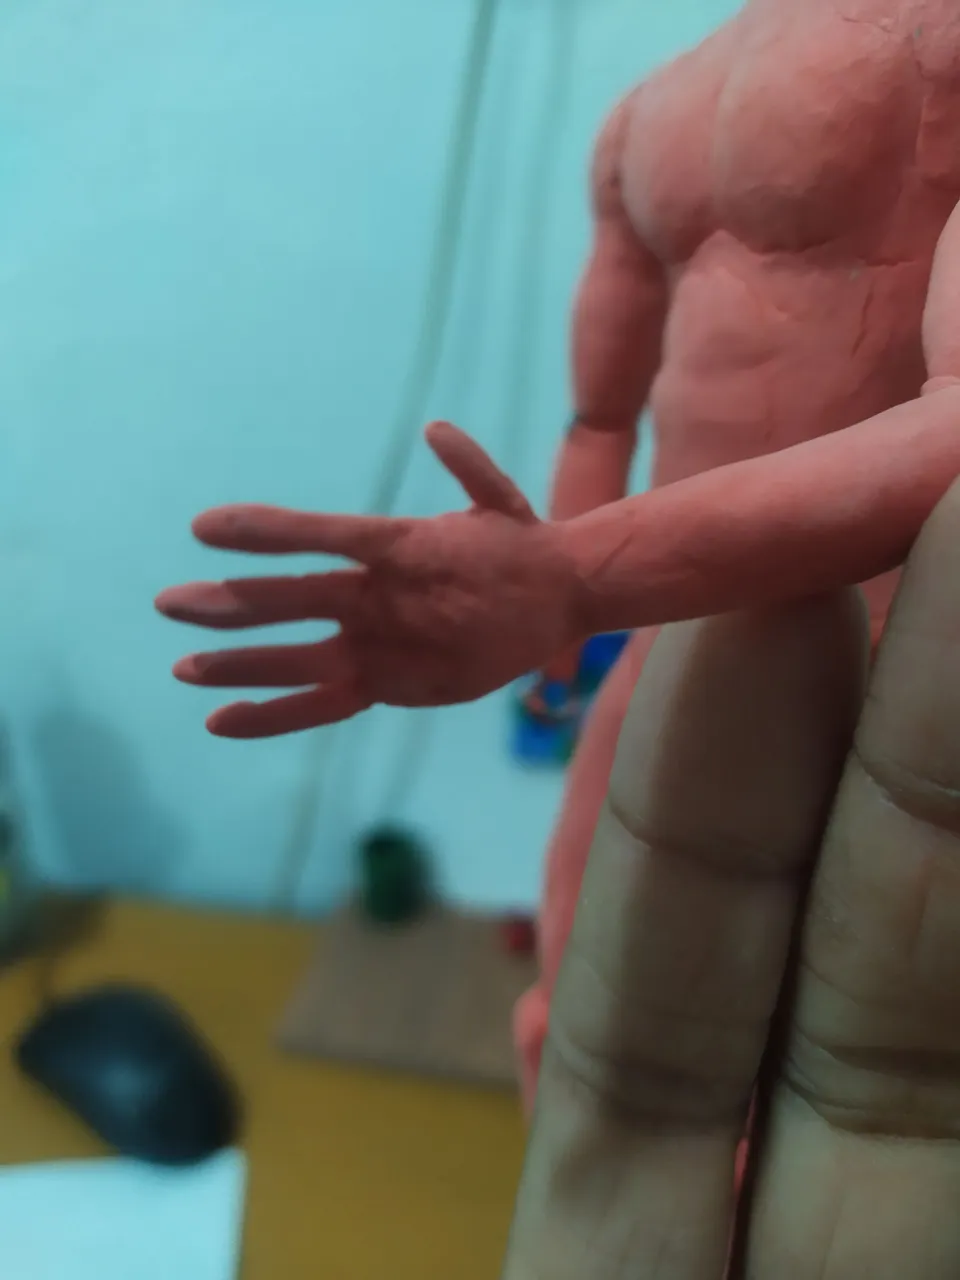
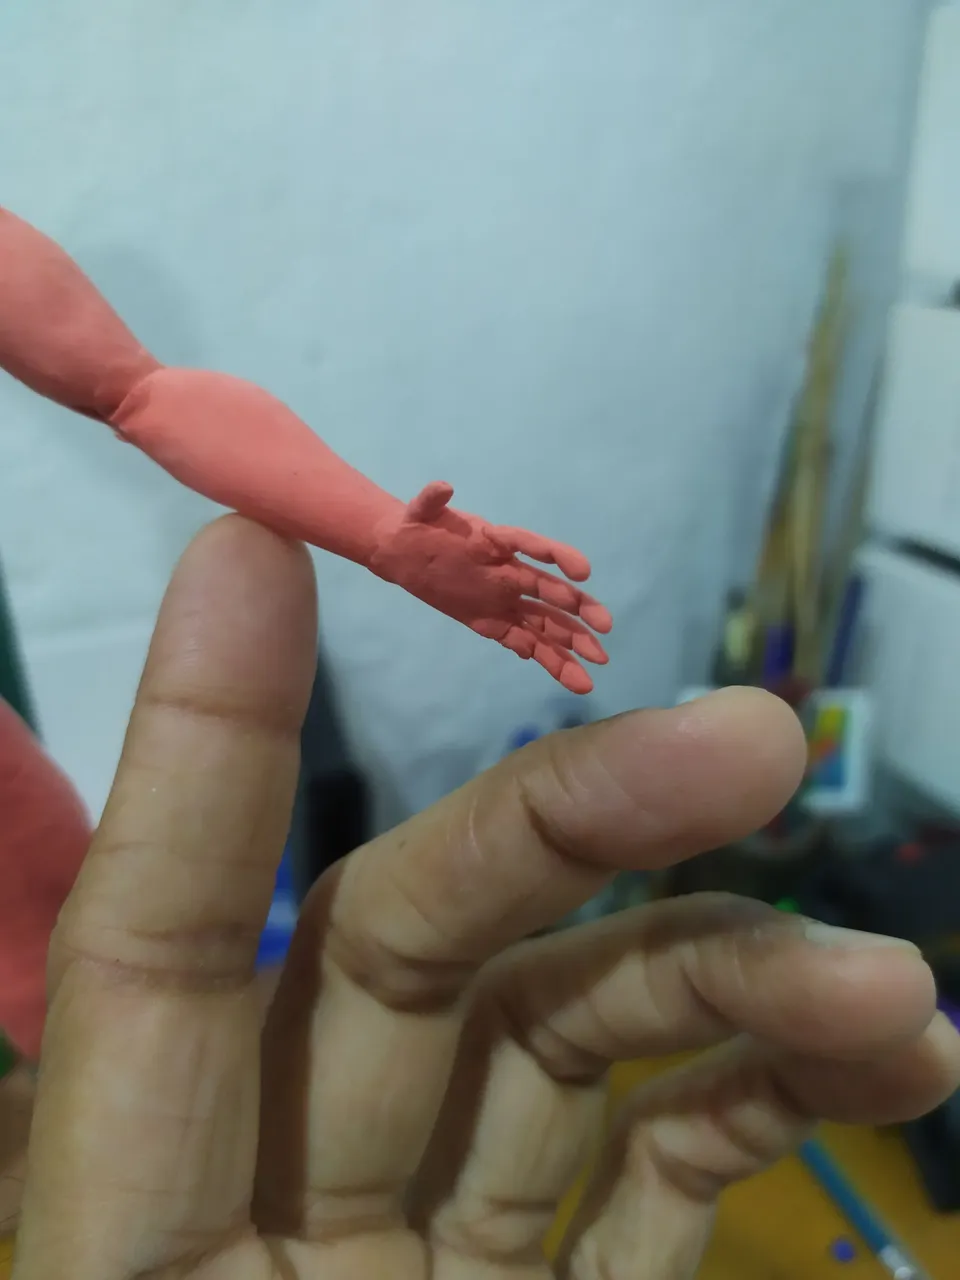
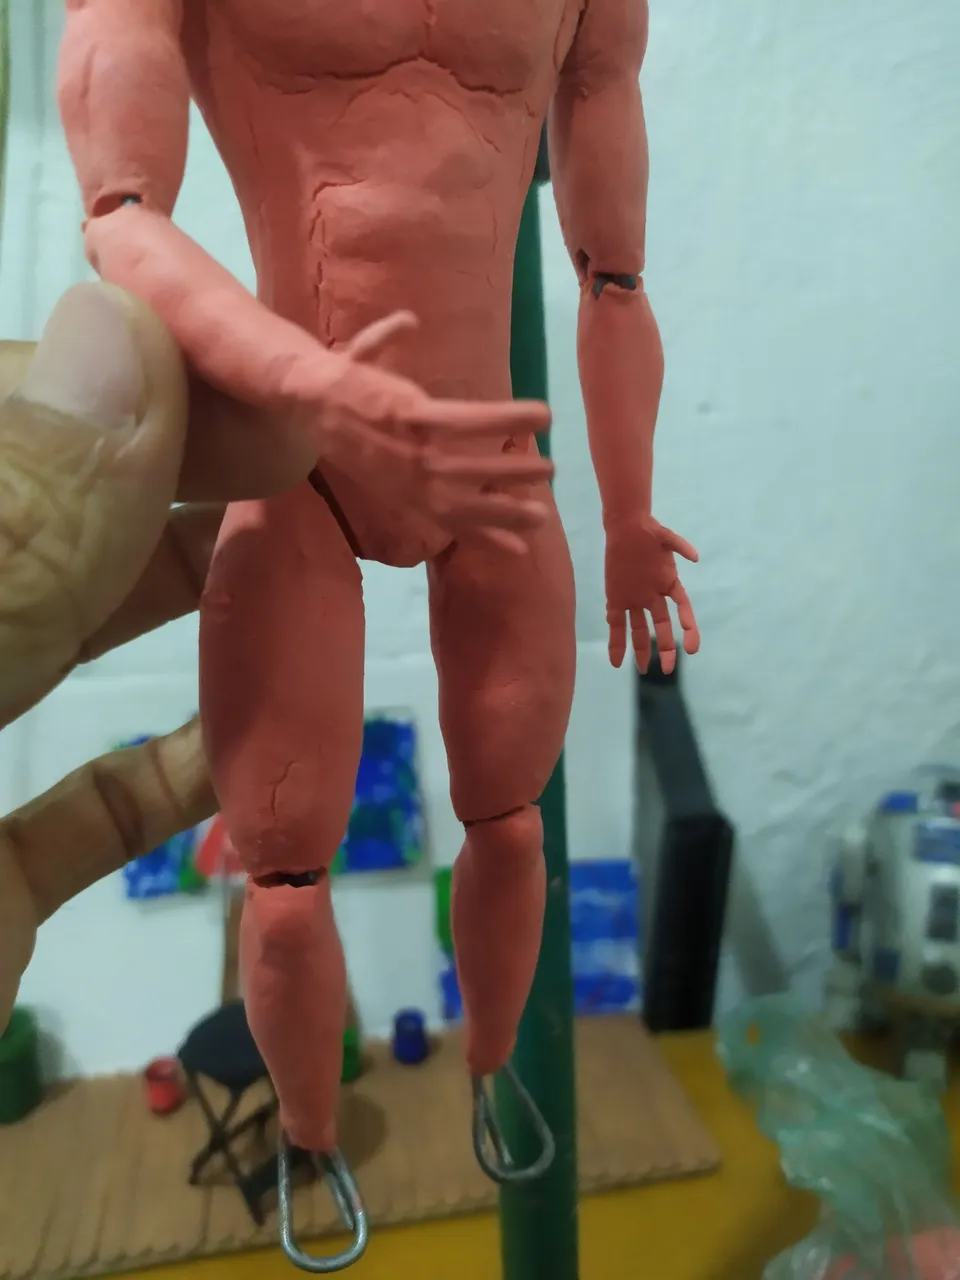
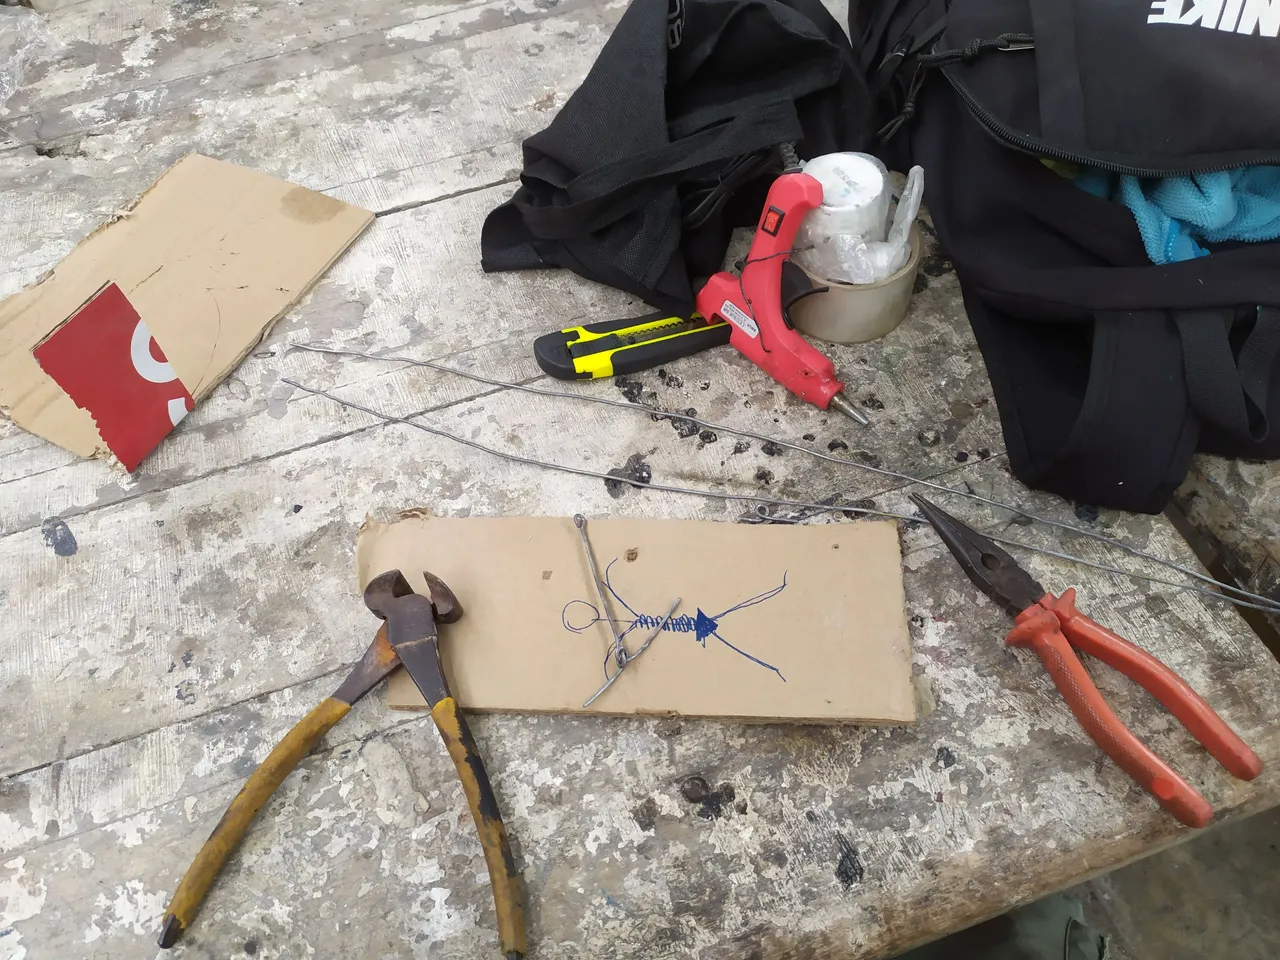
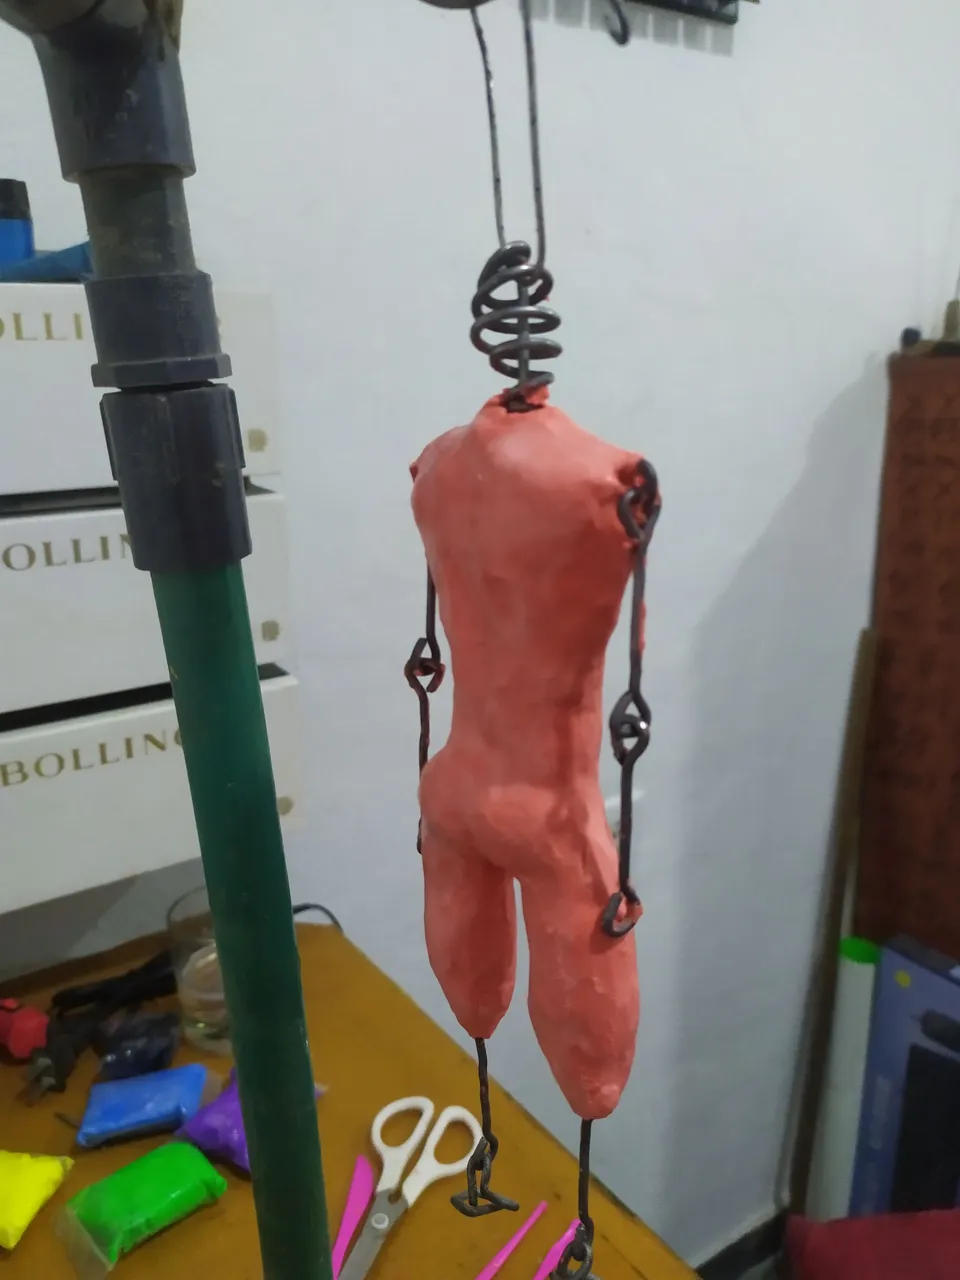
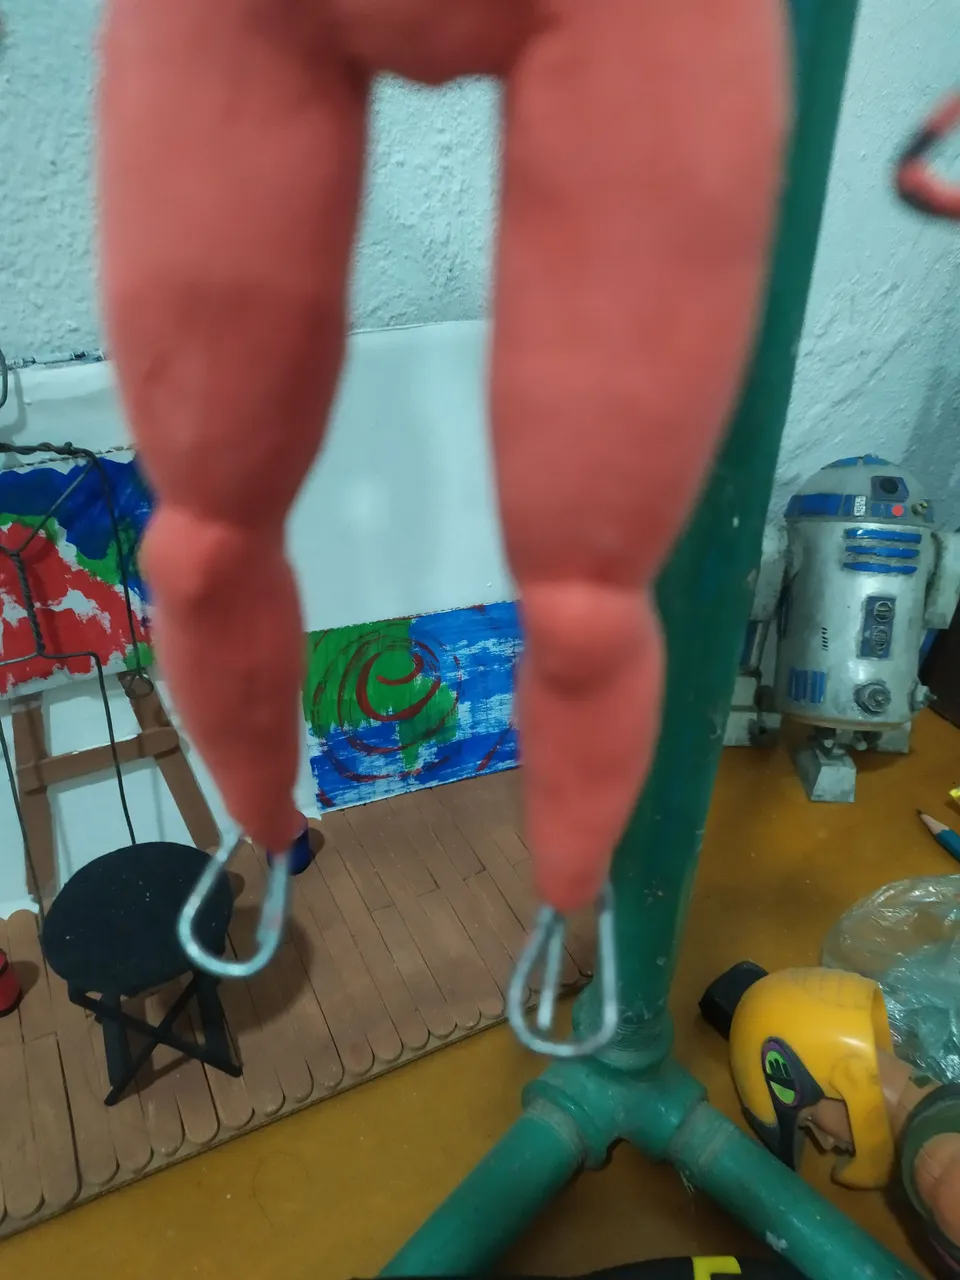
I left the hands for last, as I wanted to make each finger separately and for each to have a piece of copper wire inside that would allow me to place each finger in a different position, in case I had to make a scene where the fingers had a close-up that required it; after placing the hands with all their fingers correctly positioned, I made several cuts in the foam to expose the joints and thus allow the movement of each of the extremities of the character's body, this will make it easier for me to place the poses that I need to use for the stop-motion scenes.
Las manos las deje para lo último, ya que quería realizar cada dedo por separado y que cada uno tuviera un trozo de alambre de cobre internamente que me permitiera colocar cada dedo en una posición diferente, por si me toca realizar una escena en donde los dedos tengan un plano detalle que lo requiera; después de colocar las manos con todos sus dedos correctamente posicionados, realice varios cortes en el foamy para dejar al descubierto las articulaciones y así permitir el movimiento de cada una de las extremidades del cuerpo del personaje, eso me va a facilitar colocar las poses que necesite utilizar para las escenas del stop-motion.
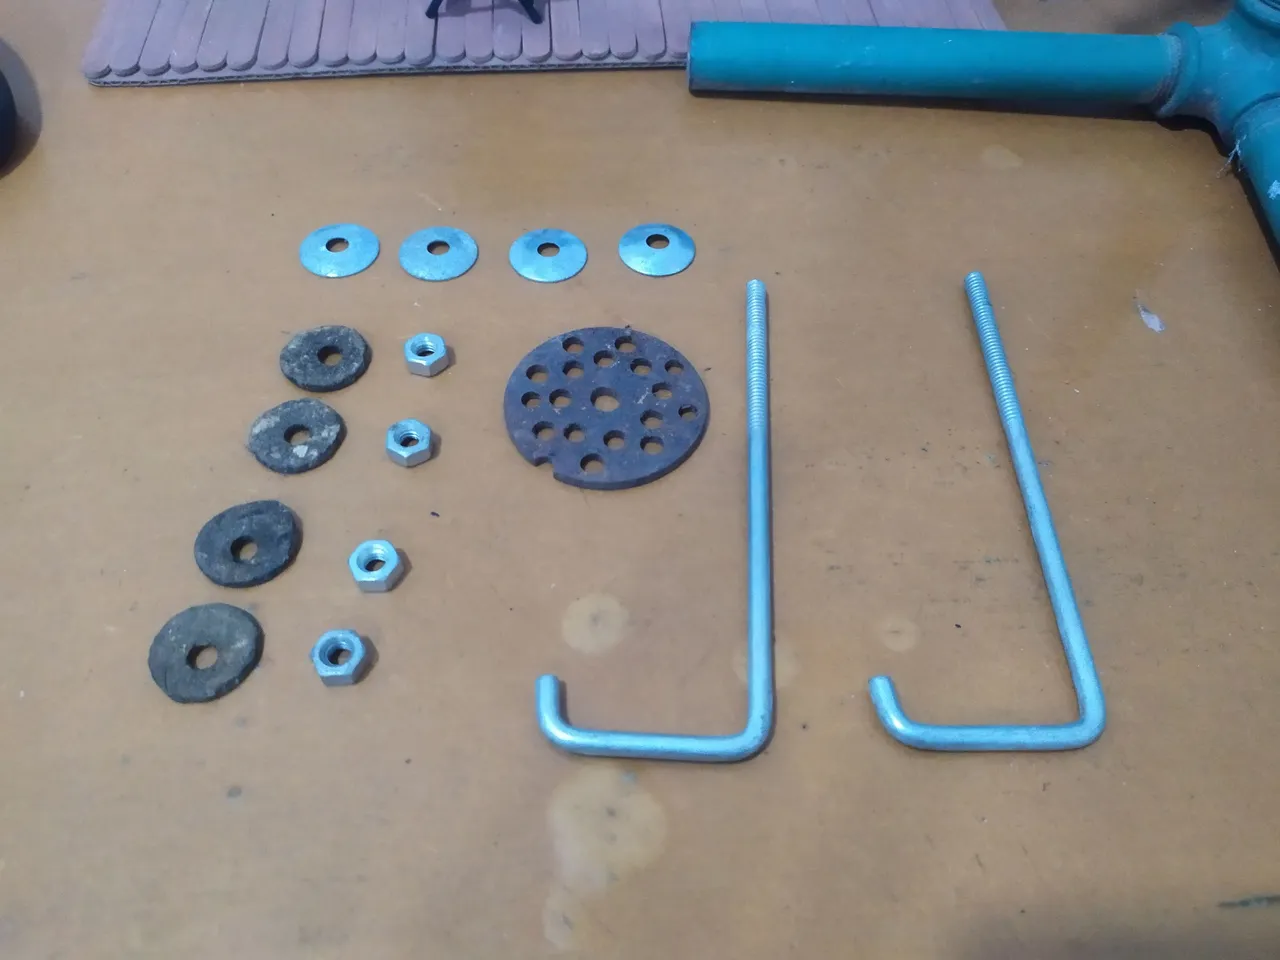
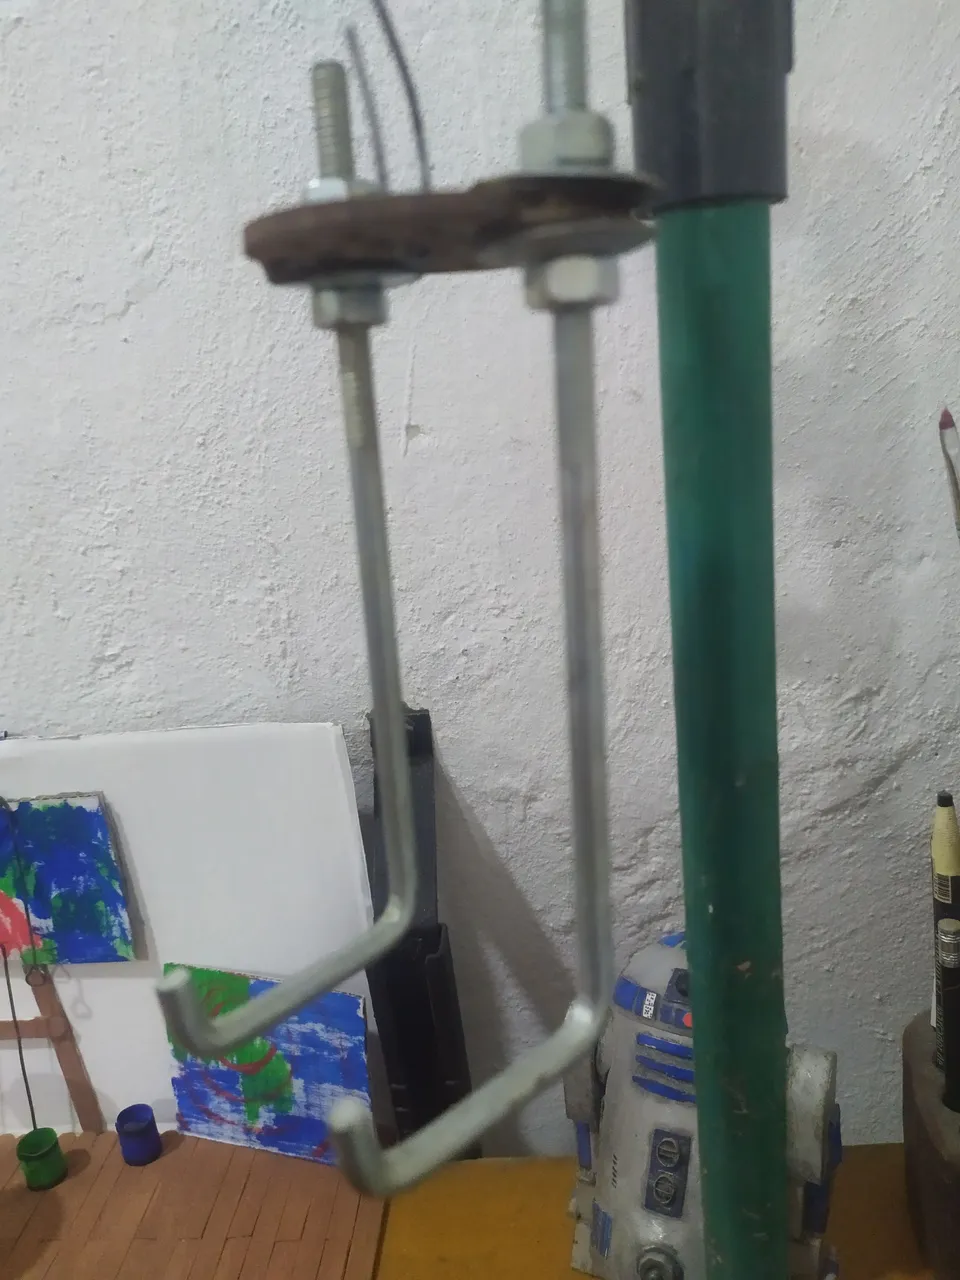

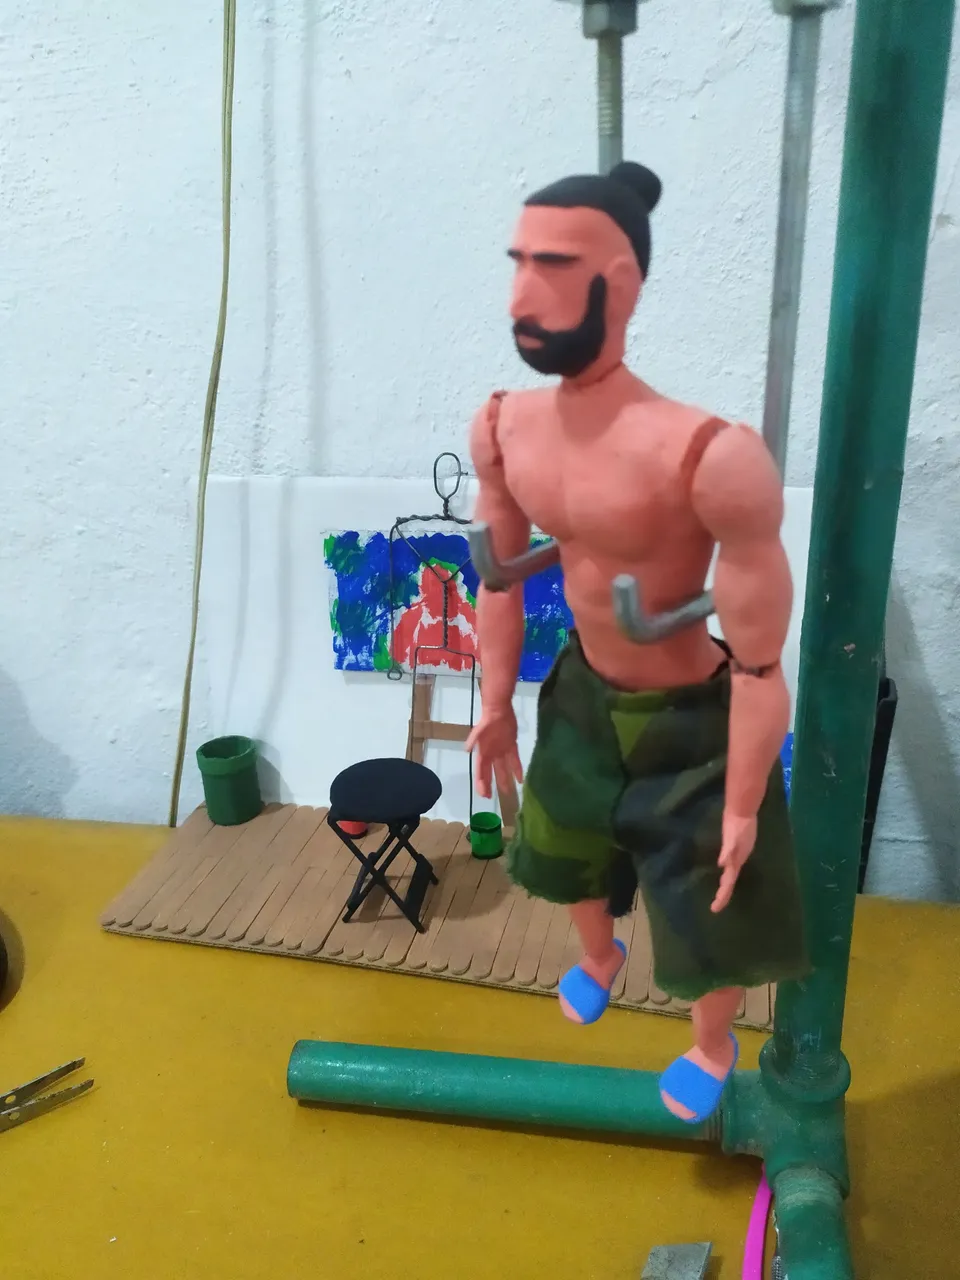
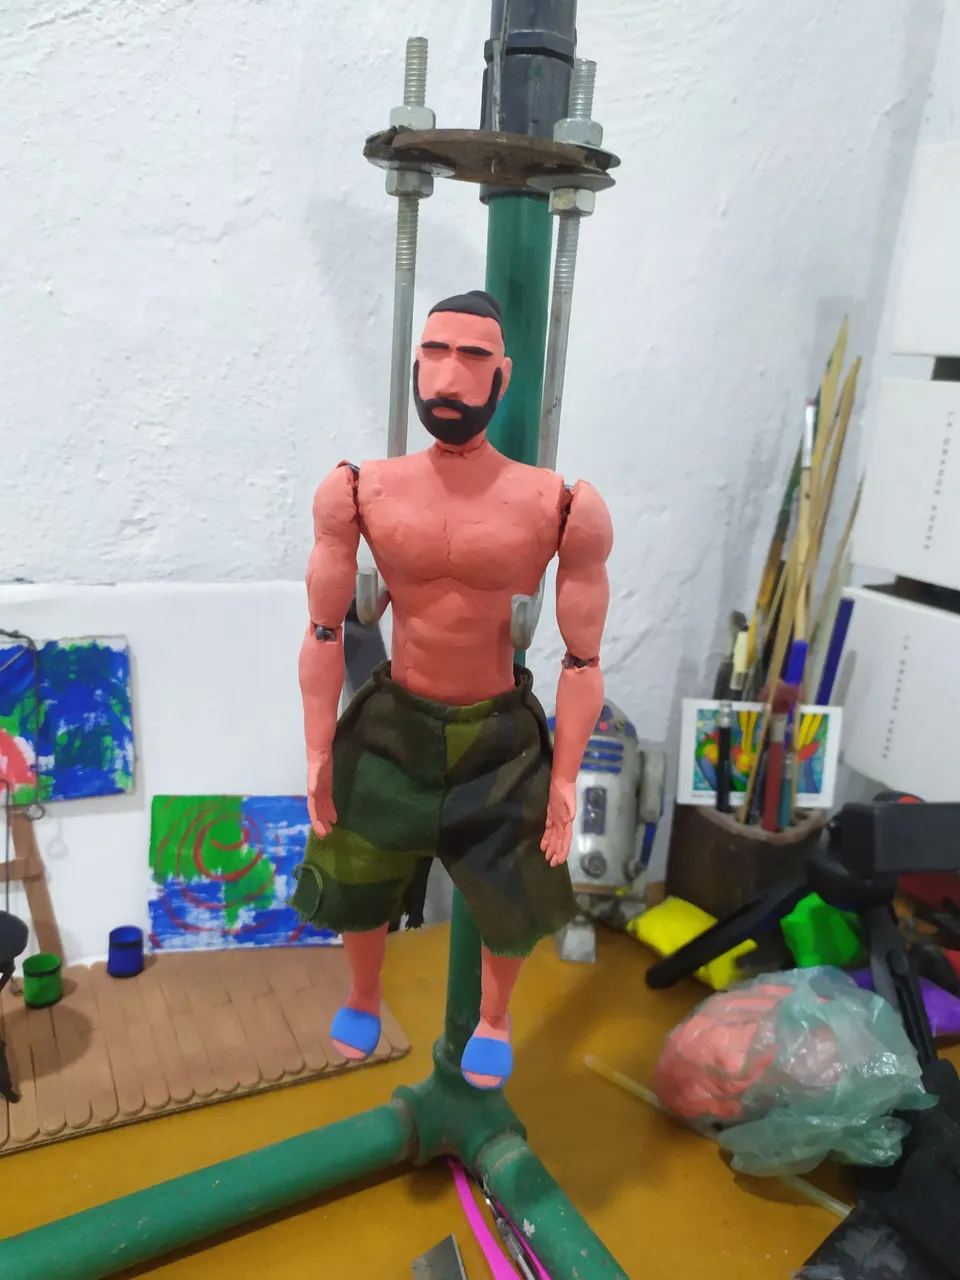
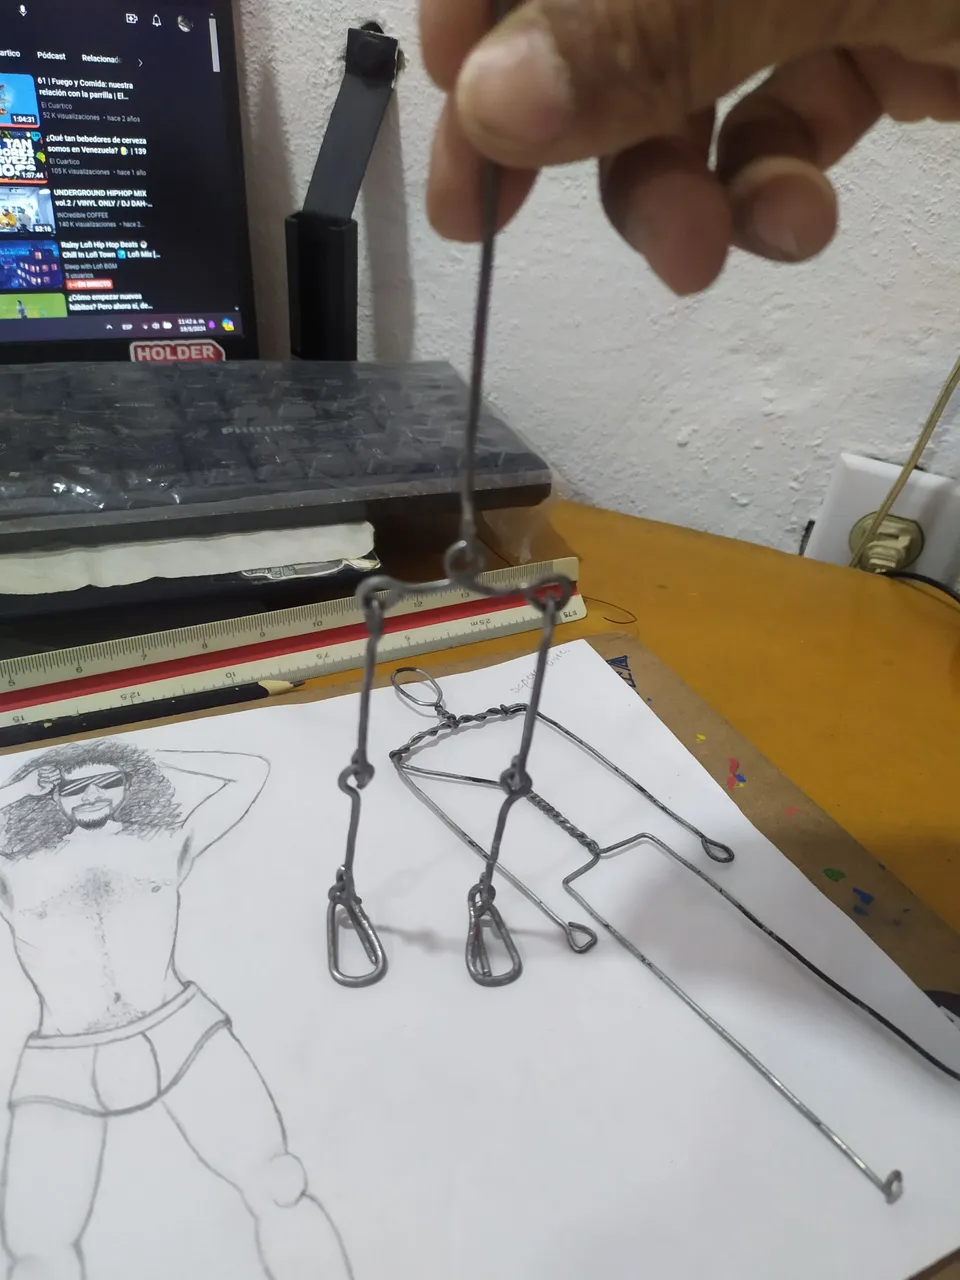
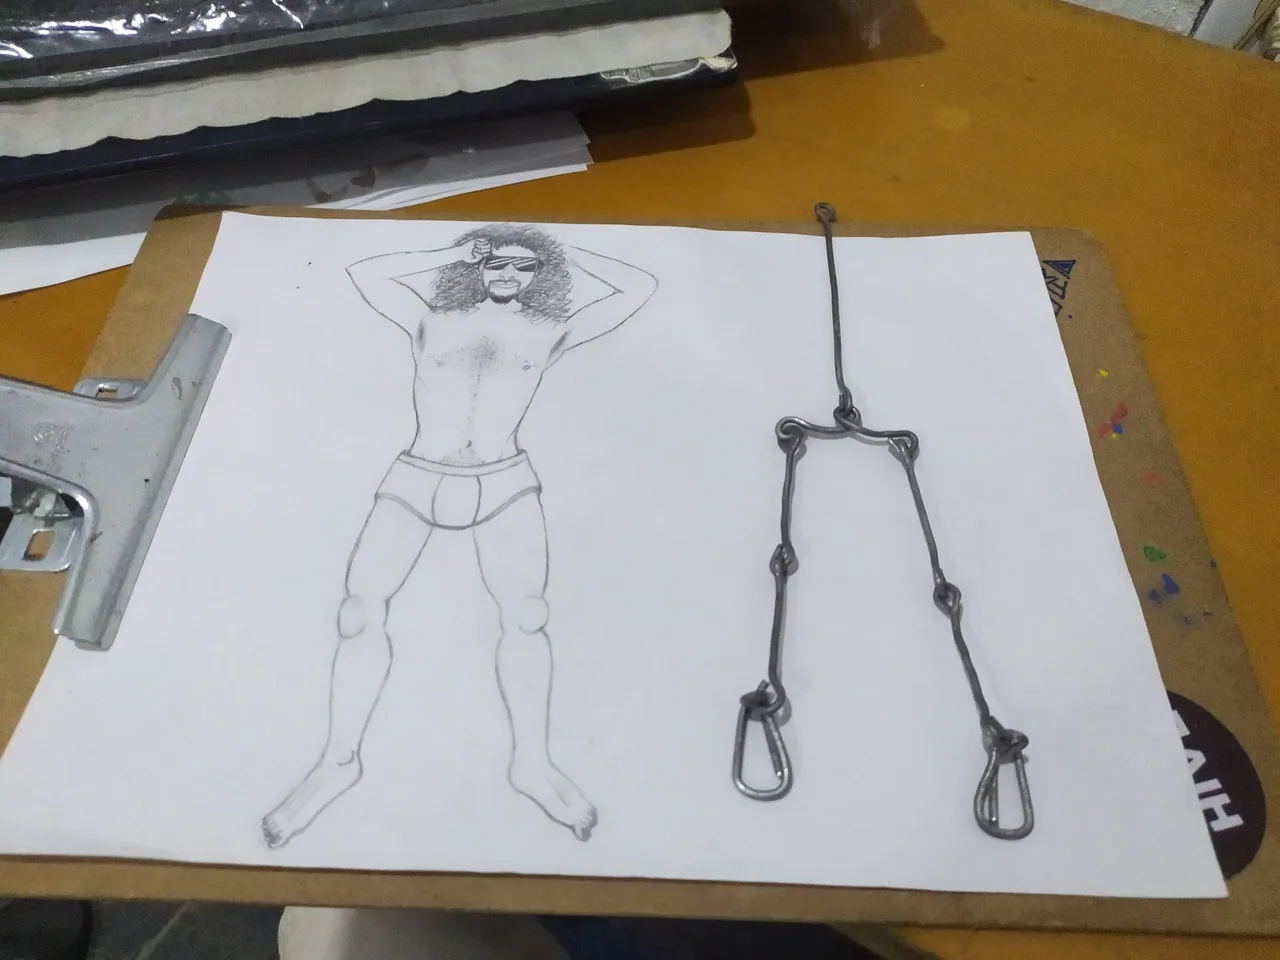
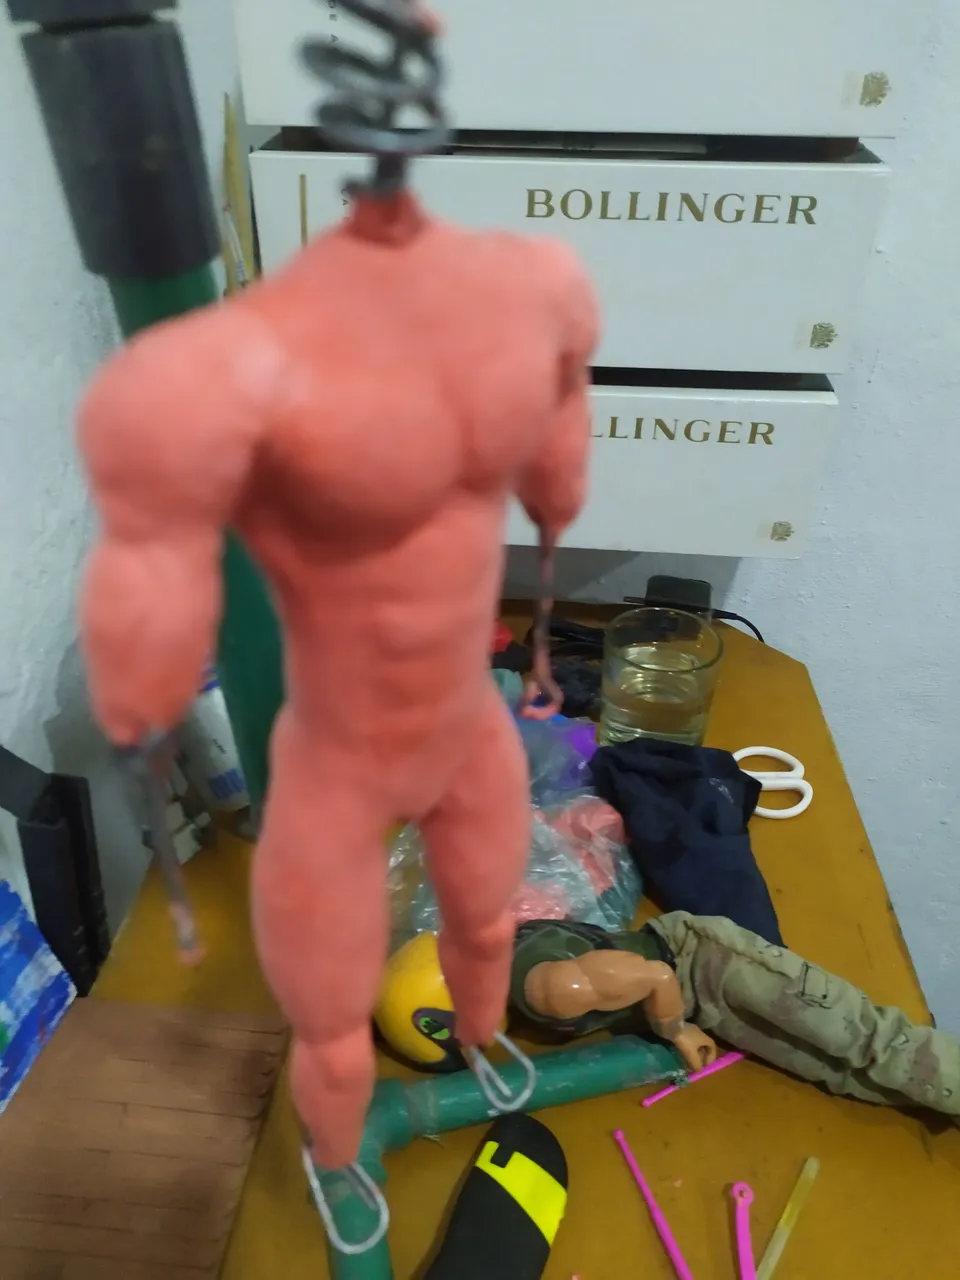
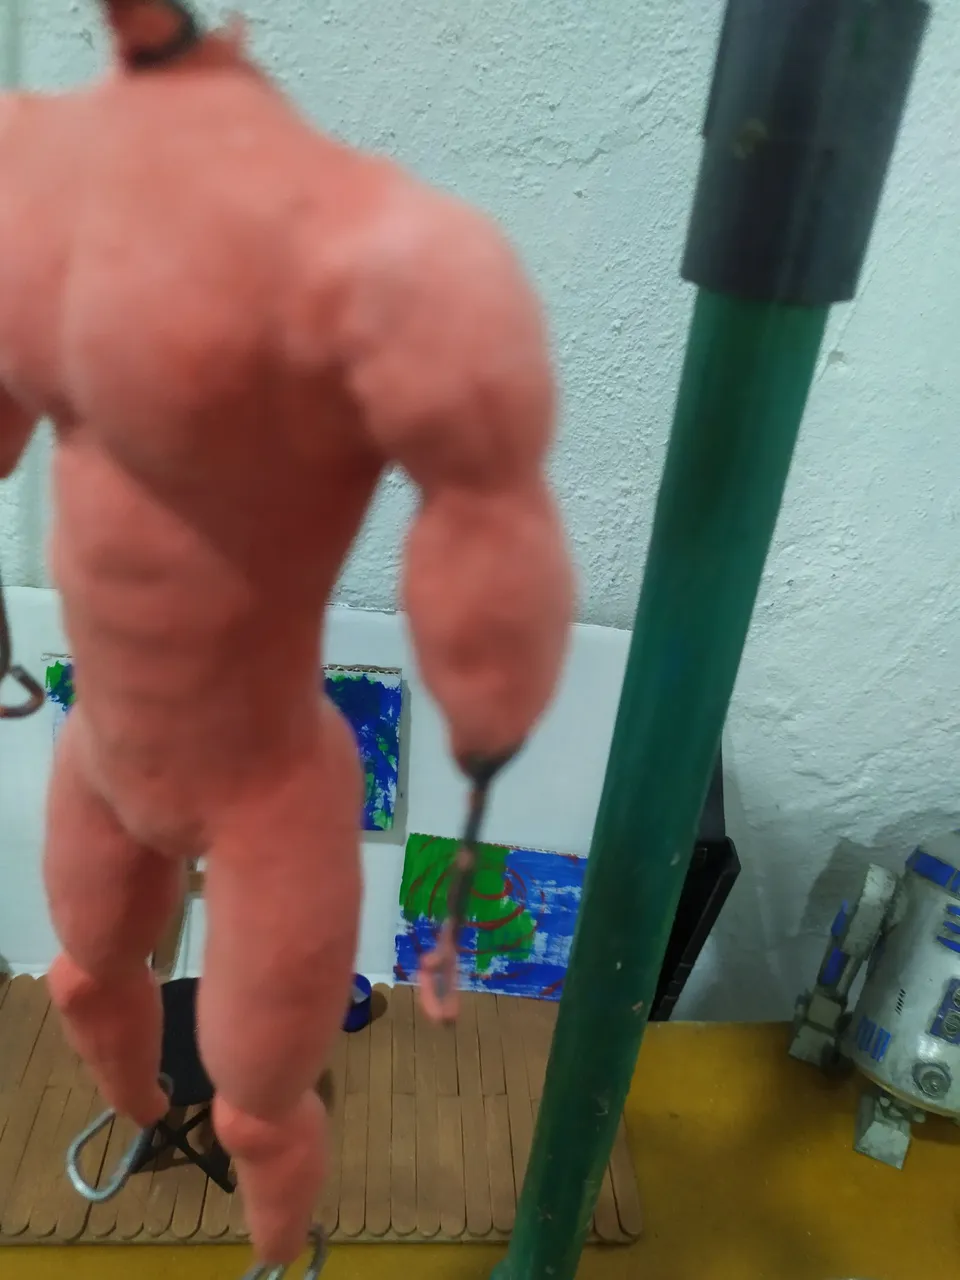
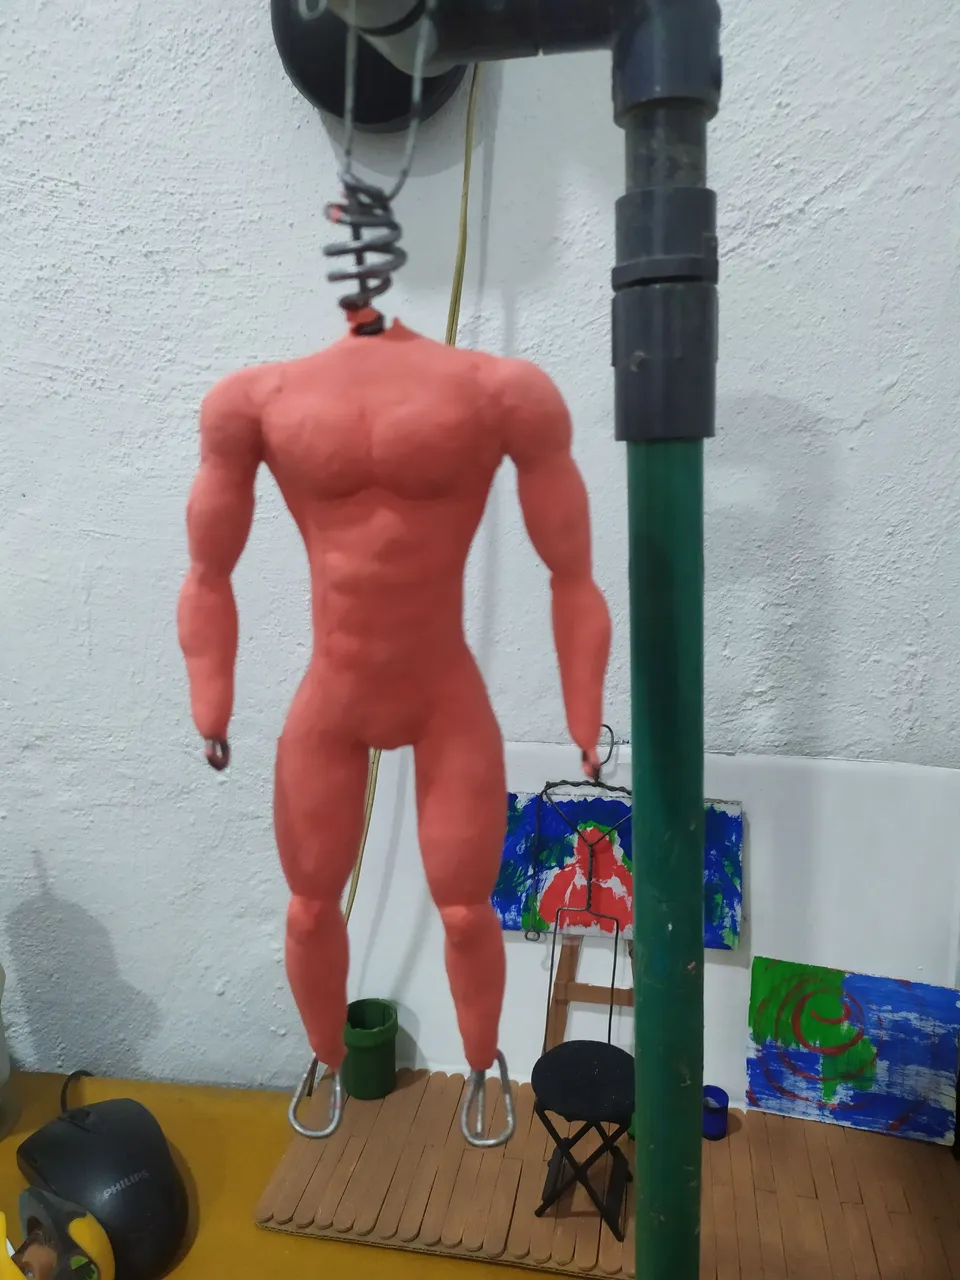
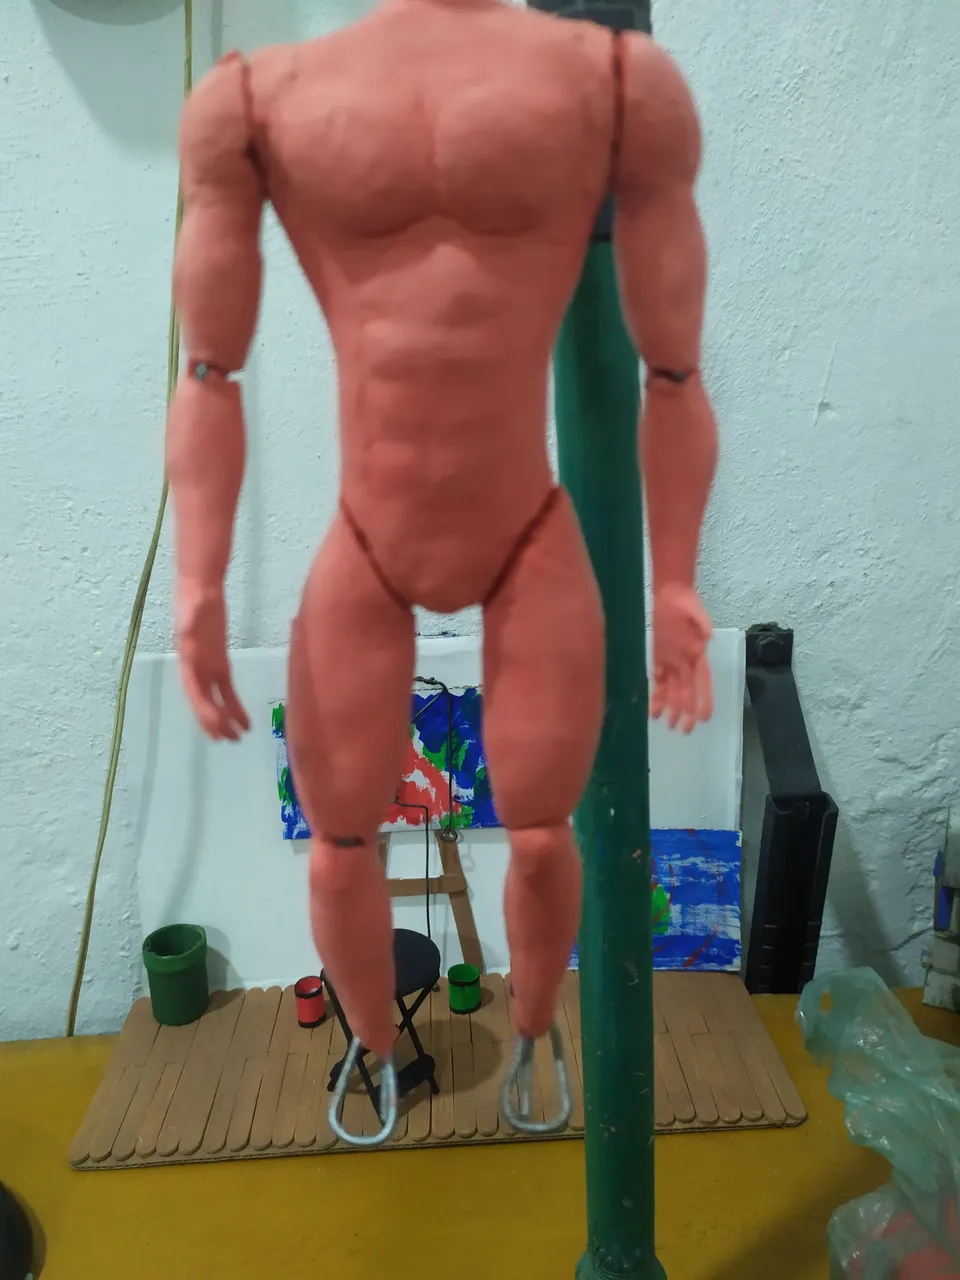
Once I had the character ready, it occurred to me to make a support to keep the character hanging while I finish adjusting the other technical details to begin with the production of the stop-motion. I made the support with several pieces that I found in my toolbox, I also put some clothing on the character (I used the shorts of an action figure that I have since childhood); really this whole experience is being very captivating and full of learning, all my life I have wanted to do this type of projects and I have already taken the first step that begins this wonderful adventure that is working on the production of a stop-motion. Soon I will be publishing the process of making the audiovisual and the result of this project. I hope you like this post, good vibes.
Ya teniendo el personaje listo, se me ocurrió realizar un soporte para mantener al personaje colgado mientras termino de ajustar los demás detalles técnicos para comenzar con la producción del stop-motion, el soporte lo realice con varias piezas que encontré en mi caja de herramientas, además le coloque una indumentaria al personaje (use el short de una figura de acción que tengo desde la infancia); de verdad toda esta experiencia está siendo muy cautivadora y llena de aprendizaje, toda mi vida he querido realizar este tipo de proyectos y ya he dado el primer paso que inicia esta maravillosa aventura que es trabajar la producción de un stop-motion, pronto estaré publicando el proceso de realización del audiovisual y el resultado de este proyecto. Espero que este post sea de su agrado, buenas vibras.

MANY THANKS / MUCHÍSIMAS GRACIAS


All images and texts cited in this publication are my own authorship.
Todas las imágenes y textos citados en esta publicación son de mi propia autoría.
GOOGLE TRADUCTOR