Hola amigos de hive diy y amantes de la costura para mí es un gusto compartir con ustedes este trabajo que realicé con cariño y amor.
Hello friends of hive diy and sewing lovers, it is a pleasure for me to share with you this work that I made with love and affection.
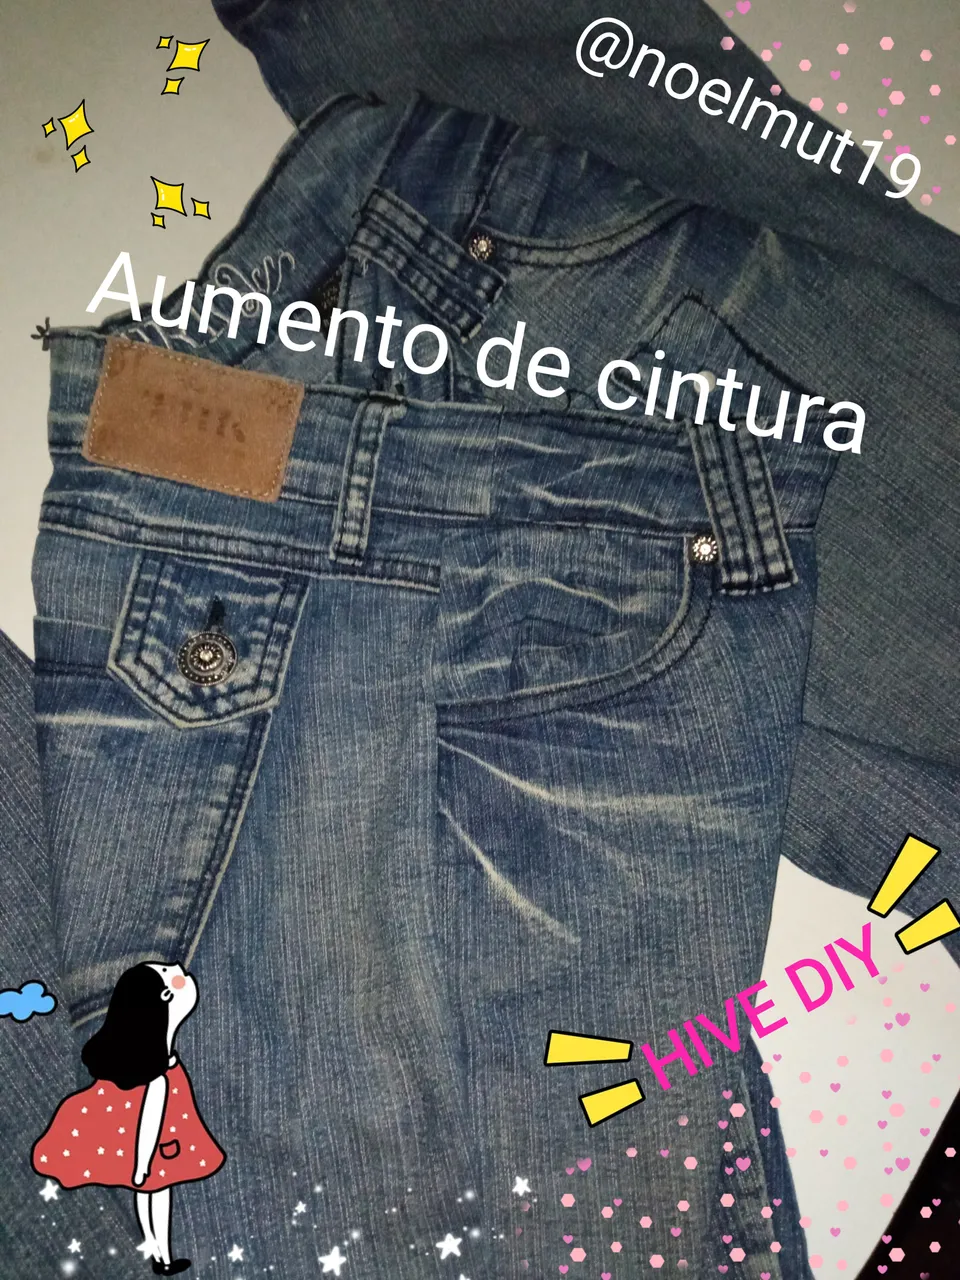
Mi amor en la costura inicio gracias un curso que hice hace 7 años, en esta oportunidad trabaje en hacer un aumento de cintura. Por qué me encanta reparar, modificar y Crear prendas. Así que manos a la obra.
My love for sewing began thanks to a course I took 7 years ago, this time I worked on making a waist augmentation. Because I love to repair, modify and create garments. So let's get to work.
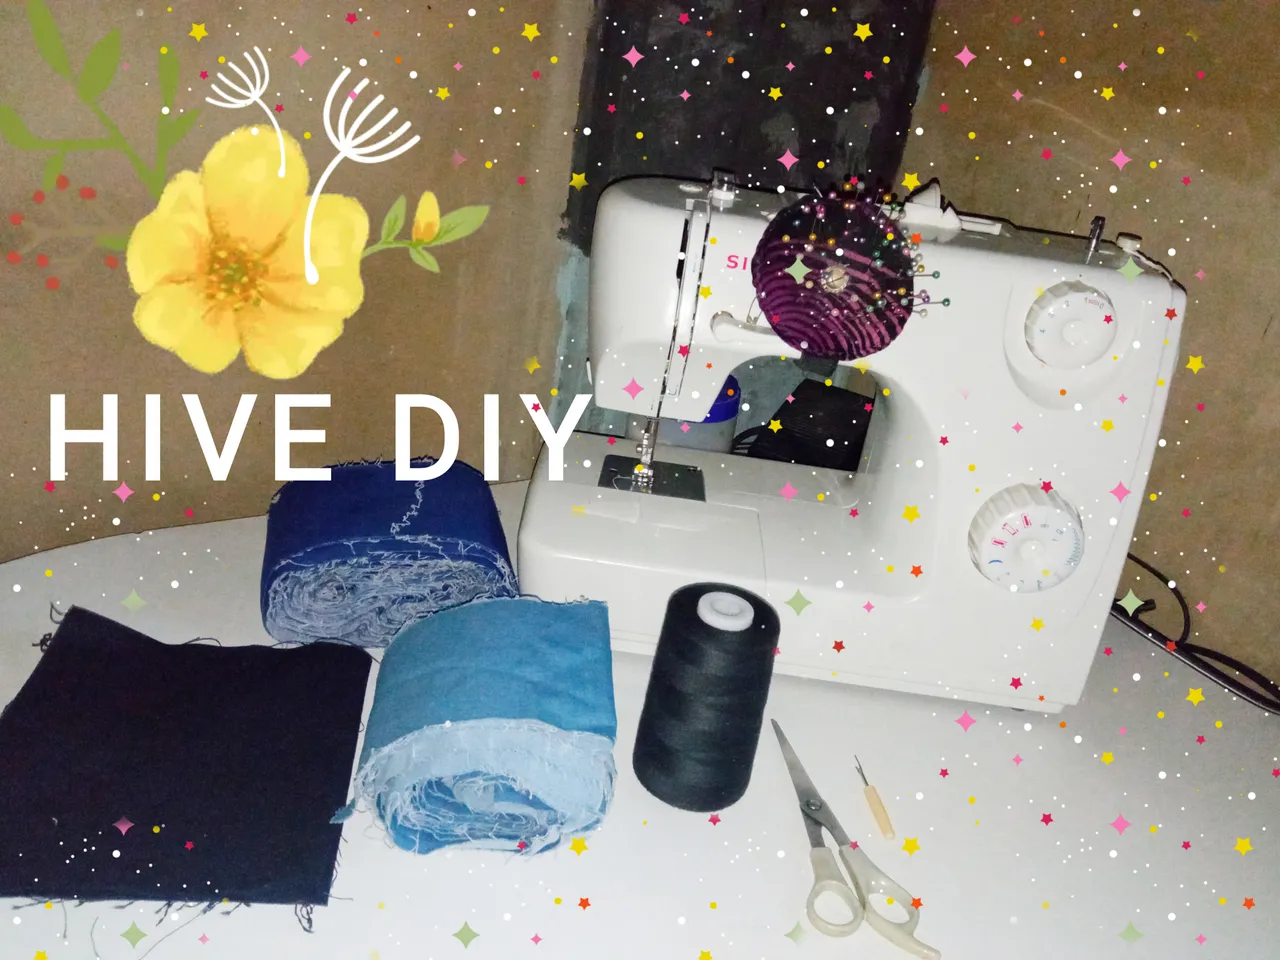
Los materiales que utilize:
Hilo color negro.
Tijeras.
Tela jeans.
Descosedor.
Máquina de coser.
The materials I used:
Black thread.
Scissors.
Denim fabric.
Sewing machine.
Sewing machine.
Primeramente para realizar el trabajo uno debe estar bien relajada y con alegría así nuestro objetivo será un éxito. Cómo se logra eso Noé?
Las amantes del café puede preparar su taza de café, los amantes del postre prepare pequeña porción para pasar el rato. Ajá pero si no desea comer ni beber.. escuche música eso la relaja al 100%.
First of all, to carry out the work one must be well relaxed and with joy so that our objective will be a success. How is this achieved Noé?
Coffee lovers can prepare a cup of coffee, dessert lovers can prepare a small portion to pass the time. Aha but if you don't want to eat or drink... listen to music that relaxes you 100%.
Primer paso, vamos a descoser el área que desea trabajar una vez que la tenga lista, procede a medir los centímetros que anexara y hacemos un patrón del anexo que queremos. En este caso nuestra prenda debe ver cuántas piezas se van a anexar.
First step, we are going to unpick the area you want to work once you have it ready, proceed to measure the centimeters that will be attached and make a pattern of the attachment we want. In this case our garment should see how many pieces will be attached.
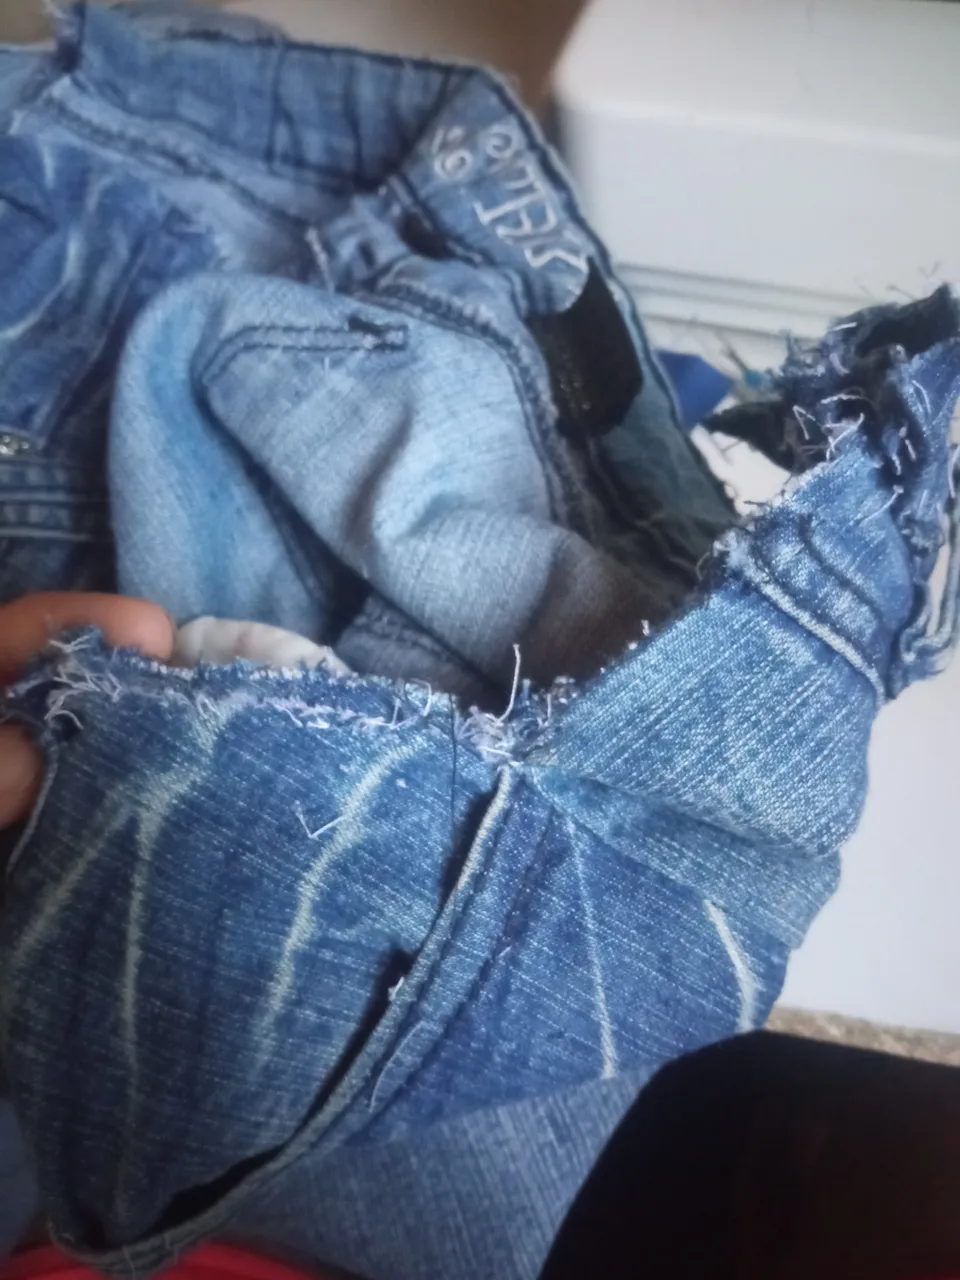

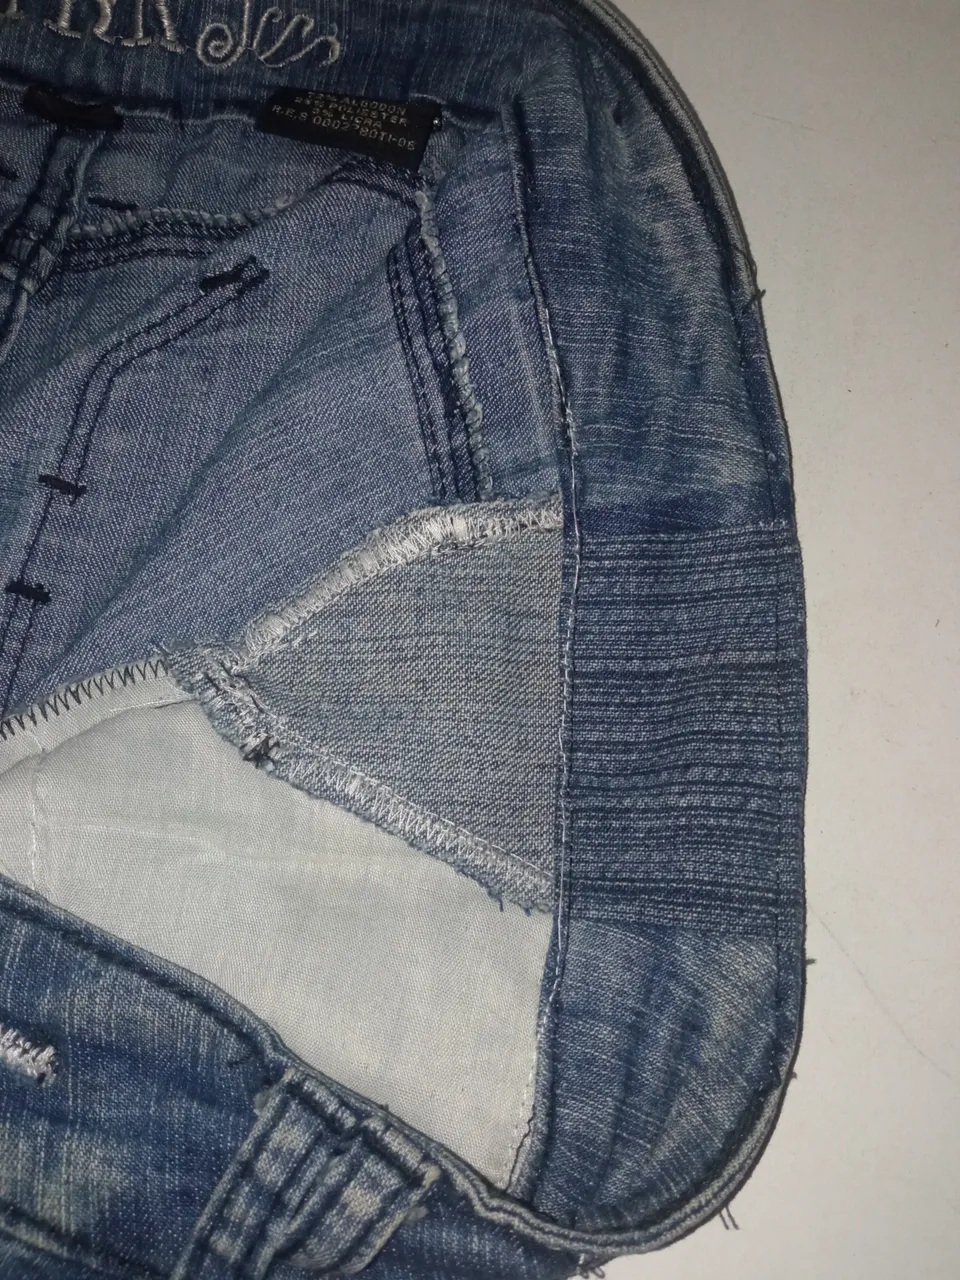
El anexo que agregaremos será el costado del pantalón está es la que viene de la parte del bolsillo está tendrá como medidas 11cm de largo y 11cm de ancho y lo llevaremos en forma de triángulo... Como pueden notar en la imagen. De esta pieza necesitaremos 2 porque será utilizada una por cada lado.
Cómo coser esta pieza, colocamos la puntada 3 en linea recta para unir la pieza y para sellar por dentro nuestras orillas, utilizamos la puntada 2 en zig-zag. Y reposamos costura en puntada 3 en linea recta. Quedará como puedes notar en la imagen.
The annex that we will add will be the side of the pants is the one that comes from the part of the pocket, it will have as measures 11cm long and 11cm wide and we will take it in the form of a triangle ... As you can see in the picture. Of this piece we will need 2 because it will be used one for each side.
How to sew this piece, we place the stitch 3 in a straight line to join the piece and to seal inside our edges, we use the stitch 2 in zig-zag. And we rest the seam with stitch 3 in a straight line. It will look as you can see in the picture.
Nuestra modificación del pantalón debe ser trabajada con las medidas correspondientes de la persona, esas medidas las lleva a calcular con las medidas del pantalón original y allí notarás cuando le falta por agregar para que le quede ideal a la persona.
Our modification of the pants must be worked with the corresponding measures of the person, these measures are calculated with the measures of the original pants and there you will notice when you need to add to make it ideal for the person.
El siguiente paso de este pantalón hay que agregar un anexo por ambos lados en el caso de nuestra pretina, nuestro patrón será de largo 9cm y de ancho 6cm. Recordemos que siempre en cada patrón debemos de dejar 1cm incluído para nuestra unión de costura. Ya yo se los había agregado.
Volvemos al tema necesitaremos 4 piezas de esta medida.
The next step of this pant is to add an annex on both sides in the case of our waistband, our pattern will be 9cm long and 6cm wide. Remember that we must always leave 1cm included in each pattern for our seam allowance. I had already added it.
Back to the topic we will need 4 pieces of this size.
Estas piezas se unirán con una puntada 3 en linea recta por ambos lados, una vez unidas las 4 partes de la pretina vamos a terminar de unirlas por fuera haciendo un dobles en las puntas y luego colocamos puntada 2 en linea recta y cosemos.
These pieces will be joined with a stitch 3 in a straight line on both sides, once the 4 parts of the waistband are joined we will finish joining them on the outside making a double on the ends and then we place stitch 2 in a straight line and sew.
No se ustedes pero me siento contenta con el trabajo, aquí le dejaré una foto para que puedan notar la diferencia en el pantalón colocándole un aumento.. aquí utilize una tela unicolor para que vean como será el trabajo que voy a realizar.
I don't know about you but I feel happy with the work, here I will leave a picture so you can notice the difference in the pants by placing an enlargement... here I use a unicolor fabric so you can see how the work I am going to do will look like.


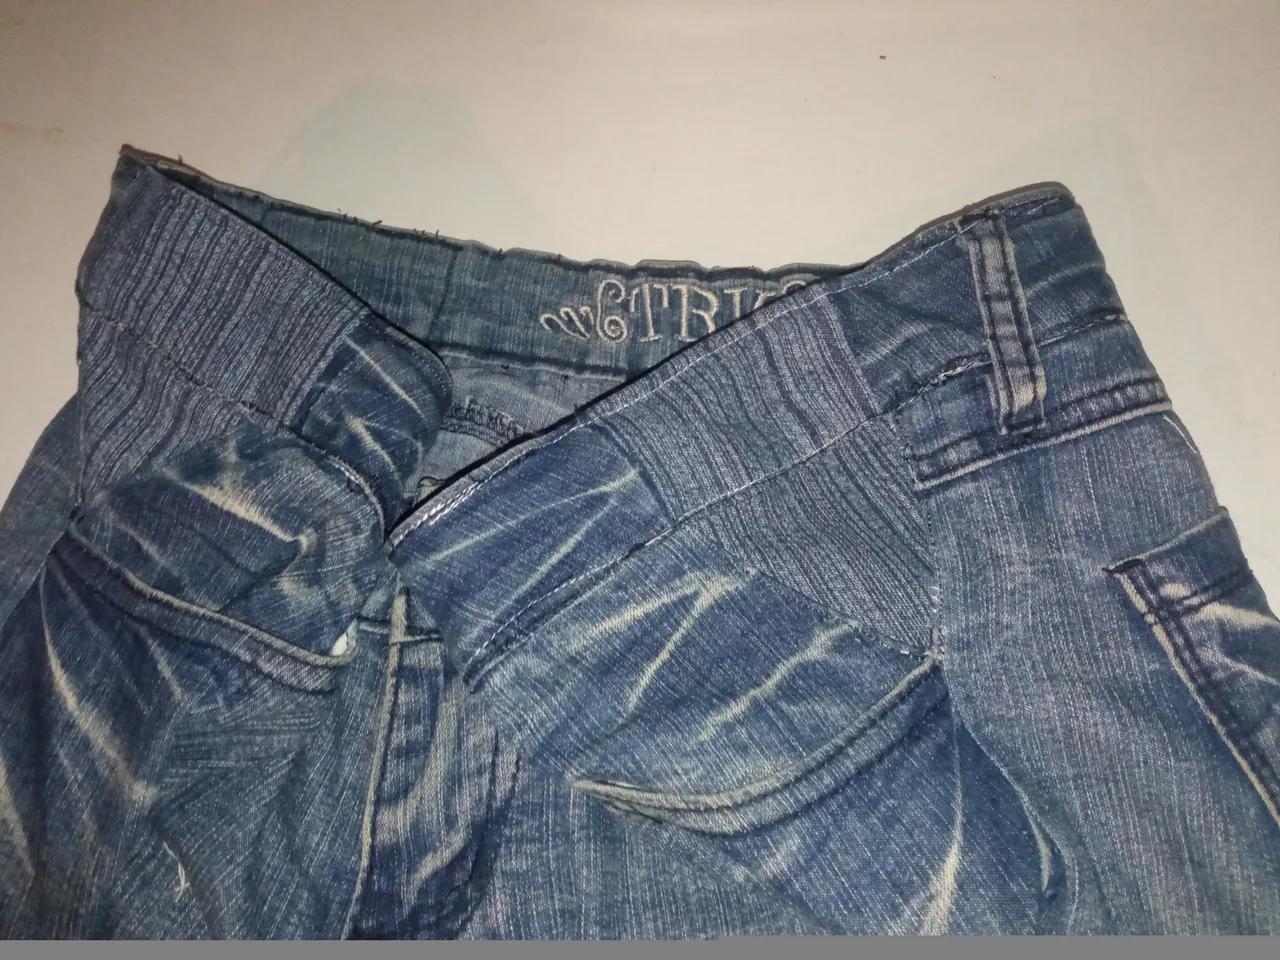
En esta foto pueden notar ahora el pantalón terminando con su modificación de aumento en la cintura, para ello utilize una tela parecida del mismo color del pantalón porque uno como costurera desea realizar un excelente trabajo y que nuestro trabajo se vean original para ello debemos enfocar nuestra mente de que todo debe quedar lo más original posible.
In this photo you can notice now the pants finishing with its modification of increase in the waist, for this I use a similar fabric of the same color of the pants because one as a seamstress wants to do an excellent job and that our work look original for this we must focus our mind that everything should be as original as possible.

Gracias hasta otra oportunidad, soy Noe se les quiere.
Thank you until another opportunity, I'm Noe, I love you.