Hola hola querida colmena 😁 al fin es sábado y puedo dedicar mi tiempo a hacer algo que me encanta! Y es hacer manualidades, darle ese toque personal y excepcional a las cosas simples a través de mis manos y mi creatividad.
Lo que me motivo a realizar este tutorial fue que recientemente en mi lugar de trabajo, me notificaron el cambio a otro departamento, a partir de este lunes estaré en otro horario y con otros compañeros de trabajo así que quice elaborar este pequeño detalle para regalar a mis compañeros y así dejarles un lindo presente en agradecimiento antes de irme.
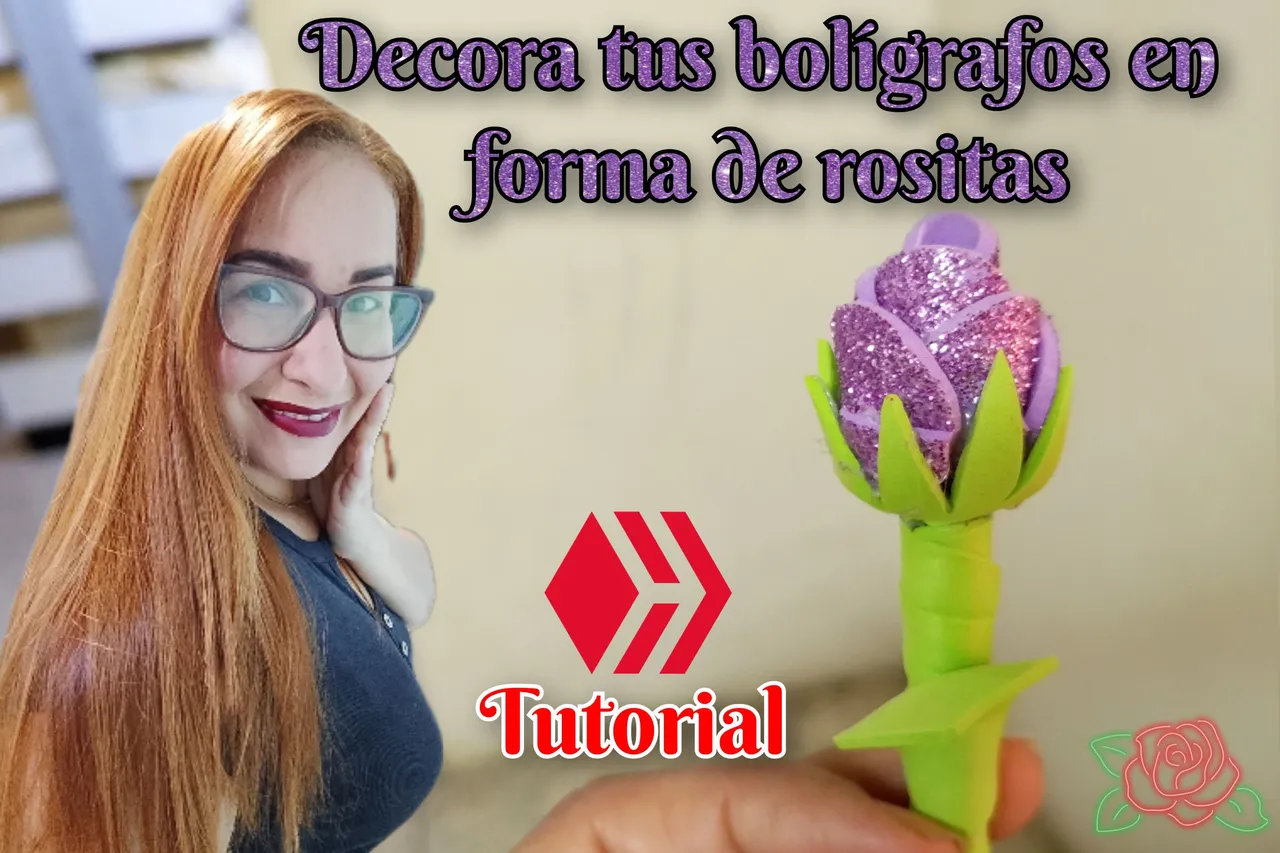
Comparto con ustedes este fácil tutorial para convertir un bolígrafo en un hermoso y encantador capullo de rosita, es súper fácil y económico para hacer y poder obsequiar o vender, así que te invito a ver cómo se hace.
Sígueme...
Para decorar 6 bolígrafos utilice los siguientes materiales.
Materiales:
- Foami escarchado tipo carta
- Foami verde tipo carta
- Barra de silicón
- 6 bolígrafos
Adicional a ello debes utilizar:
- Tijera
- Palito de altura y tapa de refresco(para marcar)
- pistola de silicón
Paso a paso:
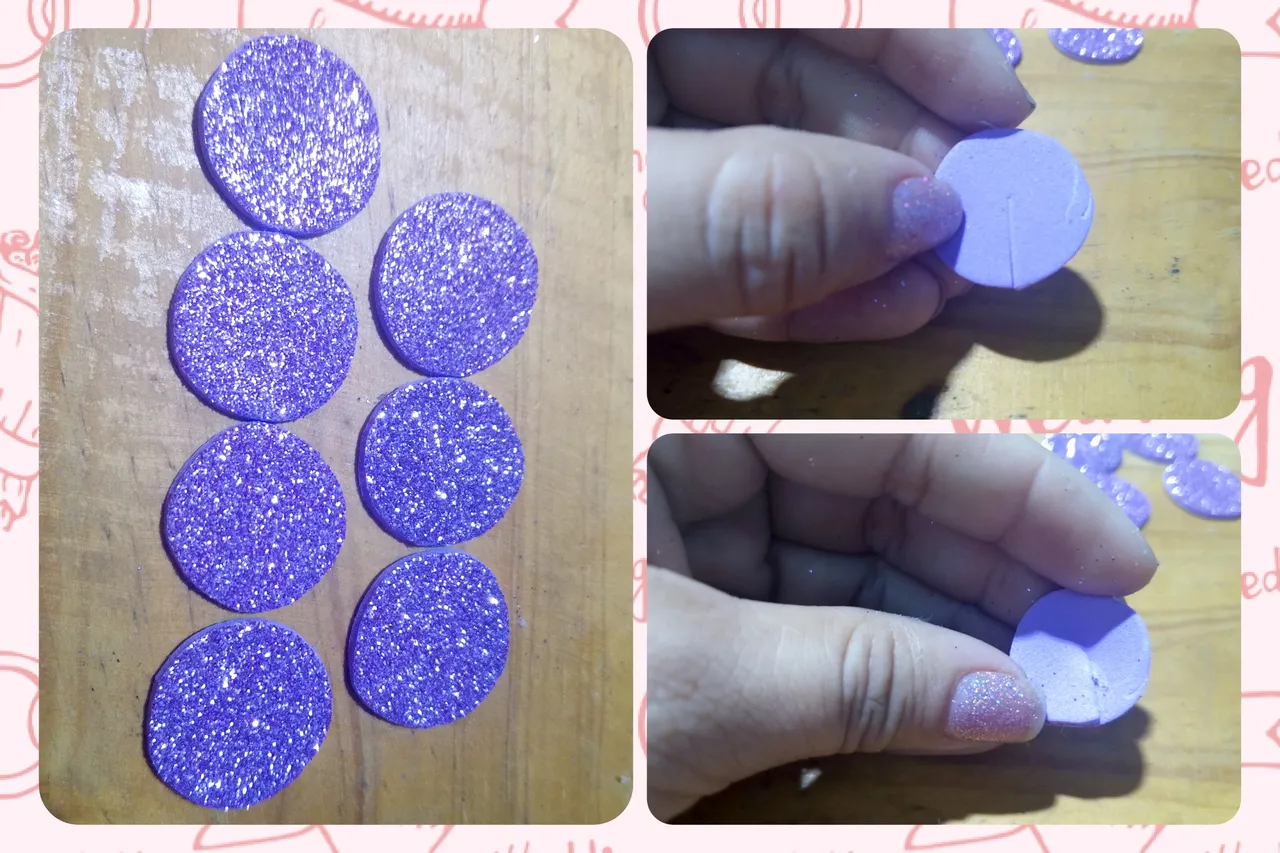
Colocar la tapa sobre el reverso del foami escarchado, hacer presión para que se marque o hacerlo con un palito de altura, marcar 8 círculos.
Hacer un corte a hasta la mitad del círculo para posteriormente agregar un punto de silicón y pegar, de esta forma queda una forma arqueada en el centro de cada círculo.
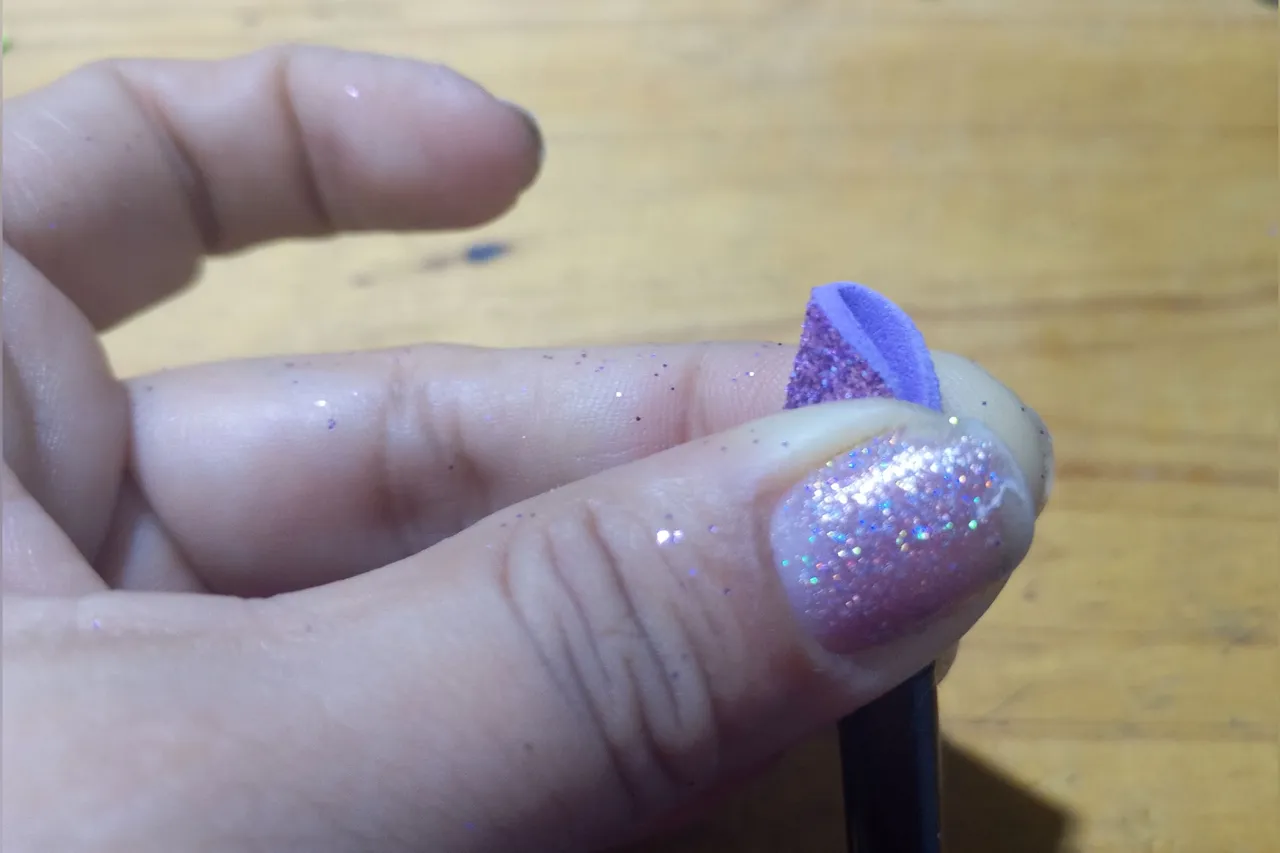
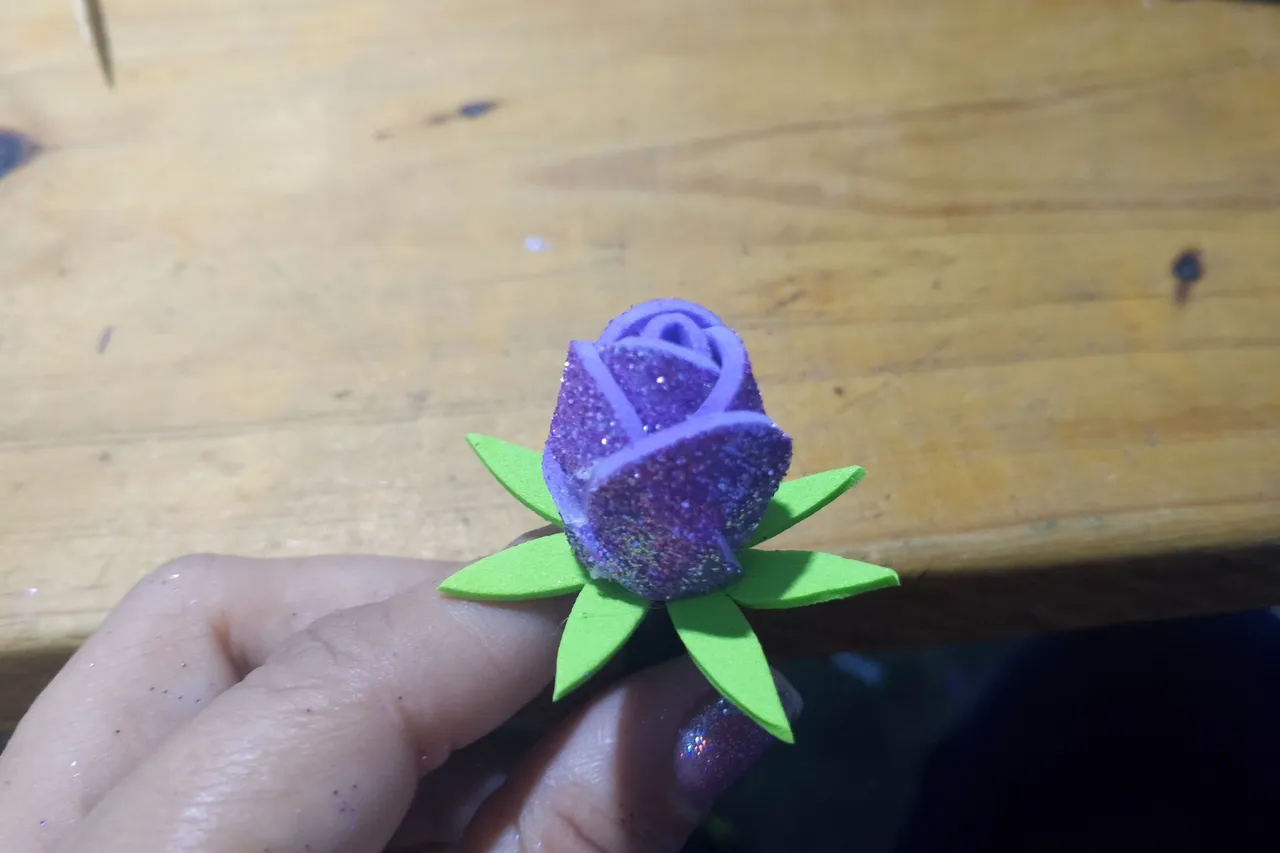
Agregar silicón en la base del bolígrafo y pegar el primer pétalo, hacer presión con los dedos para que poco a poco vaya tomando forma.
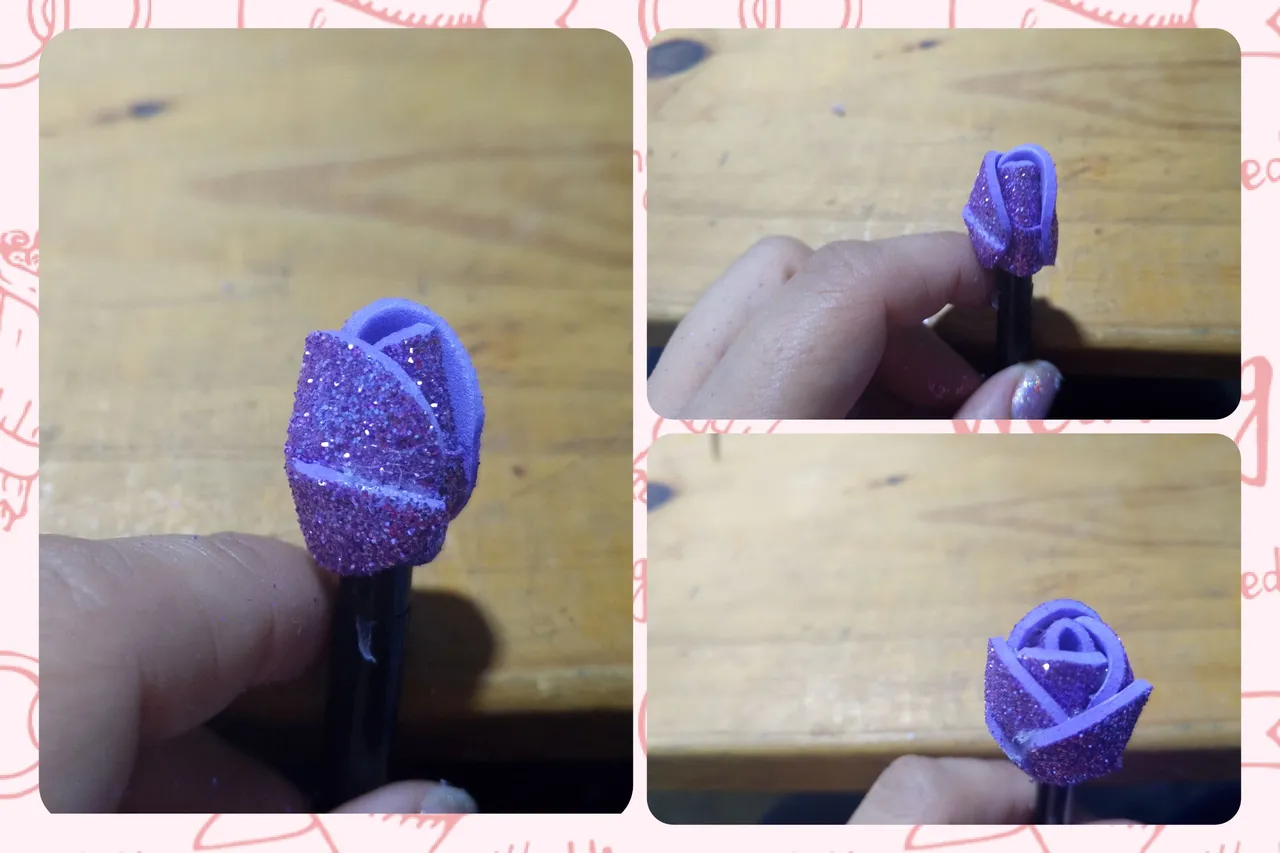
Pegar los demás pétalos intercalando las posiciones para simular la forma de un capullito de rosita 🌹 , recortar un cuadrado de aproximadamente 3.5 por 3.5 cm, doblar la la mitad y recortar para hacer un círculo en el centro.
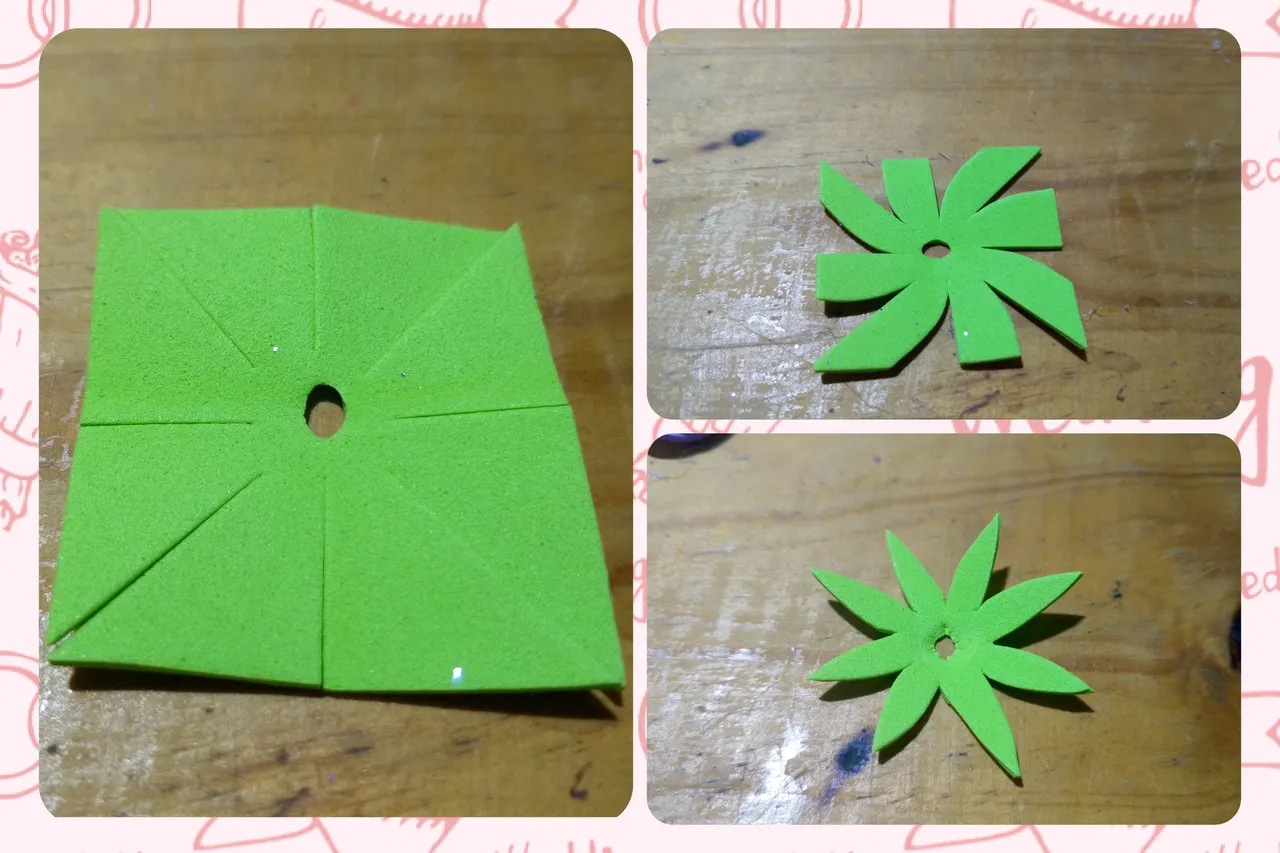
Seguidamente hacer 4 cortes sin llegar al centro, luego un corte en medio de cada uno de los primeros cortes y recortar simulando las hojas del capullo.
Pegar esas hojitas verdes al capullo y la ya el capullo de rosita estará casi listo. Recortar una tira de foami verde de 1 cm y pegar en la base del capullo, luego ir enrollando hasta cubrir el bolígrafo dejando sin cubrir el espacio en dónde va la tapa.
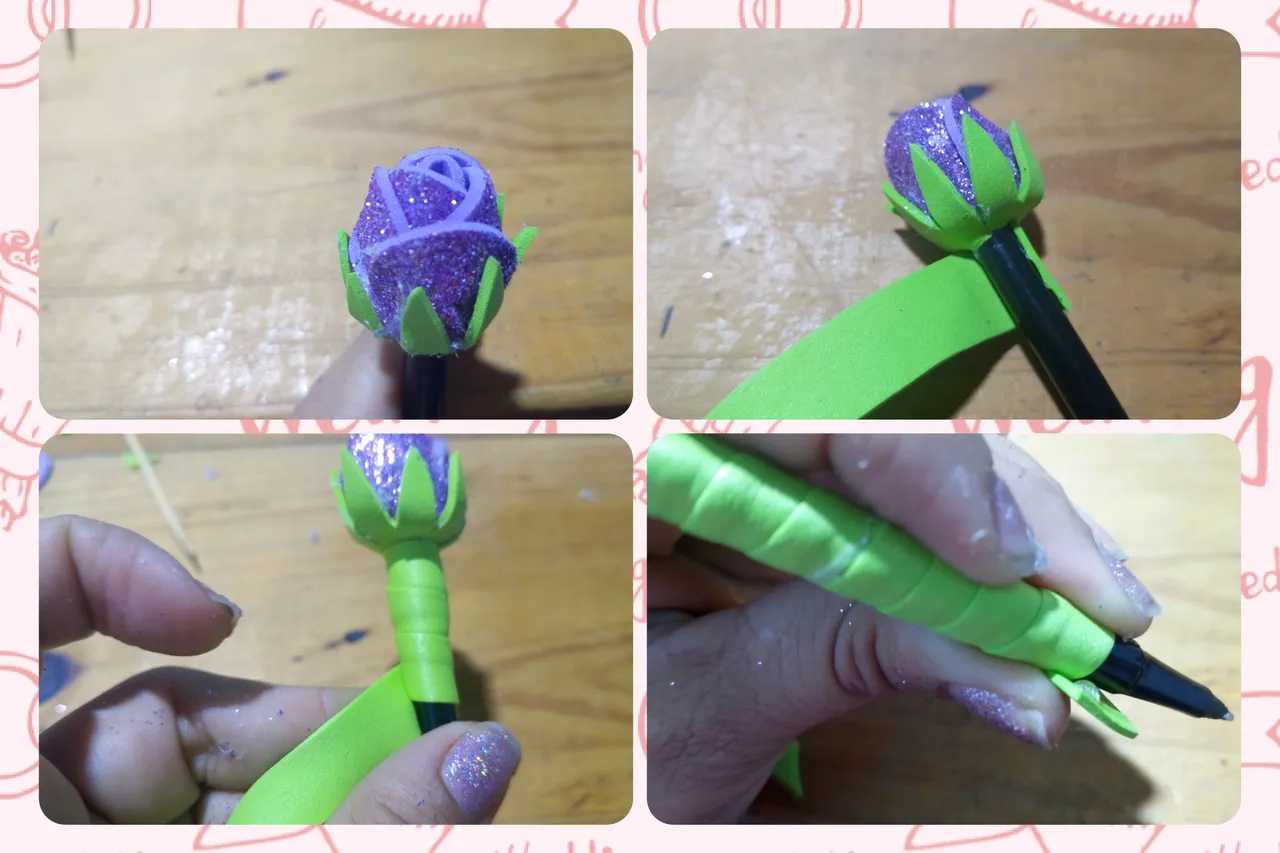
Repetir el proceso con la tapa, opcionalmente puedes recortar la forma de una hoja en el foami verde 🌿 y así darle otro detalle decorativo a este hermoso y sencillo bolígrafo.
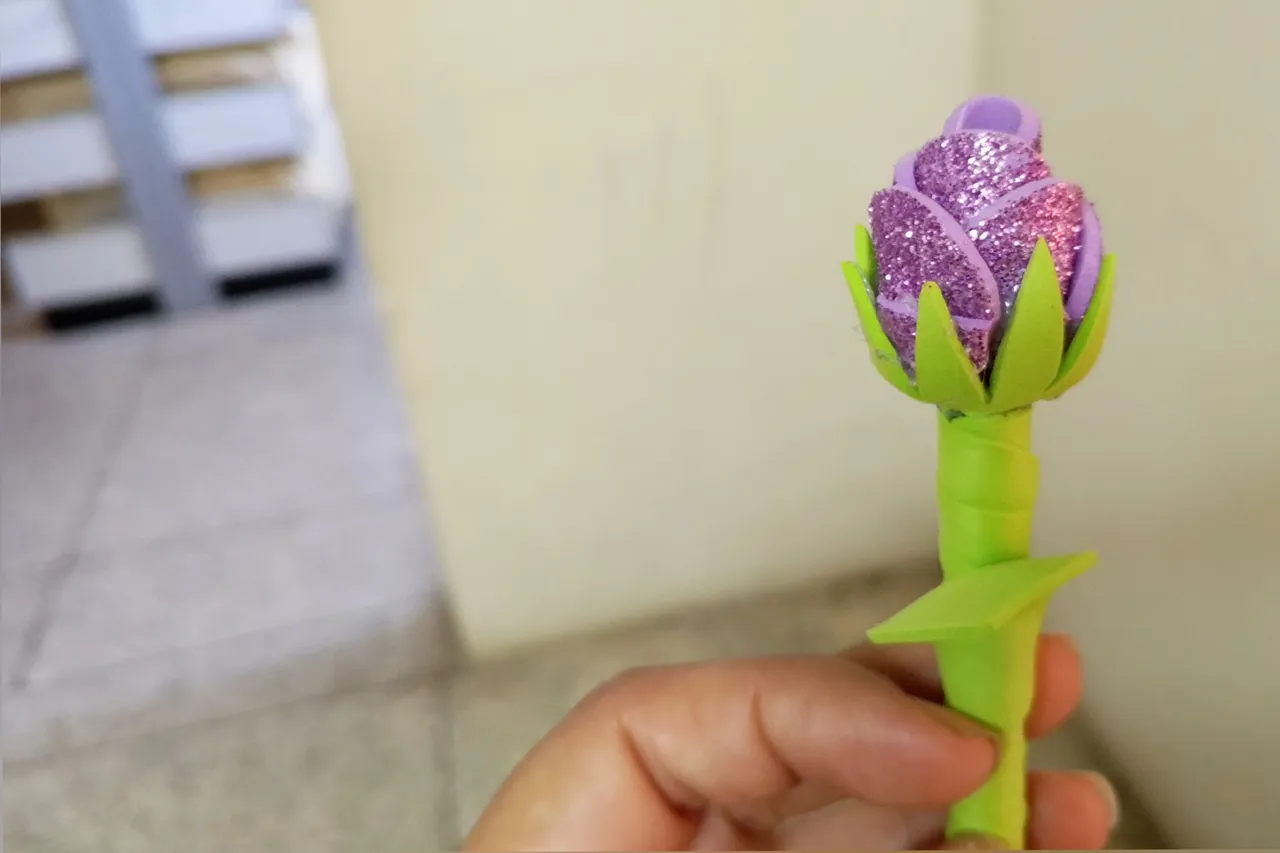
Y así de fácil y rápido puedes decorar tus bolígrafos! 😃 Si has llegado hasta aquí gracias por tu valioso tiempo, espero te sea de utilidad 😁🌹.
English
Hello hello dear hive 😁 at last it's Saturday and I can dedicate my time to do something I love! And that is crafting, giving that personal and exceptional touch to simple things through my hands and my creativity.
What motivated me to make this tutorial was that recently in my workplace, I was notified of the change to another department, from this Monday I will be in another schedule and with other coworkers so I wanted to develop this little detail to give to my colleagues and thus leave them a nice present in gratitude before I leave.
I share with you this easy tutorial to turn a pen into a beautiful and charming little rosebud, it's super easy and inexpensive to make and be able to give as a gift or sell, so I invite you to see how it's done.
Follow me...
To decorate 6 pens use the following materials.
Materials:
- Frosted Foami letter type
- Green Foami letter type
- Silicone stick
- 6 pens
In addition to this you should use:
- Scissors
- Sticks and soda cap (for marking)
- silicone gun
Step by step:
Place the lid on the back of the frosted foami, make pressure to mark it or do it with a height stick, mark 8 circles.
Make a cut up to the middle of the circle and then add a dot of silicone and glue, thus leaving an arched shape in the center of each circle.
Add silicone to the base of the pen and glue the first petal, press with your fingers so that it gradually takes shape.
Glue the other petals, alternating the positions to simulate the shape of a rosebud 🌹 , cut out a square of approximately 3.5 by 3.5 cm, fold in half and cut out to make a circle in the center.
Then make 4 cuts without reaching the center, then make a cut in the middle of each of the first cuts and cut out to simulate the leaves of the cocoon.
Glue those little green leaves to the cocoon and the pink cocoon is almost ready. Cut a 1 cm strip of green foami and glue it to the base of the cocoon, then roll it up to cover the pen, leaving the space where the lid goes uncovered.
Repeat the process with the cap, optionally you can cut out the shape of a leaf in the green foami 🌿 and thus give another decorative detail to this beautiful and simple pen.
And that's how quick and easy you can decorate your pens! 😃 If you have come this far thank you for your valuable time, I hope you find it useful 😁🌹.

teléfono Blade A7s, Cantaura - Venezuela.
Original content for hiveblog, photographs of my authorship, edited in the incollage app, cover made in the incollage app.
Blade A7s phone, Cantaura - Venezuela.
Separador Banner editado en Canva