
Bienvenidos || Welcome

Ser detallista es algo que jamás estará de más, siempre será especial sin importar que tipo de relación sea, pareja, amistad, padres, hermanos etc, son estos pequeños detalles que hacen la diferencia y es una forma de demostrar afecto hacia esa persona, muchos dirán que los detalles implica gastar dinero y no necesariamente es así, el día de hoy quiero mostrarles como elaborar una tarjeta 3D con materiales que tenía en casa, el ingenio siempre va ser un aliado importante, para realizarla está tarjeta utilicé:
Being thoughtful is something that will never be superfluous, it will always be special no matter what kind of relationship it is, couple, friendship, parents, siblings, etc, are these little details that make the difference and is a way to show affection towards that person, many would say that the details involve spending money and it is not necessarily so, today I want to show you how to make a 3D card with materials that I had at home, ingenuity will always be an important ally, to make this card I used:
Materiales || Materials
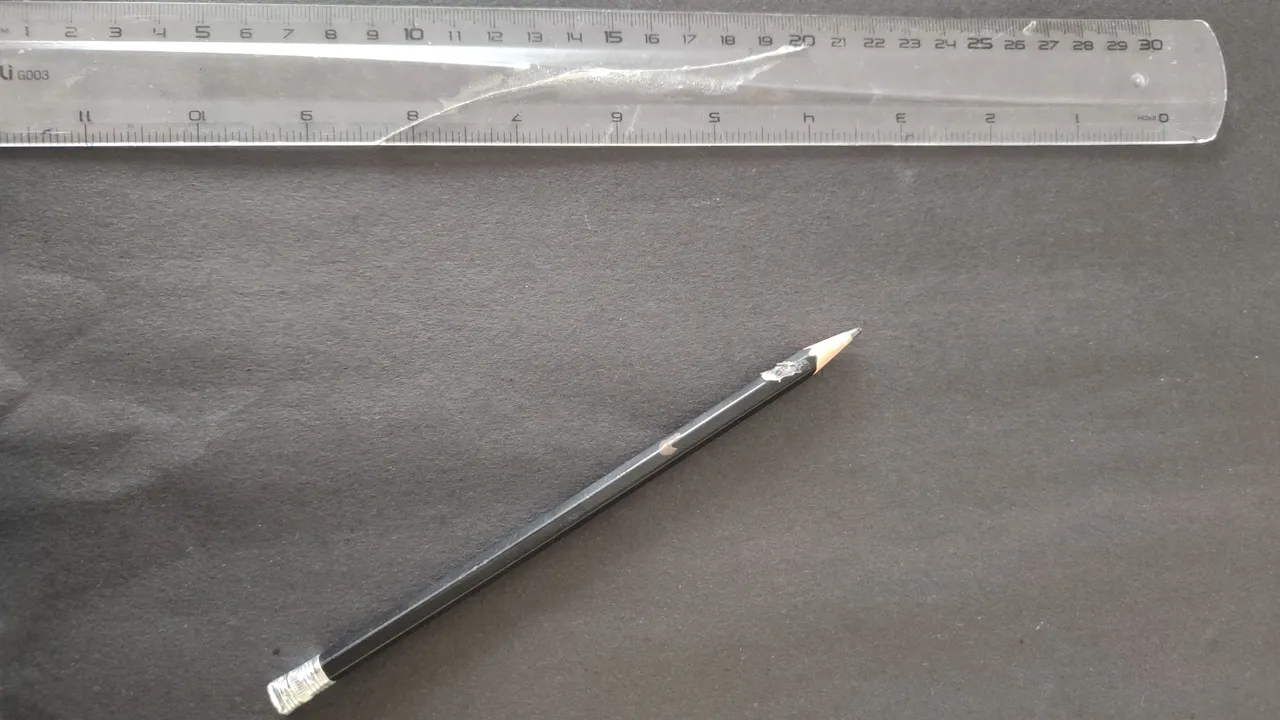
💕 Cartulina negra.
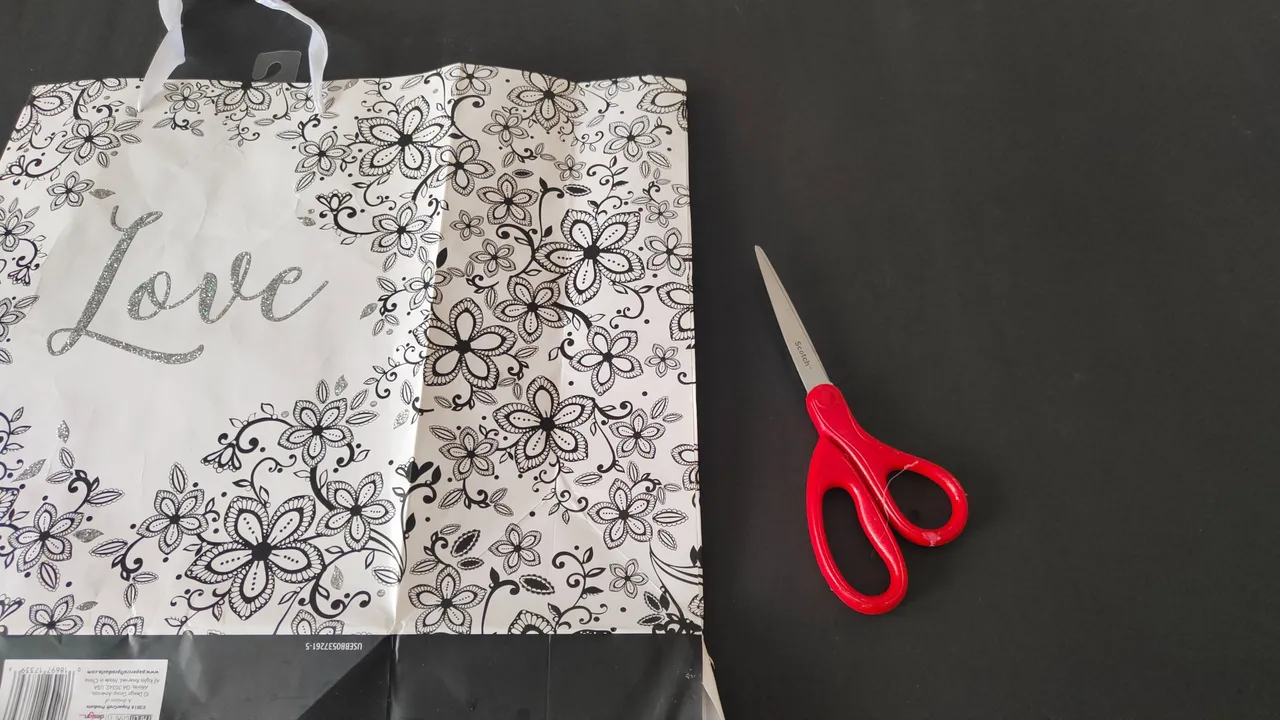
💕 Bolsa de regalo reciclada.
💕 Tijera.
💕 Regla.
💕 Pega en barra.
💕 2 fotografias.
💕 Black cardboard.
💕 Recycled gift bag.
💕 Scissors.
💕 Ruler.
💕 Glue stick.
💕 2 photos.
Pasos || Steps
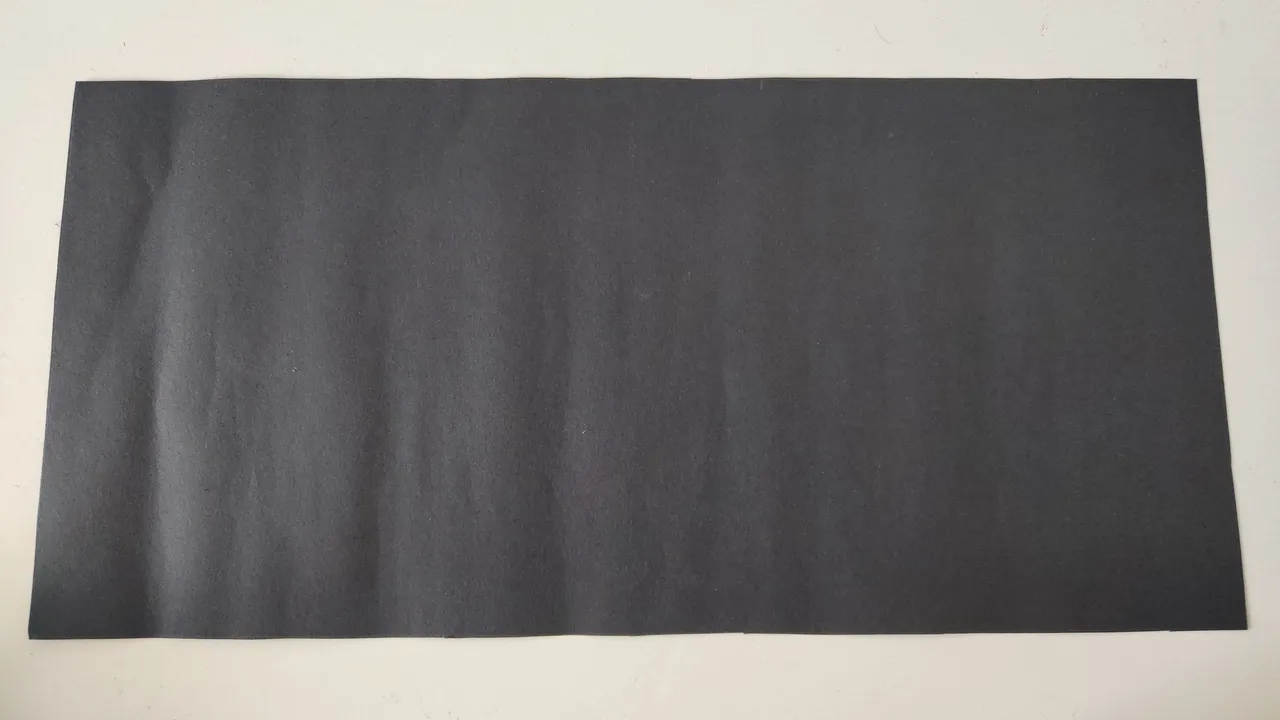
💕 1.| Iniciaremos tomando nuestra cartulina negra y en ella mediremos, trazaremos y recortaremos un rectángulo con las siguientes medidas 26 centímetros de ancho y 20 centímetros de largo.
💕 1.| We will start by taking our black cardboard and on it we will measure, trace and cut out a rectangle with the following measurements: 26 centimeters wide and 20 centimeters long.
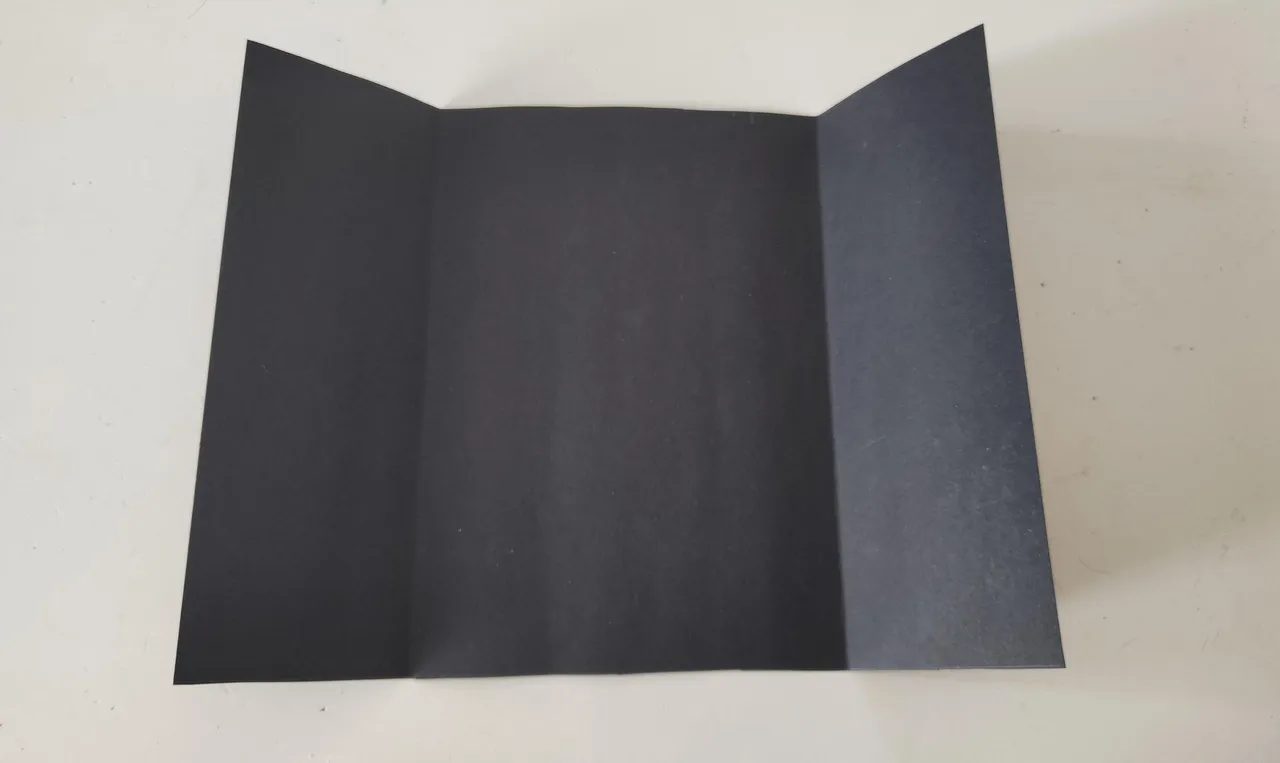
💕 2.| Seguidamente vamos a doblar nuestro rectángulo con las siguientes medidas,6,5 centímetros ambos laterales frontales y 13 centímetros el área central de la tarjeta.
💕 2.| Next, we are going to fold our rectangle with the following measurements: 6.5 centimeters on both front sides and 13 centimeters in the central area of the card.
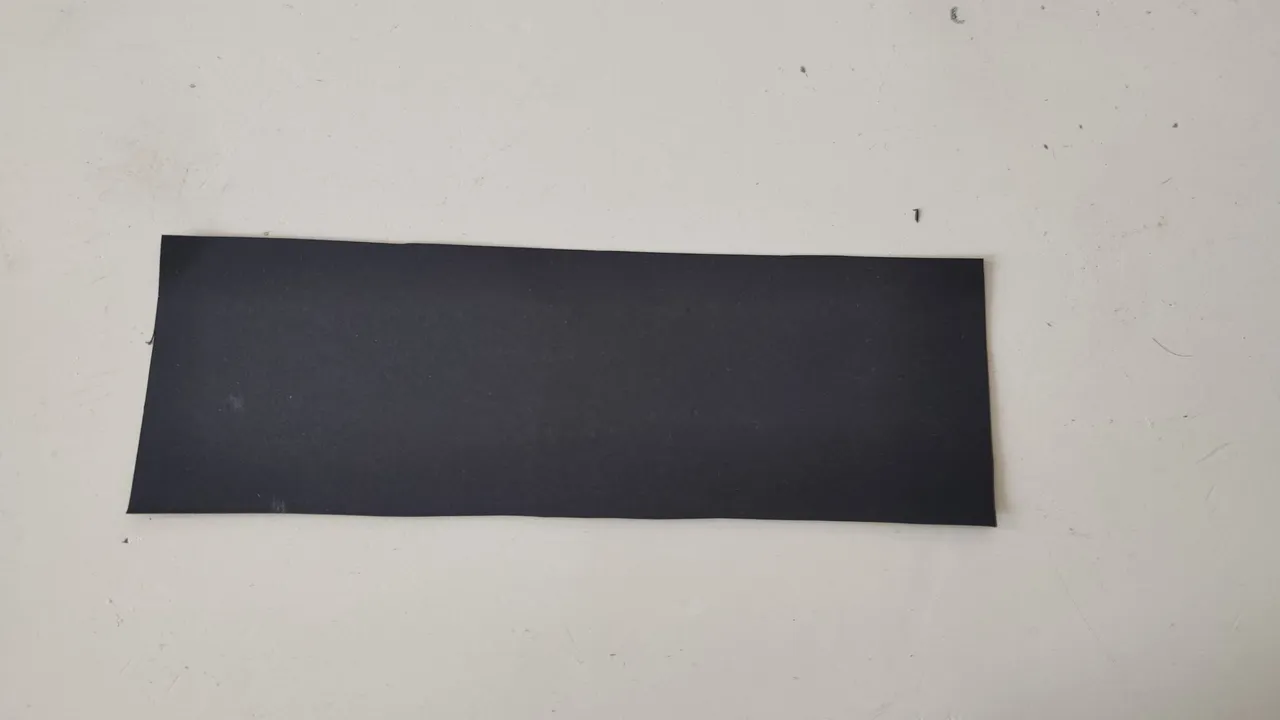
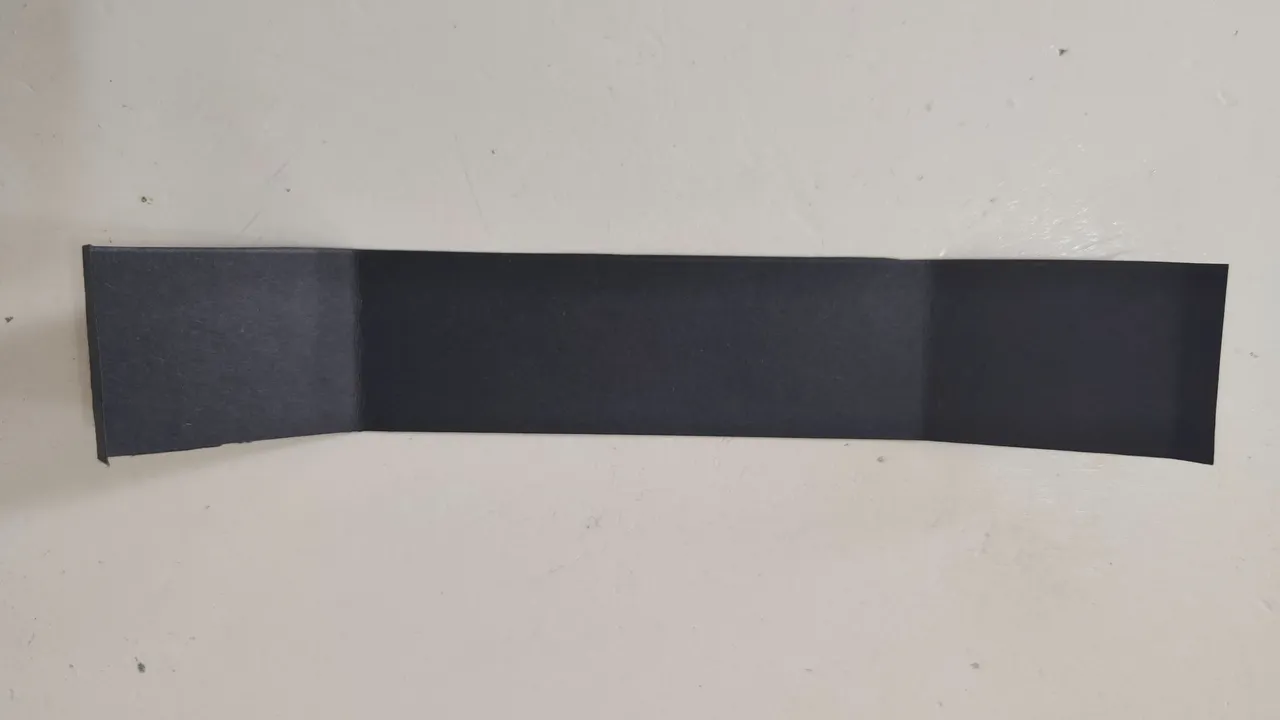
💕 3.| Ahora vamos a medir, trazar y recortar 2 tiras de cartulina negra con las siguientes medidas 2 centímetros de ancho, 3 centímetros los laterales, 7 centímetros el área central.
💕 3.| Now we are going to measure, trace and cut out 2 strips of black cardboard with the following measurements 2 centimeters wide, 3 centimeters the sides, 7 centimeters the central area.
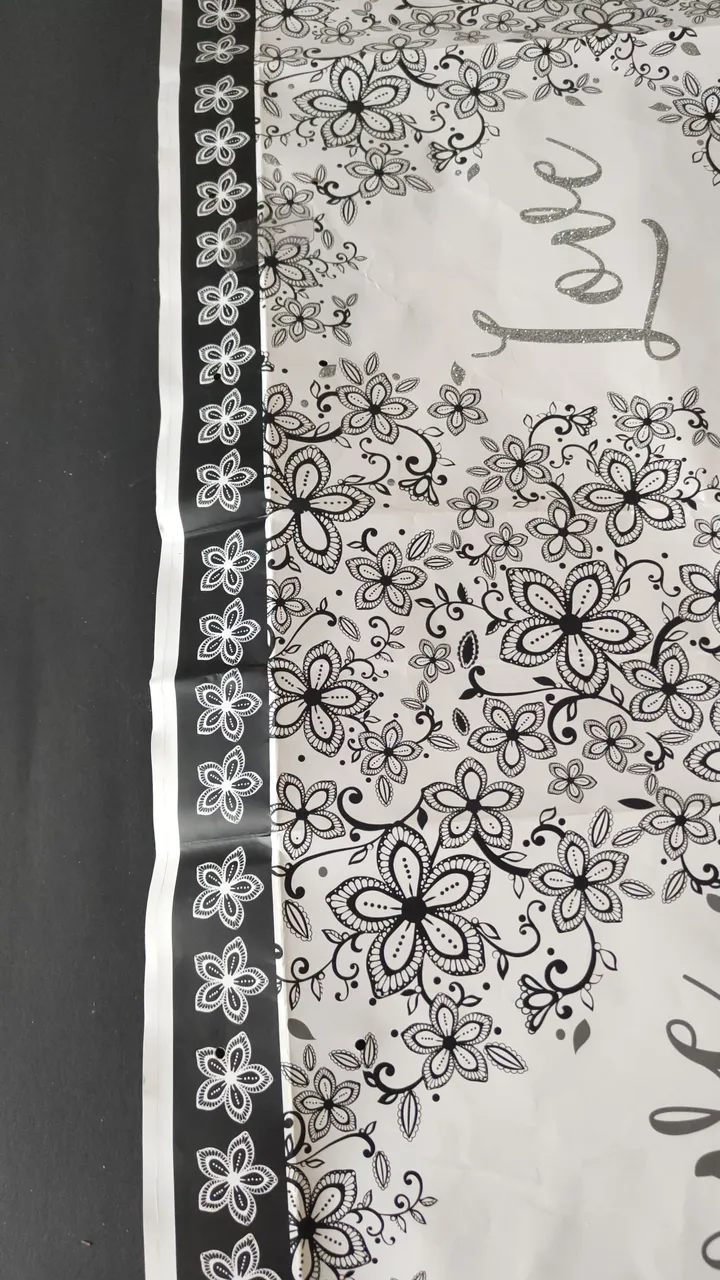
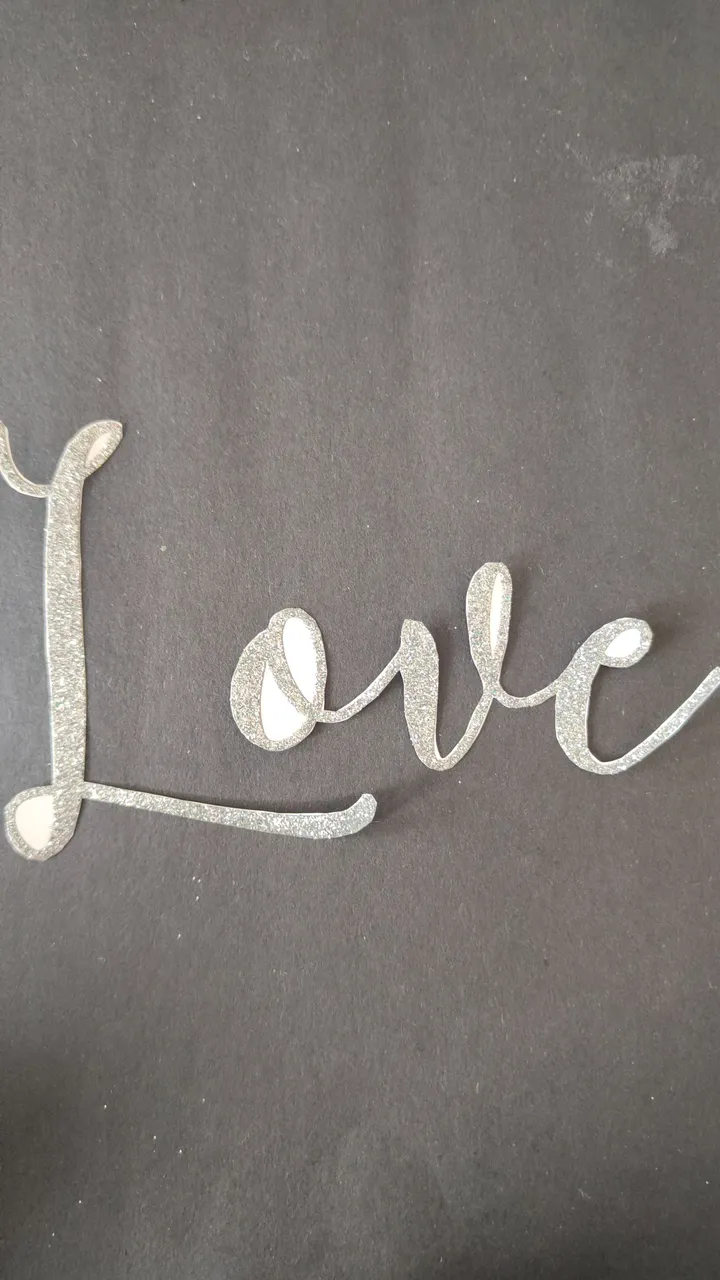
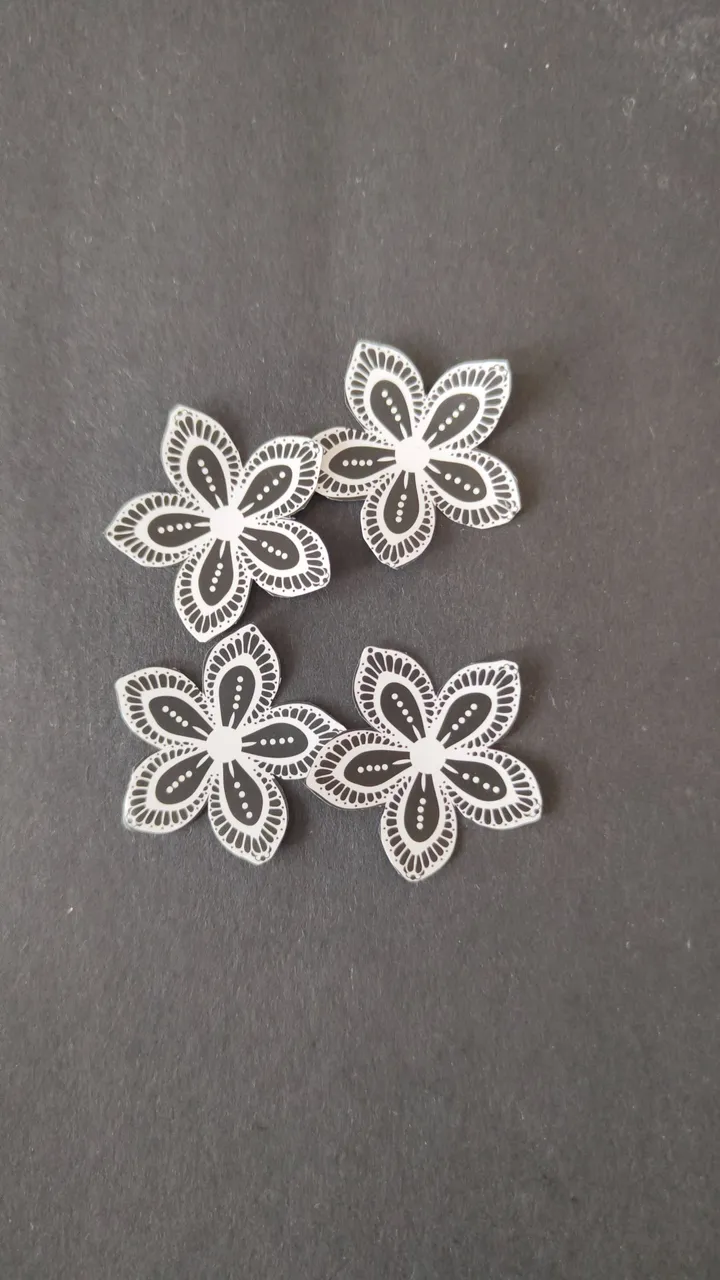
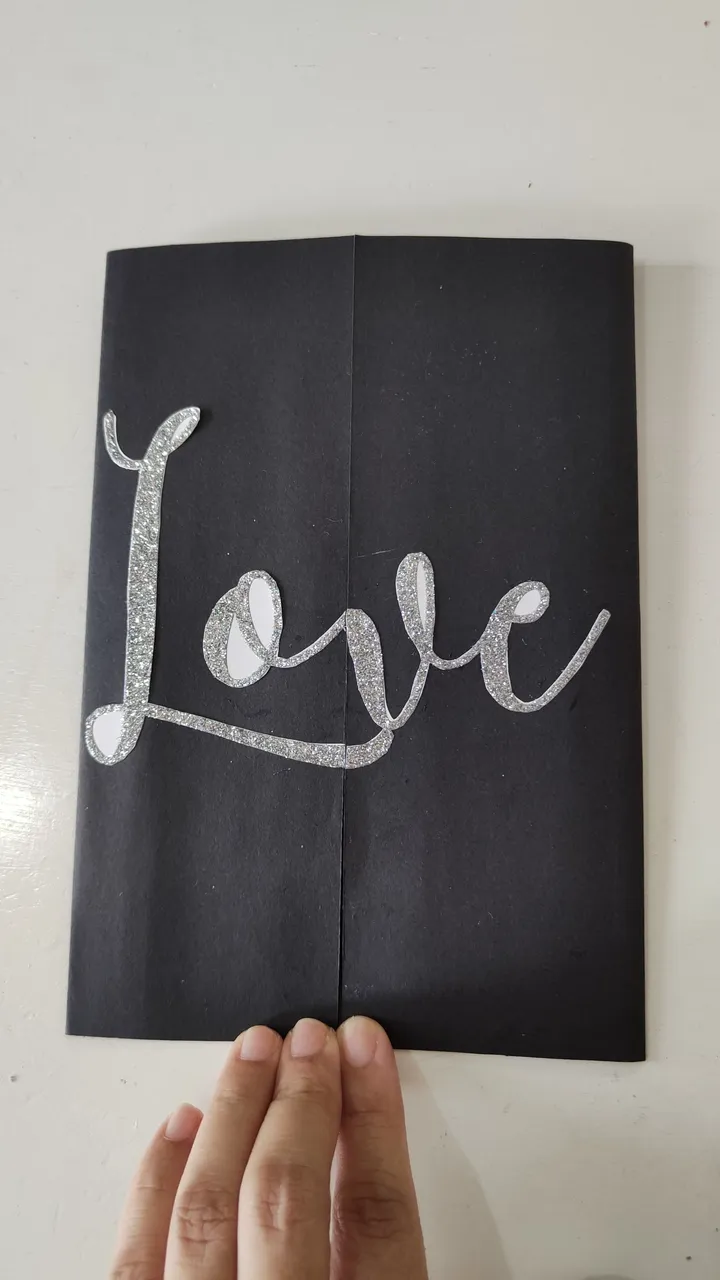
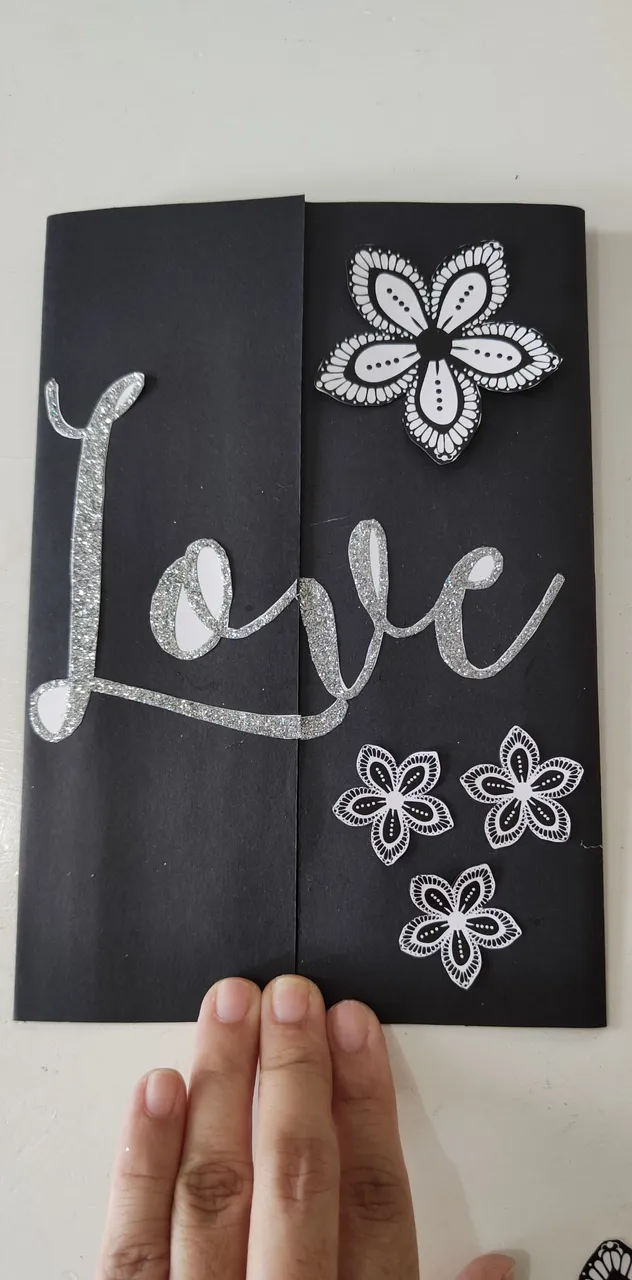
💕 4.| Seguidamente tomé la bolsa de regalo reciclada y de ella recorte varias flores de diversos tamaños y tonalidades (blancas y negras), así como la palabra Love y por último recortaremos 2 rectángulos a la medida de los laterales de la tarjeta, con todas estas piezas vamos a decorar nuestra tarjeta.
💕 4.| Next I took the recycled gift bag and from it I cut out several flowers of different sizes and shades (black and white), as well as the word Love and finally we cut out 2 rectangles to the size of the sides of the card, with all these pieces we are going to decorate our card.

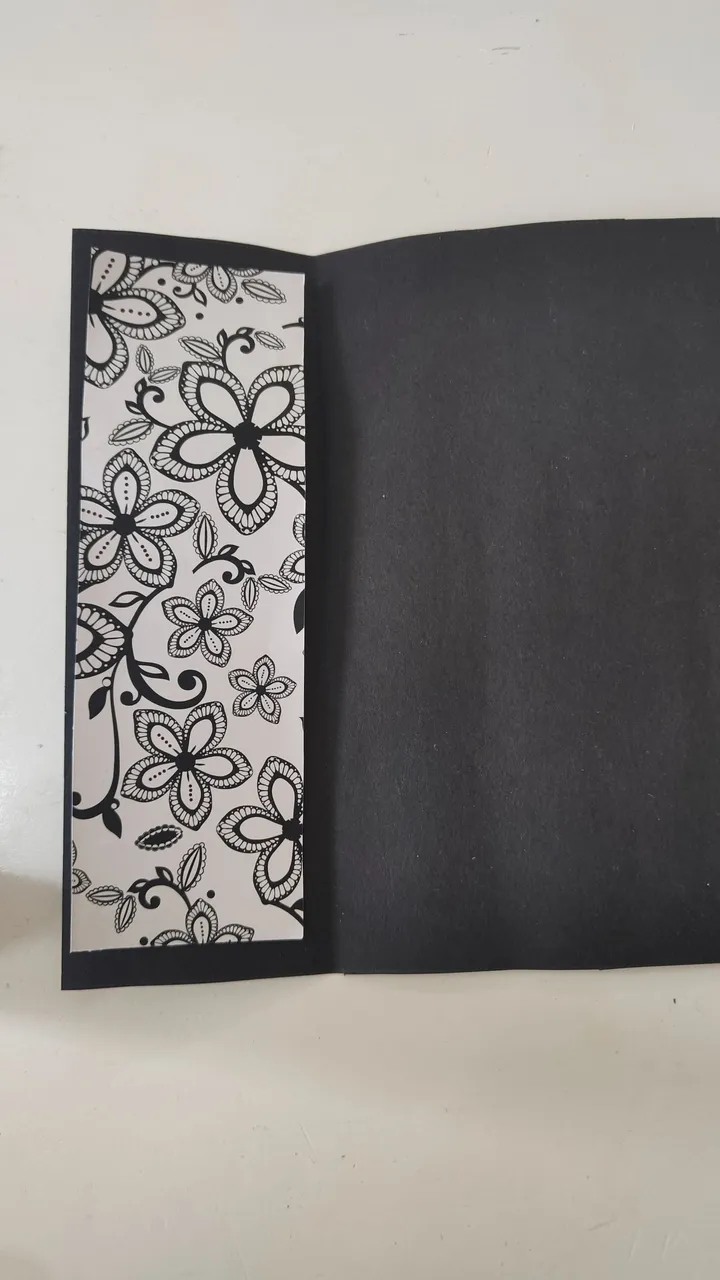
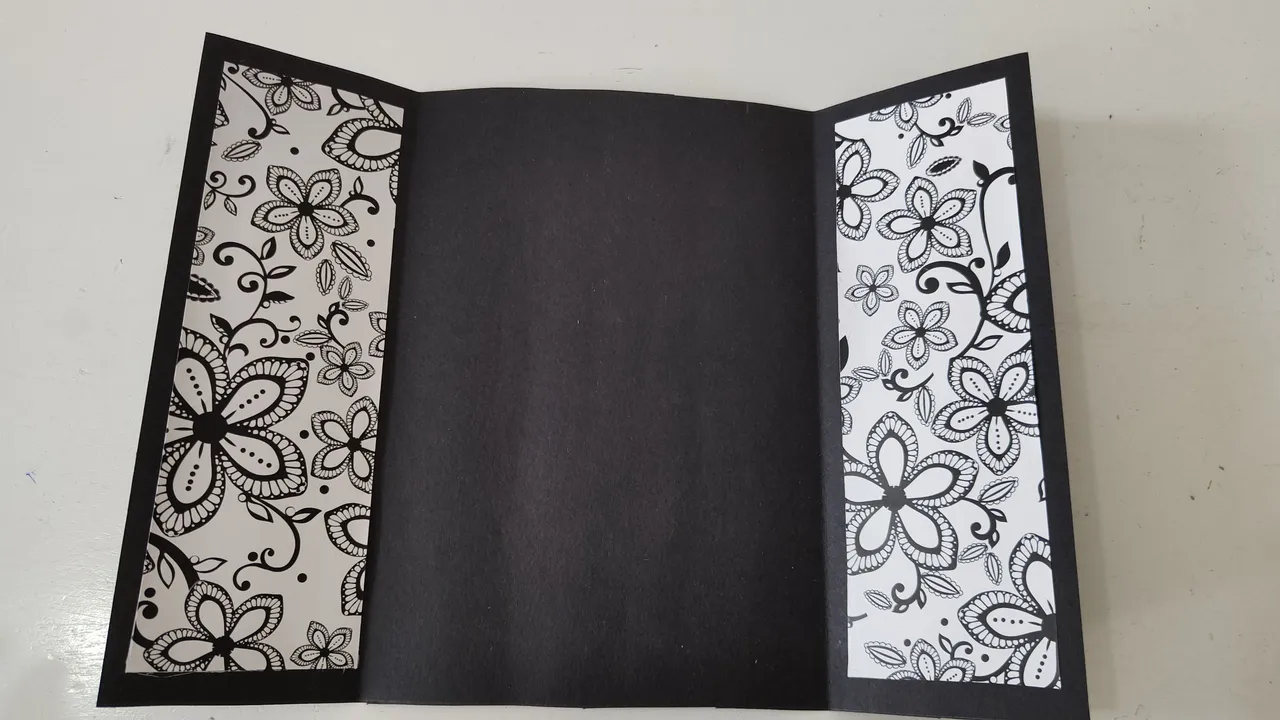
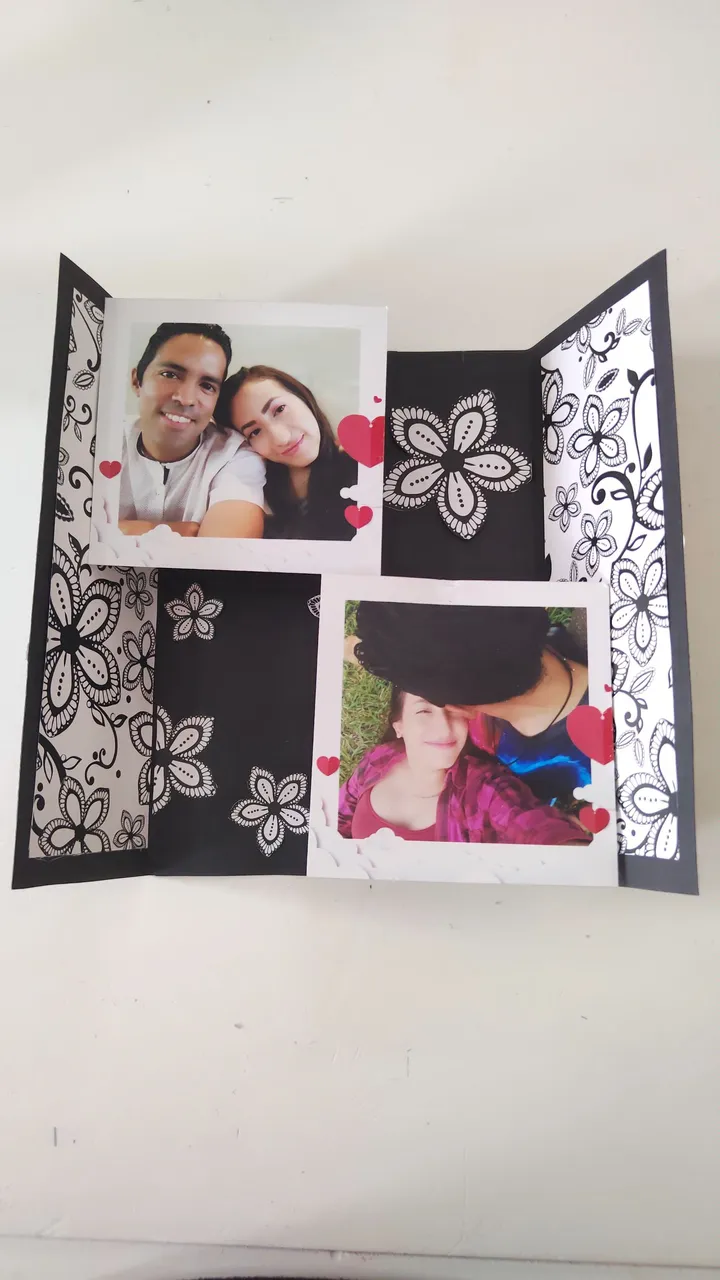
💕 5.| Iniciamos decorando los laterales internos de la tarjeta con los rectángulos de la bolsa de regalo.
💕 5.| We start by decorating the inner sides of the card with the rectangles of the gift bag.
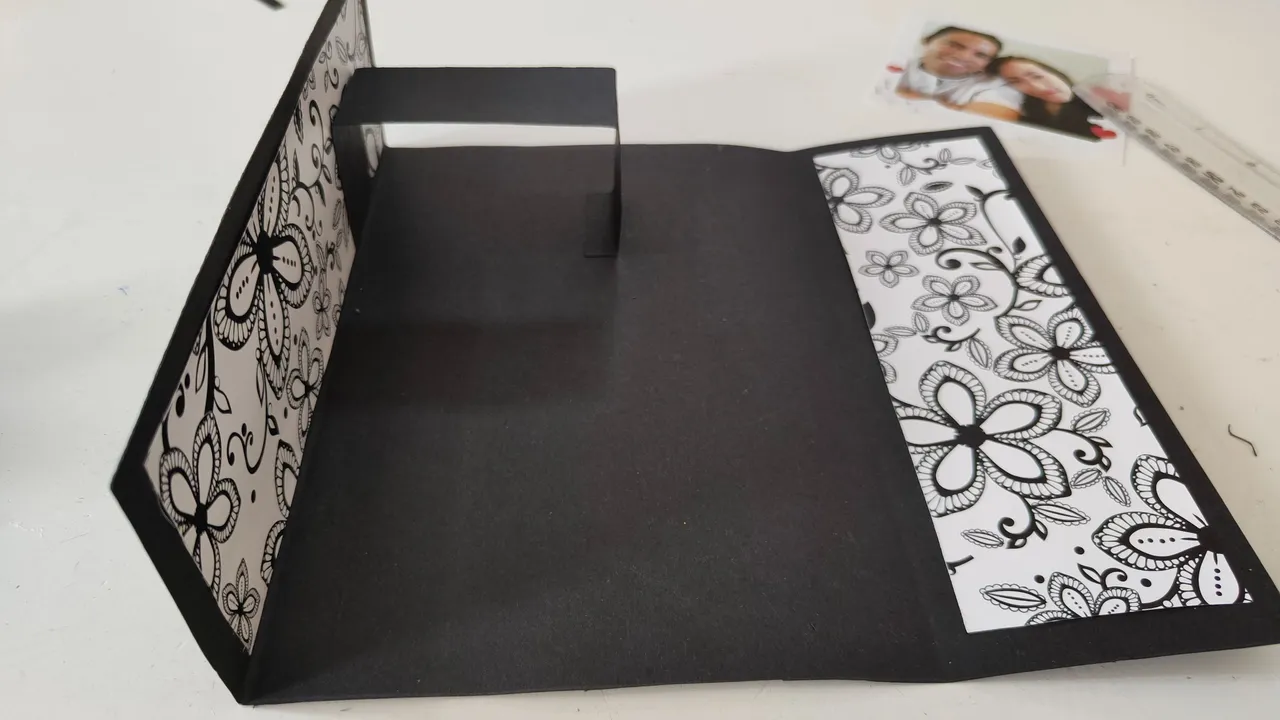
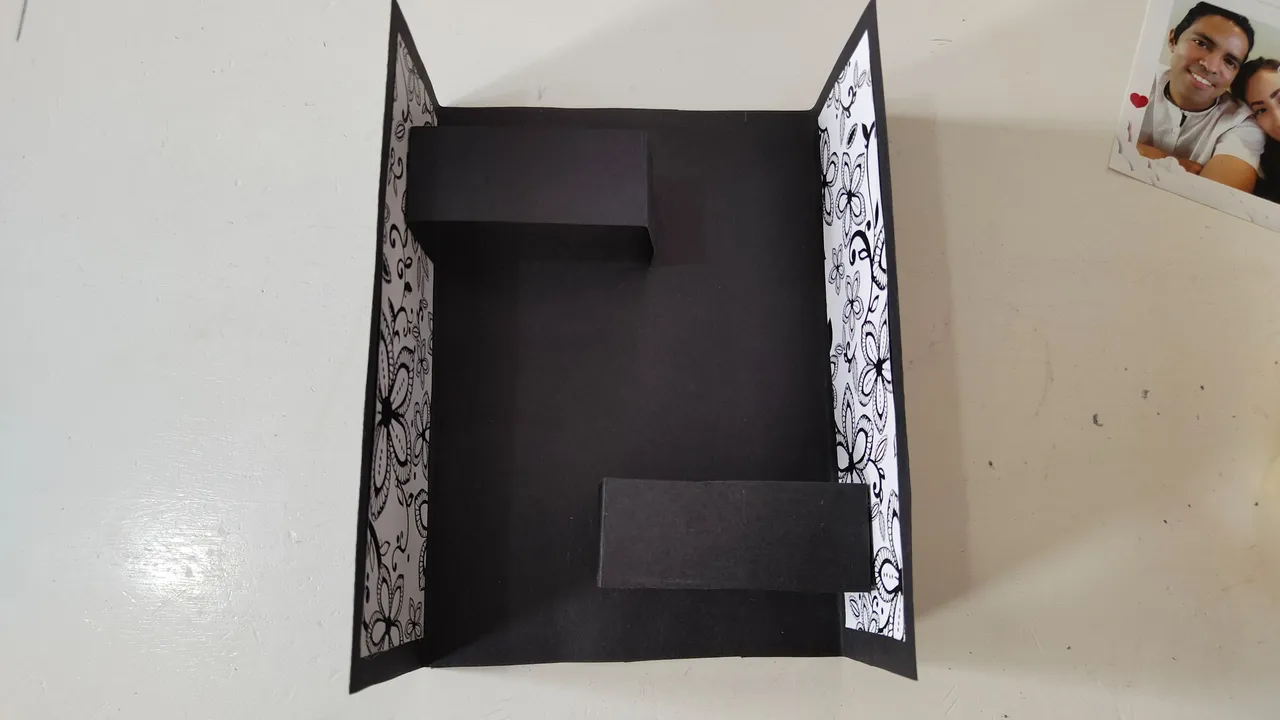
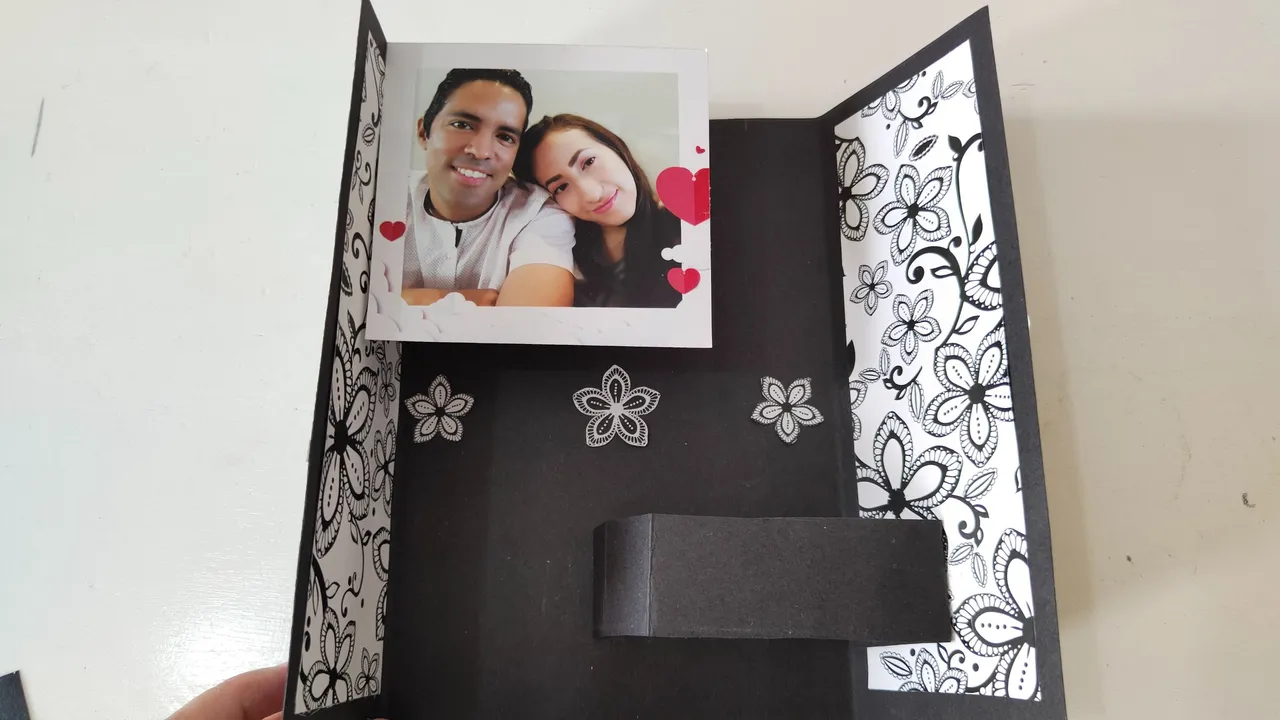
💕 6.| Seguidamente vamos a fijar las cintas de cartulinas, una en la parte superior y otra en la parte inferior de la tarjeta, pegaremos una de las pestañas a los laterales ( derecha e izquierda) de la tarjeta, esperamos que seque la pega y procedemos a fijar la otra pestaña en el centro de la tarjeta, esto es lo que dará el efecto 3D.
💕 6.| Next we will fix the cardboard strips, one on the top and one on the bottom of the card, we will glue one of the tabs to the sides (right and left) of the card, we wait for the glue to dry and proceed to fix the other tab in the center of the card, this is what will give the 3D effect.
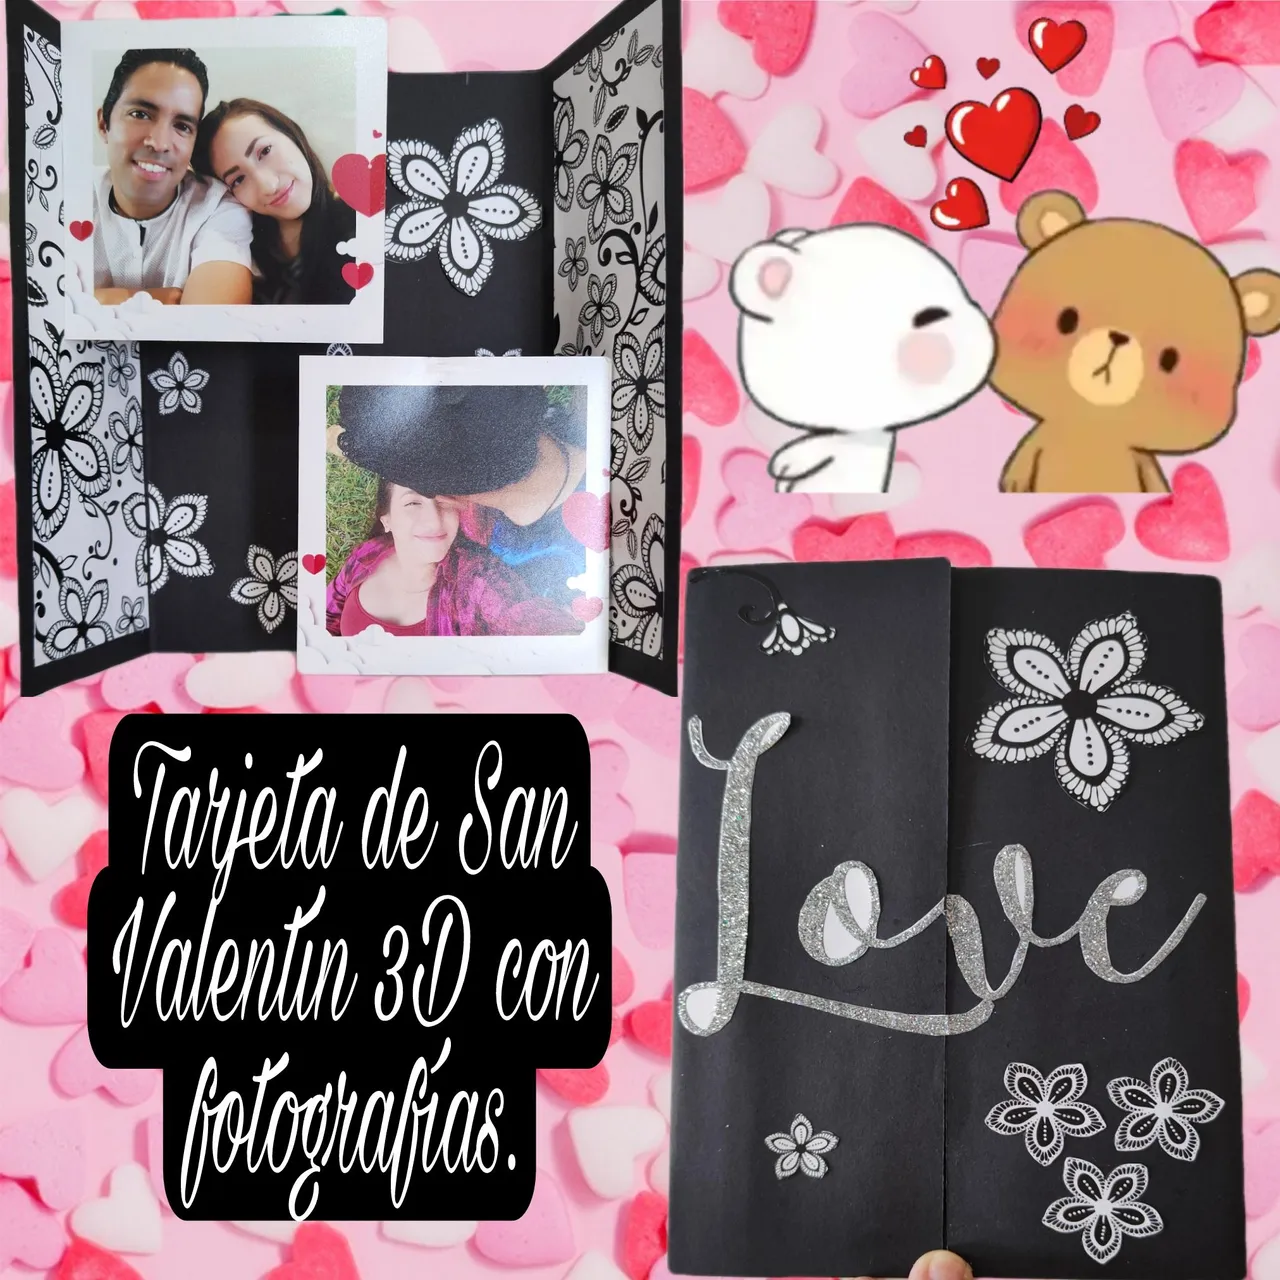
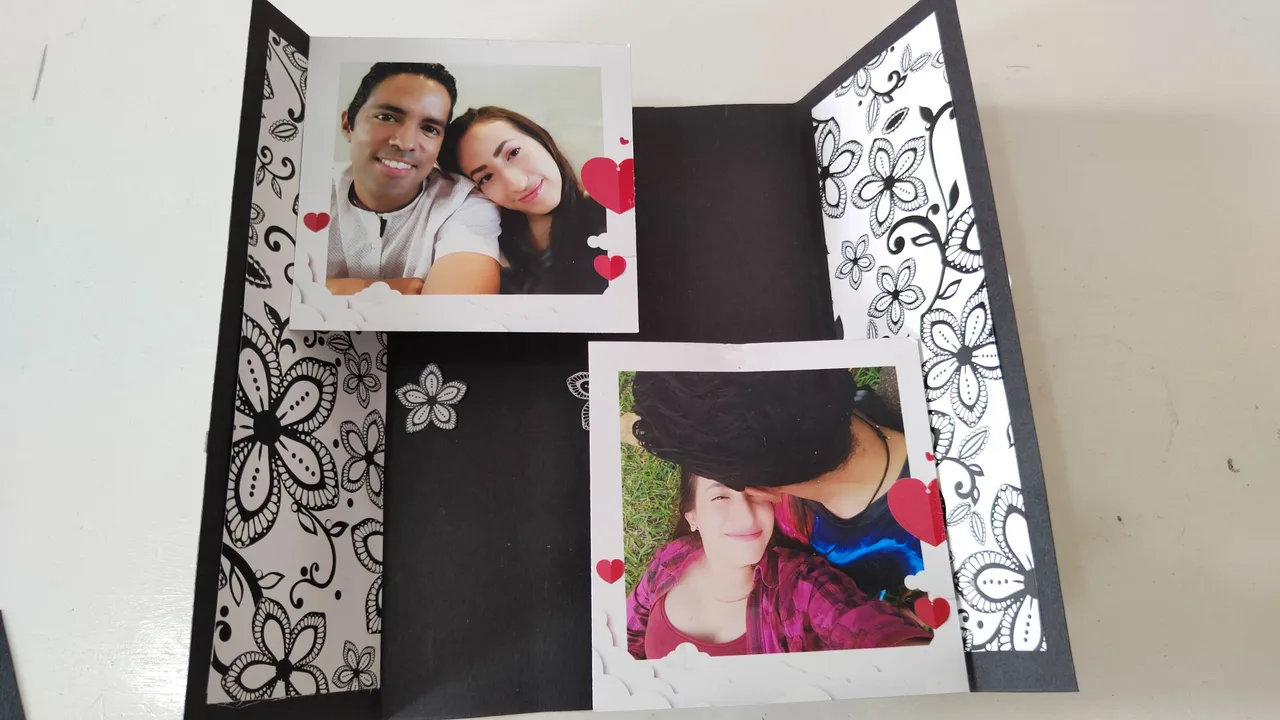
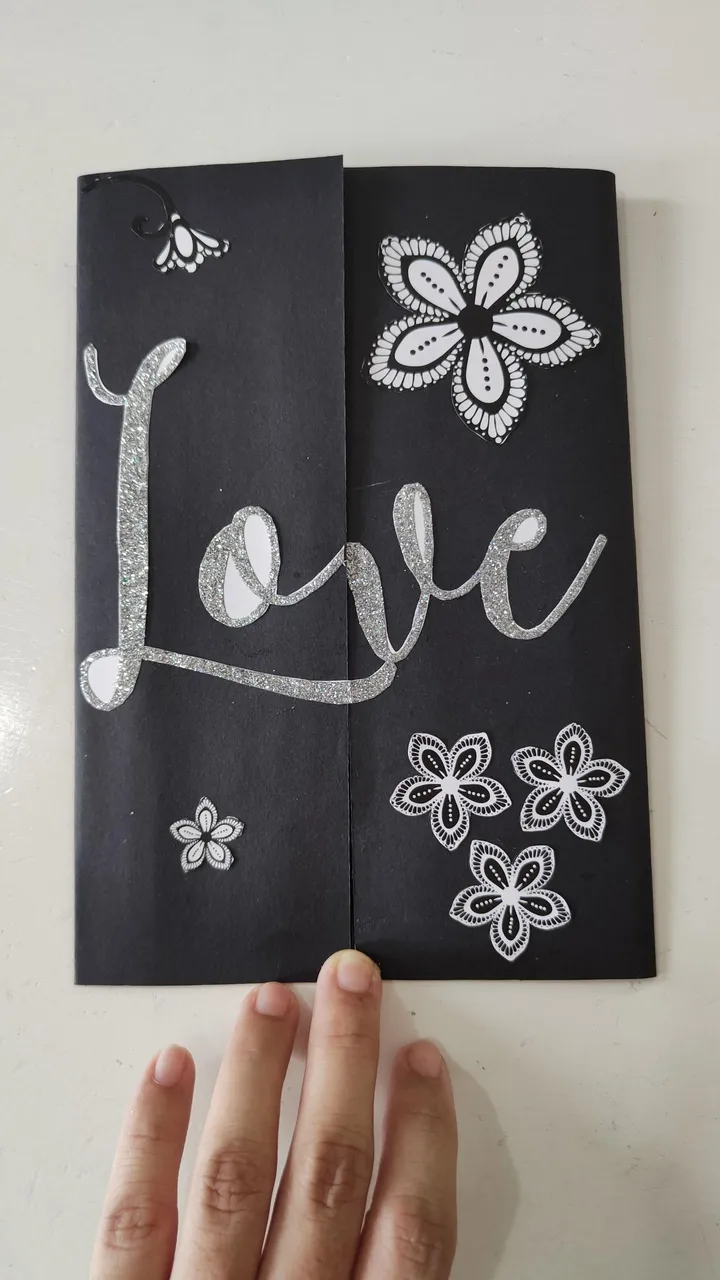
💕 7.| Fijamos las fotos y procedemos a decorar tanto la parte interna y externa de la tarjeta con las flores que recortamos y la palabra LOVE.
💕 7.| We fix the photos and proceed to decorate both the inside and outside of the card with the flowers we cut out and the word LOVE.
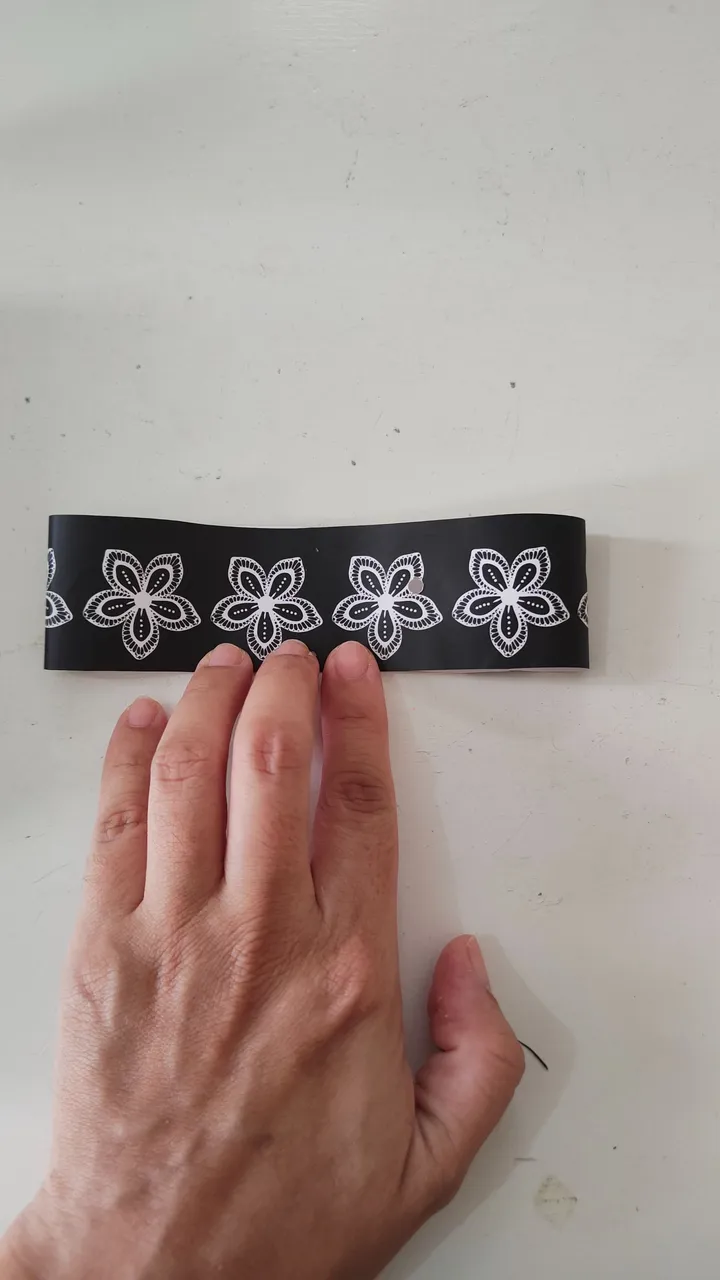
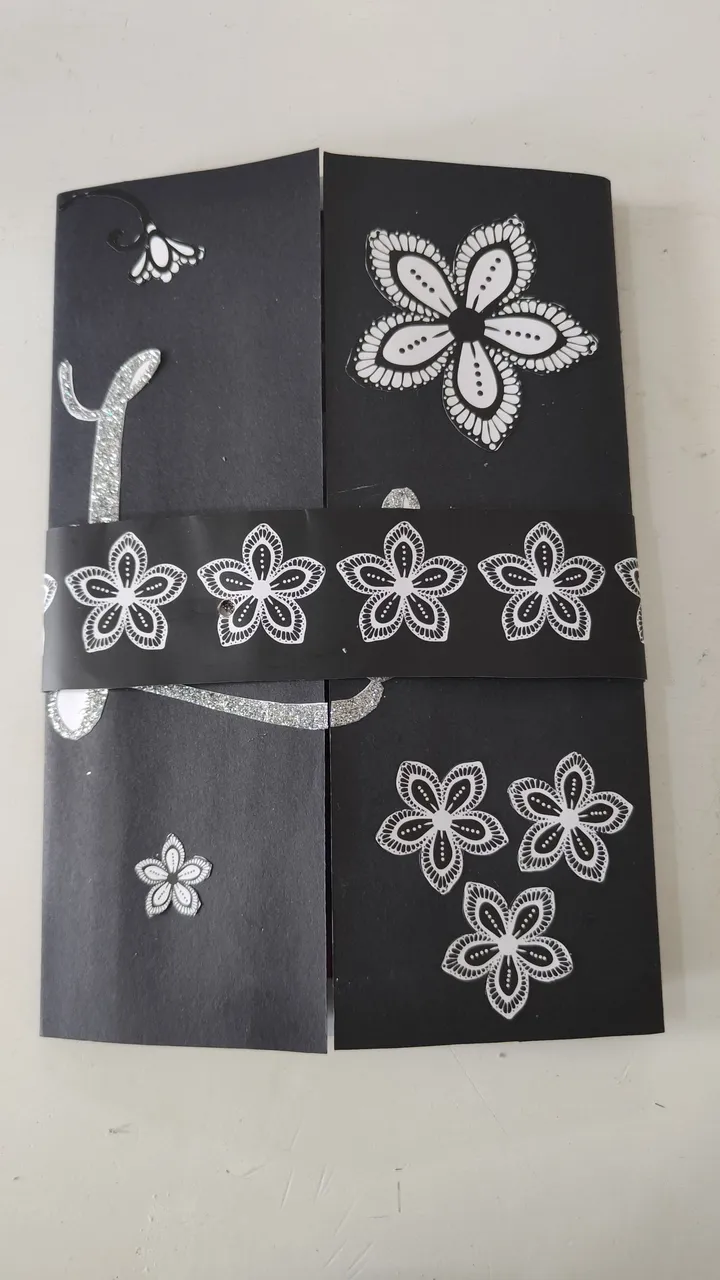
💕 8.| Por último hacemos una cinta de la funda de regalo, para que envuelva la tarjeta y la mantenga totalmente ajustada y que sea sorpresa el efecto 3D.
💕 8.| Finally we make a gift sleeve ribbon, so that it wraps the card and keeps it completely tight and that it is surprise the 3D effect.
Resultado || Result
Espero que fuese de sus grado está ingeniosa, bella y económica idea ideal para regalar en el día del amor y la amistad, GRACIAS POR LLEGAR HASTA AQUI. ❤️
I hope you liked this ingenious, beautiful and economical gift idea ideal for the day of love and friendship, ThANK YOU FOR GETTING HERE. ❤️
📸Autoría del texto,las fotografías y separadores de texto.|Authoring of the text, photographs and text separators. @mili2801 🎥Imágenes creadas con: Images created with: ToonMe|Canva| Picsart